pallettest-1-copy
Photography by Hep Svadja

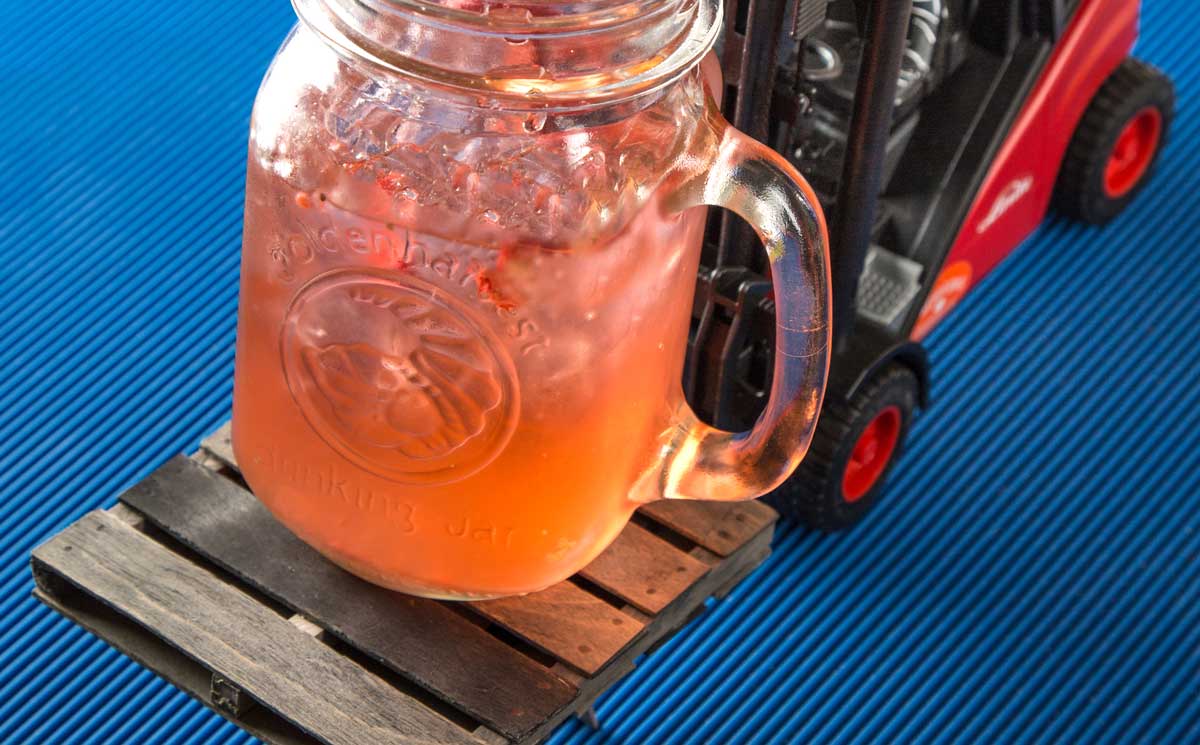
You may have spotted mini pallet coasters floating around the internet lately; I spied them while searching for easy and affordable gifts to make for the holidays. When I saw the design, I knew it wouldn’t be too difficult to work out a comparable pattern. Well, it took me the better part of a day to lock in the exact dimensions of these little babies, but I finally got it!

What will the next generation of Make: look like? We’re inviting you to shape the future by investing in Make:. By becoming an investor, you help decide what’s next. The future of Make: is in your hands. Learn More.

Project Steps

1. CUT

For one pallet, you’ll need:

  • 10 “deck boards” made from the thinner (1/16″) wood, measuring 9/32″×3¾”
  • 3 “stringers” made from the thicker (¼”) wood, measuring ¼”×3⅞”.

2. STAIN

step-2

Mix some black paint with water and do a test on some scrap wood. I found that black paint works better than brown. You can apply it to the wood using your hands or a paintbrush. When you’re happy with your test wood, repeat the process for all of your pallet pieces.

NOTE: Make sure you vary the darkness of the pieces so that they don’t all look the same.

Let them dry (you can use a hair dryer to speed up the process). You might want to make a few extra deck boards in case they warp from painting.

3. GLUE

step-3

Glue 5 deck boards across 3 stringers, then flip it over and attach the remaining 5 deck boards to match the first side.

If some of your boards are longer than others, you can sand the ends to make them more even.