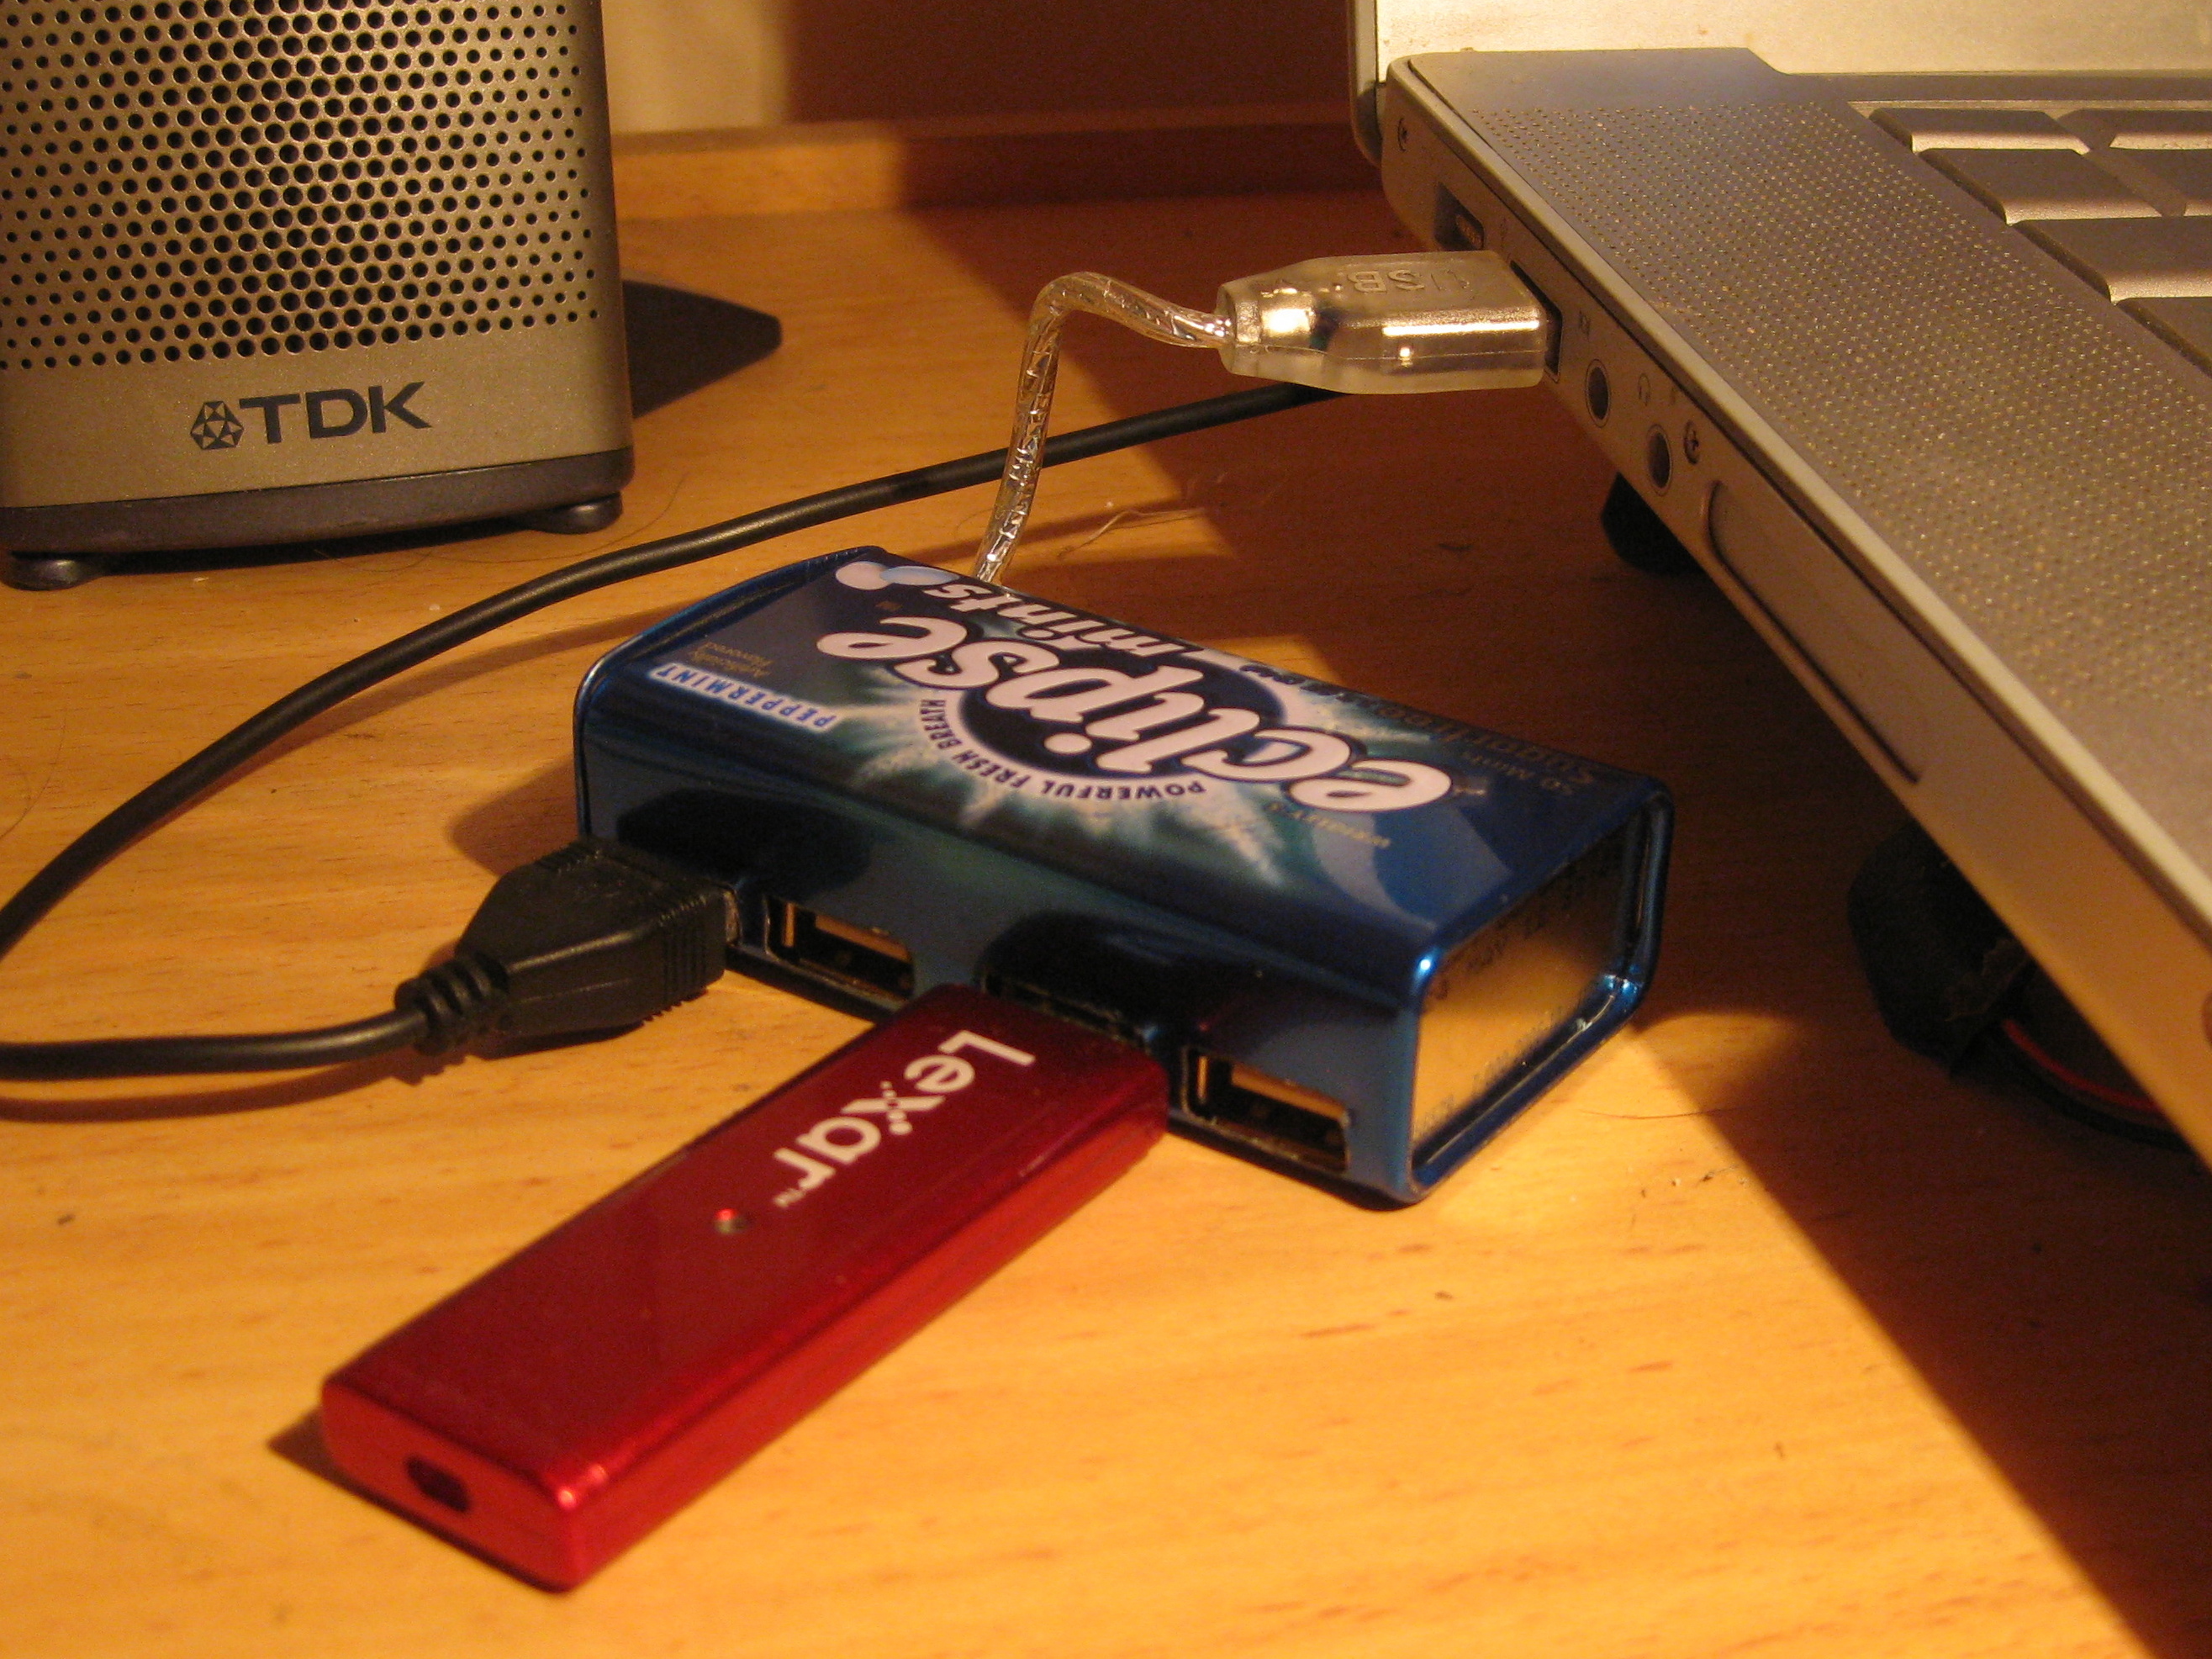
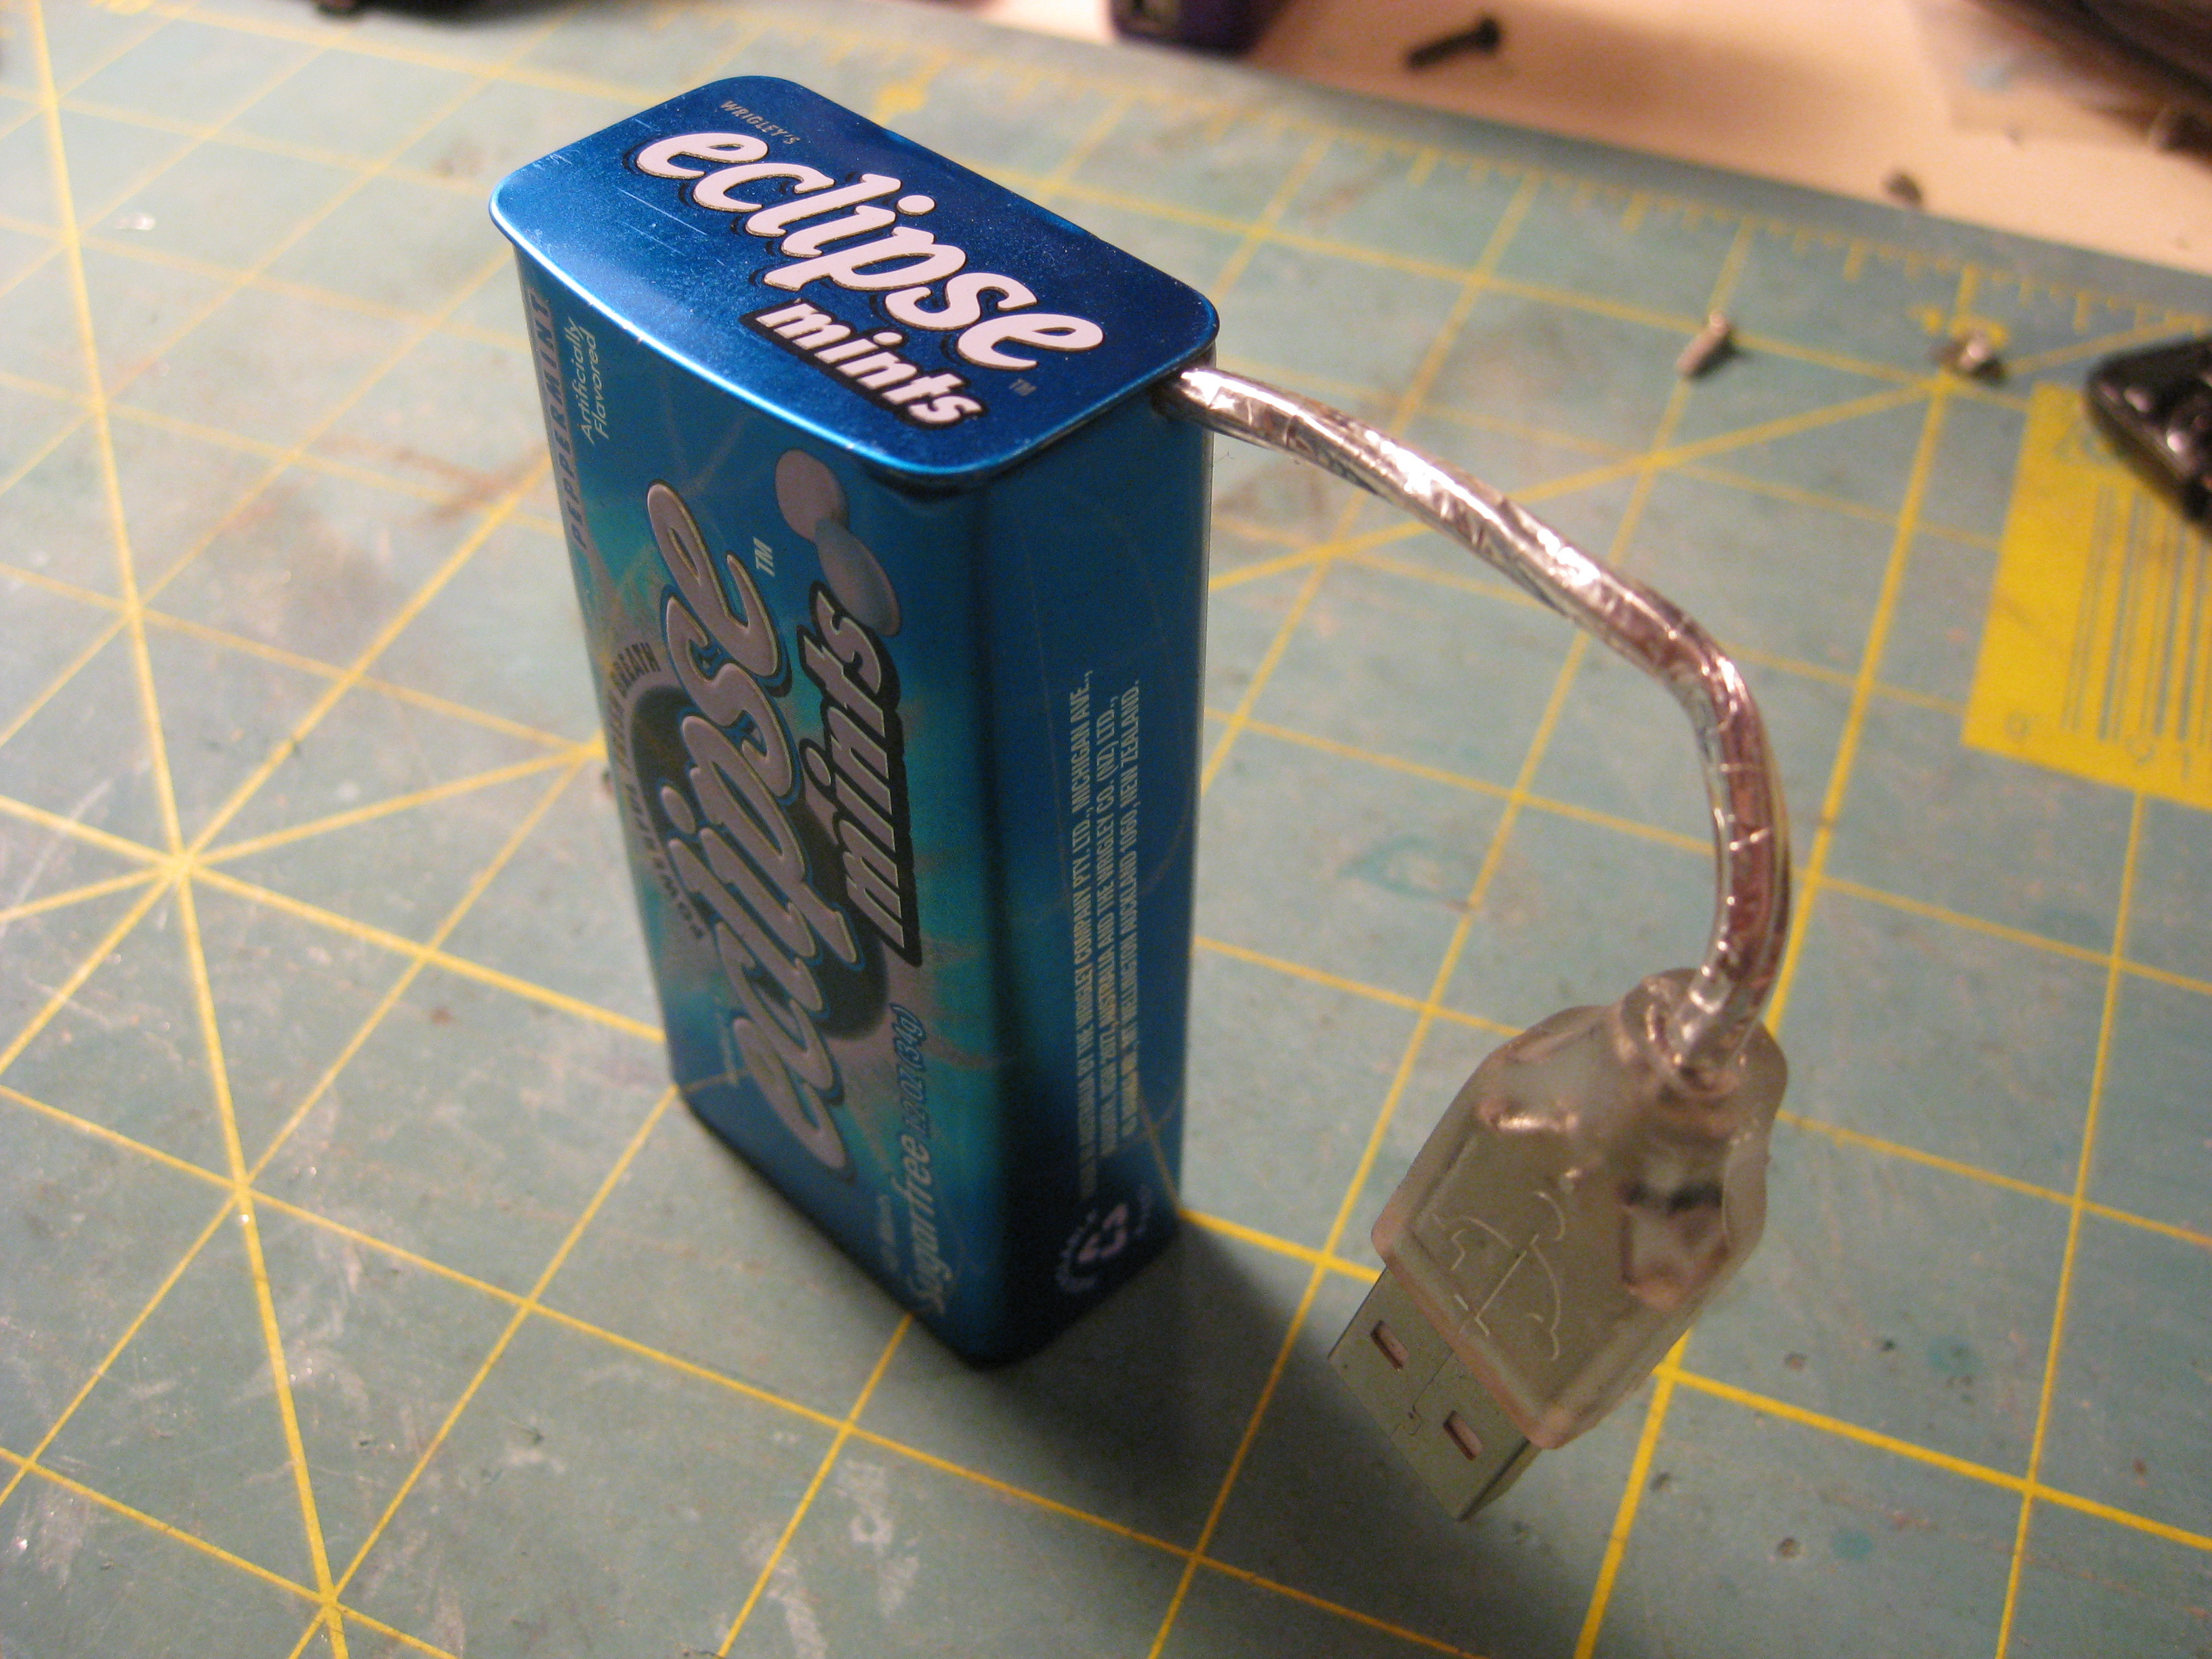
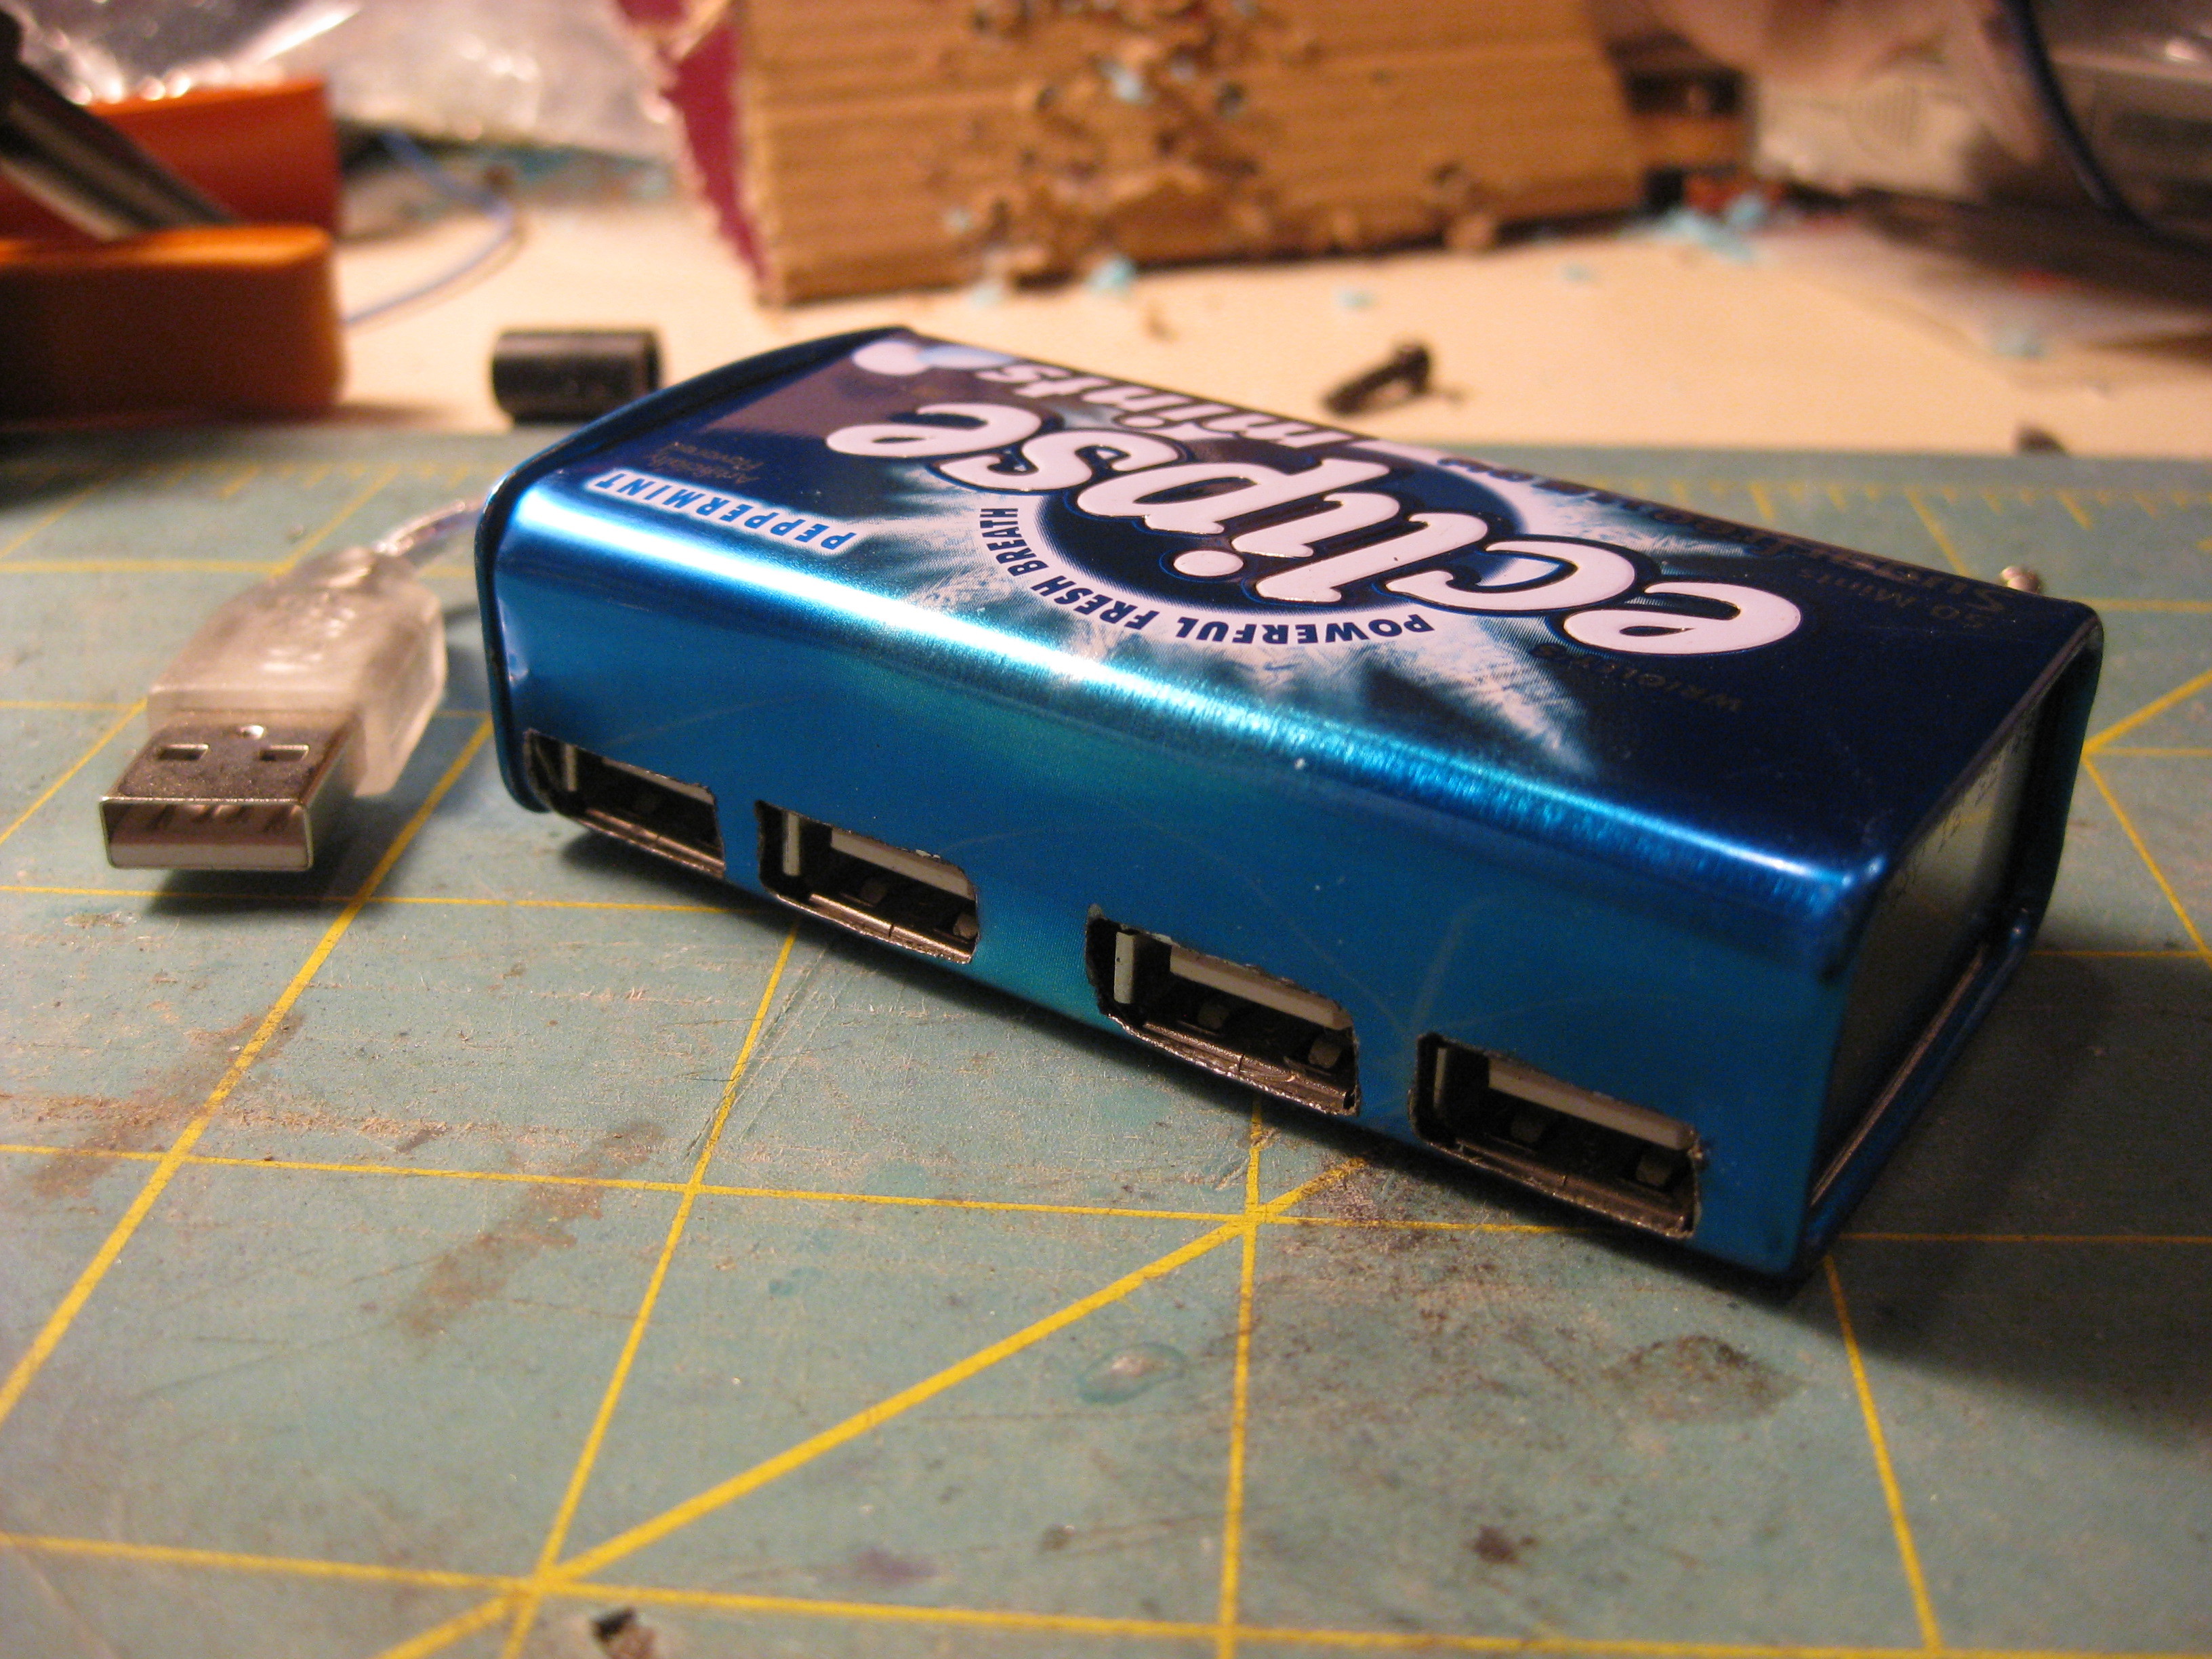
This guide shows how to modify a mint tin to accept the internals of a USB hub providing a decorative and durable housing. When not in use, the cord tucks into the body of the tin. Parts required:

  • USB 2.0 Hub
  • Mint Tin

The video below runs over the steps required to complete this project. Relax and take a couple of minutes to watch then continue to the detailed instructions.

YouTube player

What will the next generation of Make: look like? We’re inviting you to shape the future by investing in Make:. By becoming an investor, you help decide what’s next. The future of Make: is in your hands. Learn More.

Project Steps

Prepare the USB Hub

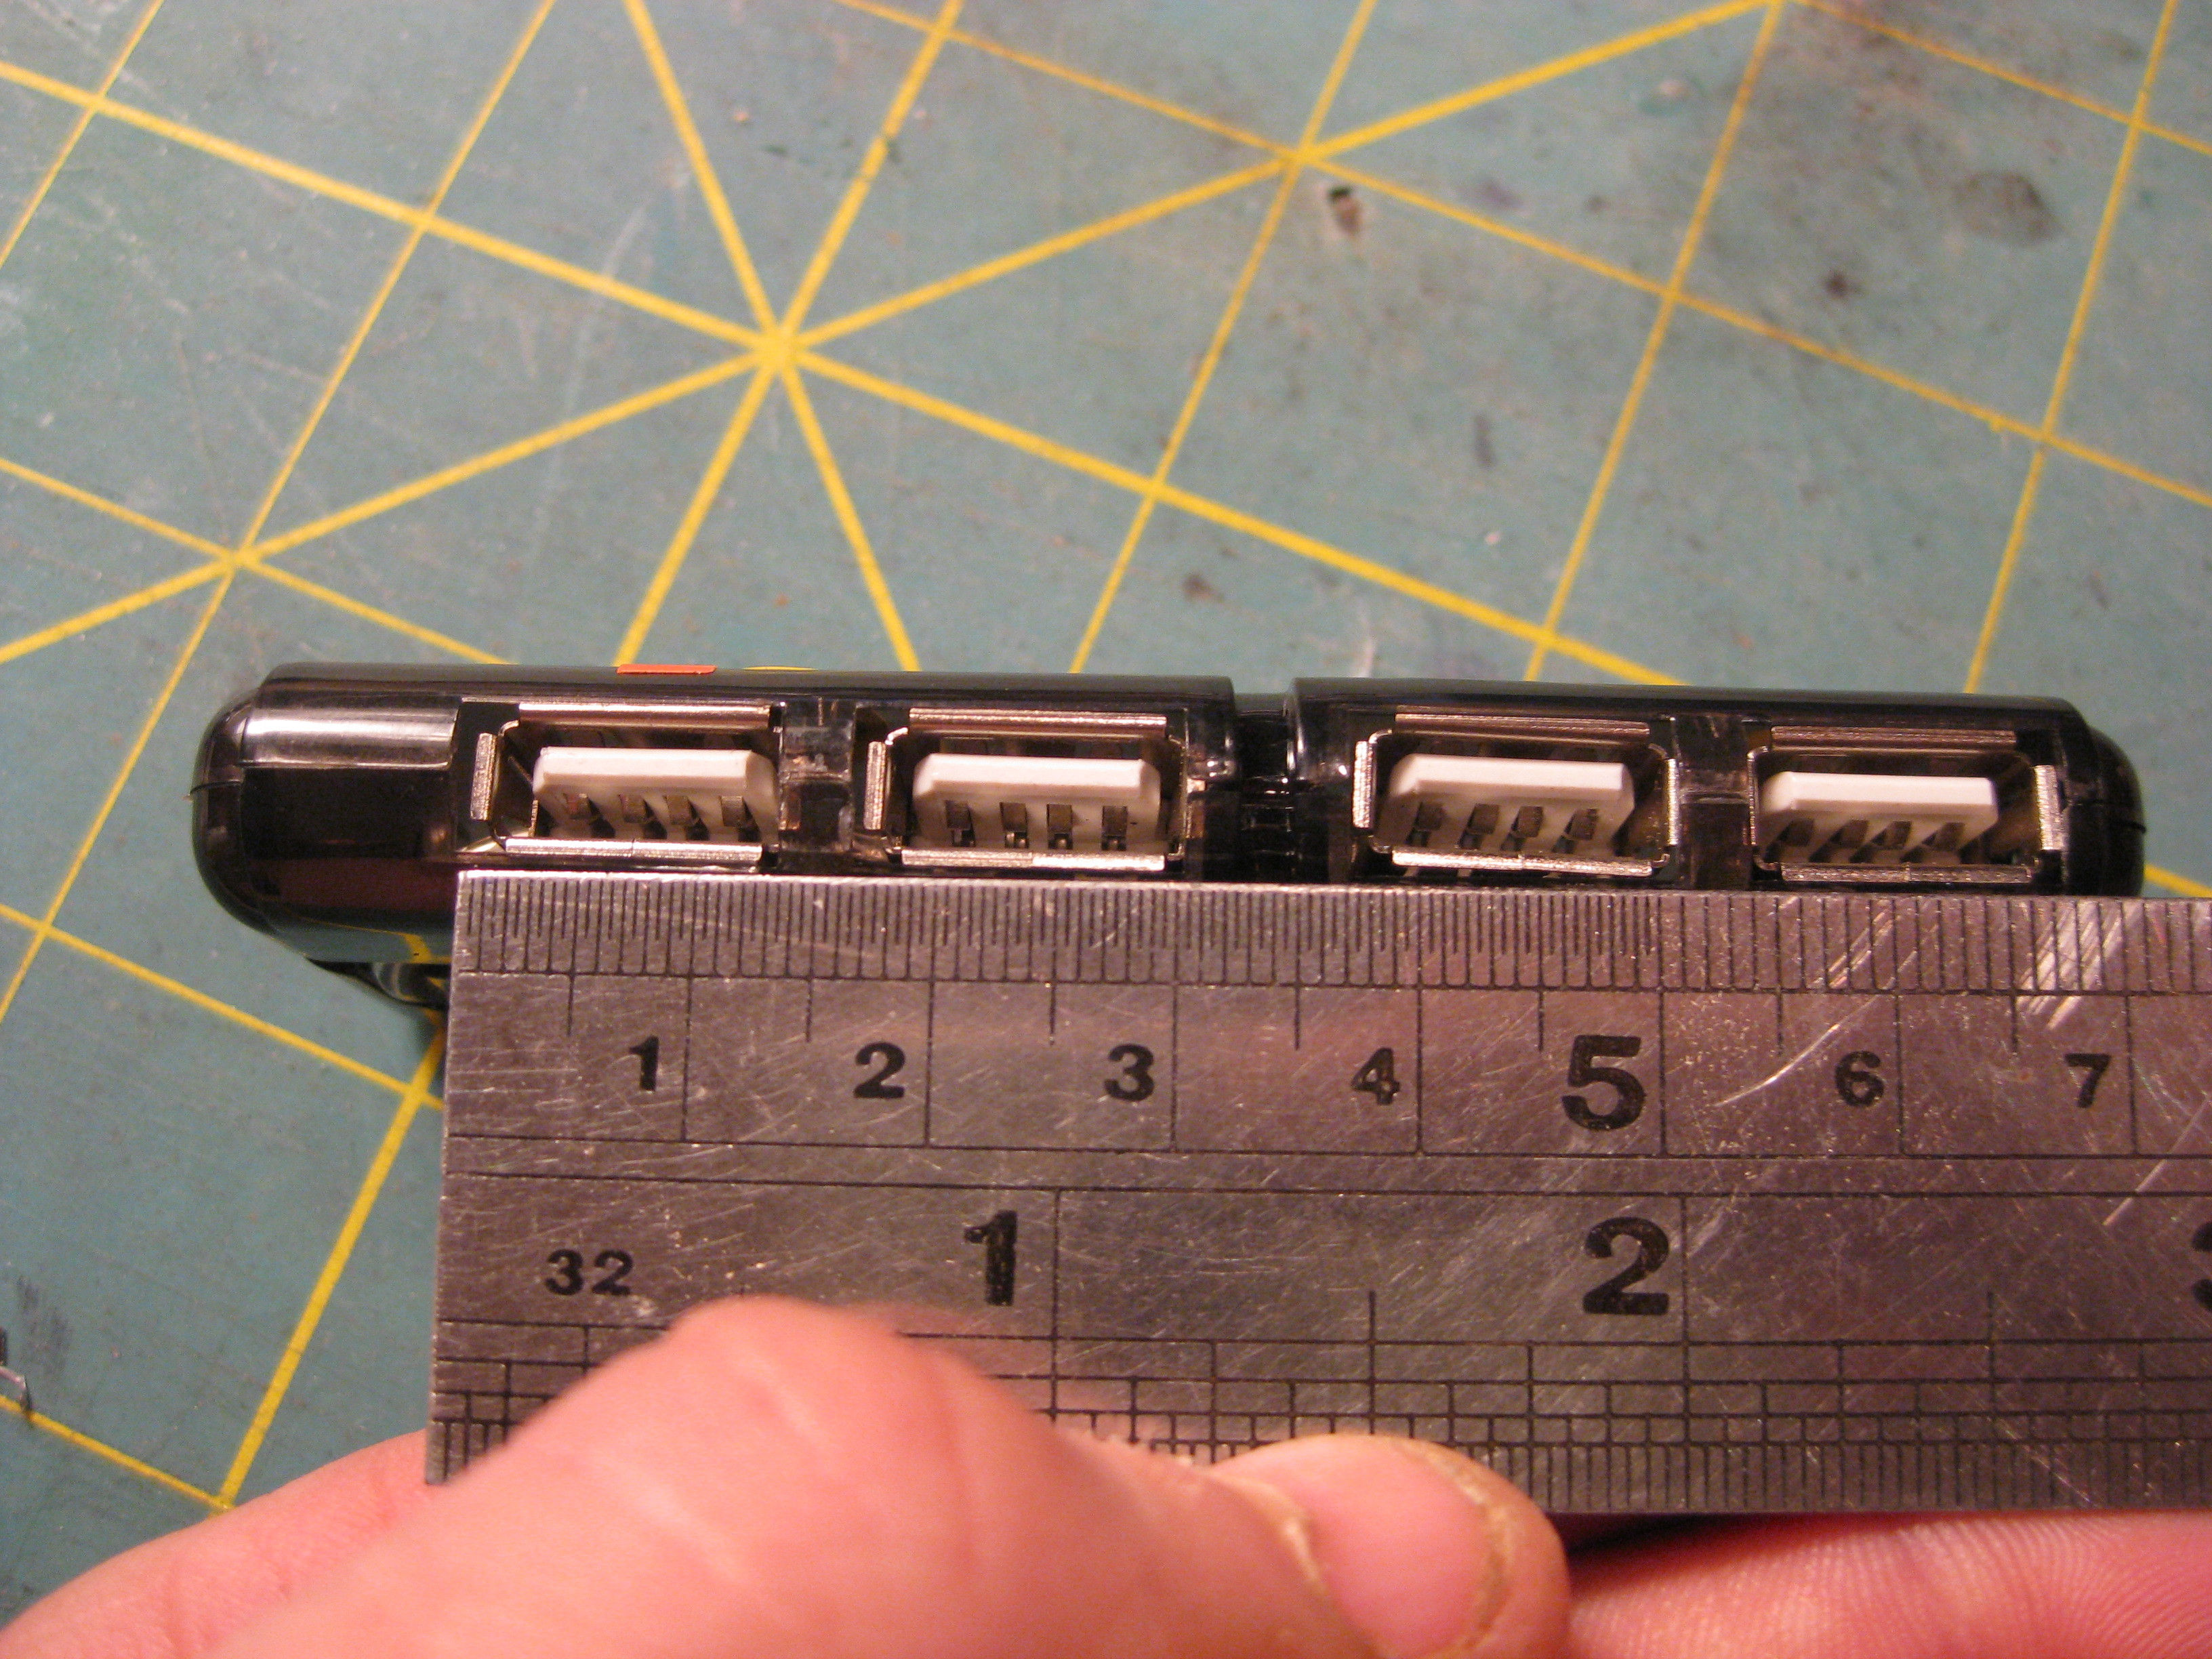
Measure the ports on the front of the hub so you can replicate them on your tin later.

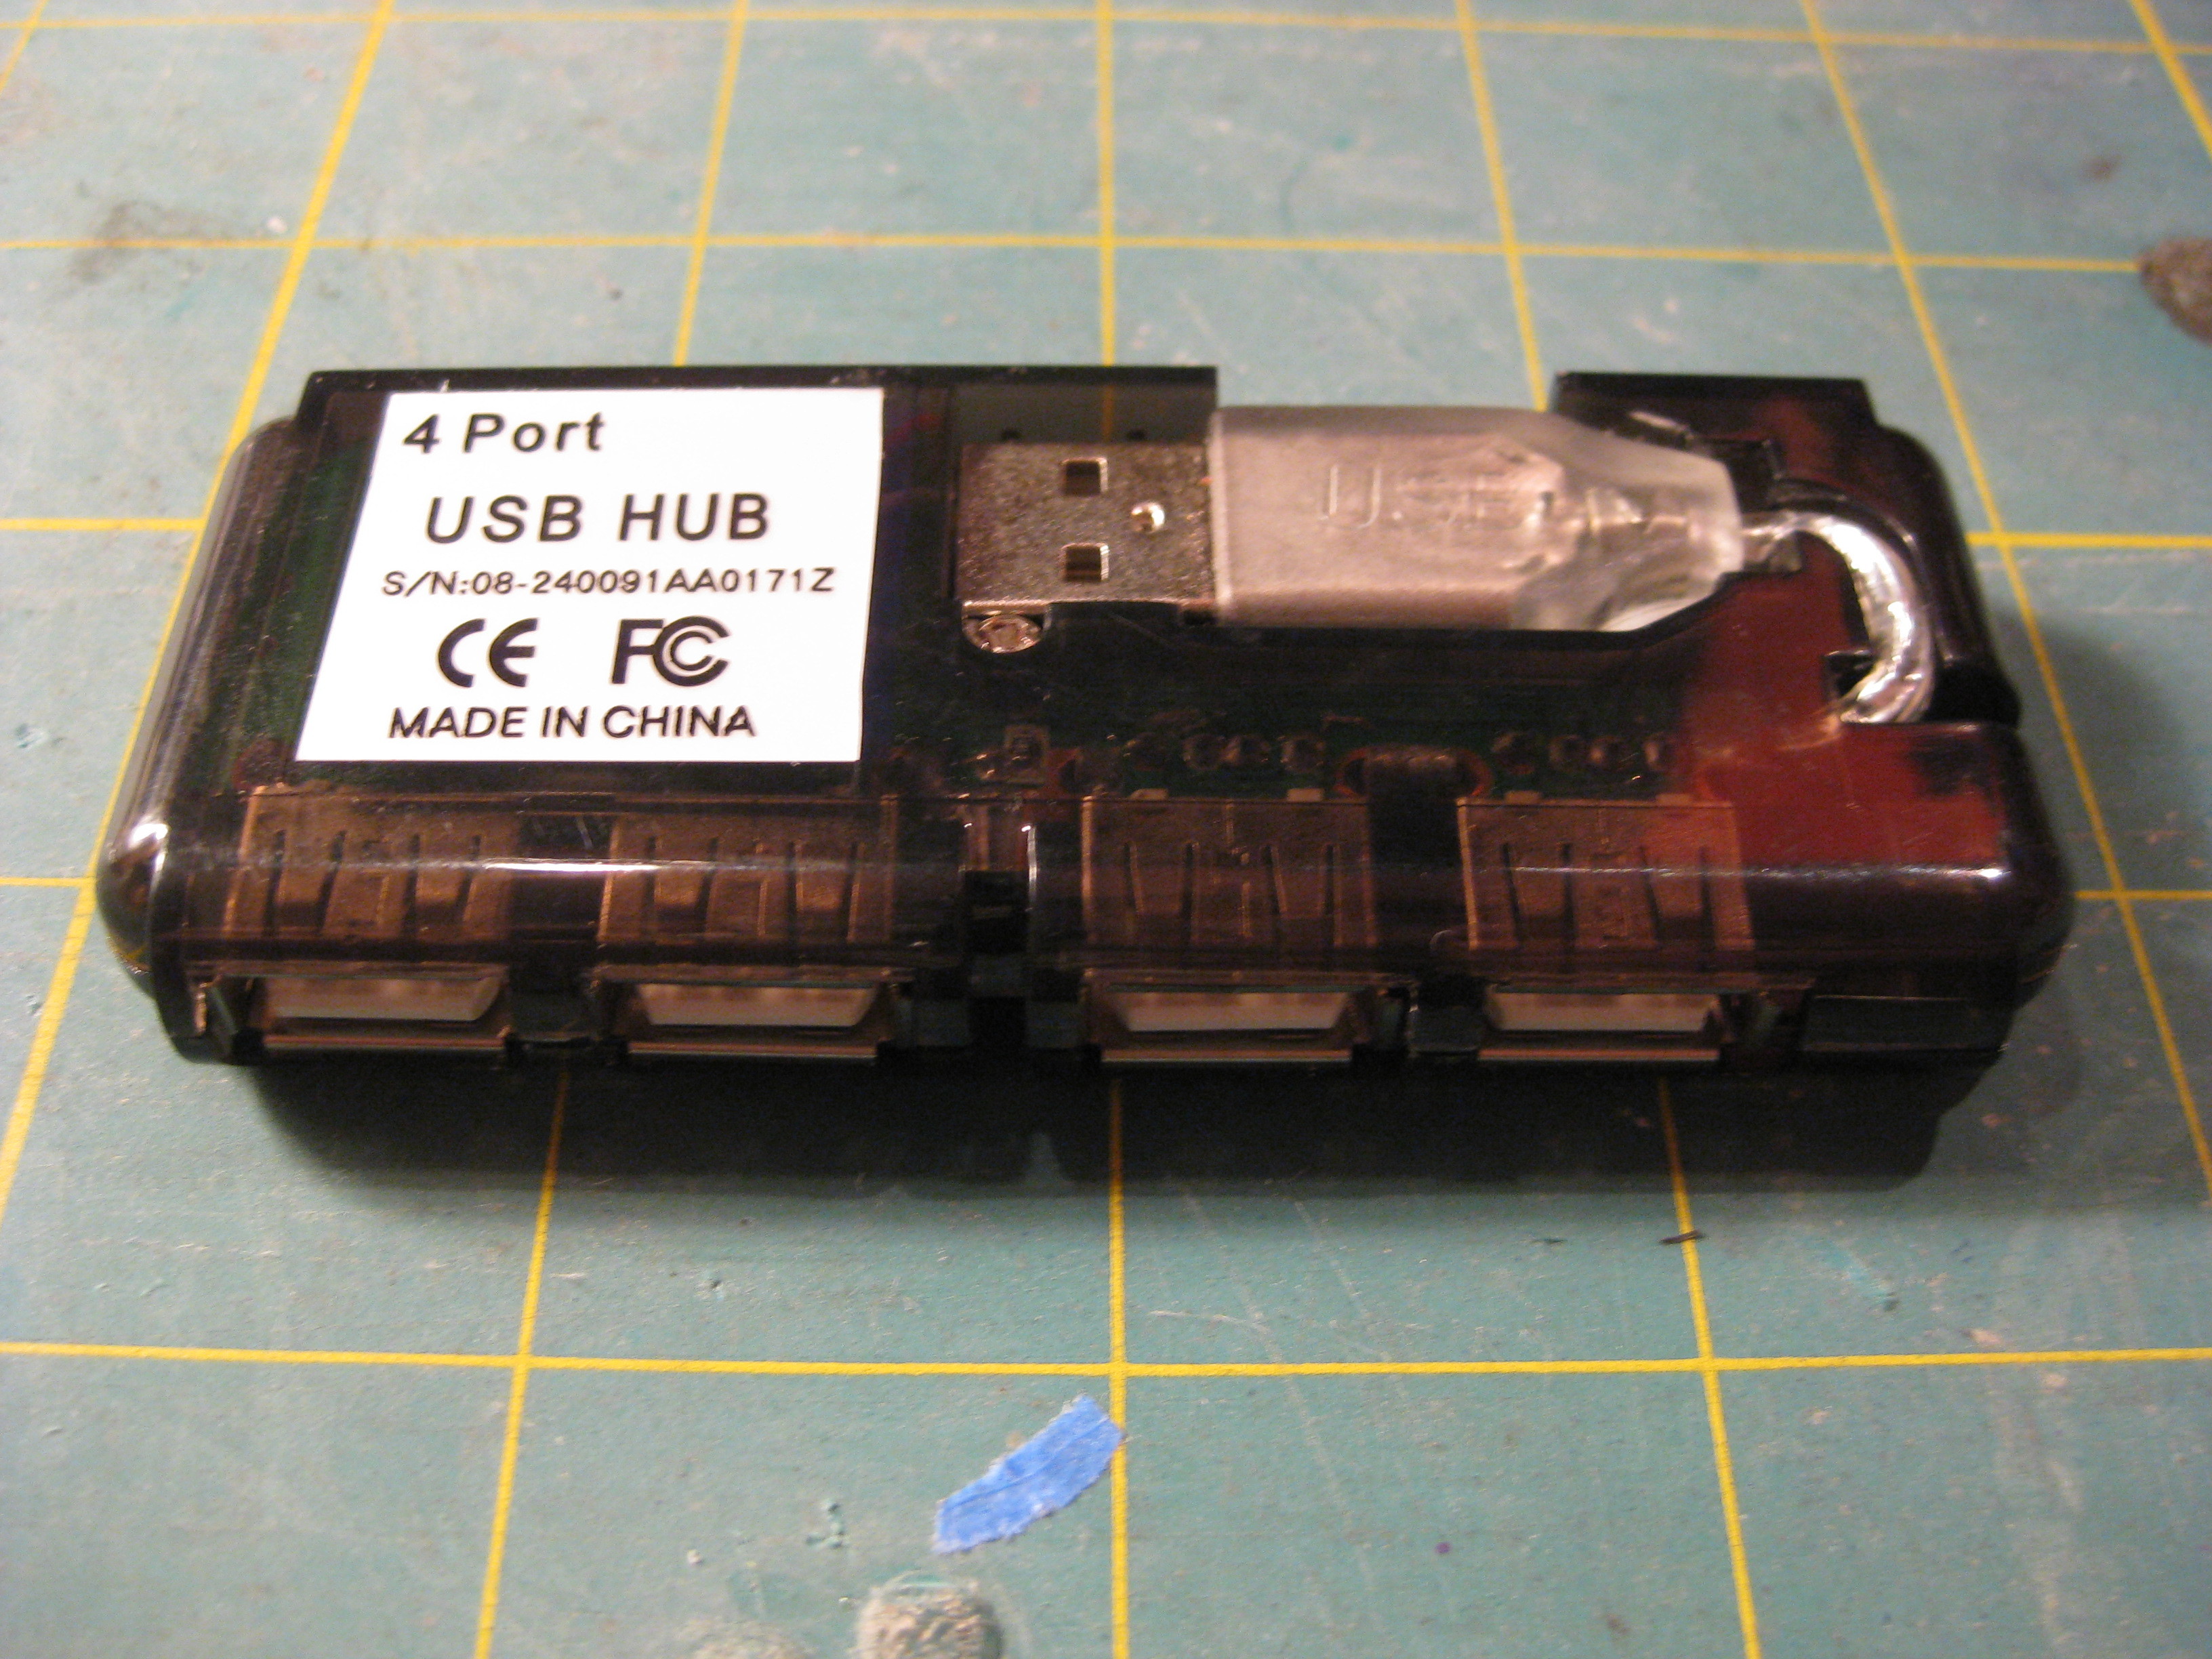
Disassemble by removing any screws and prying the plastic casing open.

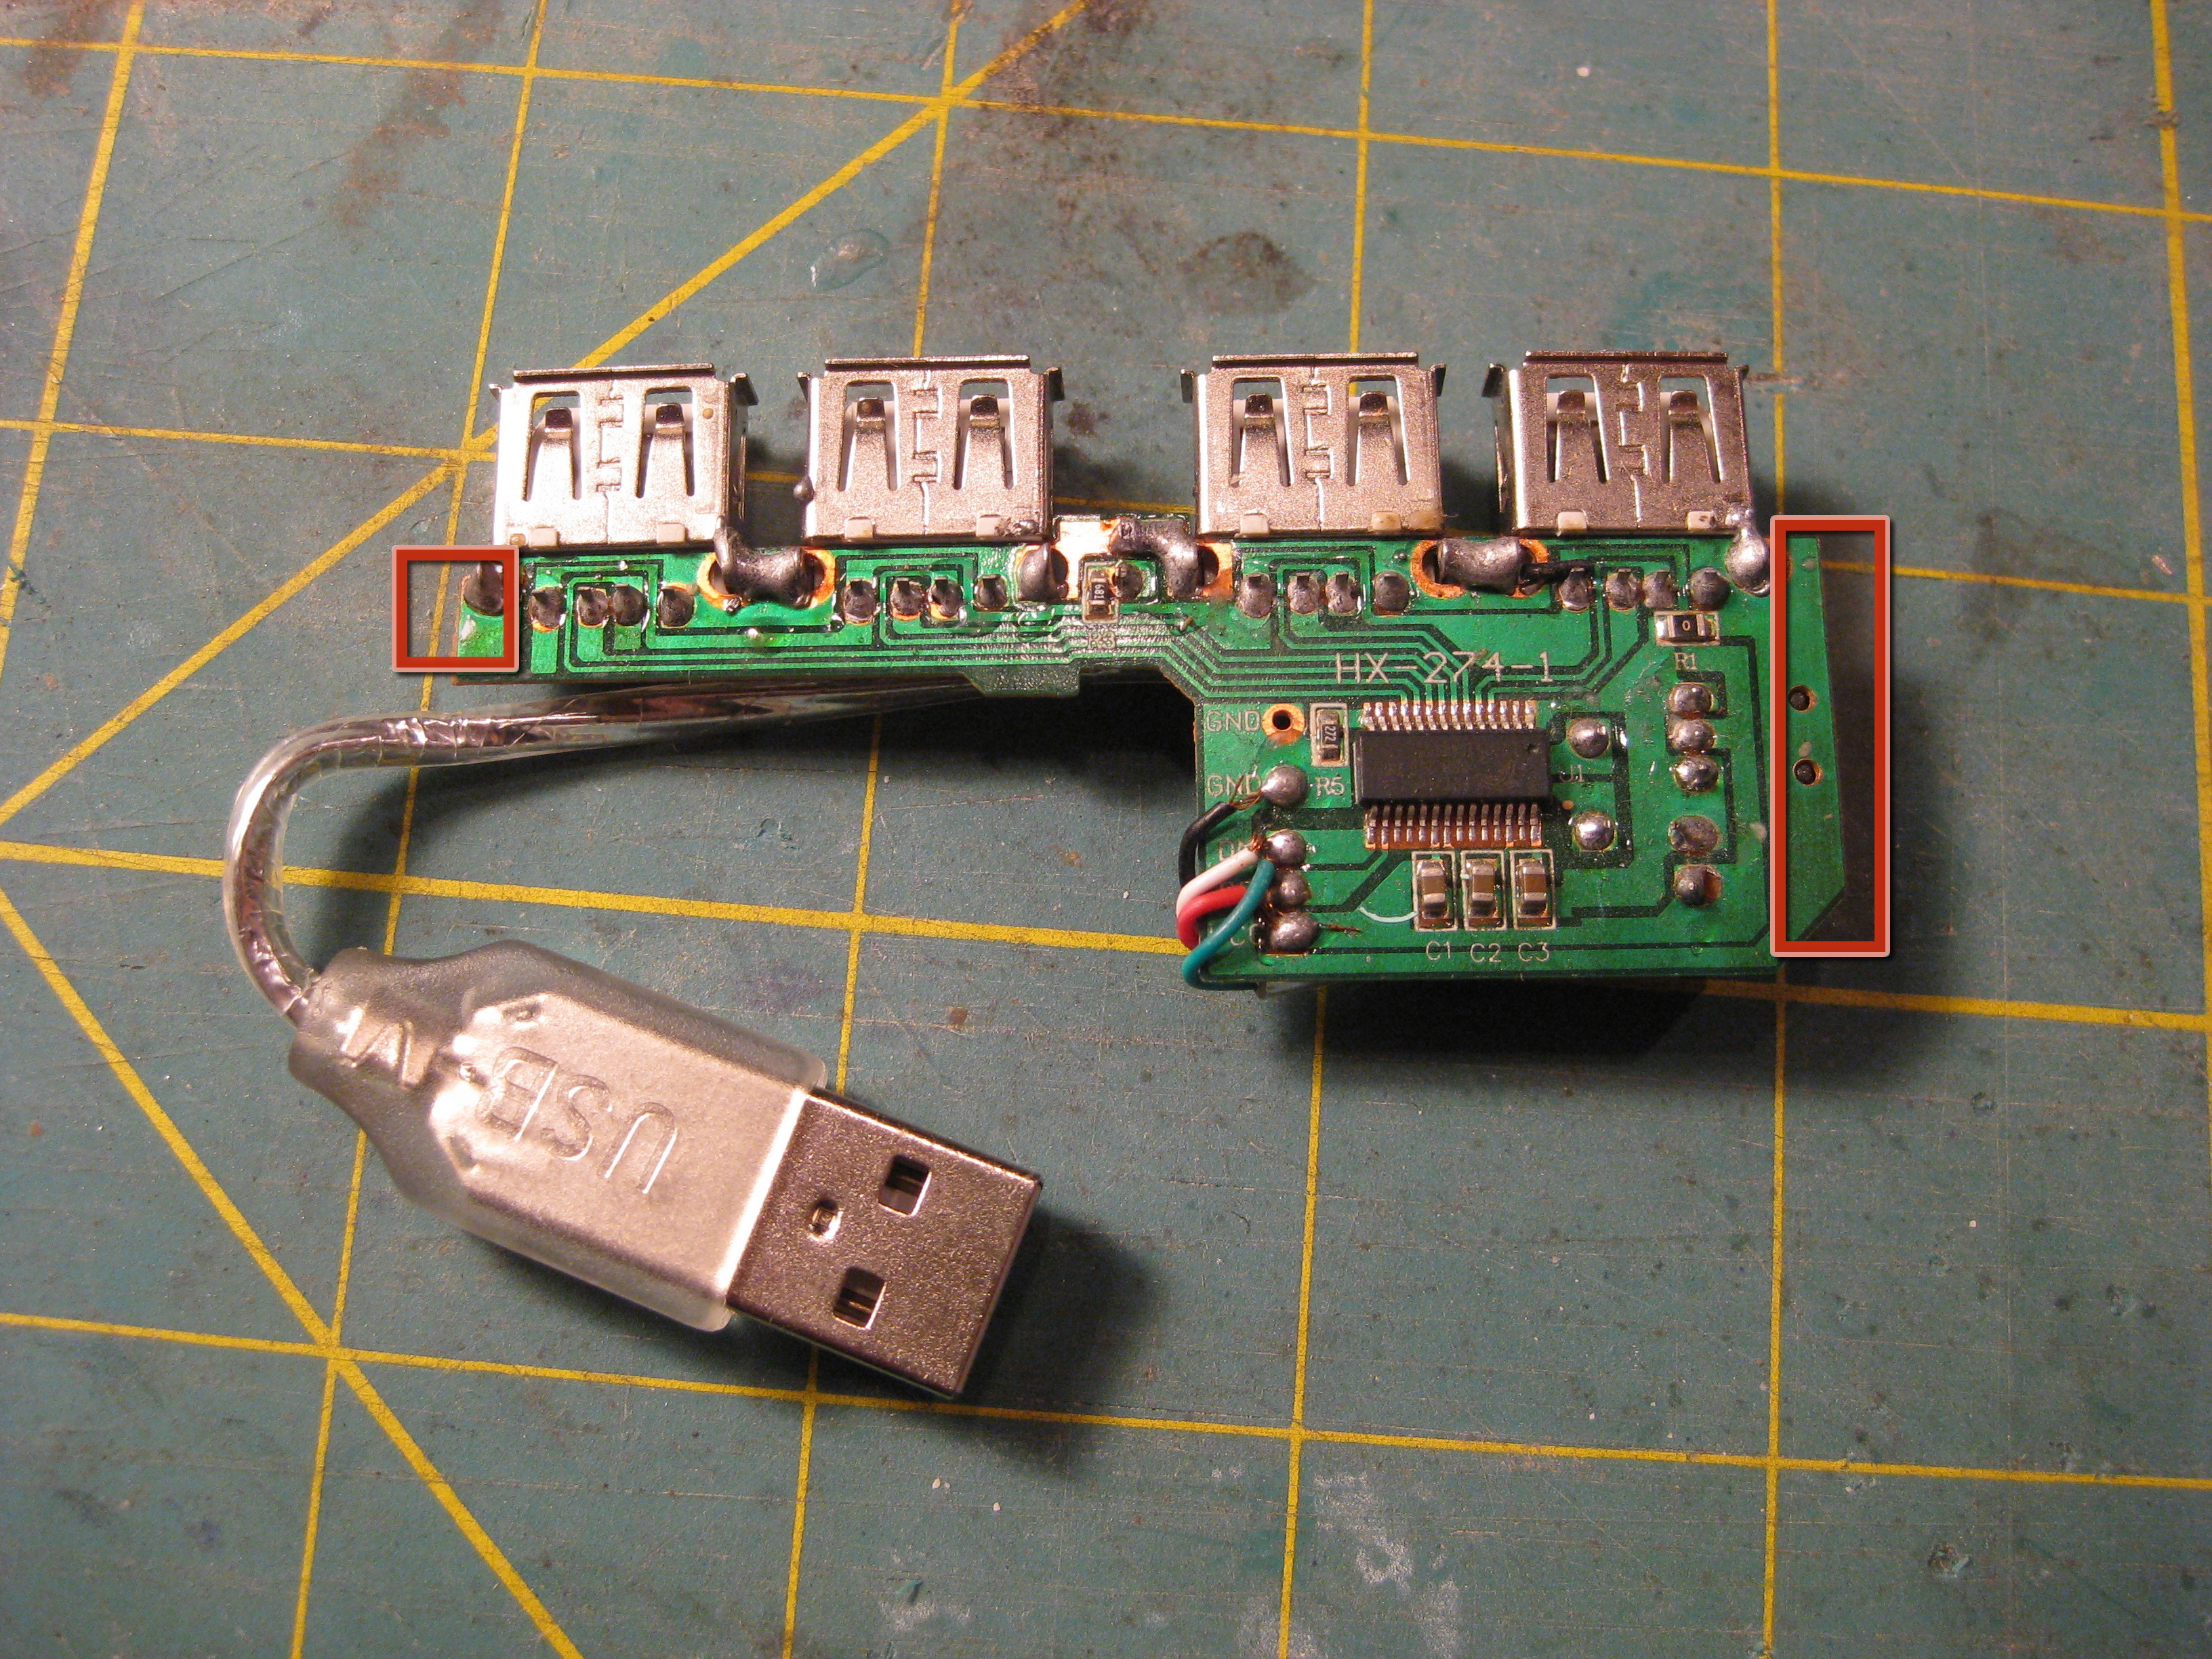
Test fit the hub’s internals in the tin. If it’s too large you can usually trim the sides of the hub provided you don’t cut through any traces. The areas highlighted in red were removed from my hub.

If your hub is still too large, you can also remove the excess off the mint tin’s lid which is covered in a later step.

Mark and Cut USB Ports

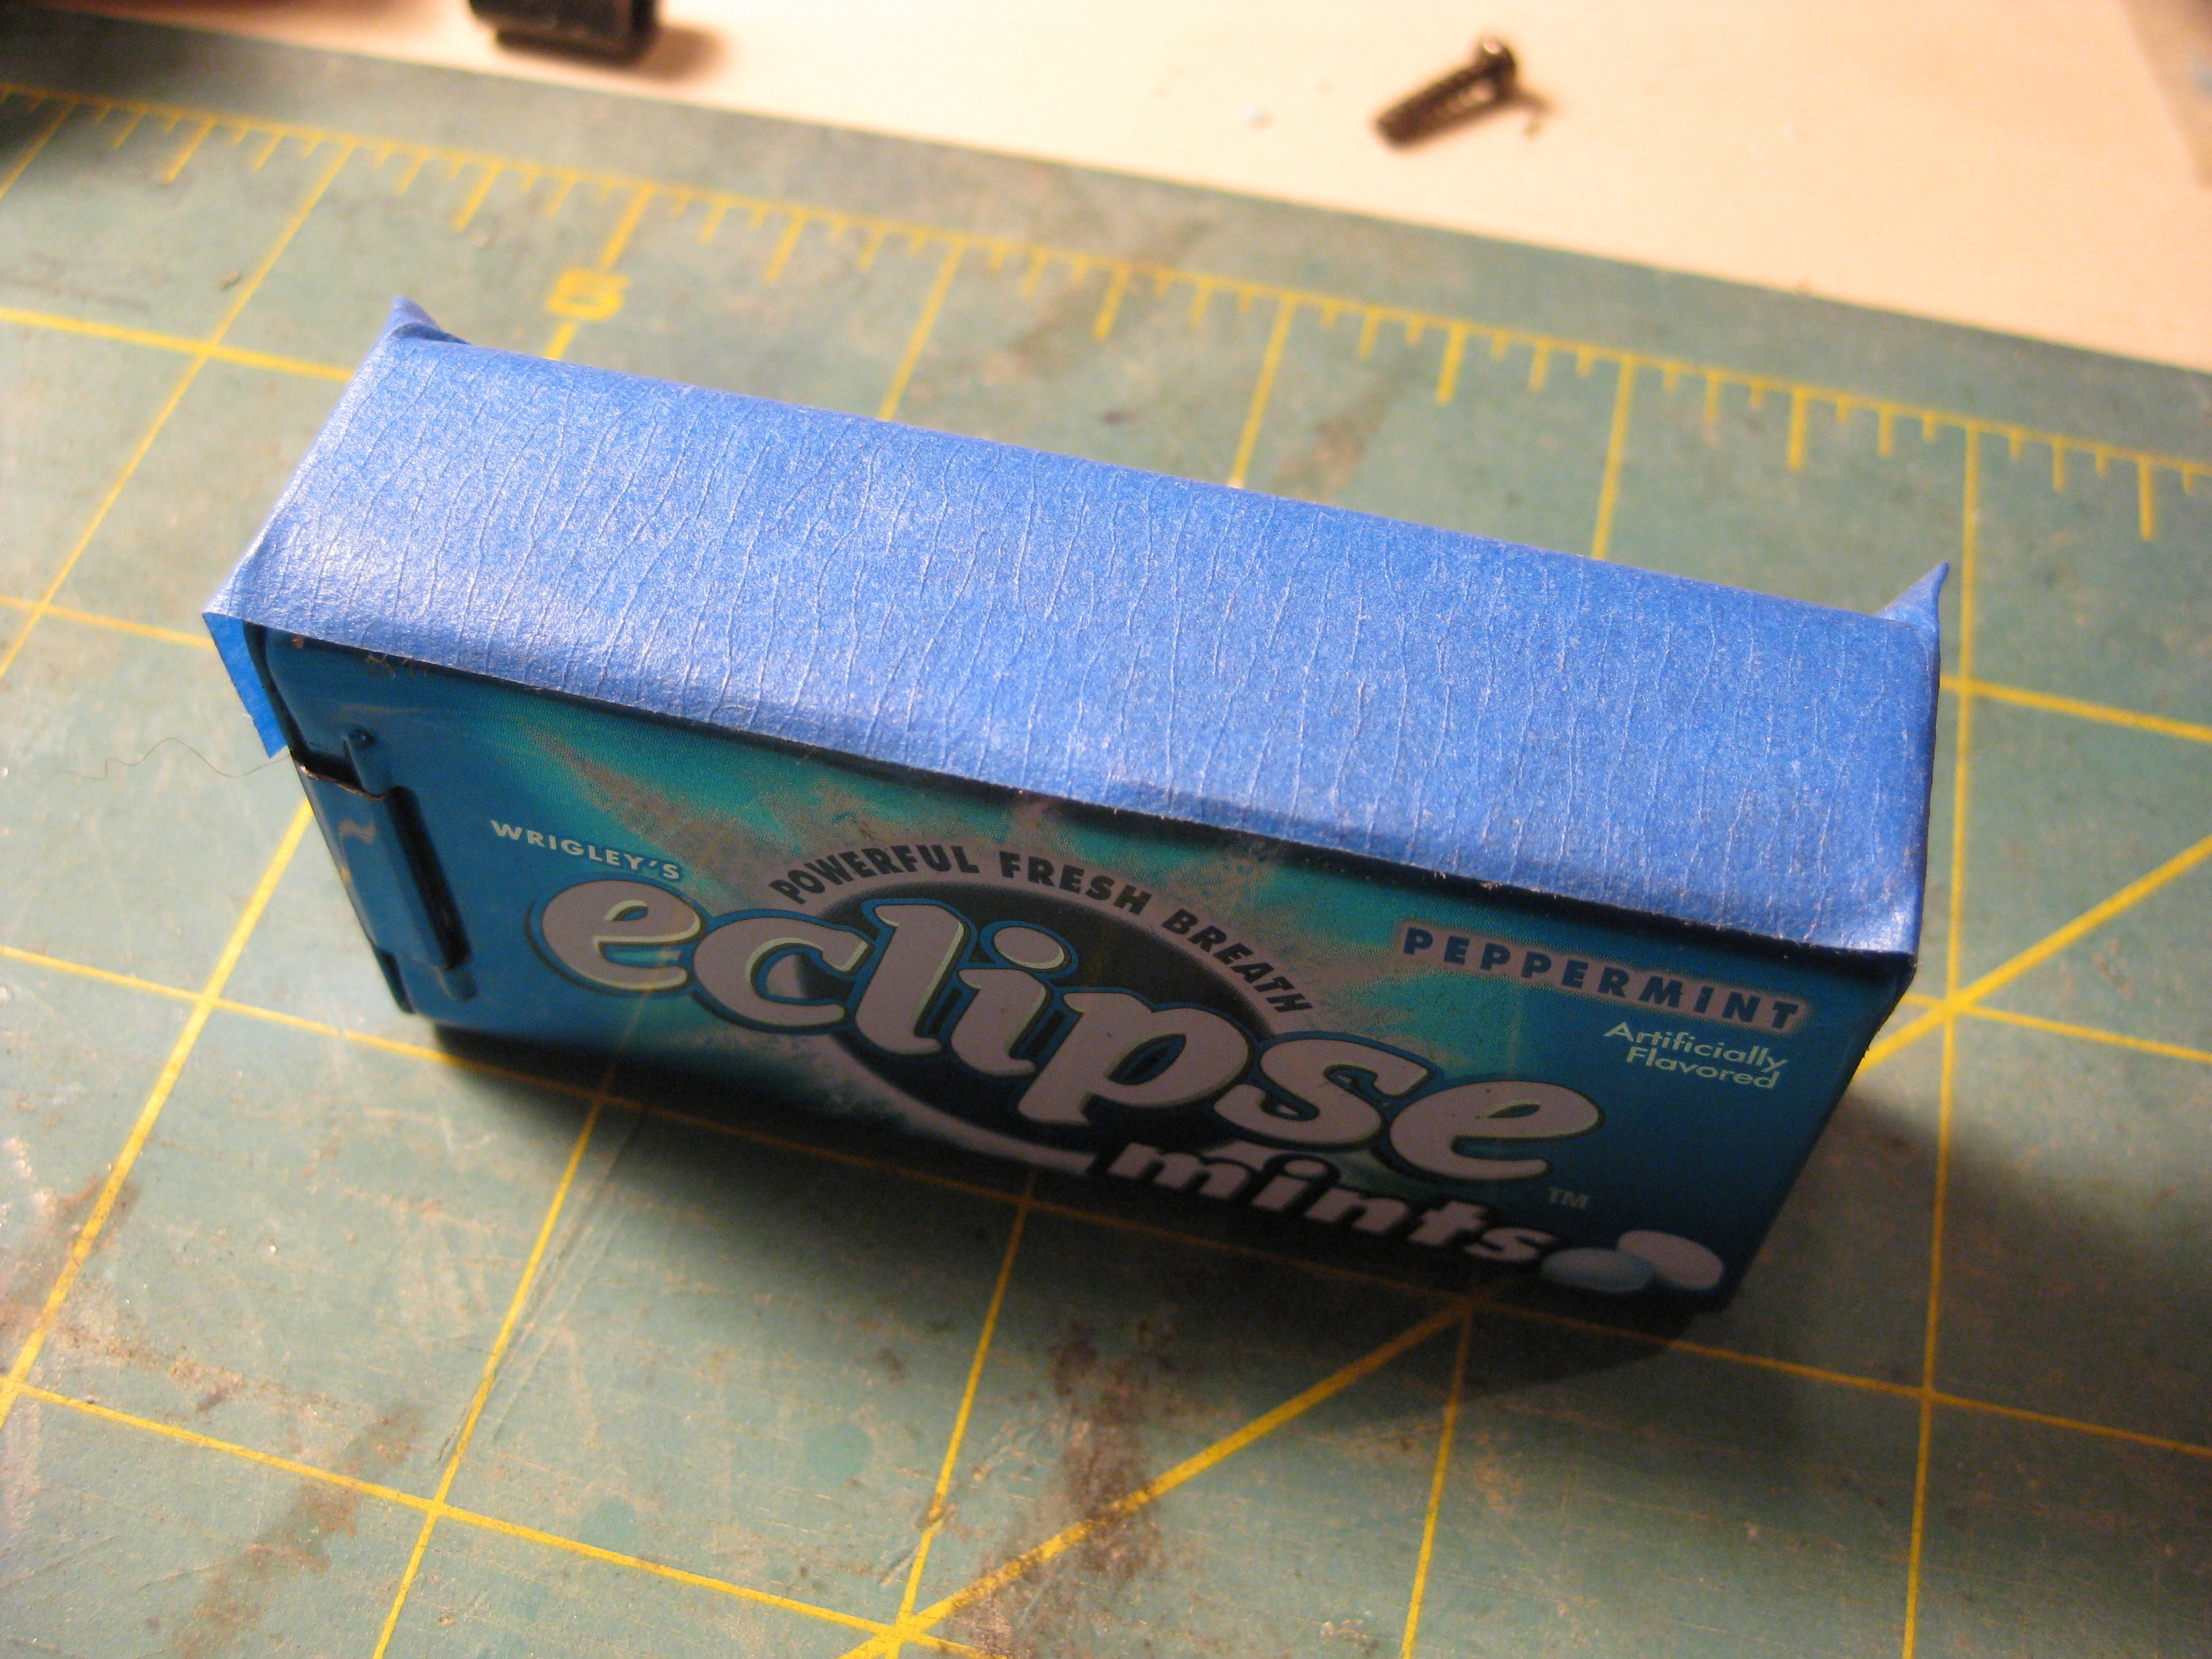
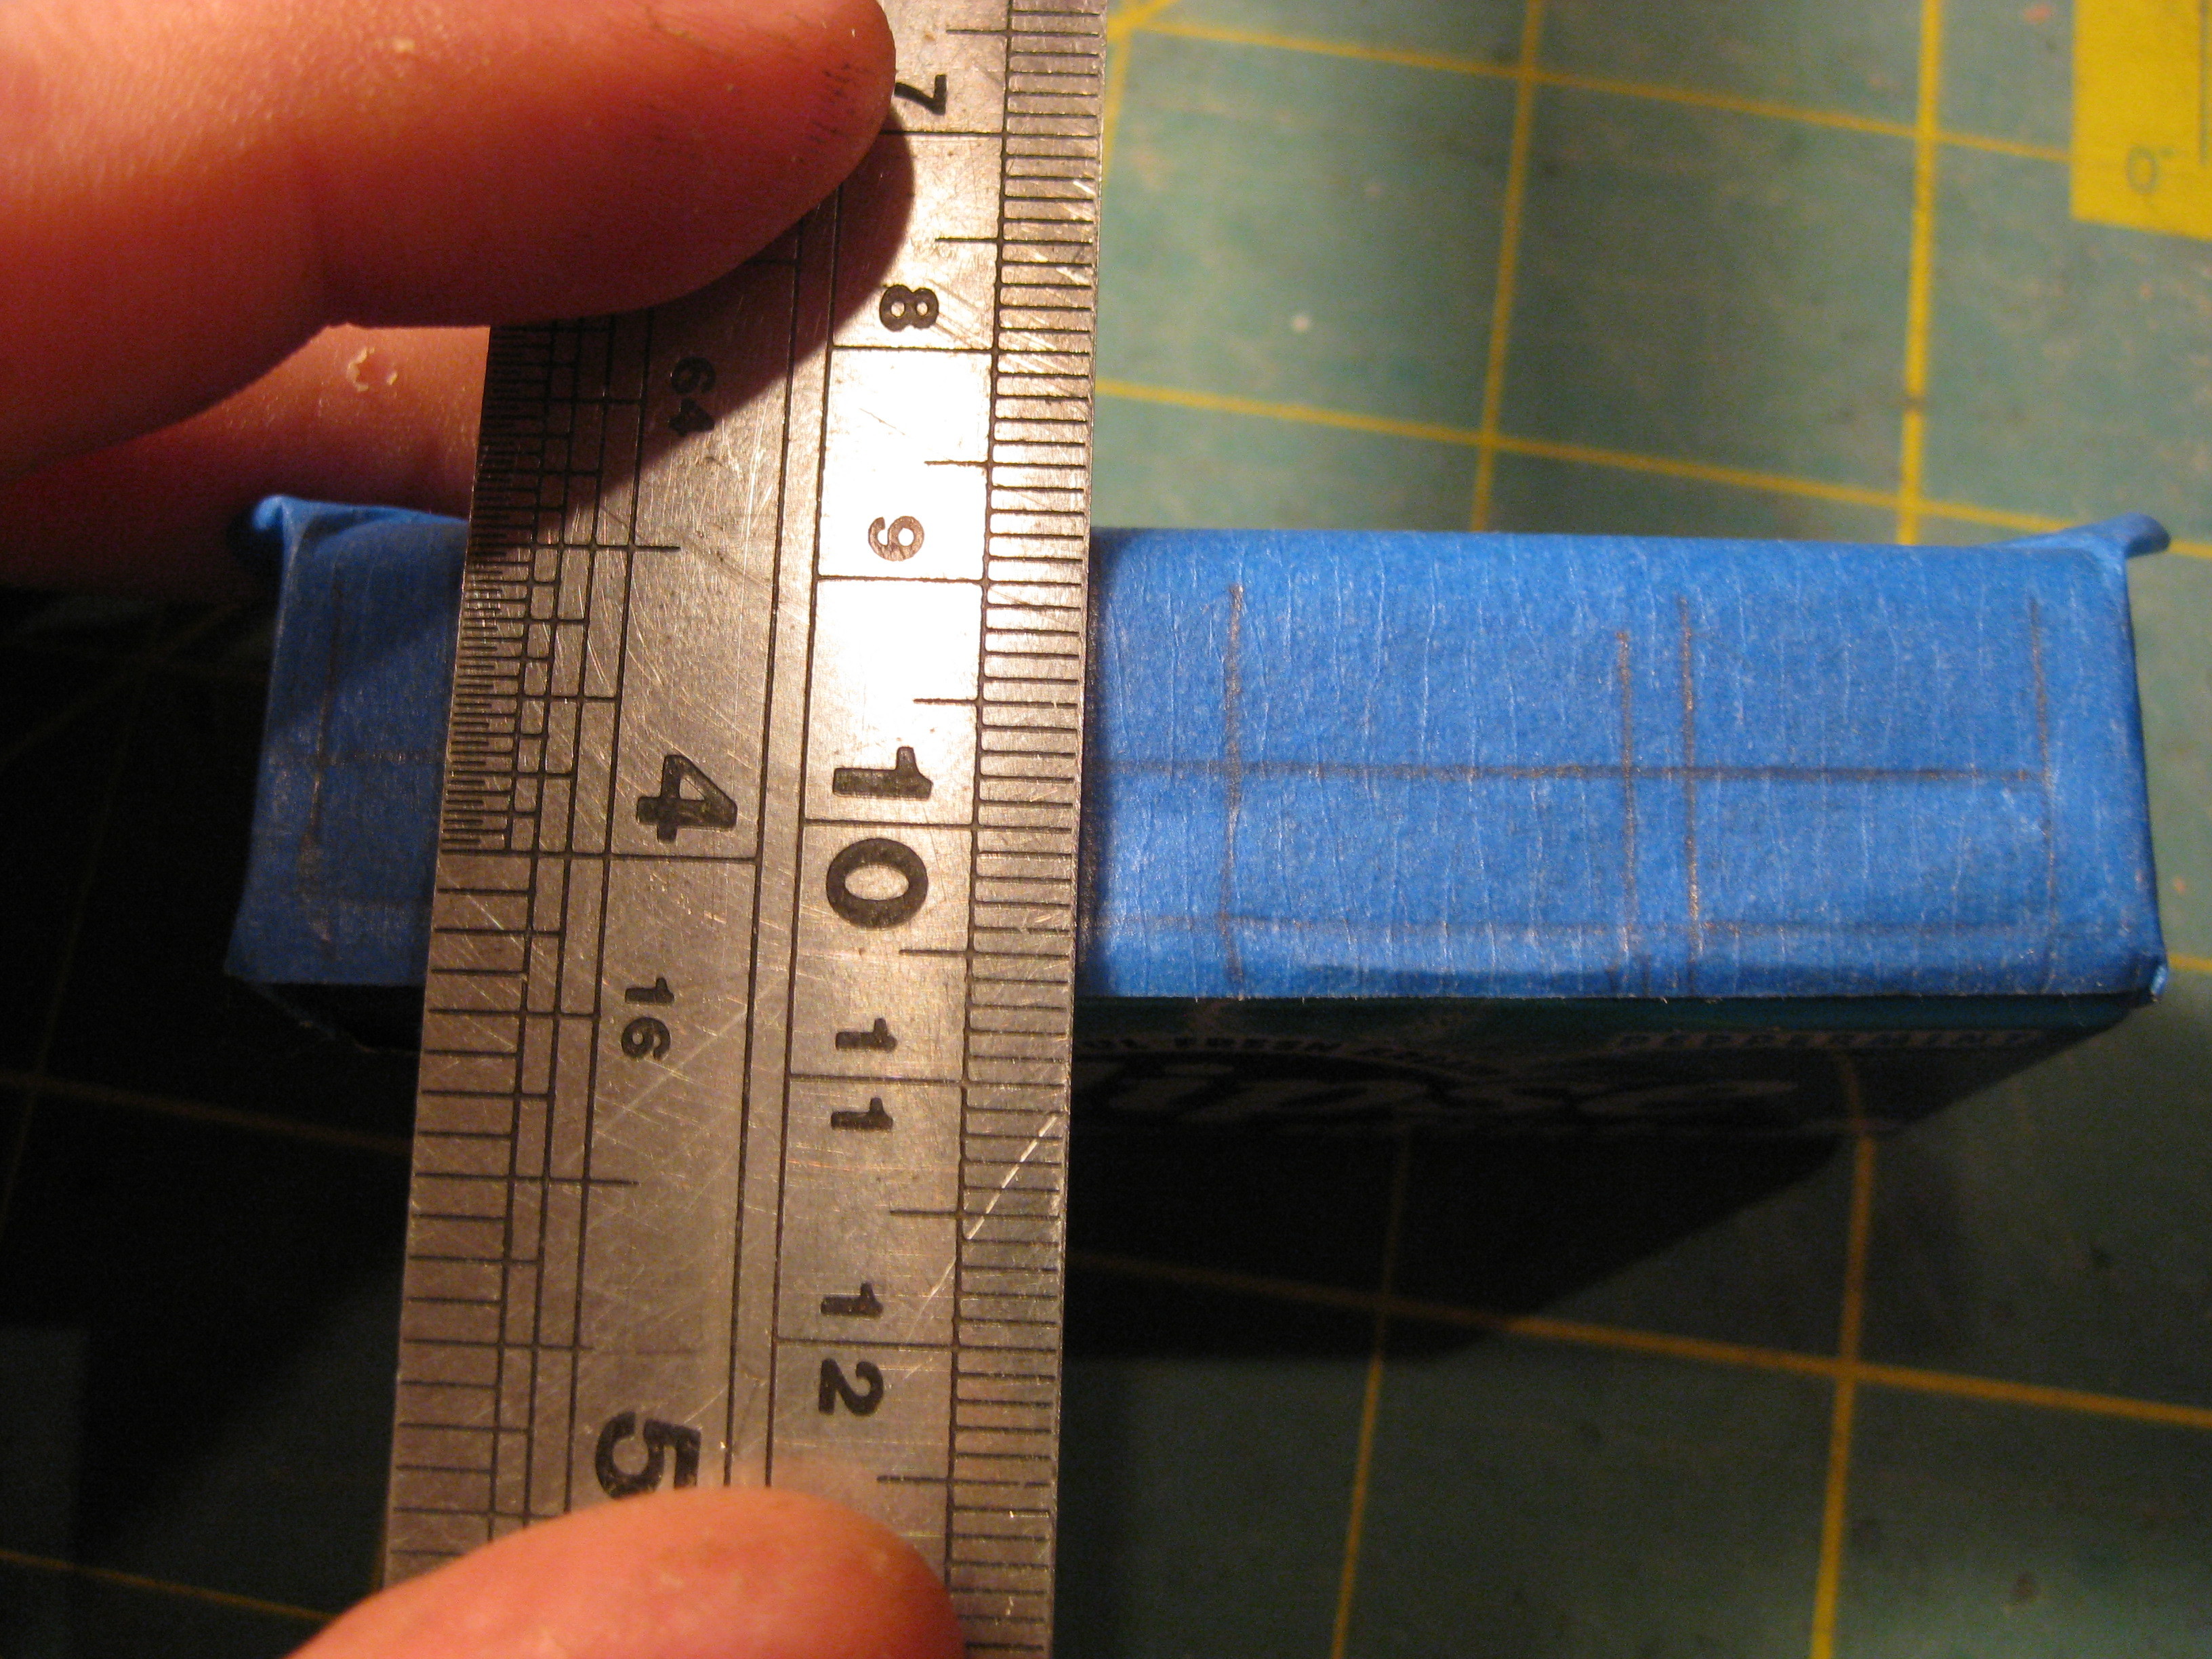
Place a piece of tape on the side of the mint tin you want your USB ports. Mark out the measurements taken earlier onto the tape.

Take into account that the hub needs to be aligned when it’s placed inside the tin, therefore you will need to leave a little room on each side.

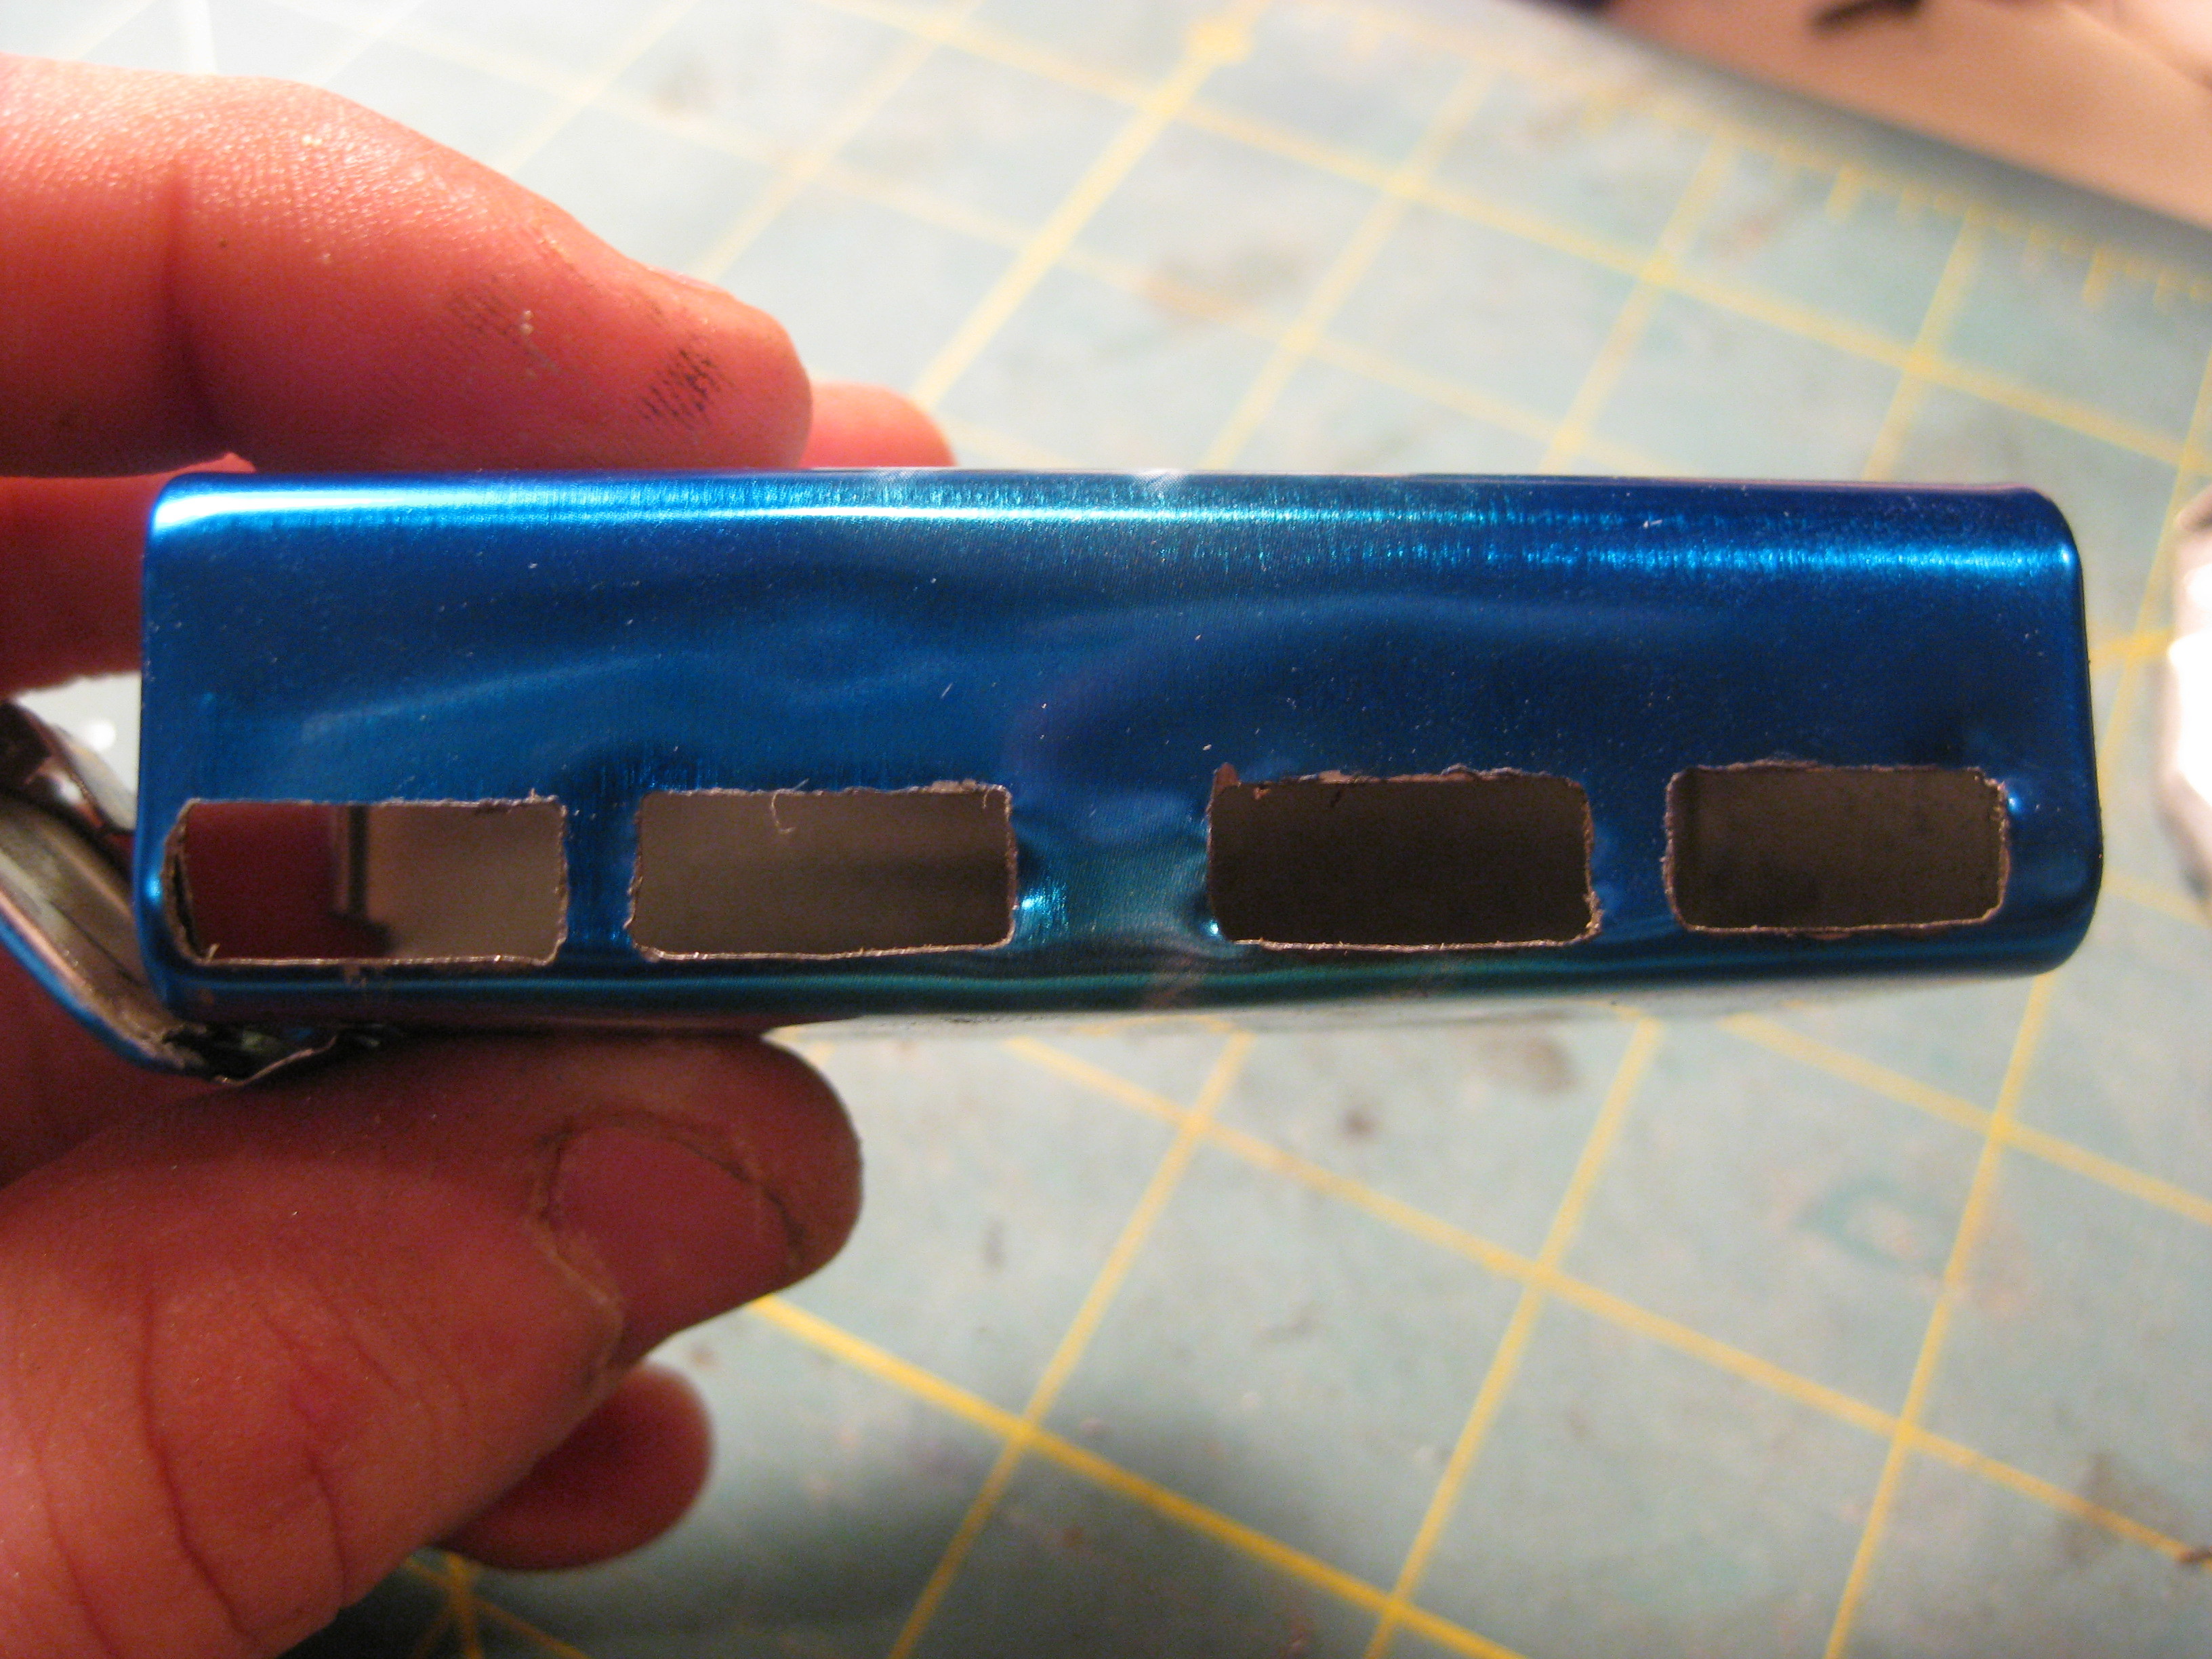
Use your Dremel to slowly and carefully cut the ports. The cleaner the cuts, the better the finish so take your time. The smaller cuts can be difficult; however, as long as you score the surface enough, you can push out each port with a screwdriver and finish with a file.

Smooth any rough edges with a hand file and test-fit your USB hub. Minor errors can be corrected with the file.

The smaller cuts may be difficult to make without scratching the rest of the tin. You can use worn-down cutting discs as they’re easier to make small cuts with.

You may want to place a cloth or rag on your work surface while you cut the holes to protect the tin from being scratched.

USB Cable Slot

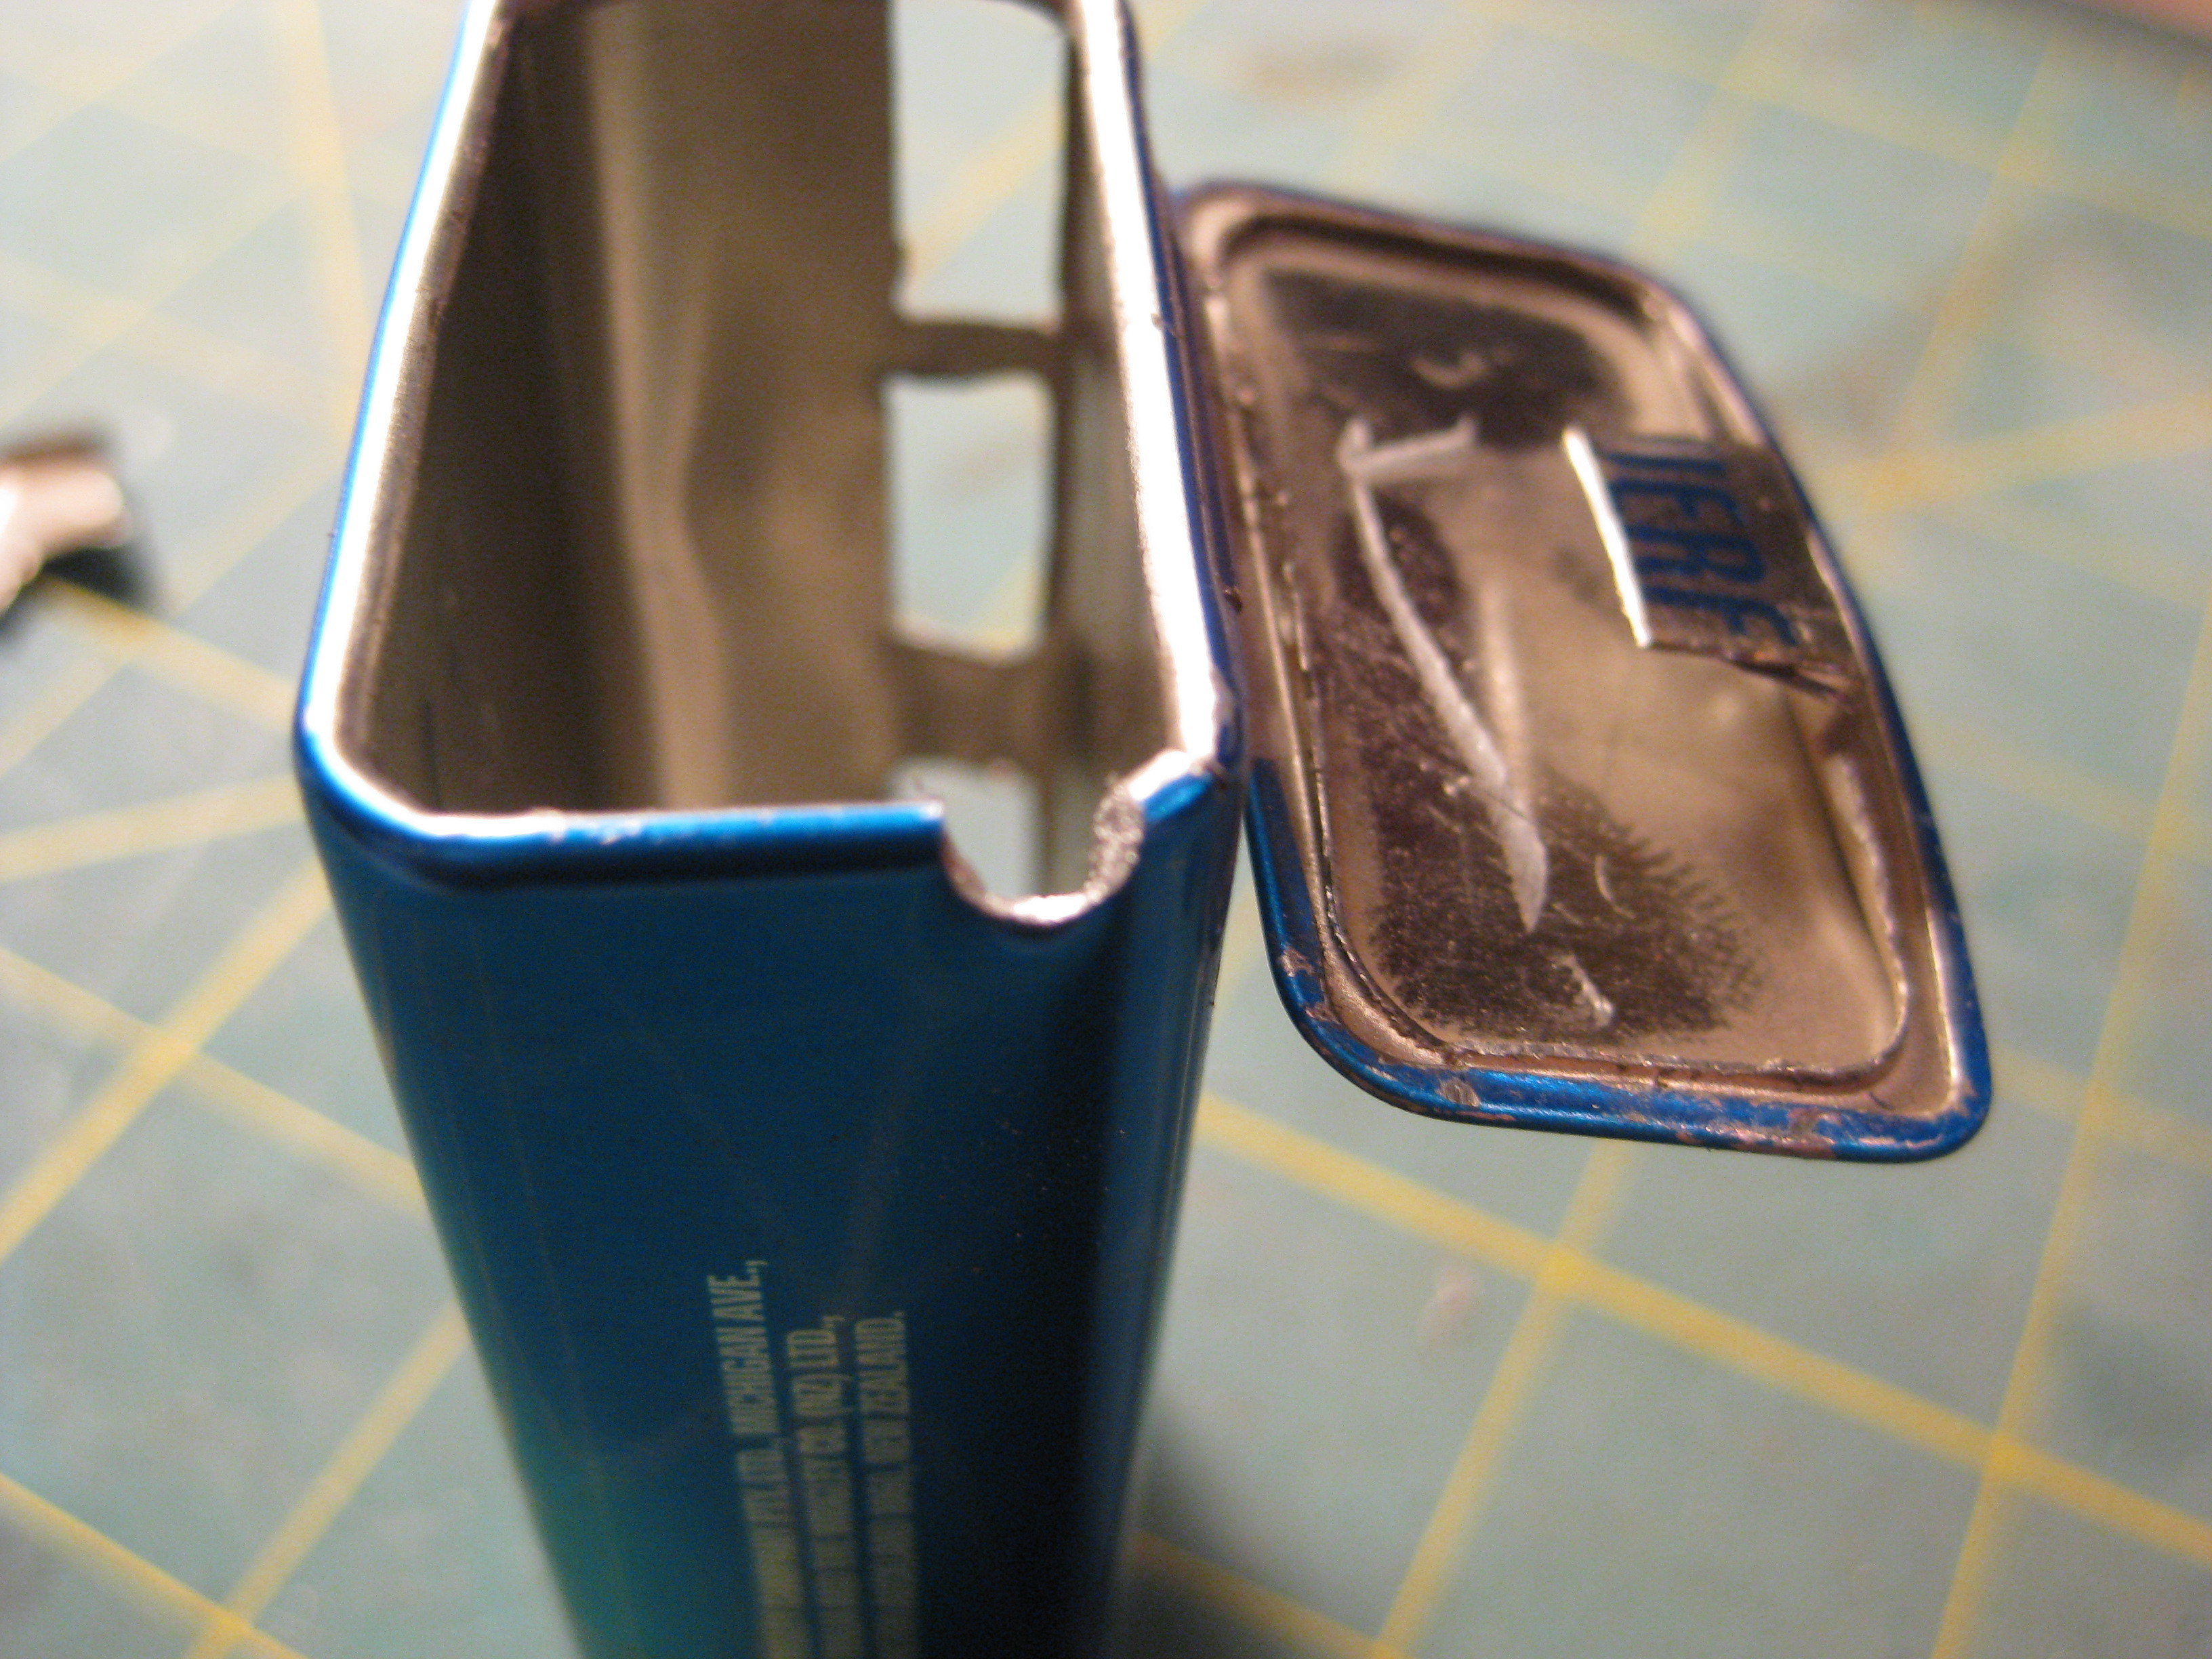
Use your Dremel or hand file to cut a slot in the tin that allows the cable to protrude while the lid is closed. I positioned the slot on the opposite side to the ports, closest to the lid hinge. You may need to cut a corner out of the inside of the lid also.

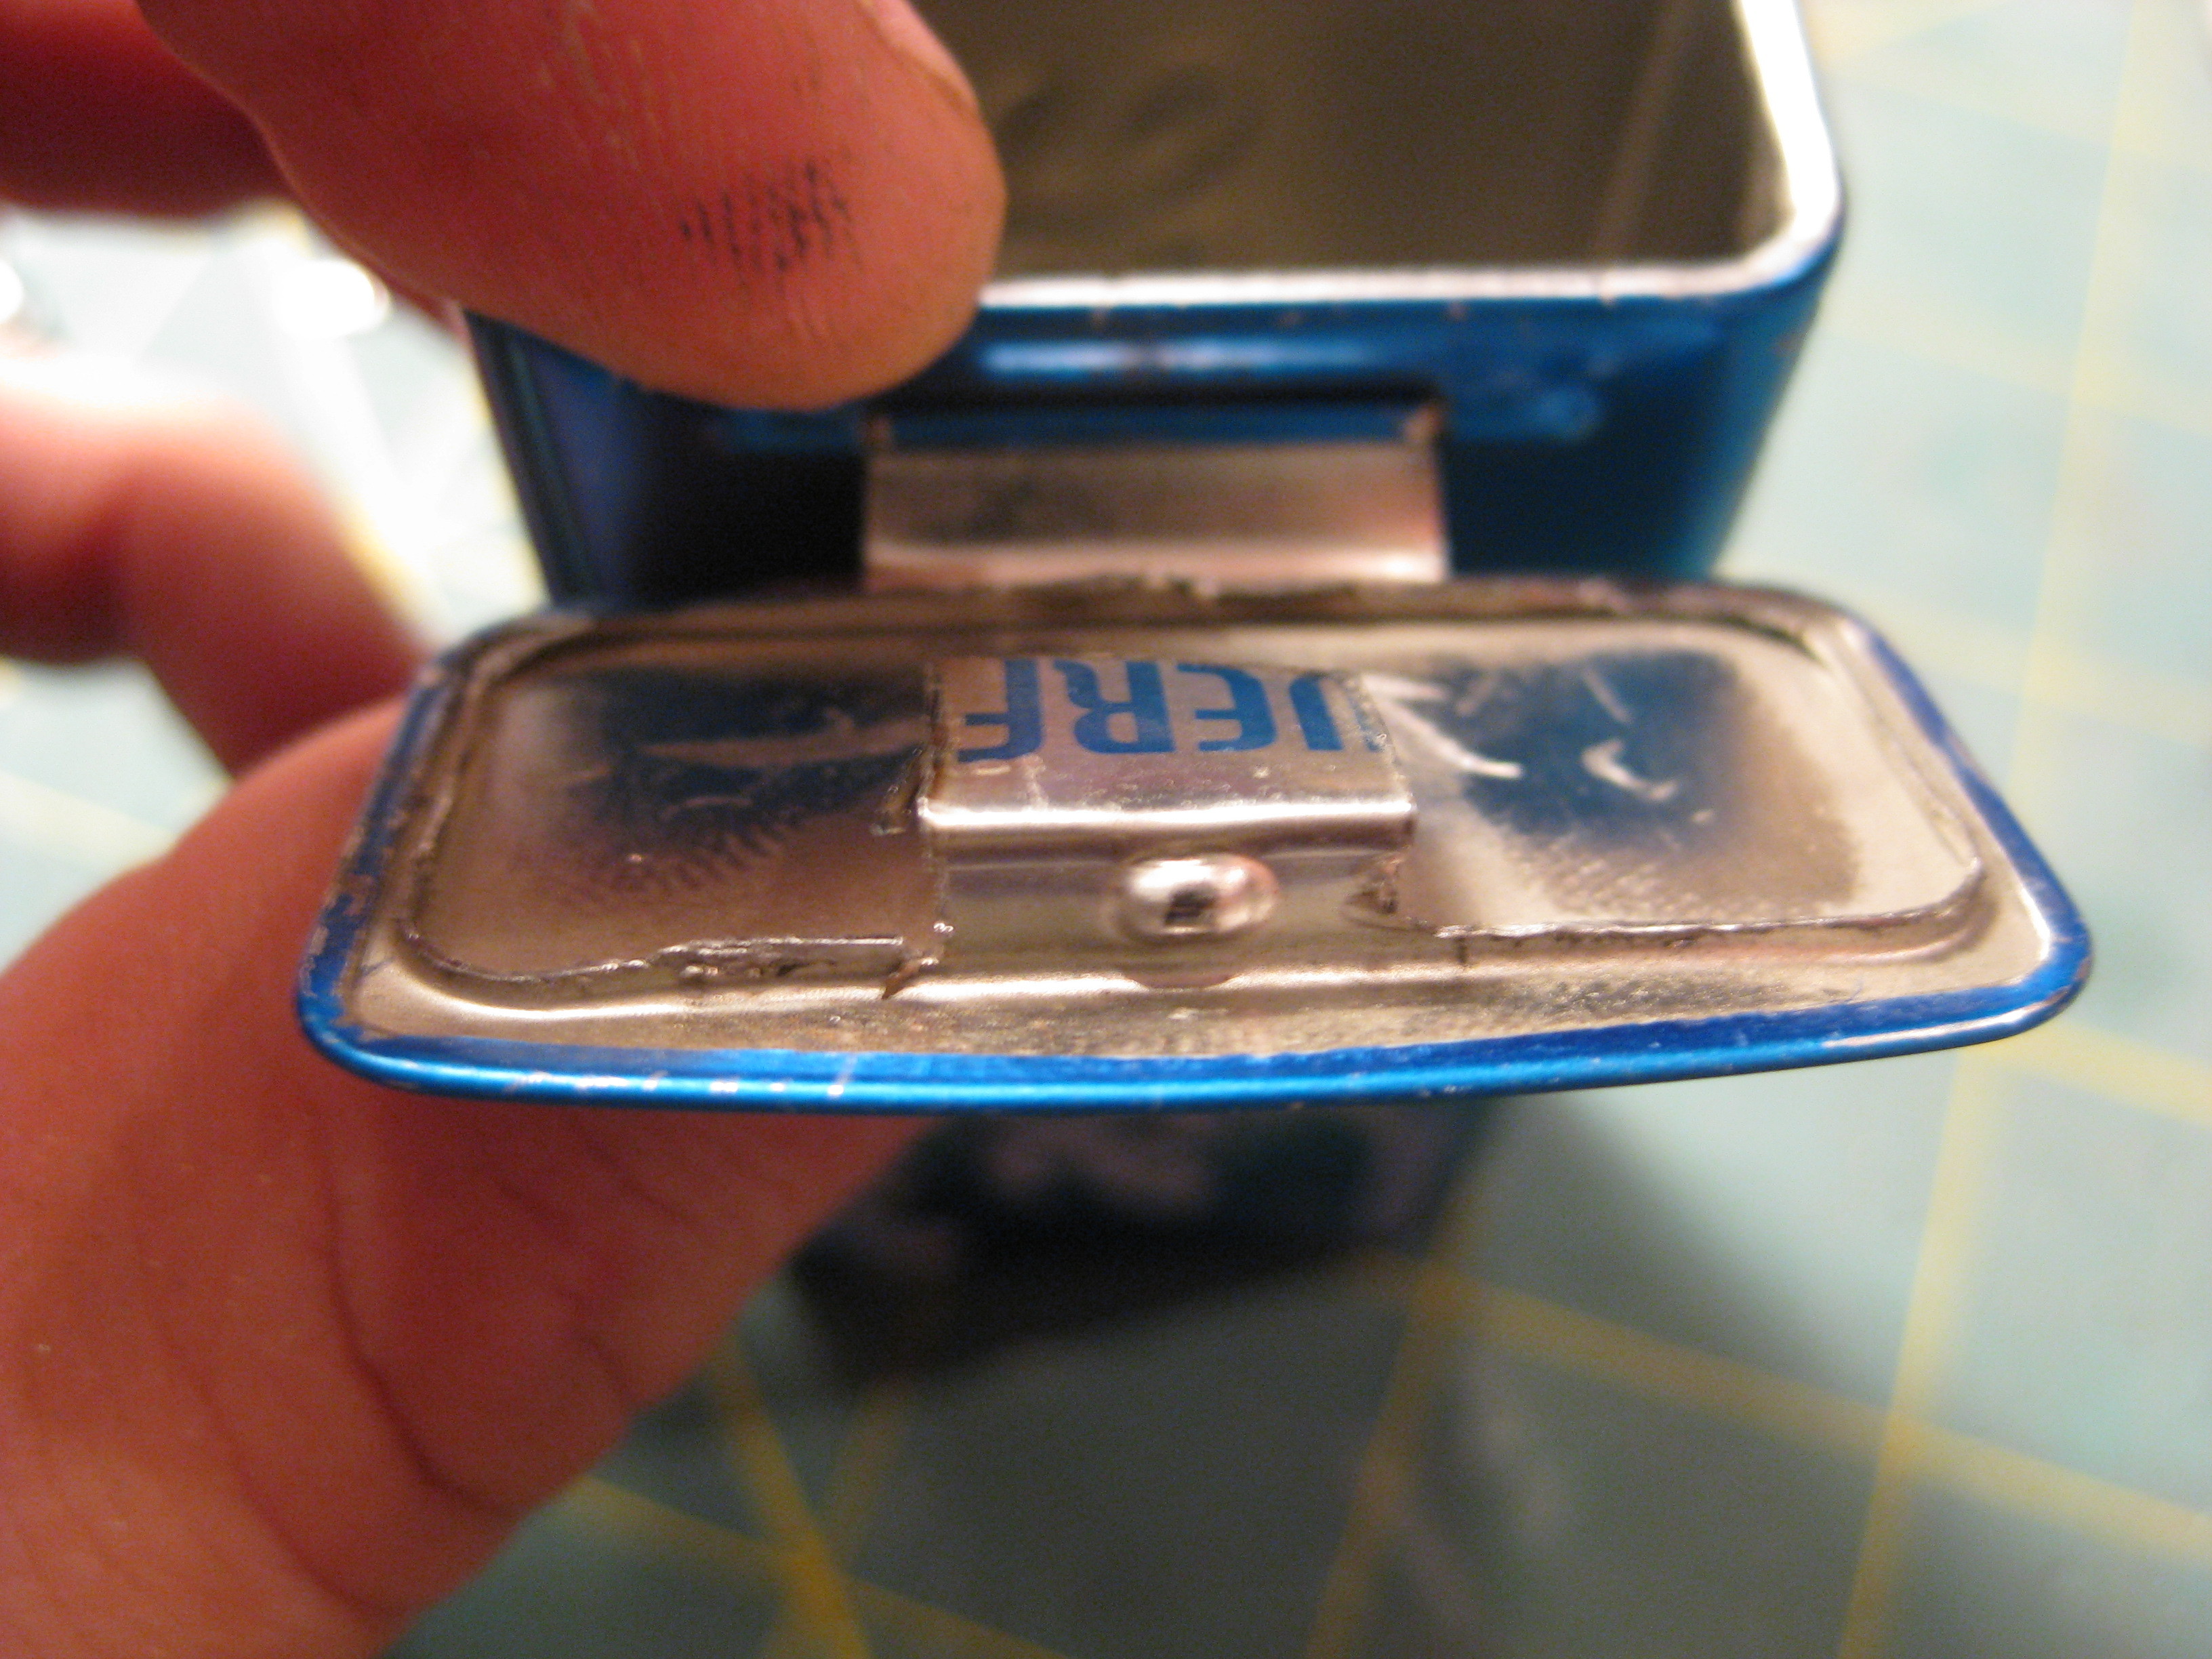
If you need more room in your tin, you can remove the excess off the inside of the lid providing you leave the notch that allows the lid to close properly.

Test fit the cable and ensure the lid closes.

Secure USB Hub

Empty the tin to ensure there are no shavings inside.

Run some hot glue along the bottom of the hub and install into the tin.

Align the ports and allow the glue to dry. You’re done!