How to build a snake robot
Projects from Make: Magazine
Nagaina The Snake Robot
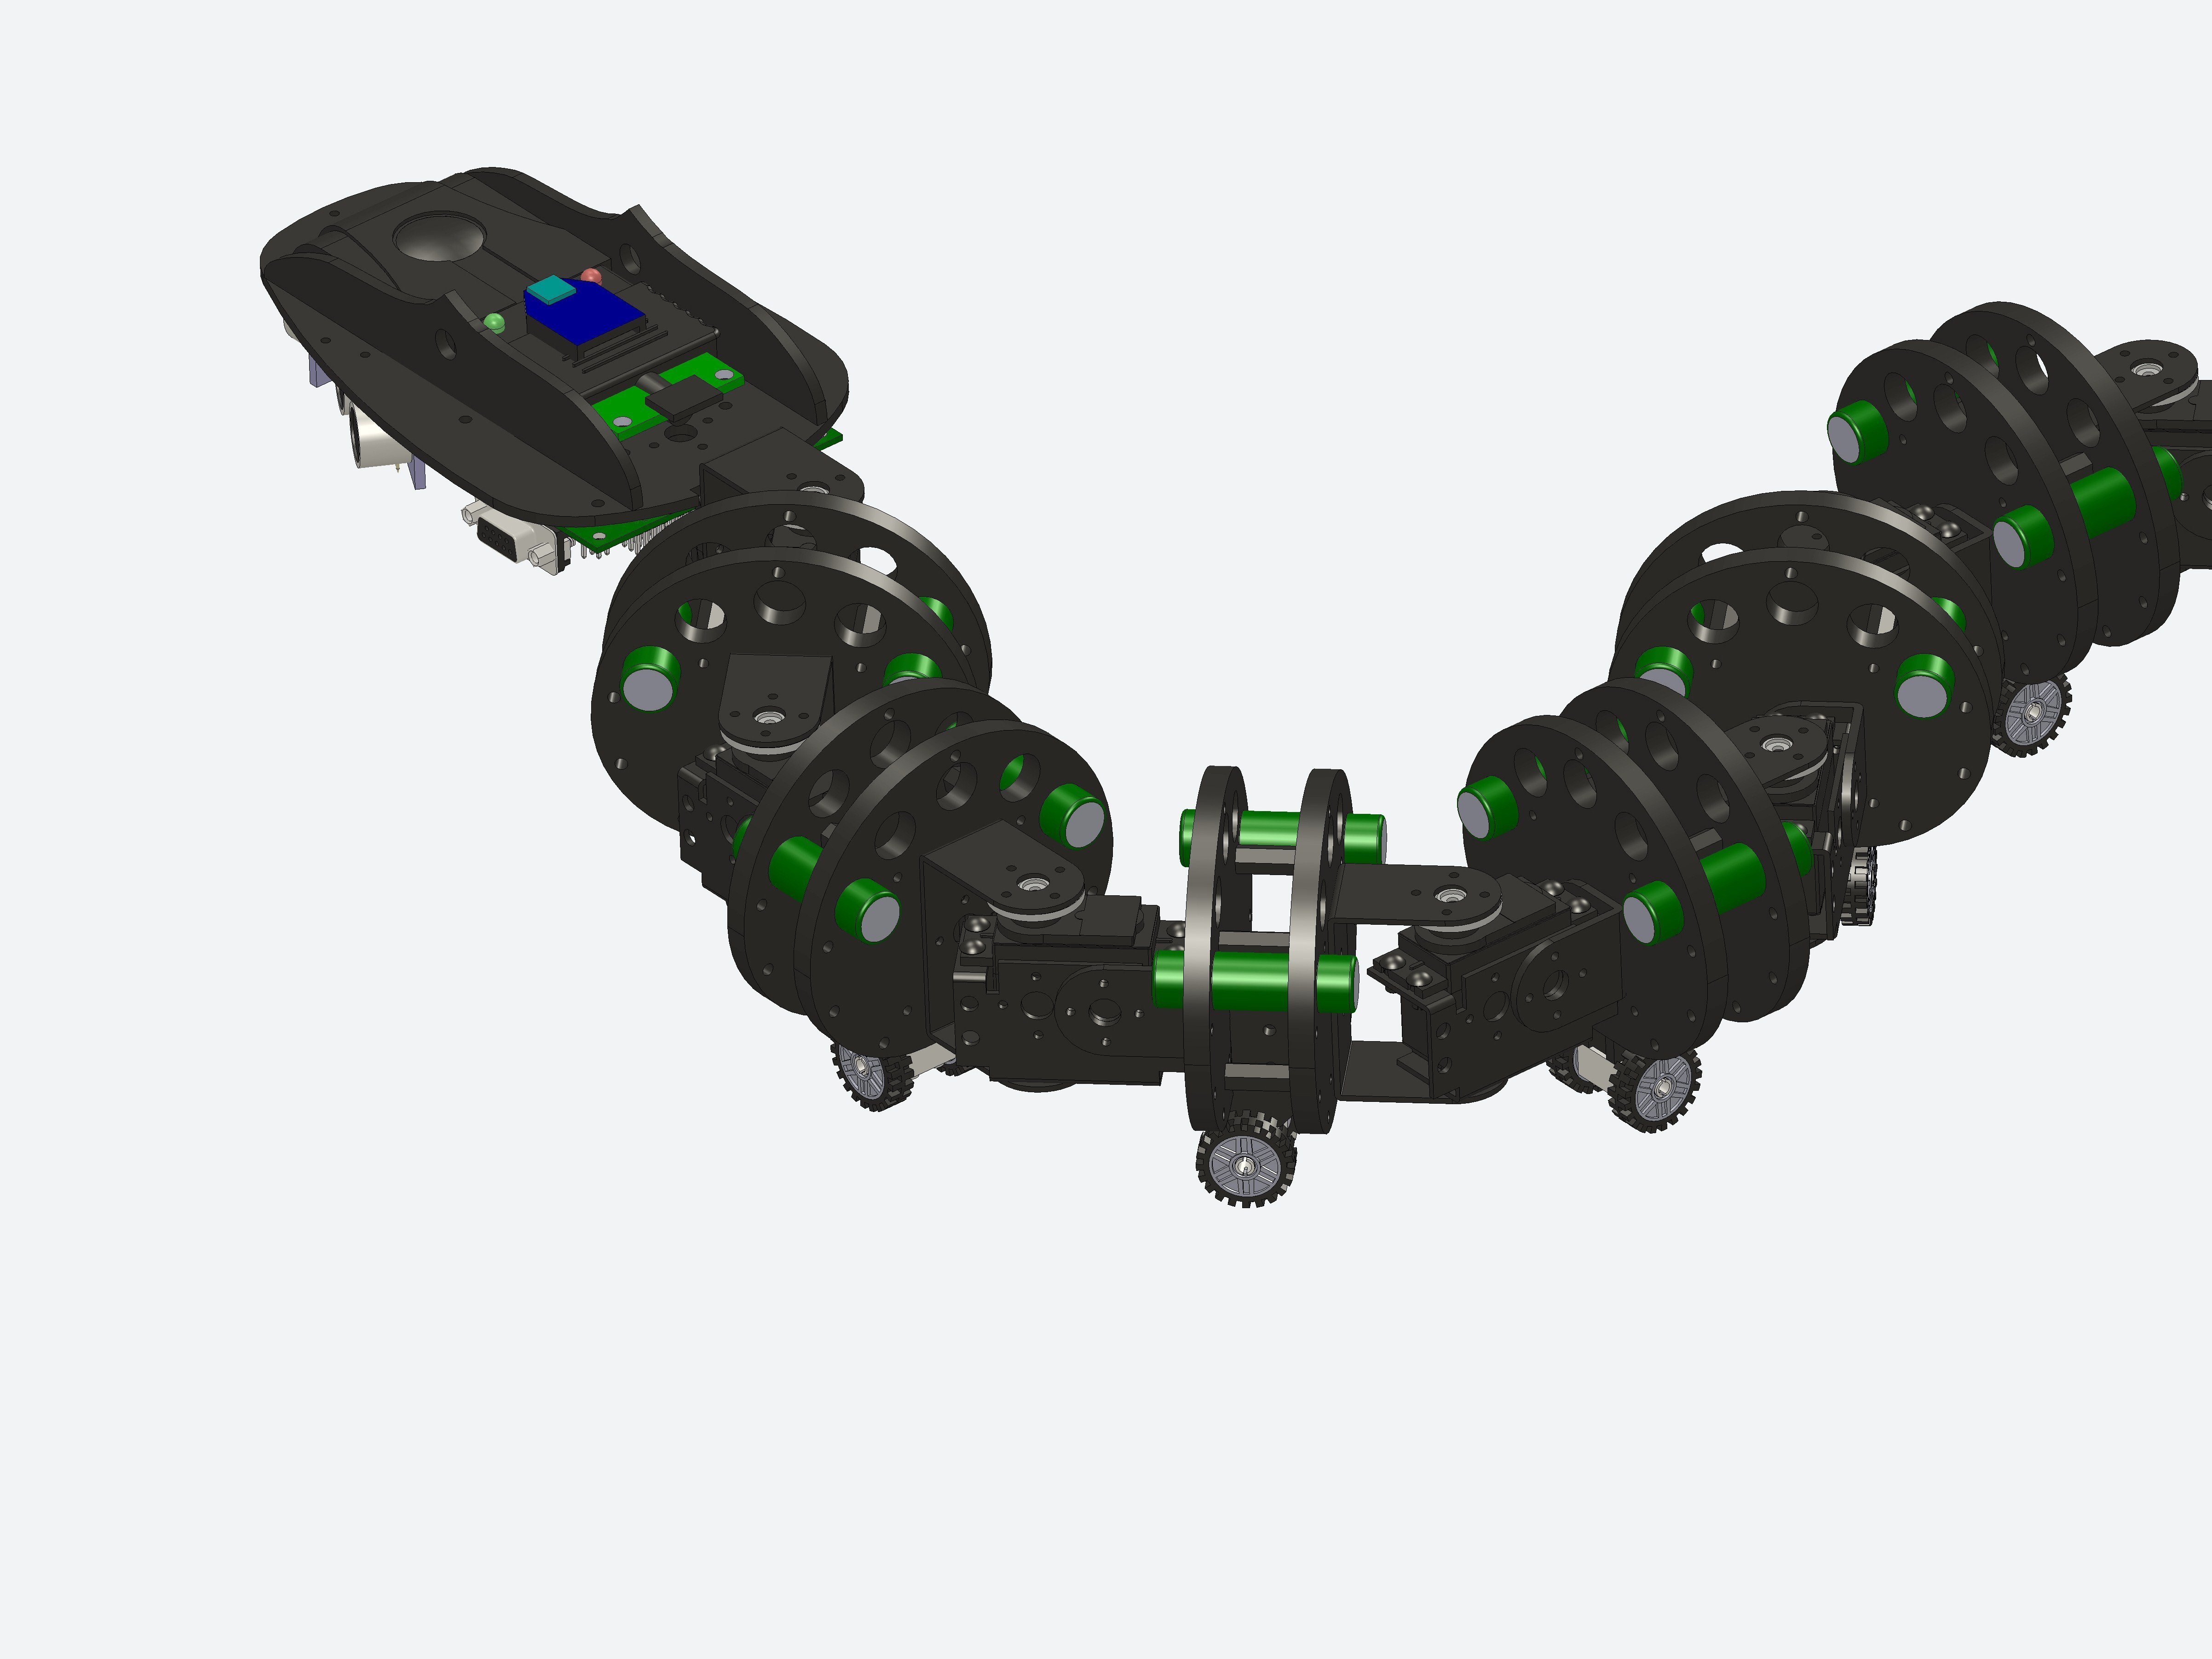
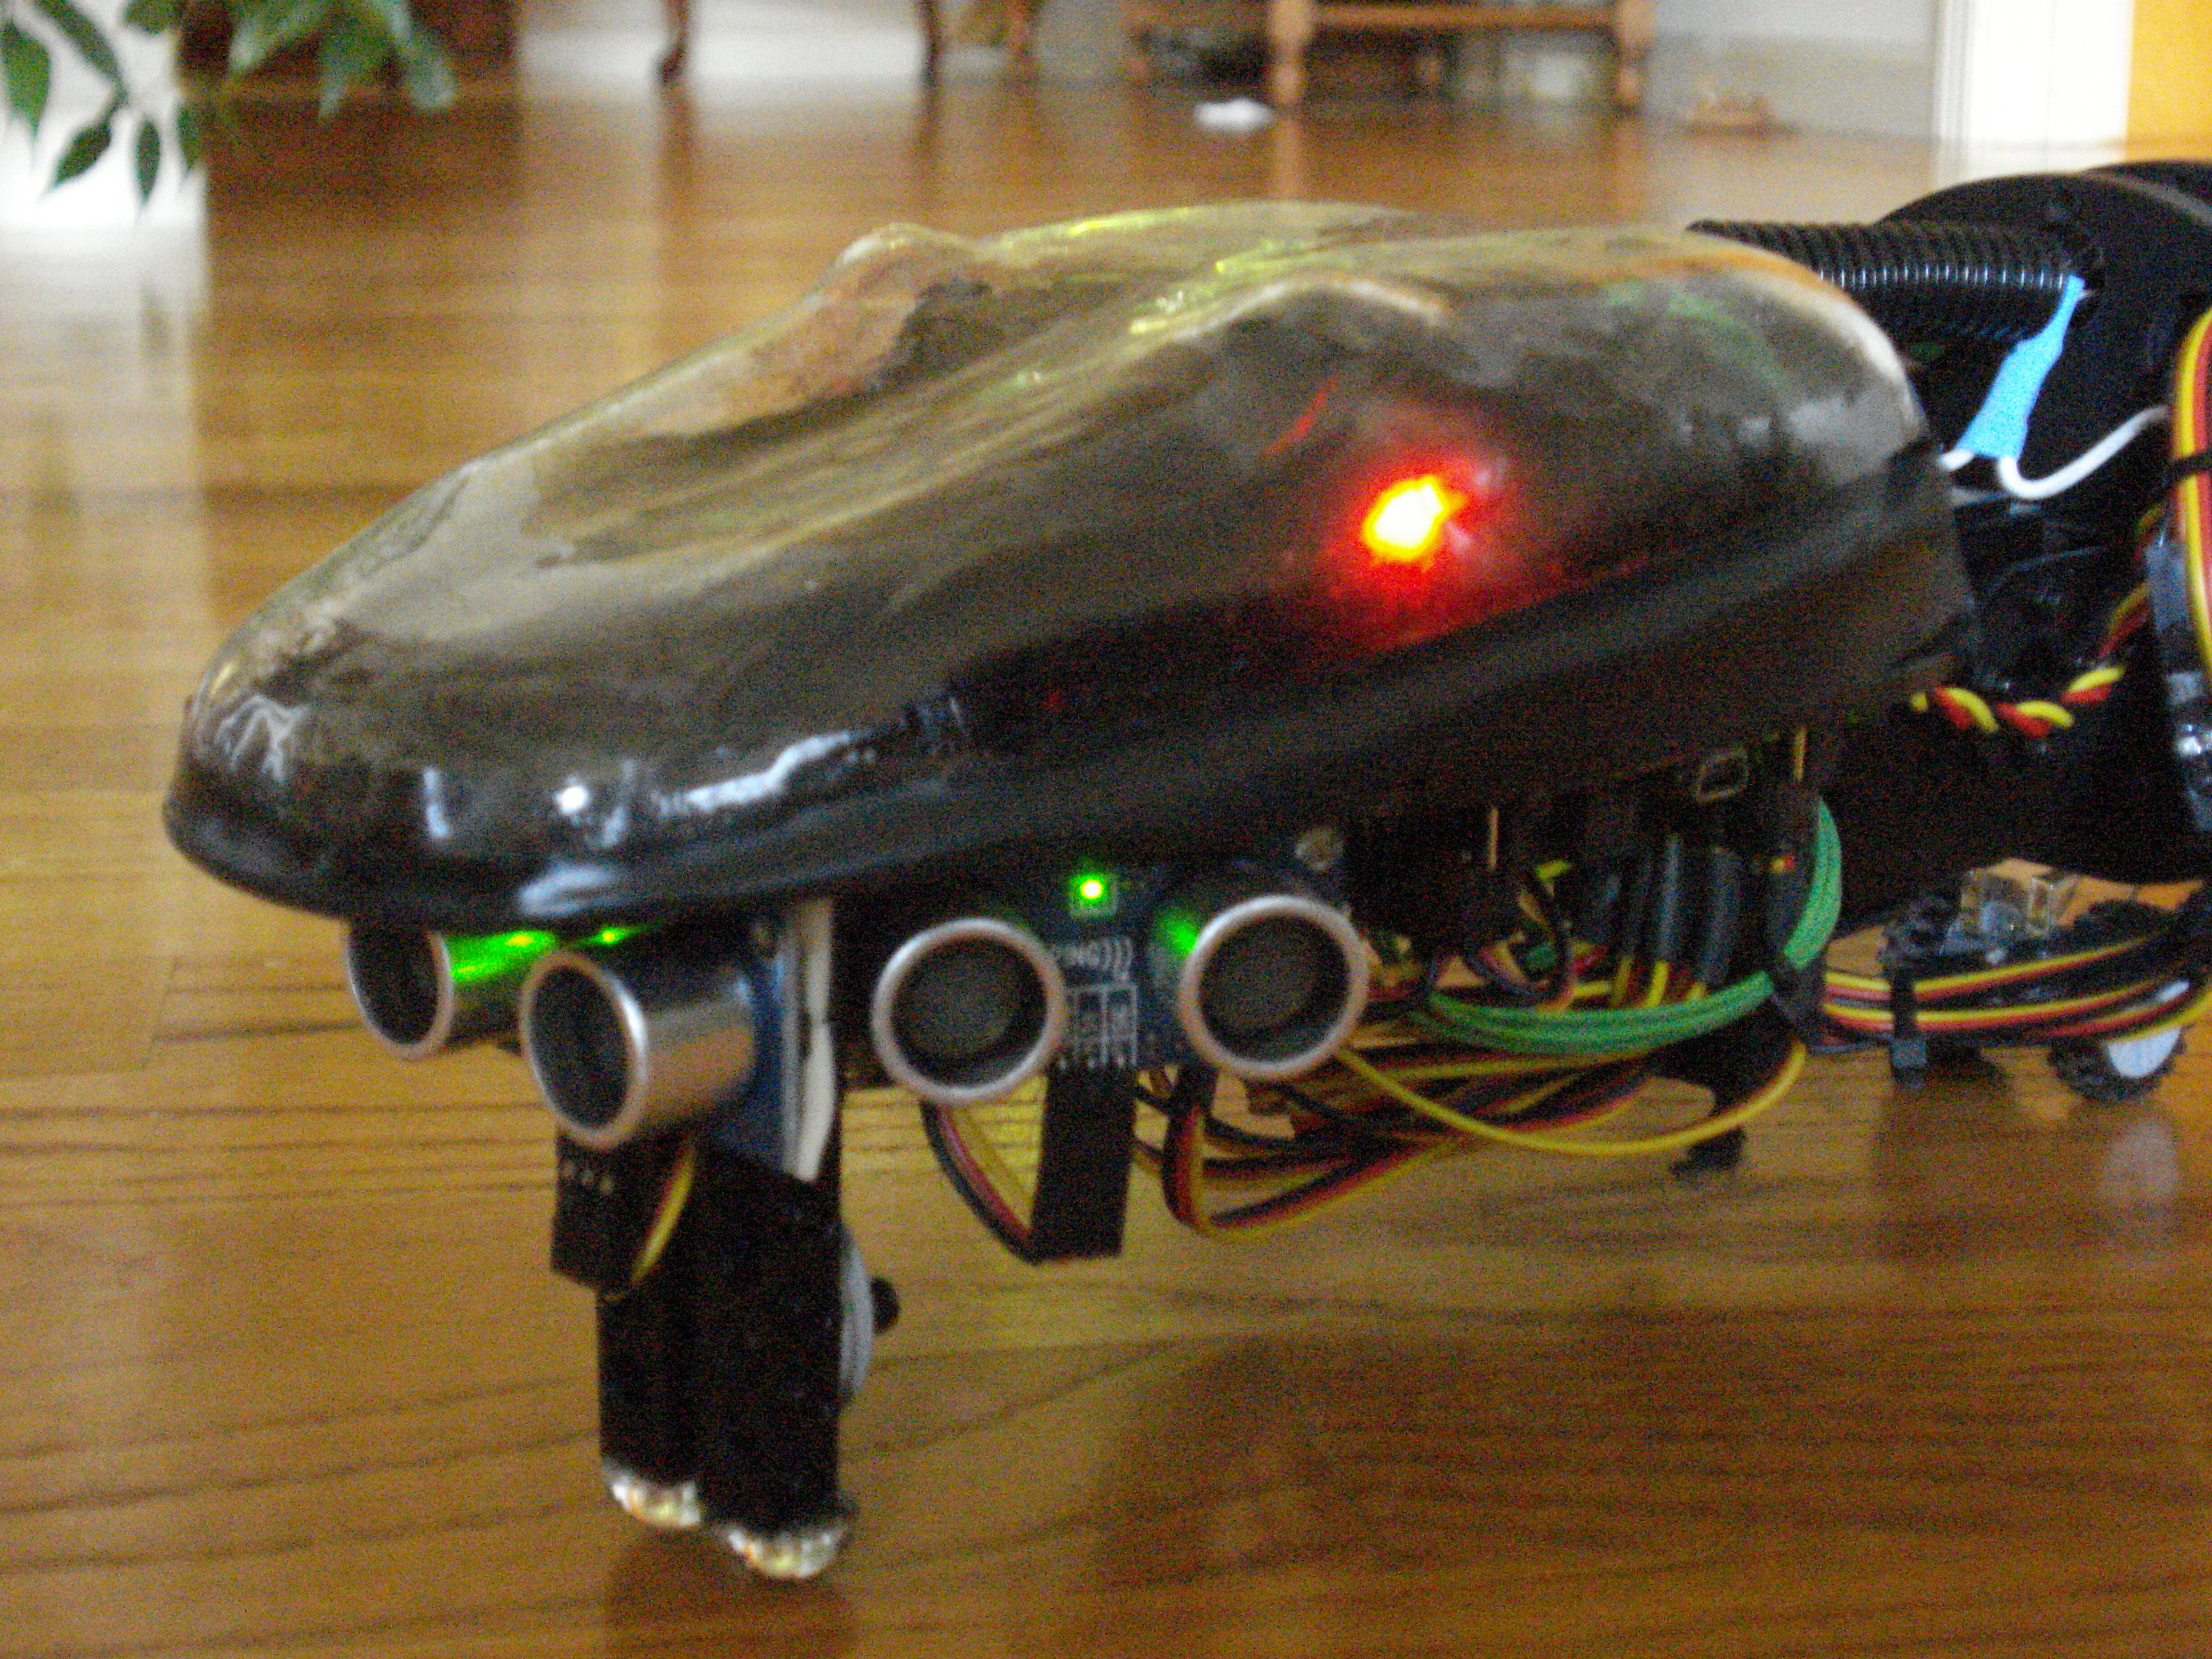
Nagaina is a twelve degree of freedom snake robot designed, built, and programmed by me. Nagaina's kinematics allow for autonomous or manual control schemes. The head contains three sonar and one IR sensor for detecting dangers (obstacles or falls). The p


Design is key! Use solid works or Google sketchup to plan out the elements of your snake bot
The key is to mount the wheels on rubber bands to insure ground contact at all times
Cheap servos will work but the stronger the servo the faster your snake will be able to move. This is because the limiting factor on robot snake speed is not the servo speed but the torque required to get accelerate to that speed.
Don’t be afraid to add lots of batteries, weight is your friend on this robot. Not only do the servos use up all their stall amperage typically, but heavier snakes mean more wheel friction to help you move!

Lego wheels are the cheapest and best in size. I highly recommend using them.
The ribs can be band sawed and drilled from cheap abs scrap or if you want absolute quality, you can have them laser cut.
Sensors help detect obstacles and drop; I used 4 sensors, however, they are optional. The snake will move slowly enough that collisions are not damaging. As for body collision remember that a 12 segment snake (long body) will not collide with itself if no segment can bend more then 30 degrees.
Analog servos work as well as the digital but metal gearing is a must!

Coding the snake is very simple: a bent sine wave or a queue of cycling steering values will work very well
I used an Atom Basic ARC-32 micro-controller but an Arduino would also suffice.
To see my snake bot in action check out: http://www.youtube.com/watch?v=YKlCzcH8o…
Conclusion
Lego Wheels are hands down the cheapest and best in size.


