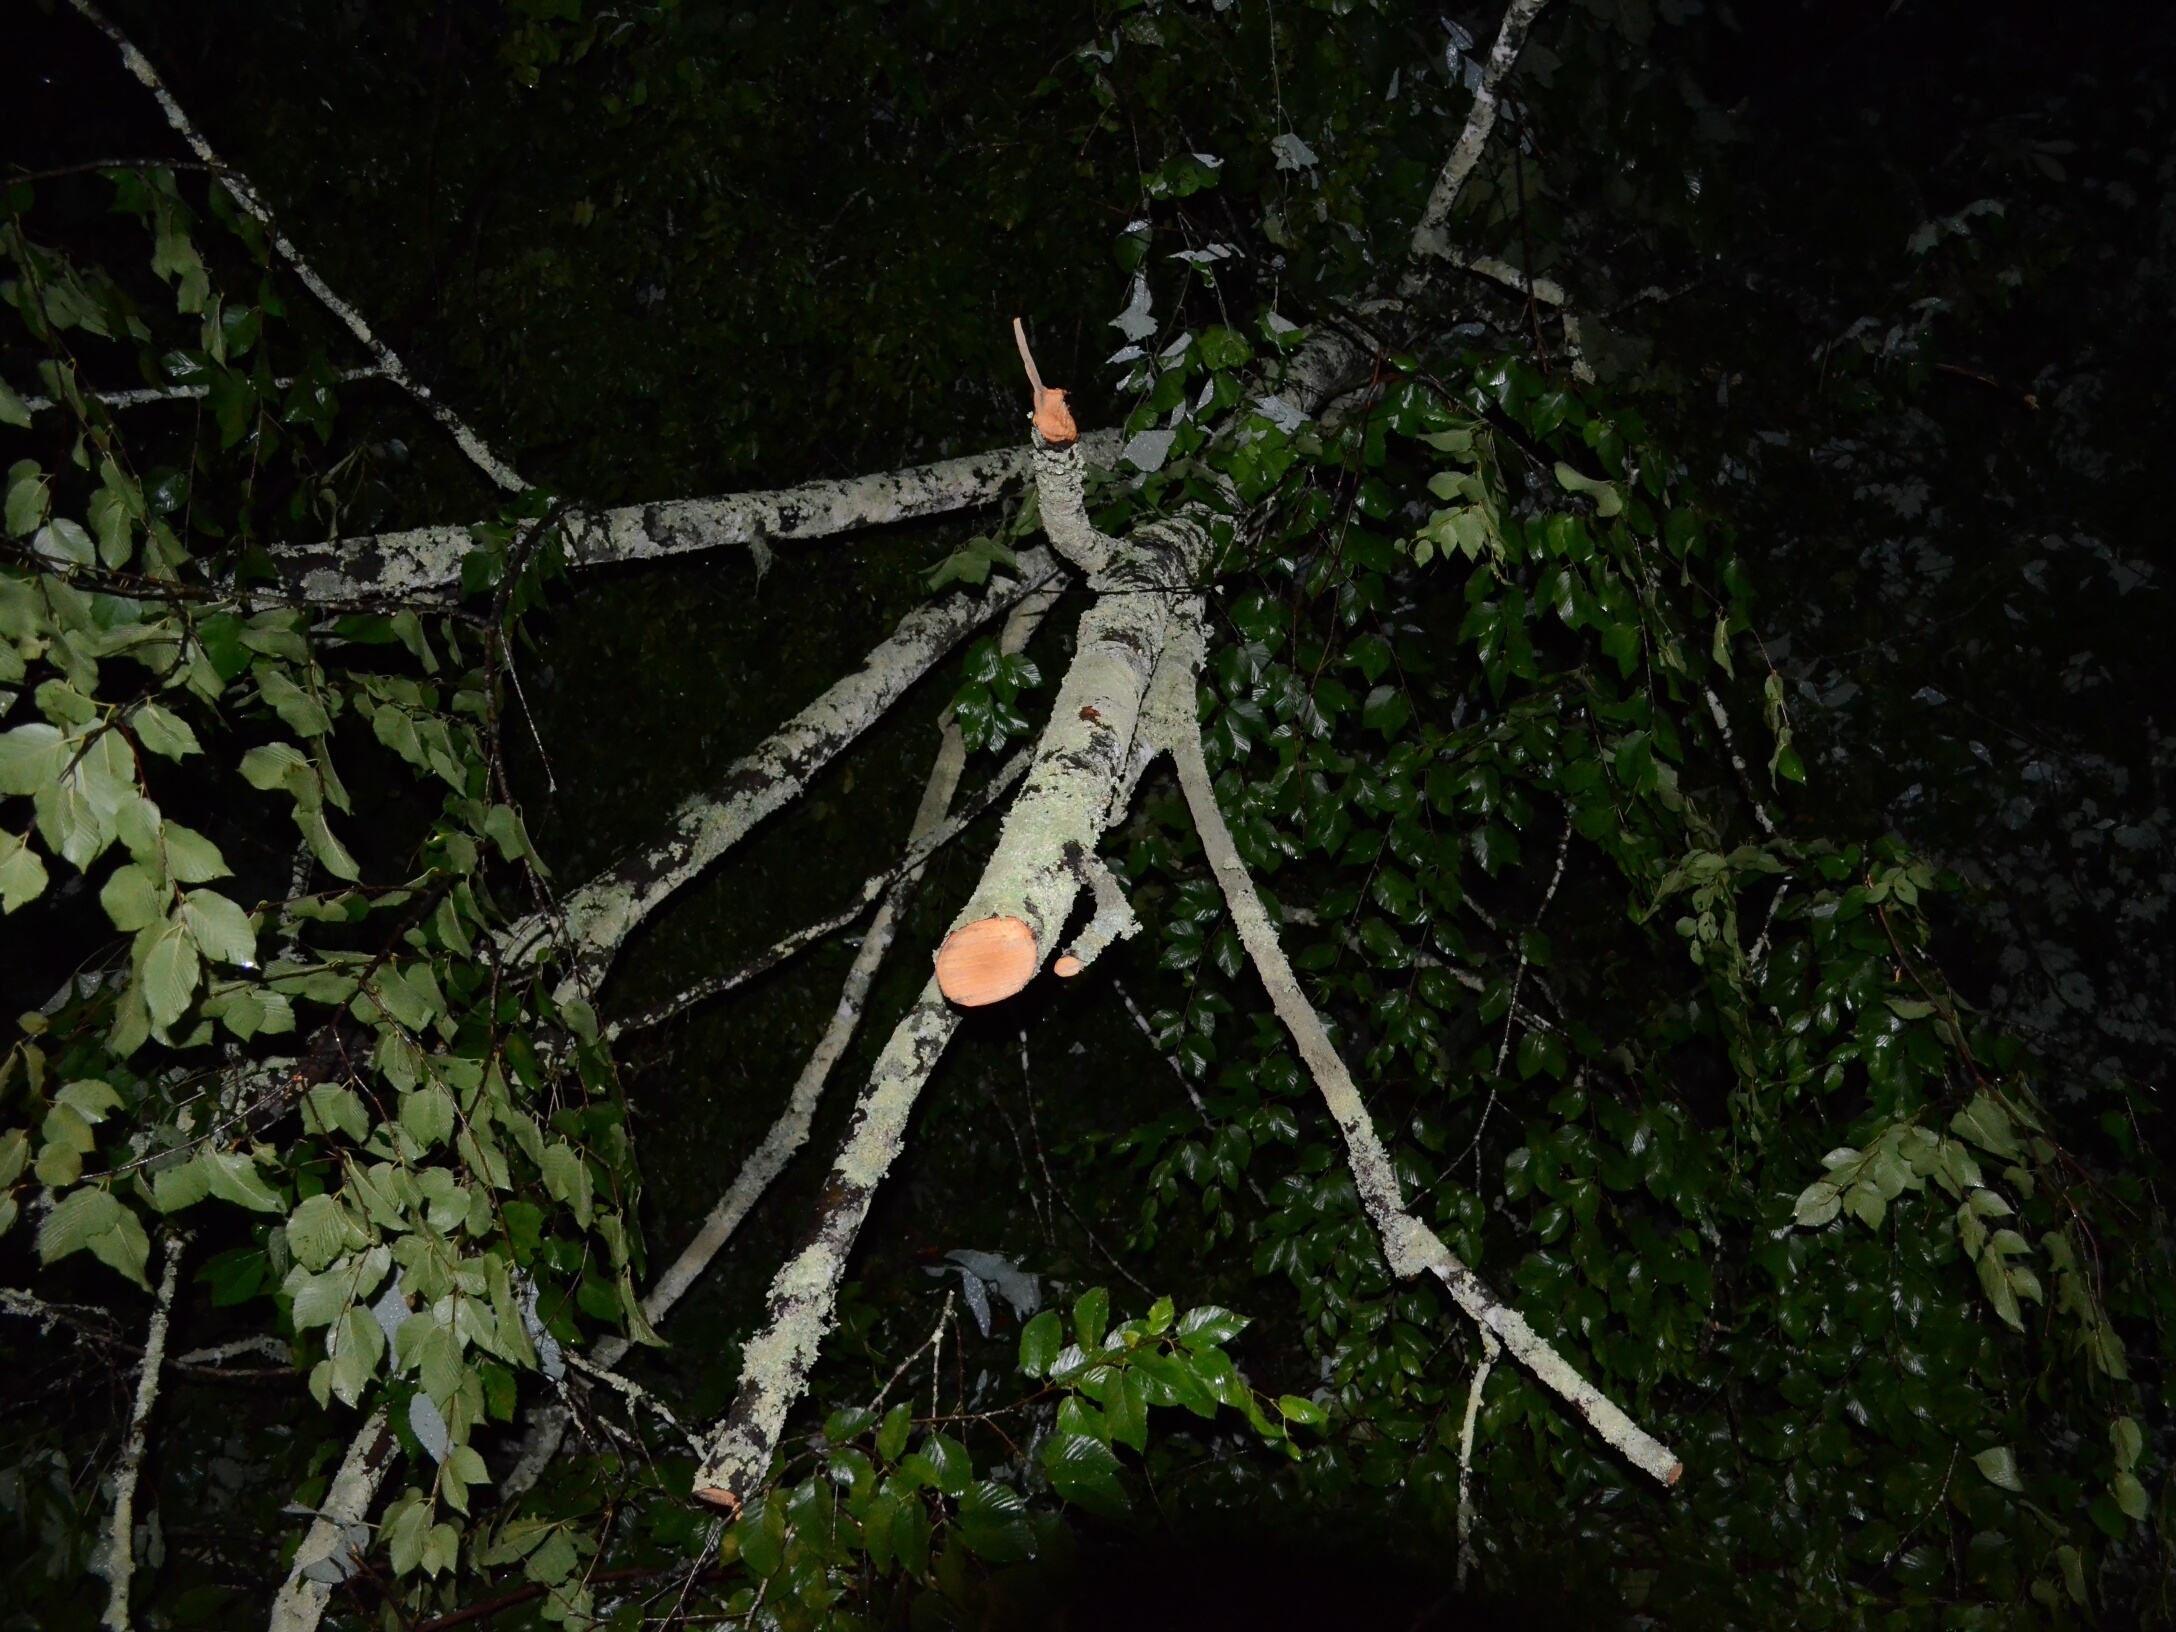
It’s a lovely day for an outing with the family in the park…until the storm comes out of nowhere. Suddenly, trees are down, property is damaged, you and the outside world are cut off from each other. With the news crews unable to reach the scene, the camera person closest to the damage is…YOU!

That’s exactly the situation I found myself in when a sudden storm hit Great Smoky Mountains National Park on July 5, 2012. My family and I, along with hundreds of others, were trapped in the park for hours as rangers and rescue crews worked to clear fallen trees from park roads. As our line of traffic snaked past the hardest-hit areas, the severity of the storm became apparent. I had my camera along, and got photos of the storm’s effects while they were still fresh.

What will the next generation of Make: look like? We’re inviting you to shape the future by investing in Make:. By becoming an investor, you help decide what’s next. The future of Make: is in your hands. Learn More.

Project Steps

Safety First! We saw the storm approach just minutes before it hit. We immediately abandoned our tour of Cades Cove and made for the park exit. The camera stayed in its bag the whole time.

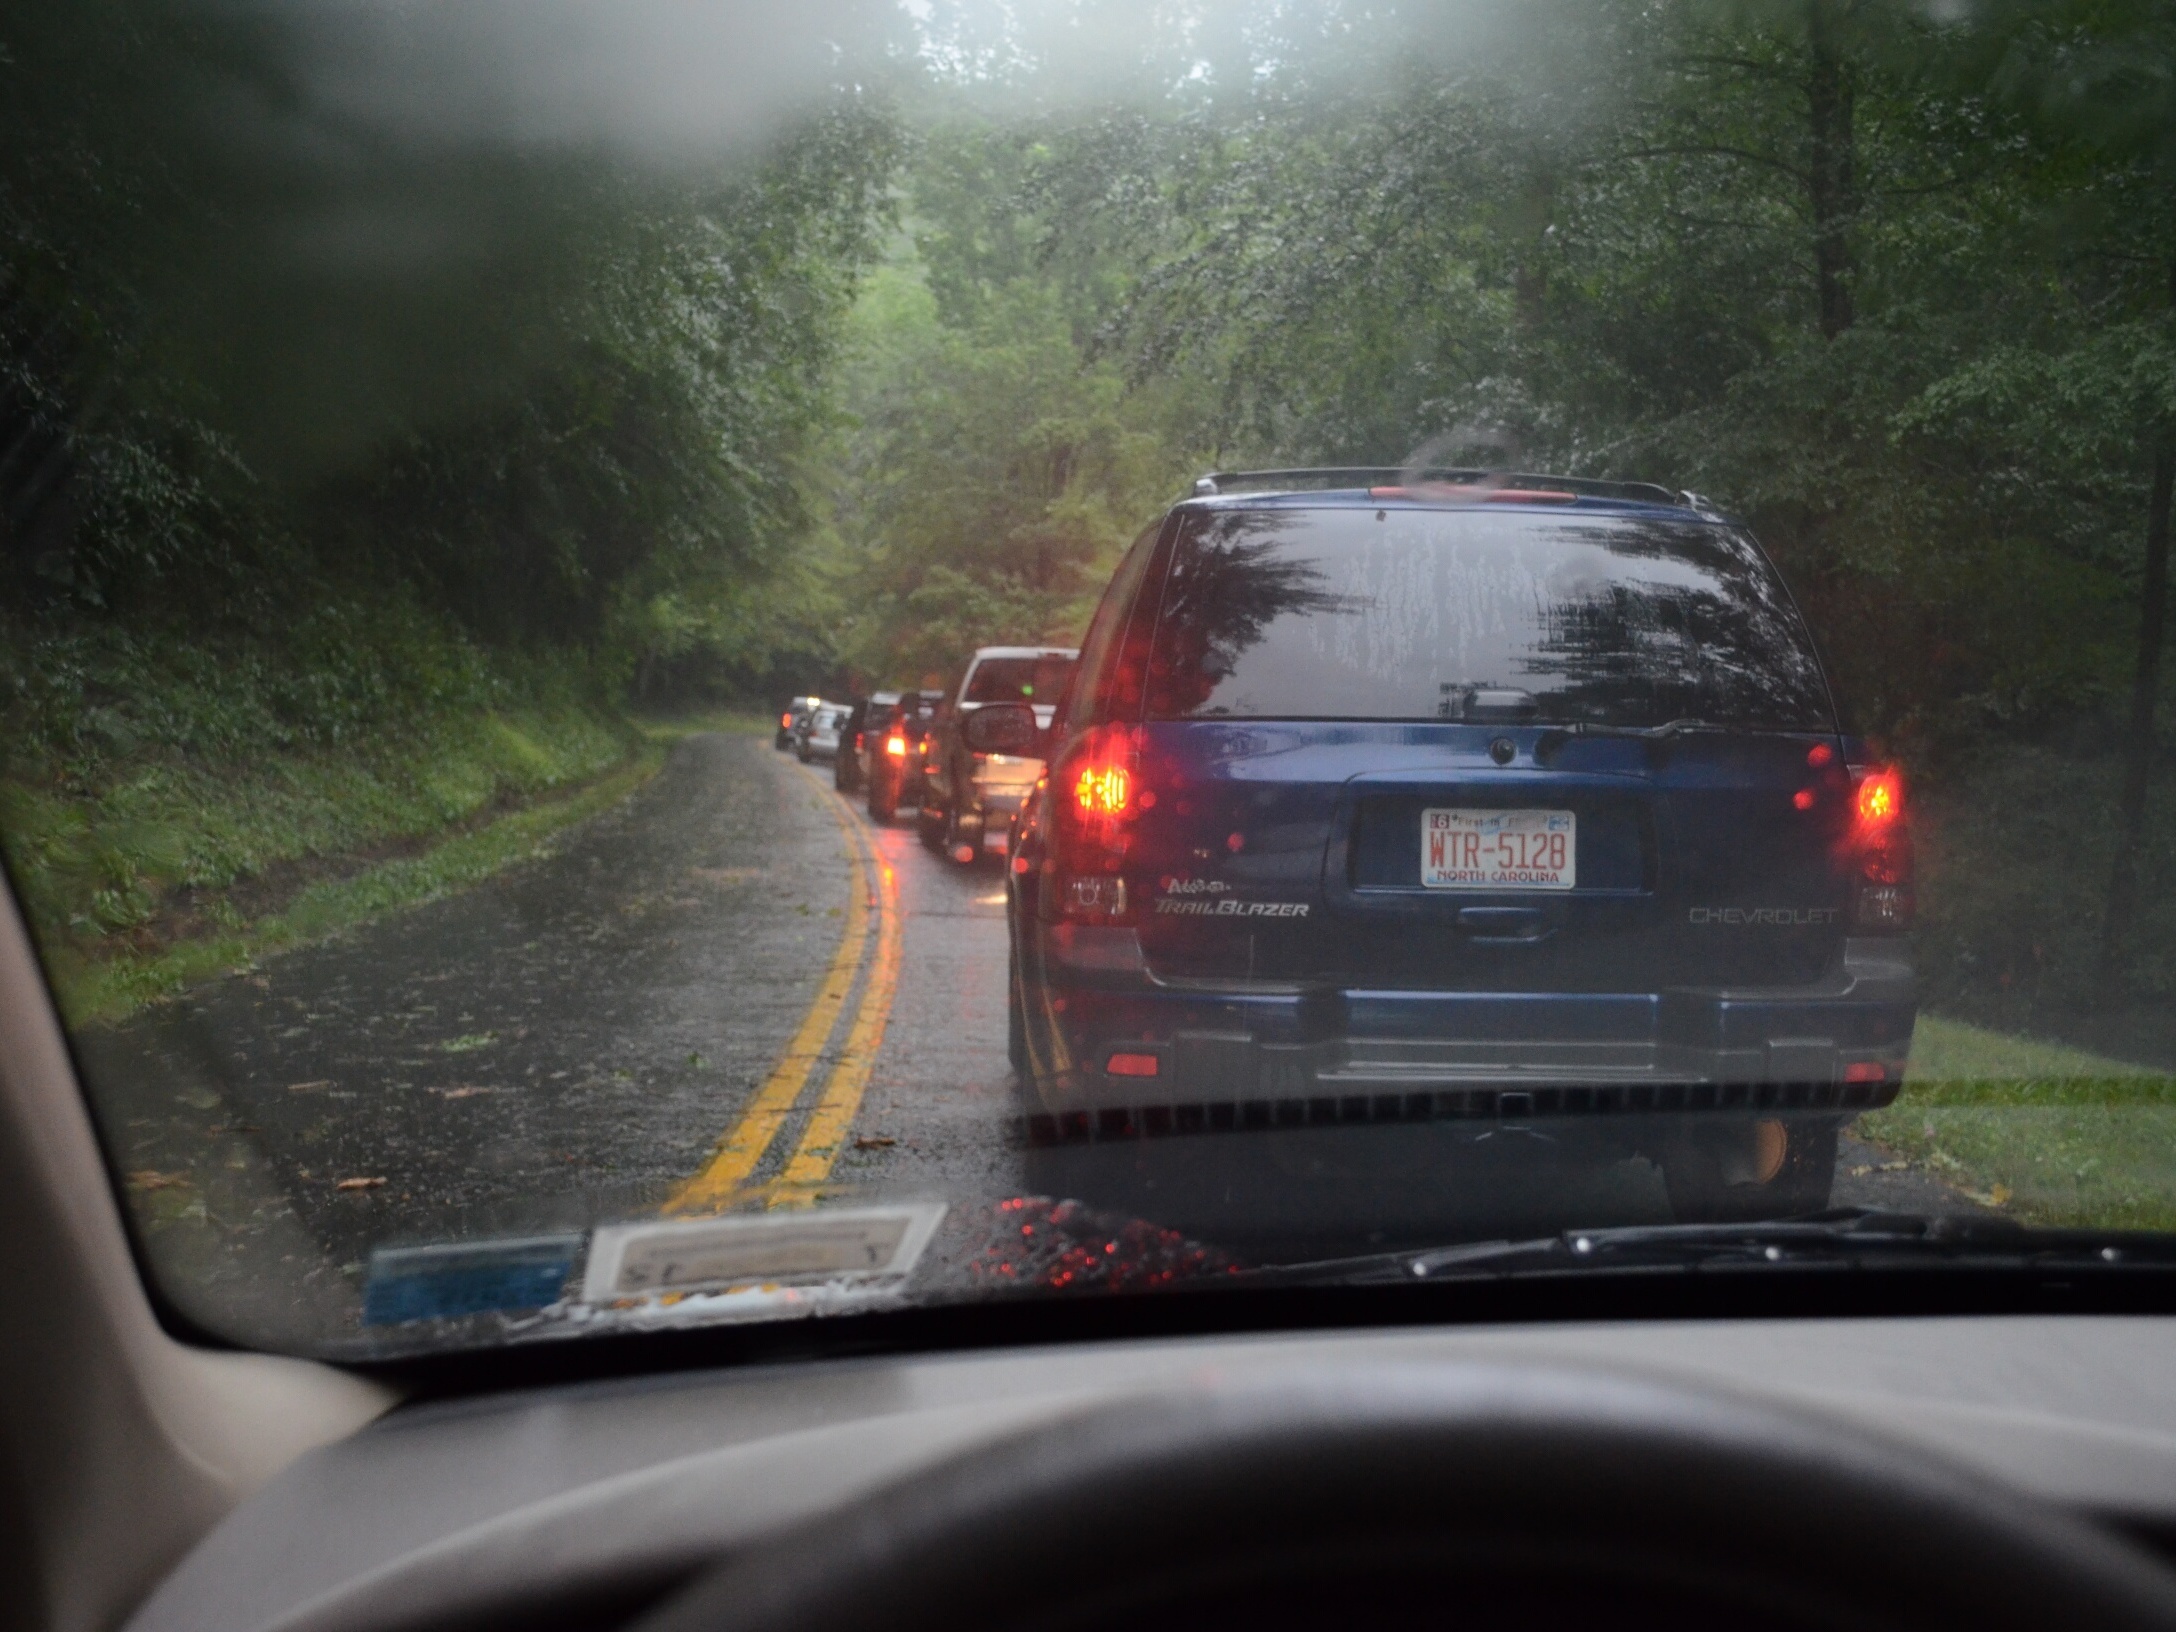
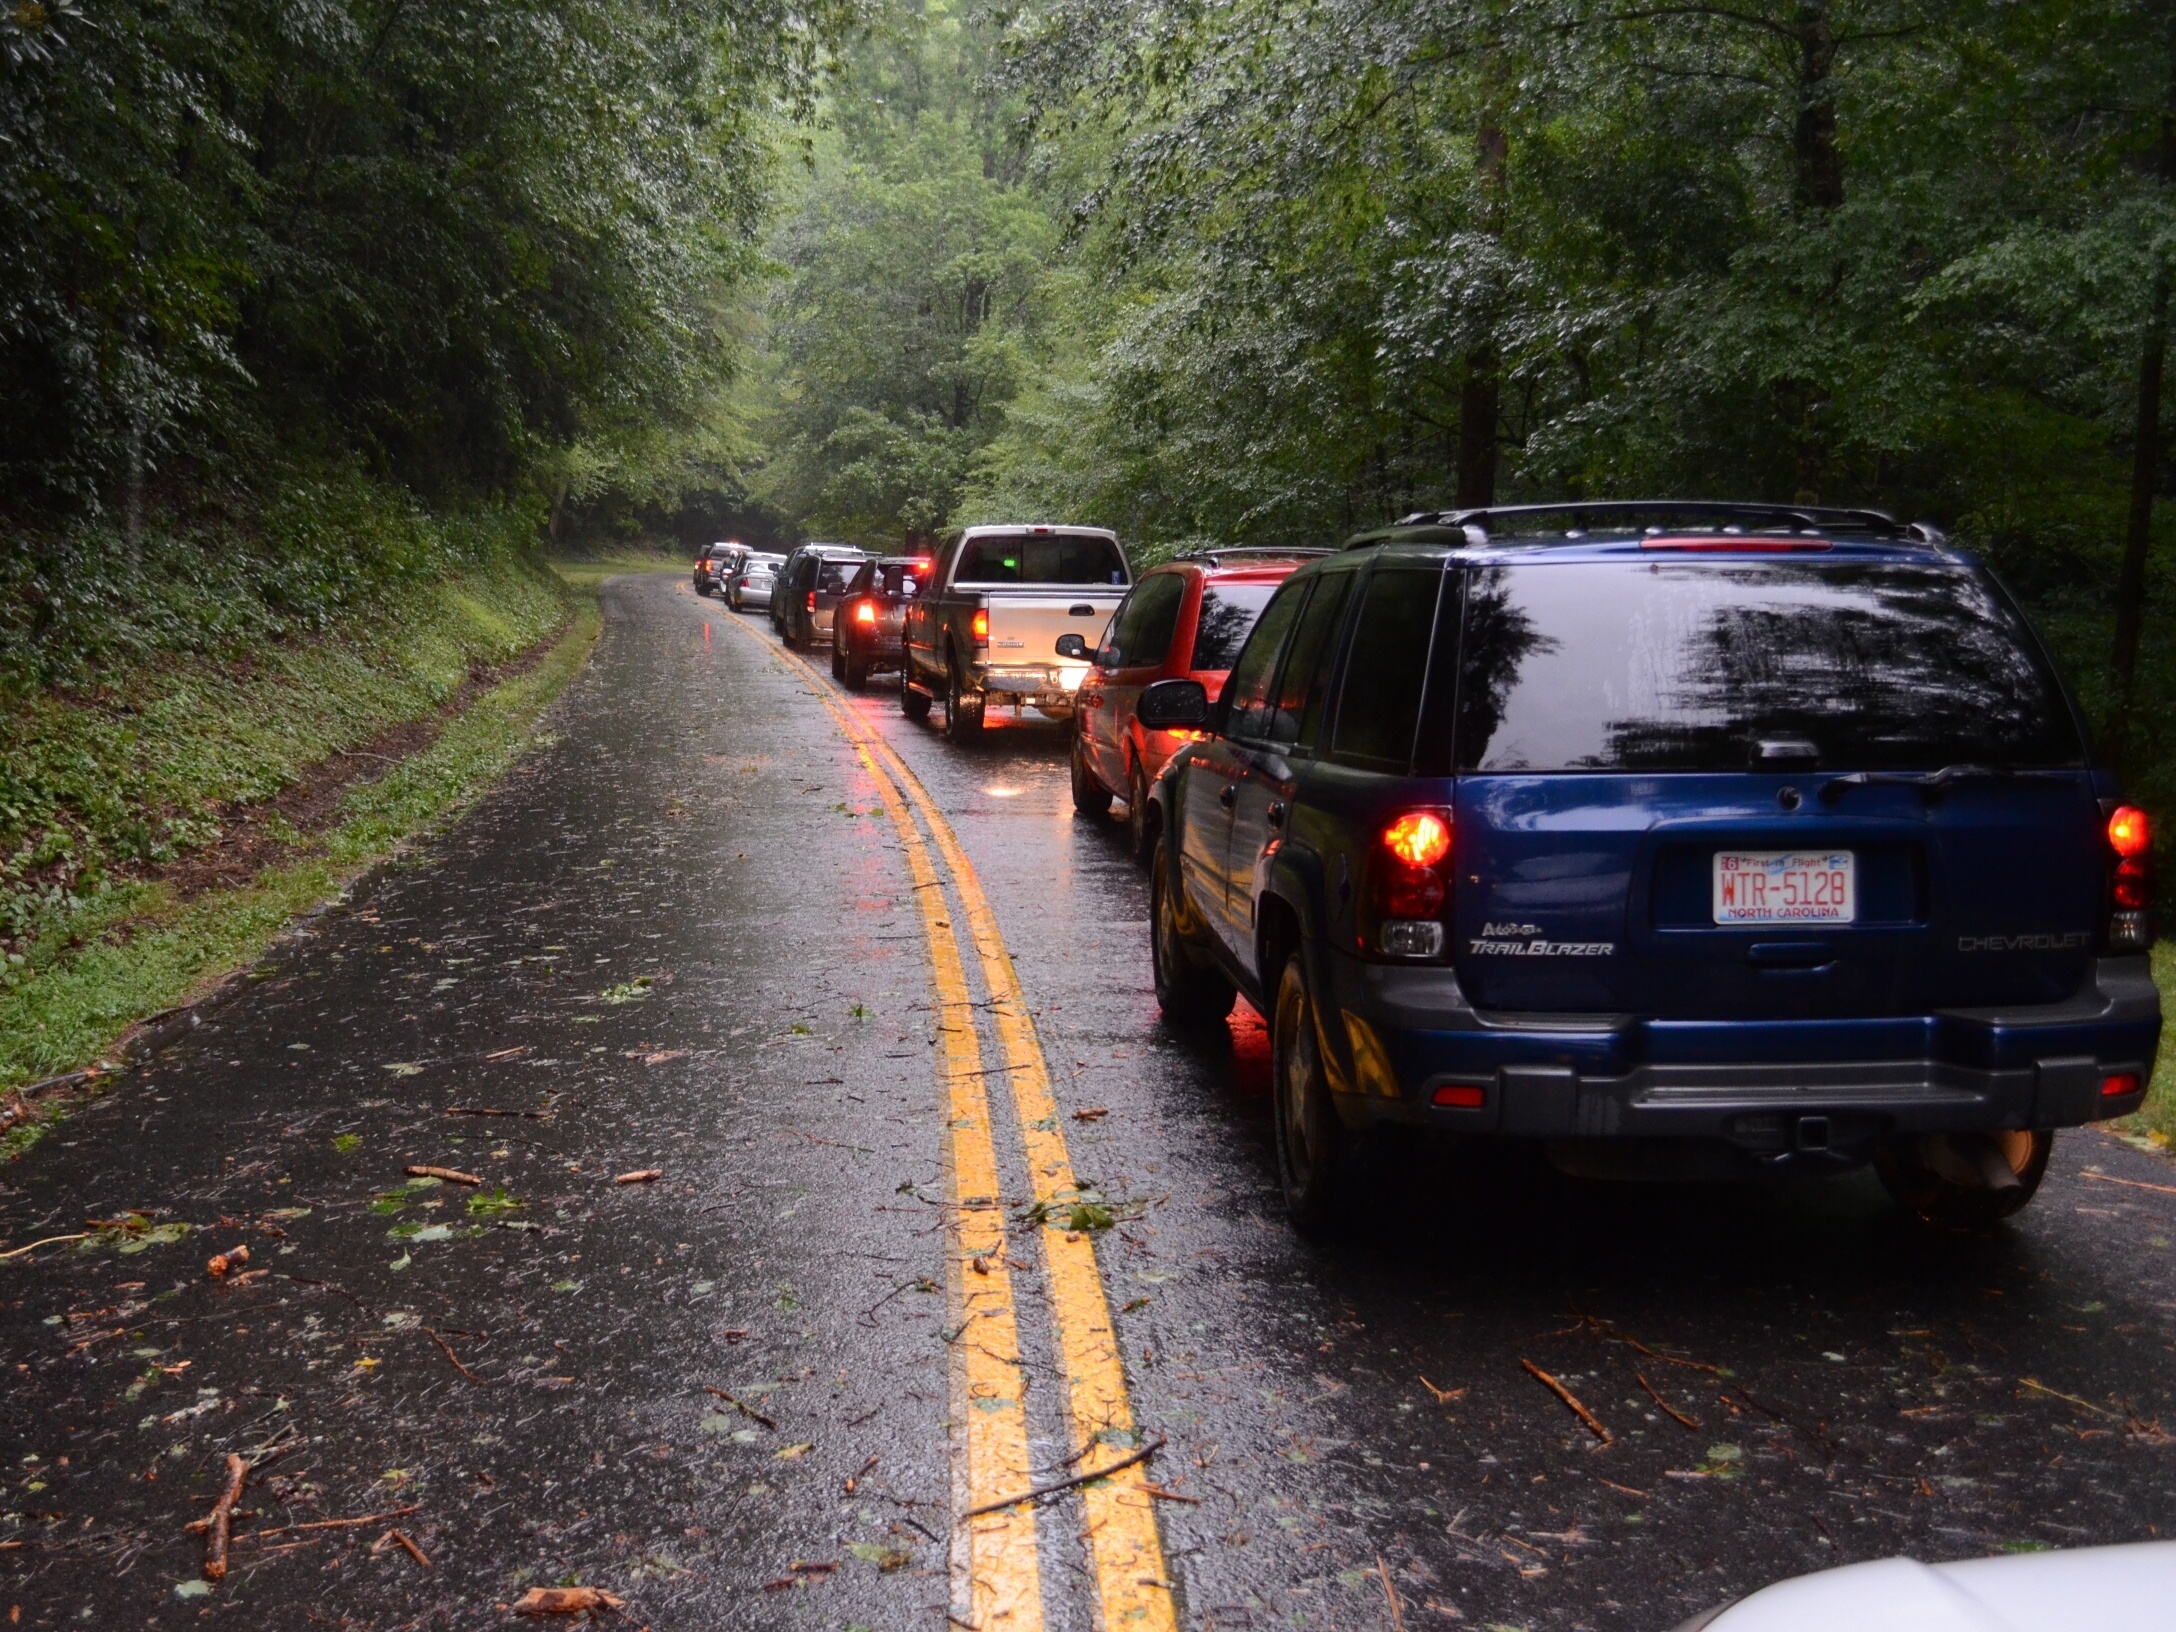
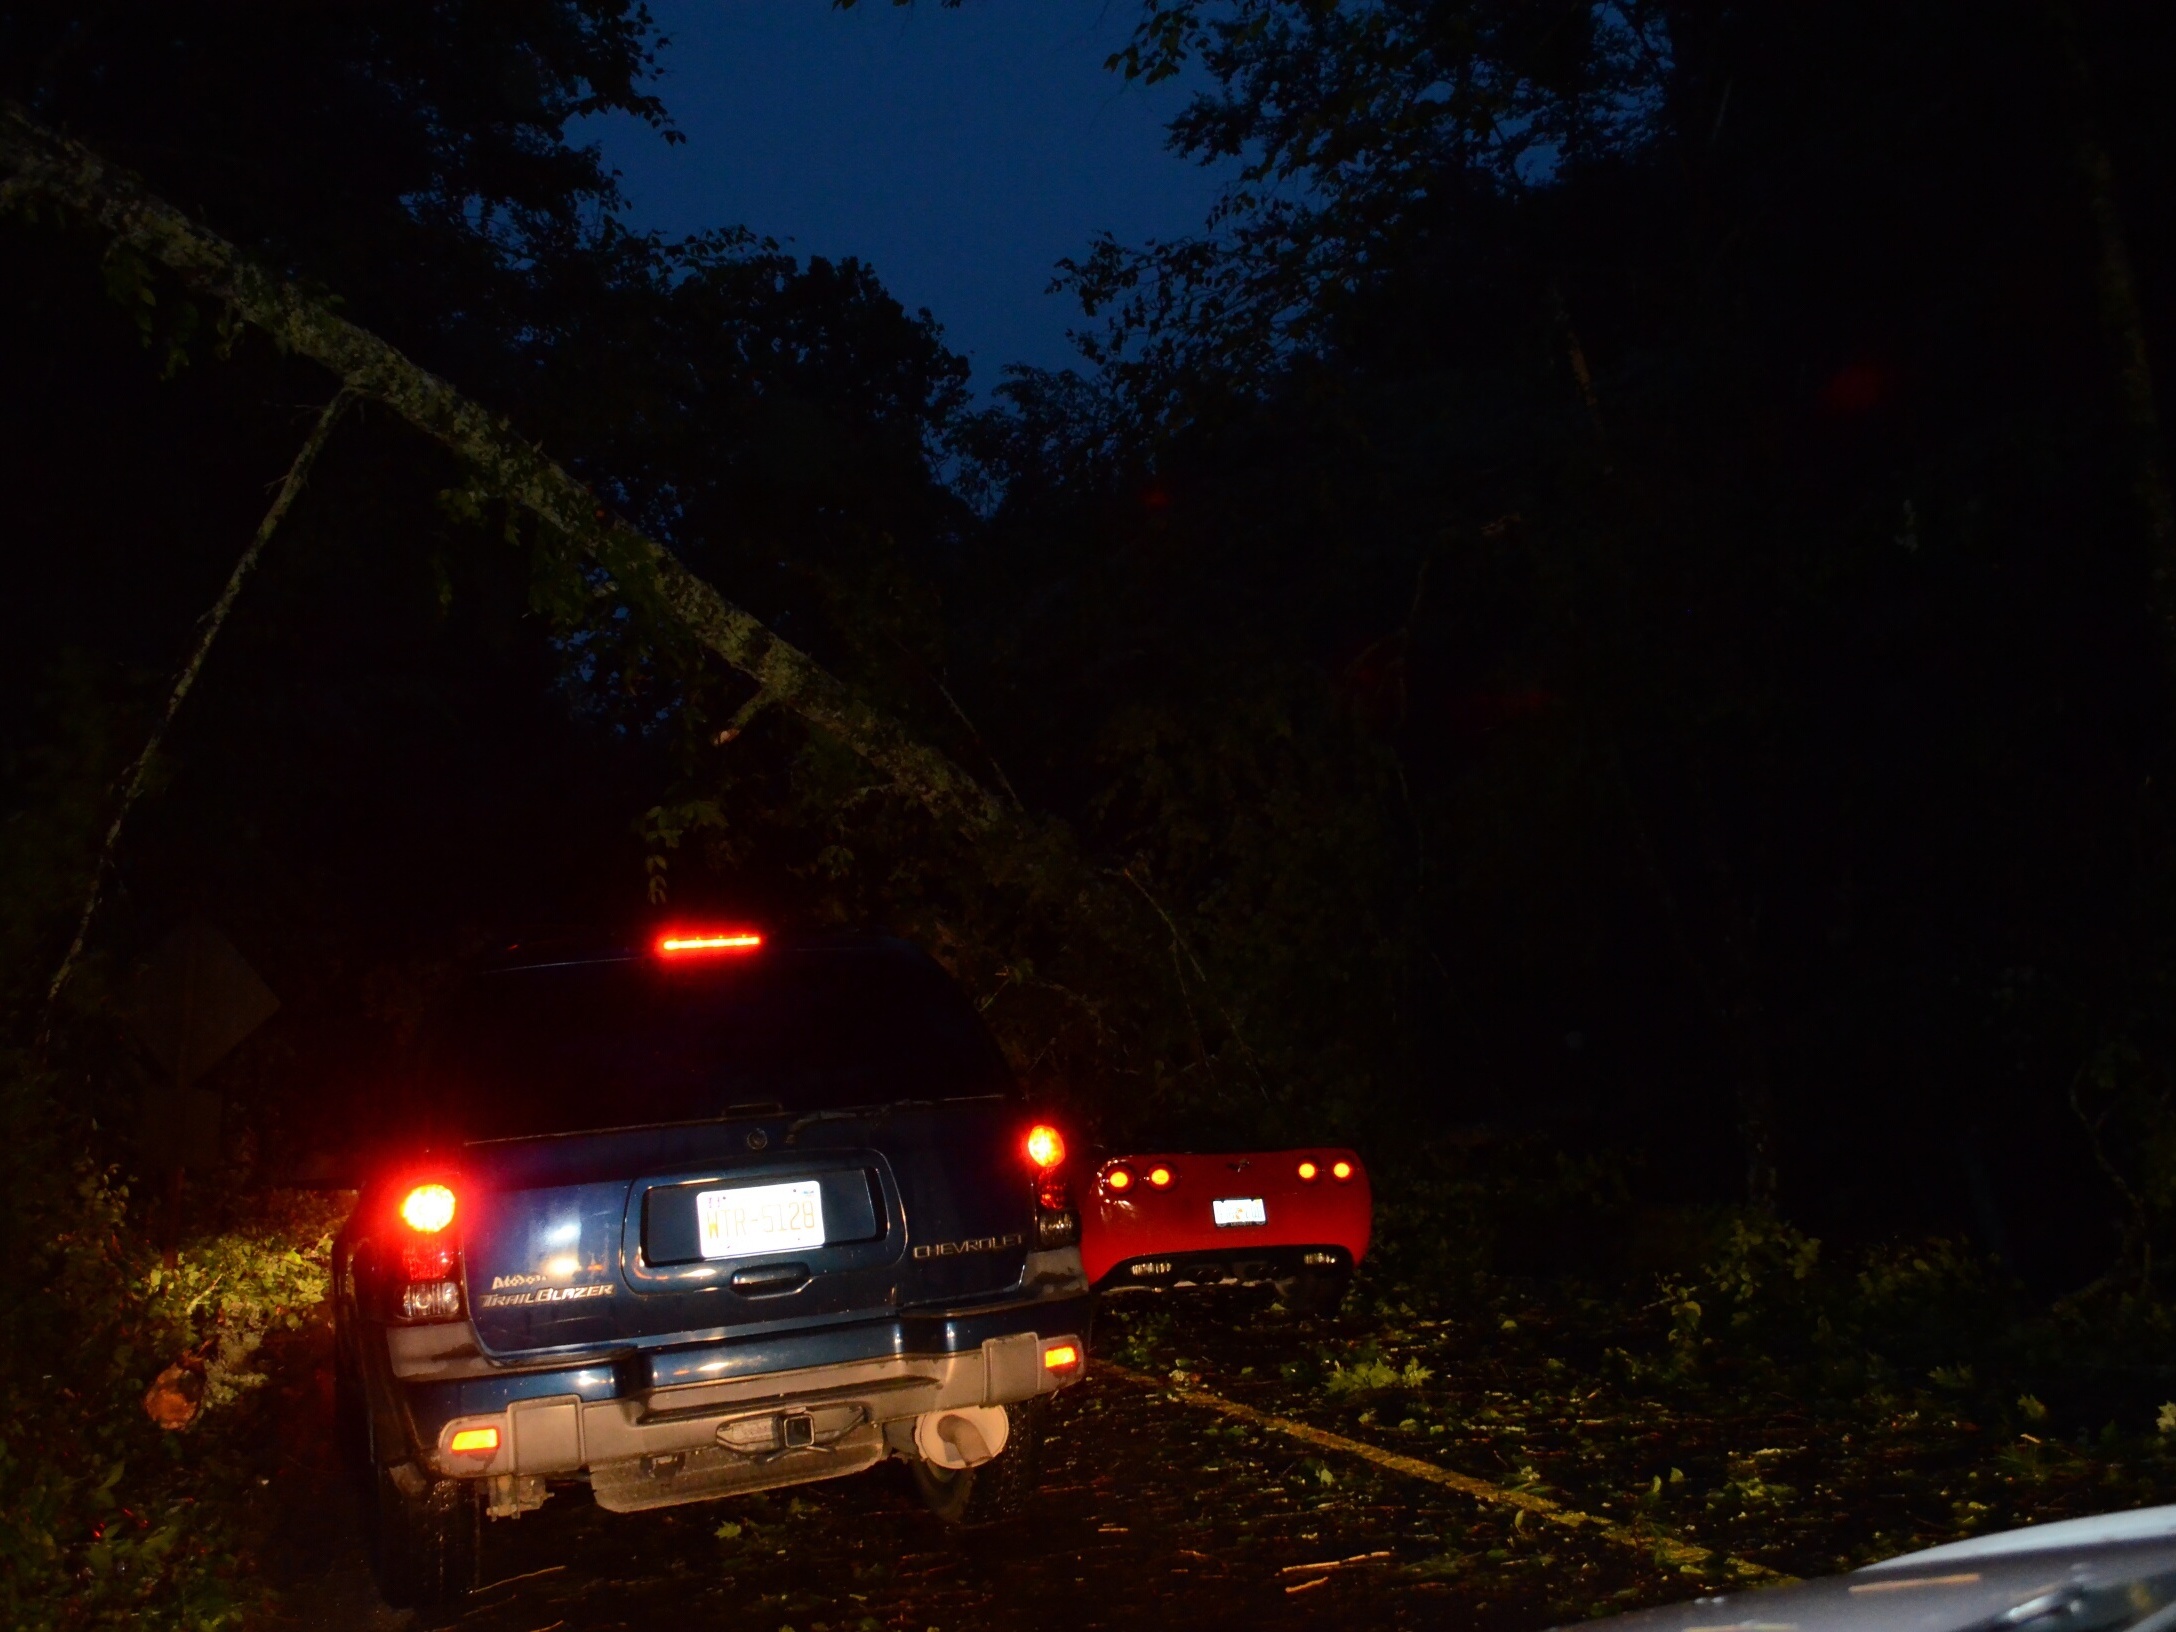
Later, as the sky begain to clear, and we found ourselves in a long line of stop-and-go traffic, I took a couple of shots of the situation, first from behind the wheel, then from outside. Obviously, the outside shot is better, but don’t disrupt an already-tedious traffic situation for the sake of a photo.

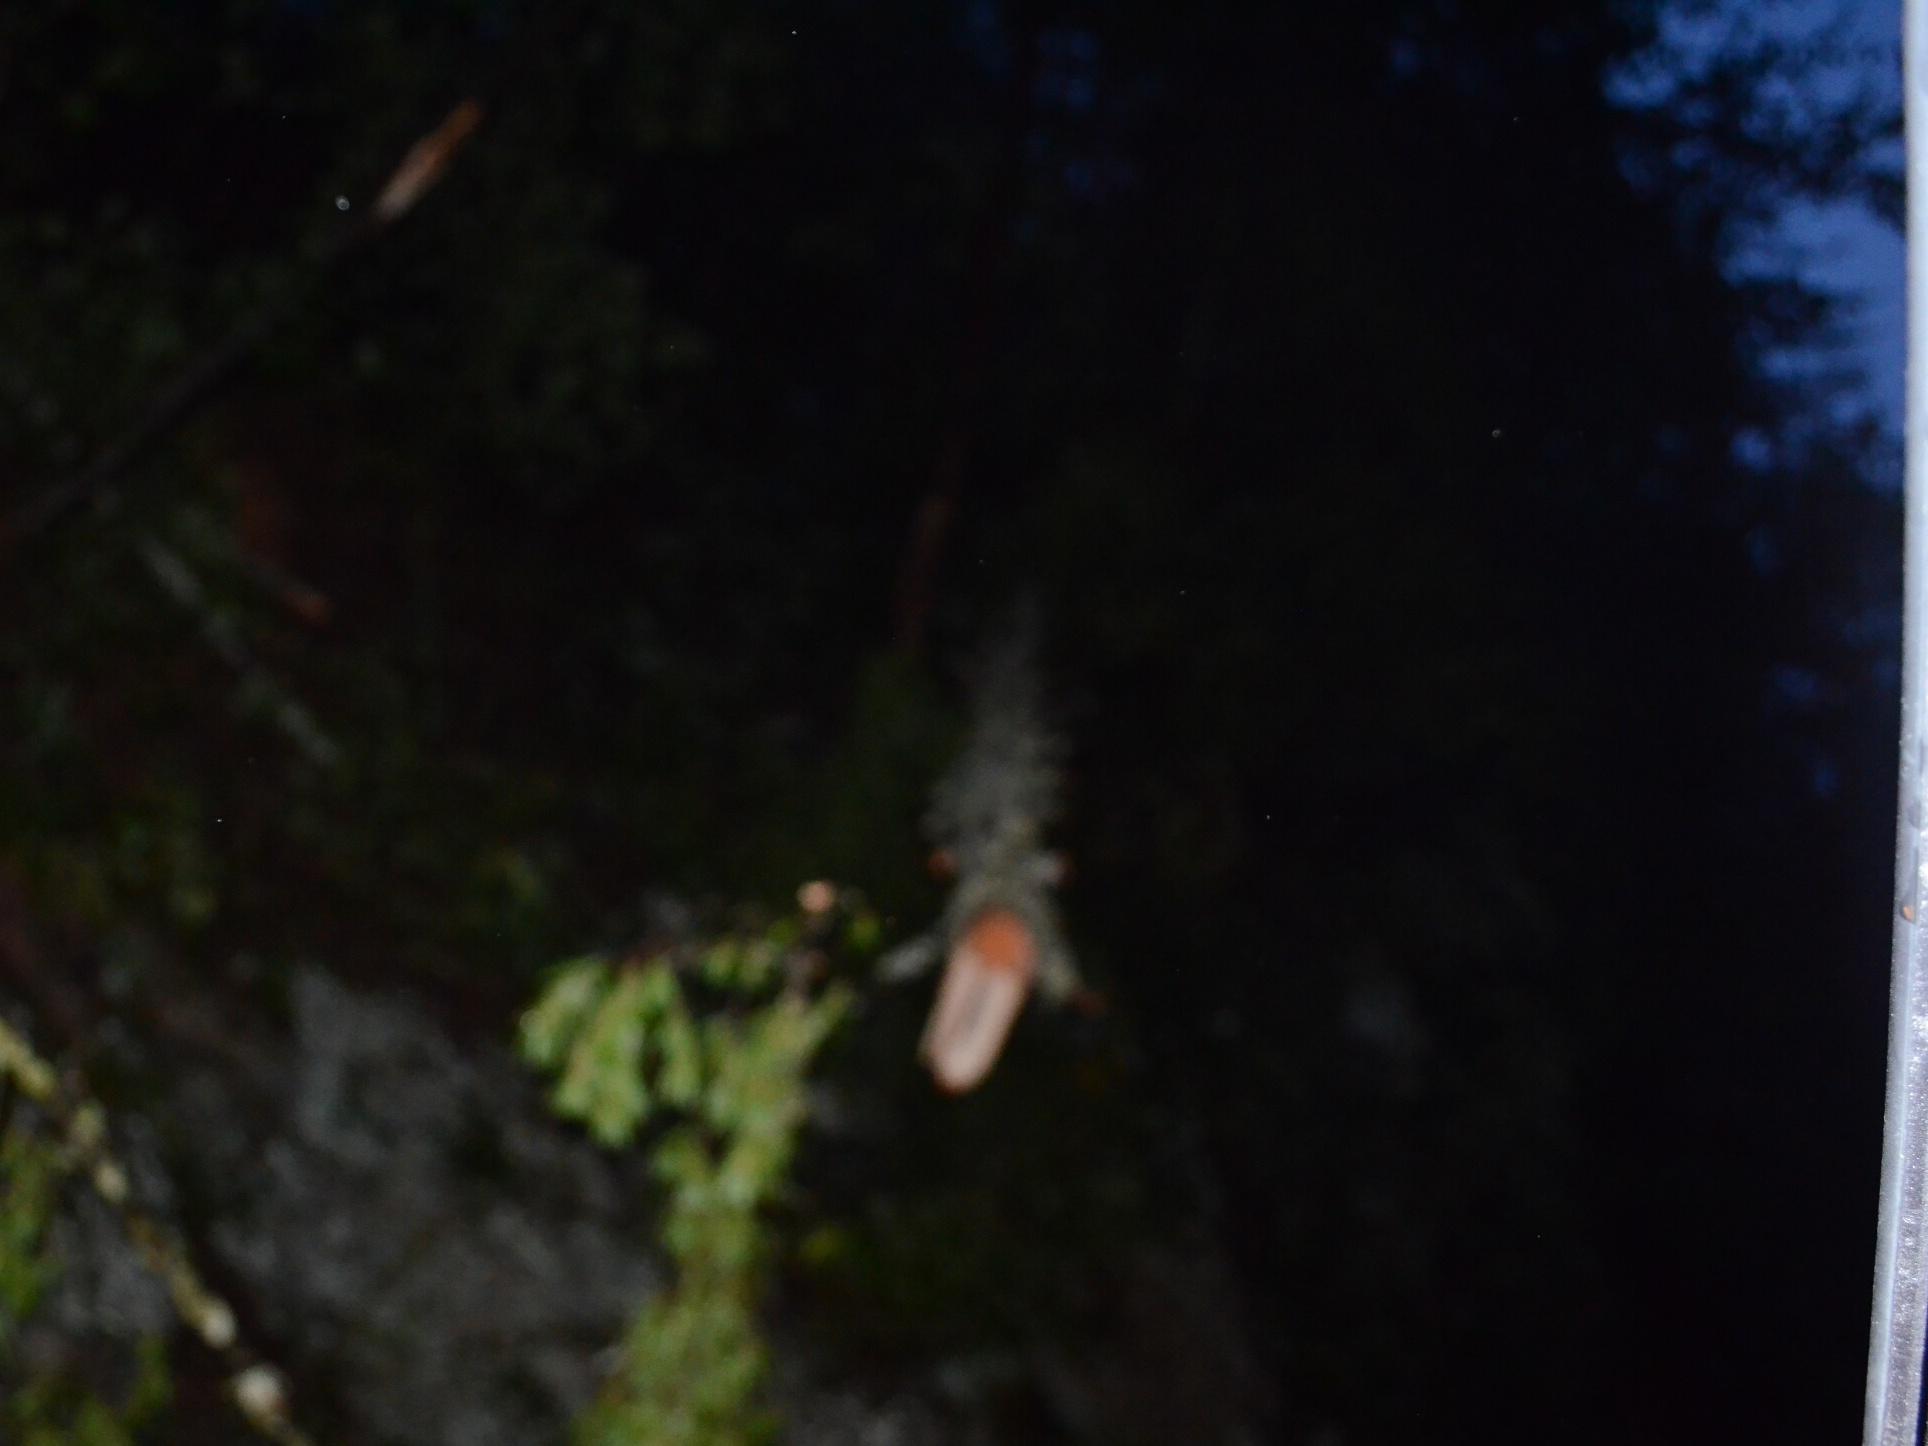
Focus manually. Autofocus is great technology, but even with an AF-assist light, it can’t always work in low light. Notice how this shot is totally blurred–the camera couldn’t focus at all. I flipped the lens to Manual, focused on an object about 10 feet away, and left it set there.

Crank up your ISO setting. A high ISO not only captures more ambient light, it also extends the range of your flash. I had my camera set to 3200 for the nighttime shots.

Slow down the shutter speed. By setting the camera’s mode to shutter-priority, I could keep the speed at 1/30 second for shots, to catch as much ambient light as I could. If your lens has vibration reduction, use it to cut down on camera shake in the image.

Go wide. I kept my 18-55mm lens at the 18 setting most of the time. This gives you the best opportunity to get the subject when you don’t have much time to aim the camera. (If time permits, zoom in for additional shots.)

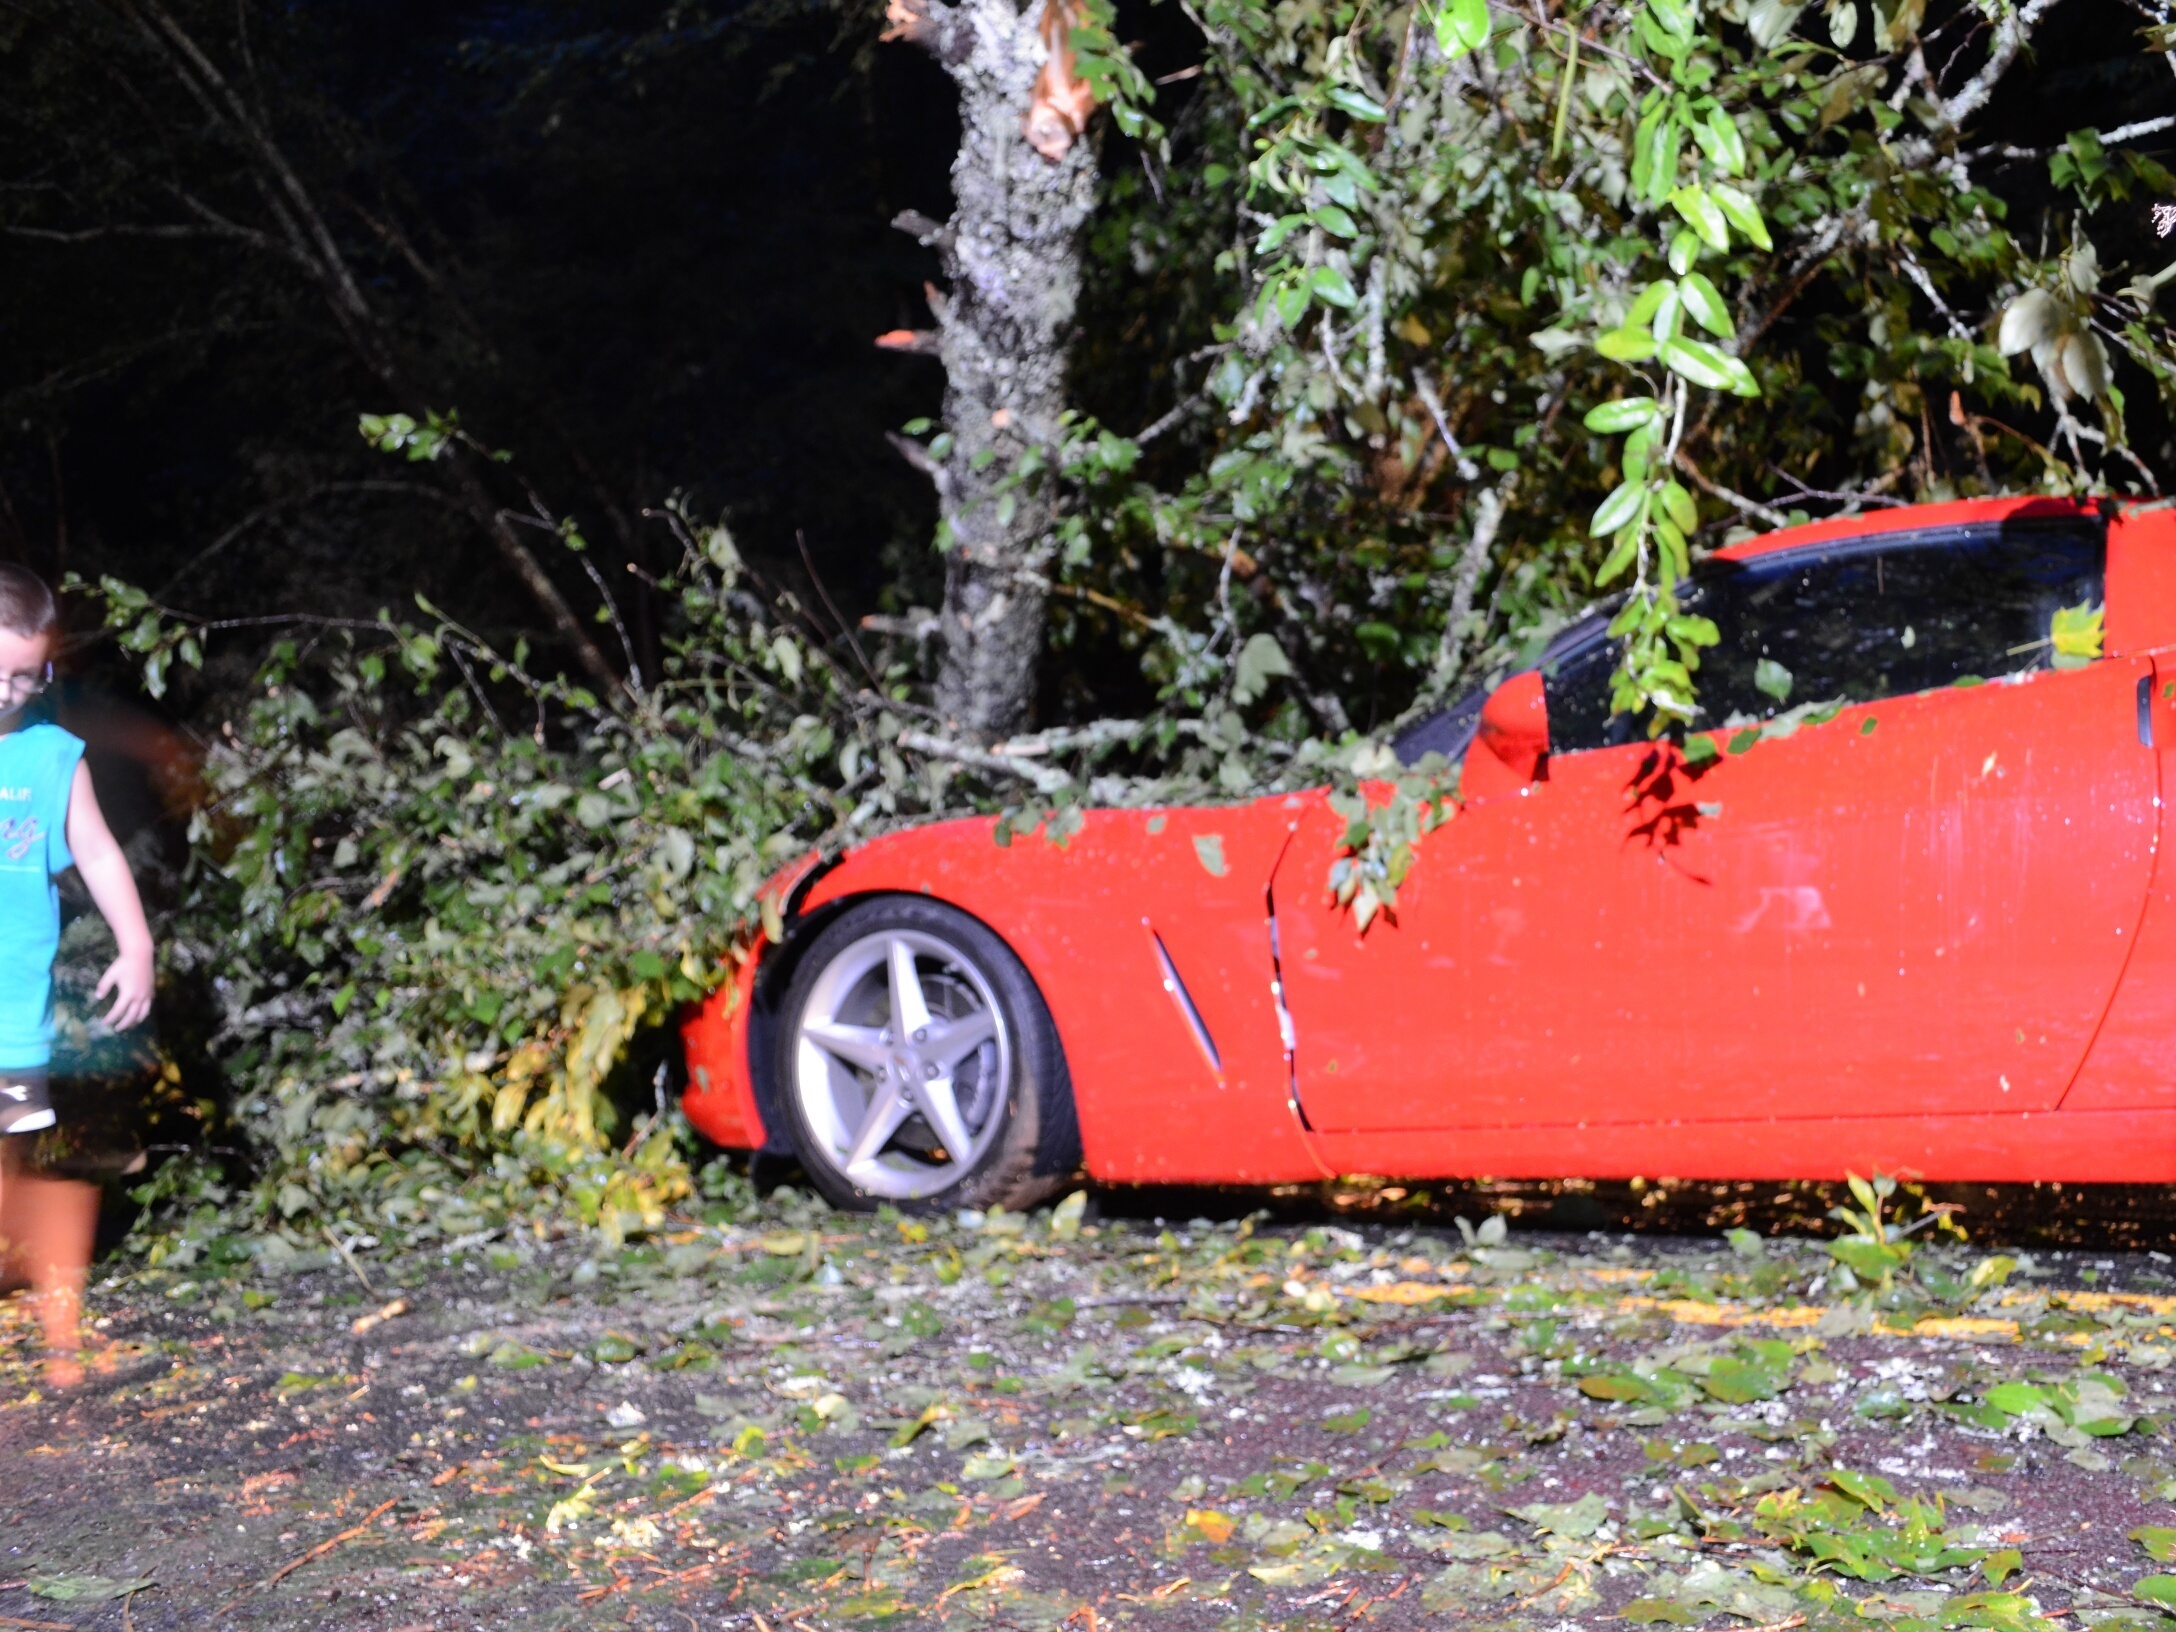
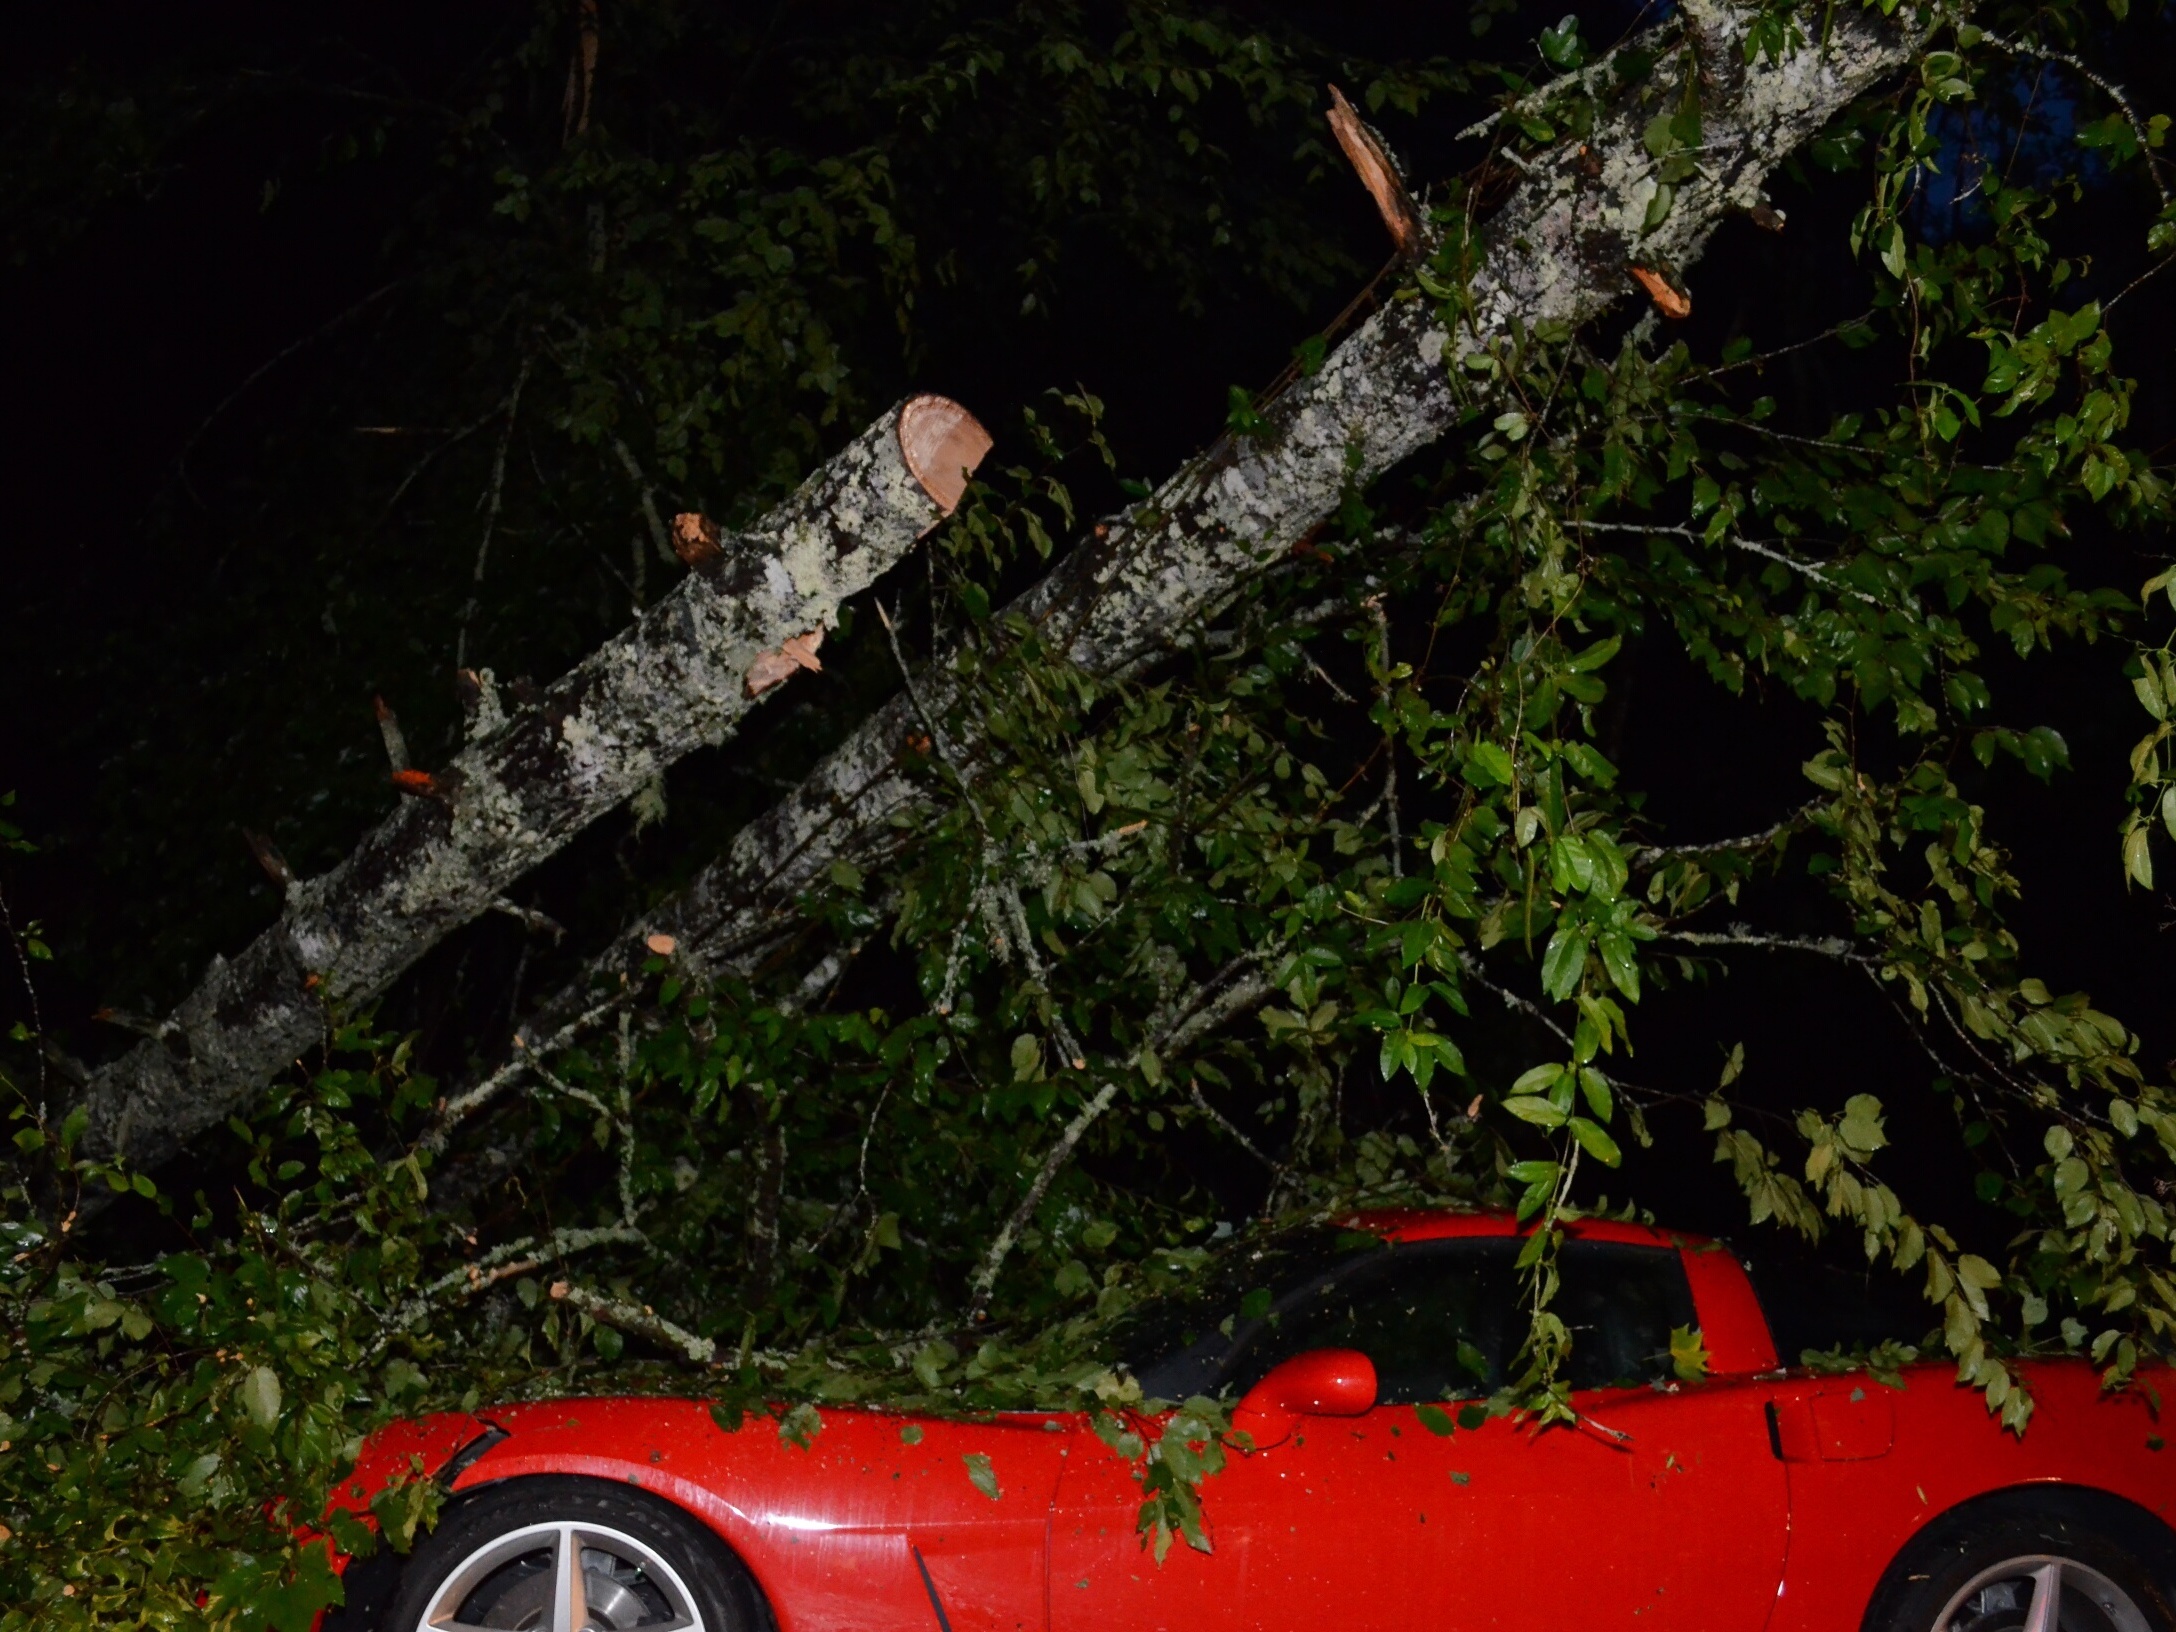
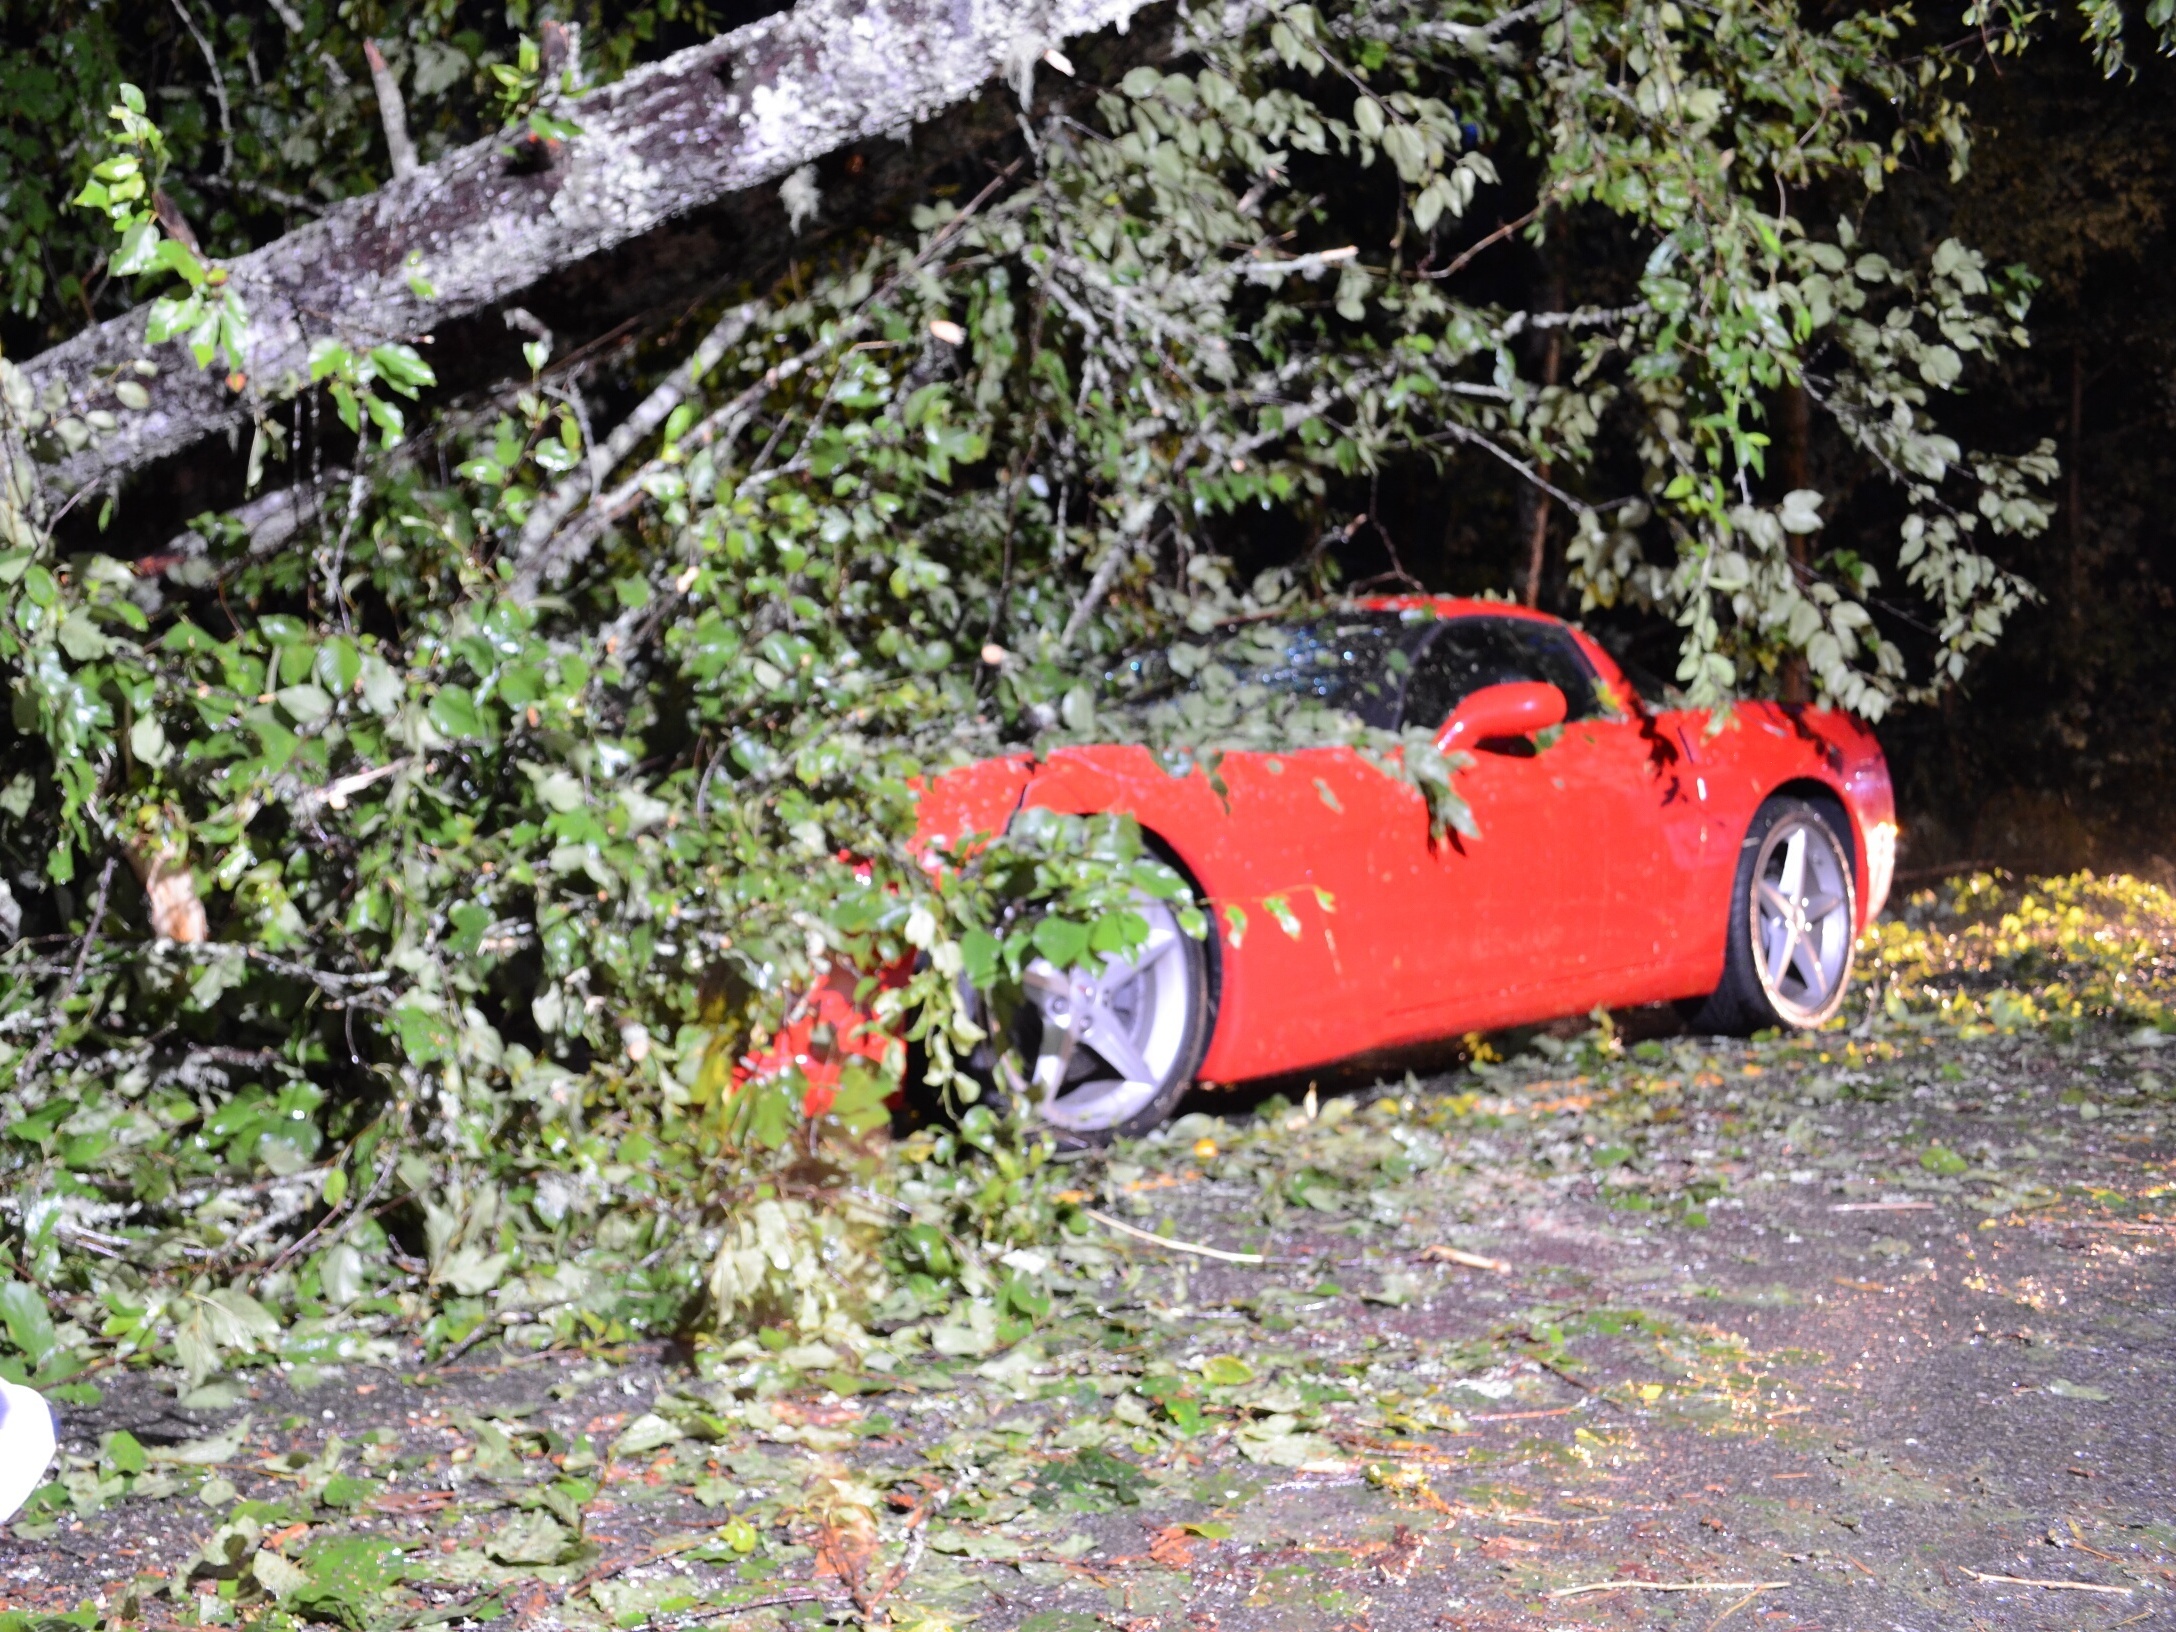
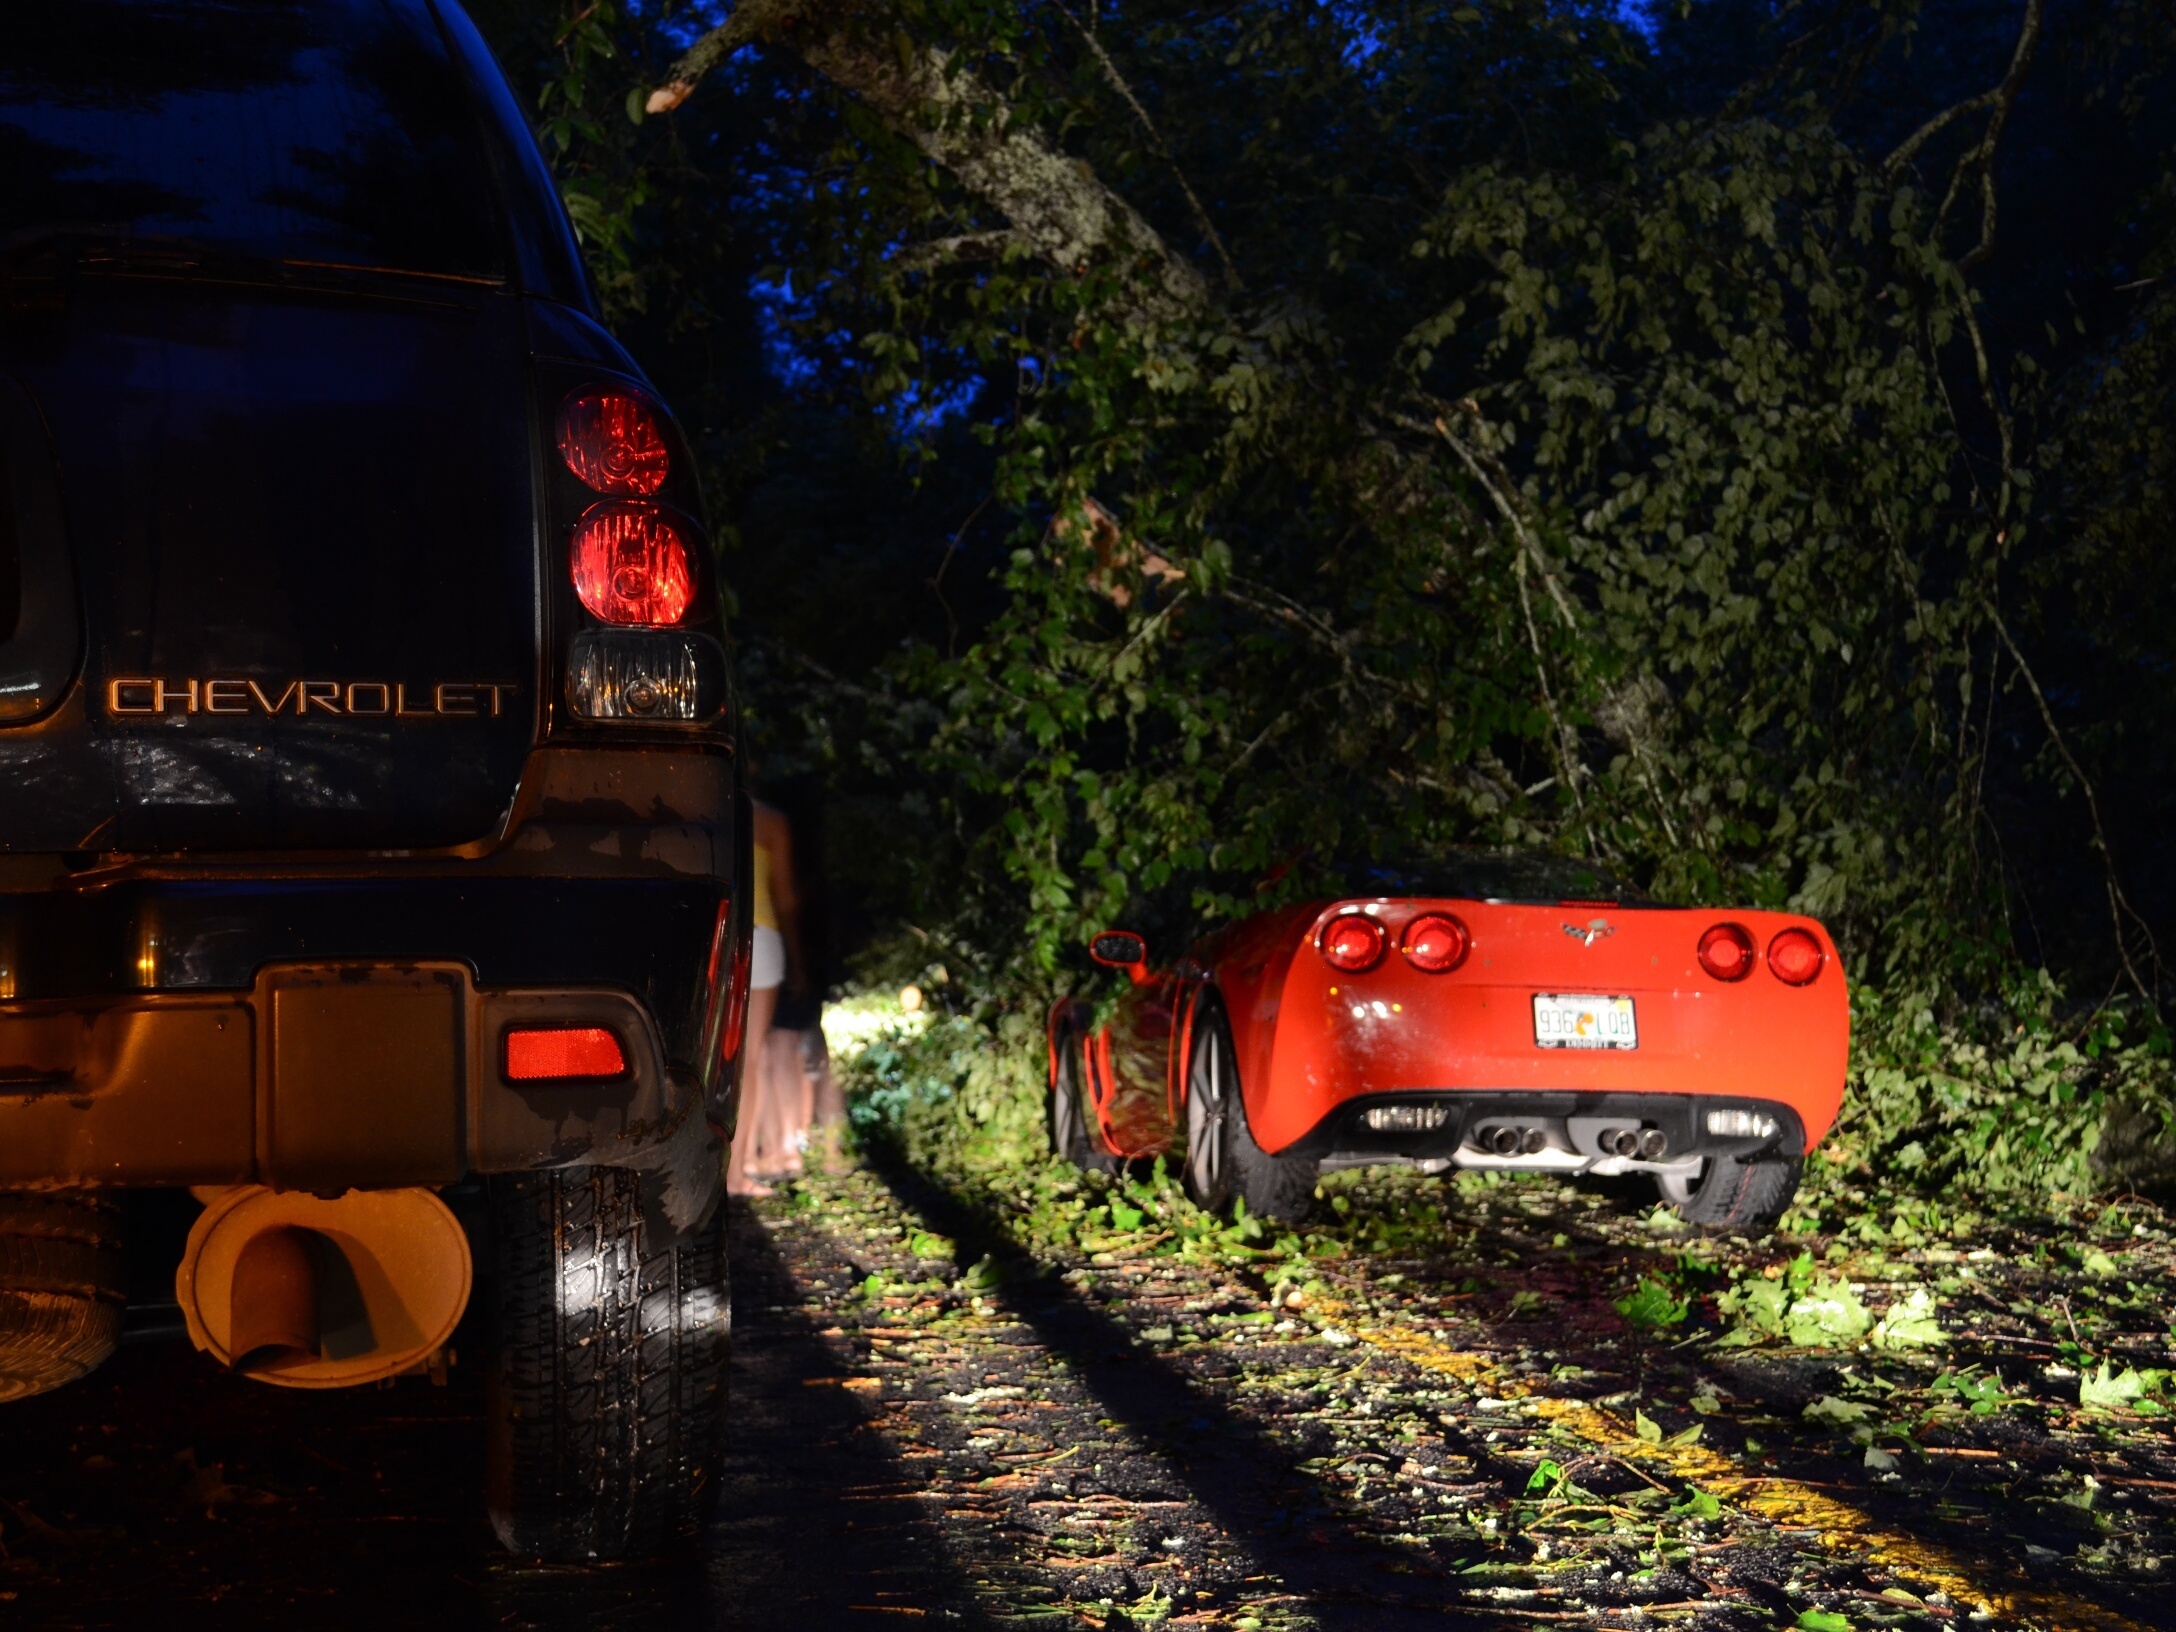
Seize the opportunity! If a subject appears before you, GET A SHOT IMMEDIATELY if doing so does not jeopardize your safety or anyone else’s. We came up to a fallen tree with an abandoned Corvette underneath. When traffic ahead of me paused, I stepped out just long enough to get a shot.

If opportunity permits, check the image on the camera, adjust settings as necessary, and take additional shots.

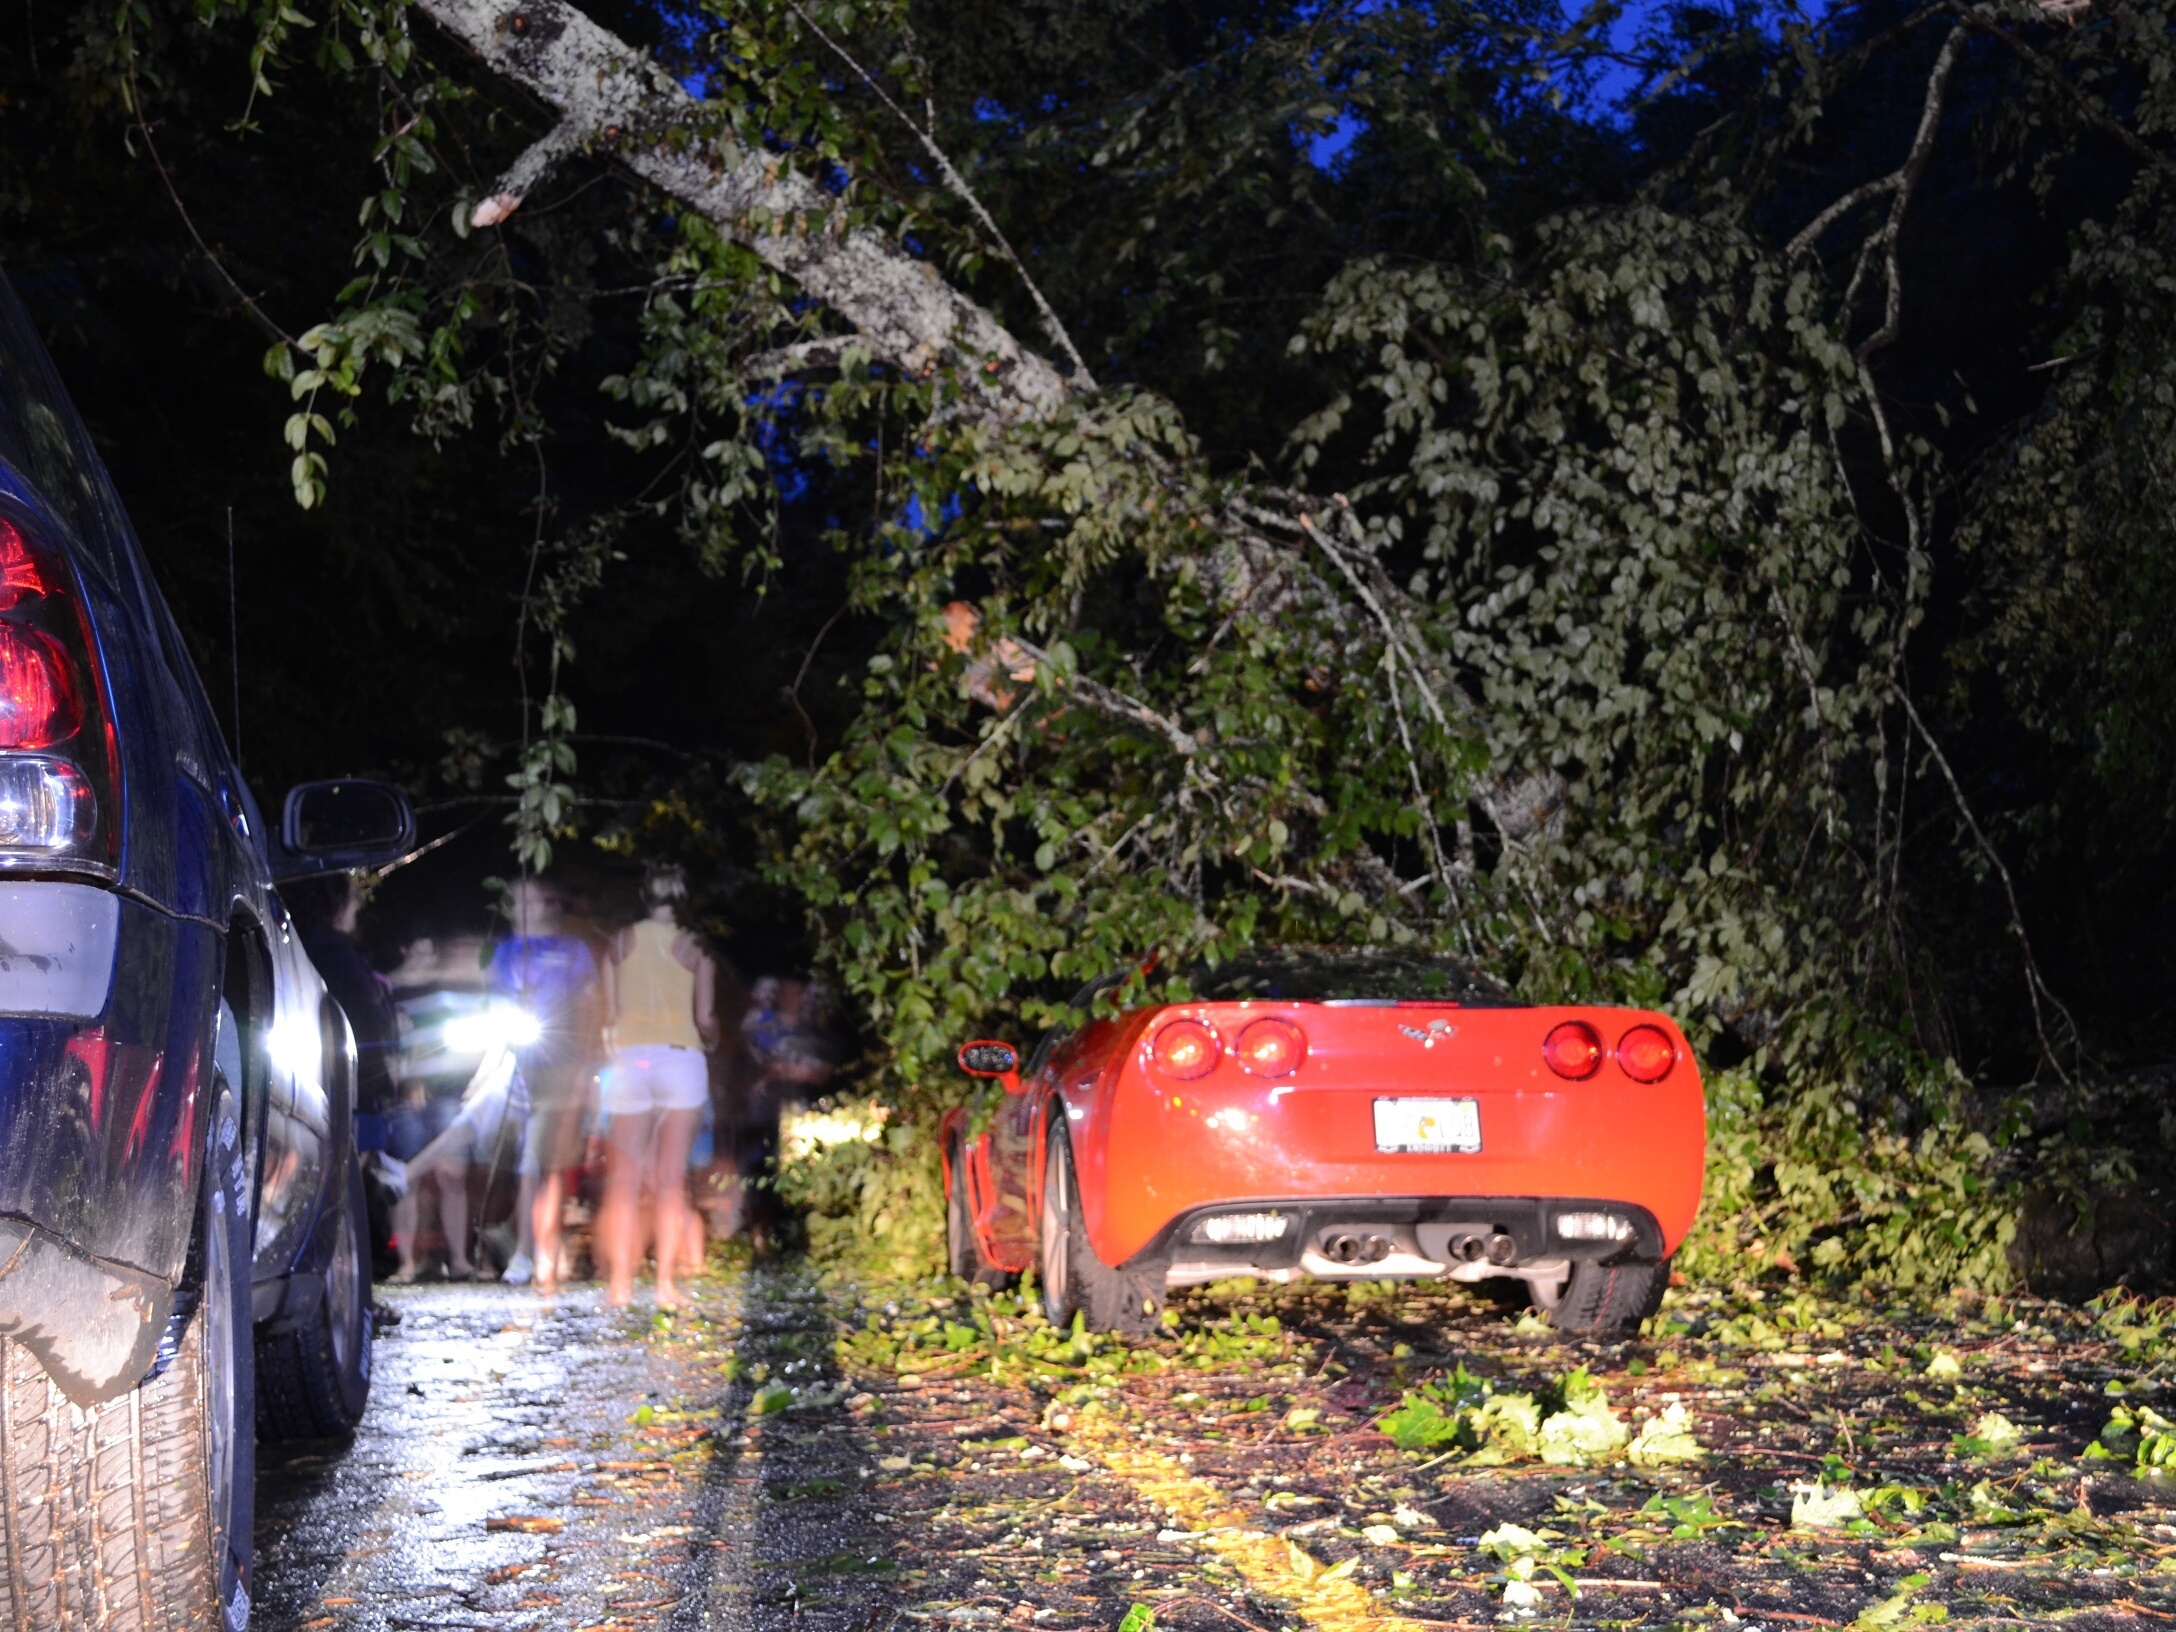
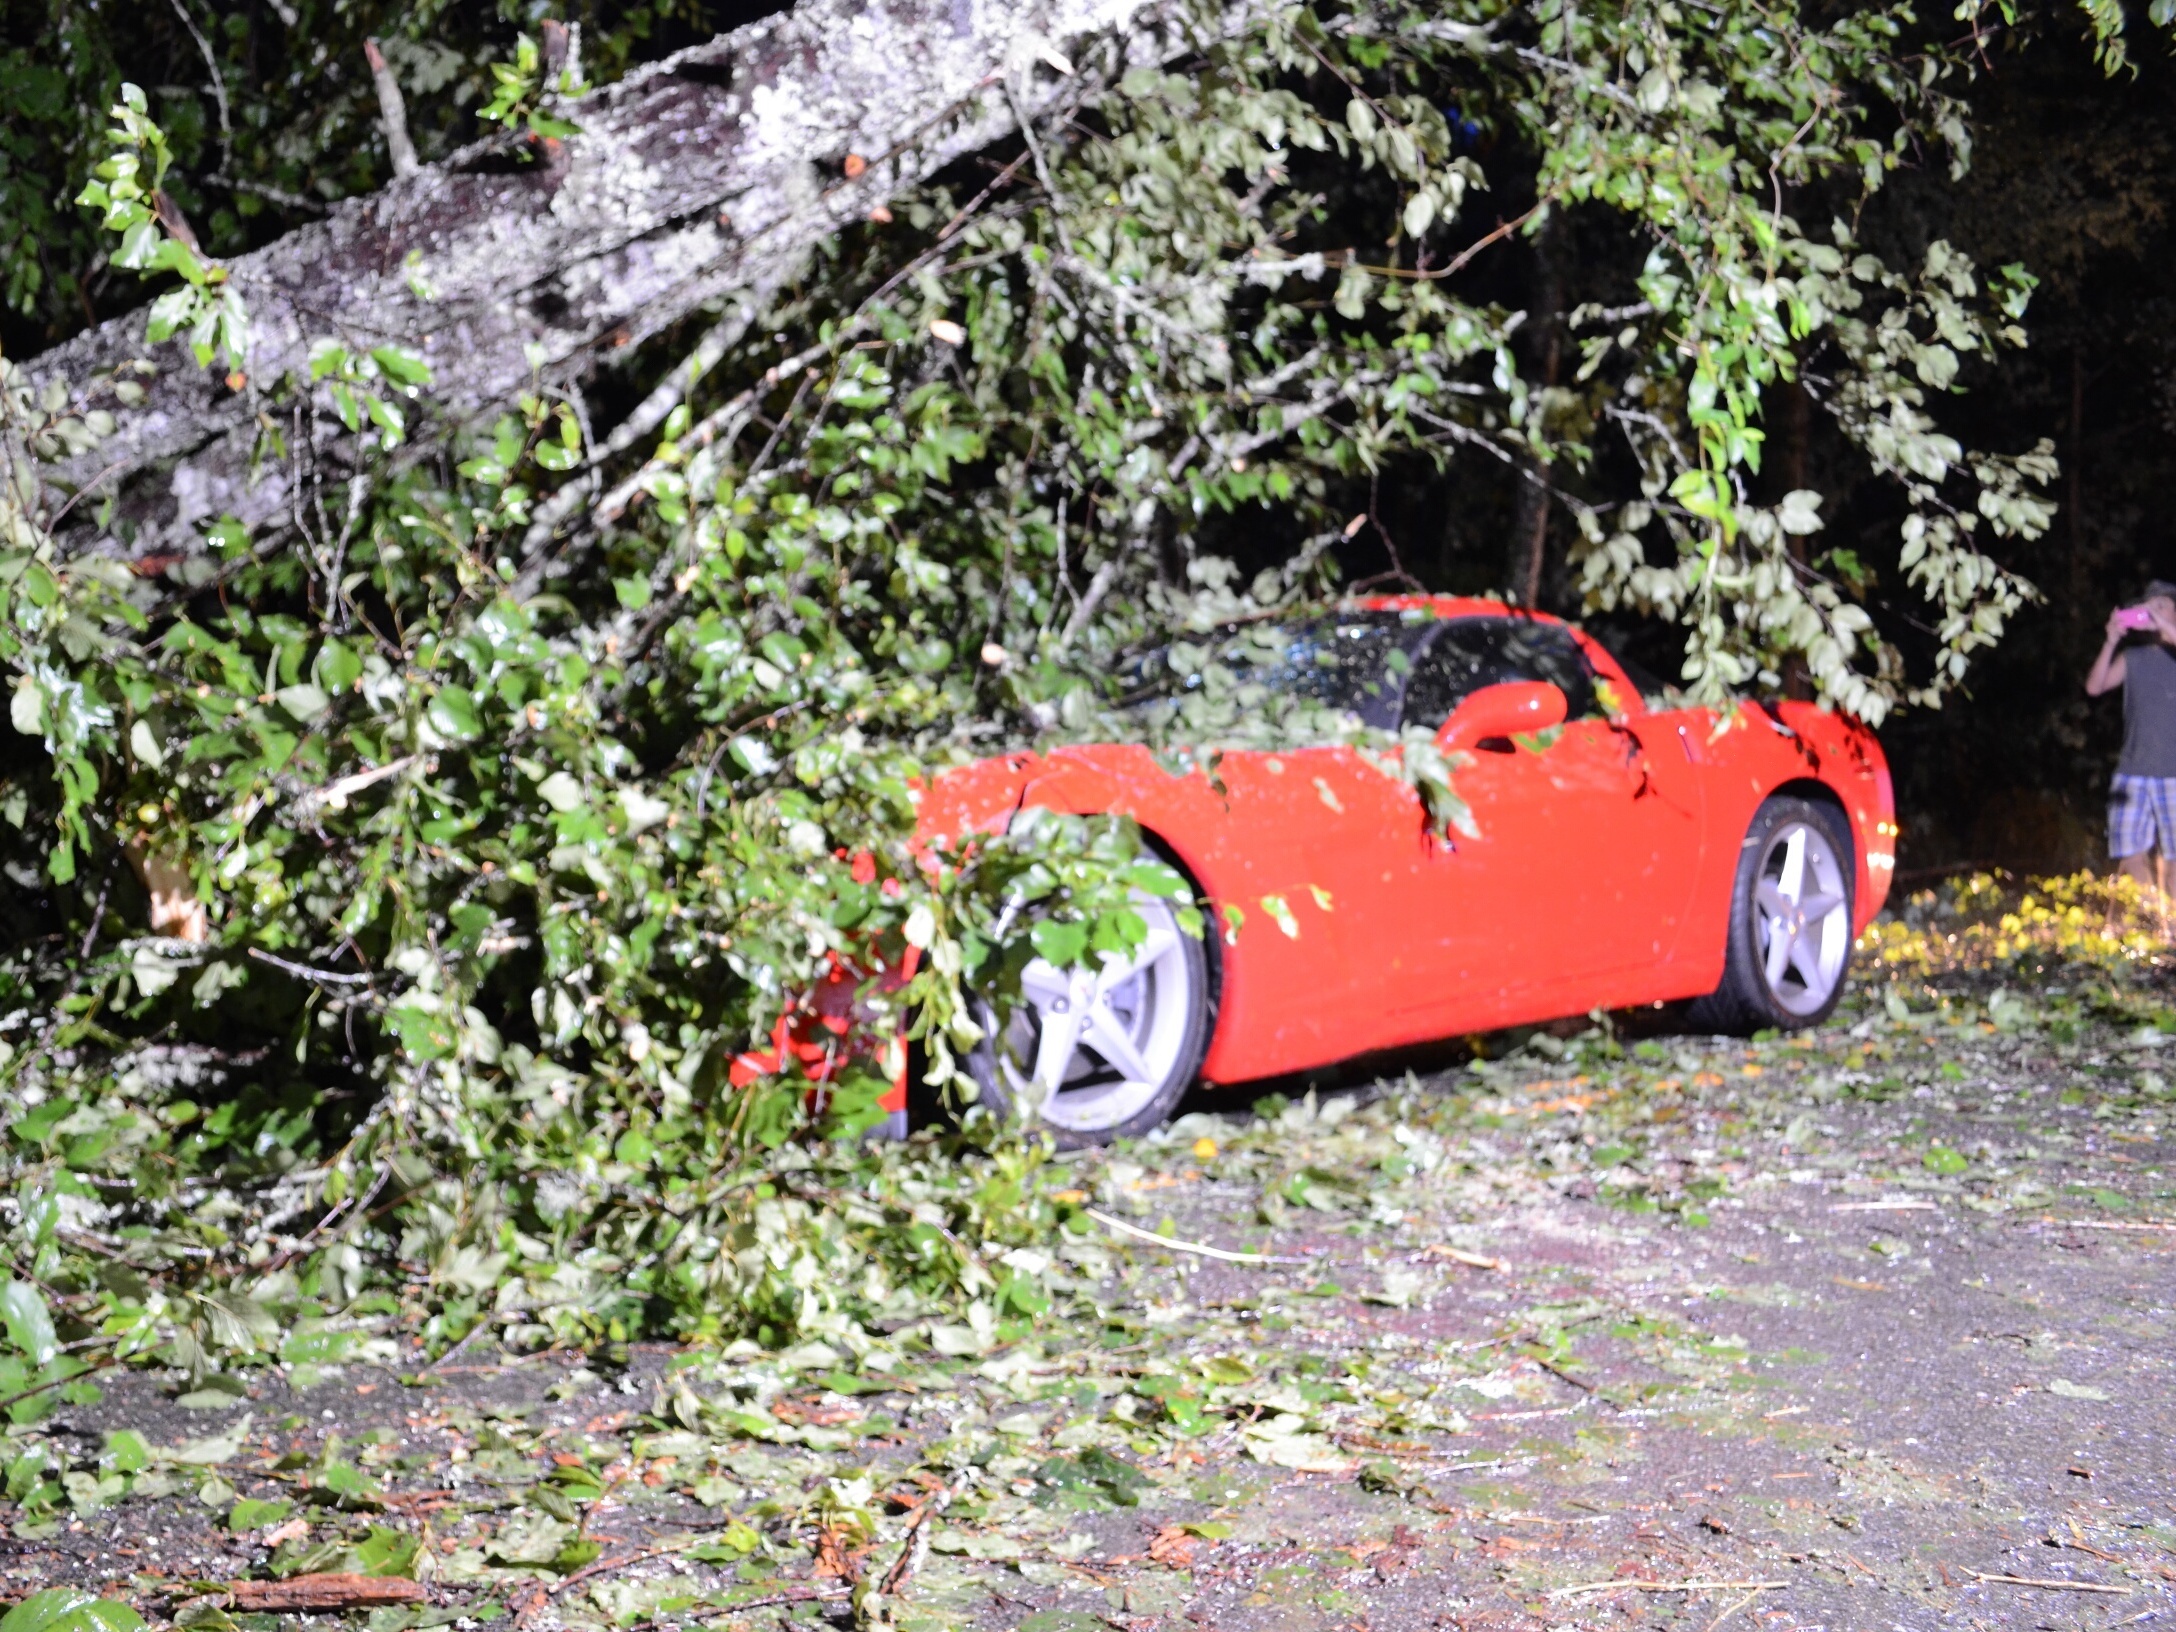
Get up close if you can. When the line of cars ahead of us began shifting into “Park” and shutting off ignitions, it was obvious we were going to be there a while. I shut off the car and walked around for some better shots of the Corvette.

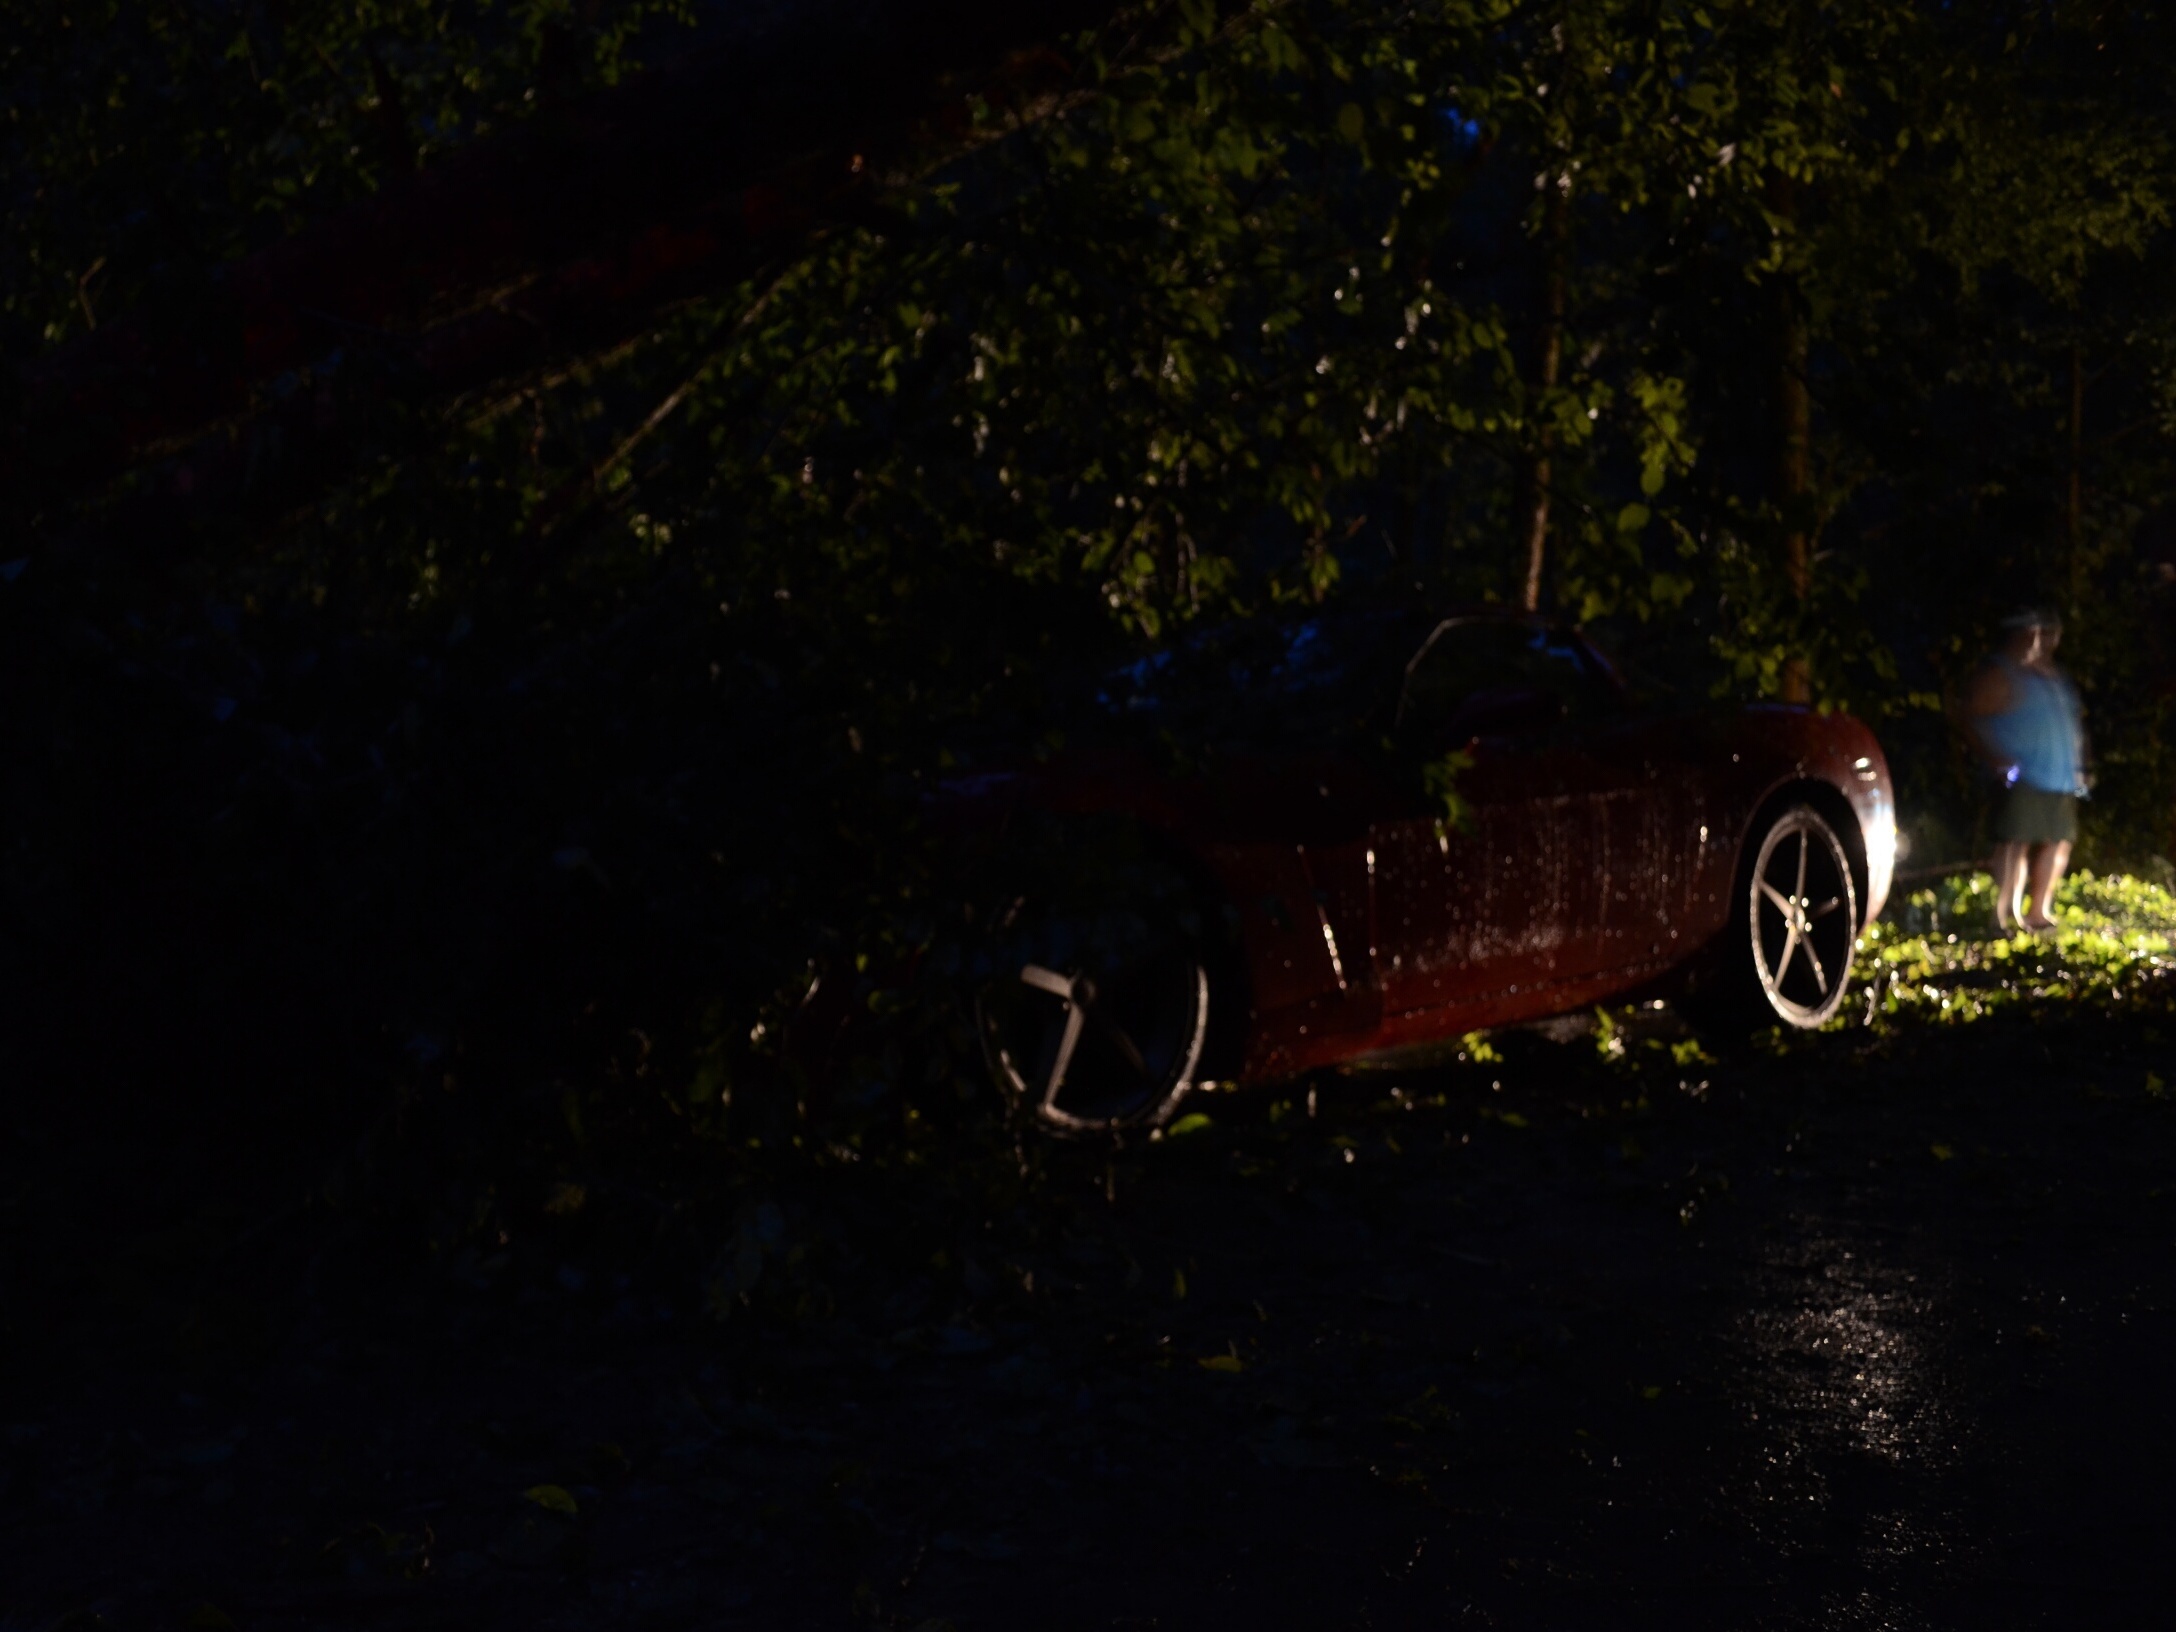
Use a tripod. Getting a really good shot in a low-light situation calls for a long exposure, which requires a tripod. I made a series of 5-second exposures from various angles. Bystanders in these shots were rendered as blurs, which is not objectionable in this situation. The damage, not the people, is the subject of the photo.

People on the scene were quite cooperative about staying out of the shot–I didn’t even have to ask. Bear in mind as you work that they’re just as curious as you are, and return their consideration.

Stay out of the way of any first responders as they work. Let them do their jobs.

Experiment with open flash. By detaching my flash from the camera, standing off to one side, and firing it manually during the exposure, I was able to highlight key elements of the scene.

Notice how the unflashed shot, also a 5-second exposure, is dramatically darker. If I hadn’t had the flash along, a longer exposure would have yielded an acceptable shot.

More flash-to-subject distance would have cut down the extreme brightness of these shots. They don’t look like nighttime anymore, do they?

Firing the flash away from the camera helps avoid the flat, textureless look that on-camera flash tends to give a shot.

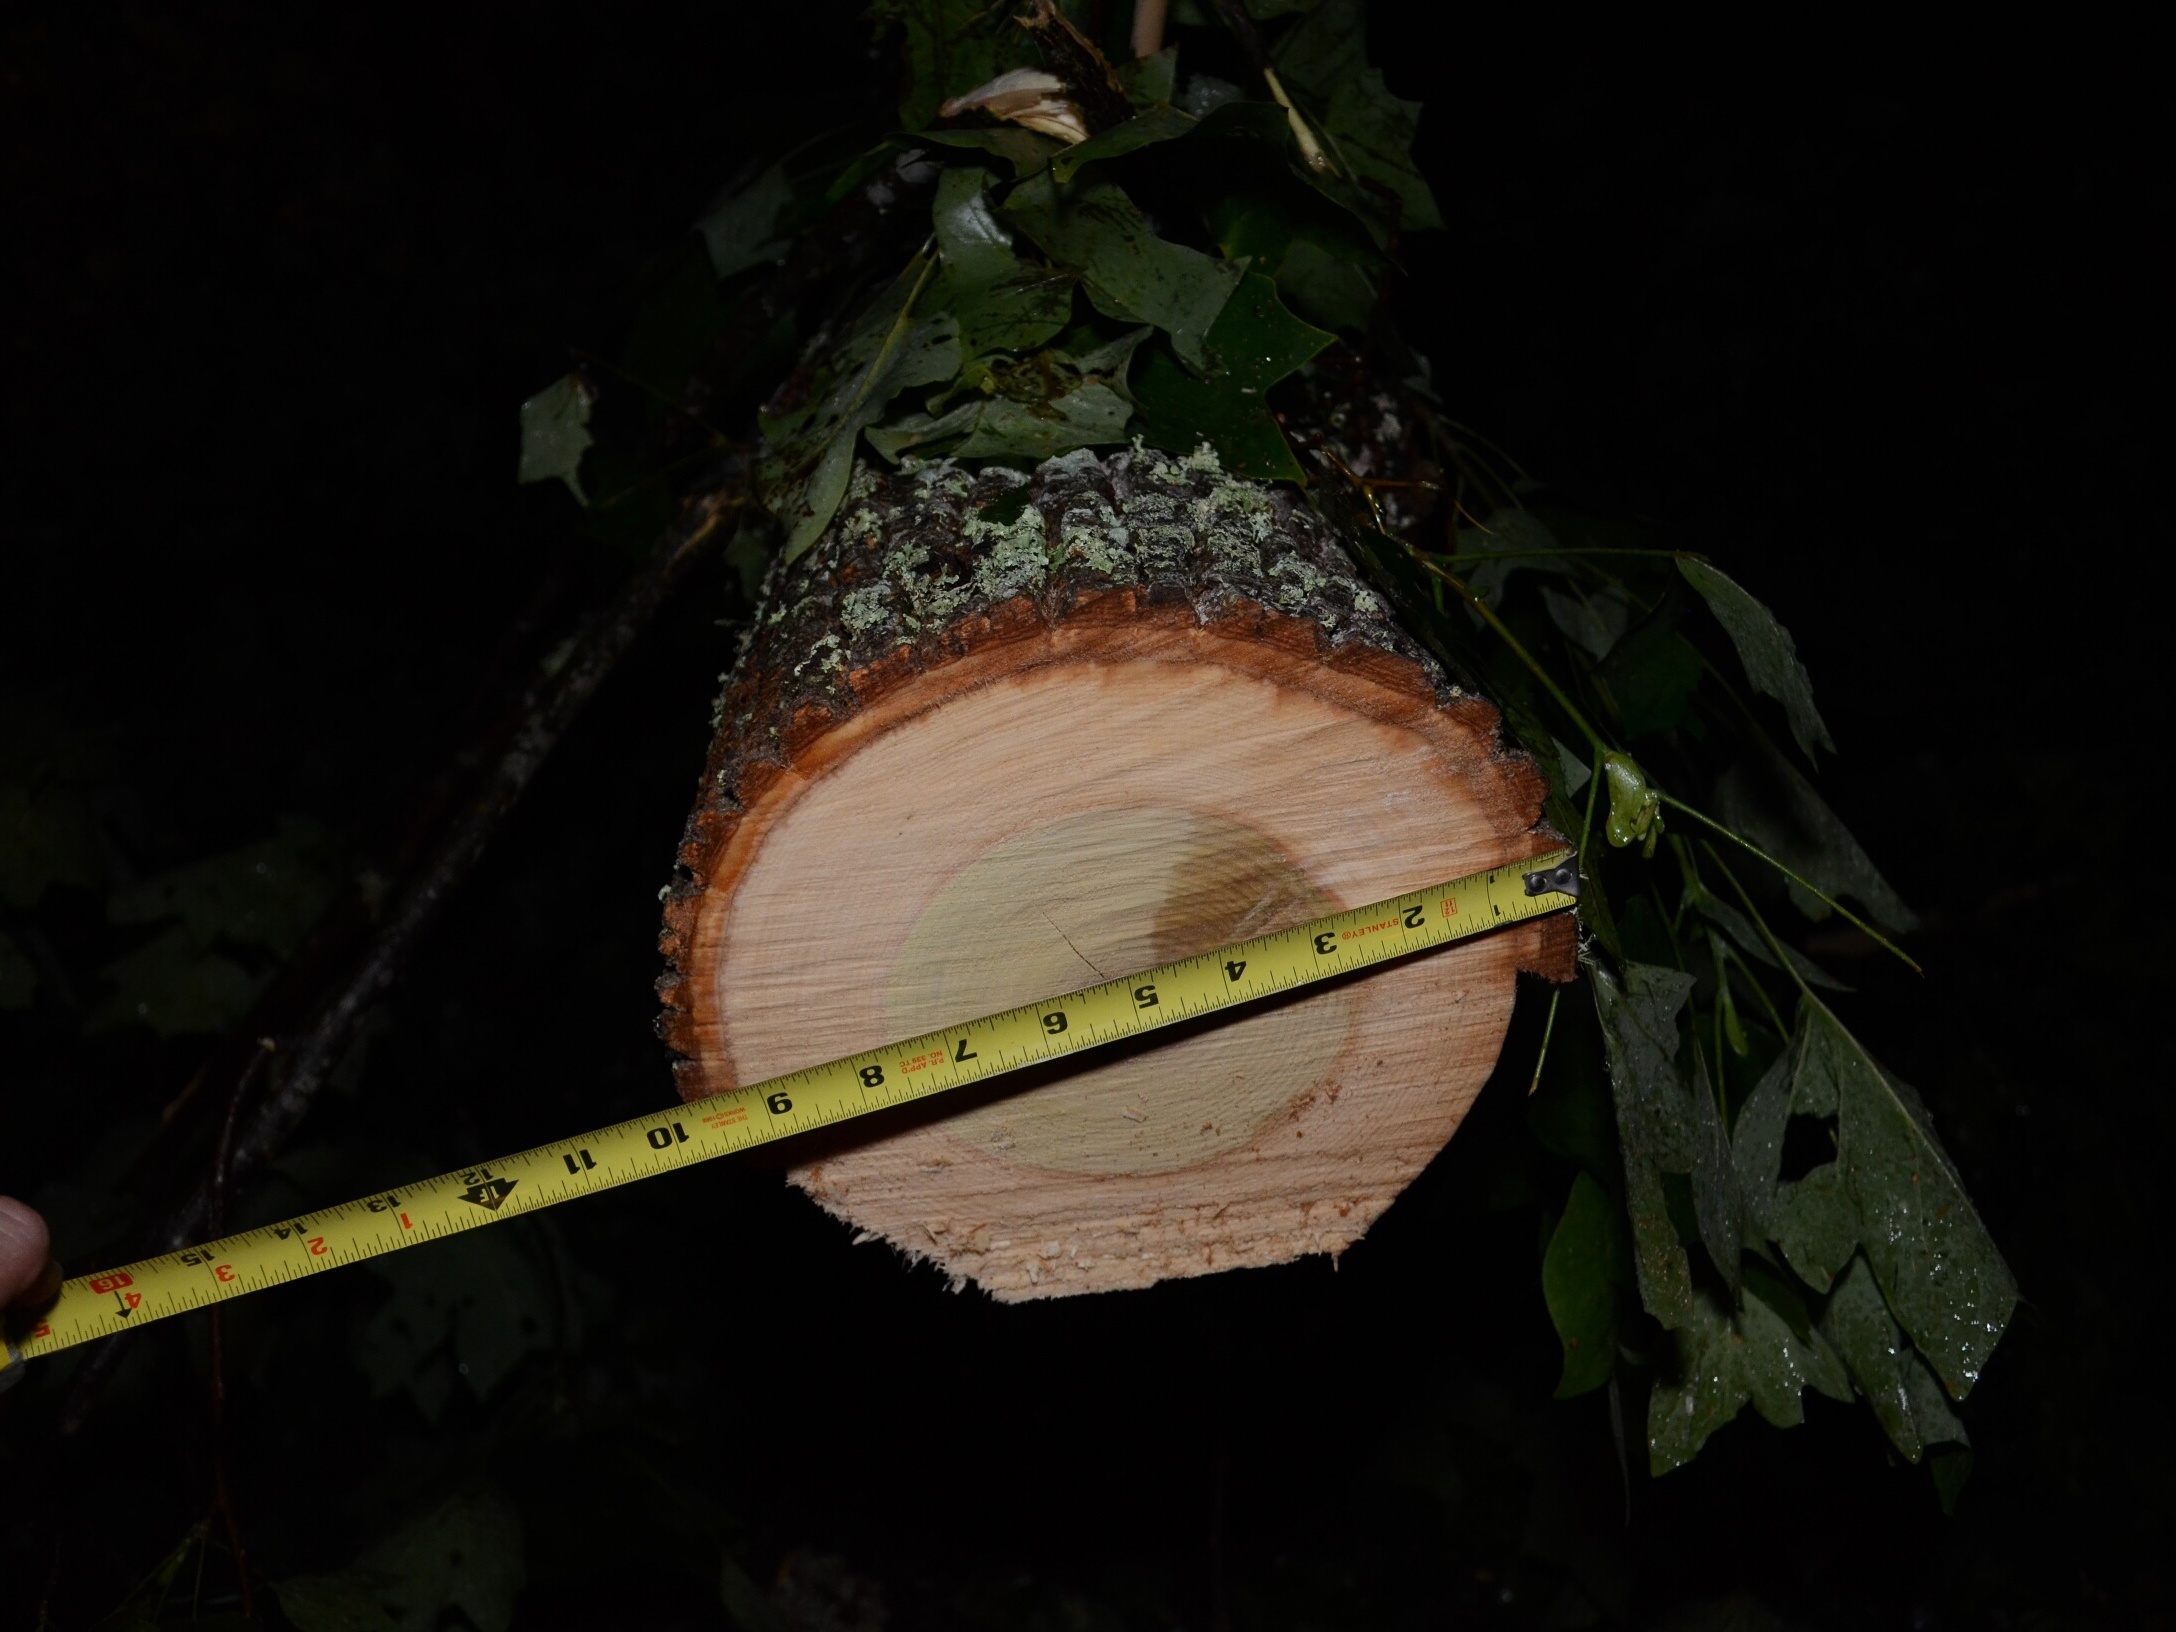
Add a reference item to a shot. Just how big WAS that tree trunk blocking the road? Hold up a tape measure for the photo and show us! (Yes, I do keep one in my pocket.)

Share it with the media. After five hours, we finally made it back to the outside world, and fell into our beds. The following morning, I browsed some local news sites to find out what kind of coverage they had. They had photos of ambulances in the dark, and cleanup crews in daylight, but no photos of the immediate aftermath from inside the park.

From all the photos I took, I chose this one, which I felt best portrayed the damage I had witnessed, and emailed it to the photo editor of the Knoxville News Sentinal. It was posted the next day, in a follow-up story about the storm damage.

Use restraint. Pick out the very best picture. Don’t make the editor sort out the entire contents of your camera. Other people probably sent in pictures, too. If they want to see more, they’ll ask.

Conclusion

Sometimes a DSLR feels like "too much camera," in a world populated by smartphones and excellent point-and-shoot devices. They excel, however, in demanding situations, such as low-light photography.