I’m a great admirer of Jørgen Møller’s Posterhänger design. It’s great for those in-between prints that are too valuable to put thumbtacks through, but not valuable enough to have framed. Plus it’s considerably cheaper than framing, and looks a lot better than thumbtacks. Plus, it’s easier on your walls, requiring only a single hole to hang a poster of any size. I own six of them myself.
But they’re not perfect. The black rubber end-caps are easy to lose and hard to replace, as are the white plastic clamps that actually grip the poster and slide into the aluminum tubes. What’s more, I have one poster which, due to whatever combination of size, weight, and thickness, a Posterhänger will not support. I came home three times to find it lying on the floor. The problem, I realized, was that the plastic clamps did not grip the poster hard enough, and it was slipping out.
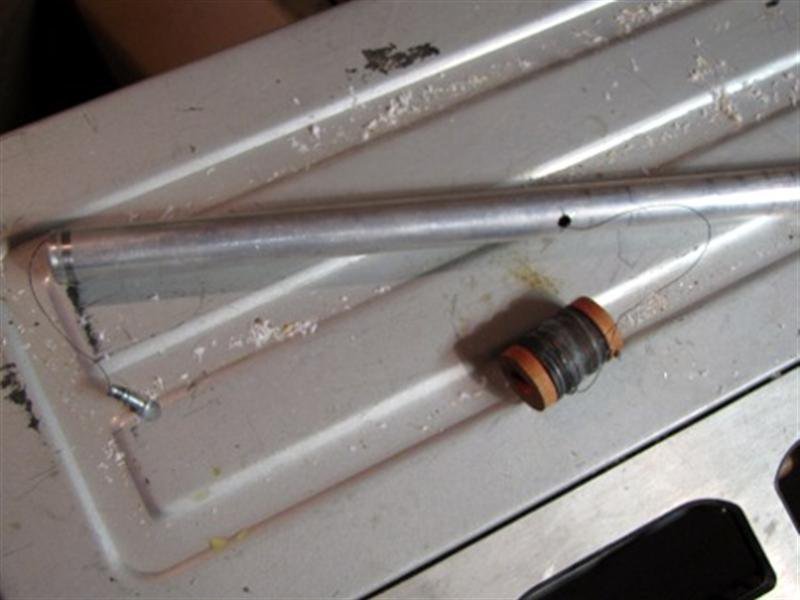
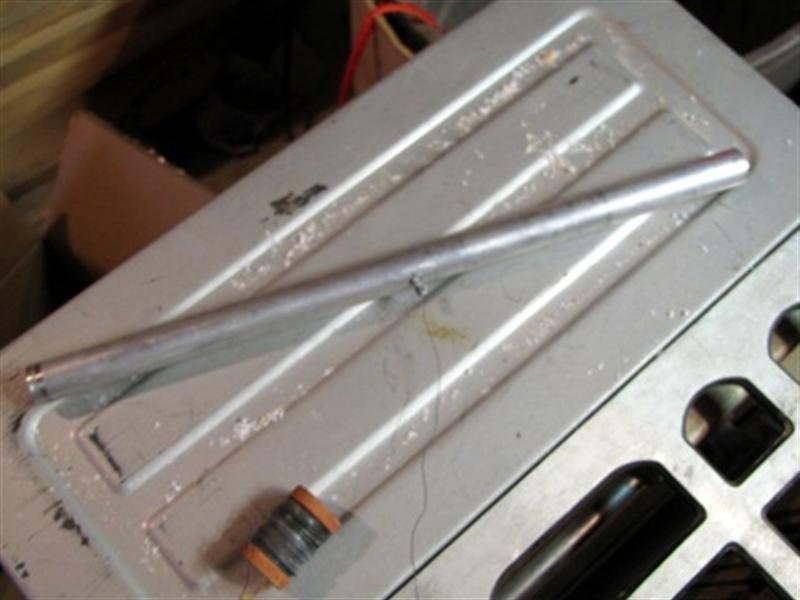
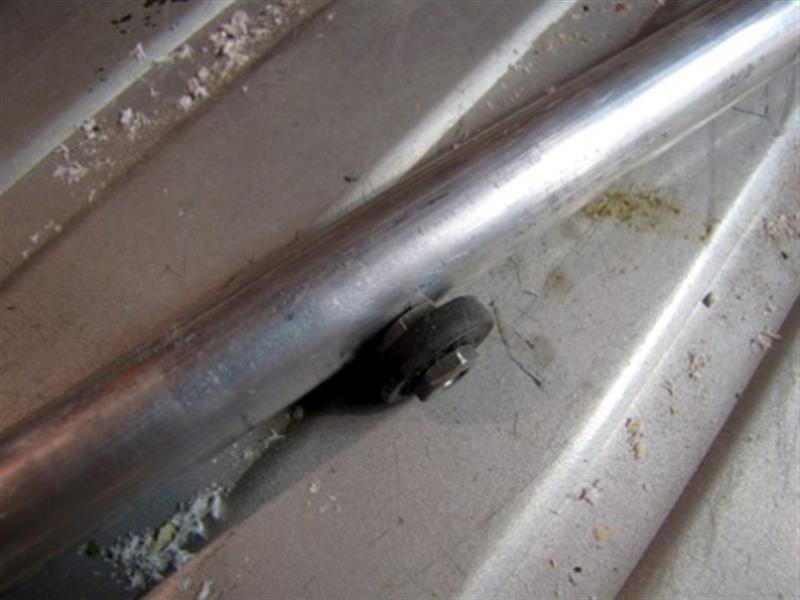
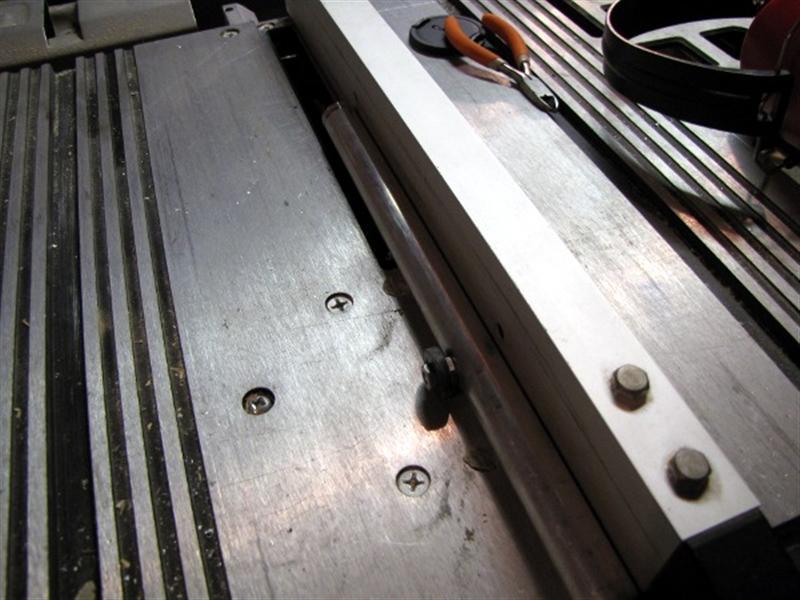
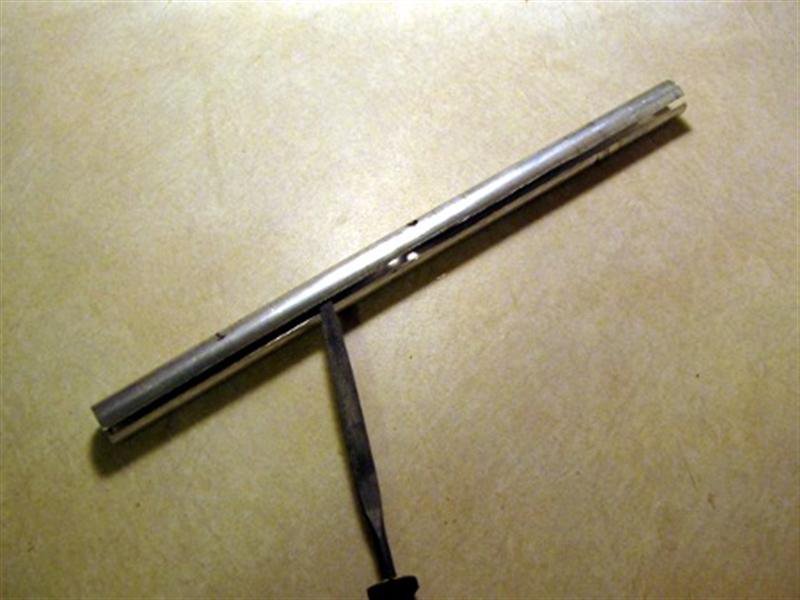
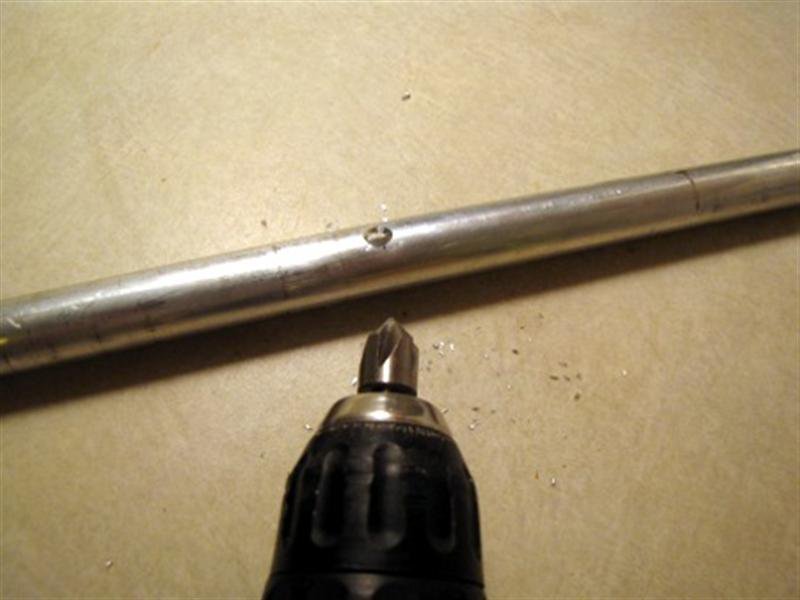
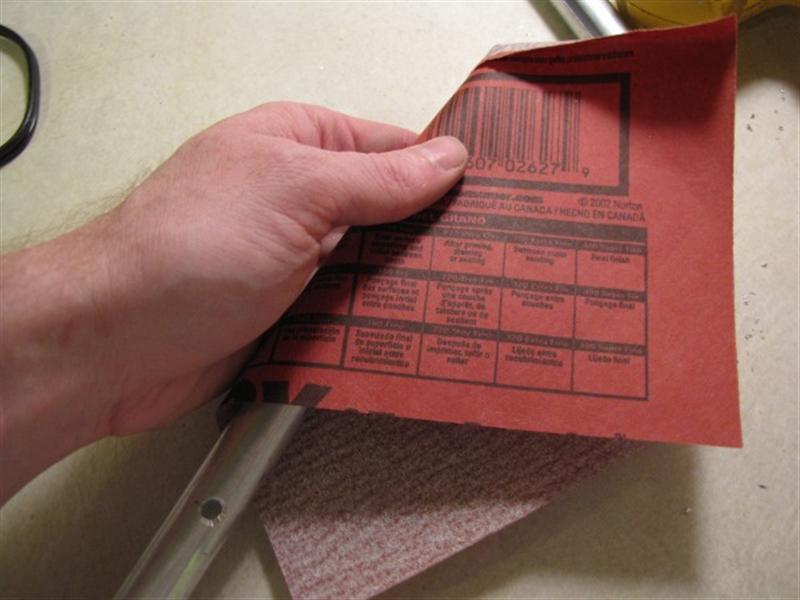
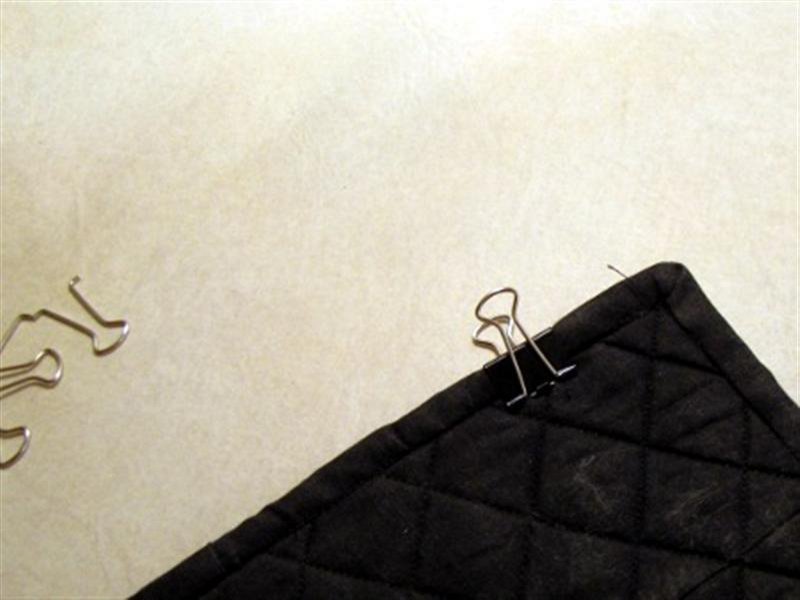
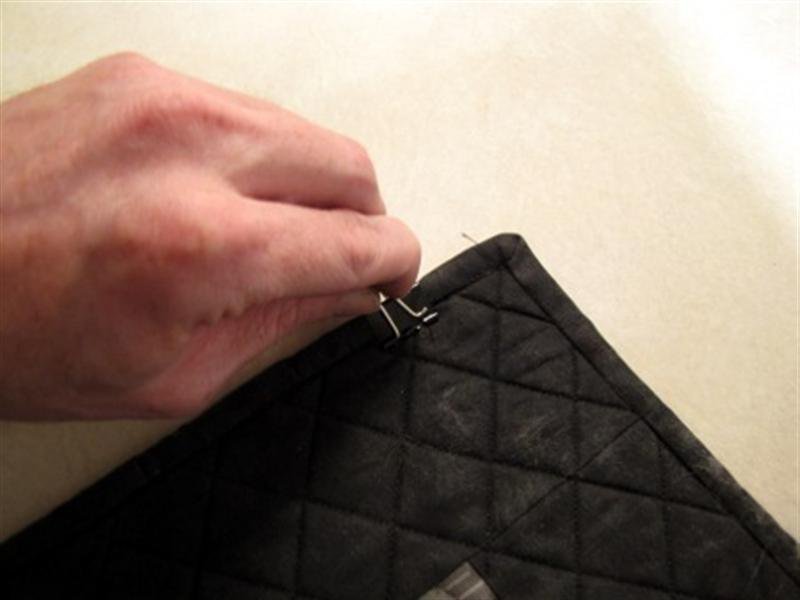
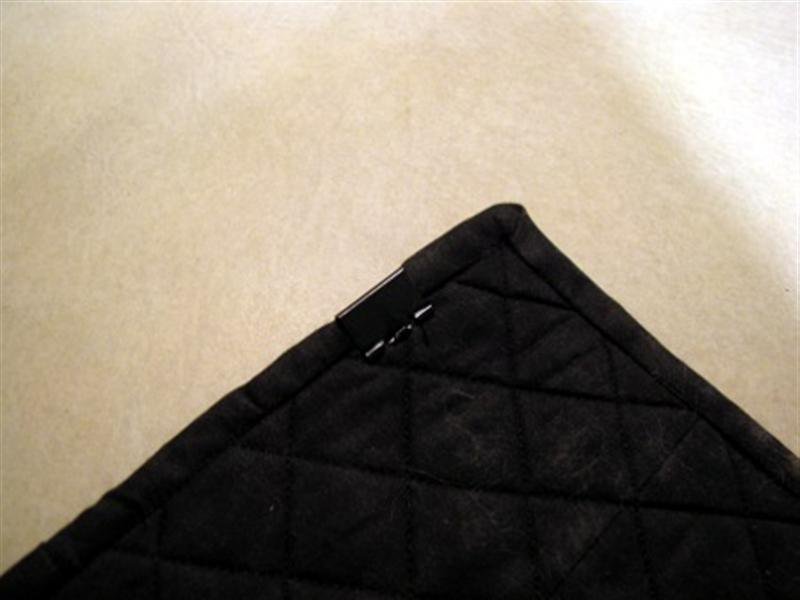
It eventually occurred to me to replace the plastic clamps with binder clips with the wire handles removed, which have much greater gripping power owing to their spring steel construction. My balloon rapidly deflated, however, when I realized that even if I used the smallest binder clips available (3/4″), they would not fit into the aluminum tube that came with my Posterhänger. Using binder clips would require remaking the whole system. Too bad, so sad. Maybe someday, right?
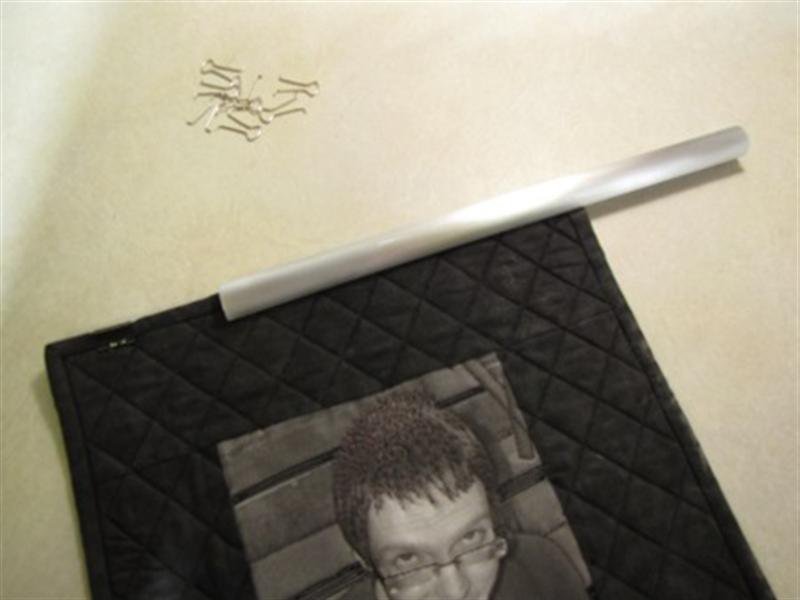
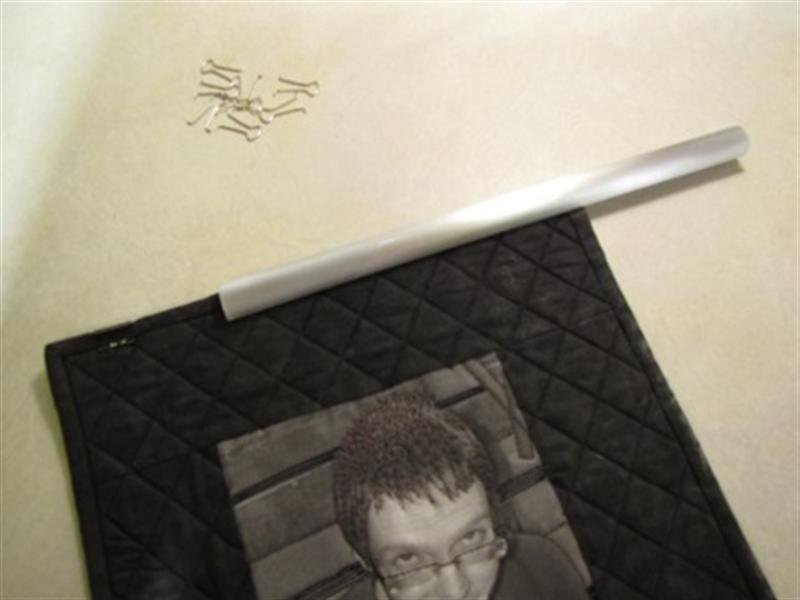
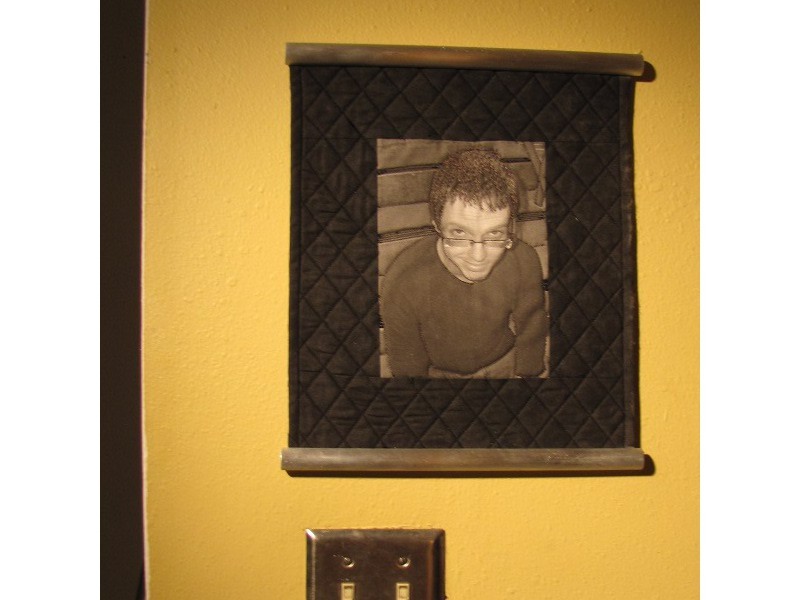
Now fast forward to last week, when my Moms presented me with this nifty quilted portrait of, ah, myself. Normally I wouldn’t hang pictures of me on my own walls, but hey, it’s from my Moms, and I want to display it, preferably without damaging it in any way. Seemed like the perfect opportunity to try my hand at DIY posterhängering.


