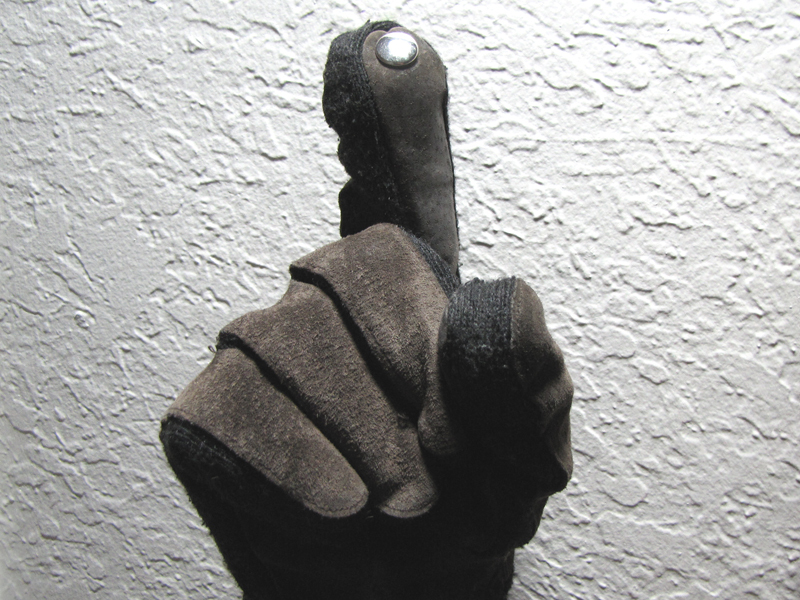
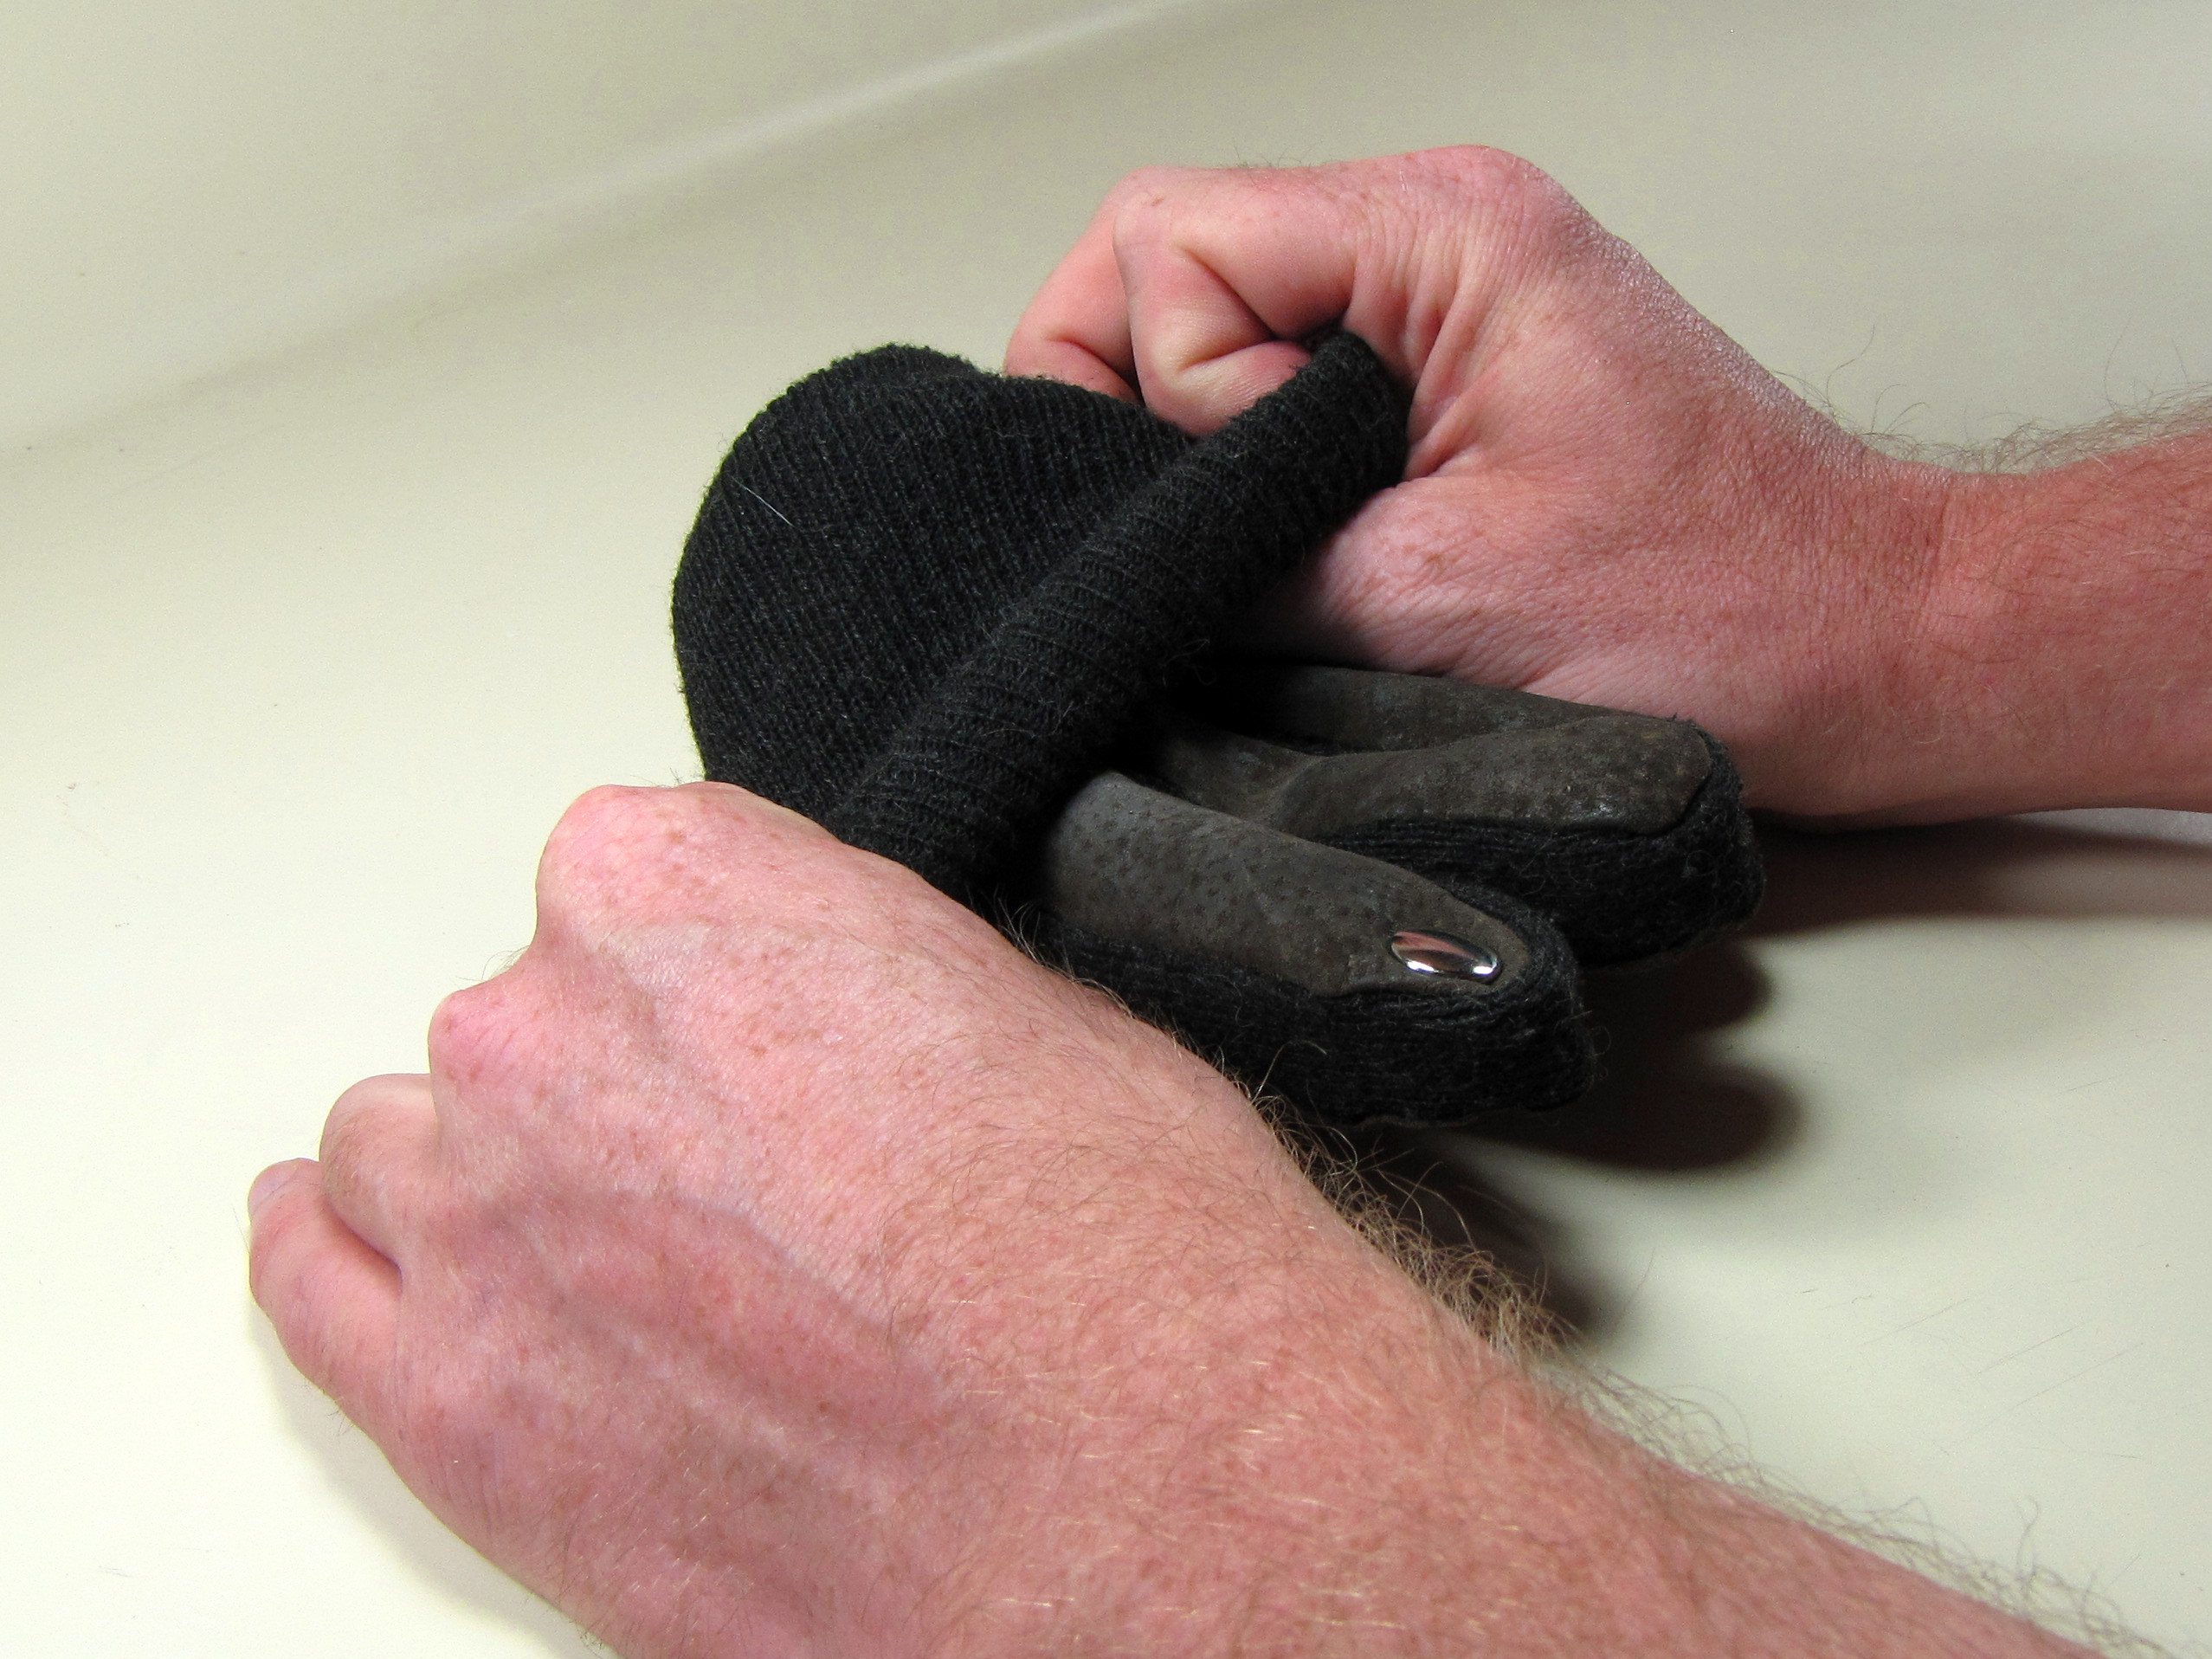
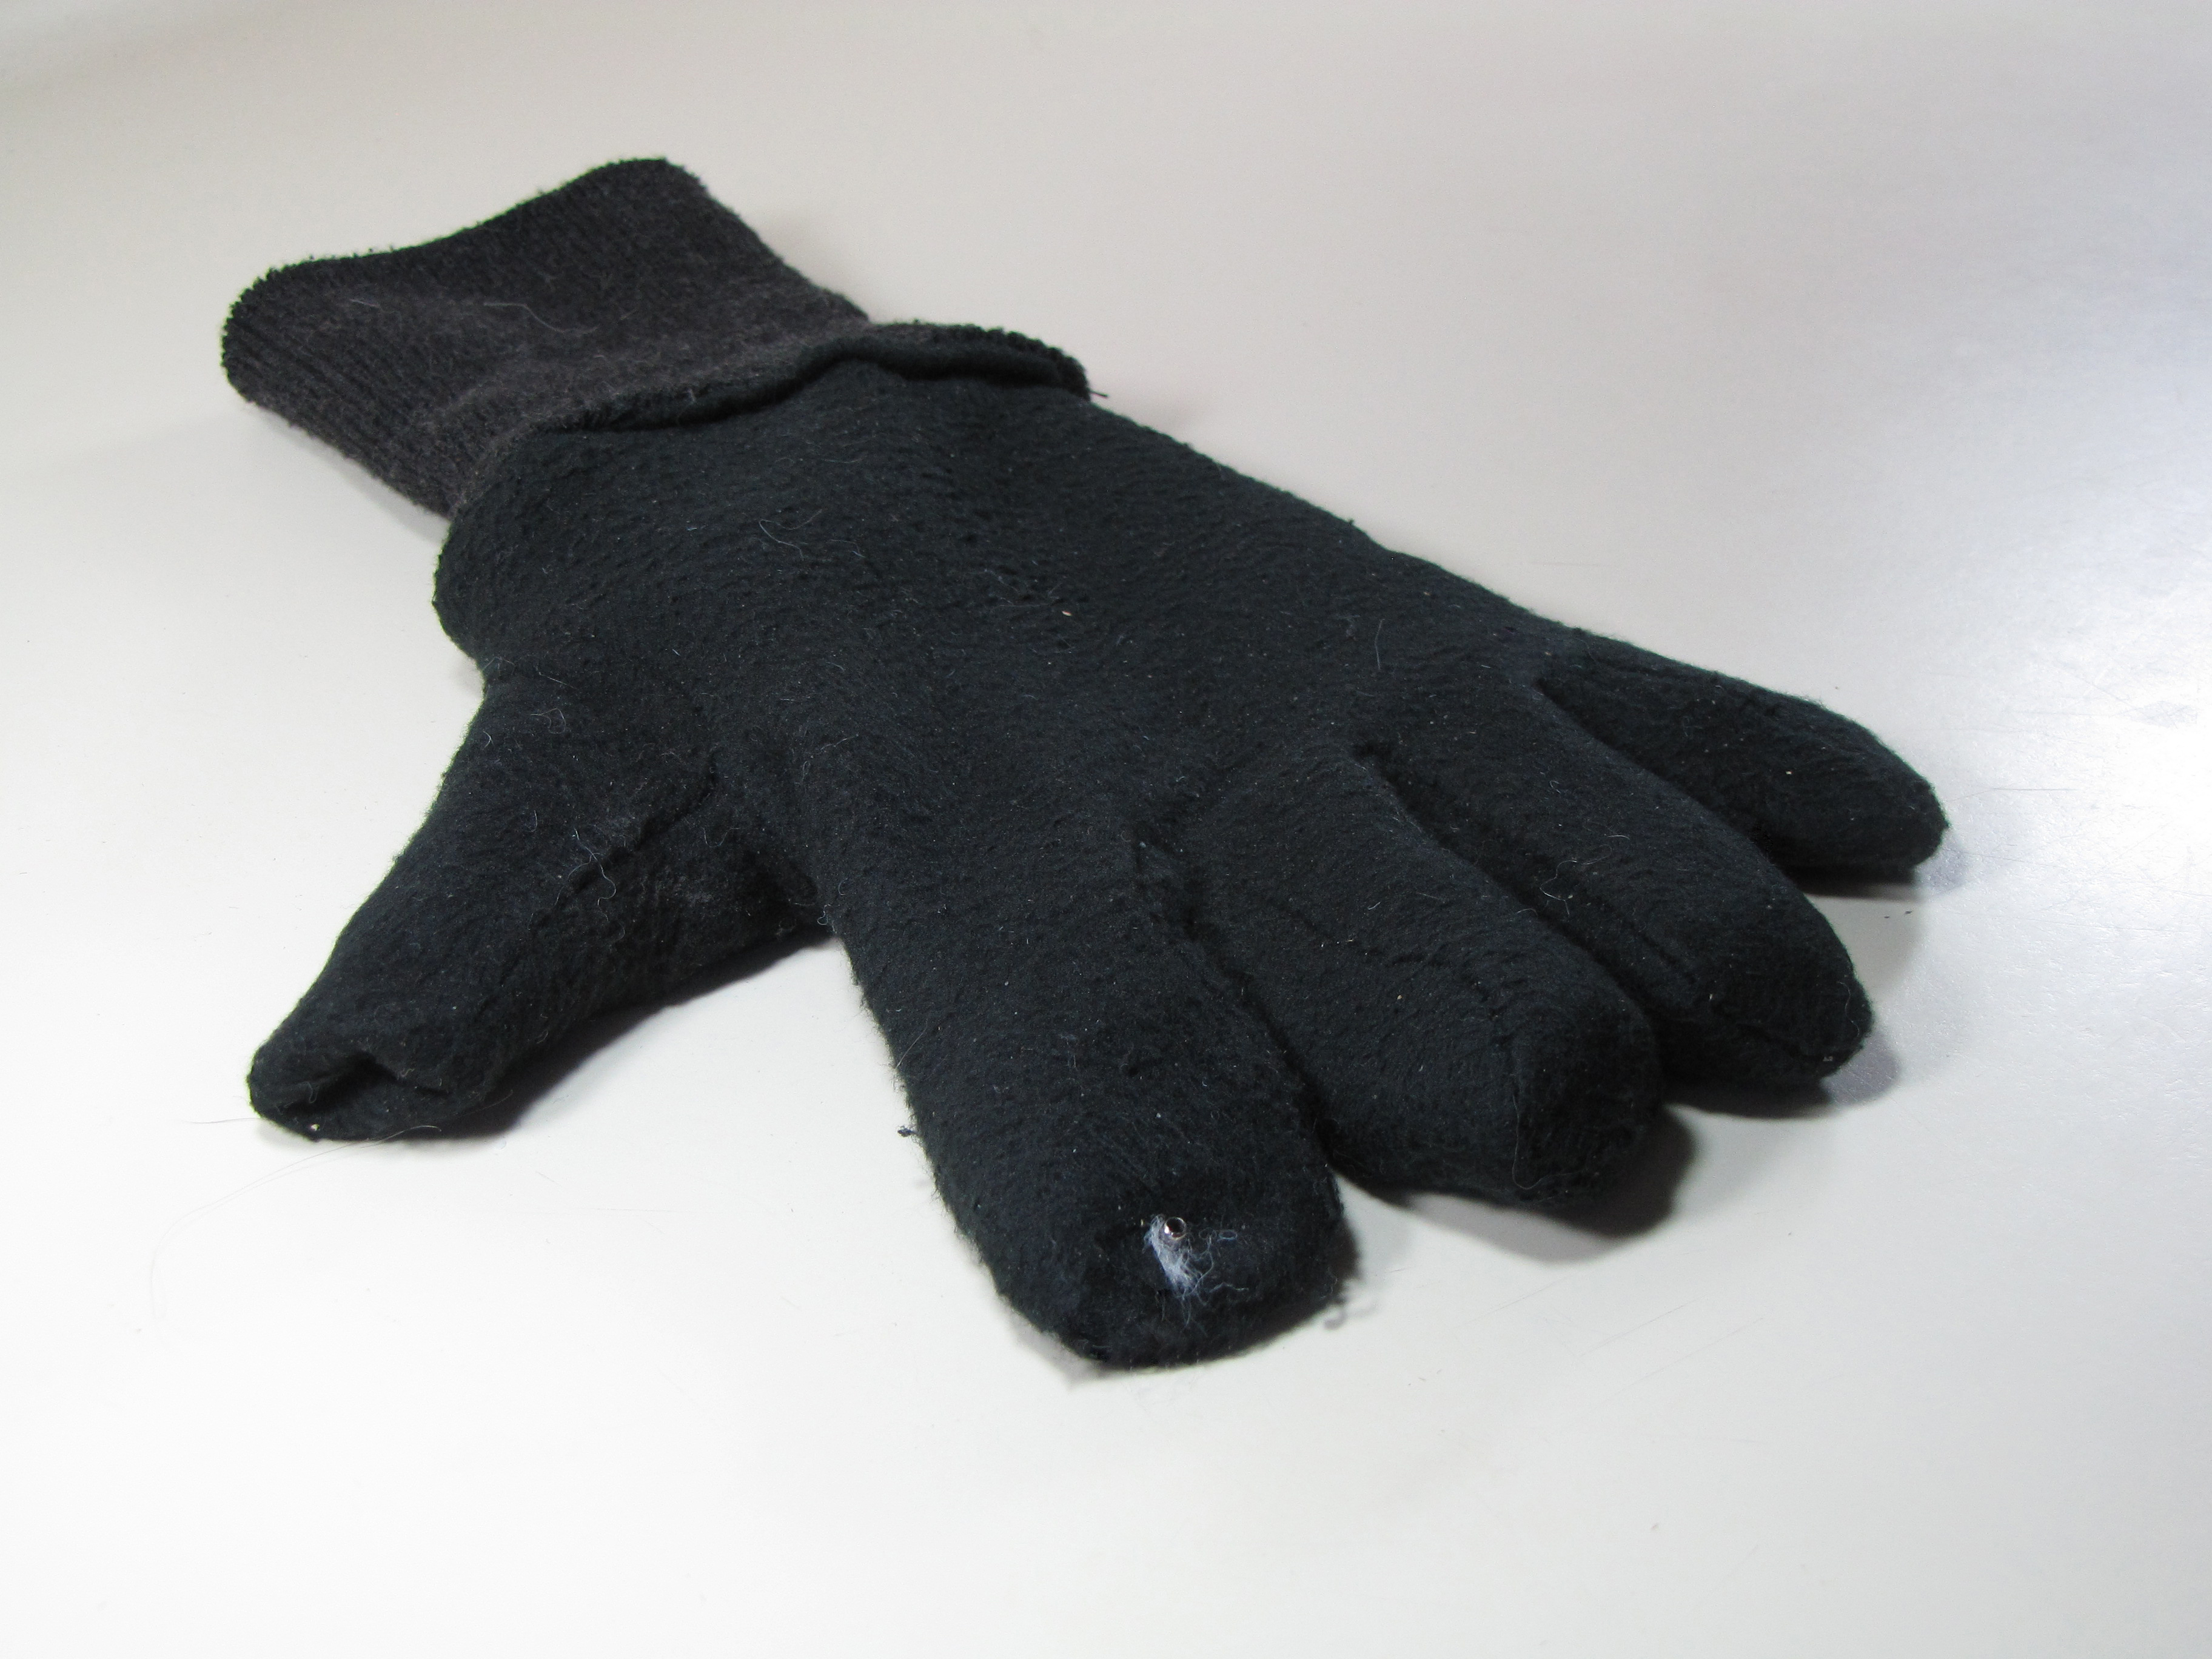
To make capacitive touchscreens work through gloves, you need a conductive pathway between the screen and your finger(s). Commercial touchscreen-friendly gloves made with conductive fabric at the fingertips are available, and if you’re handy with a needle you can use special thread to sew conductive stitches into the fingertips of a glove you already own.

If you’re not handy with a needle, this no-sew “hard” method, using the button or “cap” half of a snap fastener, may be more your style. Depending on your skills and personal tastes, it may come out better- or worse-looking than the “soft” method. In any case, it will certainly be faster, and, applied to a nice pair of new gloves, makes for a useful gift with a personal handmade touch. You can, of course, add snaps to as many of a glove’s finger- and/or thumb-tips as you please, which may be useful for multi-touch displays.

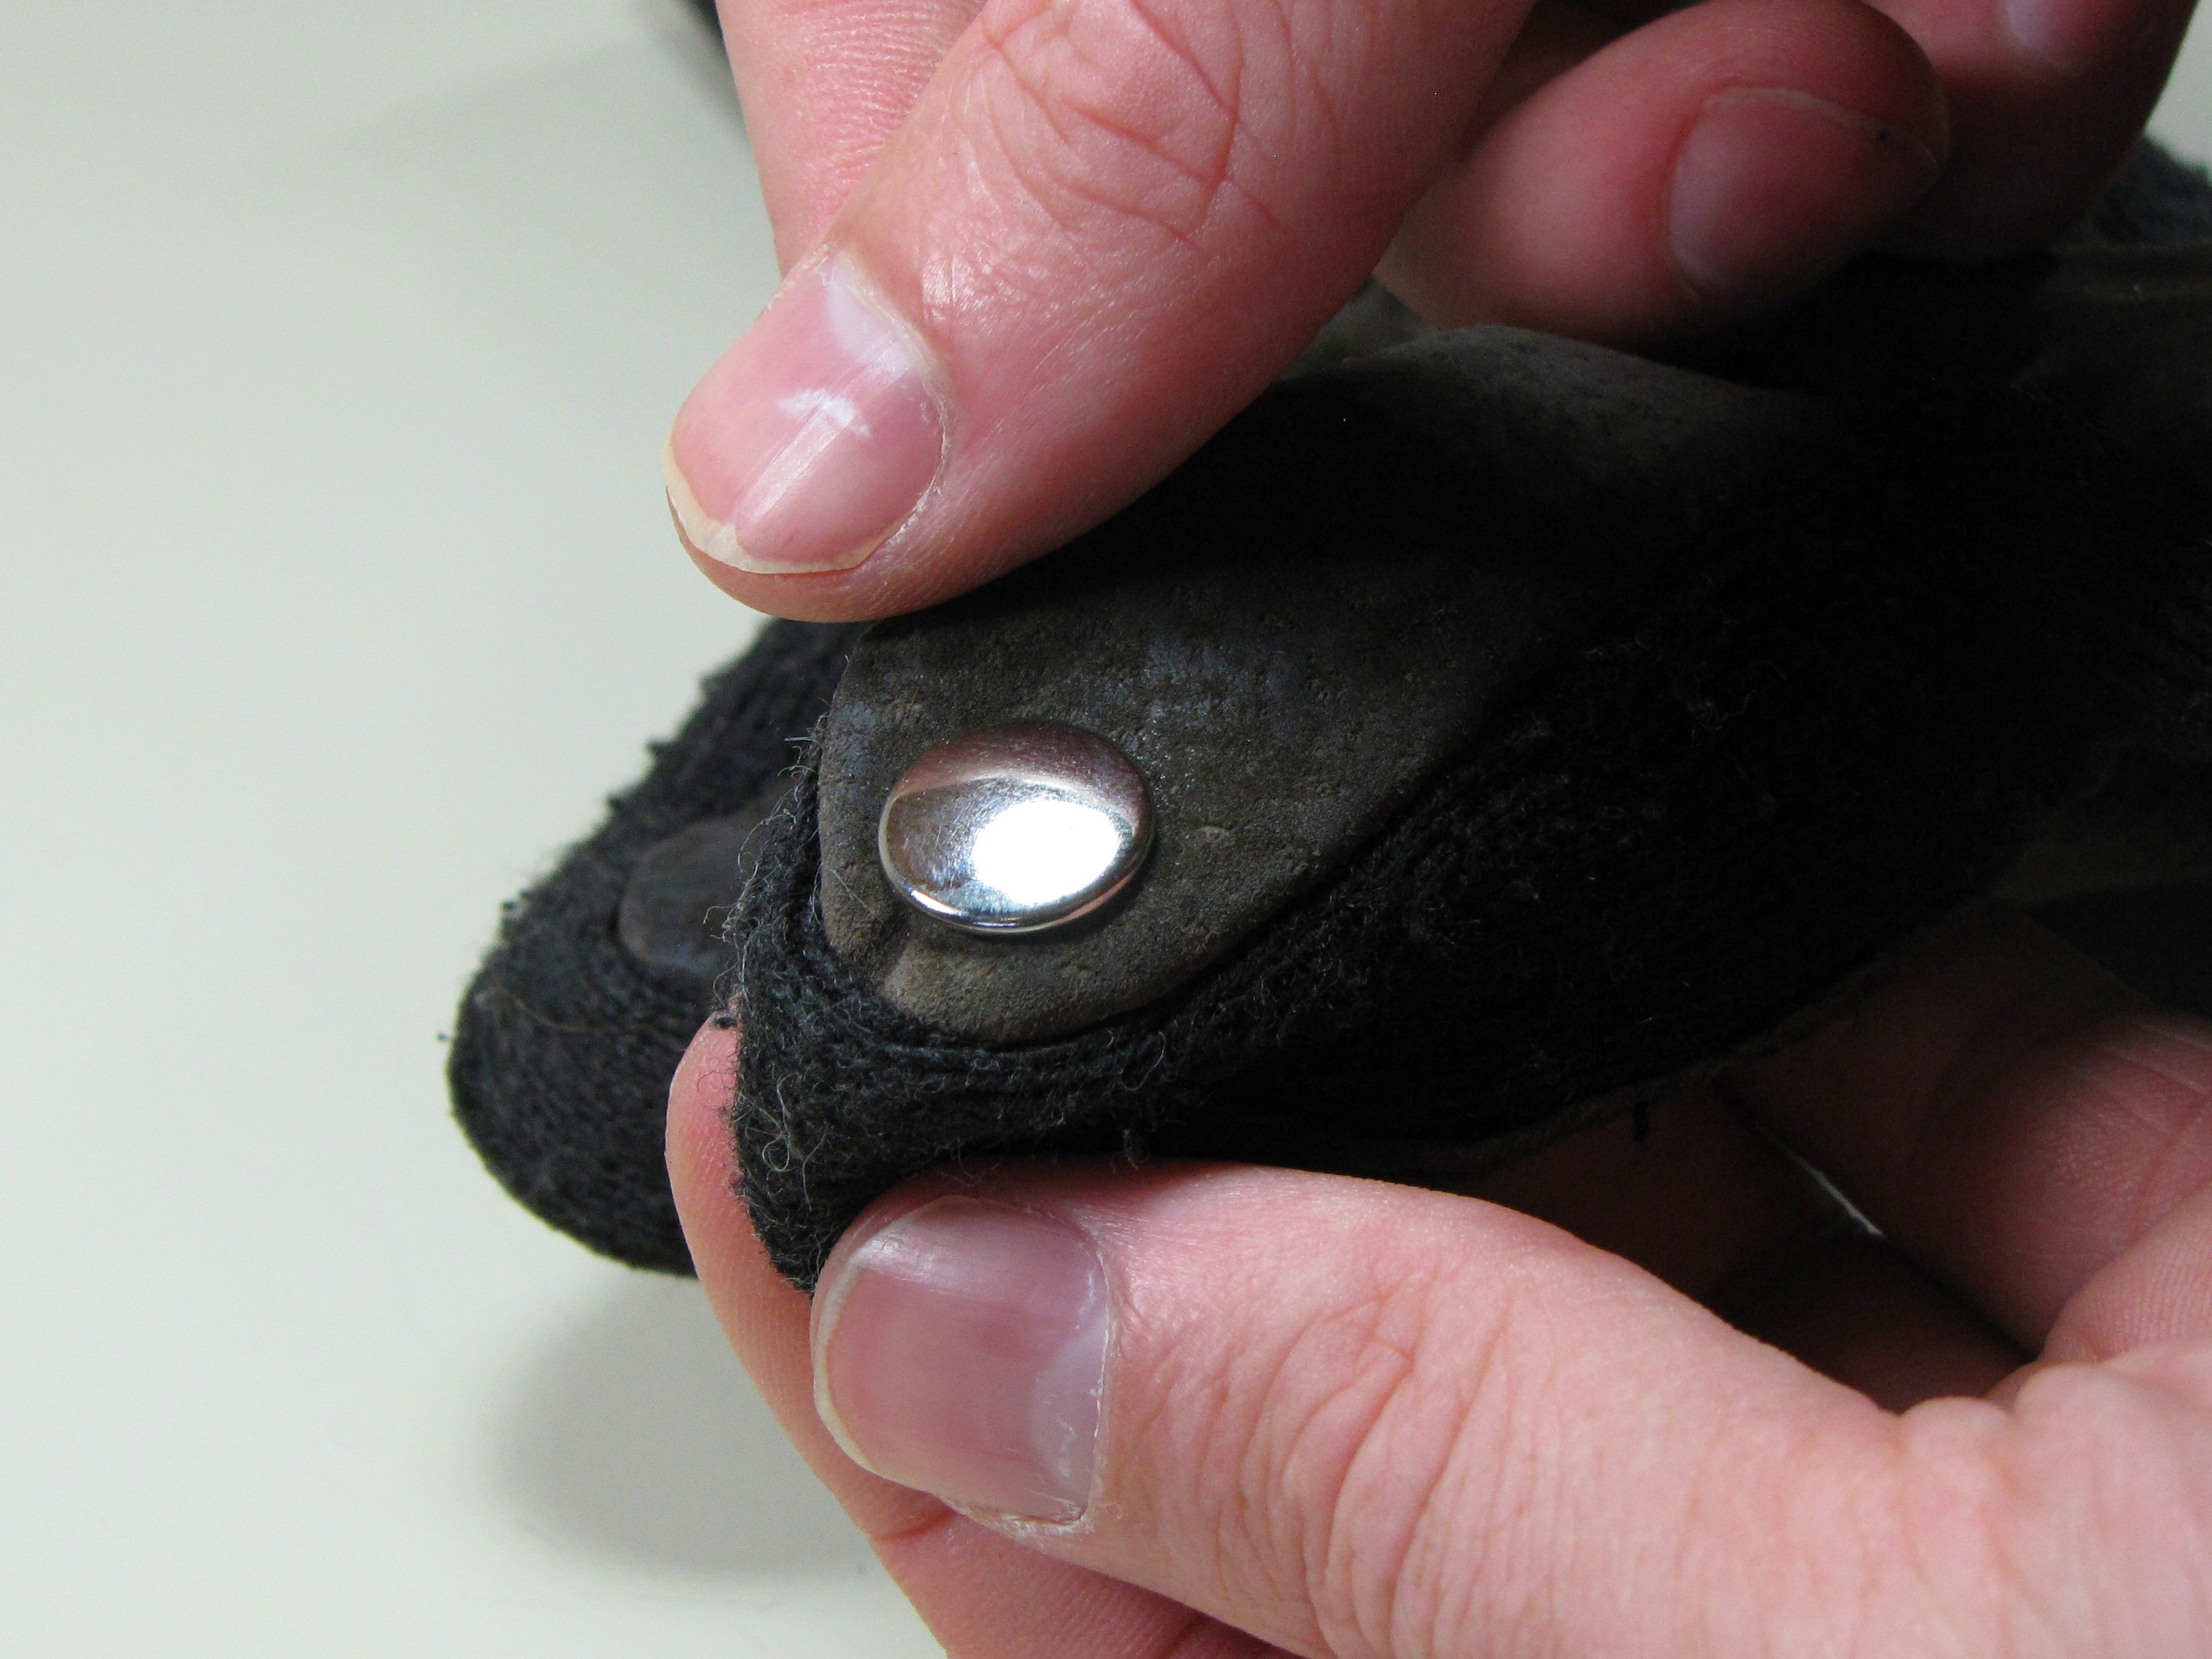
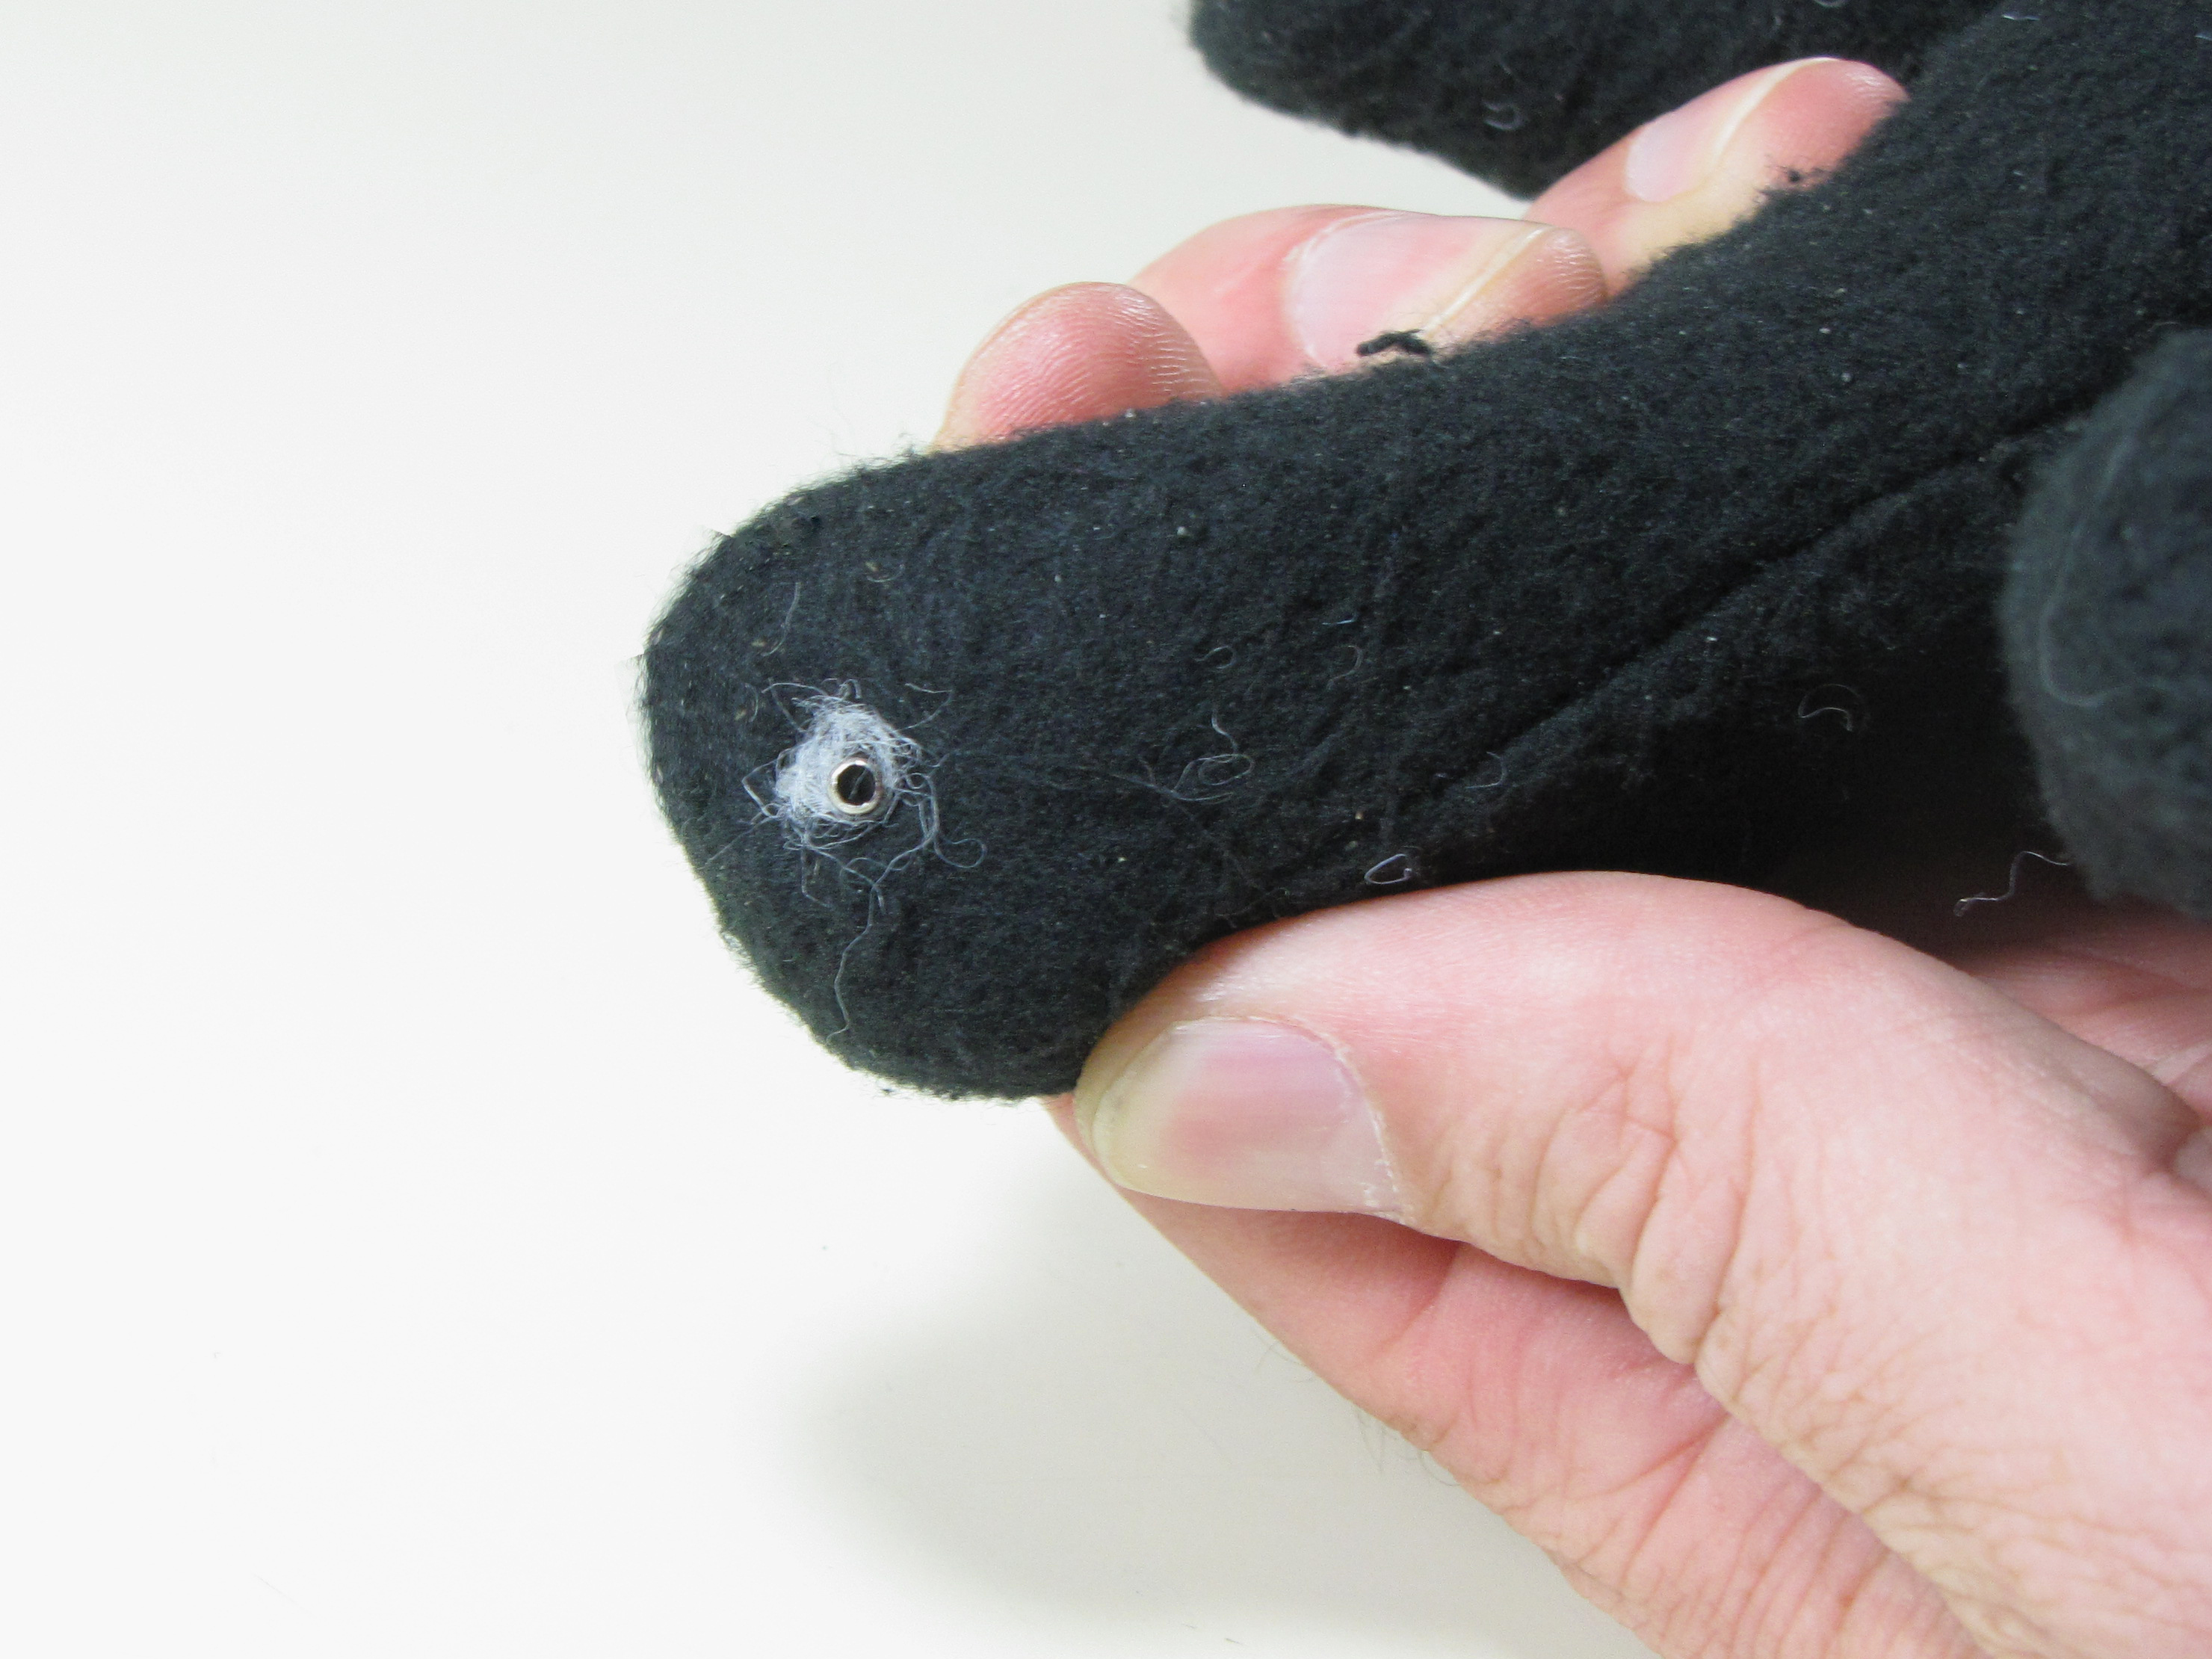
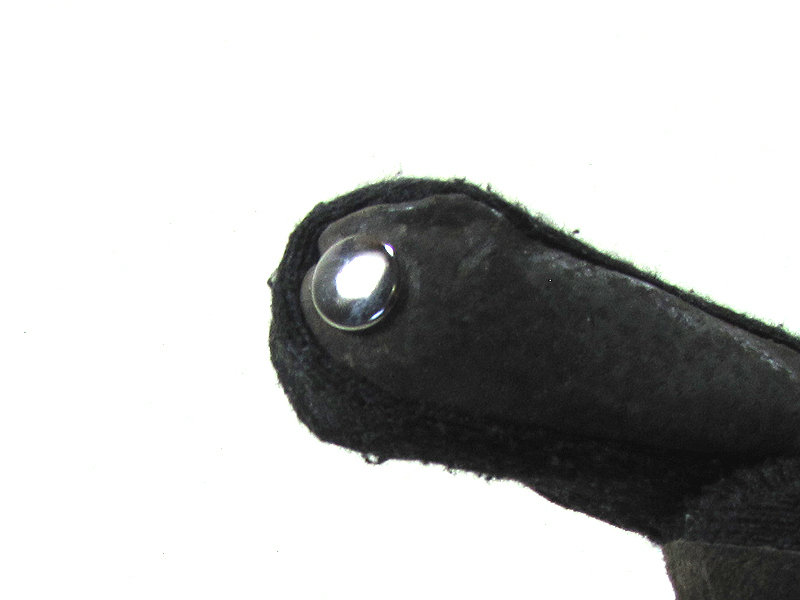
The round lip of the snap socket inside the glove makes it very easy to index your fingertip with the “sweet spot” on the outside of the glove, and the hard, rounded surface of the button means the actual point of contact with the screen is small and precise. There’s no “fat fingers” effect with these gloves, and I’ve found that they require almost no mental adjustment to go back and forth between gloves and bare fingers. Finally, I should mention that the brass and/or nickel these snaps are made of should pose no risk of scratching even the softest glass.

What will the next generation of Make: look like? We’re inviting you to shape the future by investing in Make:. By becoming an investor, you help decide what’s next. The future of Make: is in your hands. Learn More.

Project Steps

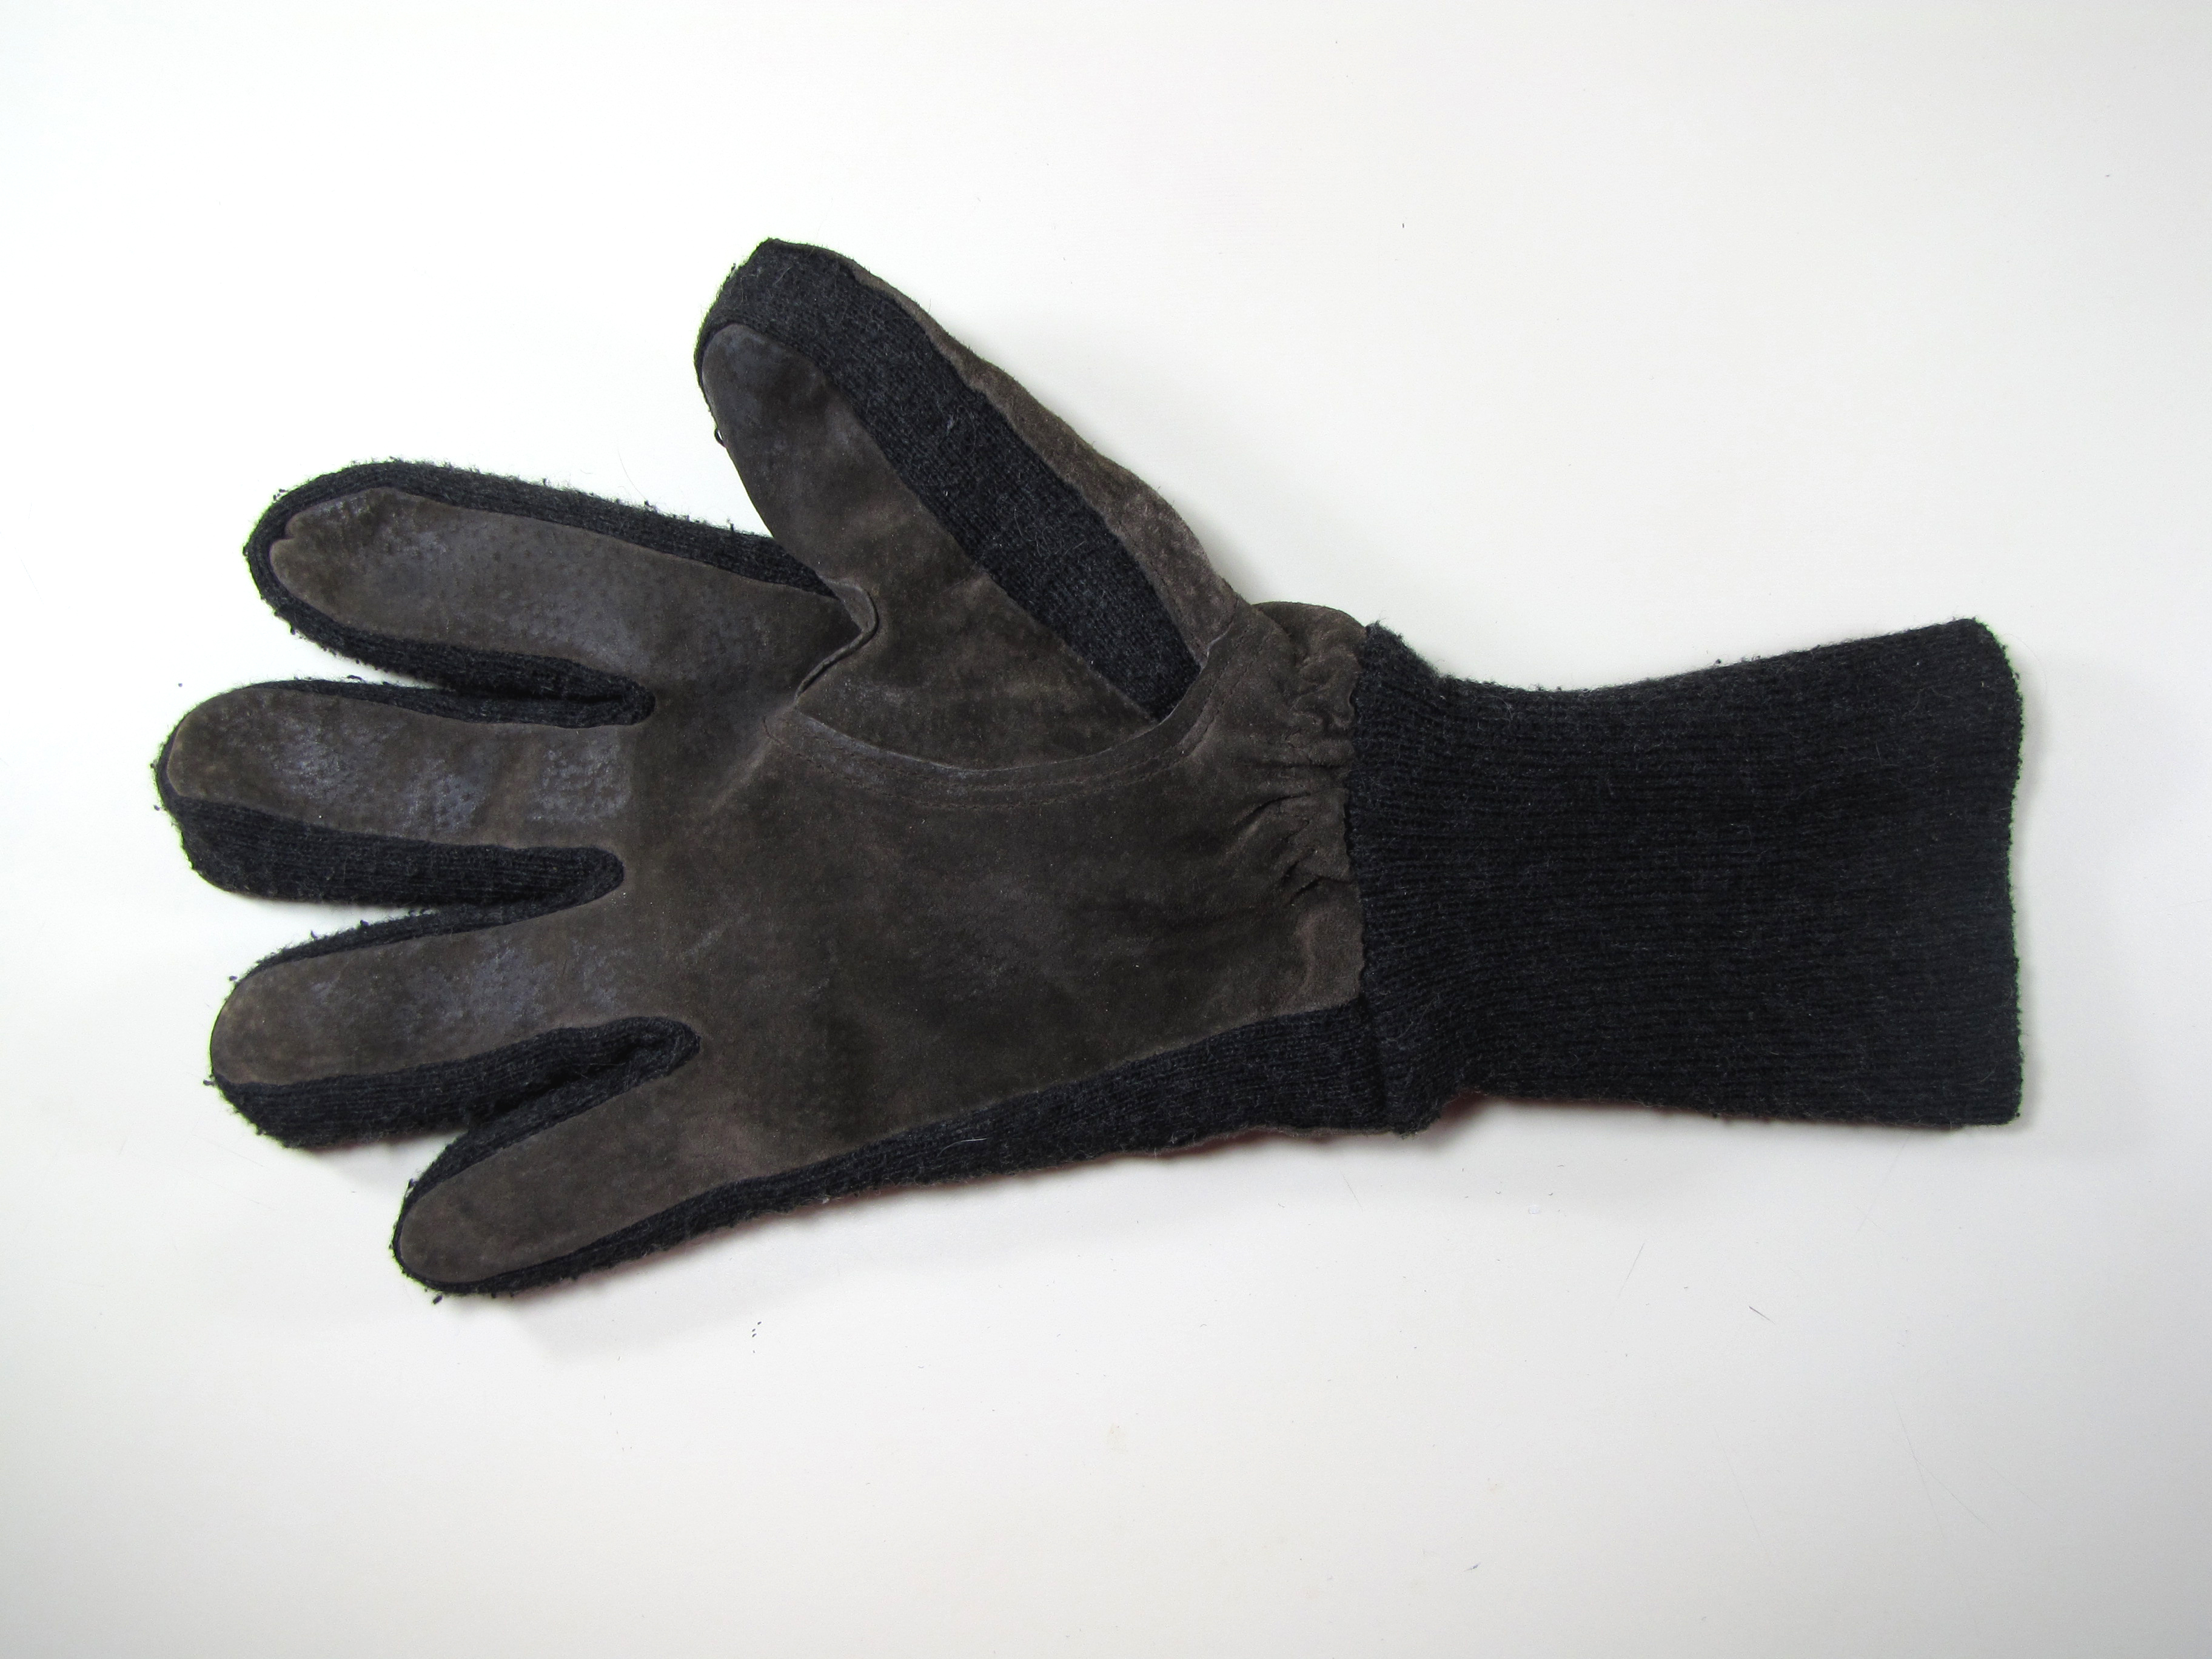
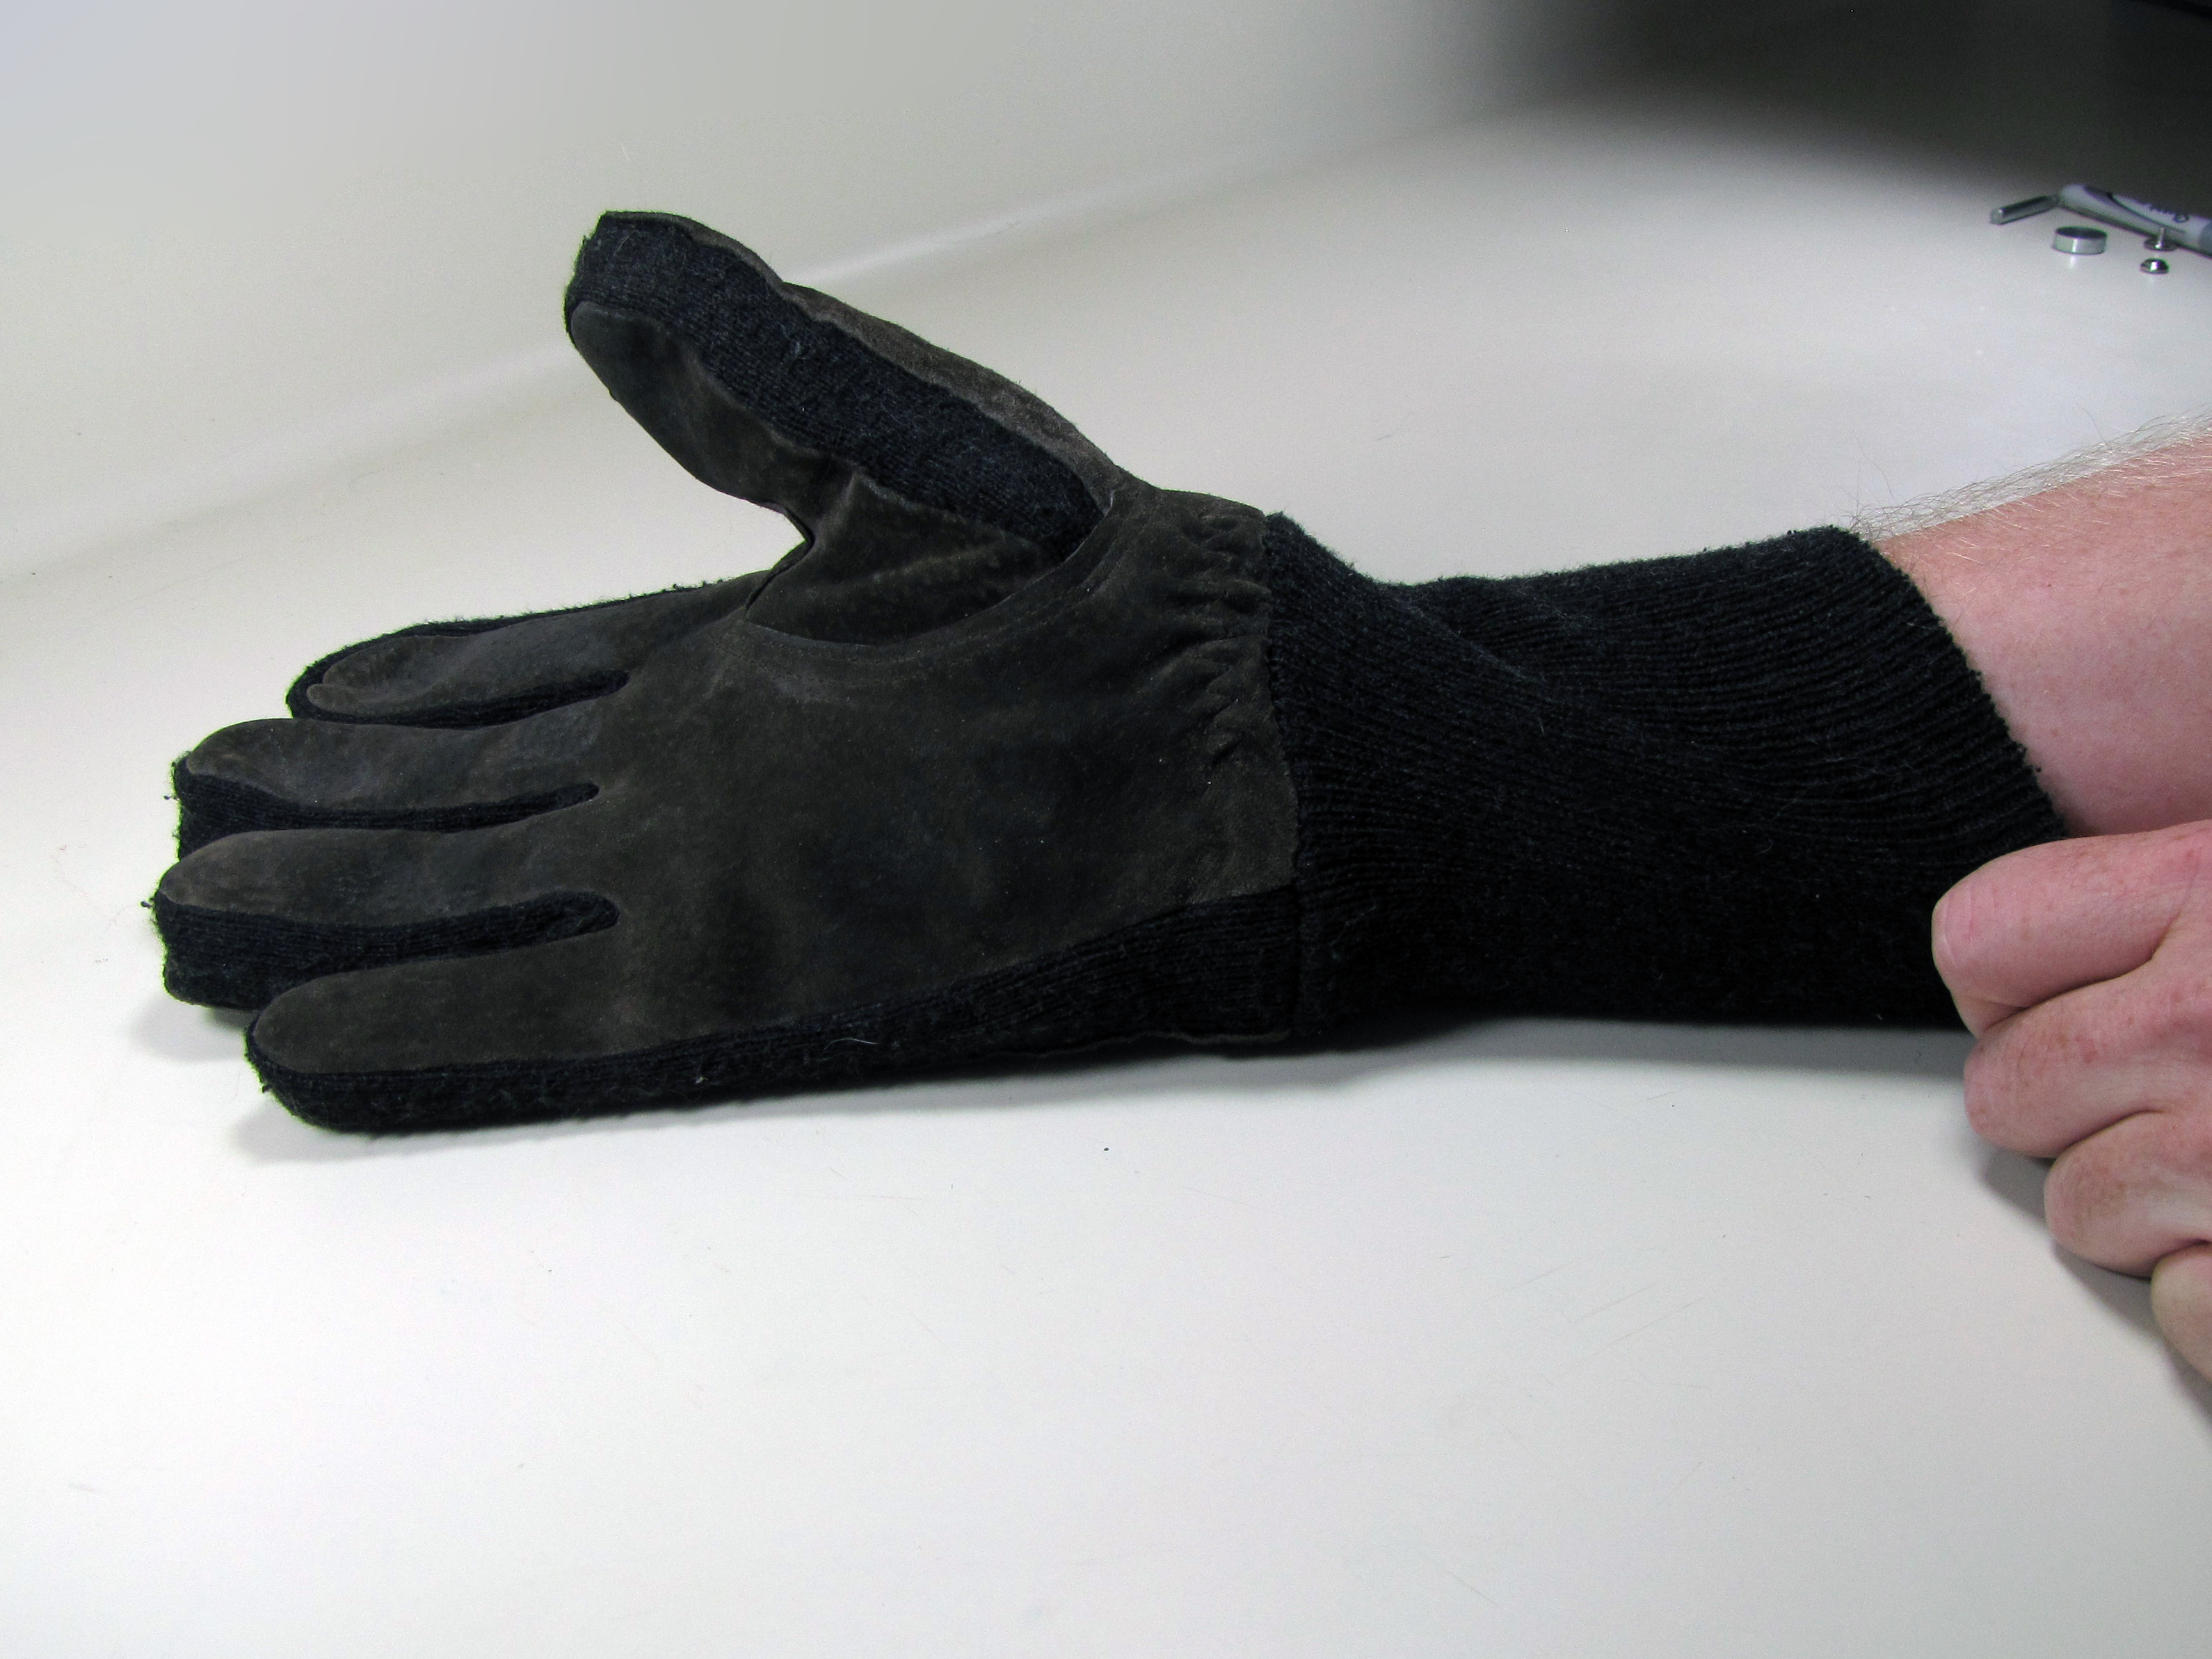
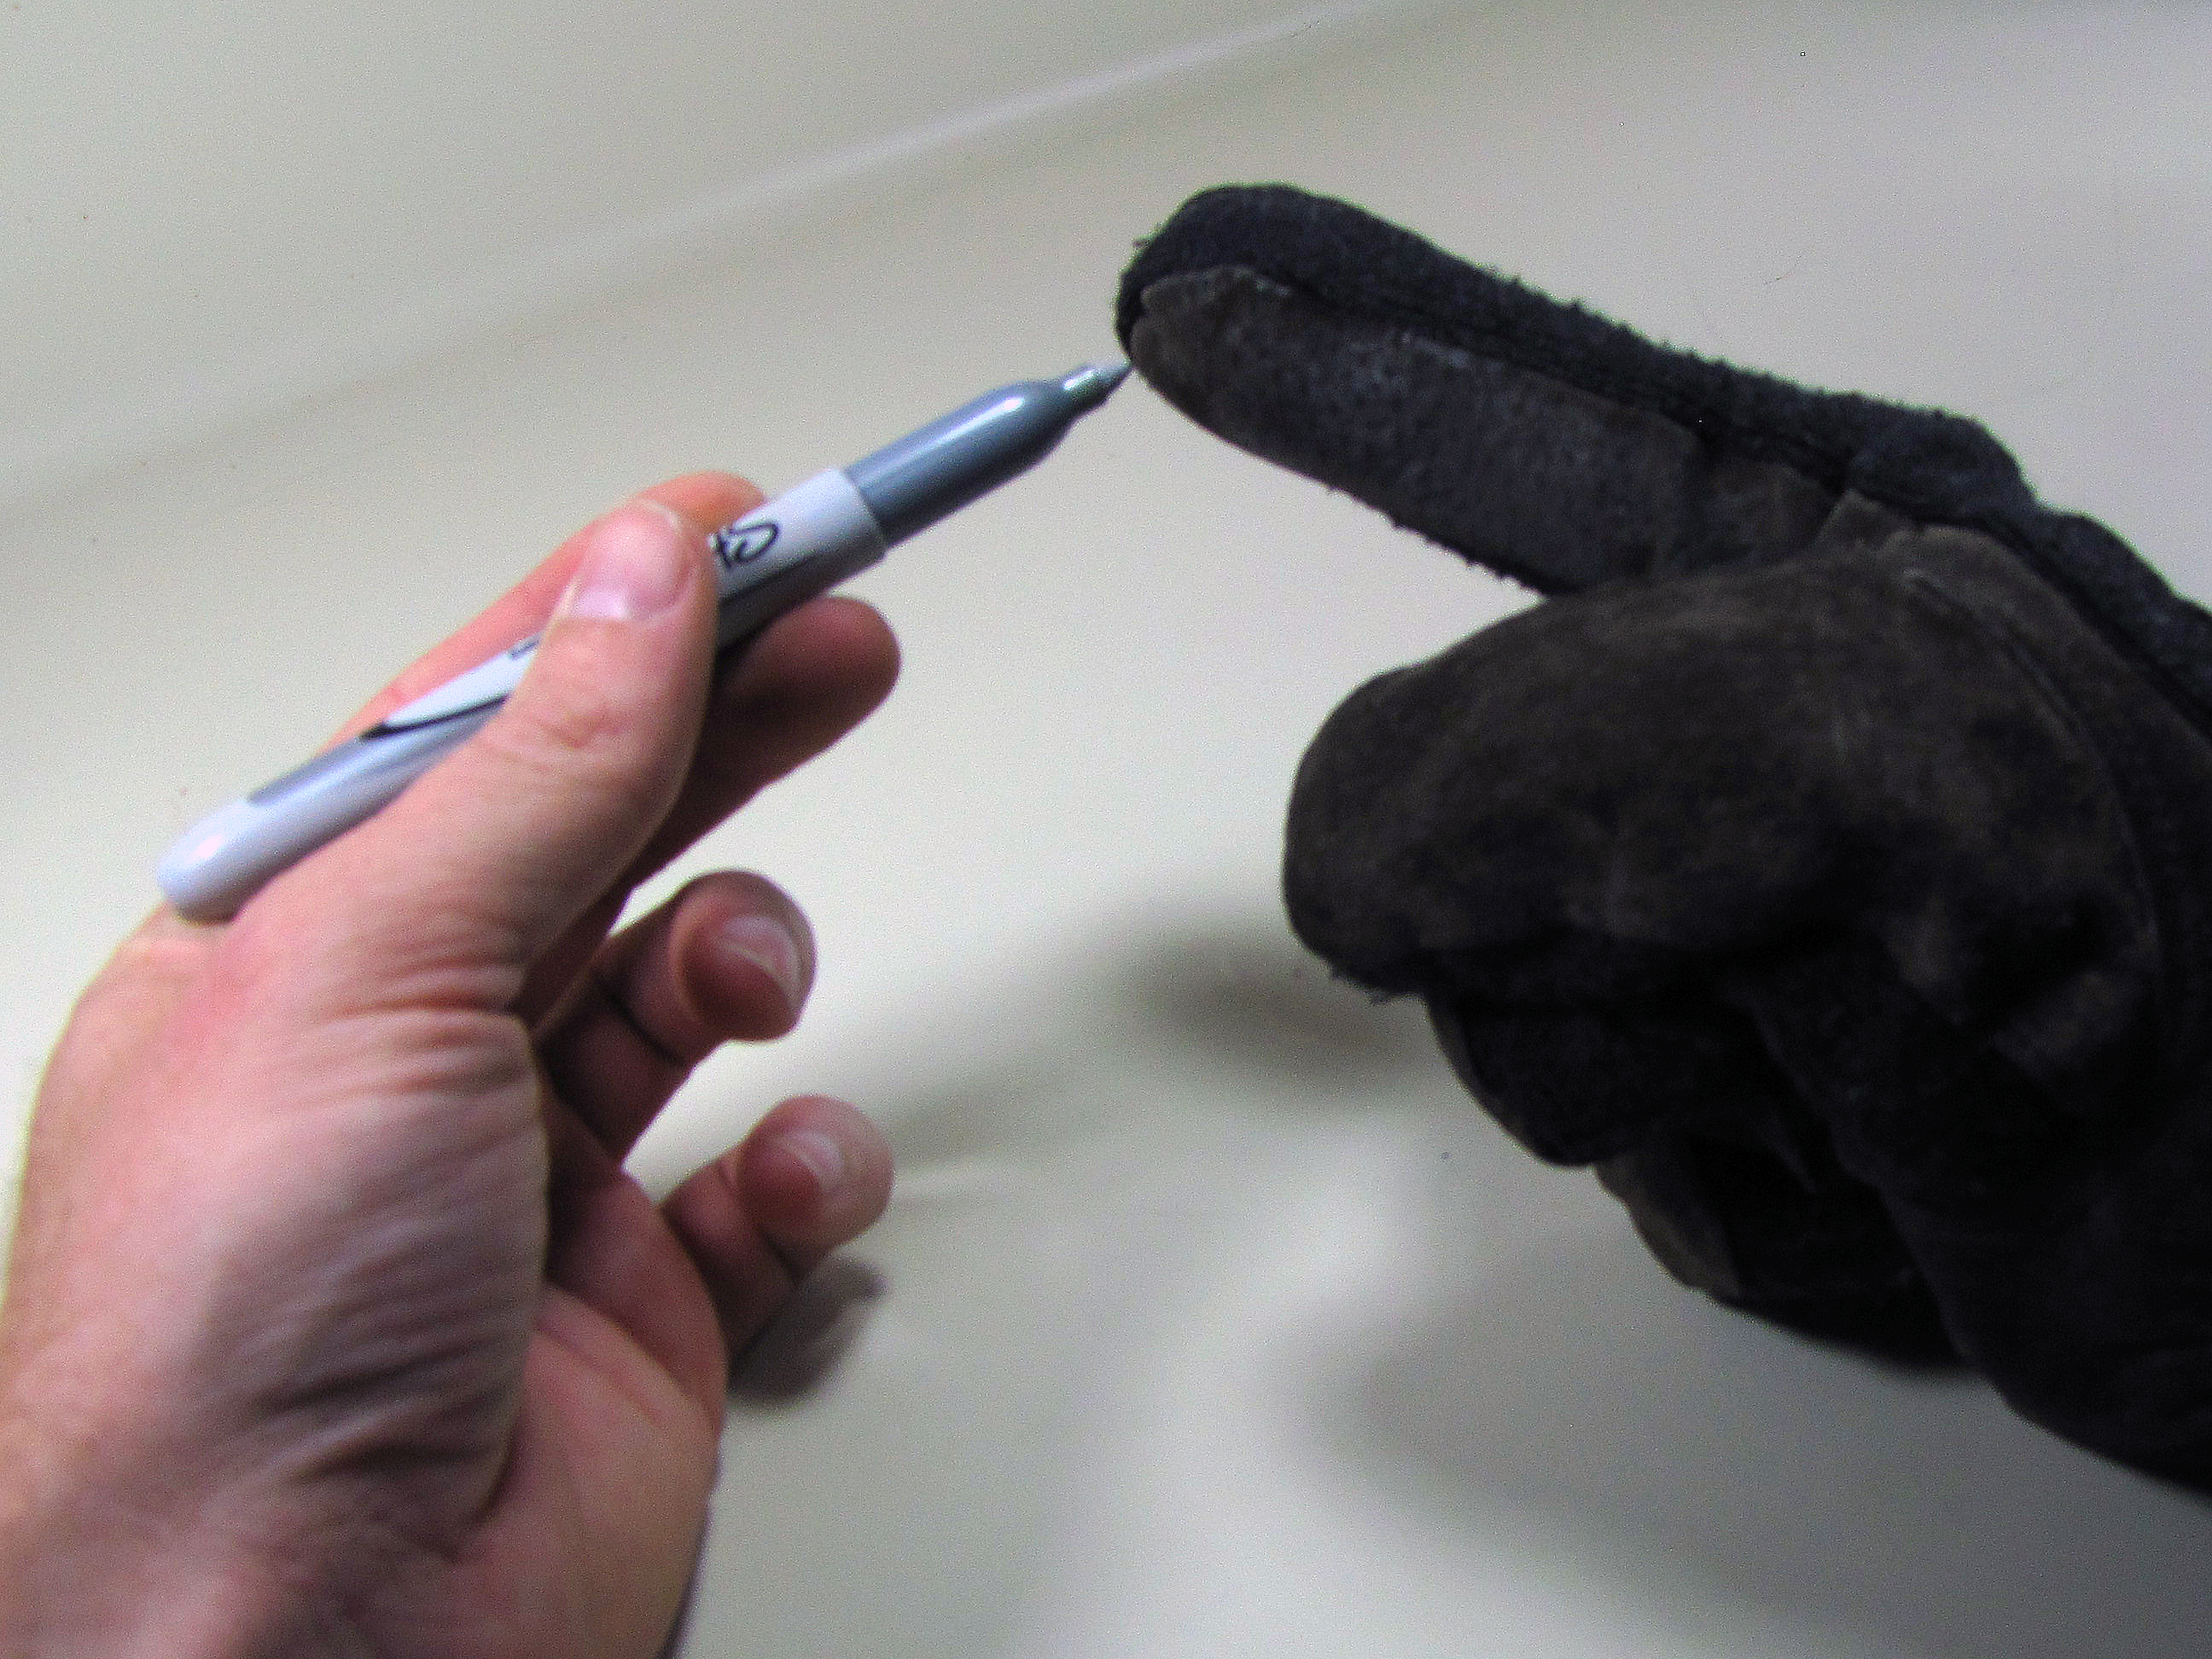
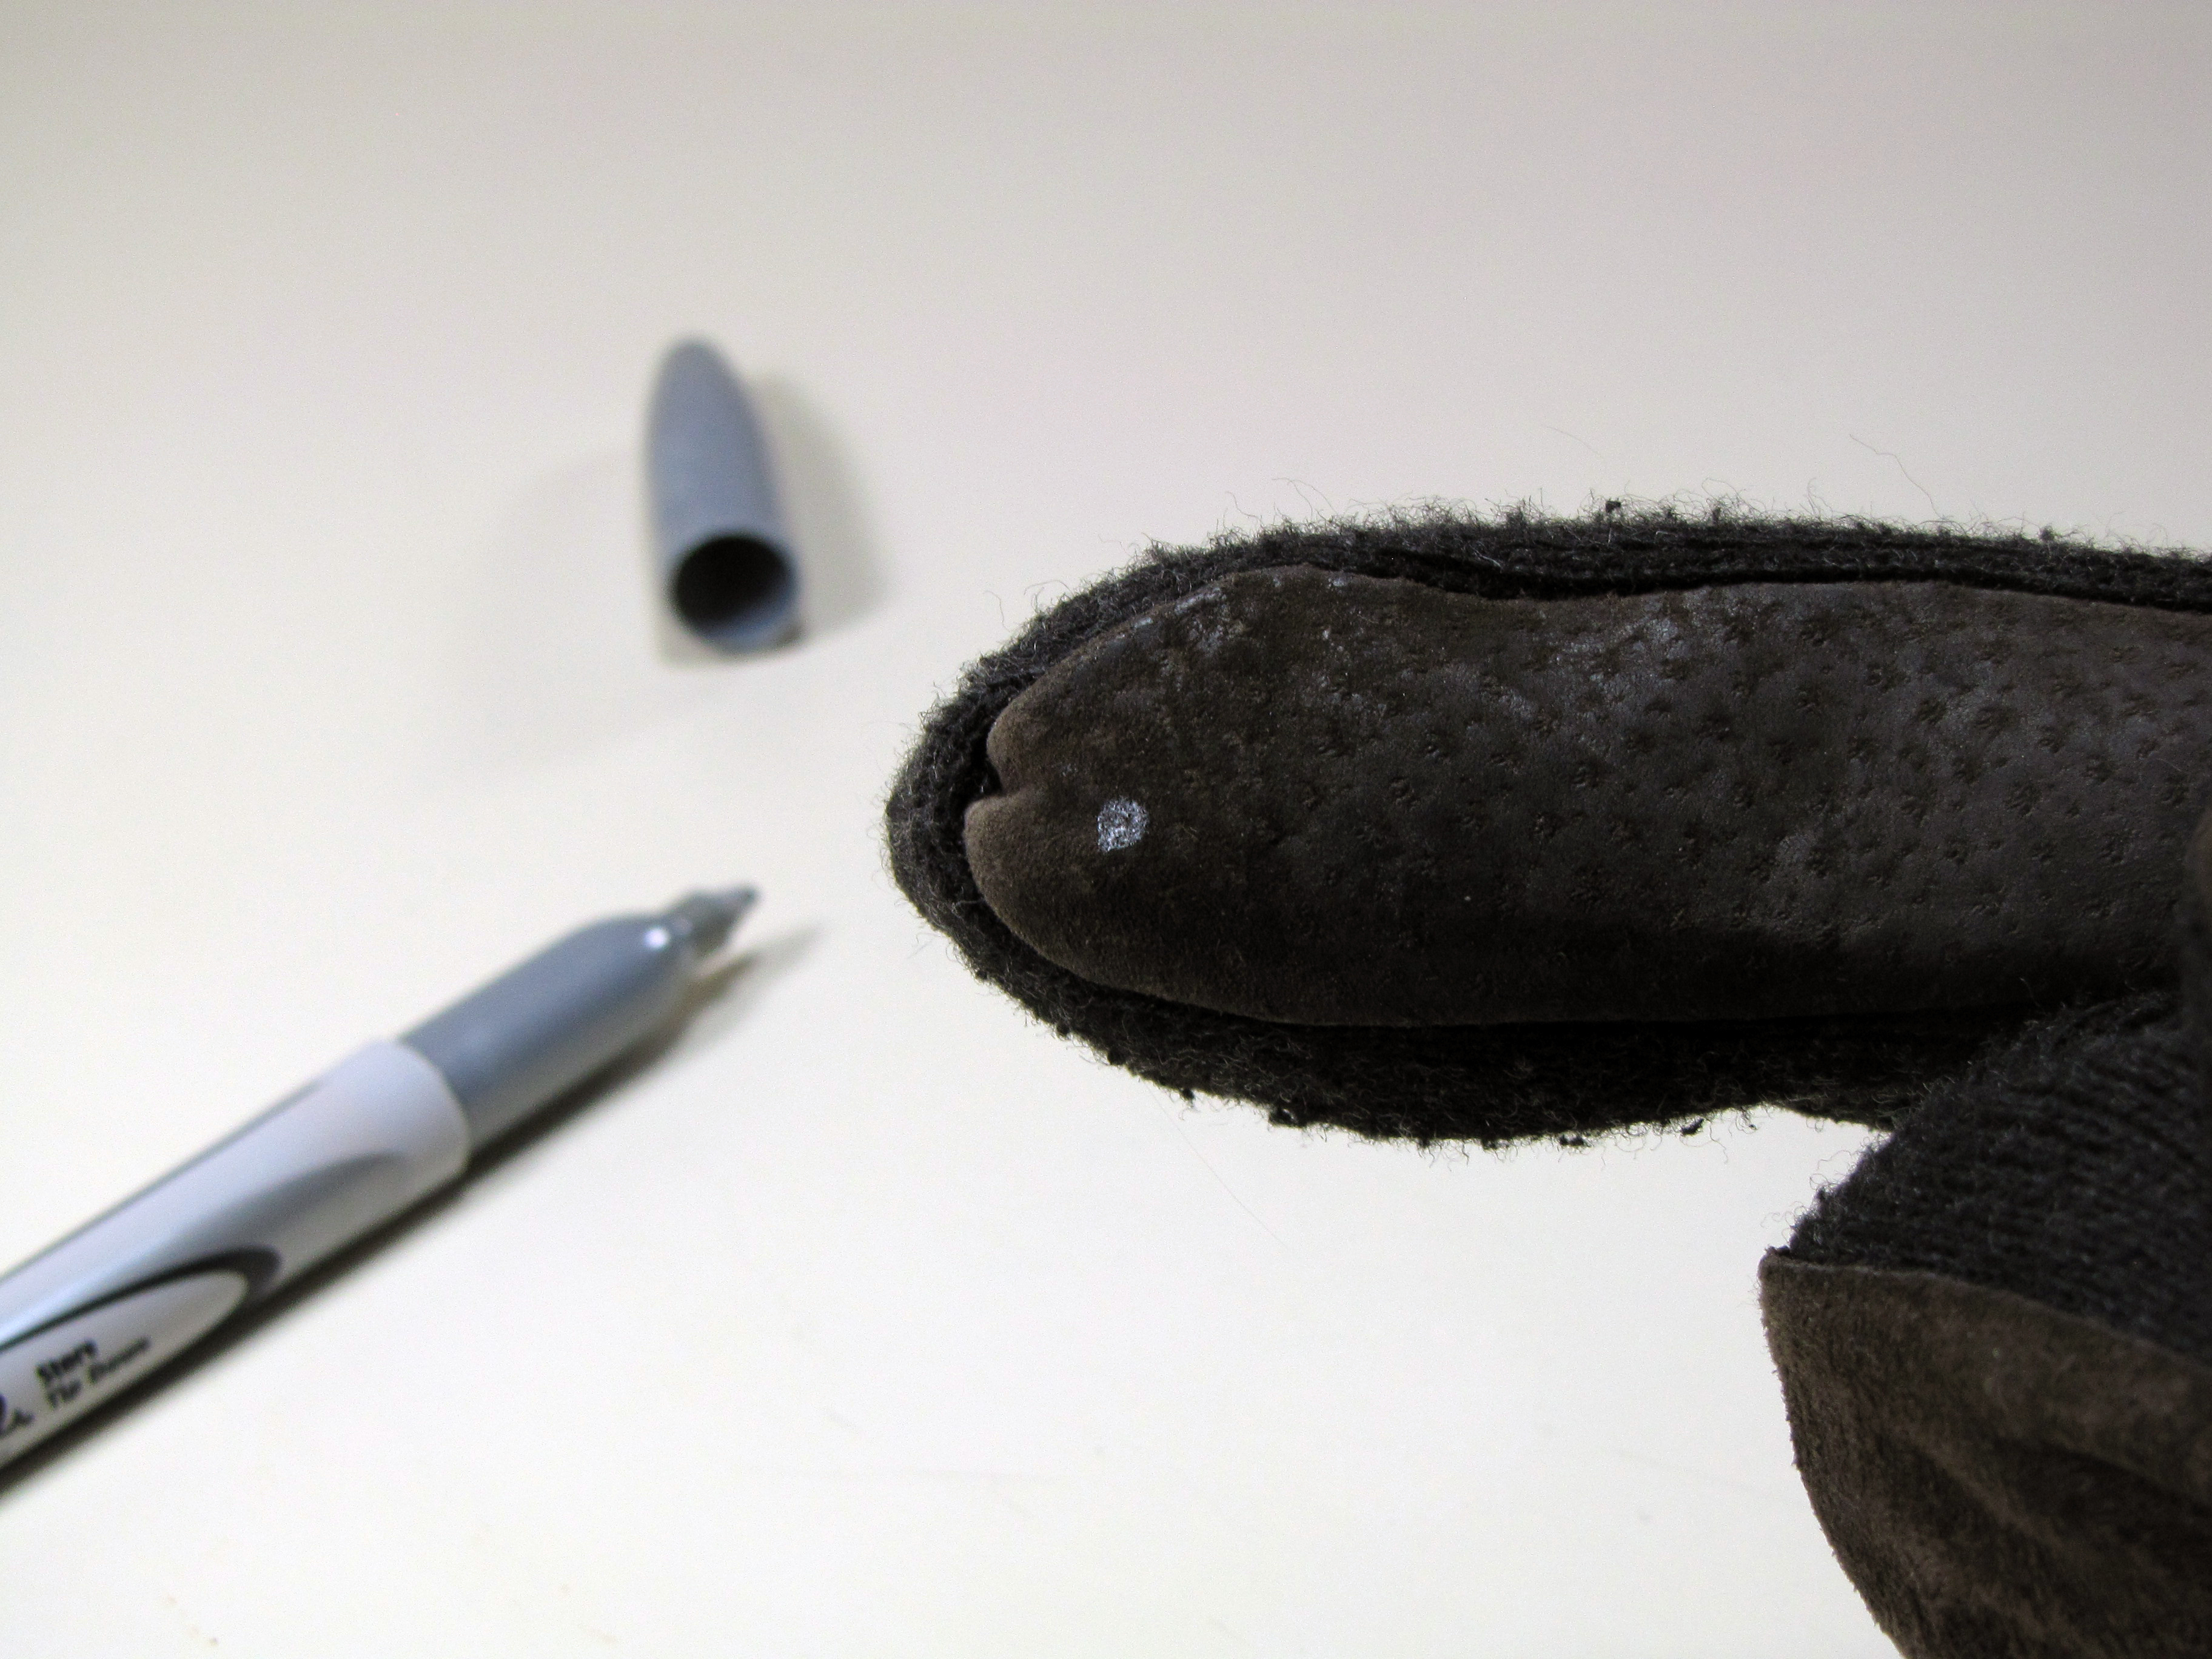
Mark fingertip

Put on the glove.

Hold a paint pen (or other suitable marking tool) in your free hand, and touch your gloved fingertip to the tip of the pen.

Imagine you are using a touchscreen to get the dot placement just right.

Insert snap button

Remove the glove.

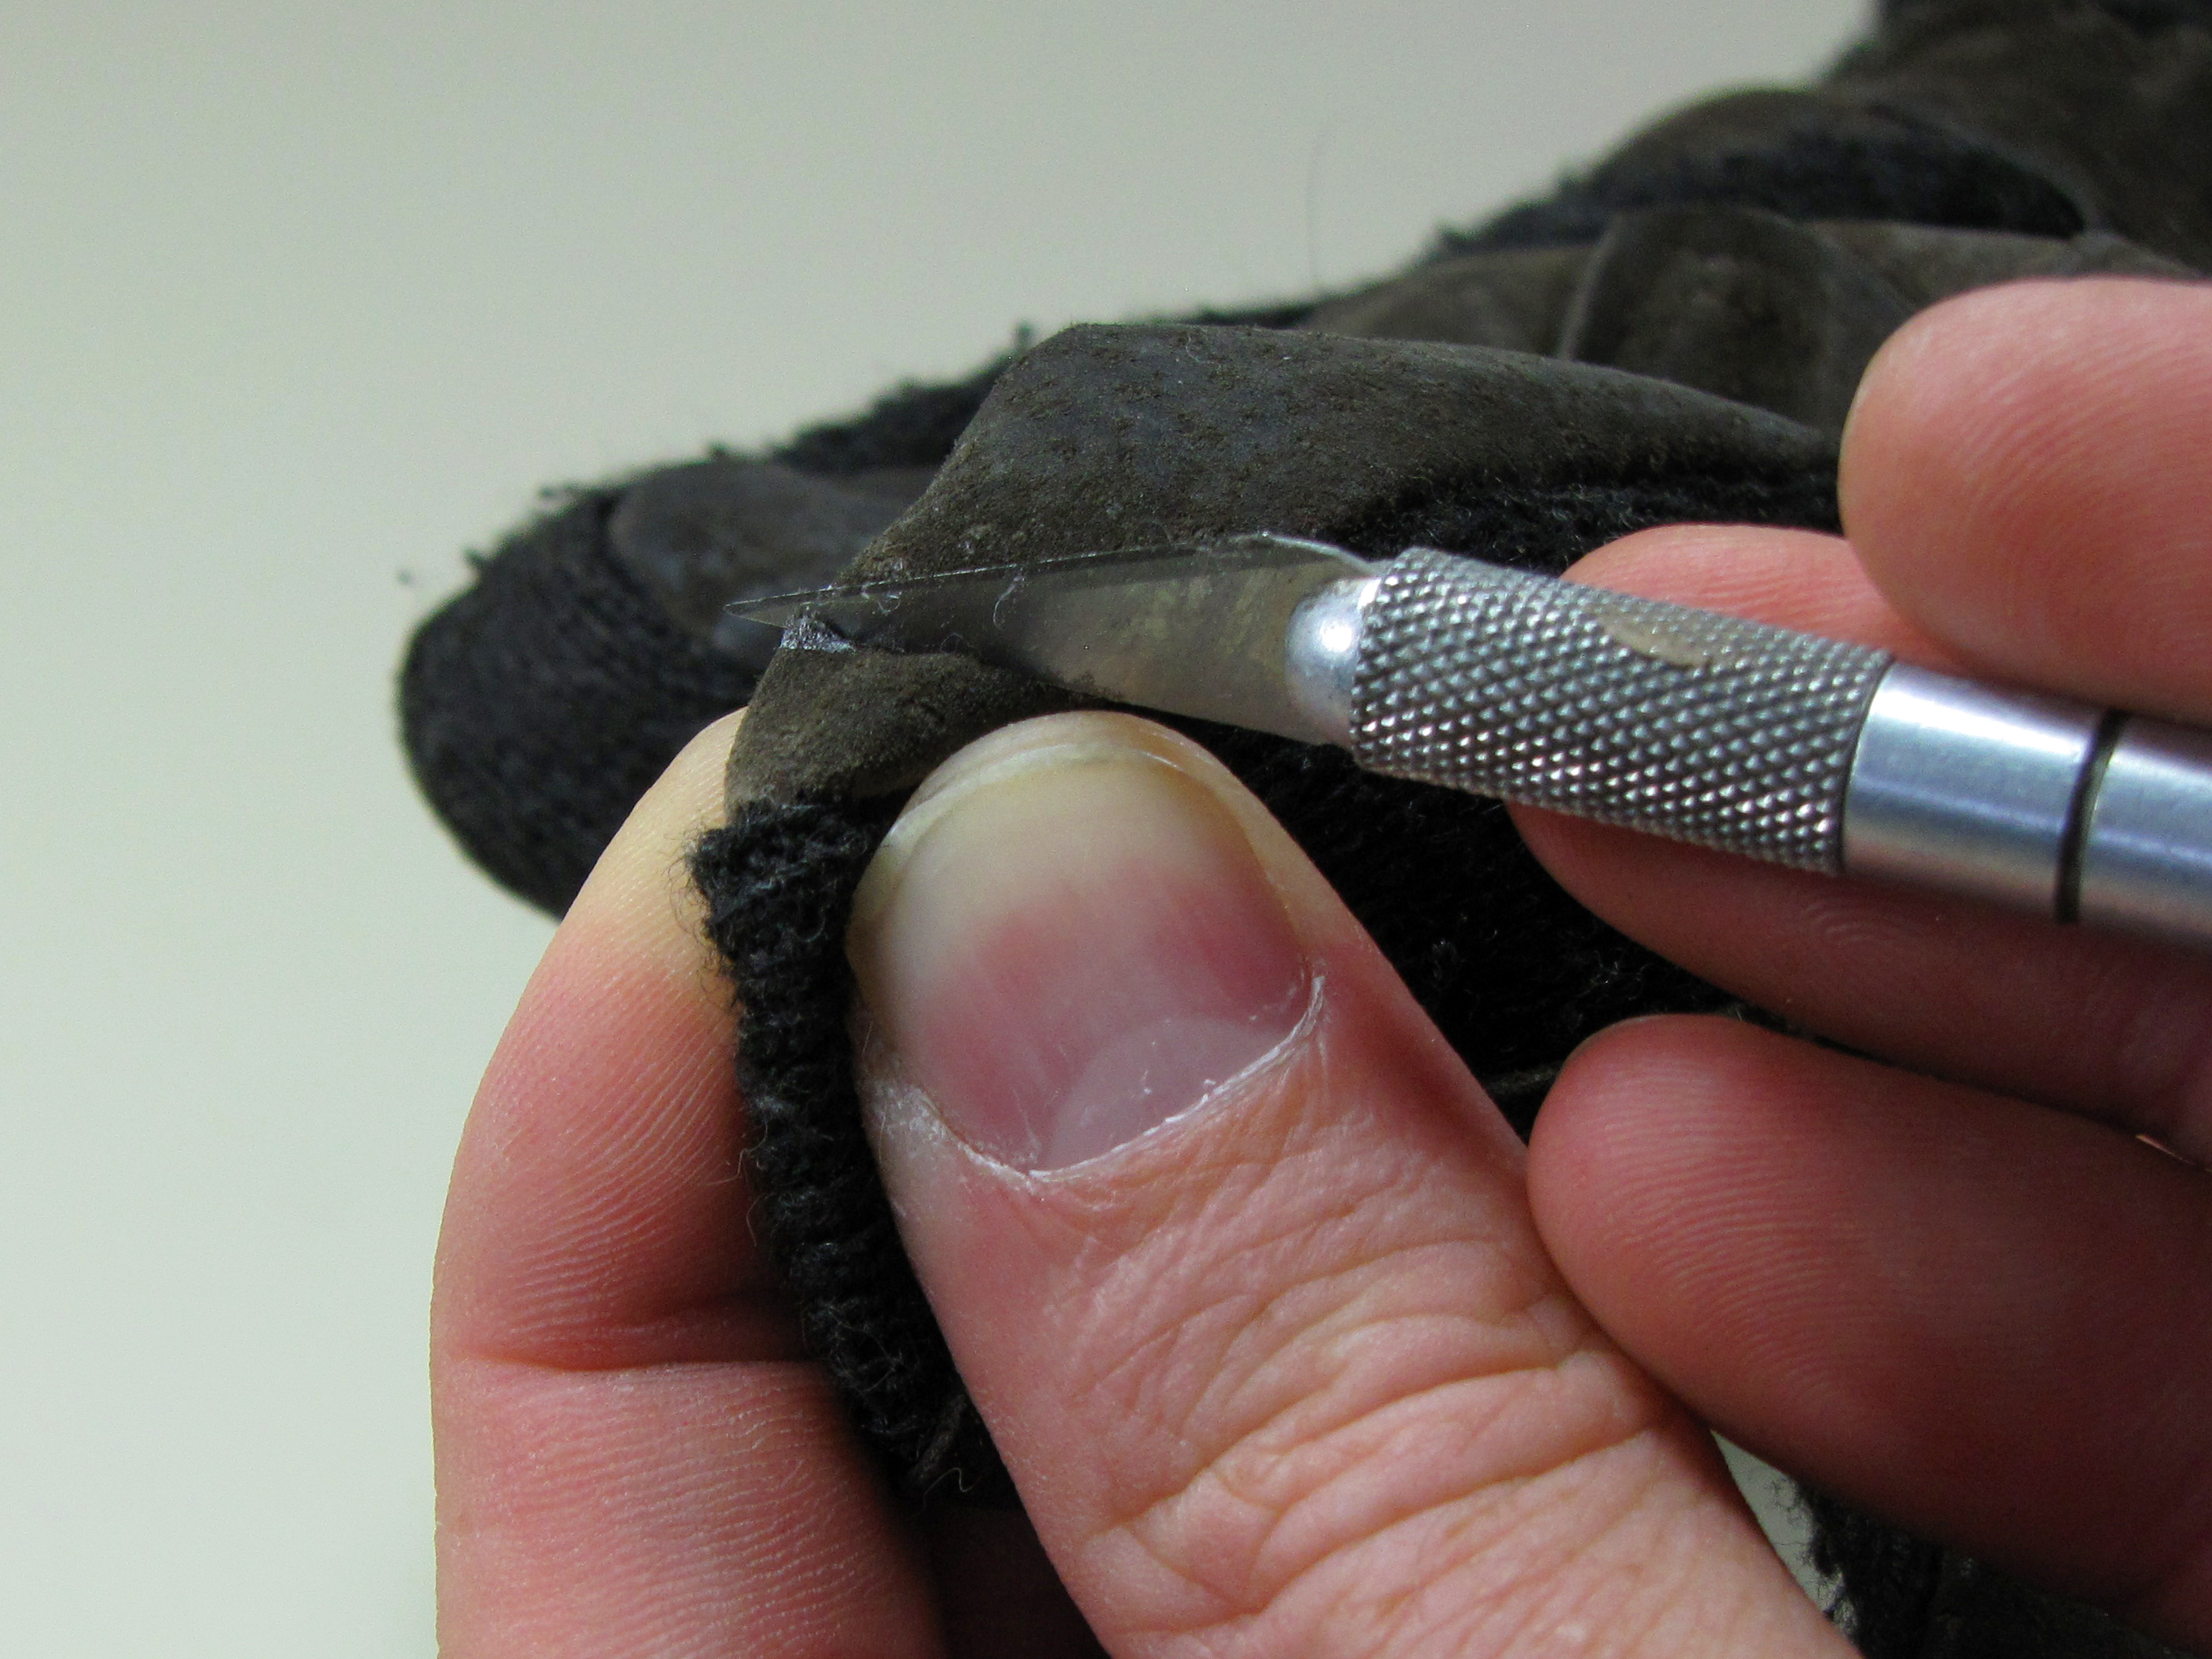
Use a sharp hobby knife to make a small slit, about 1/8″ long, through the marked spot on the glove fingertip.

Holding the knife with the blade “upside down,” as shown, makes this a lot easier.

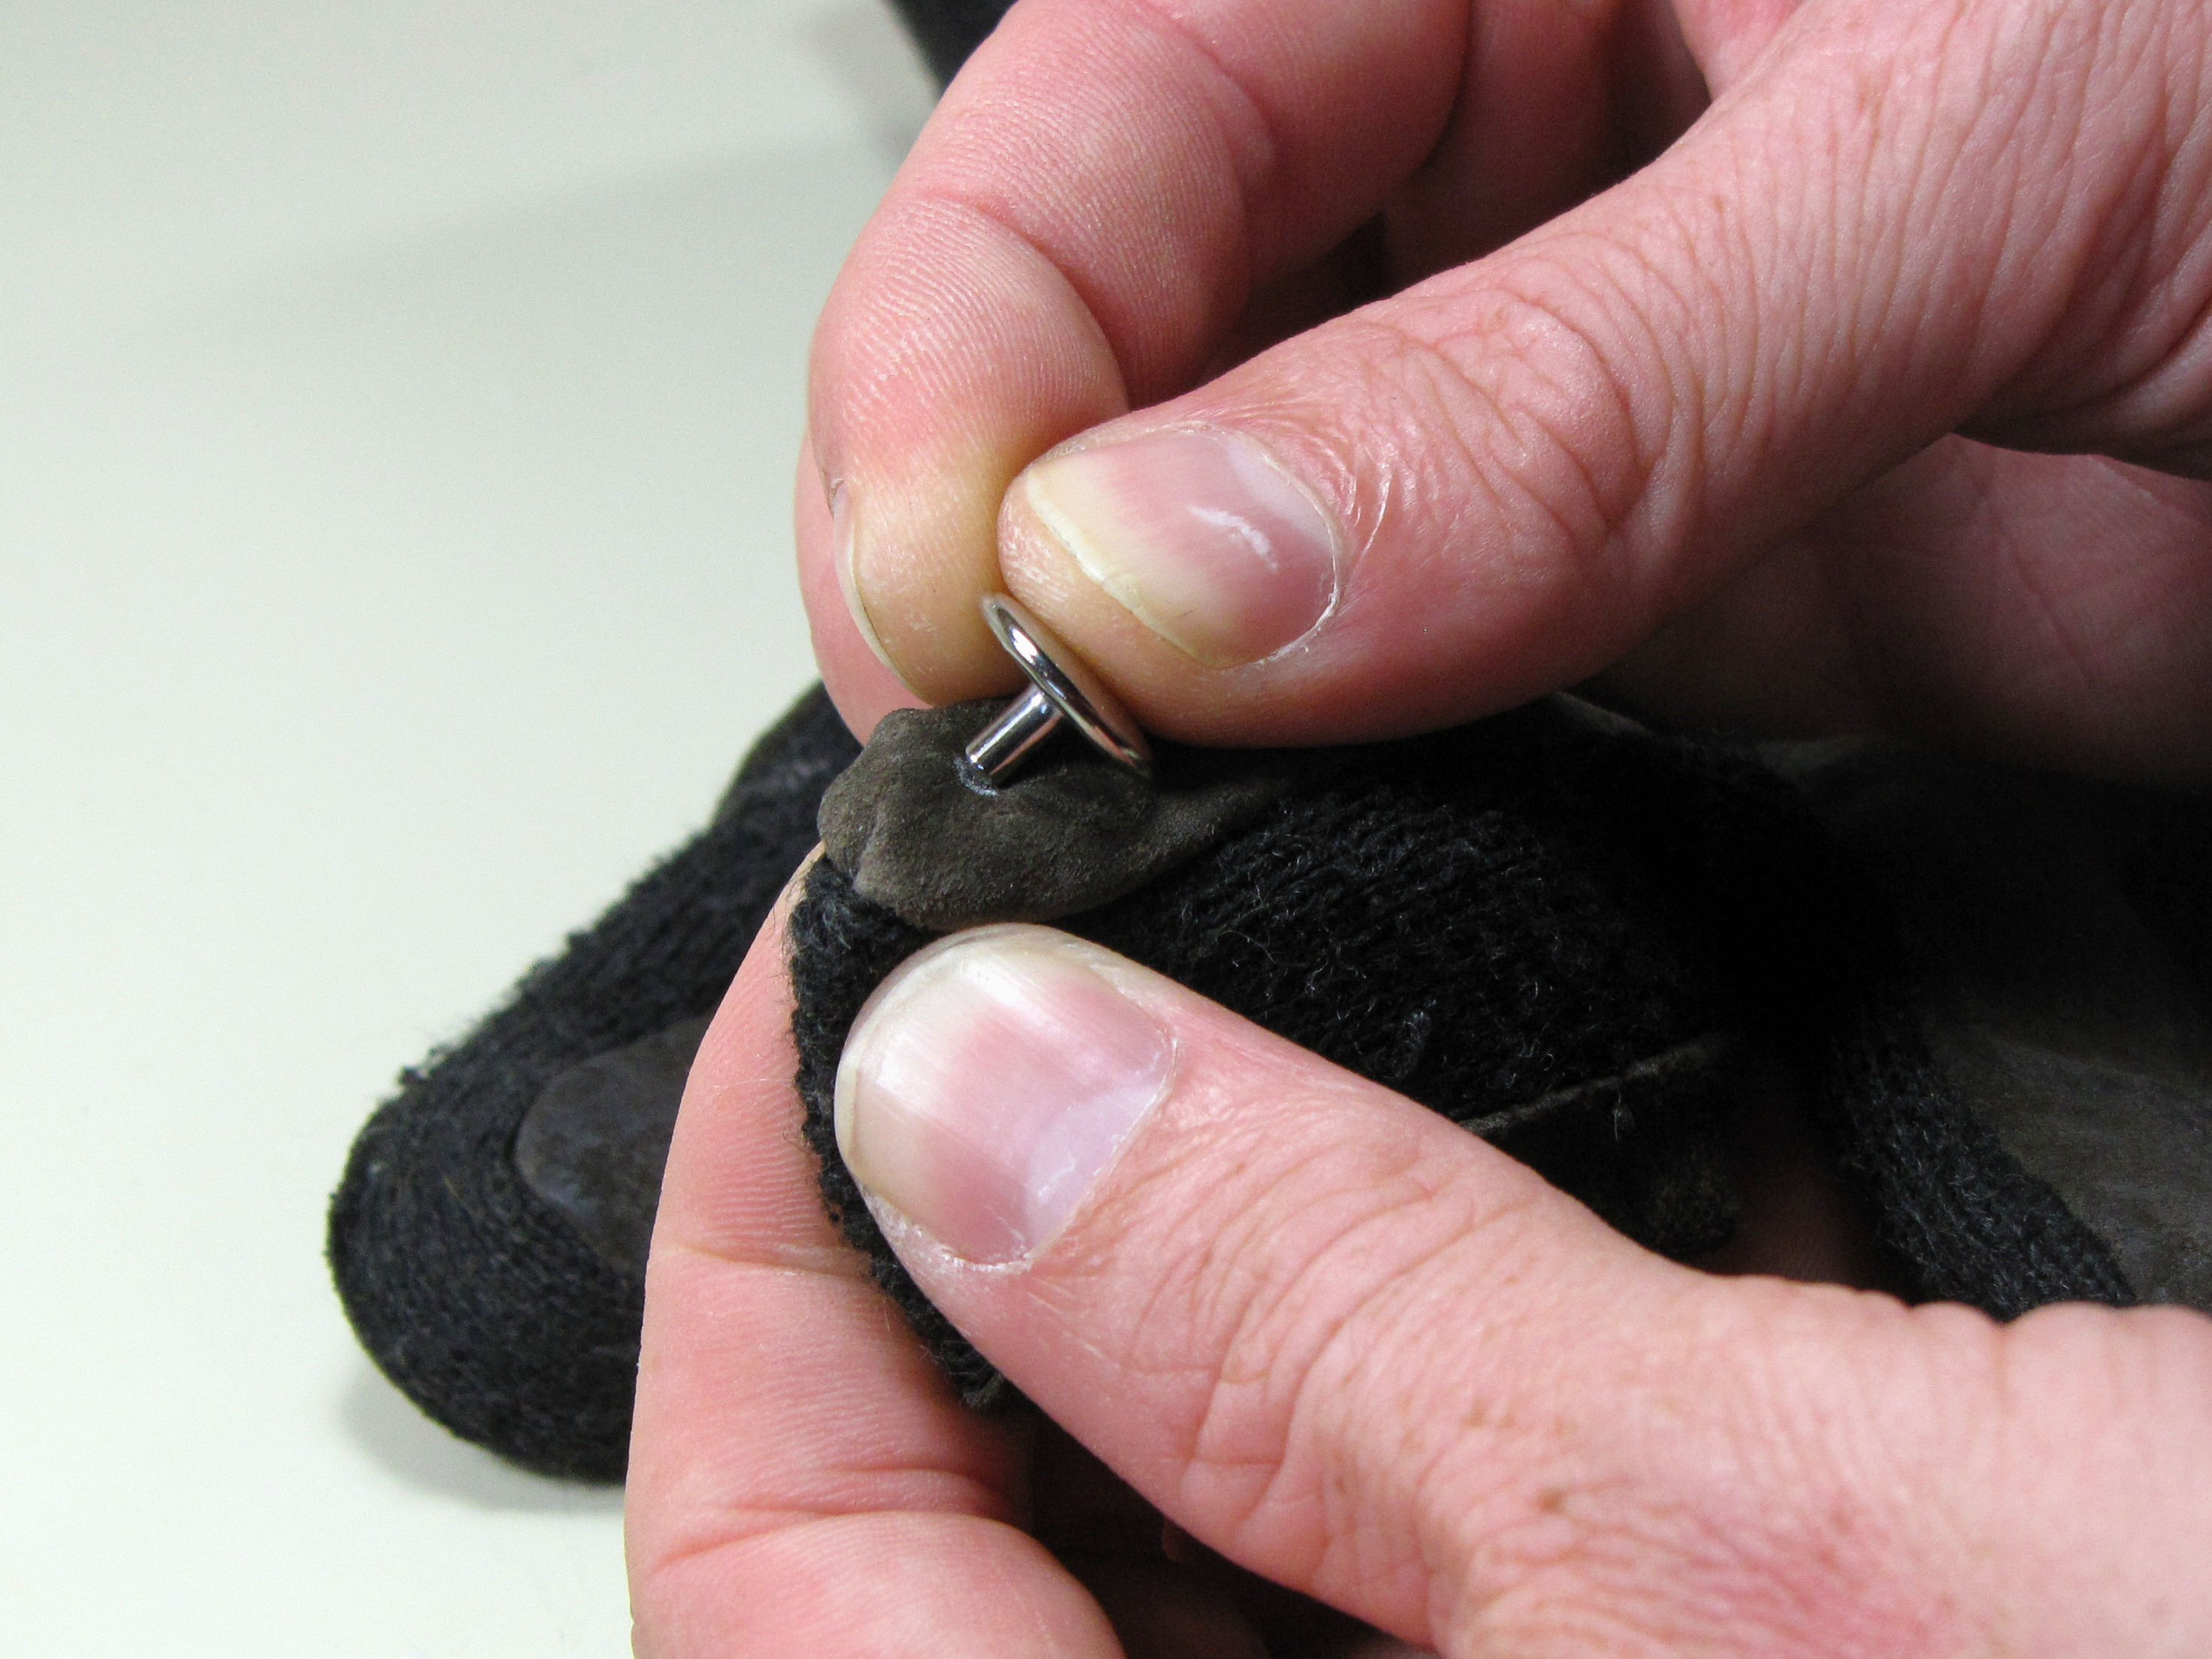
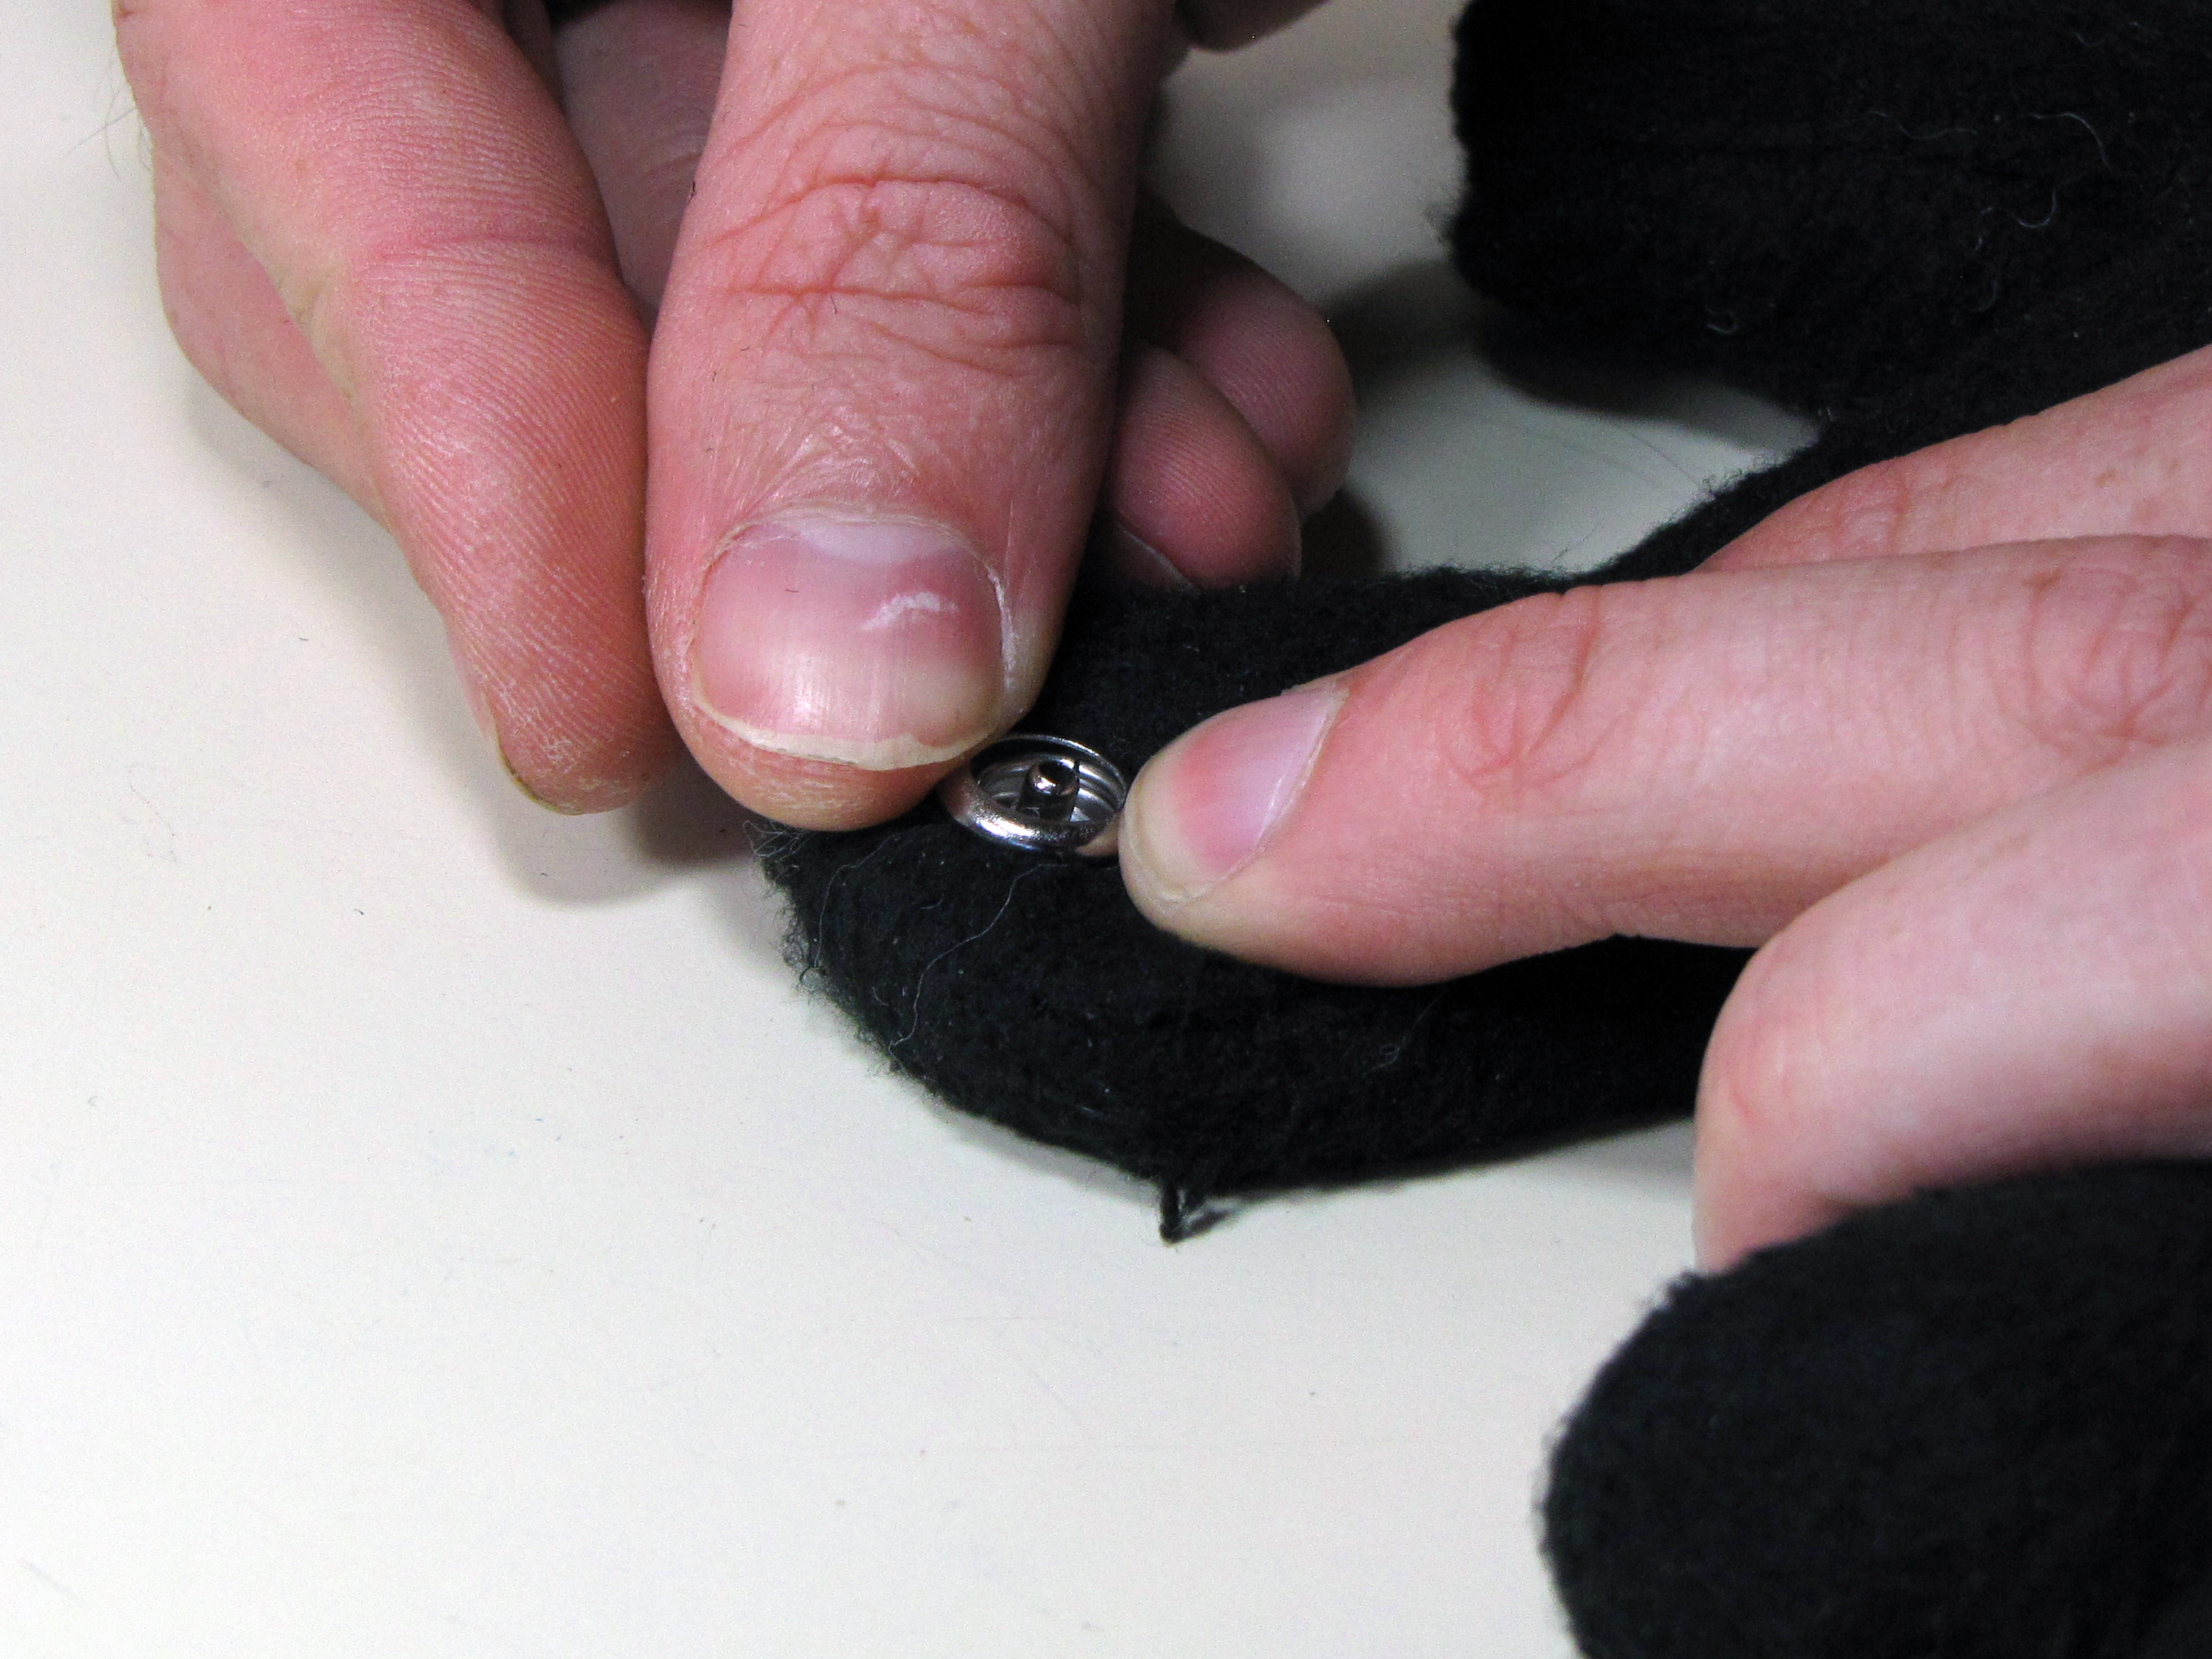
Insert the snap button-post through the slit into the fingertip.

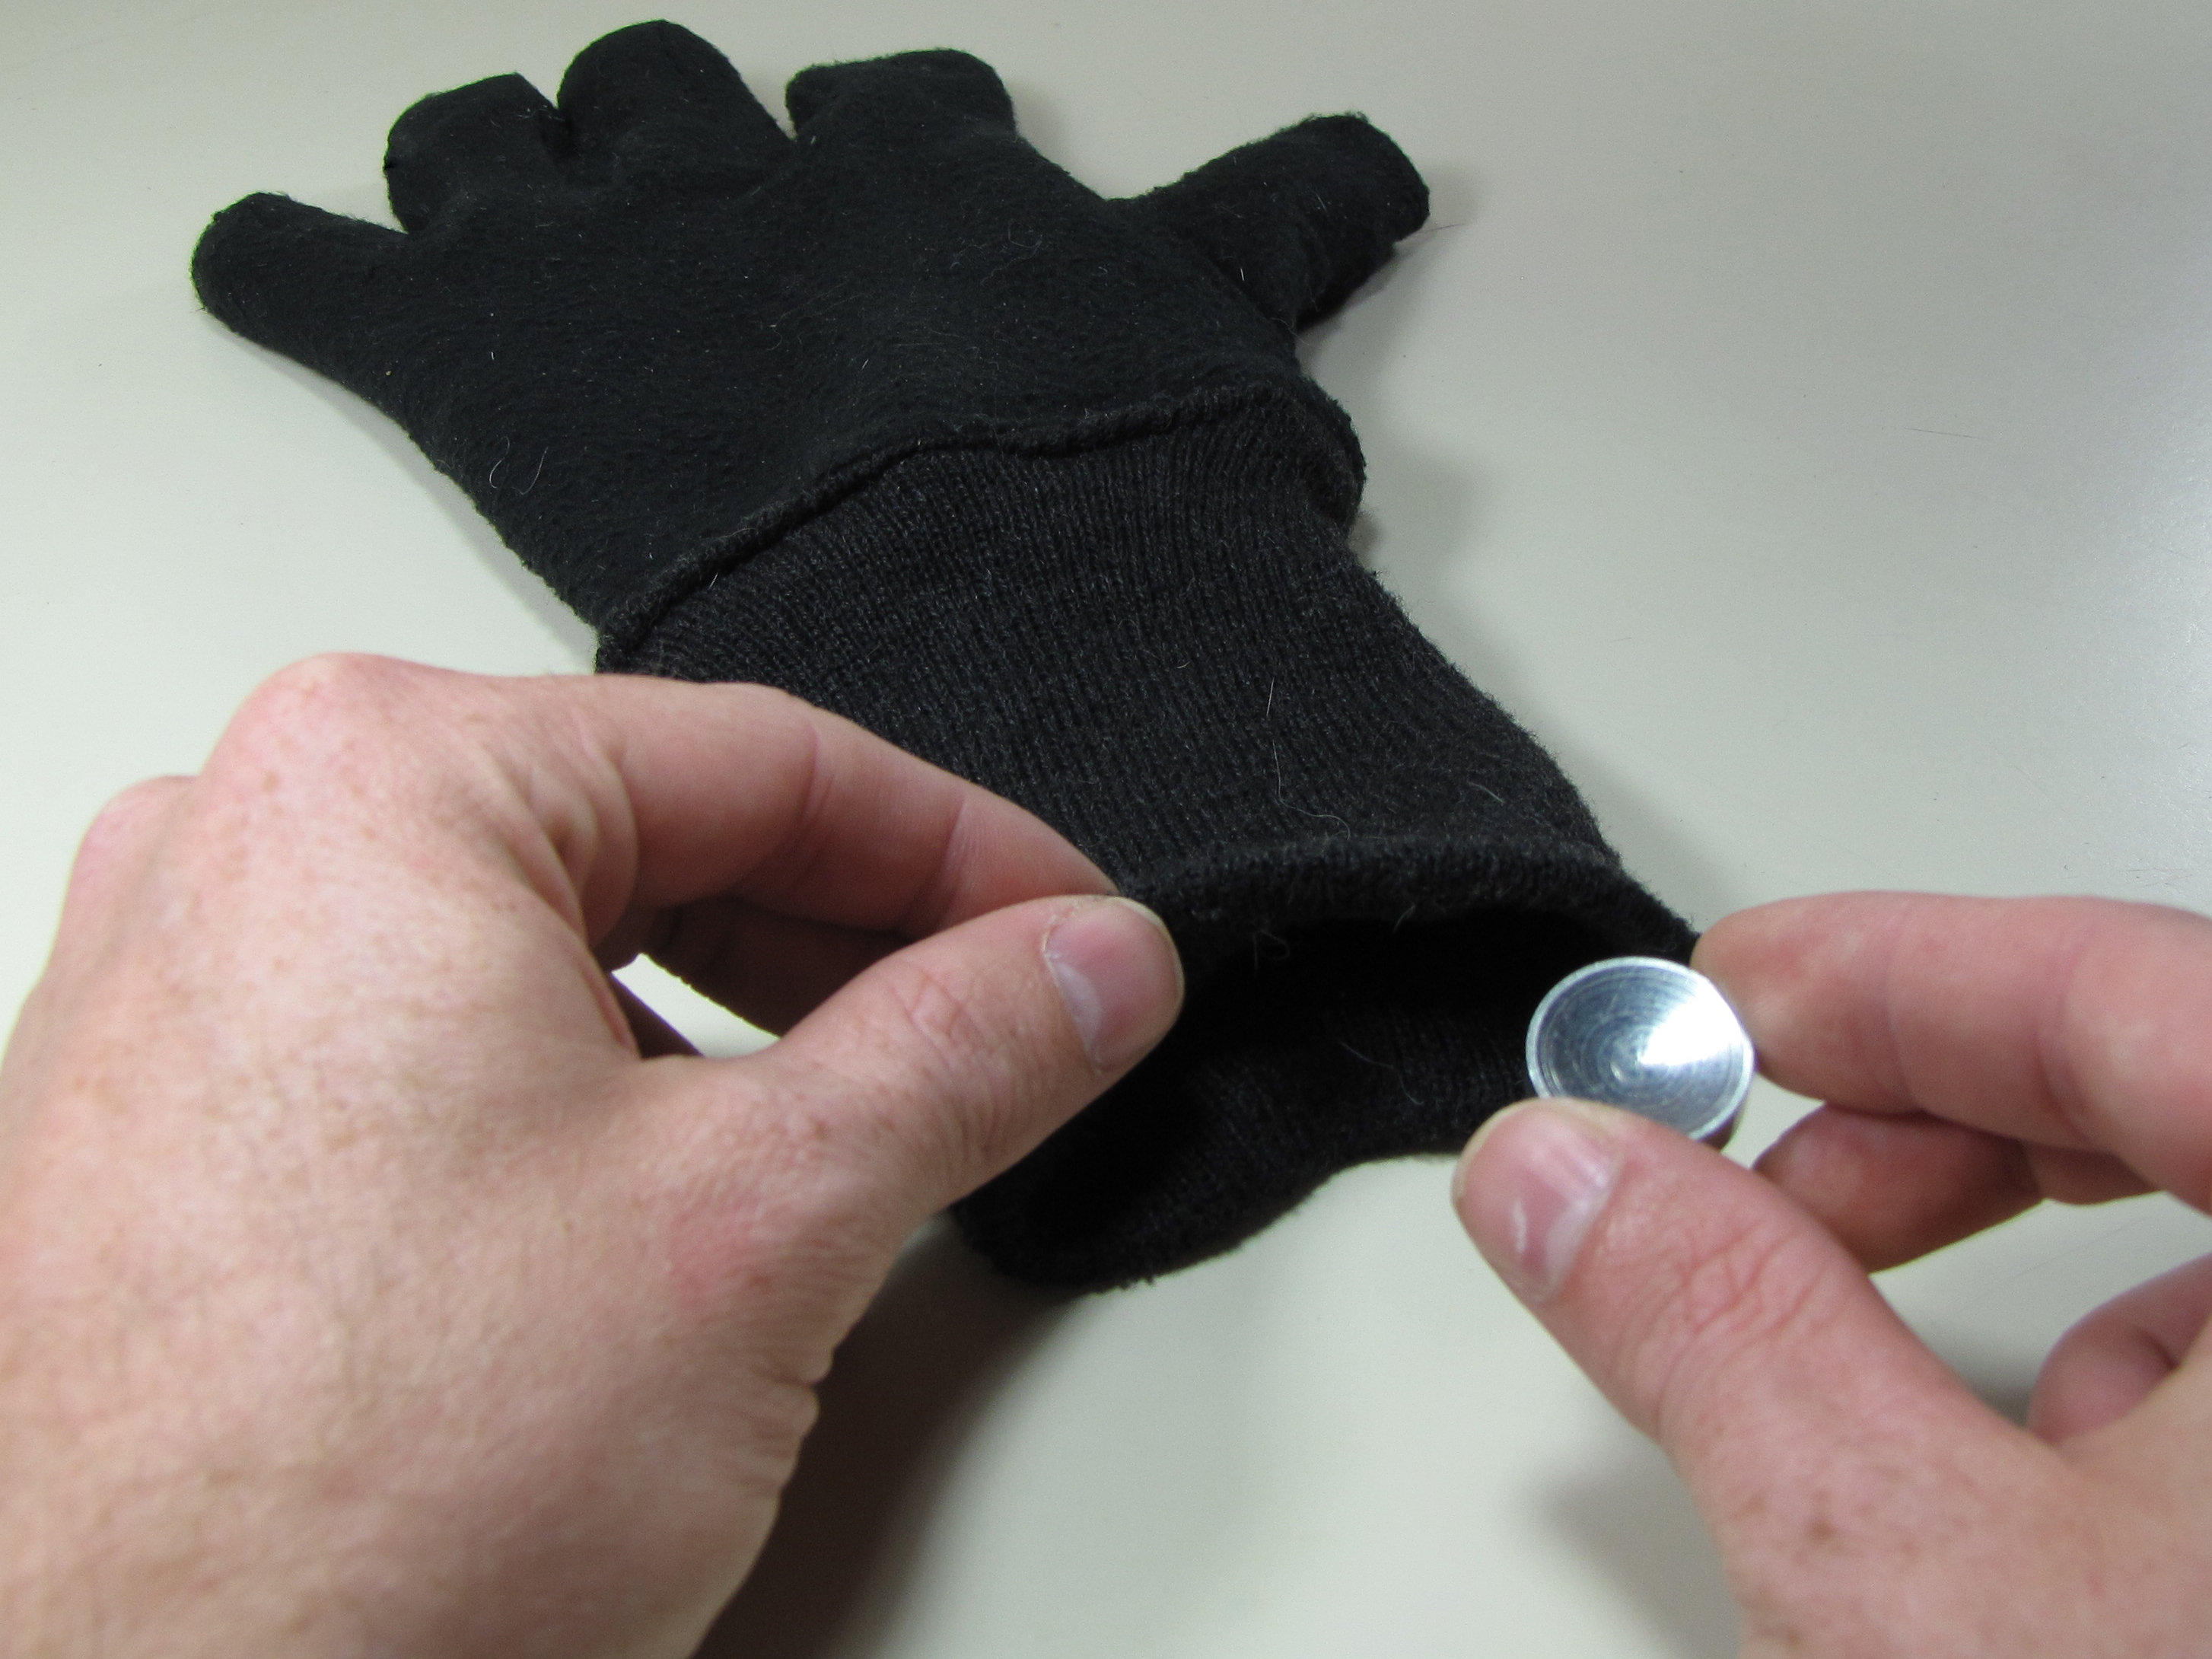
Invert the glove

The button needs to stay in place throughout this operation. If necessary, use a small piece of tape to keep it from falling out.

Turn the glove inside-out.

Flatten out the finger so that the button-post sticks out as far as possible.

Place the socket

Insert a snap anvil into the inverted glove, and work it up into the fingertip until its curved side is centered under the snap button.

Put a snap socket over the button post with the open side up.

Push the socket down to expose as much of the button post as possible.

Set the rivet

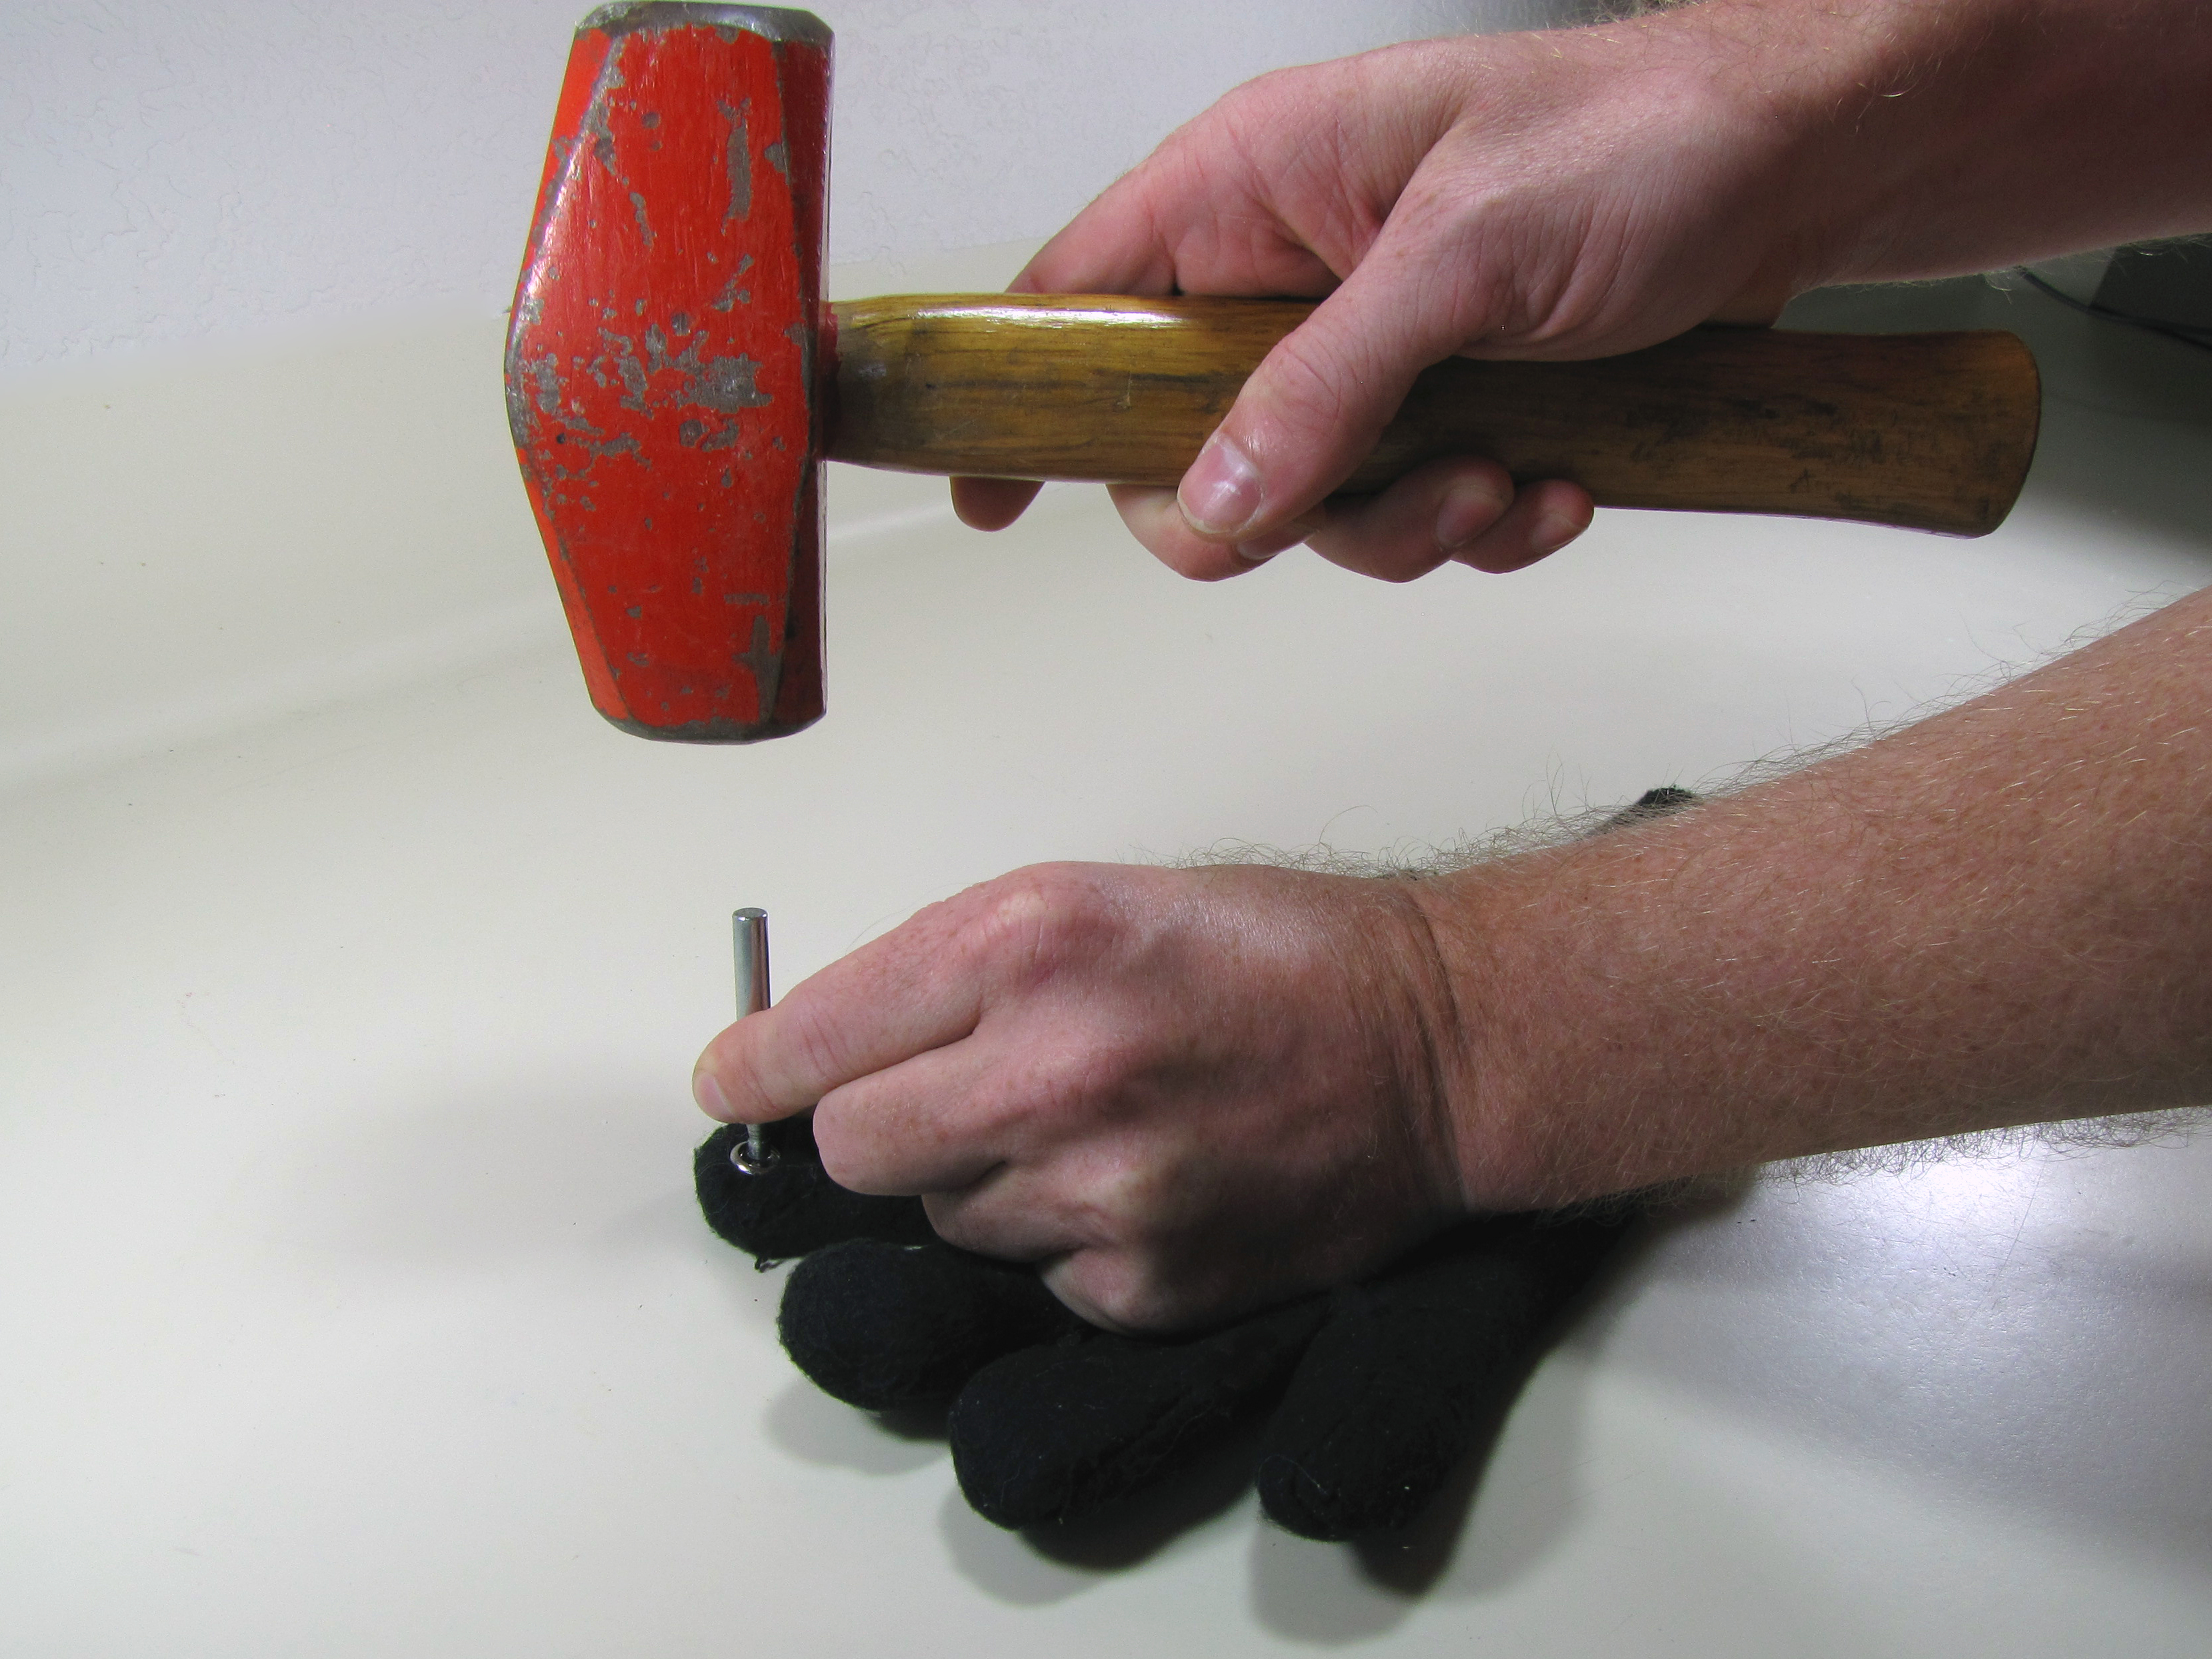
Position a snap setter on the button post. Carefully center the setter, and try to hold it as upright as possible.

Strike the setter firmly to set the rivet. Repeat, as necessary, until the socket is set tight against the button, without any “play.”

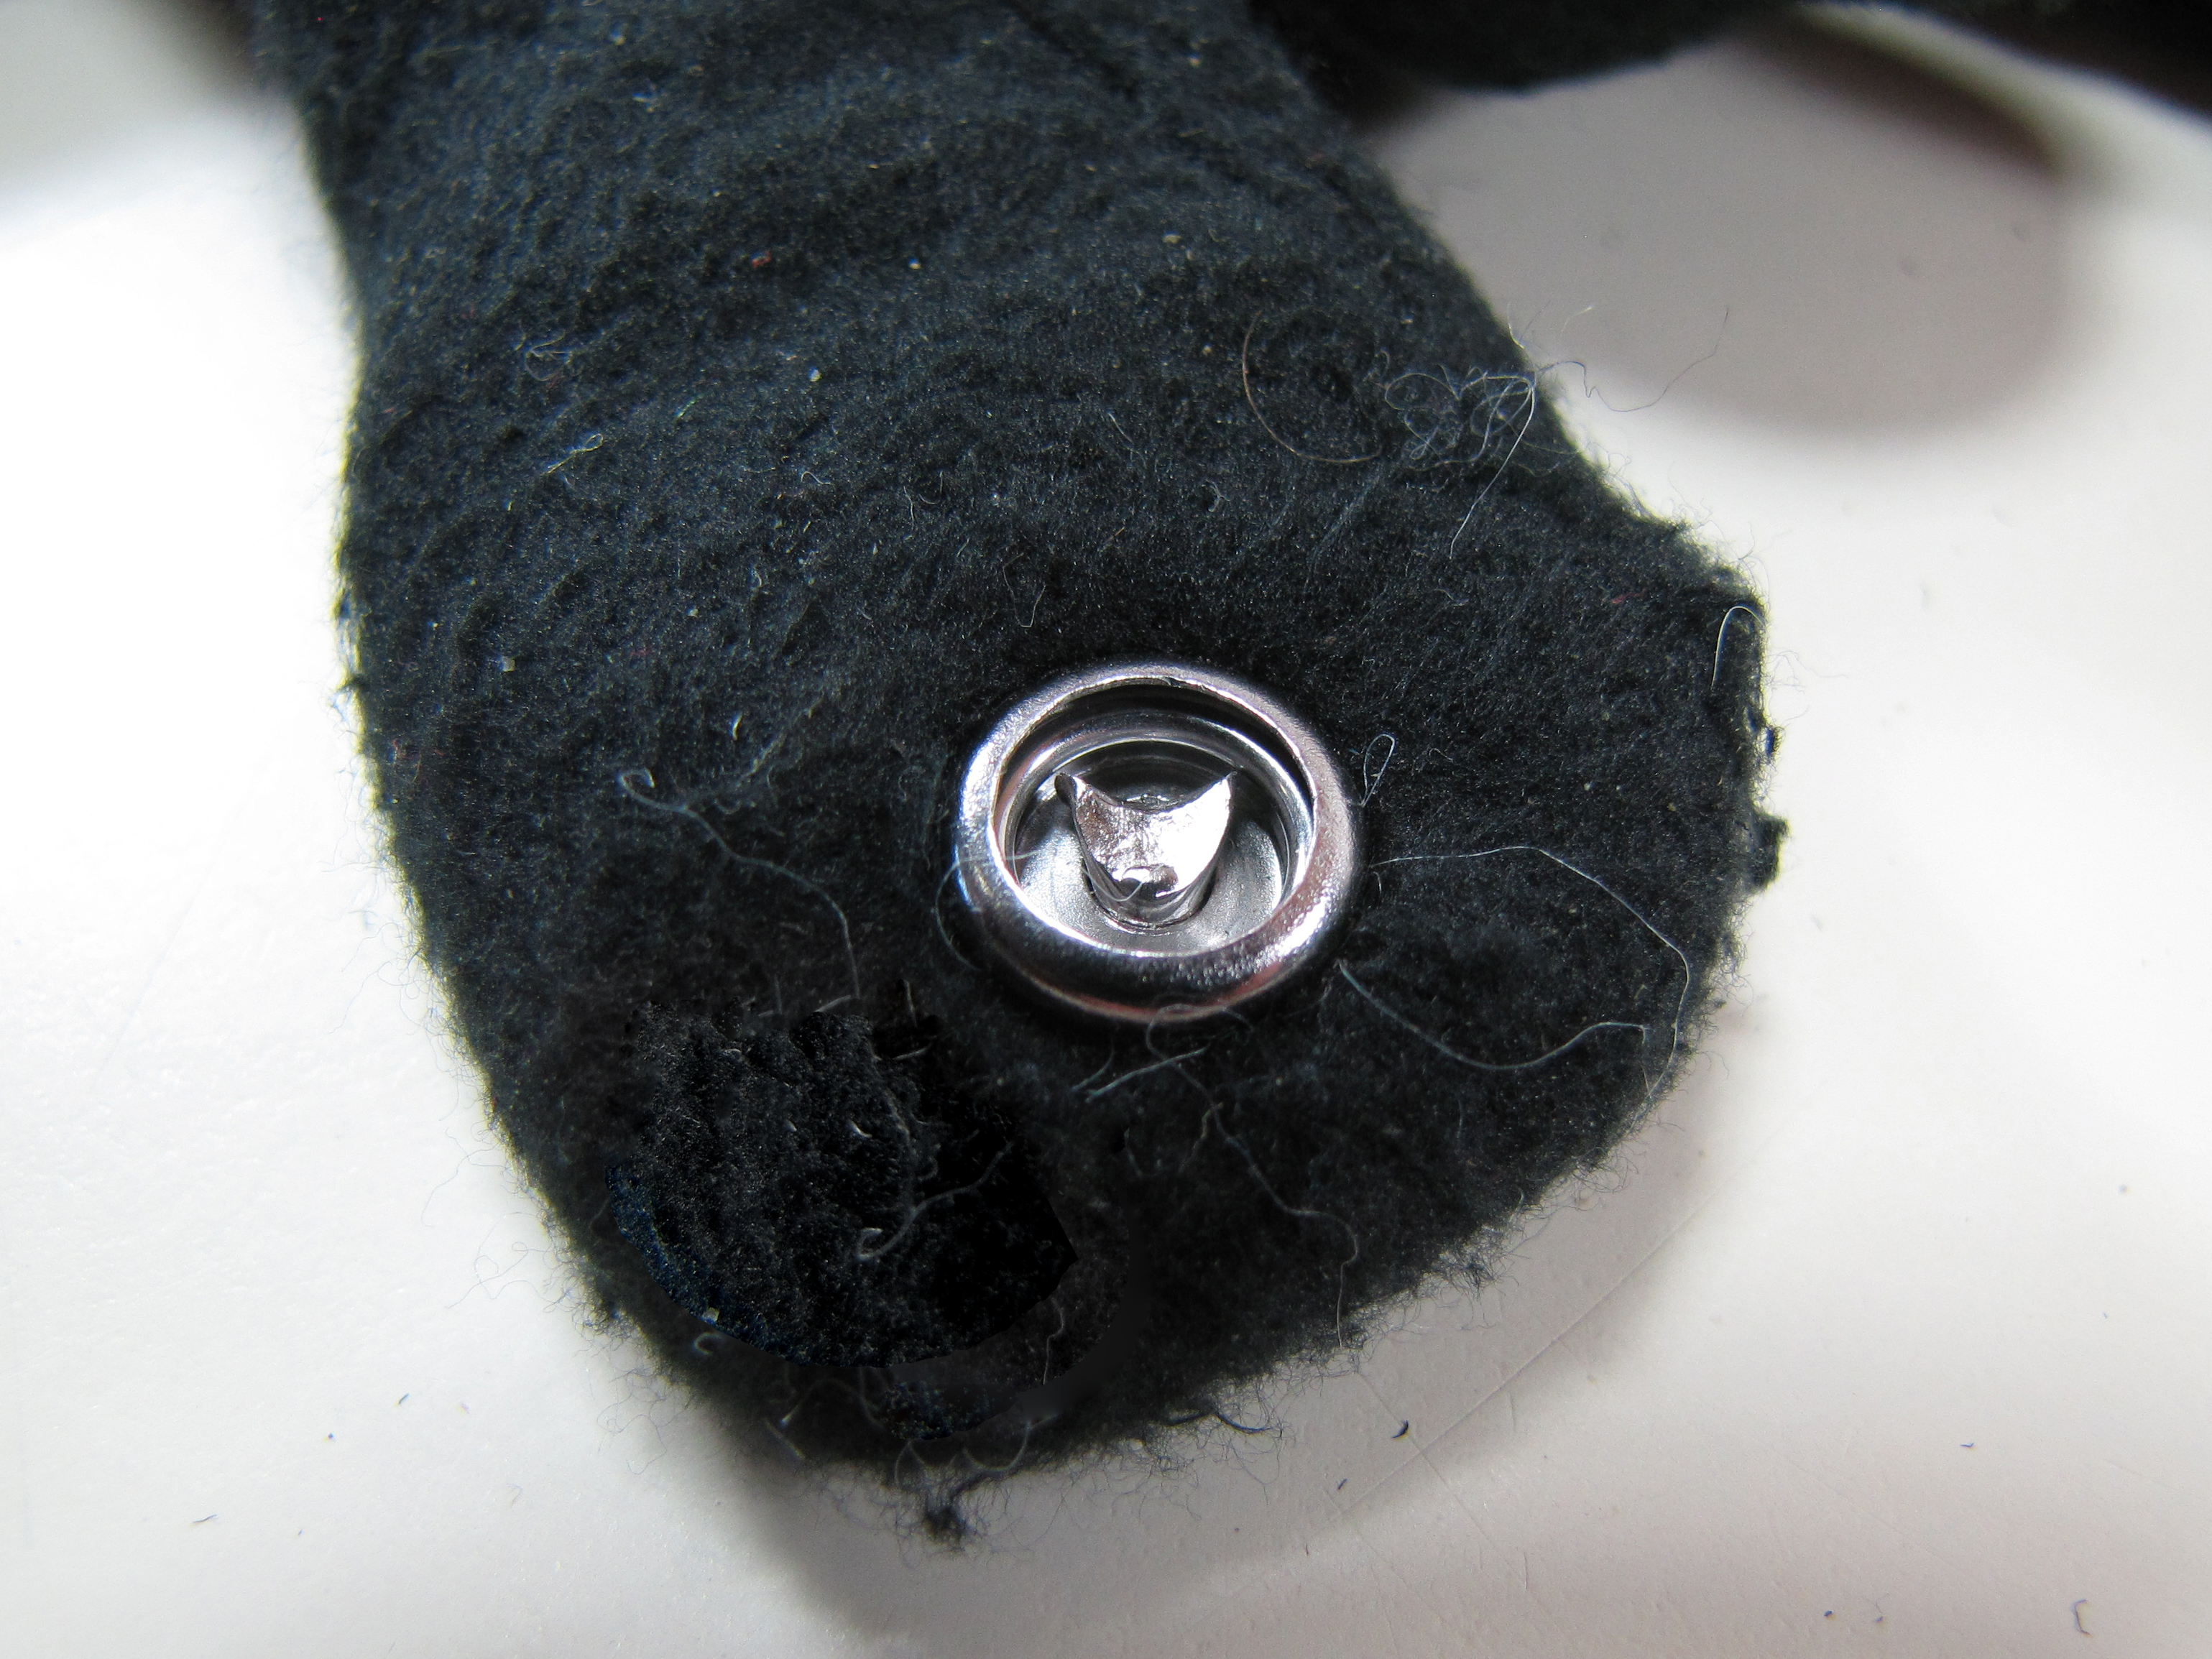
You can see my rivet-setting skills leave something to be desired. In this case, it doesn’t really matter that much if the post sets cleanly or not, because the snap will not actually be used as a snap, and the socket will be invisible inside the glove when it’s turned right-side out.

Turn the glove right-side out, again, and you’re done!