In Africa, Europe, and China, field scientists have uncovered the fossilized remains of campfire-charred bones so old that they likely predate Homo sapiens. The archeological evidence suggests that our humanoid ancestors began taming fire perhaps as long as 1 million years ago.

While these creatures most likely lacked the wherewithal to kindle fire, they did, it seems, have the mental capacity to capture naturally occurring fire, tend it, and preserve it for long periods. For ancient hominids, campfires were important not only for warmth and cooking, but also for light.

About 15,000 to 30,000 years ago, in the Late Stone Age (or Upper Paleolithic), humans painted elaborate images deep within several caves in western Europe, the best-known being those of Lascaux in southwestern France. Narrow and deep, the caves are impenetrable to daylight, making it impossible for the artists to have painted without some sustained source of artificial light.

Experts postulate that these primitive Rembrandts placed a few lumps of animal fat on a stone with a small manmade depression, then lit the fat with a burning faggot from the always-tended campfire not far away. The evidence indicates that in order to produce the hundreds of artworks now considered some of the world’s oldest, the painters must have manufactured some of the world’s first lamps as well.

As human culture progressed, so did lamp construction. Lamps were made from shells, bone, stone, and chalk, and were fueled by whatever naturally burning, organic substance was locally available. In the far north, it was whale blubber. In parts of the Middle East, lamps were fueled by petroleum products such as liquid asphalt and naphtha, collected from seeps in the ground.

Today the ancient lamps most frequently depicted are those formed from fired clay that burned olive oil. African and Levantine lamps had open tops and were often hung on chains from the ceiling.

Later, great numbers of Roman lamps were manufactured using molds instead of hand-forming techniques. They’re among the earliest examples of mass-produced housewares. Roman lamps had covers and sometimes multiple spouts and wicks that provided considerable light. It was in the orange-red glow of burning oil lamps that people like Aristophanes wrote, Socrates philosophized, and Archimedes invented.

Designing and fabricating a simple olive oil lamp is easy and fun, and quite possibly, useful. But best of all, when you do it you form a connection with the technology of the past, of the earliest times of human civilization. What your iPhone is to you, the oil lamp may well have been to the cave dweller.

What will the next generation of Make: look like? We’re inviting you to shape the future by investing in Make:. By becoming an investor, you help decide what’s next. The future of Make: is in your hands. Learn More.

Project Steps

Making an olive oil lamp.

Most clay or terra cotta oil lamps work the same way. The fiber skein or string that holds the flame is called the wick. Hydrocarbon compounds in the oil are wicked to the flame through the fibers via a phenomenon called capillary action. The upward-drawing motion of capillary action results from surface tension, or the attraction of molecules to molecules of similar kind. The oil molecules follow one another up the wick where they burn, or put a bit more scientifically, oxidize in a high-temperature, self-sustaining exothermic reaction.

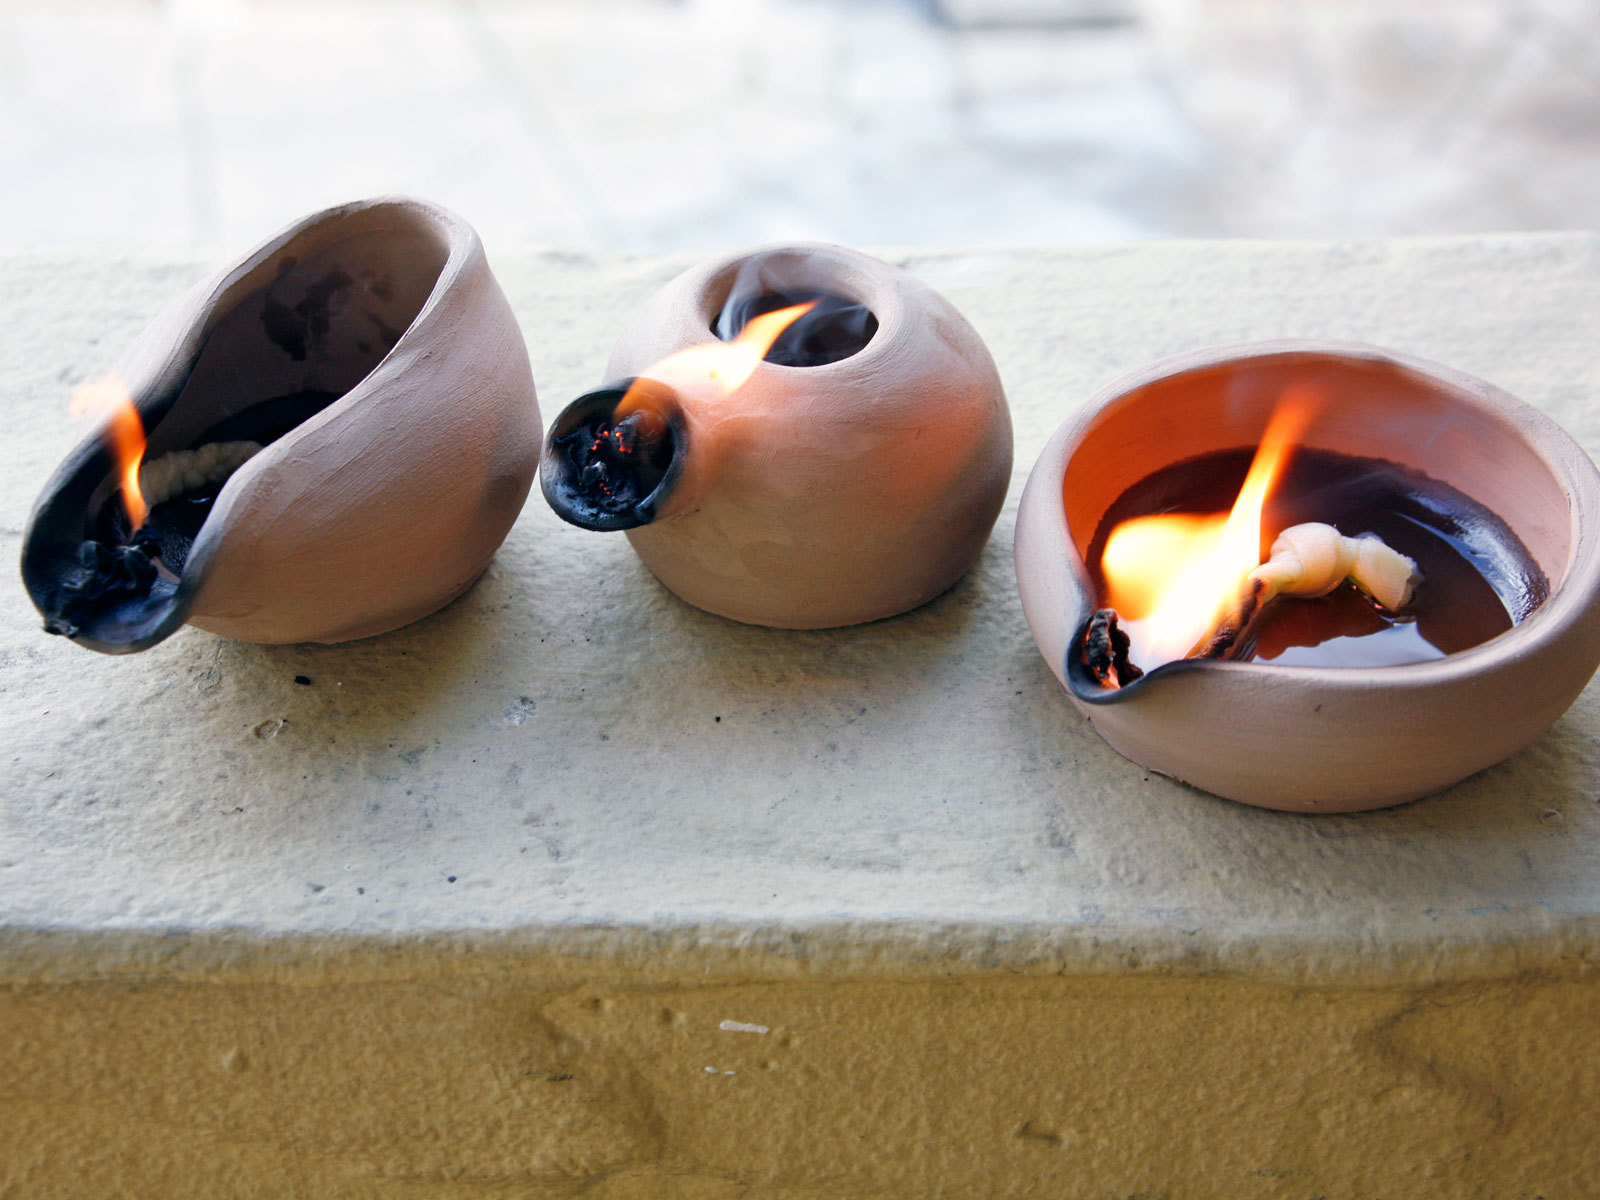
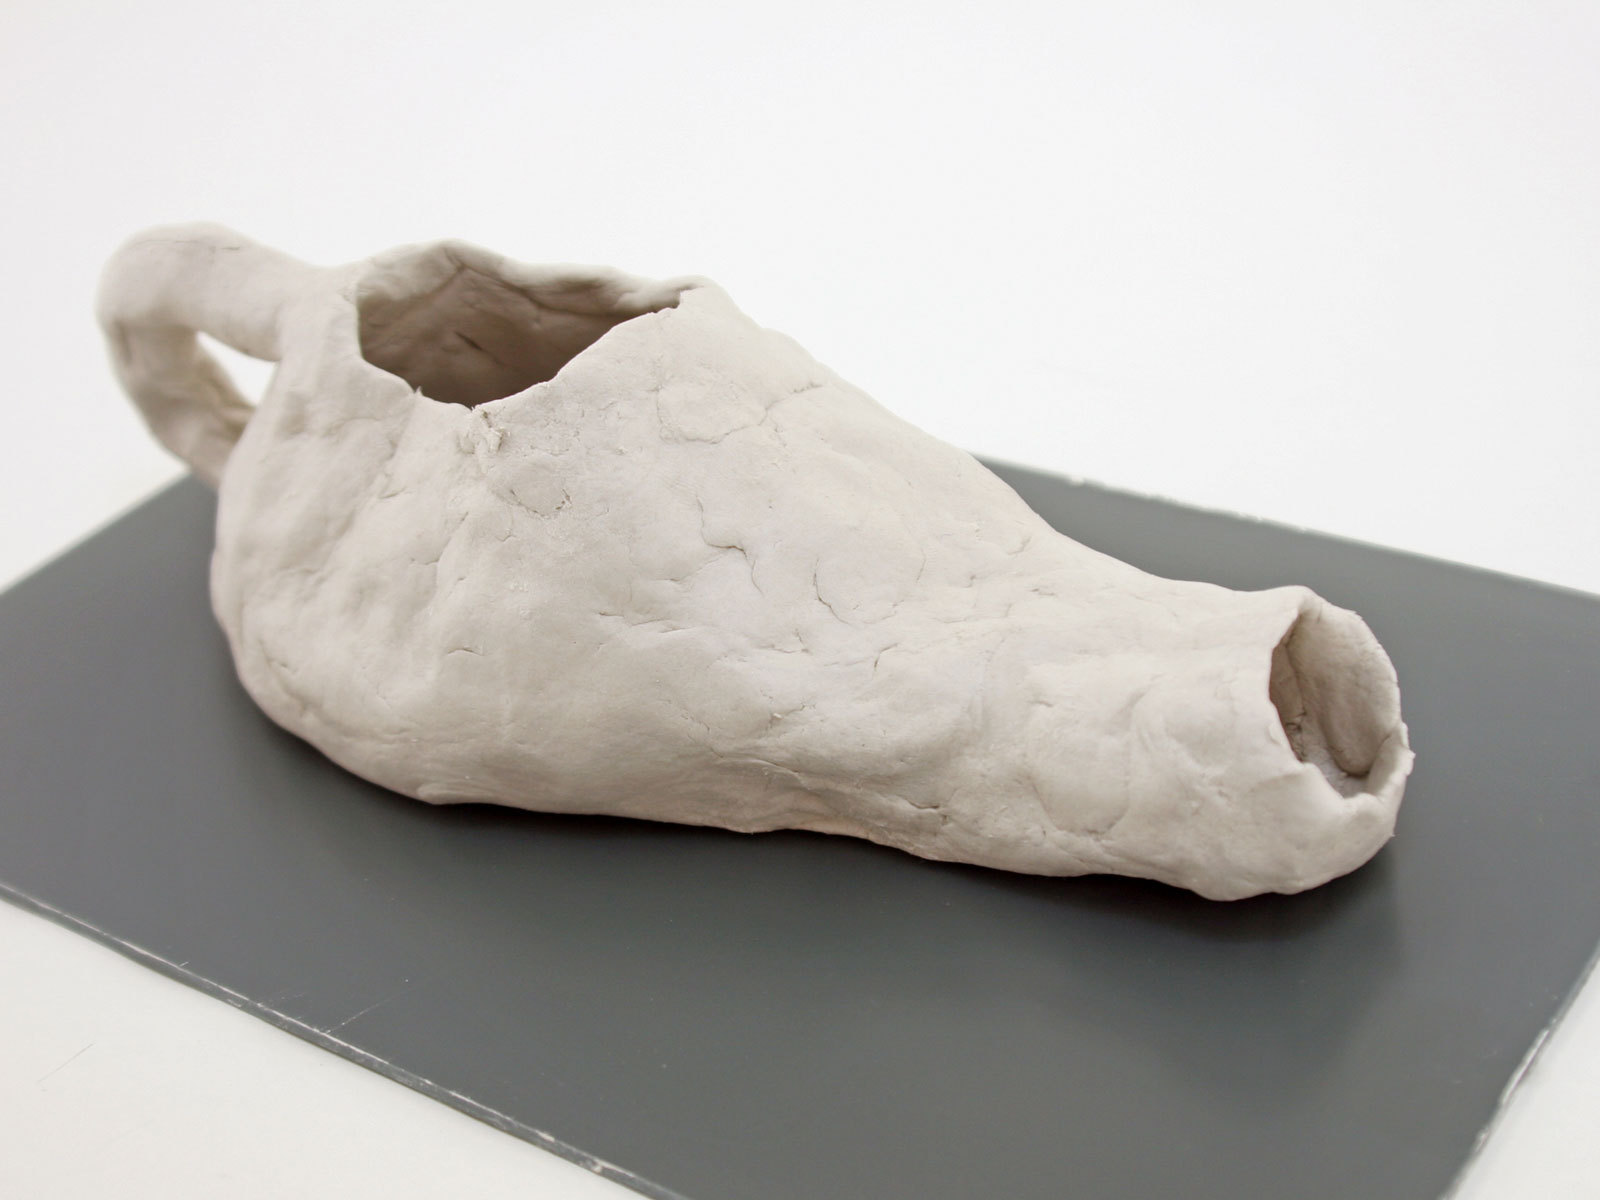
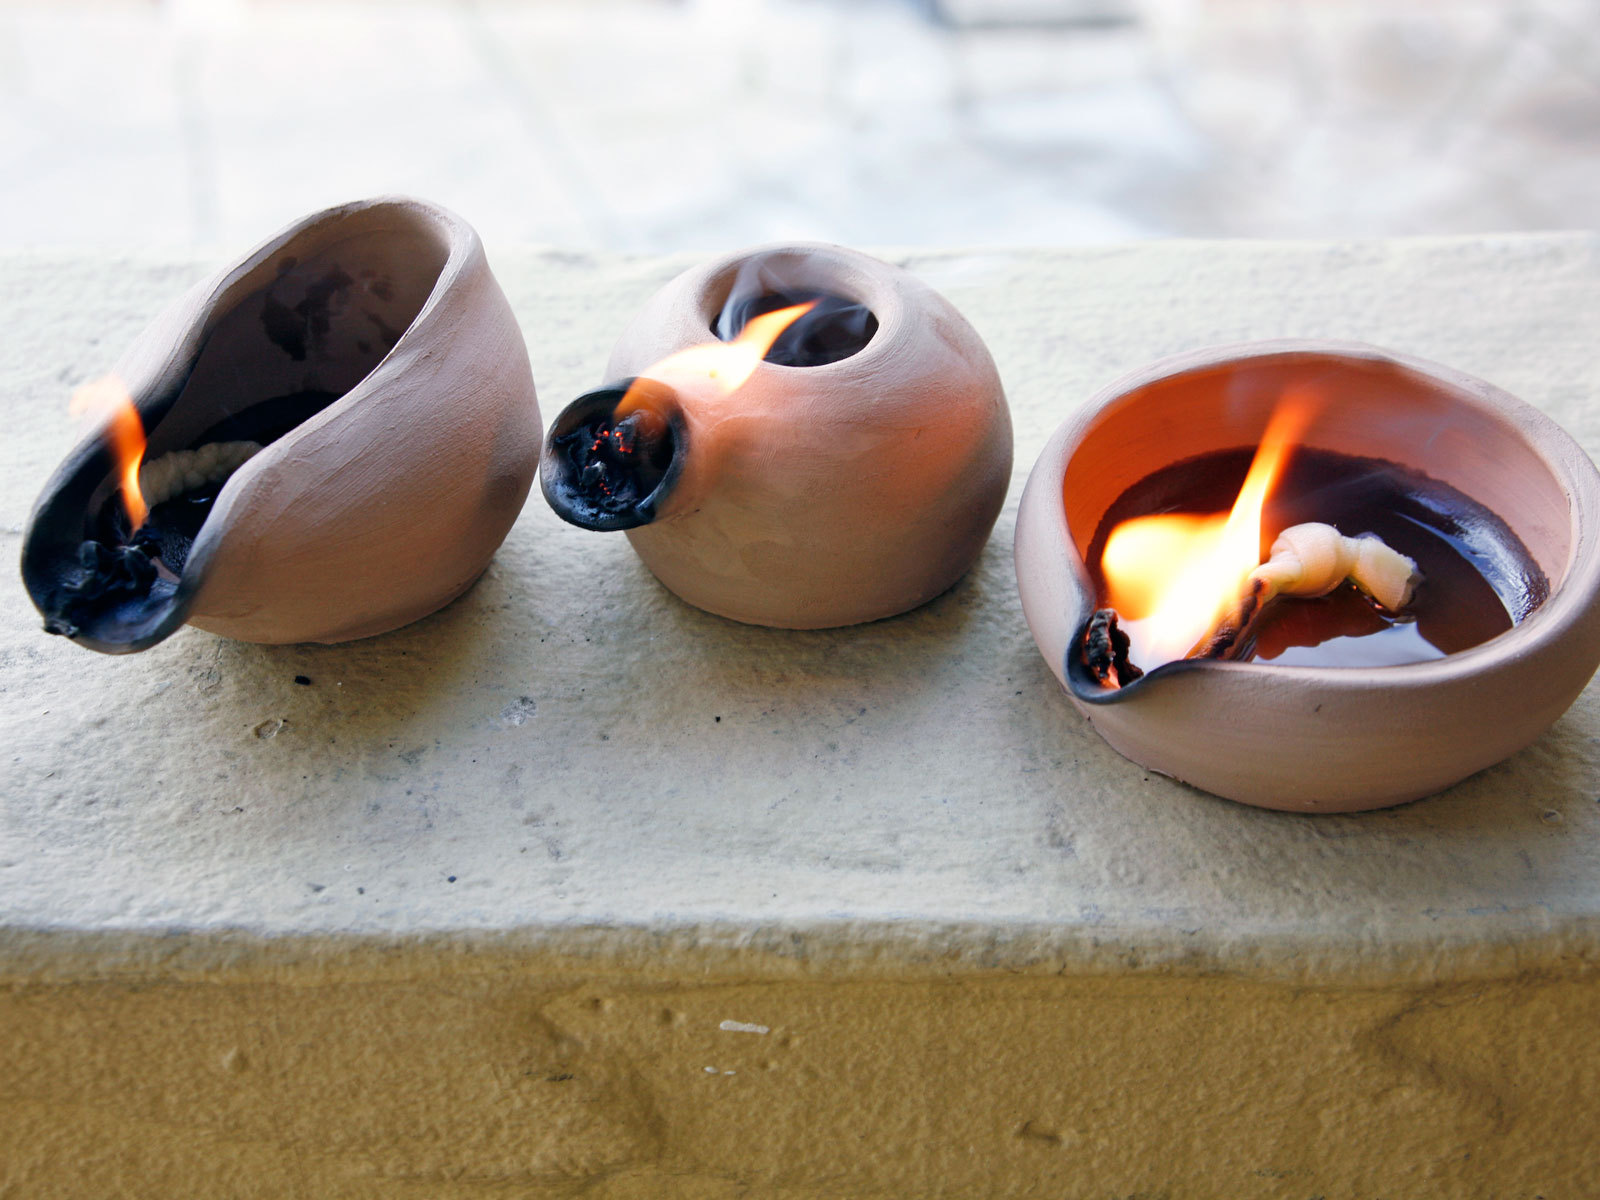
An oil lamp is basically a reservoir for oil with a support to hold the wick upright. In practical terms this becomes a clay pot with a spout for a wick and a separate hole for adding the oil. Making a lamp on a potter’s wheel is a simple task, as you need only throw a simple bowl, then pinch the wet clay to form a spout for the wick. You can even make a decent lamp with just your hands.

Shape the lamp.

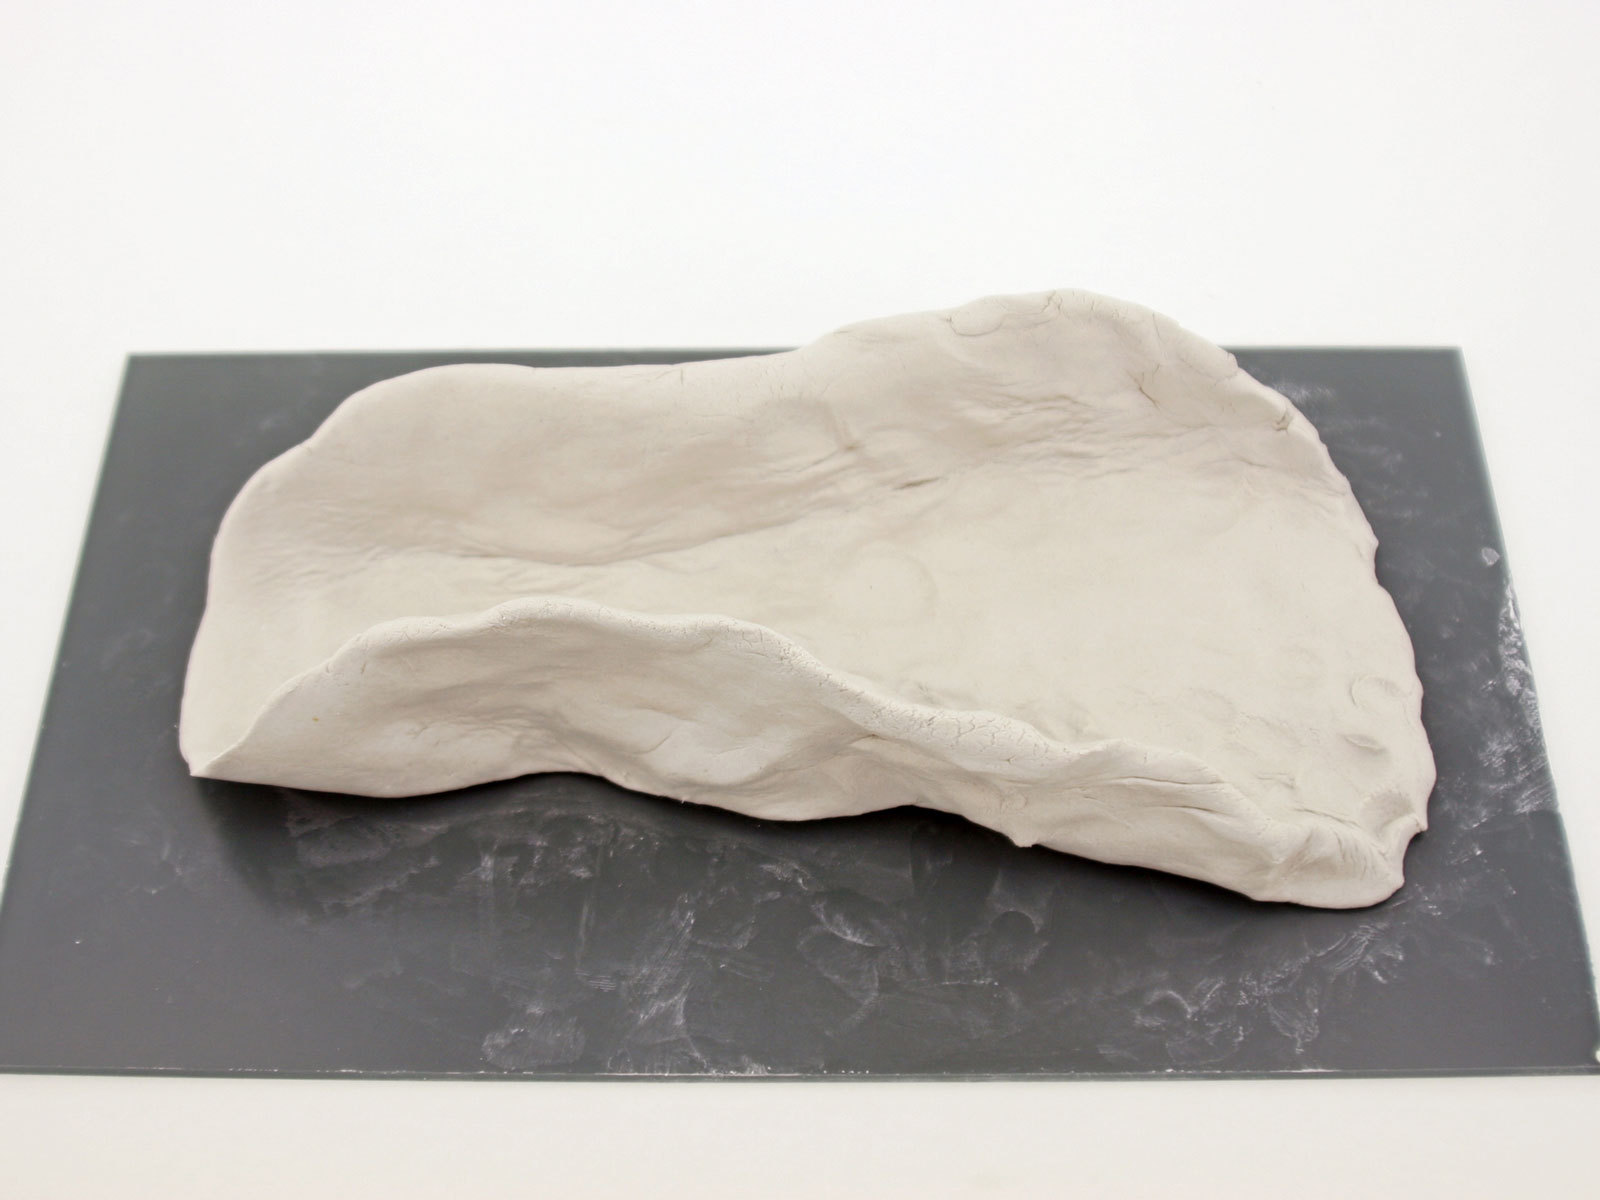
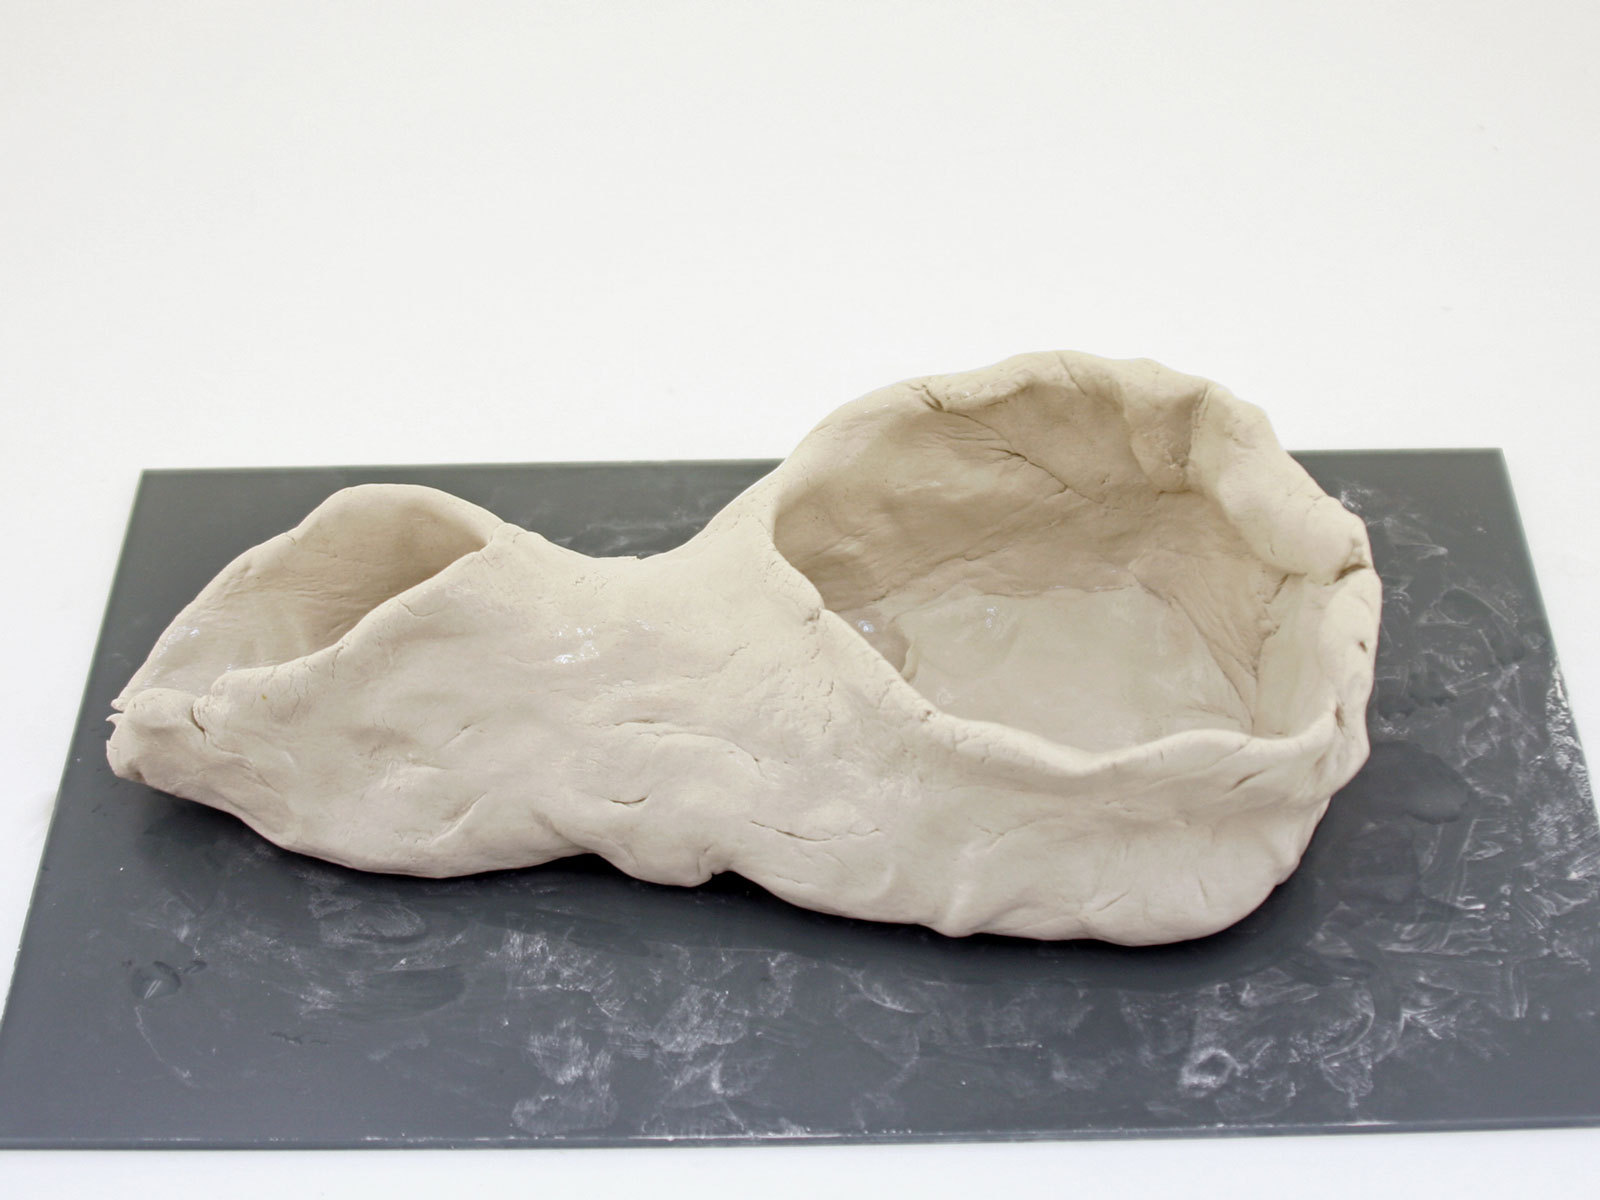
Olive oil lamps are simple enough to make without a potter’s wheel. Almost any shape can be used, as long as it holds oil without leaking or spilling and has a spout and a filling hole. Once your lamp is shaped to your liking, follow directions on the clay package to cure and harden it. Air-dry clay may be used if a kiln isn’t available; just paint the interior with varnish to make it waterproof if it’s not already.

The simplest shape is a saucer lamp. Raised edges hold the oil and a single depression in the rim forms the wick spout.

Over time, the saucer lamp was superseded by the covered lamp. The covered lamp has several advantages: it’s less likely to spill, it usually has molded handles to make it easier and safer to transport, and the cover prevents contaminants from entering the oil reservoir.

Optional: Improve the finish of your lamp by lightly buffing it with cloth. Lamps can be detailed with scribes or knives, drilled, or sanded if desired. Lamps were commonly decorated with motifs that included mythology, animal and plant life, and repeating abstract designs.

Make a wick and fill the lamp.

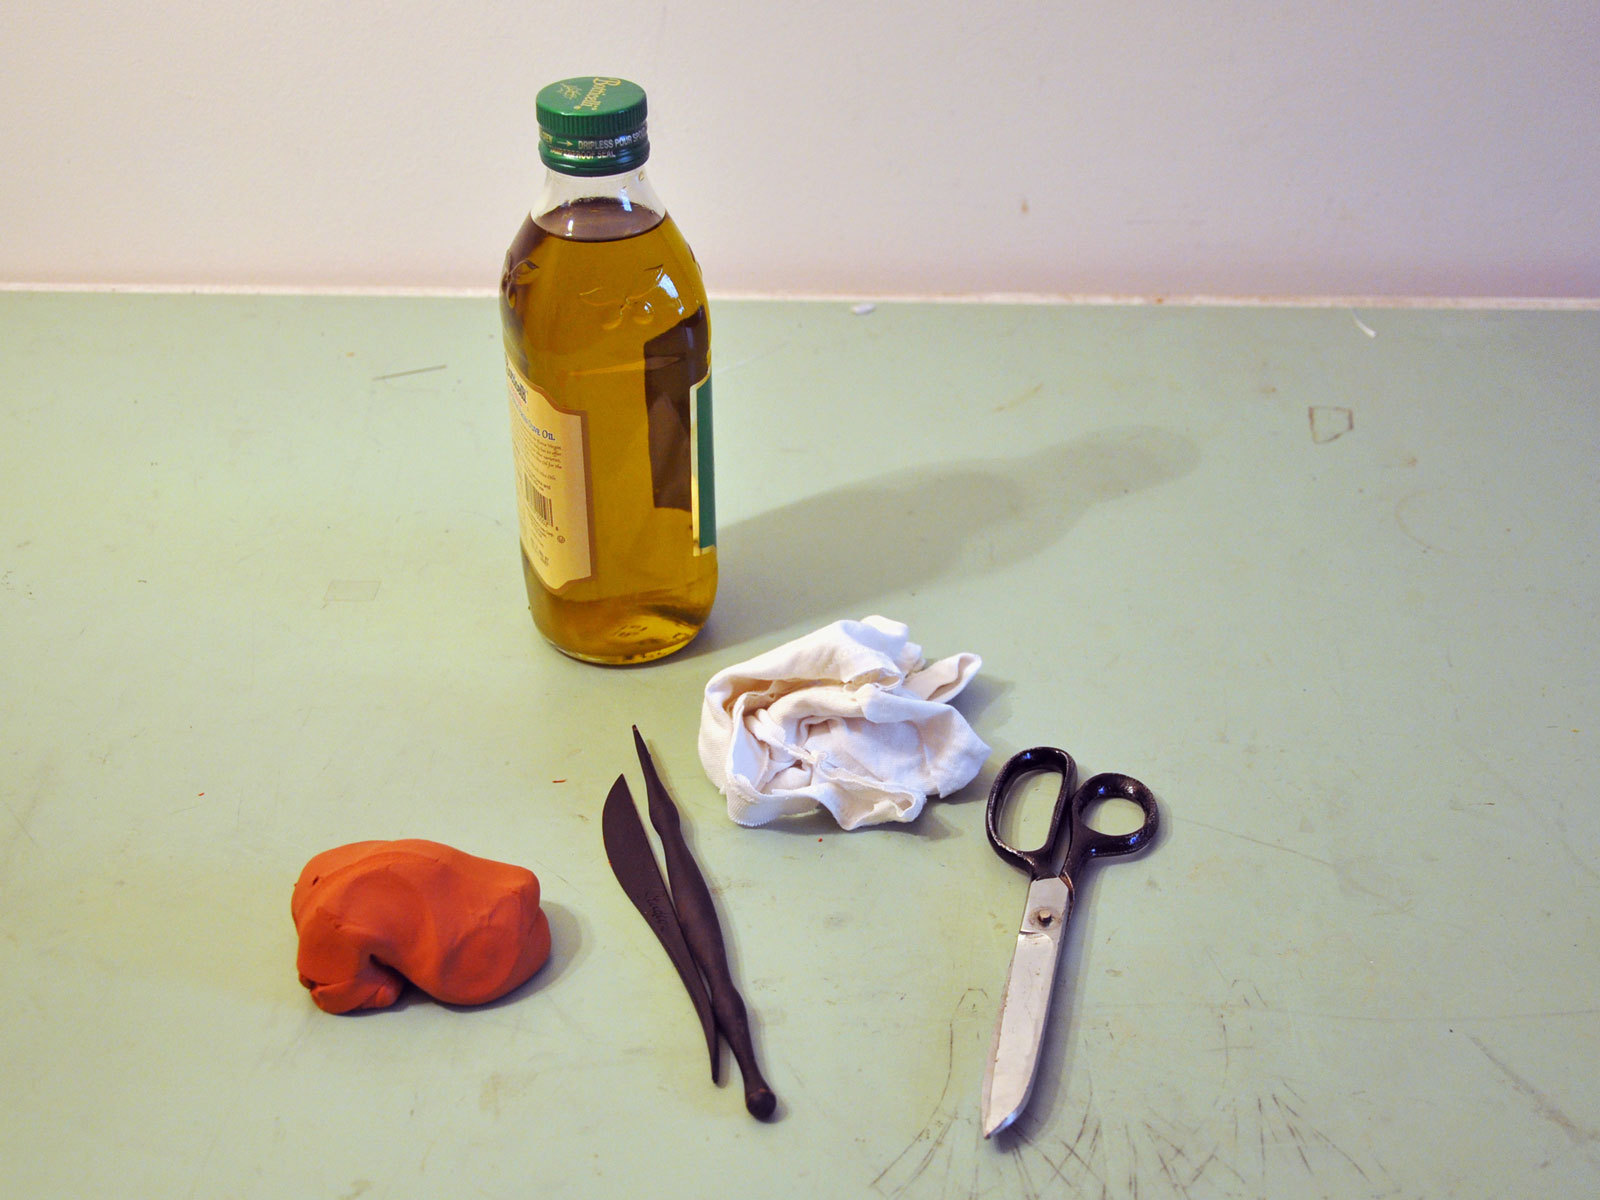
Cut a piece of cotton cloth ¾” wide by 4″ long (the exact length depends on the size of your lamp). Braid or twist the cloth in a tightly spiraled wick. Fill the lamp with olive oil.

Insert the wick into the lamp’s spout. Using a scribe or other narrow tool, position the wick so it extends from the bottom of the oil lamp to approximately ½” above the spout. Trim the excess with scissors. Be sure the wick is saturated with oil.

Use under adult supervision only. Olive oil is flammable. Avoid spills, and use the lamp with care to avoid fire danger.

Olive oil produces a beautiful, soft orange flame but also considerable soot and smoke. Carefully choose the location where you use the oil lamp to avoid getting soot on walls and ceilings. Oil lamps may set off smoke detectors.

Light the wick and enjoy the warm, soft light. You may need to trim the wick at intervals with the scissors to make it burn faster or slower depending on the amount of light you want it to produce.