What will the next generation of Make: look like? We’re inviting you to shape the future by investing in Make:. By becoming an investor, you help decide what’s next. The future of Make: is in your hands. Learn More.

Project Steps

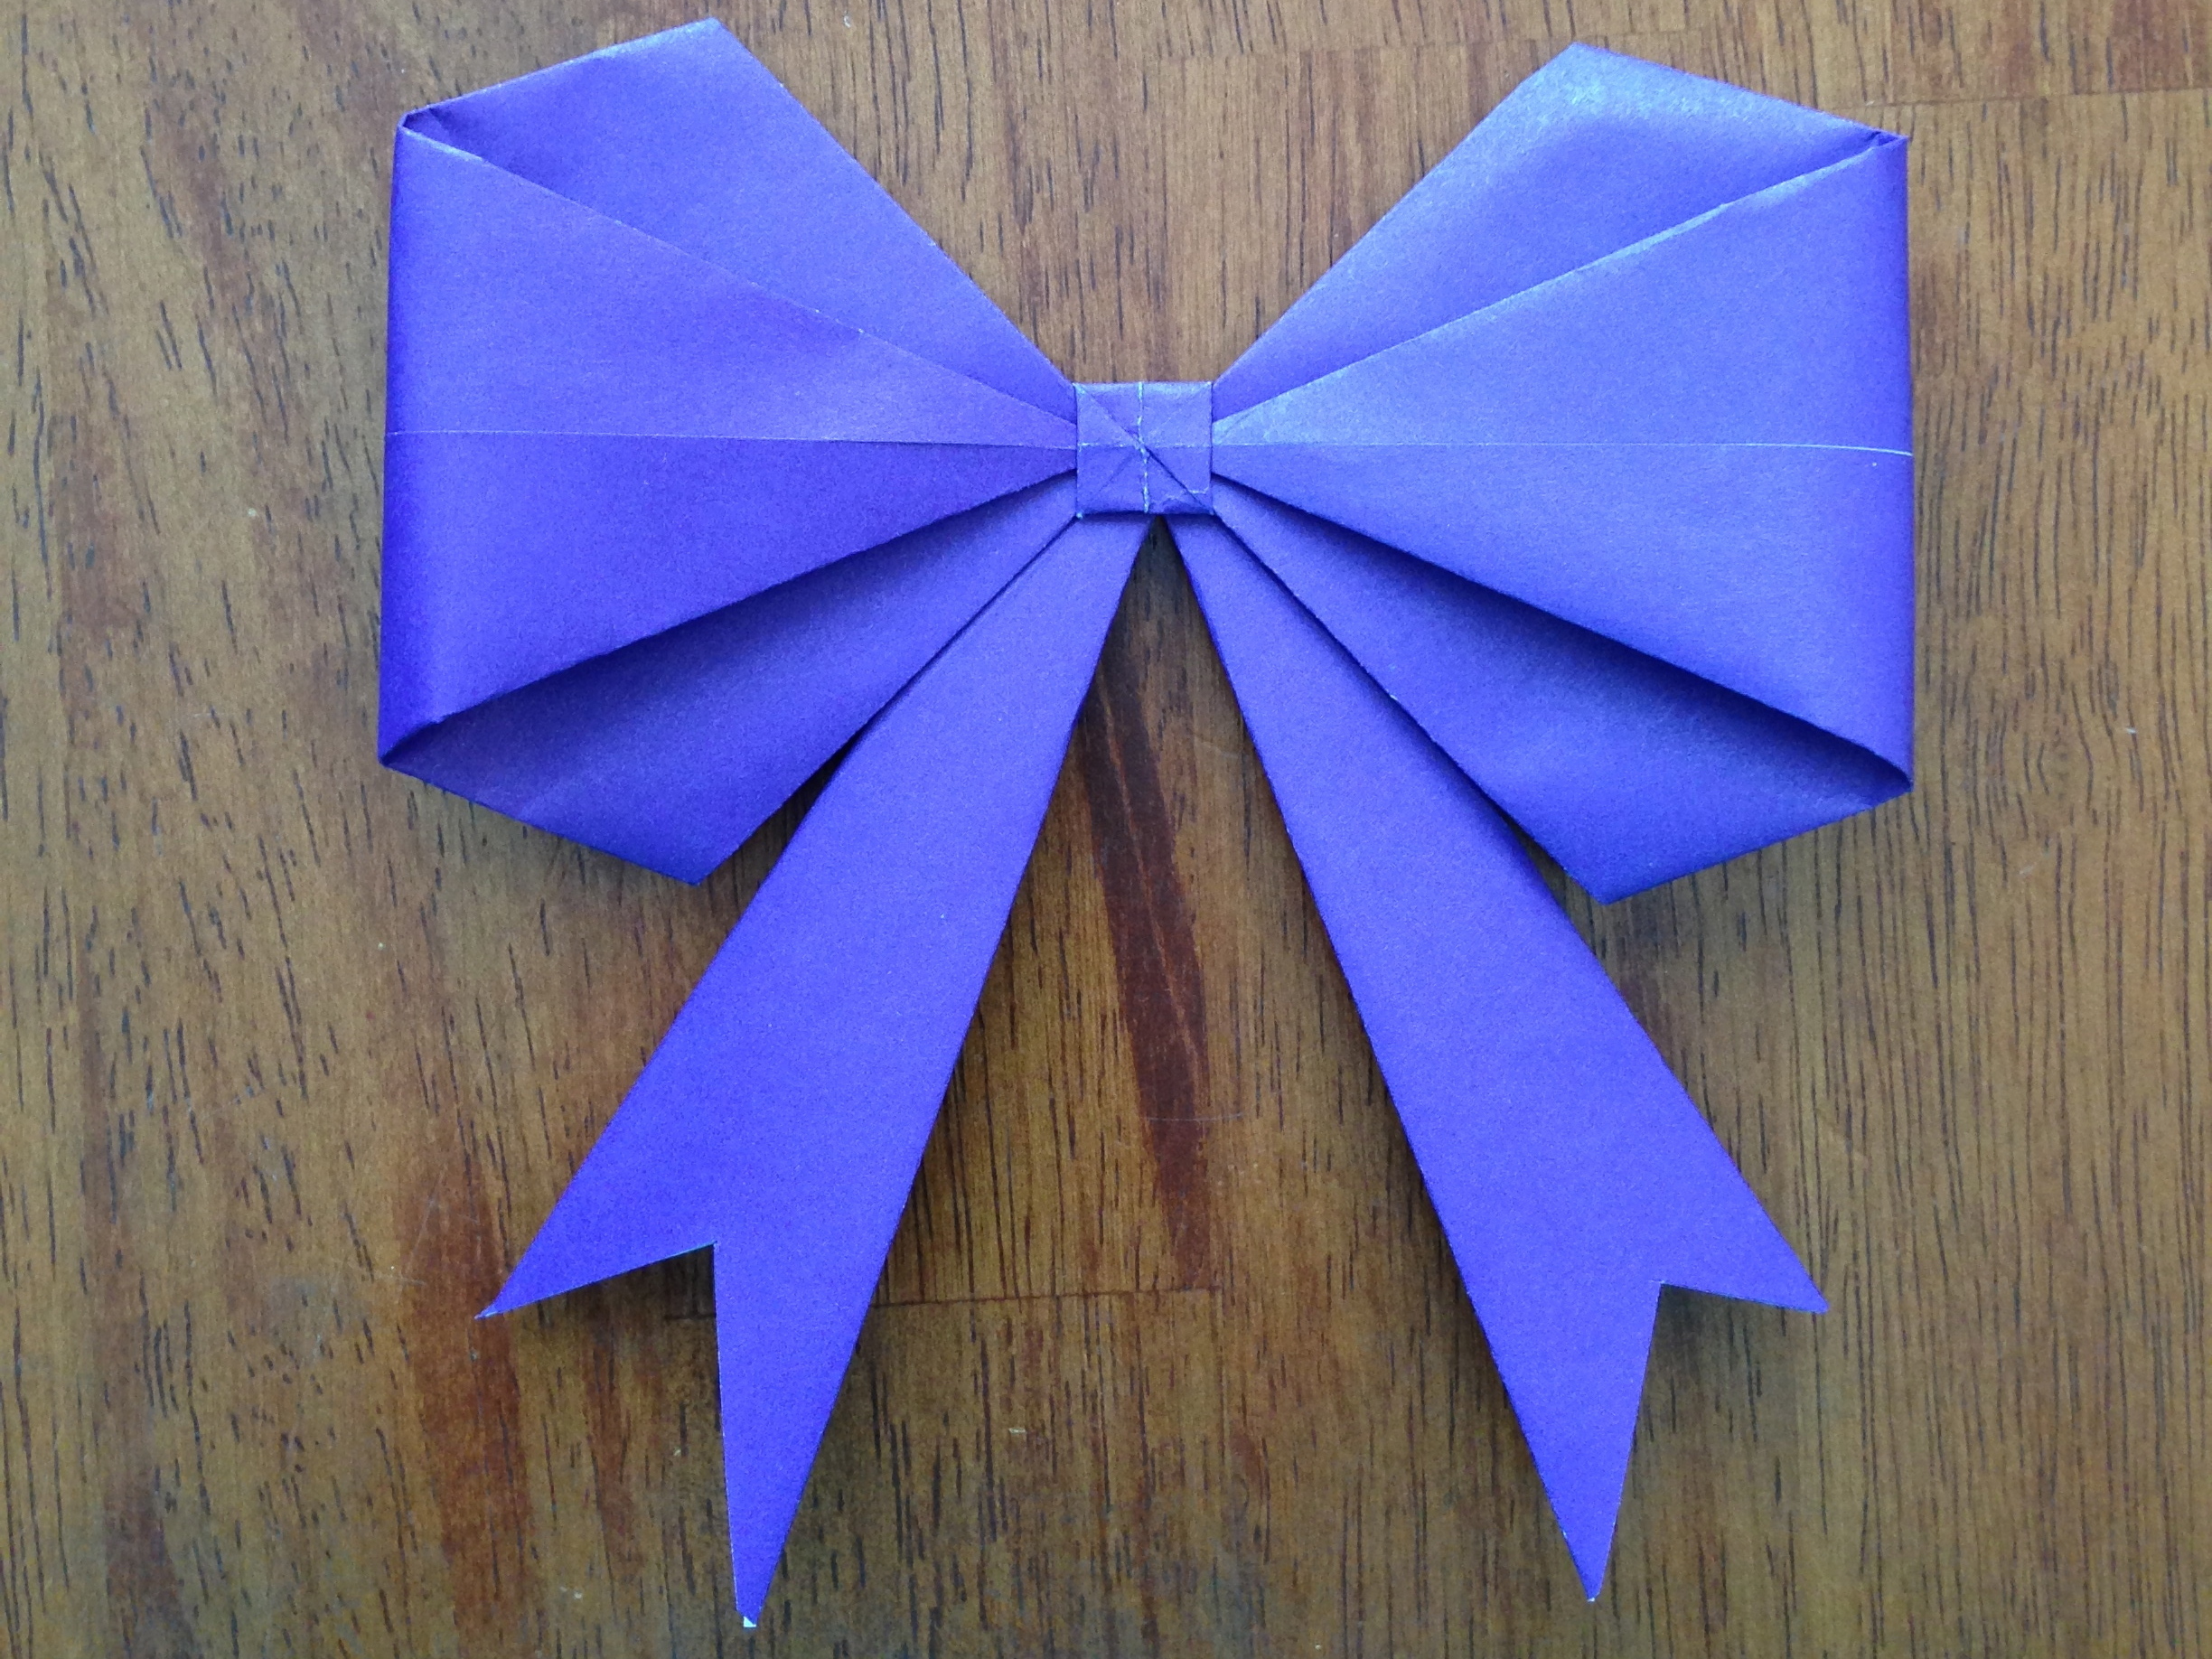
This is what the finished product will look like.

Start with Origami paper color side down.

Fold corner to corner, making an X in the paper as in picture #2.

Turn paper over to color side. Fold in half in both directions, making a “+” in the paper as in picture #3.

Collapse along creases.

The result should look like picture #2.

Lay flap on table. Fold down the top point. This is really up to you. This fold will be making the “knot” in the middle of the bow.

Open unit up. As you can see, there is a square in the center.

Collapse the center square into the center as shown in picture #3.

Picture #1 shows what your paper should look like after collapsing the square.

Fold each side into the center using that center crease line as your guide. (Picture #2)

Continue on the other side. Flip over and repeat on the other side of paper.

Picture #1 shows all creases folded.

Gently open the unit from the bottom upwards. Make sure to keep the previous creases intact.

Picture #3 shows the end result.

Turn the unit over as in picture #1.

Cut along the folded crease as in picture #2.

Continue with the other 3 folds. The result should look like picture #3.

Fold the top down to the bottom. (Picture #1)

Fold sides down making a point on both sides. (Picture #2)

Repeat on the other side. (Picture #3)

Cut up the center of both pages. Cut all the way up to the square.

Fold over as much as you like on the inside edge. (Picture #1)

Fold the outer edge in. (Picture #2)

It is for you to decide how much paper to fold here. There isn’t a “correct” way to fold these.

Turn over.

Cut the ribbon strands however you’d like. I like making points, but you can do it whatever way you prefer.

Take the point on the left and roll it toward the center. Tuck it under the square as in picture #2.

Repeat on other side. (Picture #3)

Your beautiful bow is finished. Make some more and have fun decorating with them.