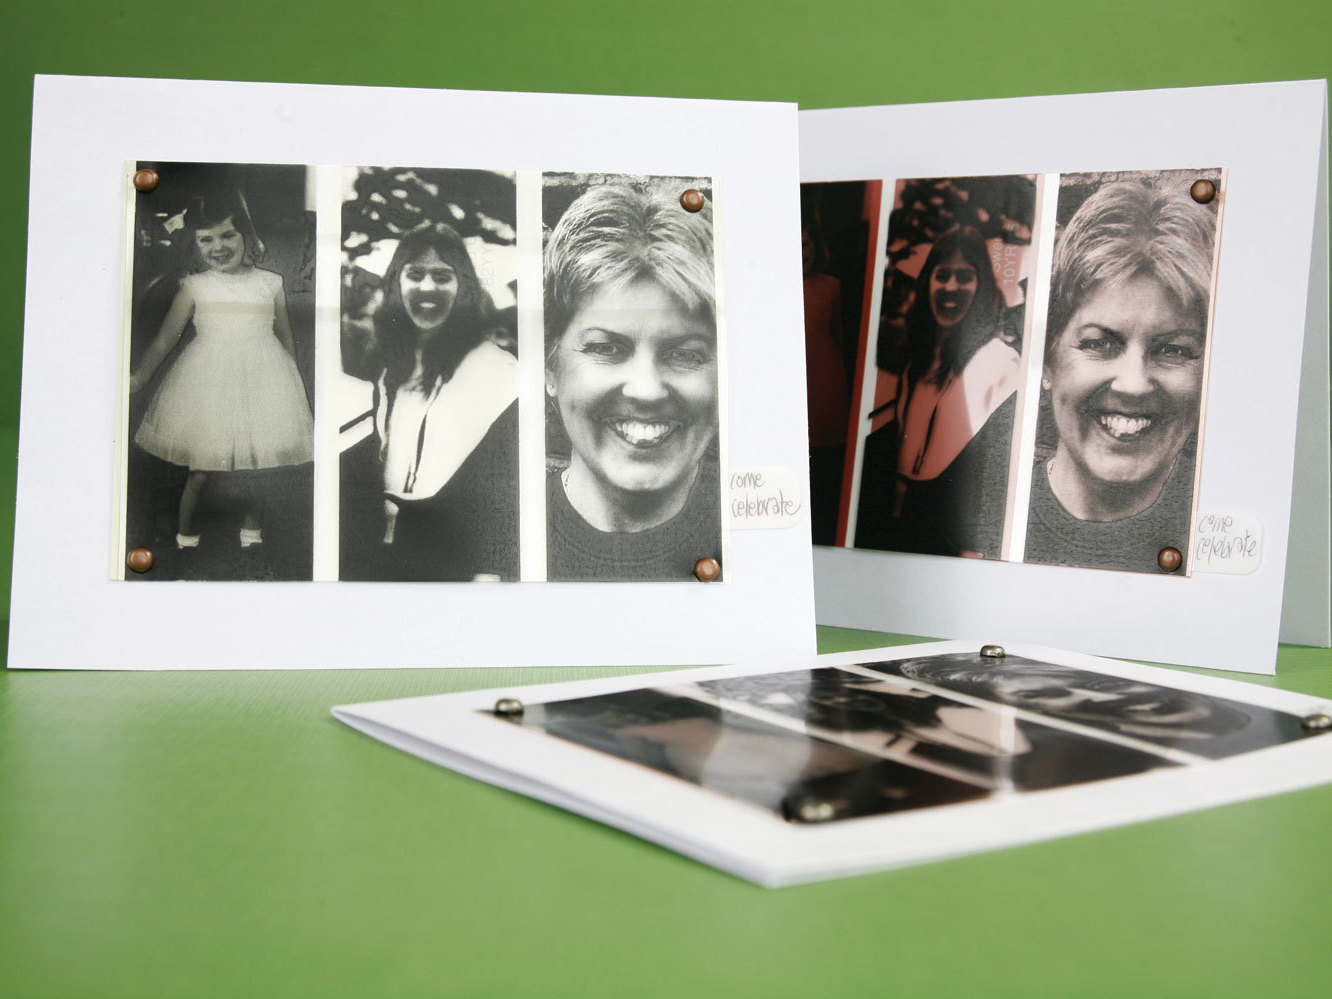
It’s confession time. I love paper and I love anything that’s free. Enter the humble paint chip color sample — you may have some lying around from your last paint job or, if not, ask your hardware store if they have samples from discontinued brands or colors. Paint chip strips can be folded and used to make cards, or as decorative accents for a larger card, as I’ve done here.

This birthday invitation gets its oomph from the vibrant colors of the paint chips. Paint chips are difficult to print on (the ink has a tendency to bleed everywhere), but if you combine them with the simple office transparency, you have a winning partnership.

What will the next generation of Make: look like? We’re inviting you to shape the future by investing in Make:. By becoming an investor, you help decide what’s next. The future of Make: is in your hands. Learn More.

Project Steps

Measure up.

Measure the paint chip color sample you’ll use on the card. I used half a large strip per card to provide backgrounds for the images.

Make a new working document the size of your strip in a photo-editing program such as Photoshop Elements. To do this, choose File ⇒ New ⇒ Blank File. Set the Resolution to 300ppi and the Color Mode to RGB Color.

Select your images and convert to black and white.

Find photos or other images to use. You can use scanned photos in color or black and white, or photos you’ve downloaded from your camera. You can also use line art or clip art images — anything goes!

Open duplicates of the images to use on the card; never work with originals.

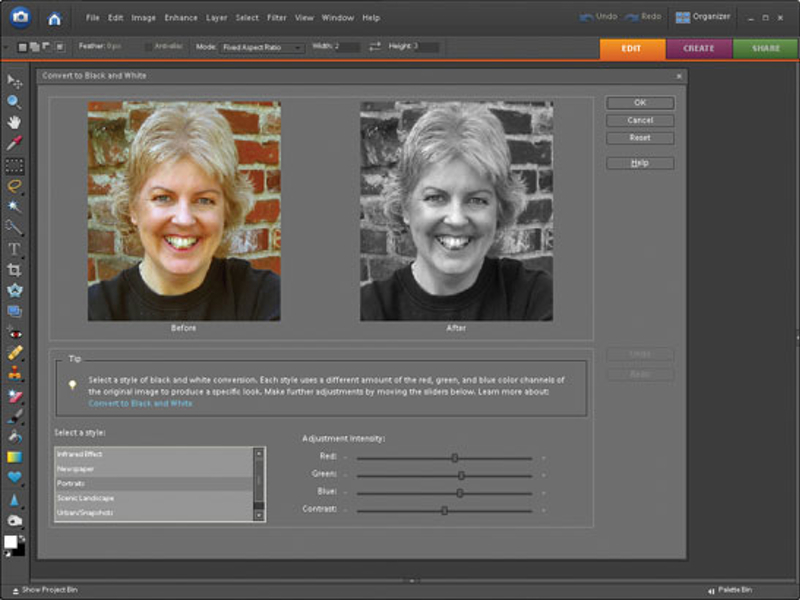
If the images are in color, click each image in turn and convert it to black and white by choosing Enhance ⇒ Convert to Black and White.

Size the images.

Measure 1 rectangular paint chip. Click the Rectangular Marquee tool. On the Tool Options bar, set the Mode to Fixed Aspect Ratio and type the width and height of the rectangular chip.

Make a selection on the first image. Choose Edit ⇒ Copy, switch to the working document, and choose Edit ⇒ Paste. Size the image and move it into position. Repeat with the other photos.

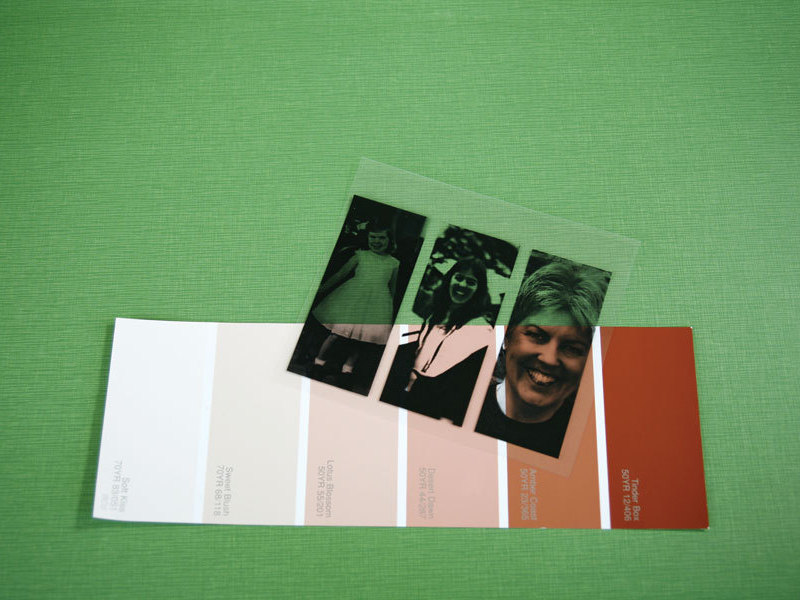
Print the transparencies.

When you’re ready to print, flatten the image by choosing Layer ⇒ Flatten Image. Make a new image at 81⁄2″×11″ and 300dpi for printing. Copy and paste the assembled image into this document as many times as you can fit on the page, taking care not to resize the images when you do this. Print onto the transparency paper.

TIP: Make sure to buy the right kind of office transparencies, depending on the type of printer you are using — laser or inkjet. Inkjet transparencies have a special surface that the ink can attach to, and laser transparencies won’t melt and destroy your laser printer!

Make the cards.

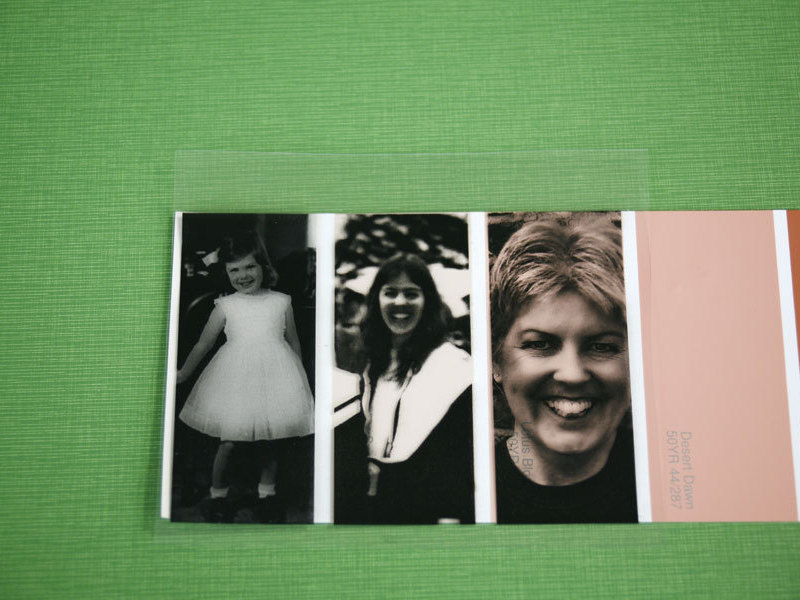
Trim the printed images, cut the paint chips to size, and if you’re making your own cards, cut and fold them.

Hold the transparency and paint chips in position on the card and punch a small hole in each of the 4 corners. Affix the transparency and paint chips to the card using 4 small brads.

You can also add an adhesive tab with some words describing the event. Add the details of the invitation on the inside of your card.

Conclusion

This project first appeared in CRAFT Volume 10, pages 49-51.