Paper, first invented in China around the 1st or 2nd century A.D., is now so ubiquitous that it has achieved near-invisibility in our modern world. The average American household receives more than 100 pounds of unwanted junk mail each year! However, creating a handmade sheet of paper can remind anyone of this everyday object’s noble origins.

Here’s a chance to give your unwanted papers a second life for stationery, collage, or anything else you can imagine. Rediscover this ancient and oh-so-easy art form.

What will the next generation of Make: look like? We’re inviting you to shape the future by investing in Make:. By becoming an investor, you help decide what’s next. The future of Make: is in your hands. Learn More.

Project Steps

Glossary of Terms

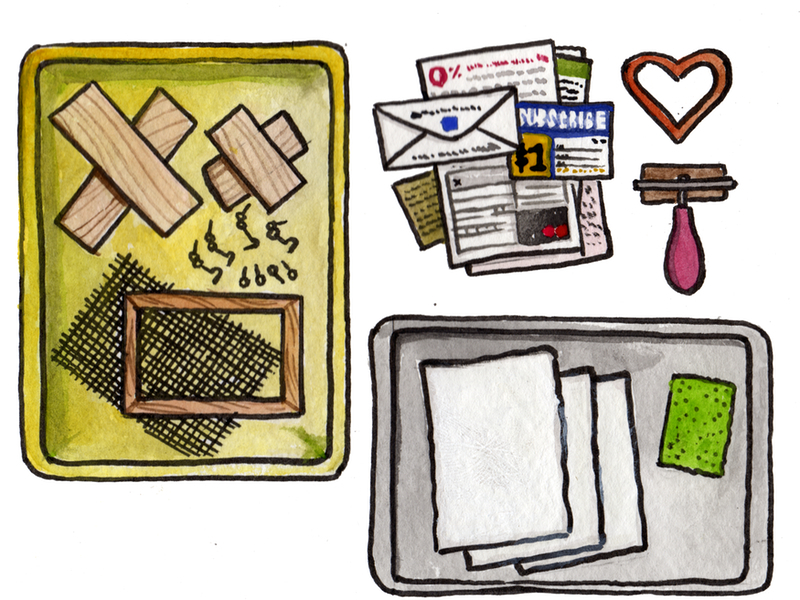
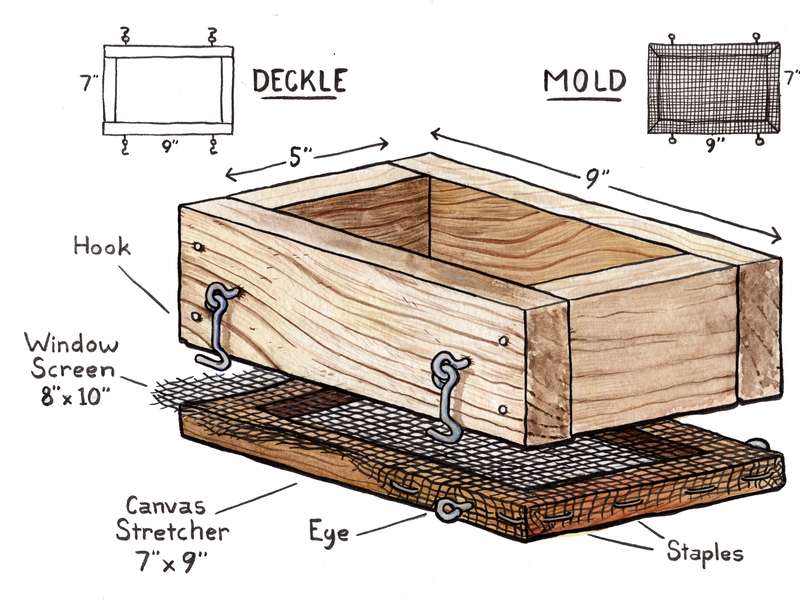
Mold and deckle: The frame that’s used to make paper. The mold is the bottom portion, which includes the stiff mesh that the screen rests on. The deckle is the upper portion, which determines the shape and size of the sheet of paper (the ragged edges seen in handmade papers are called deckle edges). There are many different versions of this mold and deckle setup; for this project we use a variation called a deckle box or pour mold.

Couching: Pronounced “cooching” (it’s derived from the French coucher, “to lay”), this is the process of transferring the wet sheet from the mold to another surface (the felt) to dry.

Felts: Sometimes called couching sheets, these are the pieces of material used to separate sheets of wet paper while they dry. Felts are available at art supply shops; however, interfacing or old wool army blankets can also work well.

Pulp: The mix of water and plant fibers that your paper is made of. You can create pulp from cotton linters (sold at art supply stores) and other plant fibers, but in this project we’ll make pulp by reusing scrap paper and junk mail.

Build the pour mold.

Cut the window screening to a size slightly larger than the outside dimensions of the canvas stretcher (my canvas stretcher here is 7″×9″). Use a staple gun to attach the window screening mesh to the canvas stretcher, making sure it’s as taut as possible.

Cut 4 pieces of 1″×4″ lumber (here my pieces were 5″ and 9″ long) to fit together into a rectangle— the interior size will be the finished size of your paper (5″×7″ in this case). Secure the sides with wood glue and nails.

Add the hook and eye latches on either side of the mold and deckle box to hold them together tightly.

Make the pulp.

The paper you choose to recycle will affect the consistency, color, and feel of your handmade paper. In general, bills and printer papers will create a smoother, more consistent sheet, while magazine pages and glossy papers will tend to chop up more irregularly, creating a more “artistic” look. Experiment with mixing different papers together.

Cut or tear your paper into approximately 1″ square pieces, and place them in the blender with enough water to cover them completely. With the pour method, you can make as much pulp as you want at a time; a good rule of thumb is that whatever the size of your original sheet, the pulp you make from it will make a sheet about 1″ smaller in both width and length.

Blend the paper scraps and water until all large chunks are pulverized (about 30 seconds to 1 minute). The longer you blend the pulp, the smoother and more regular your paper will be. Pulping can dull your blender’s blades quickly, so it’s a good idea to keep a dedicated papermaking blade or get a separate blender (you can usually find one at a thrift store) if you want to make paper frequently.

Personalize your pulp! You can add in a wide variety of materials while blending, including leaves, flowers, glitter, confetti, seeds, and much more. It’s best not to blend ribbons or other long fibers, as they can get wound around the blades. Finally, consider dyeing your pulp (see the Make:Projects guide Natural Dyeing 101).

Pour the pulp.

Fill your vat with enough water to cover the mesh on the resting pour mold by at least 1⁄2″. (A large Rubbermaid tub works great, and can be used to store your papermaking supplies when not in use.)

Using the hook and eye latches, secure the deckle box and the mold. Place them in the vat, sliding in at an angle to discourage air pockets from forming.

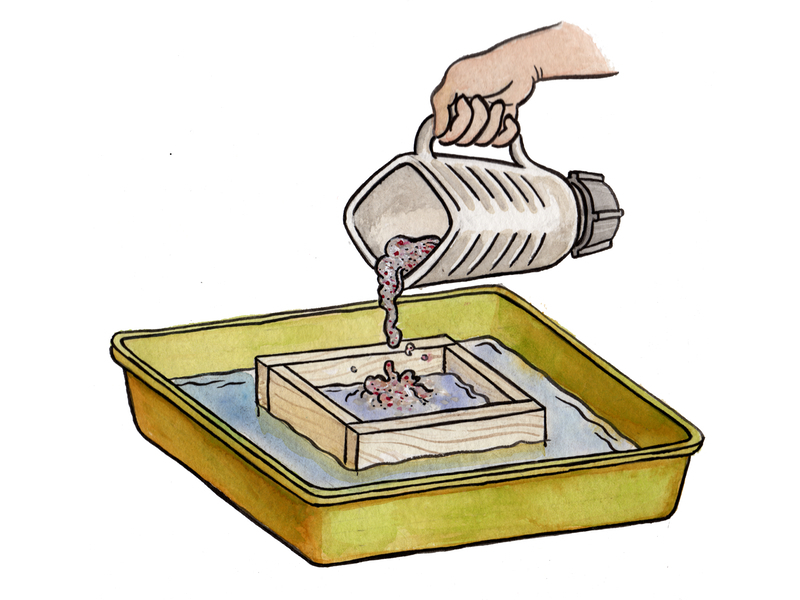
Pour your pulp onto the mesh. The more pulp poured, the thicker the paper. Use your fingers or a spoon to stir the pulp and distribute the fibers evenly across the surface of the water.

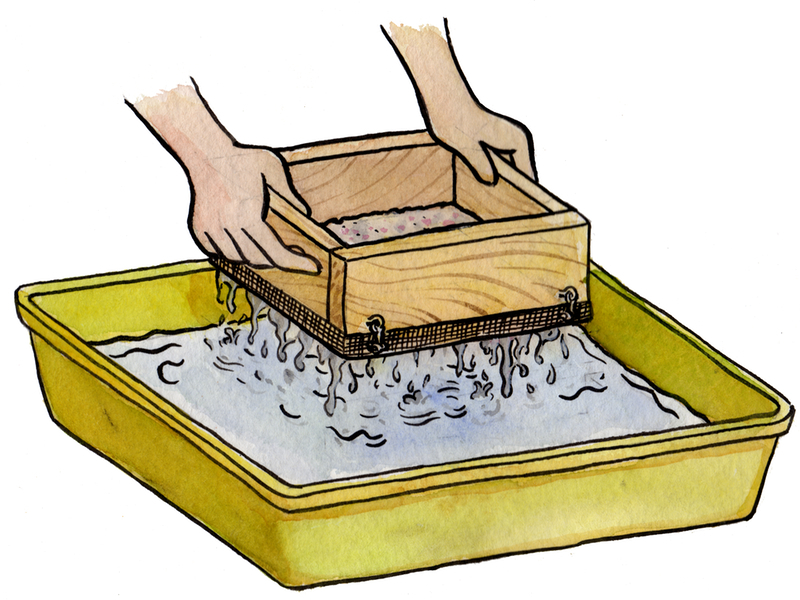
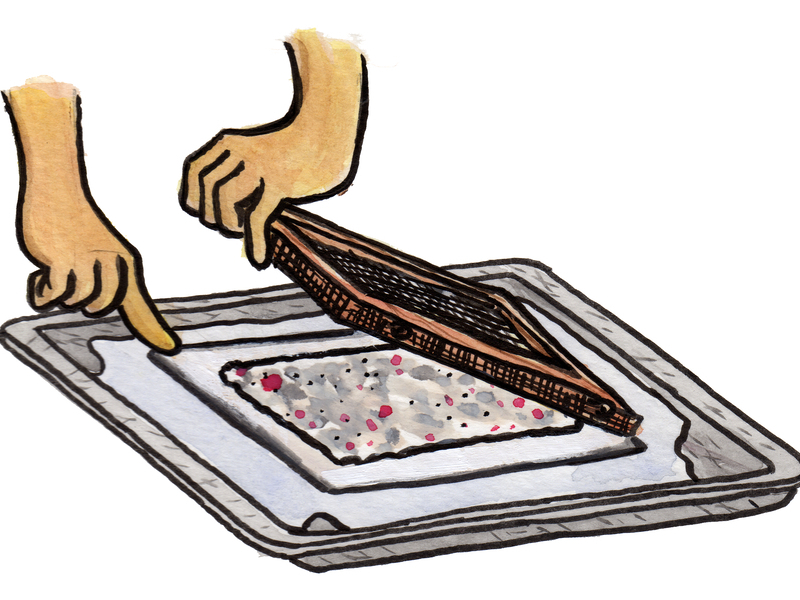
Slowly pull the pour mold upward, letting the water drain back into the tub. Place the entire apparatus on a cookie sheet to keep water from getting everywhere.

In traditional Western papermaking, the entire vat is filled with a pulp mixture, which makes for more consistency from sheet to sheet. The pour method, on the other hand, makes it really easy to vary the texture, color, and weight of your sheets; each one can be totally different! This makes it an ideal technique for beginners, who may want to experiment wildly before settling on a style.

Couch the sheet.

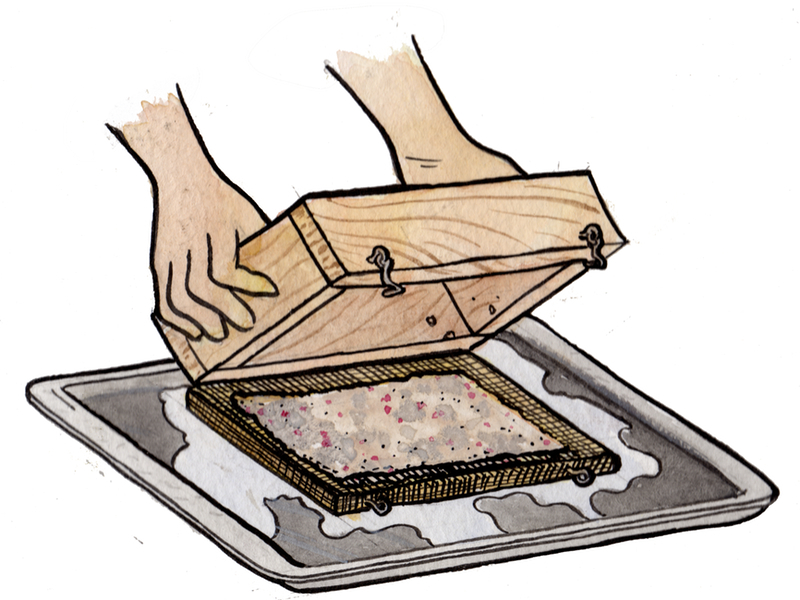
Undo the hook and eye latches and lift the deckle box, being careful not to pull the wet sheet up with it.

Lay your felt (I used interfacing for this project) onto the wet sheet. Carefully turn over the felt, sheet, and mold. Be sure to hold the layers together.

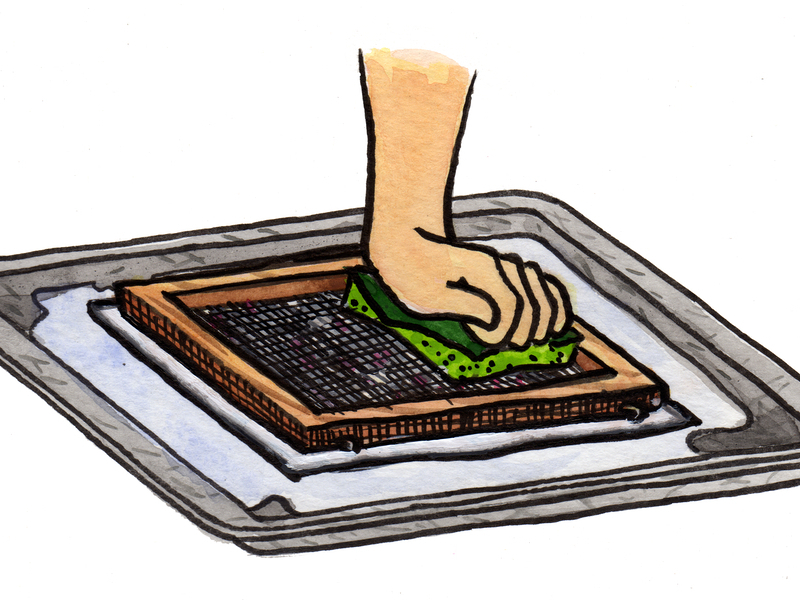
Use a sponge to soak up any excess water from the sheet, pressing down on top of the felt and wringing out the sponge until you can’t pull any more water out of the paper.

Slowly lift the mold from the paper surface, holding down the felt. The surface tension between the felt and the paper is greater than that between the paper and the mesh, which should cause the paper to stick to the felt.

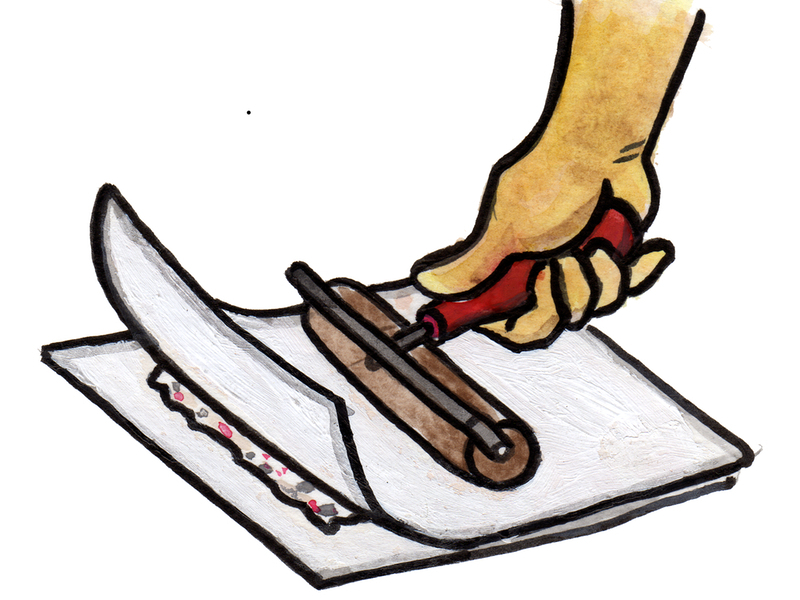
Place another felt piece on top of the sheet. Using a brayer or presser bar (or any smooth, even surface), smooth the paper to remove any lingering excess moisture.

Dry the paper.

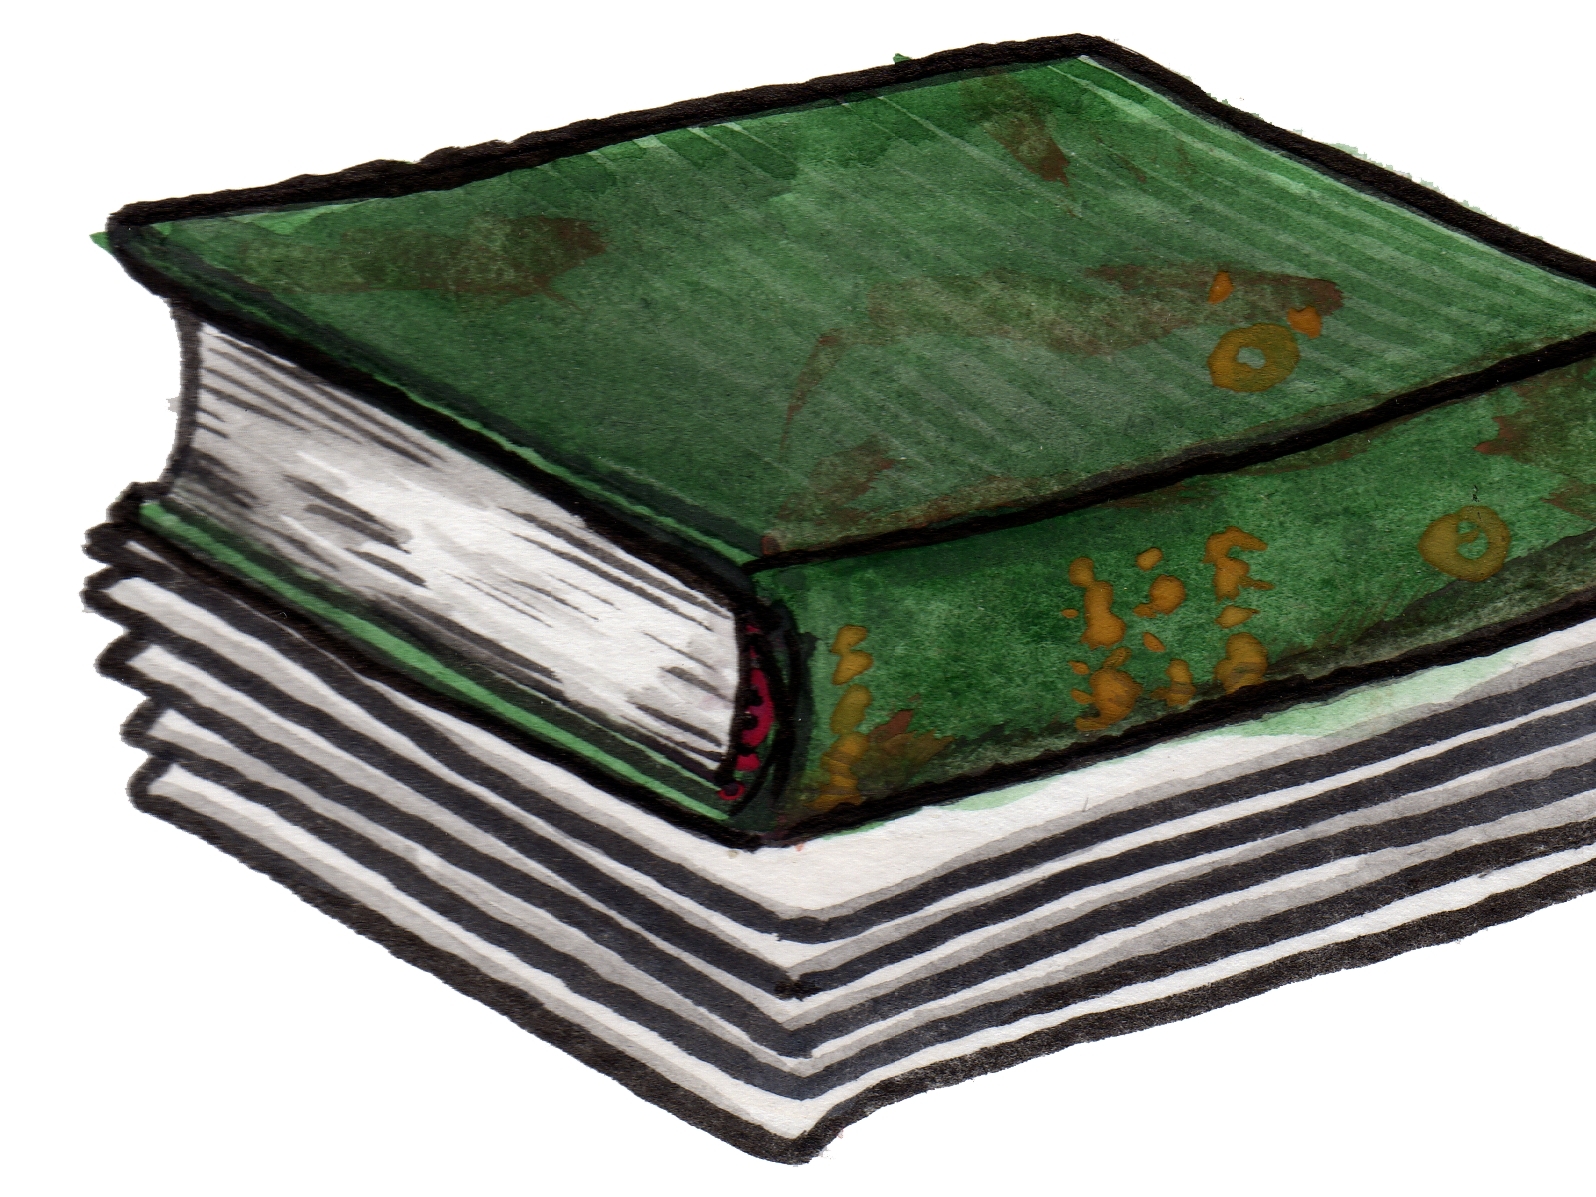
Set the paper between the felts on a flat surface to air-dry. Your paper may “cockle” (curl) a bit; if you want to reduce cockling, stack your wet sheets, one on top of the other, with felts between each sheet, then place a heavy book on top to press them (Figure J).

The drying time of your papers will vary from less than an hour to several days, depending on the humidity in the air and the type of pulp used. If the drying takes more than a day, change the felts once a day — this will keep the paper from getting moldy. If you’re in a hurry, you can gently press your sheets with an iron, but this tends to make the sheets cockle quite a bit, and I don’t recommend it.

Variations: Paper Shapes

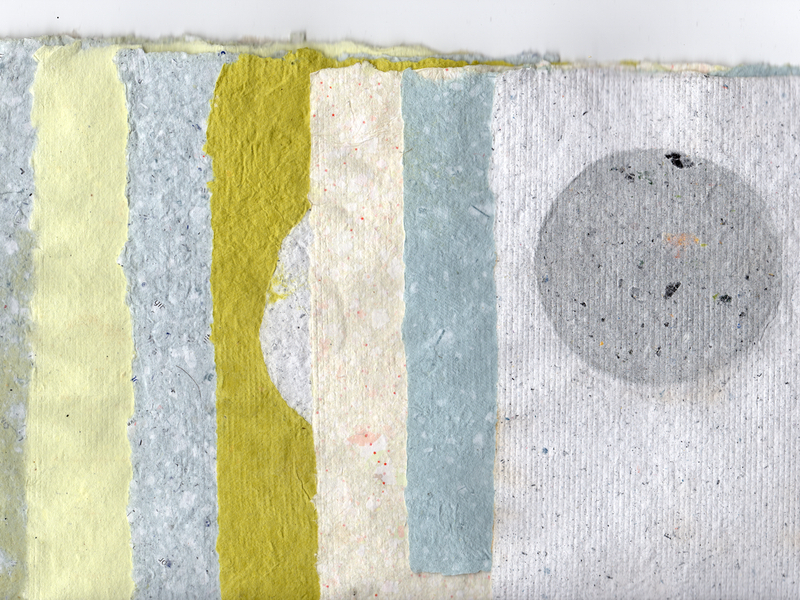
You can easily incorporate designs into your paper by separating different pulp colors or textures into simple designs.

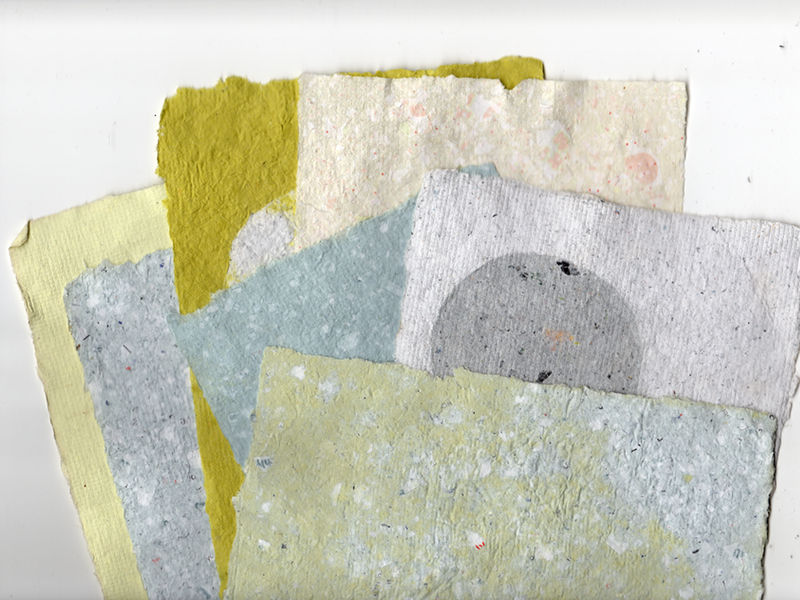
A piece of stiff, thin plastic can split your sheet into 2 or more sections. You can also use cookie cutters or a tin can with both ends removed (for circles, as seen in the opening shot) to create shapes within your sheet, or to make shaped gift tags, etc.

Pour distinct pulp mixtures into the separated areas, pull your mold from the vat, and remove the separators before couching your sheet. The pressure from the felt will join the separate sections into a single sheet, as long as they’re approximately the same density and weight.

Variations: Embedded Items

If you’d like to embed flat items such as paper, fabric, or leaves into your paper, it’s easy. Dip the item into your pulp mixture to coat it with a thin layer, and then work the item into the pulp sheet right after you remove it from the vat.

Conclusion

This project first appeared in CRAFT Volume 05, pages 132-137.