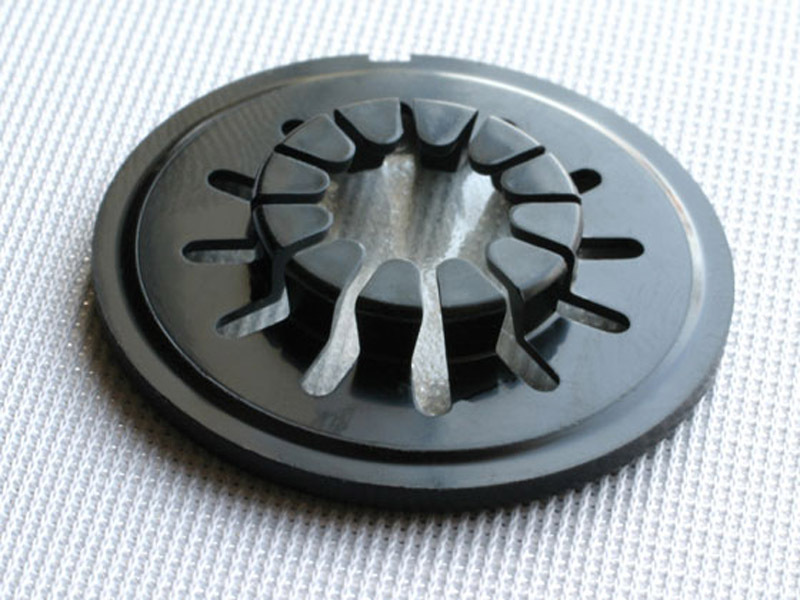
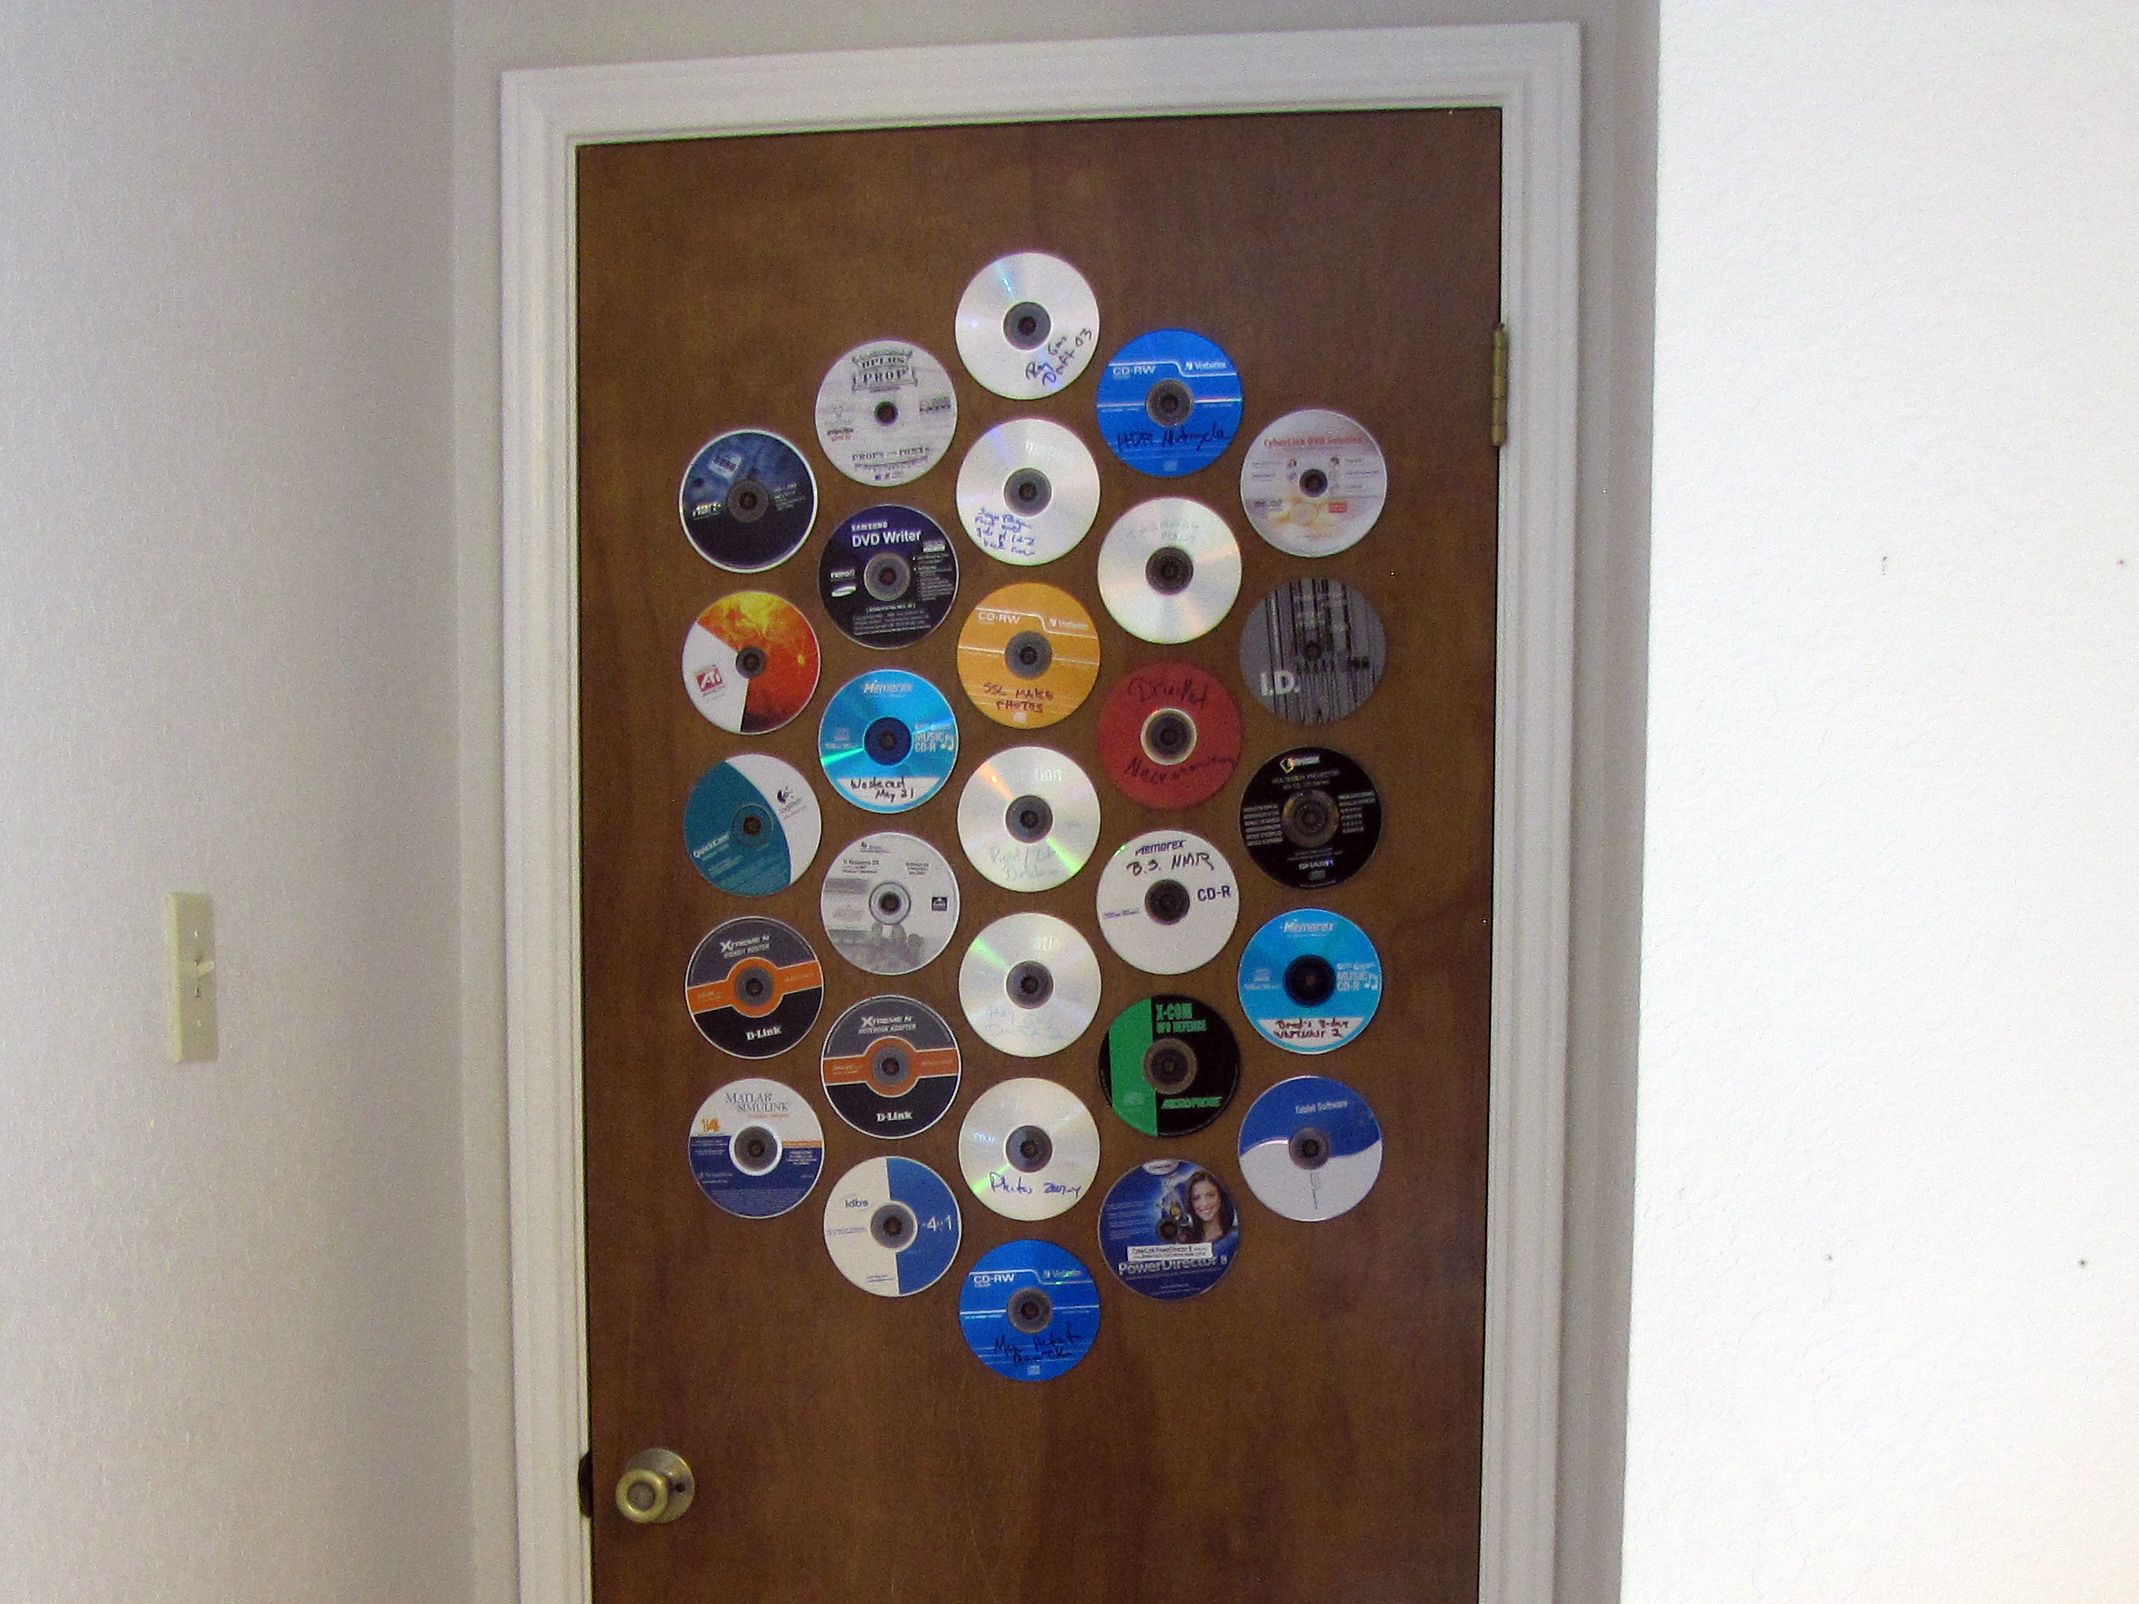
These stick-on CD/DVD hubs are marketed to publishers who want to include an optical disc in a book, card, folder, or other printed matter. They cost pennies apiece and, with the aid of the attached print-and-cut template, are easily arranged in a hexagonal grid on any smooth surface you might want to use for disc storage. Discs stored this way are easy to browse at a glance, without flipping pages, and don’t take up space on a table or shelf.
What will the next generation of Make: look like? We’re inviting you to shape the future by investing in Make:. By becoming an investor, you help decide what’s next. The future of Make: is in your hands. Learn More.

Project Steps

Plan layout

Choose a surface.

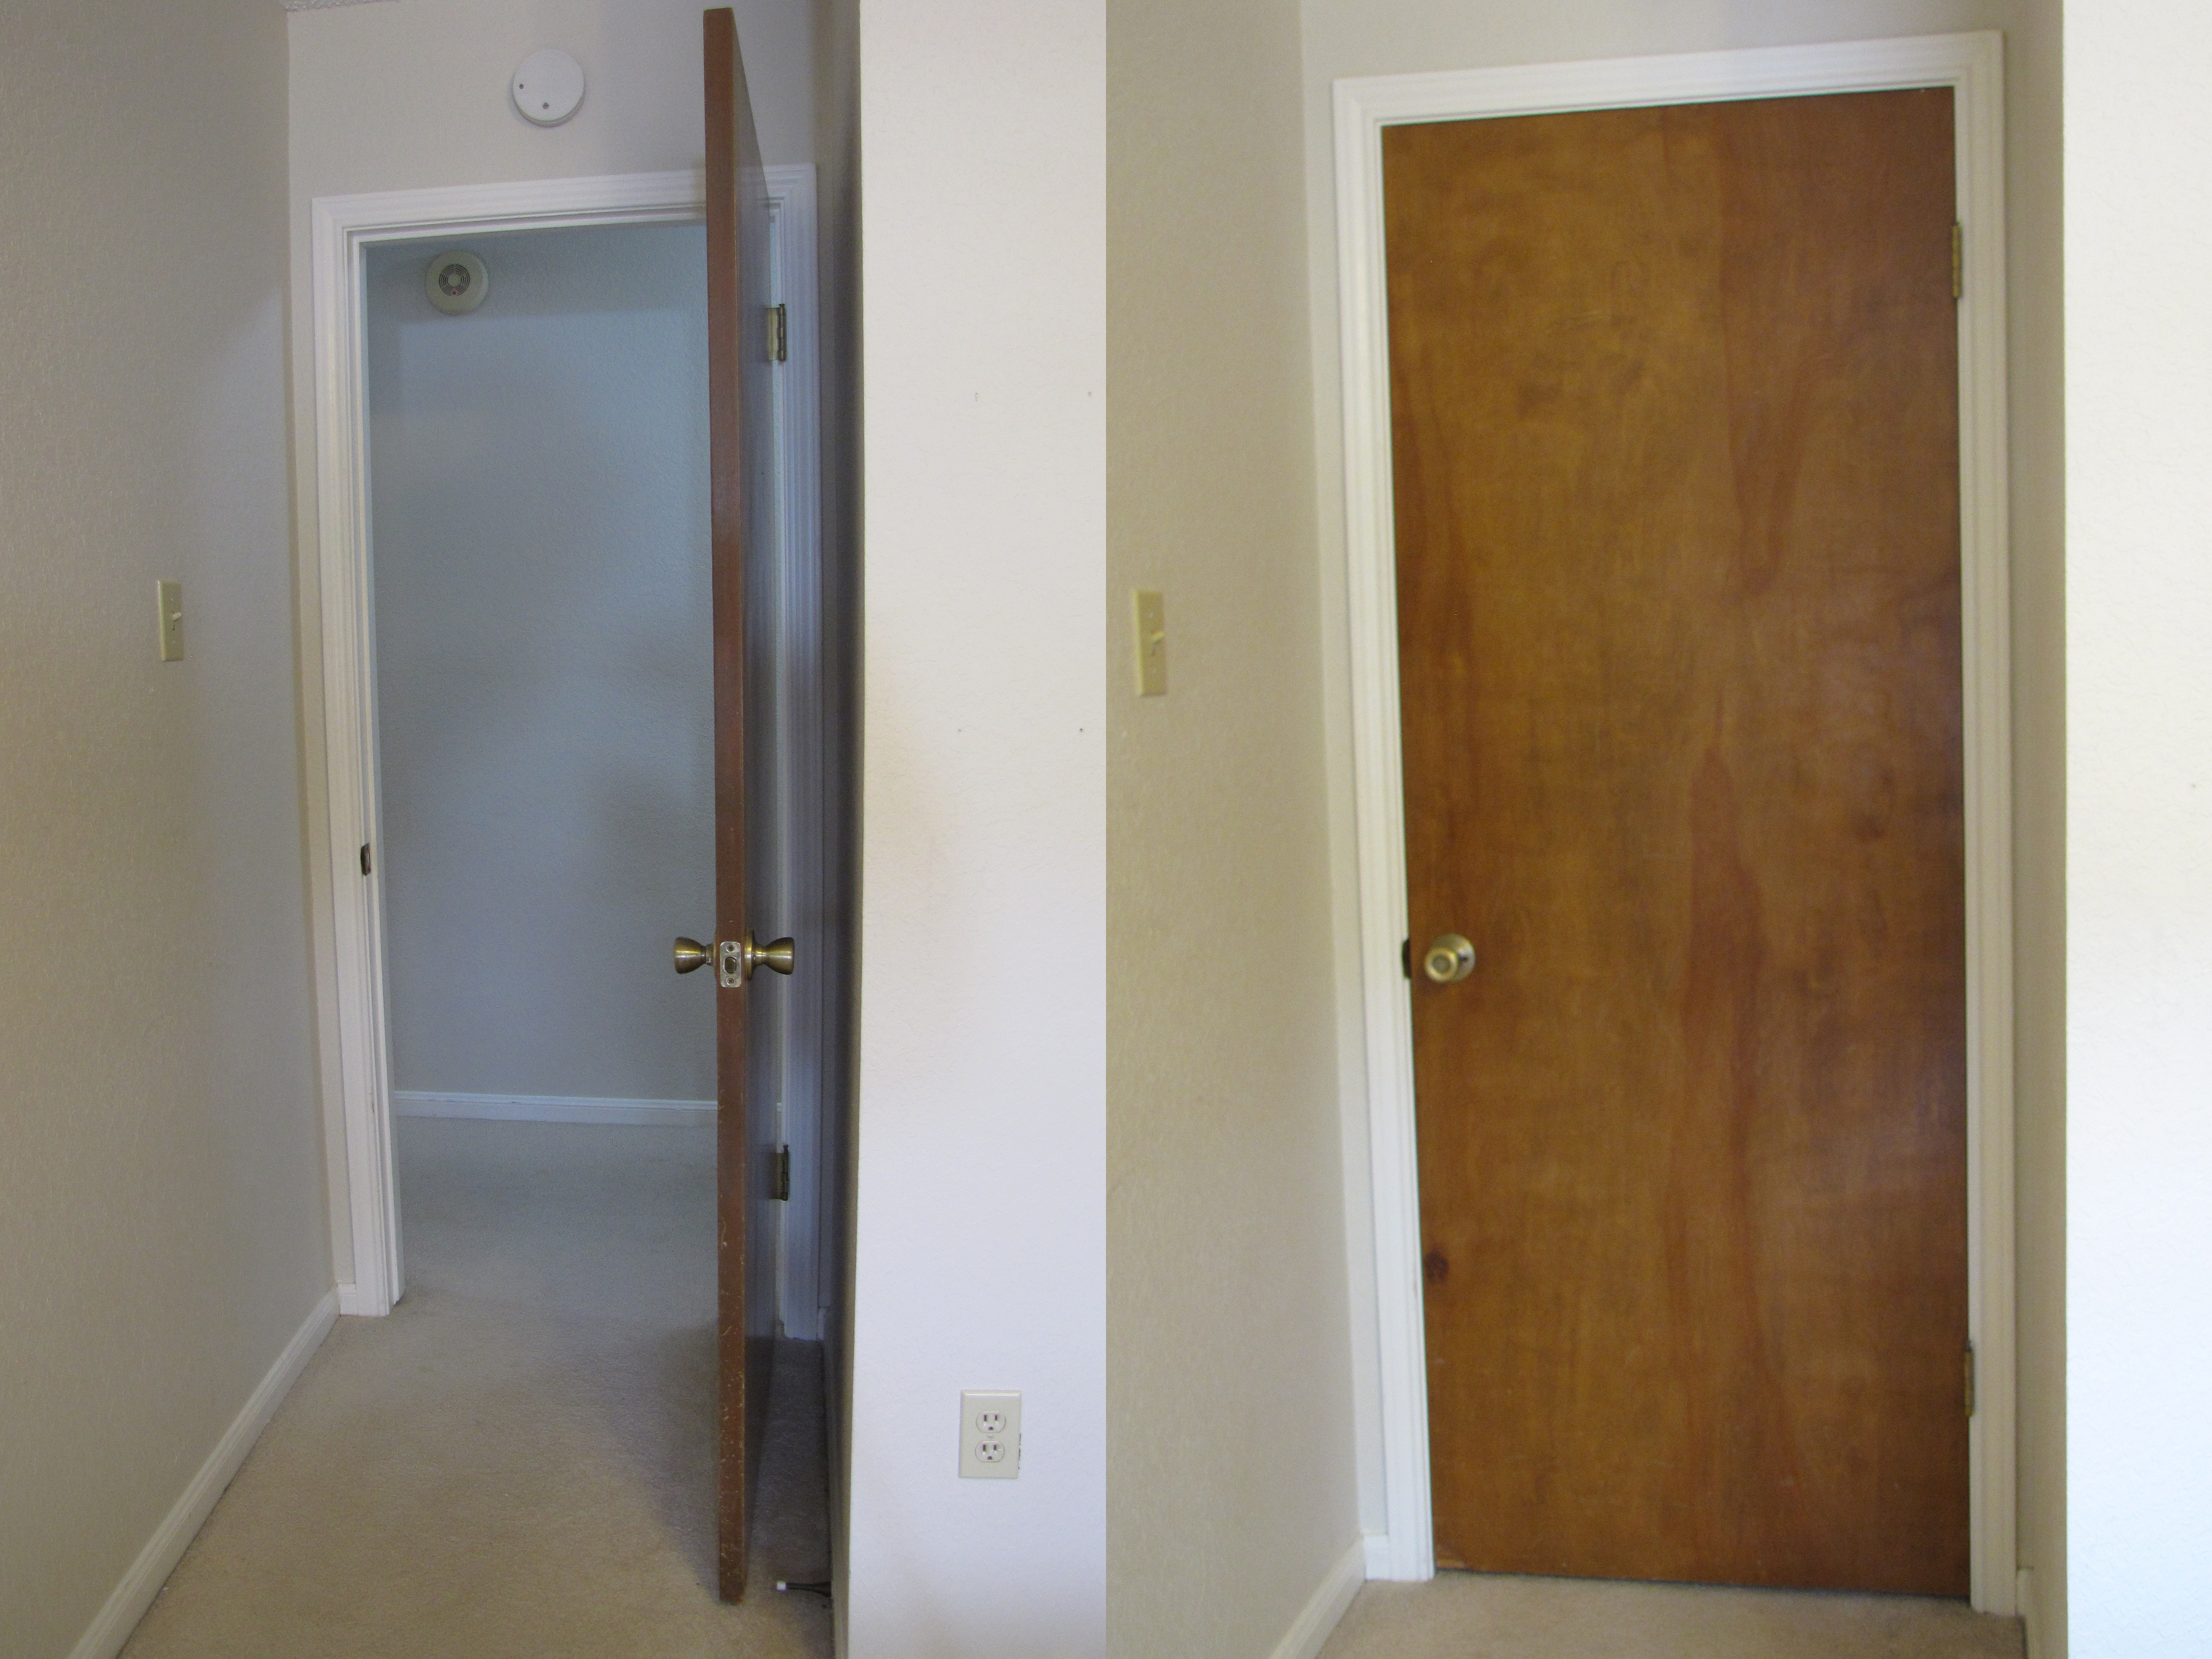
My home-office door is almost never closed and the back was not in great shape to begin with. I was therefore not too concerned about messing up the finish, but you may want to be more careful.

The surface needs to be smooth enough for the hubs to stick. Besides a door, a mirror or a piece of cardboard or masonite hung on the wall would work.

Draw a plan.

I used Adobe Illustrator to figure out how many discs I could fit on the door and how I wanted to lay them out, but InkScape, SketchUp, or plain old pen and paper would also work just fine.

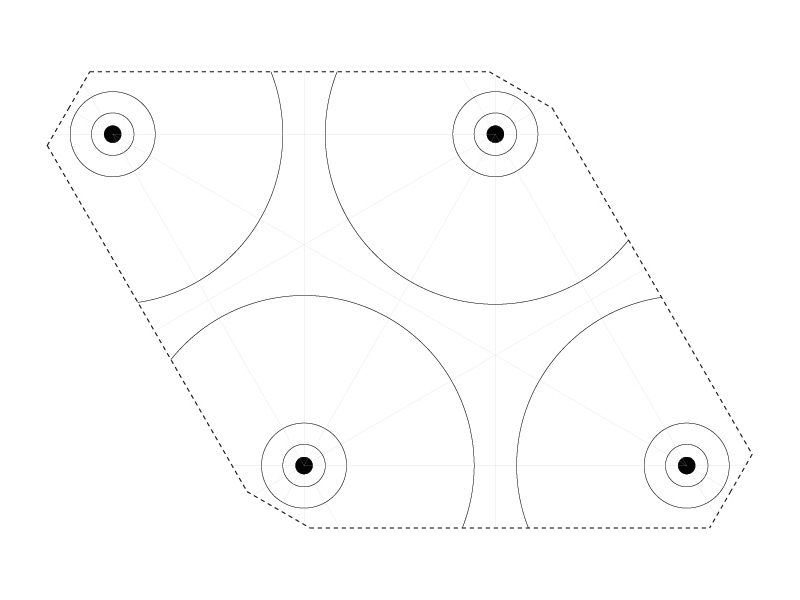
A full-size CD is 120 mm across with a 15 mm hole. The template allows for 15 mm of clearance between CDs, as well, which puts them 135 mm apart on-center.

Print and cut template

Print template at full size on heavy paper.

Cut out along dotted lines.

I used a swing-arm paper cutter, but a pair of scissors or an art knife and straightedge would work just as well.

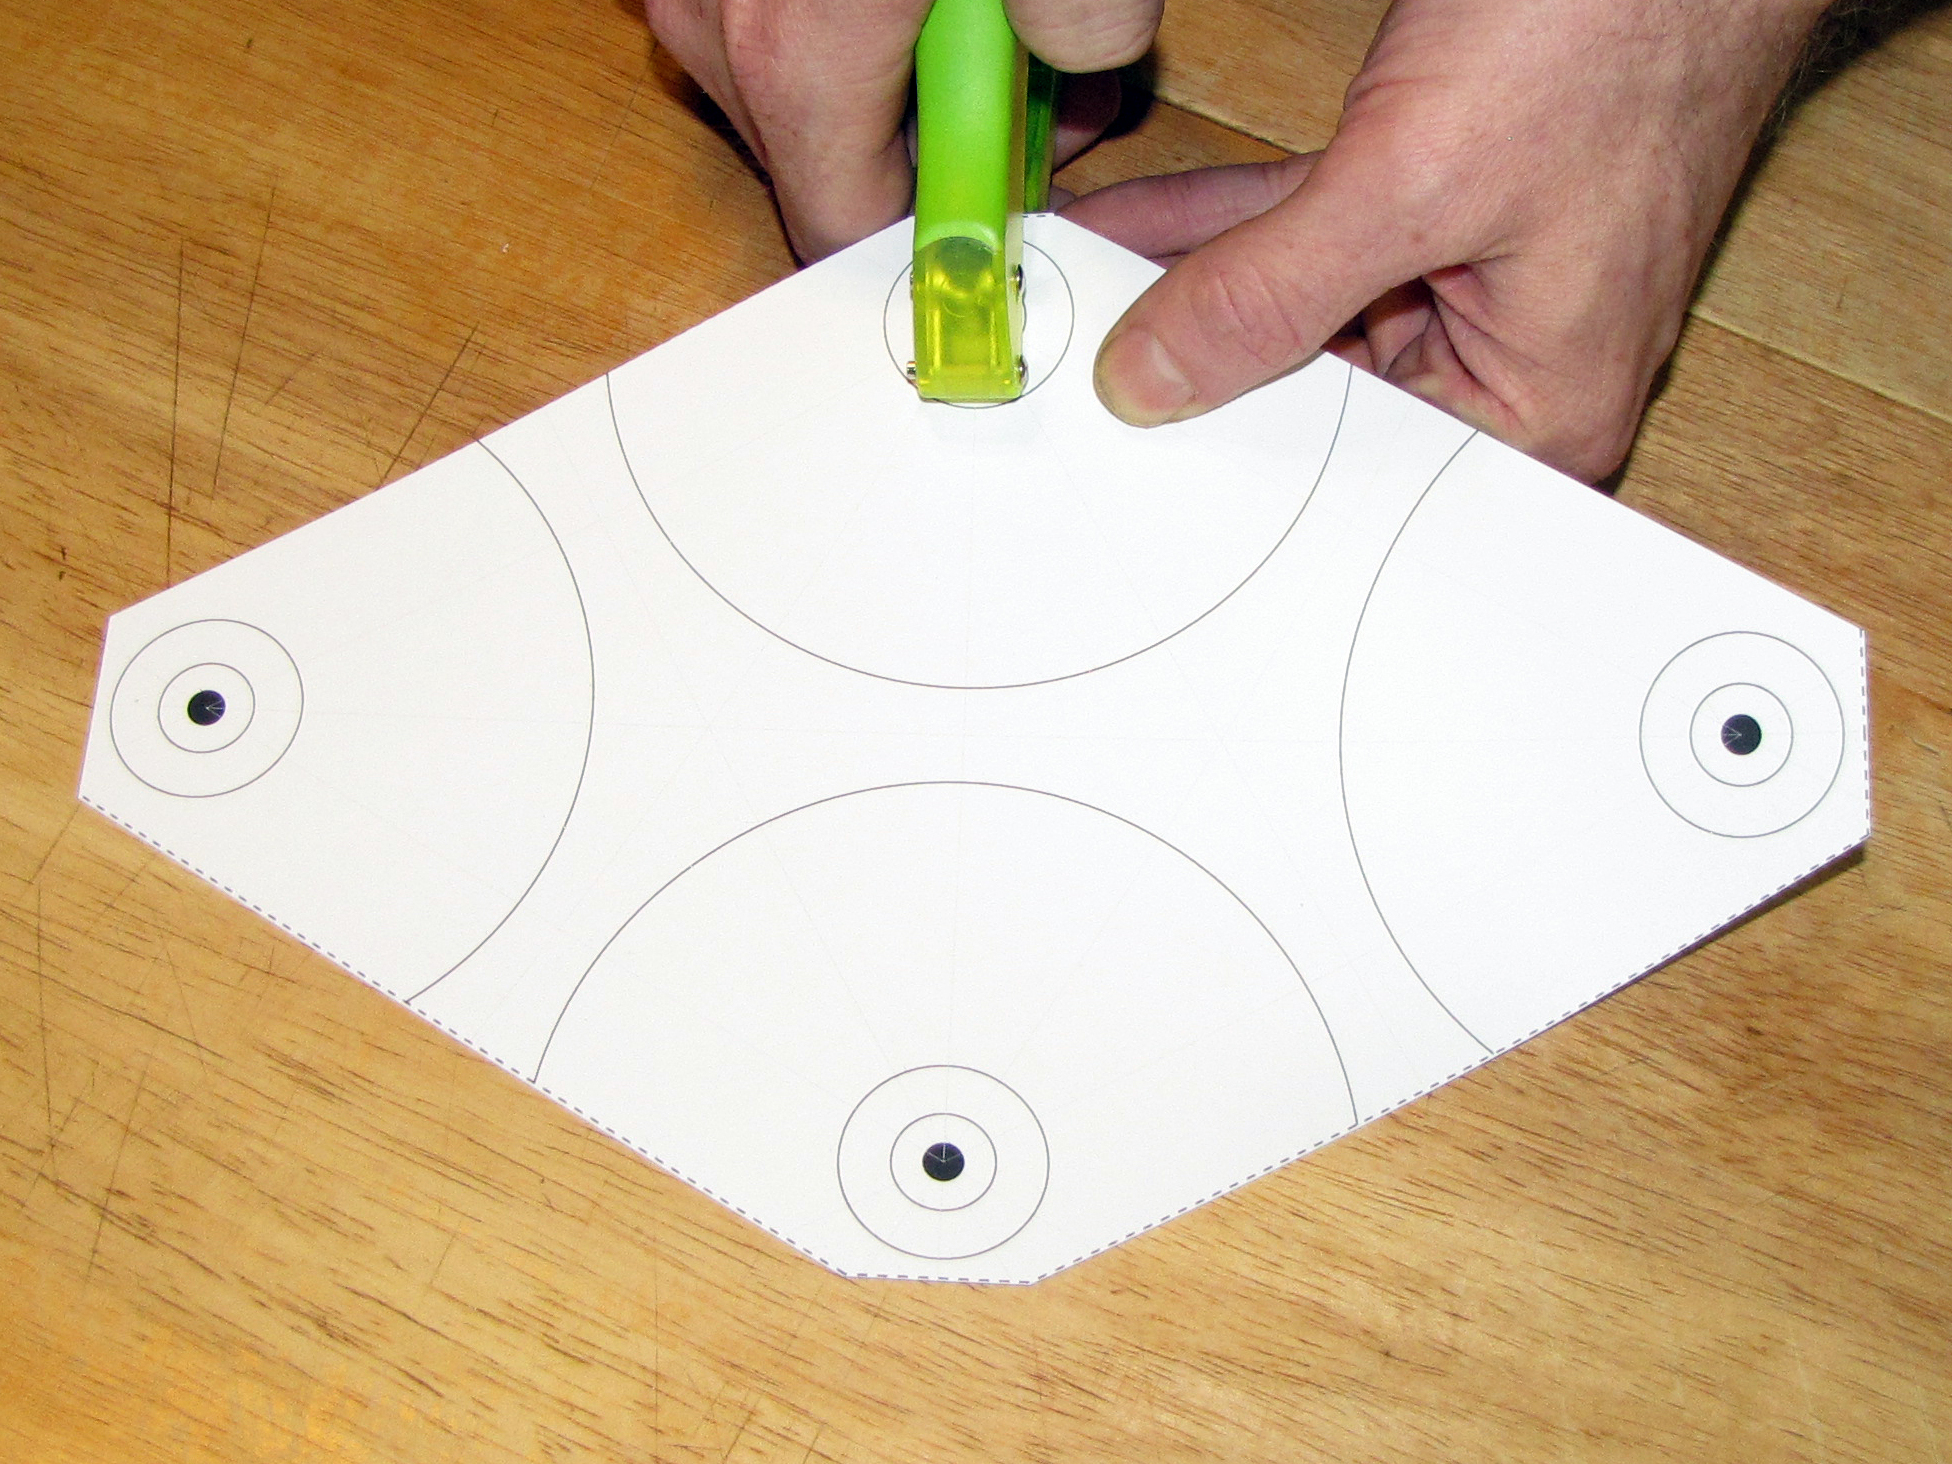
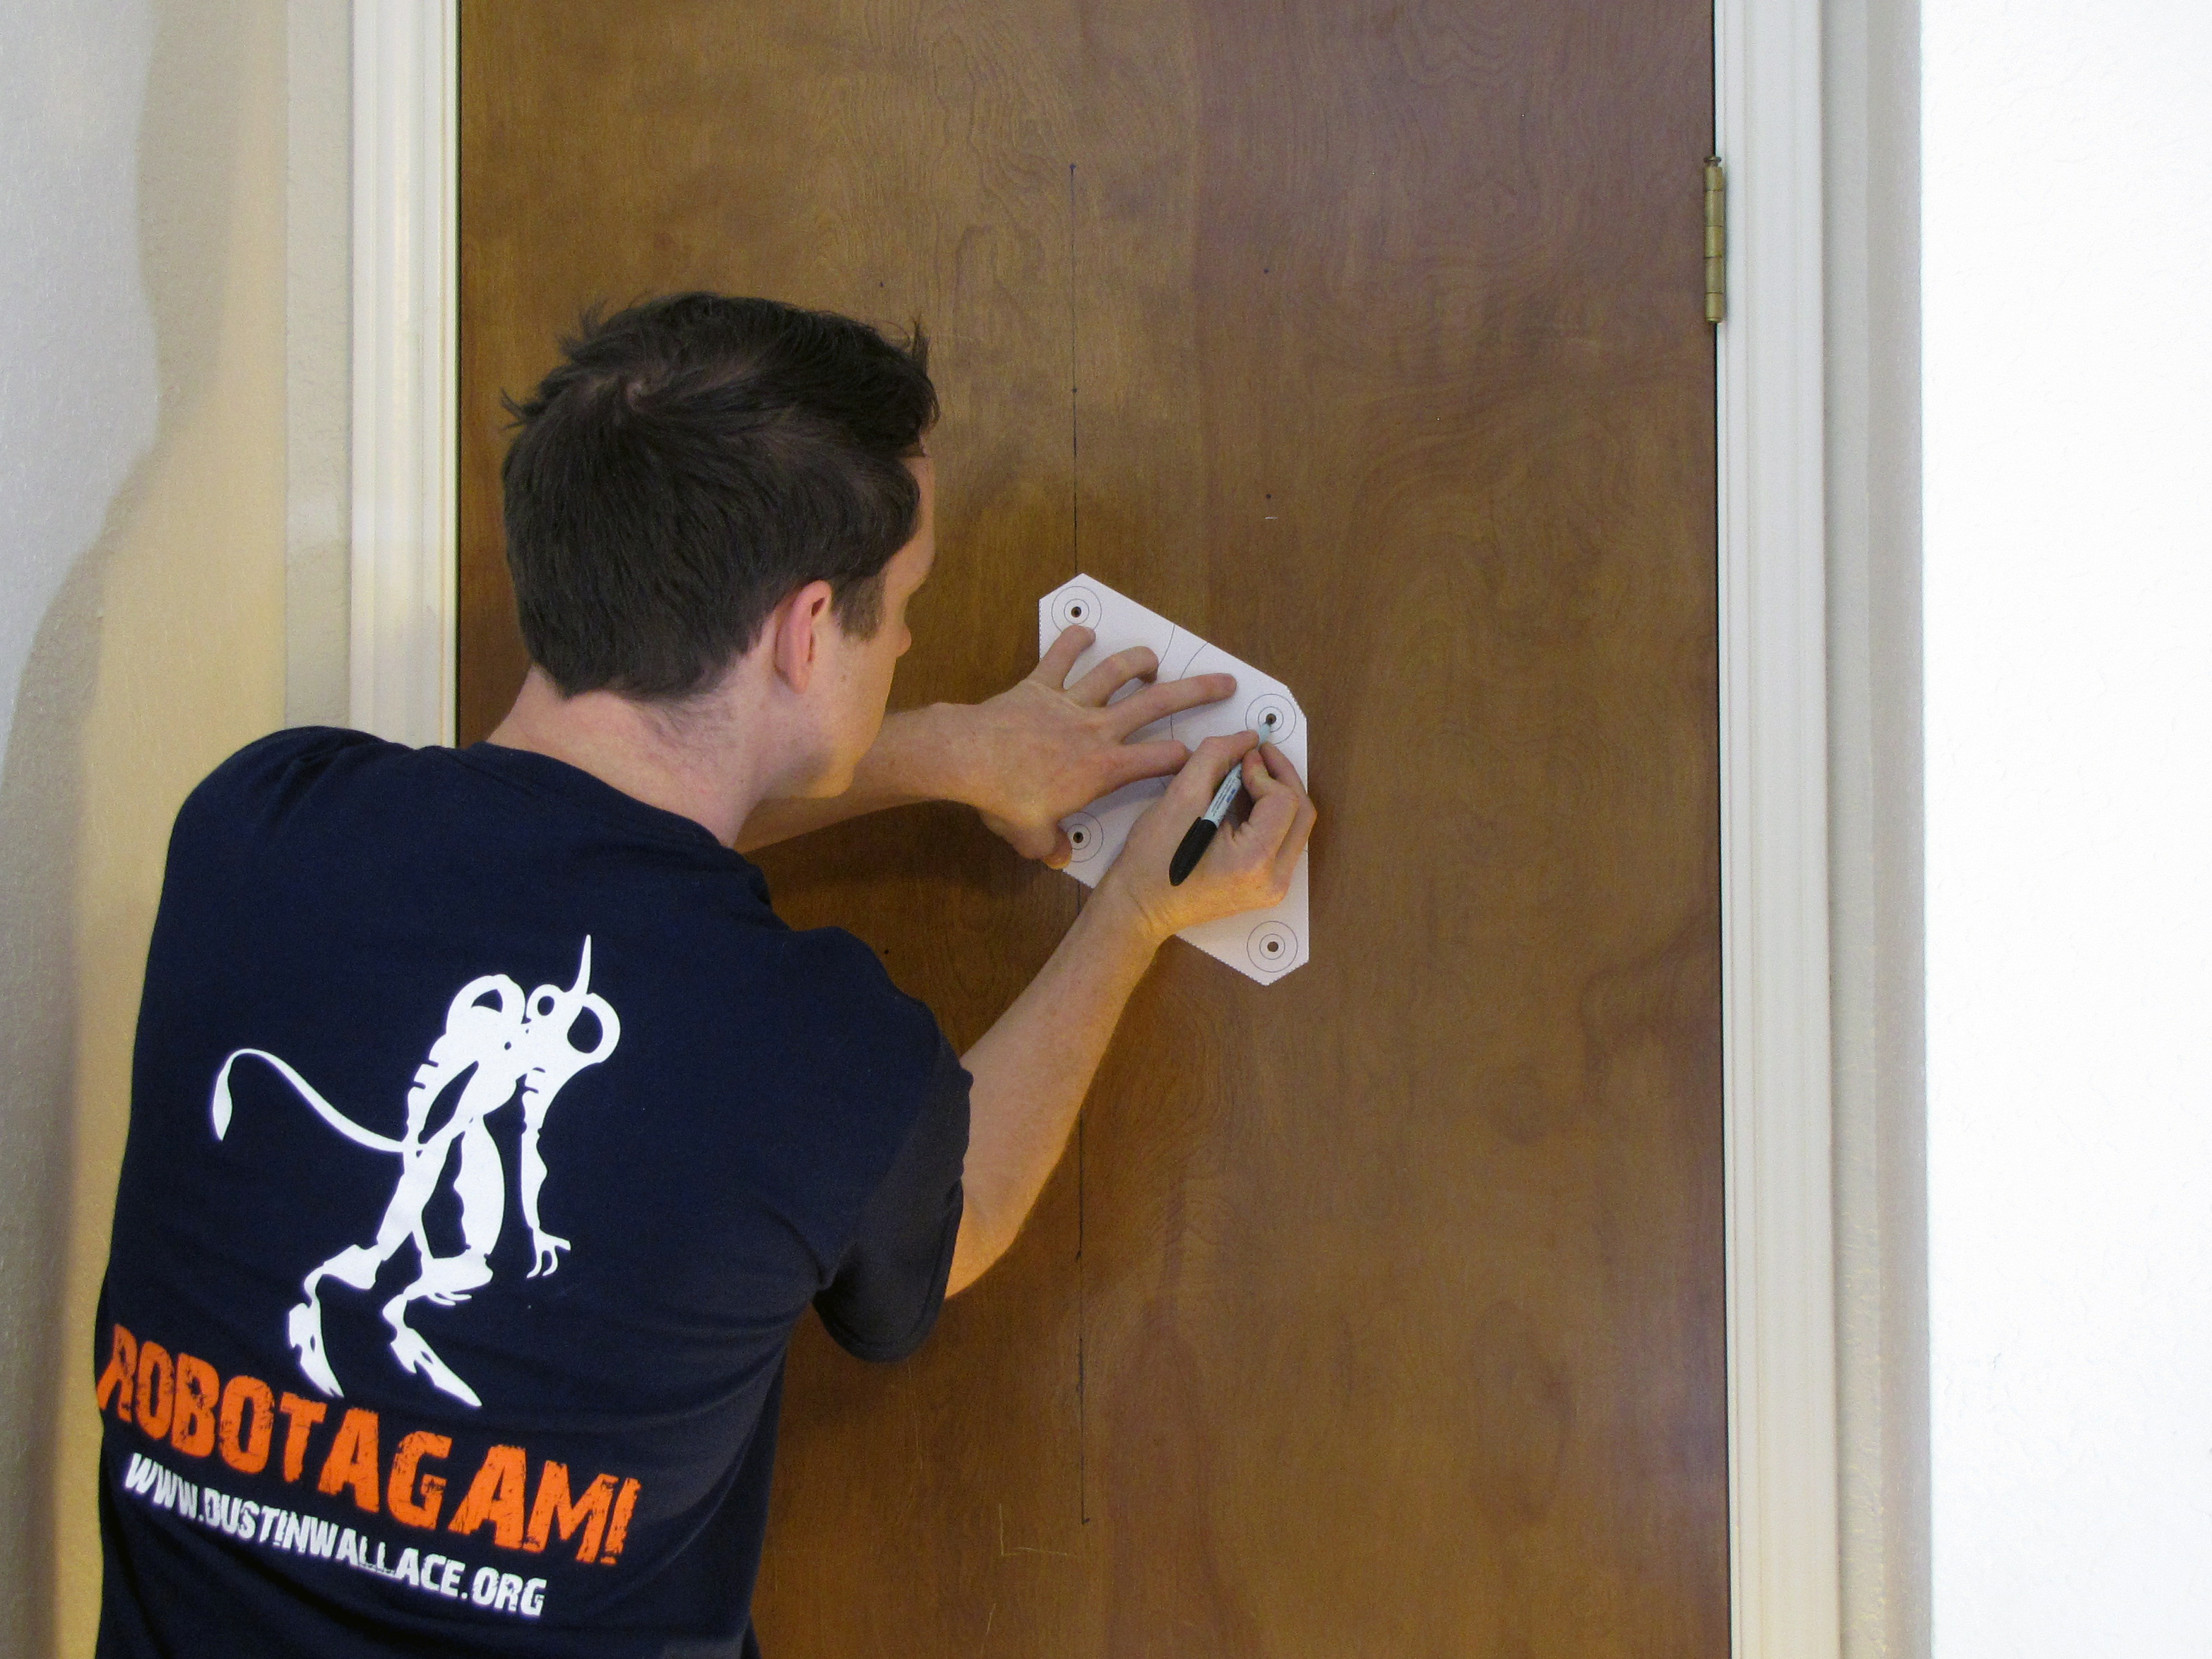
Punch holes.

If you cut the template edges accurately, a US-style single-hole punch centered on each short edge should put a hole in just the right place.

The holes do not have to be precisely positioned, so it’s OK if you miss the black circle by a little bit.

Lay out grid

Use an erasable marker to do your layout work. You may want to perform a discrete test, first, to verify its erasability. I used a wet-erase overhead projection marker.

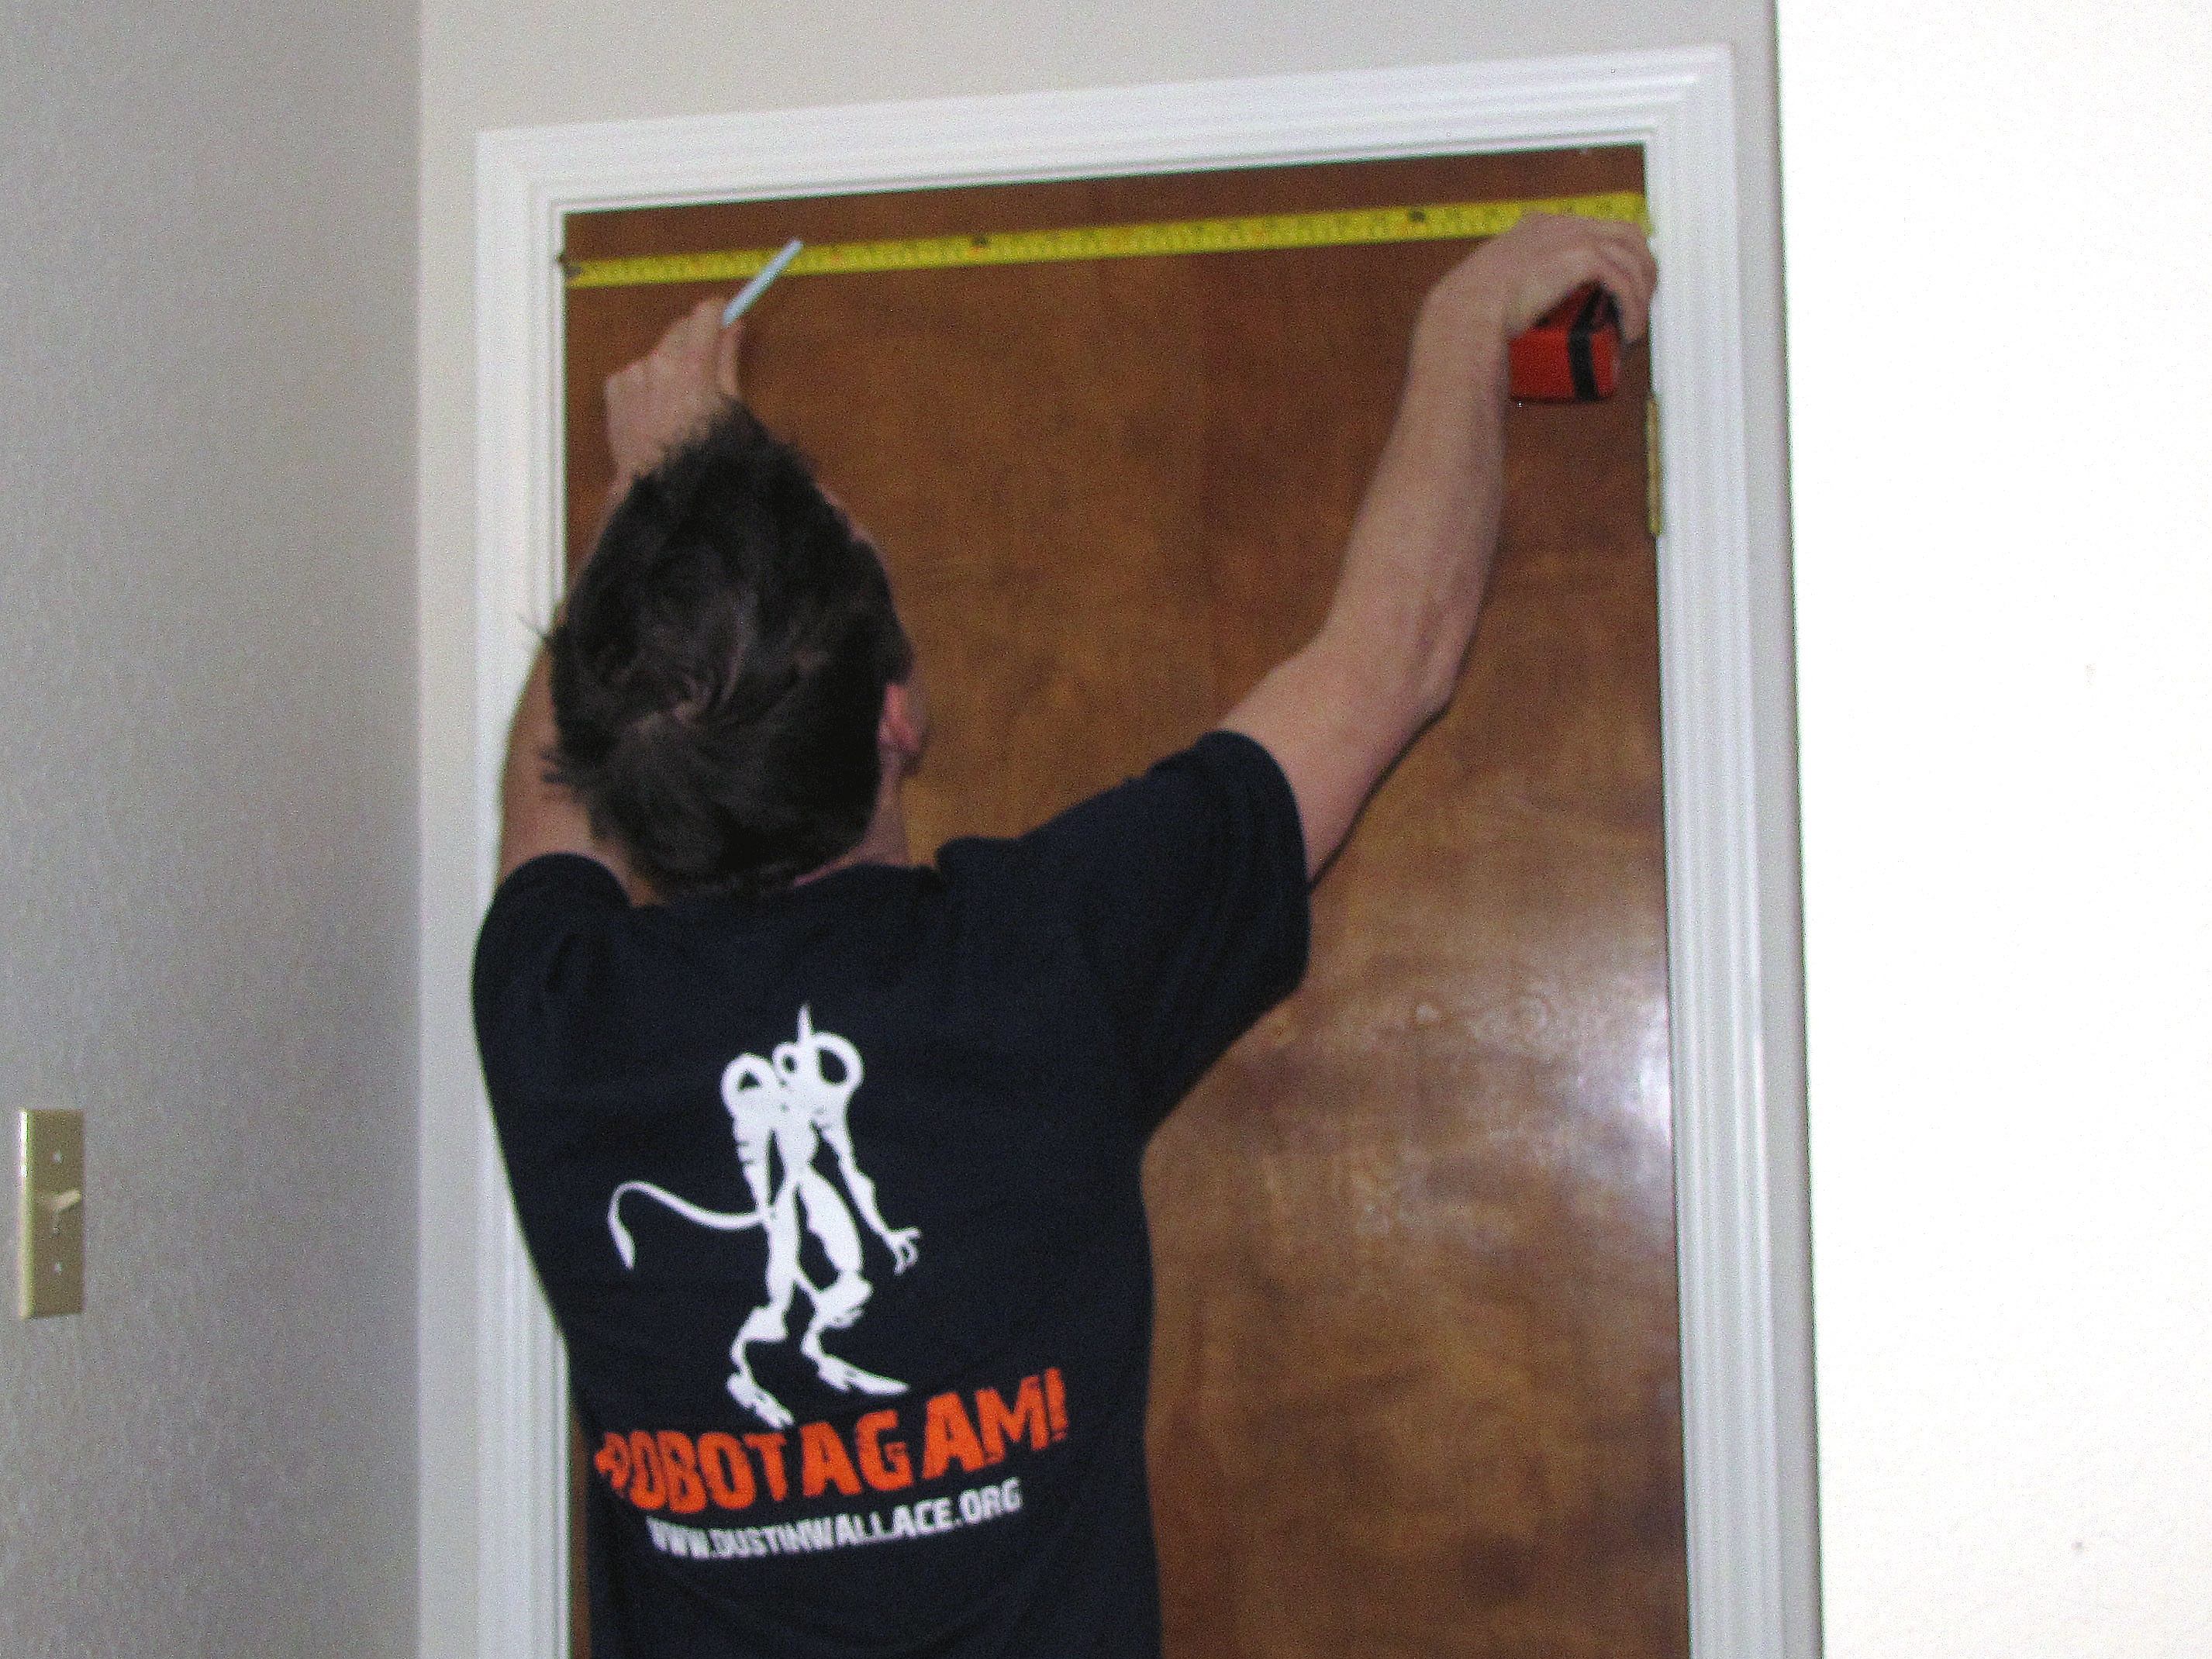
Measure and mark centerline and position of first CD.

I measured and marked the center of the door at the top edge, and right above the knob, and connected those two marks with a line.

Then I measured 16 cm down from the top edge, along the line, and made a witness mark to position the center of the top CD.

Iterate template over surface and mark grid locations.

Start with your witness mark, and work along the centerline first.

Once you’ve got the center column of discs positioned, finish out toward the edges.

Affix hubs

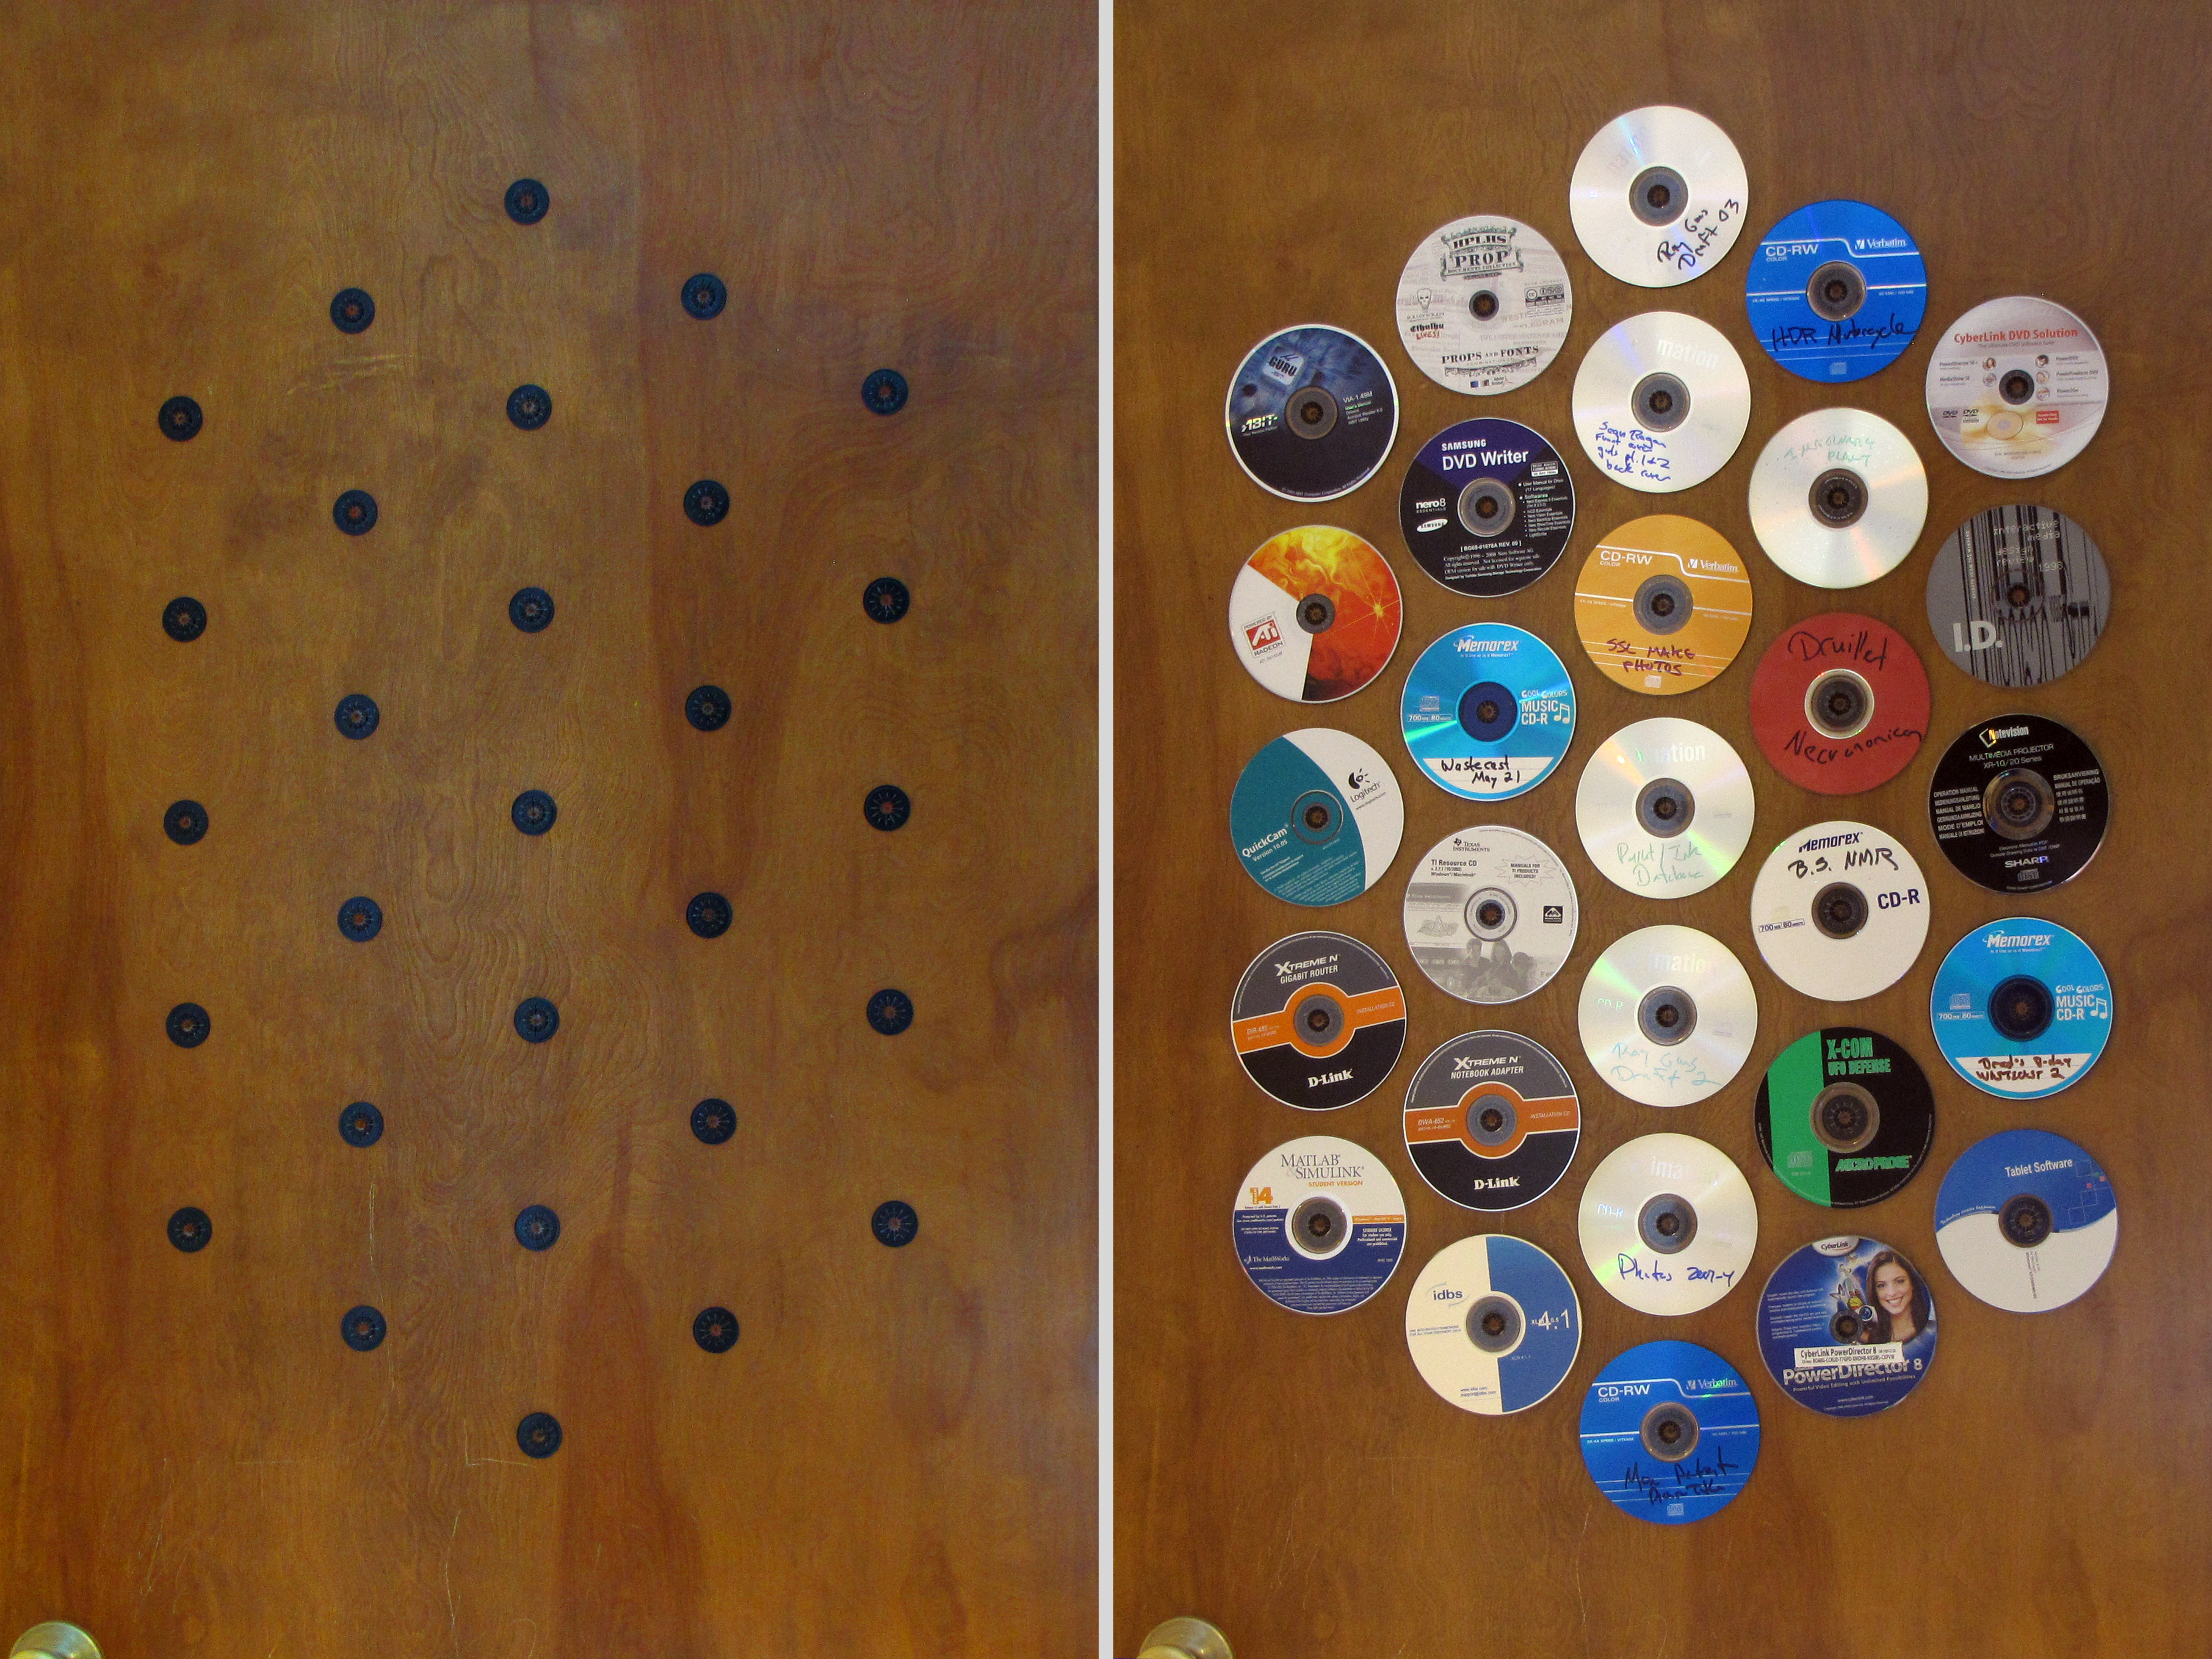
Peel the adhesive off the back of each hub, center it over one of your grid marks, and stick it in place.

Once all the hubs are attached, erase any remaining layout marks, e.g. with a damp cloth.

Use it

Click your discs onto the hubs, and you’re done!

Conclusion

It remains to be seen how well the adhesive on the hubs will hold up over time. If this were a door that were frequently opened and closed, I might be a bit more concerned about the hubs eventually working loose and falling off. Stay tuned for updates.