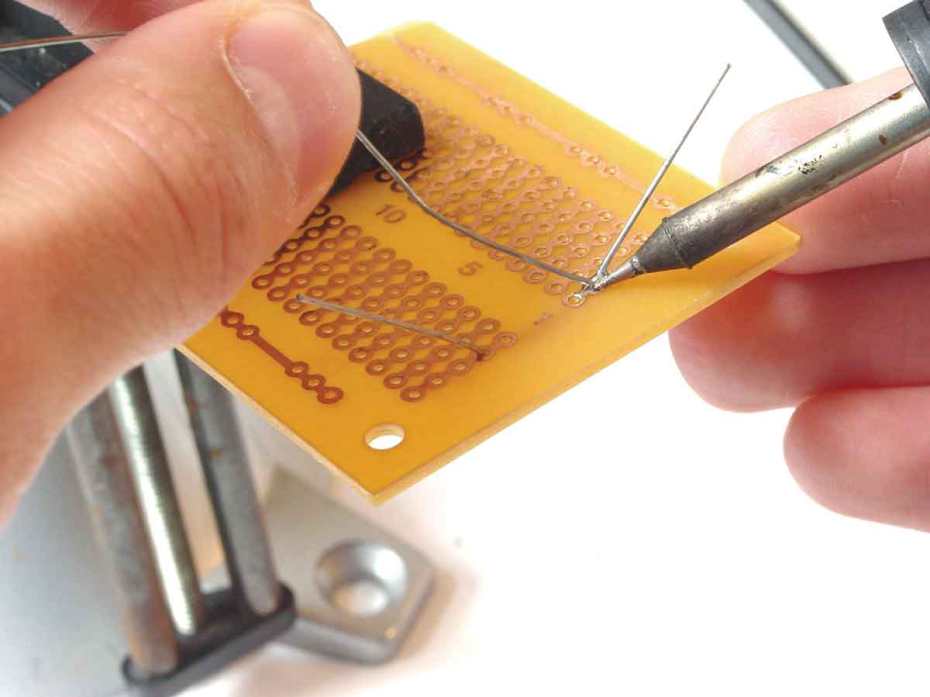
This tutorial is from MAKE Vol. 1.
The two key parts of soldering are good heat distribution and cleanliness of the soldering surface and component. With practice, you’ll become comfortable and experienced with the process.
In this primer, I’ll explain how to solder a component onto a printed circuit board. I’ll also provide desoldering tips and show you how to remove a surface-mount component from a printed circuit board using a Chip Quik kit. And I’ll show you how to remove a component by removing the solder in a way that won’t damage the components or the circuit board.
Tools of the Trade
- Soldering Iron: You could pay as little as $10 or as much as $1,000 for a soldering iron. I recommend a fine-tip, 700 degree F, 50W soldering stick iron. A good general-purpose iron for hardware hacking is the Weller W60P Controlled-Output Soldering Iron, which sells for under $70.
- Solder: Should be thin gauge (0.032″ or 0.025″ diameter) 60/40 rosin core.
- Desoldering Tool (AKA Solder Sucker): A manual vacuum device that pulls up hot solder, useful for removing components from circuit boards. I like the one RadioShack sells (#64-2098, $6.99).
- IC Extraction Tool: Helps lift integrated circuits from the board during removal/desoldering.
- Chip Quik SMD Removal Kit: Allows you to remove surface mount components quickly and easily. Visit www.chipquik.com for links to distributors. The kit is available for about $20.
- Sandpaper: A very fine-grit sandpaper is useful for removing oxidation from component and circuit board surfaces.
- Desoldering Braid: Woven metal material used to wick up melted solder.
- Small, Flat-Tip Screwdriver: Comes in handy for removing some types of components.
- Needle-Nose Pliers, Wire-Cutters, and Vise: These common tools will make your job easier.


