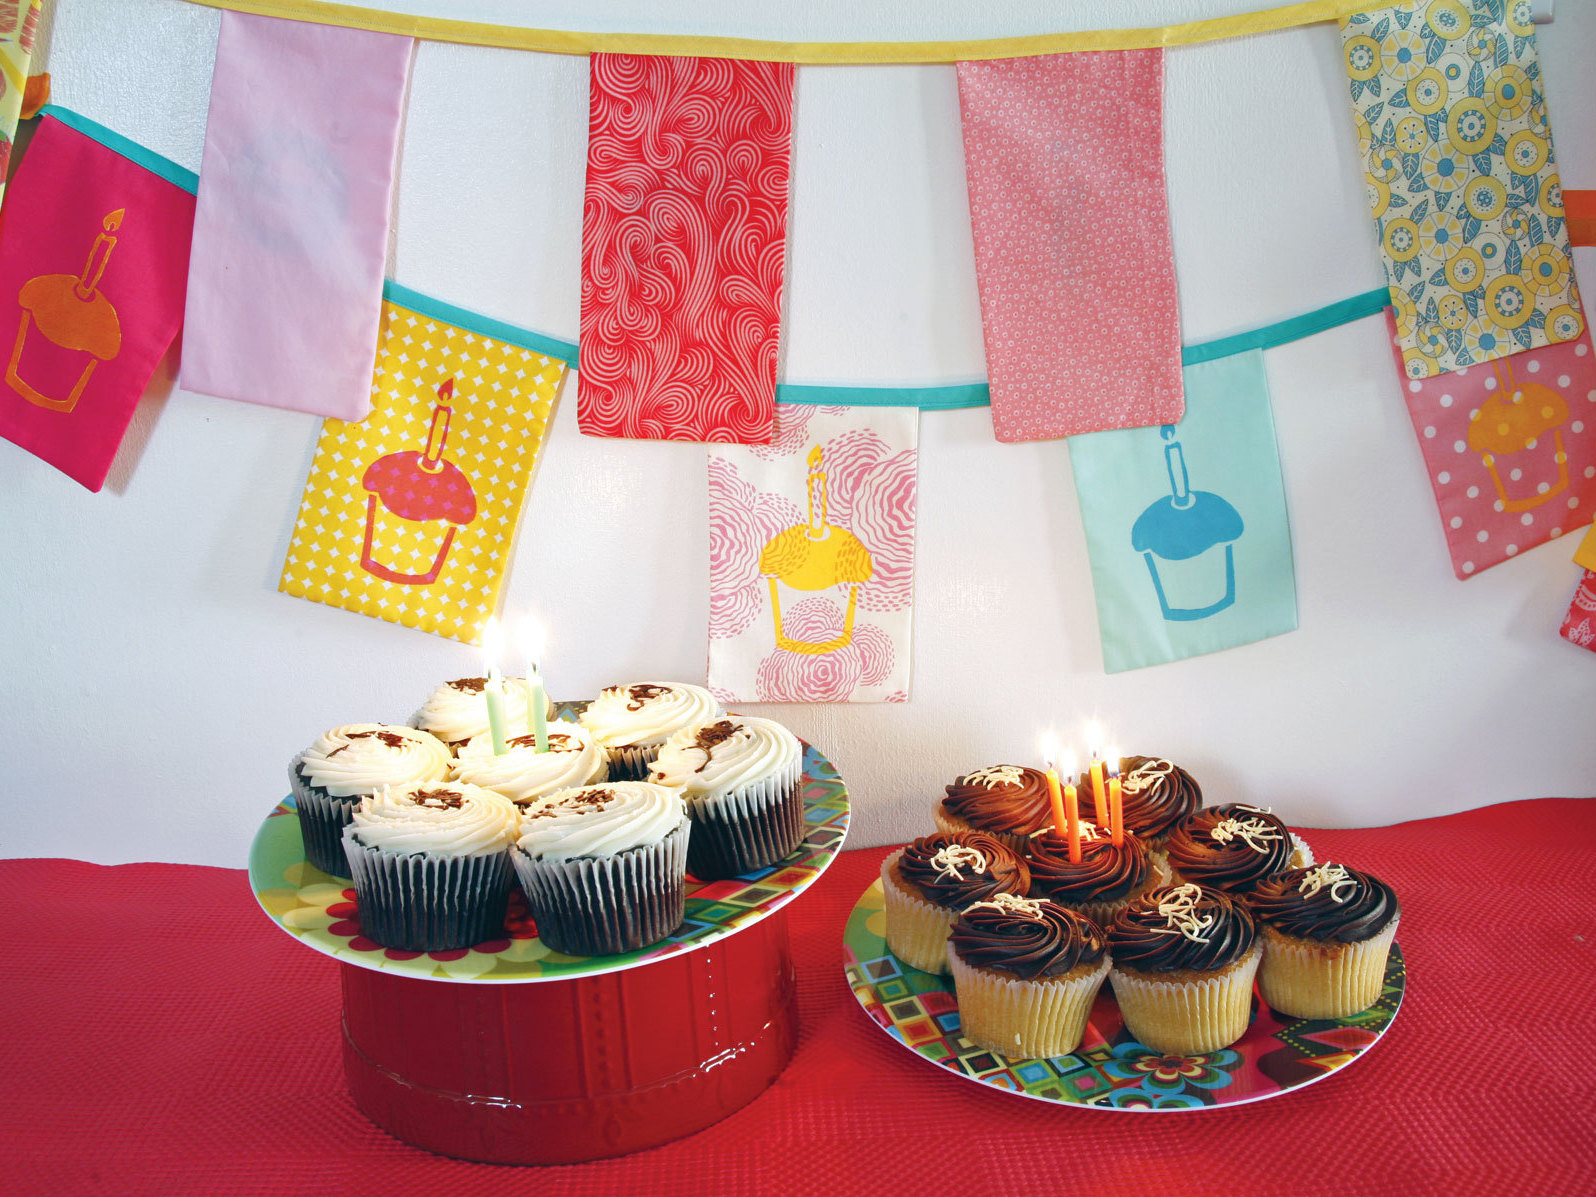
Create your own foam stamp and print some simple fabric flags to make party décor that’s one-of-a-kind. Foam is inexpensive and easy to cut, with no special tools required. Combine printing with the fun of mixing fabrics and you might find yourself making a banner for every occasion! Try spelling out the name of a new baby for a shower gift that’s sure to bring cheer to the nursery, or use a holiday icon for seasonal decorations.
Projects from Make: Magazine
Printed Party Flags
Adorn your next celebration with festive party flags stamped with your own design.
Make the stamp.


Print the cupcake template available for download under Files above.
Place the paper template over the foam sheet and cut out each shape. For the candle, first cut the outer shape, then cut out the inside. You may want to use an X-Acto knife for this step.
Glue the foam shapes to the wood block and allow them to cure for at least 1 hour. While you let the stamp cure, continue on to the fabric flags.
Make the flags.
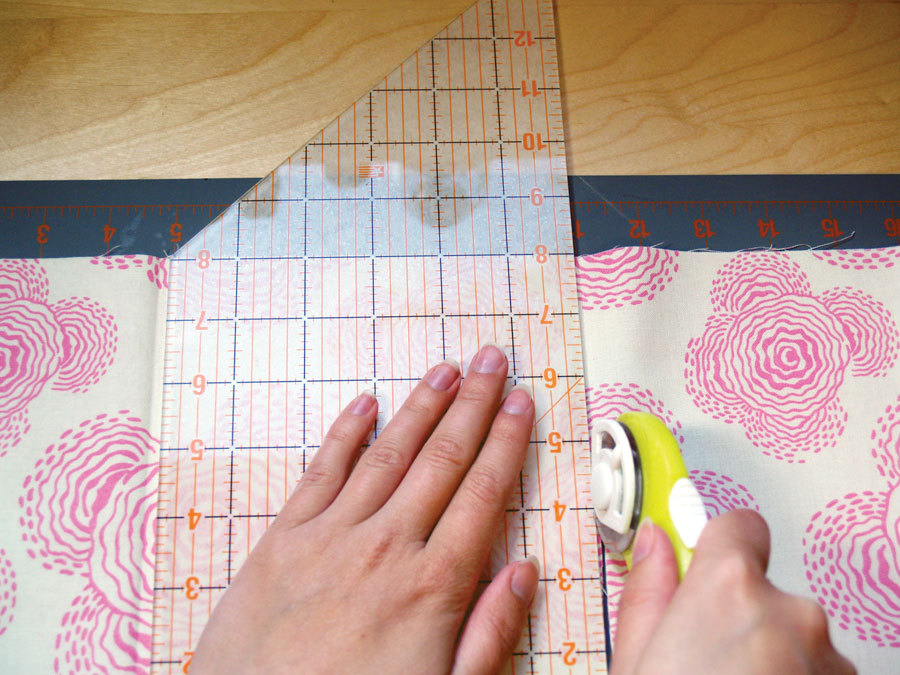
Cut twelve 11″×8″ rectangles of fabric.
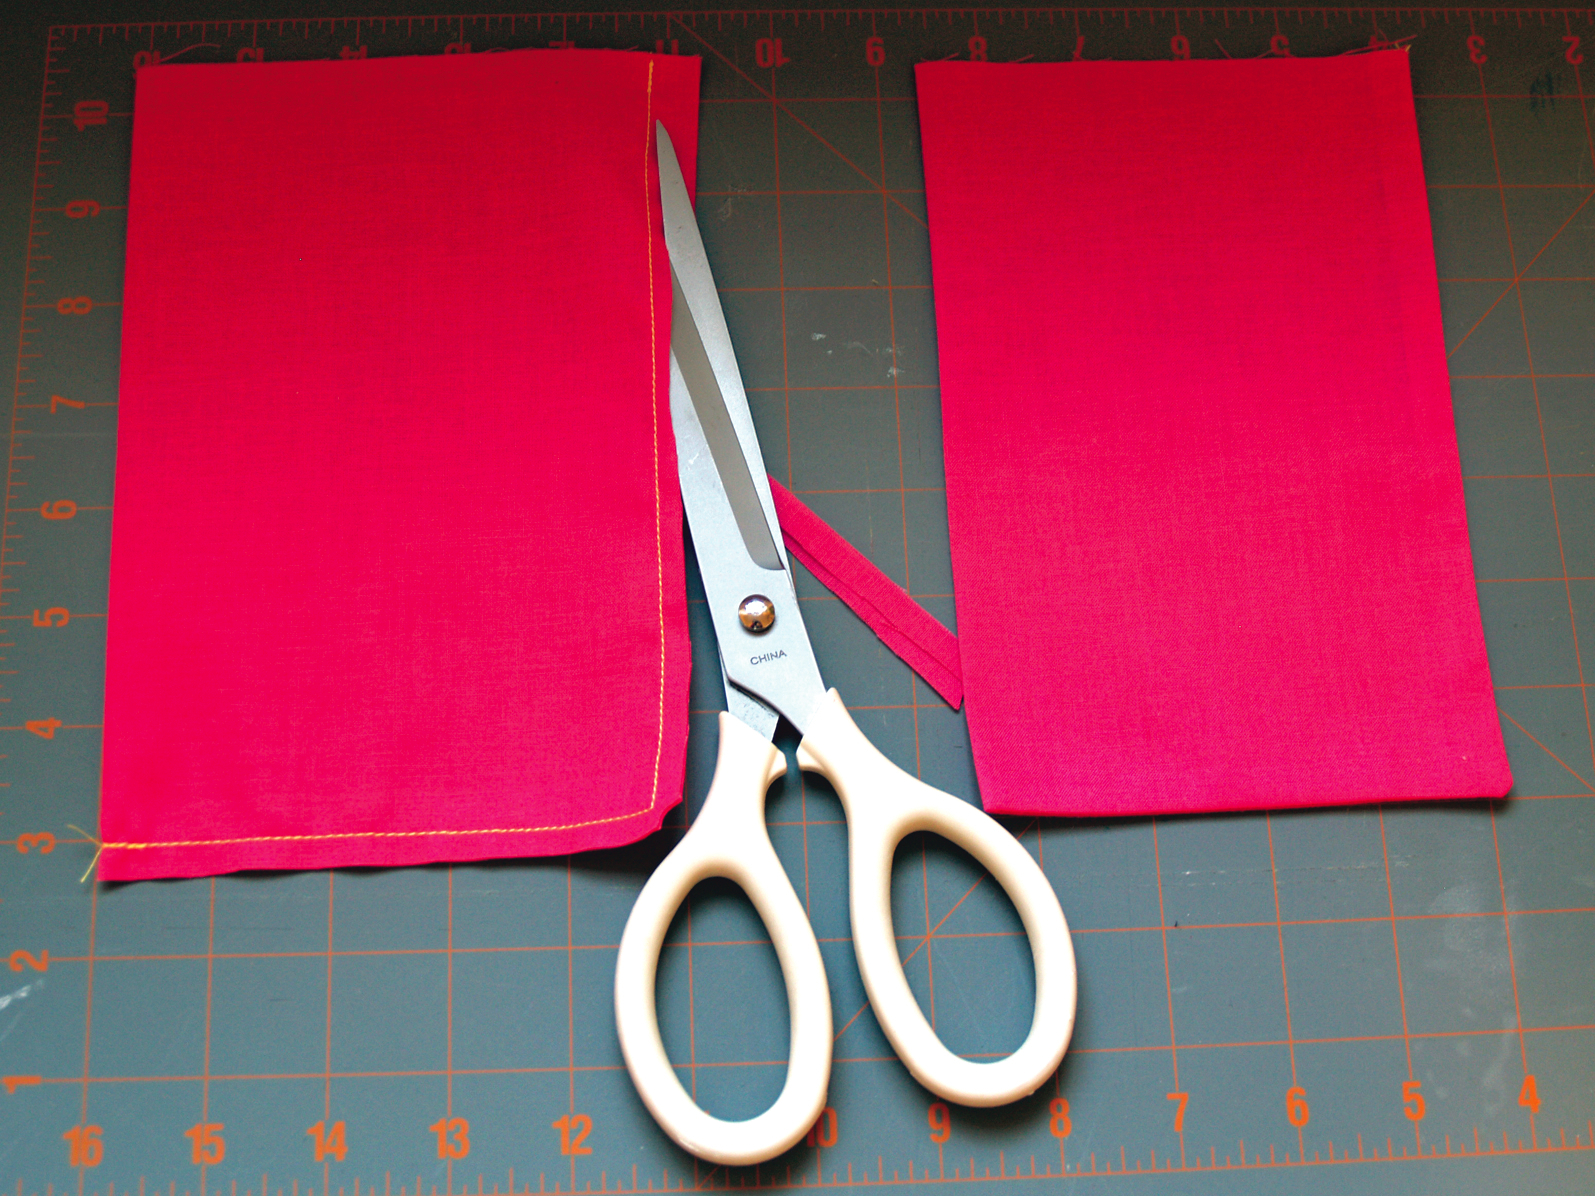
Fold each rectangle in half lengthwise with right sides together and press. Stitch around 1 short and 1 long side of each flag using a 1⁄2″ seam. Trim the seam allowance to 1⁄4″, clip the corners close to the edge, and turn each flag right side out.
Use a point turner if you have one to help turn out the corners. Press.
Print the flags.

To make printing easier, decide which color of paint to use for each flag and group them accordingly. You may want to slide a piece of cardboard inside each flag as you print it to make sure the paint won’t bleed through, and it’s a good idea to practice on some scraps first to get the best results.
Starting with the lightest color, apply a coat of paint to the stamp with the foam brush. Center the stamp over a flag and press it down for 10 seconds. Remove the stamp to reveal your print!
Reapply paint between each stamping for best results. Make sure there’s no paint clumped on the sides of the foam, or you may end up with a gloppy print.
To change colors, rinse the stamp under running water and rub away the excess paint. Stamp the rinsed stamp onto a folded paper towel until it comes out clean.
Make sure the stamp is dry before applying the next color of paint. Use a clean foam brush to apply the next color. Repeat for as many colors as desired.
Let the flags dry. If you’re using fabric paint, heat-set the stamped designs according to the paint instructions.
Finish the banner.
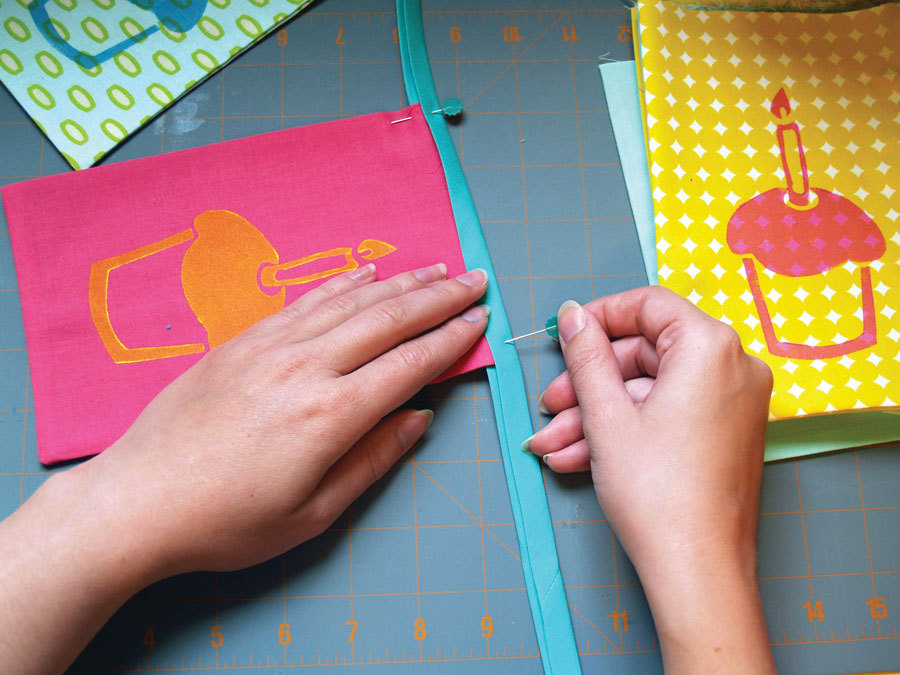
Press the bias tape to straighten any creases resulting from packaging. Lay out the bias tape with the wider fold on the bottom side. Arrange all 12 flags along the length of the tape, leaving about 3 1⁄4″ of tape between each flag and about 6″ of tape at the ends.
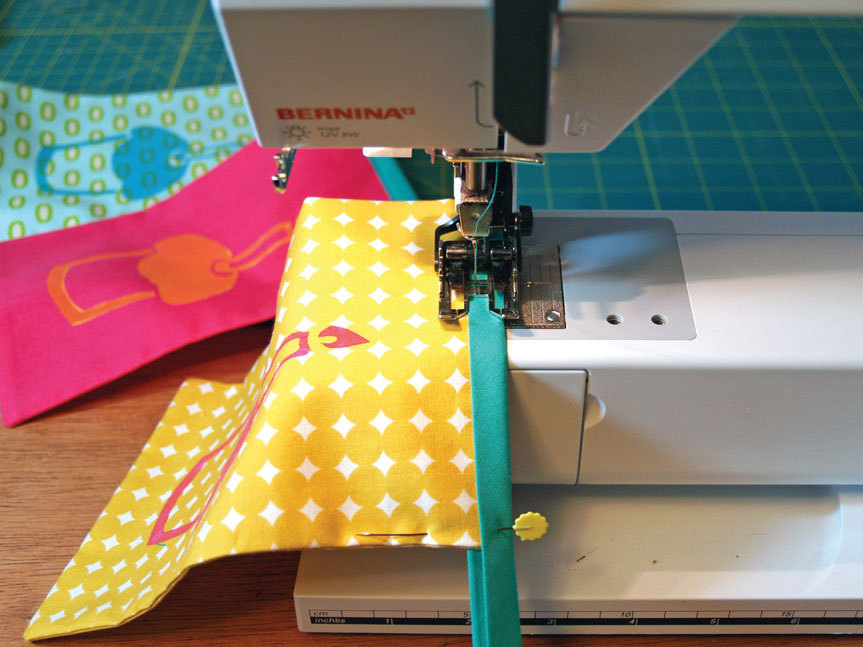
Slide each flag into place between the folds of the tape’s open edge and pin in place.
Sew a straight stitch along the open edge of the tape, being sure to encase each flag as you go.
Fold back 1″ at each end of the bias tape. Sew the short edge to the backside of the tape to form a hanging loop.
Hang the banner as desired.
Conclusion
This project first appeared in CRAFT Volume 10, pages 52-54.


