Projects from Make: Magazine
Putting Endwalls On Your Makerspace


fuyfi
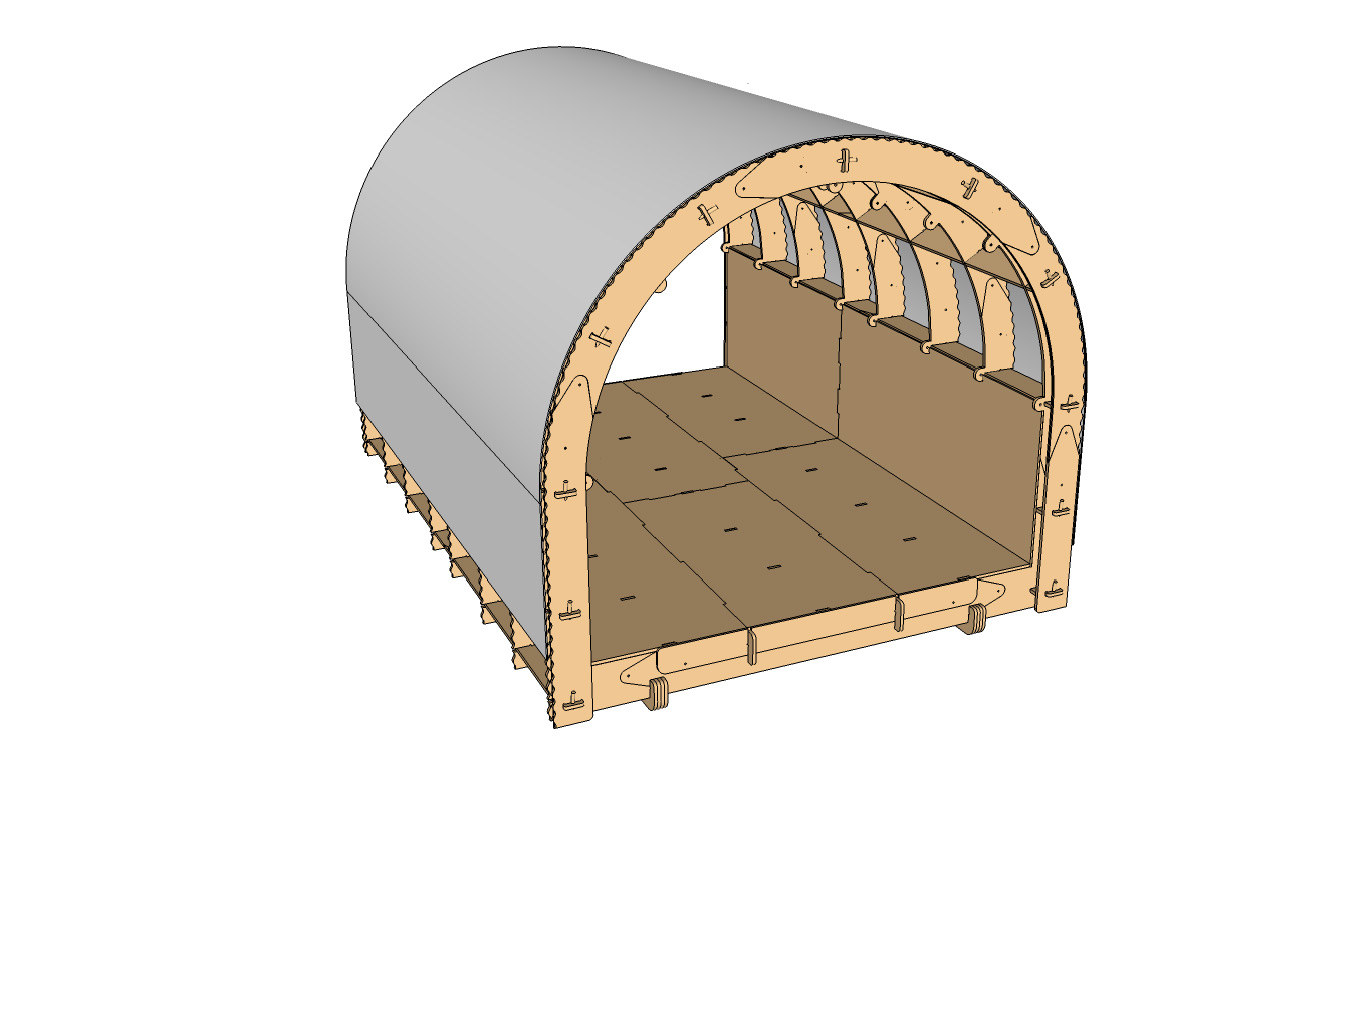
The MakerSpace endwall parts bolt to the outside set of ribs. No parts need to be removed, but some of the bolts that hold the rib pieces together will have to be replaced with 1.75″-2″ long bolts to accommodate the additional thickness.
lglg
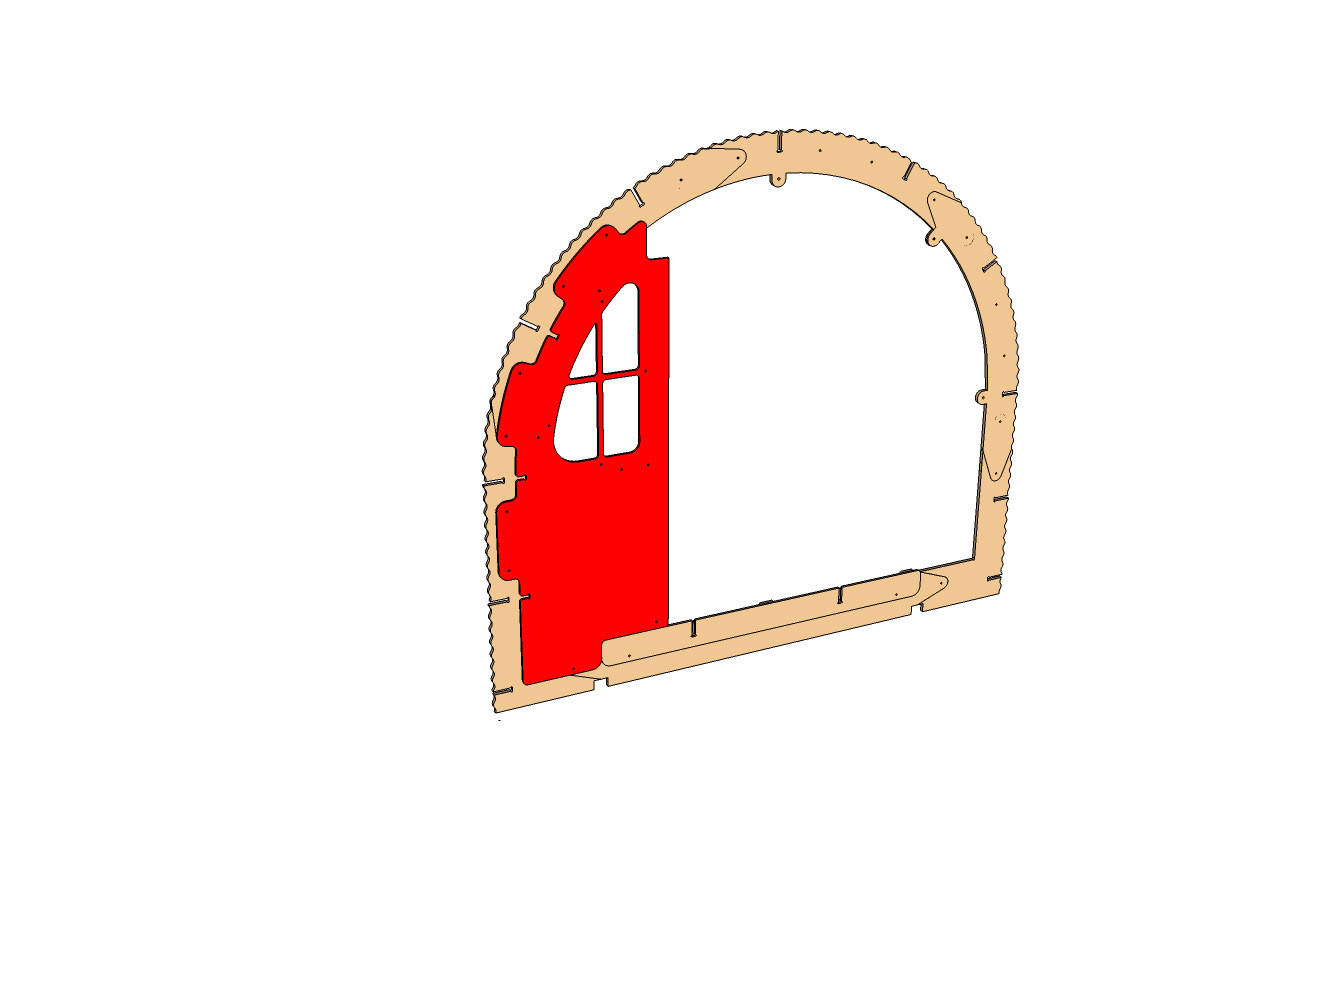
Start at one end with one of the large endwall panels. Hold the panel in place on the ribs so that the notch in the bottom of the panel lines up with the threshold piece that’s already installed. (the rest of the MakerSpace has been hidden for clarity)
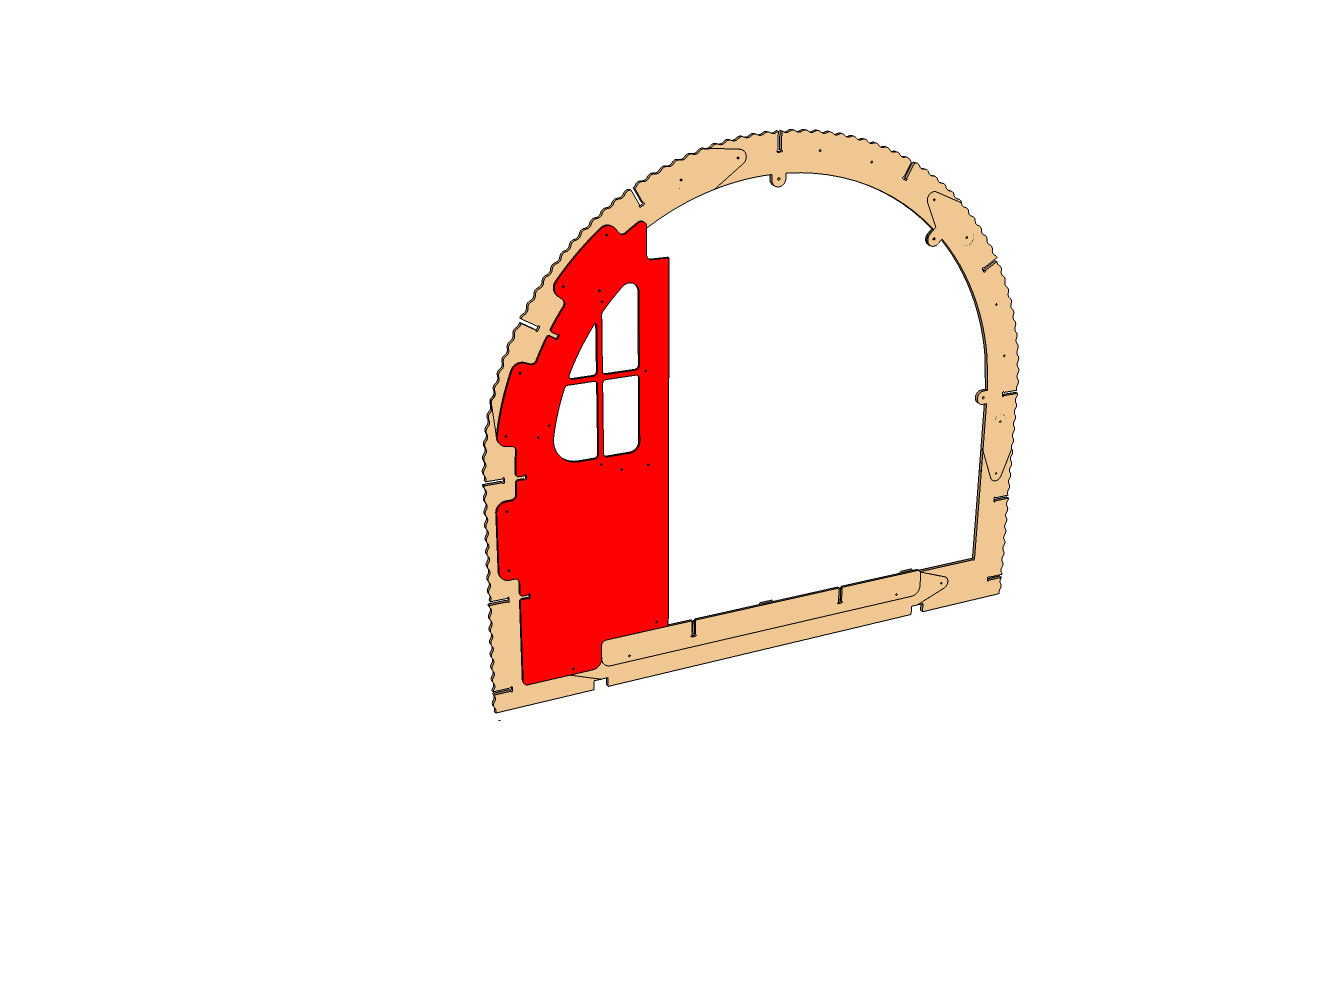
The existing bolts that hold the ribs together will need to be replaced with longer bolts…at least 1.75″ long…to attach the endwall panels. Remove the nuts and washers from the bolts on one side of the MakerSpace,but leave the bolts in place to hold the ribs together.
Slide the endwall panel in place onto these bolts. With an already assembled MakerSpace you may have to wiggle things around a little to line everything up, but the bolts will eventually slip into the holes in the wall panel.
giggo
Put longer bolts with flat washers through the other holes in the panels and ribs and add washers and nuts to them. Then start to remove the existing short bolts, one at a time, and replace them with longer bolts, nuts, and washers. Do not tighten the nuts until all the endwall panels are installed.
Repeat with the panel on the other side
vfofg
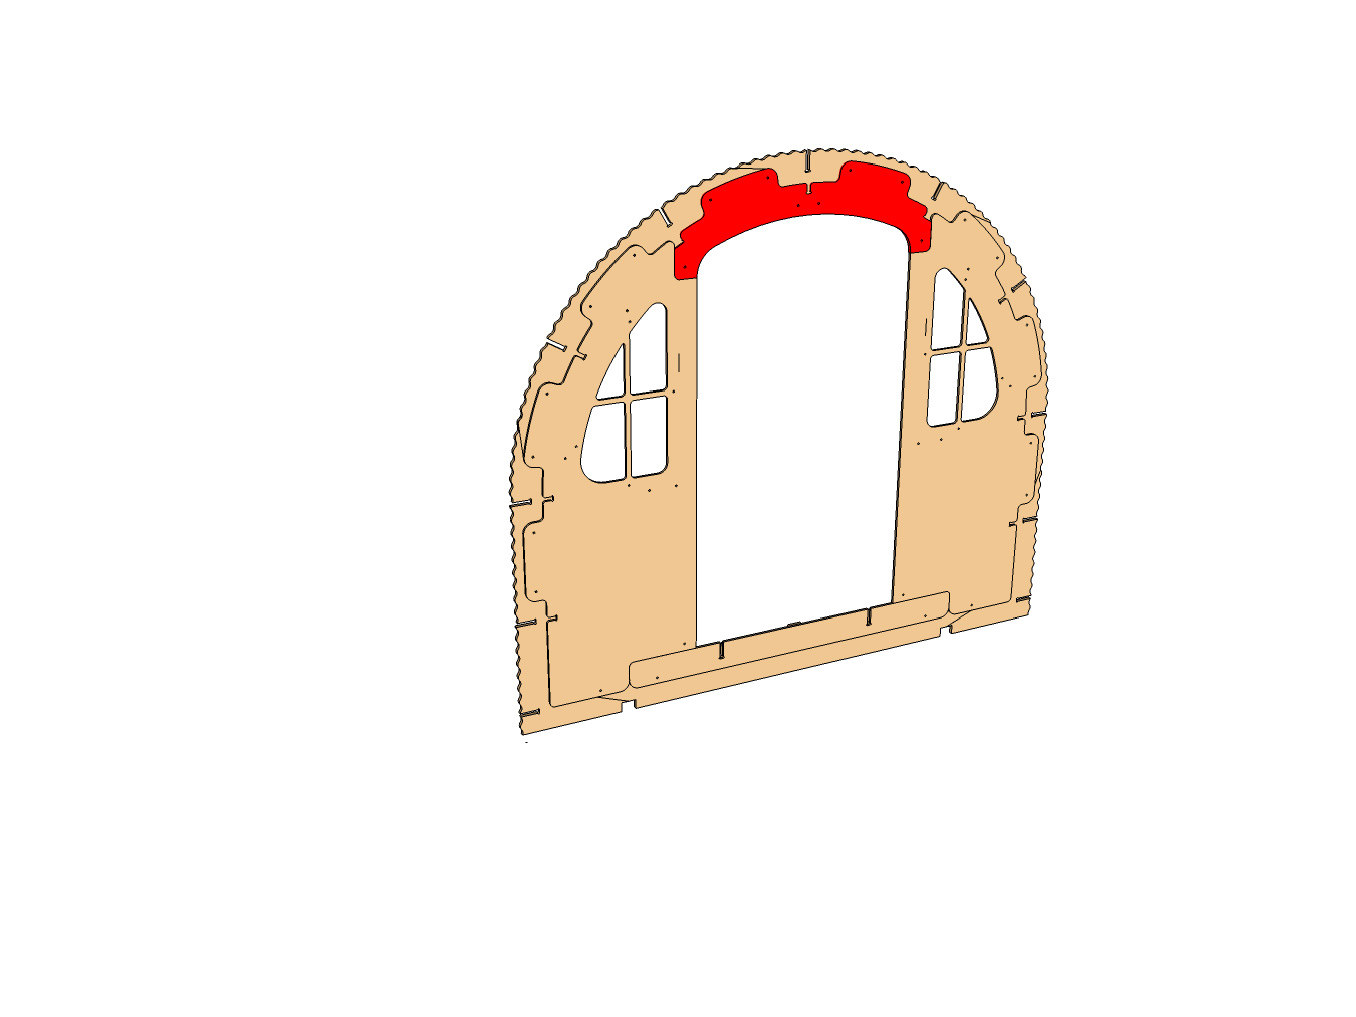
Install the header that connects the wall panels at the top. There will be a pair of existing bolts that will be replaced with longer bolts, and two new ones in the other pair of holes.
Next bolt the door frame parts to the endwalls, using 1.75″ bolts, nuts and washers. Make sure the recesses for the hinges are facing outward.
Next bolt the window parts to the endwalls, using 1.75″ bolts, nuts and washers.
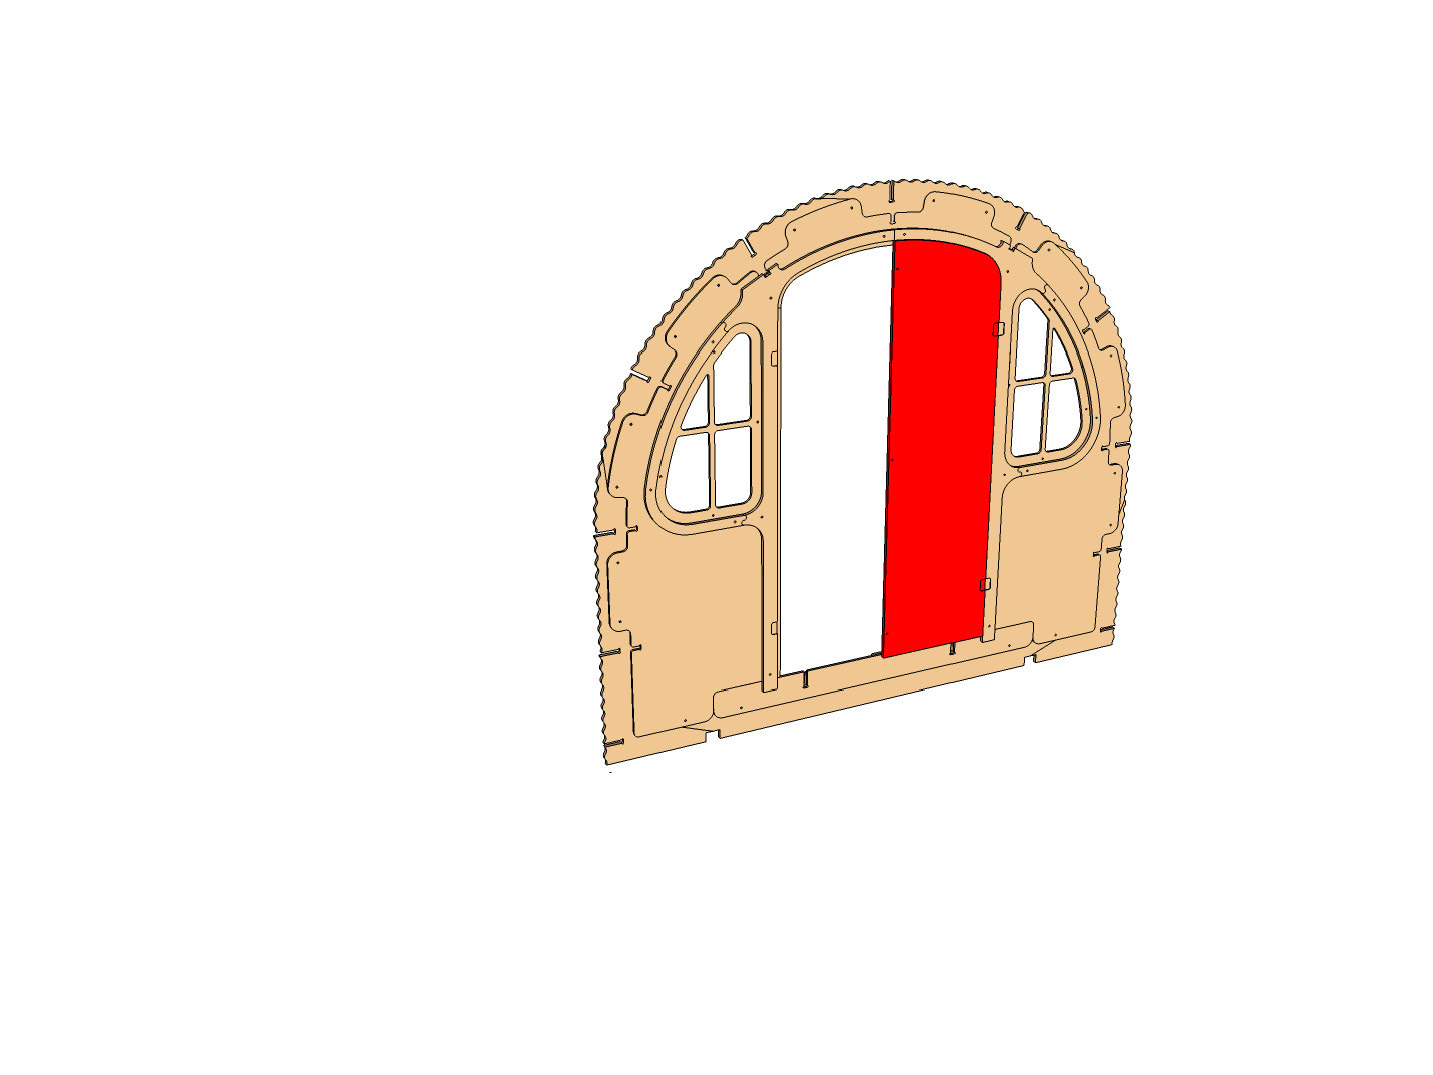
jlvljv
Hang the right-hand door using two 3″ hinges, screws into the door trim, and bolts and washers to connect the hinge to the door itself.
Bolt the rectangular stop to the door. It may require a little trimming to make sure that the door opens and closes freely…hopefully not much though. Install a barrel bolt at the top and bottom to hold this door closed.
Hang the second door the same way. Use a hasp and lock if you want to be able to lock the doors, or just a barrel bolt if not
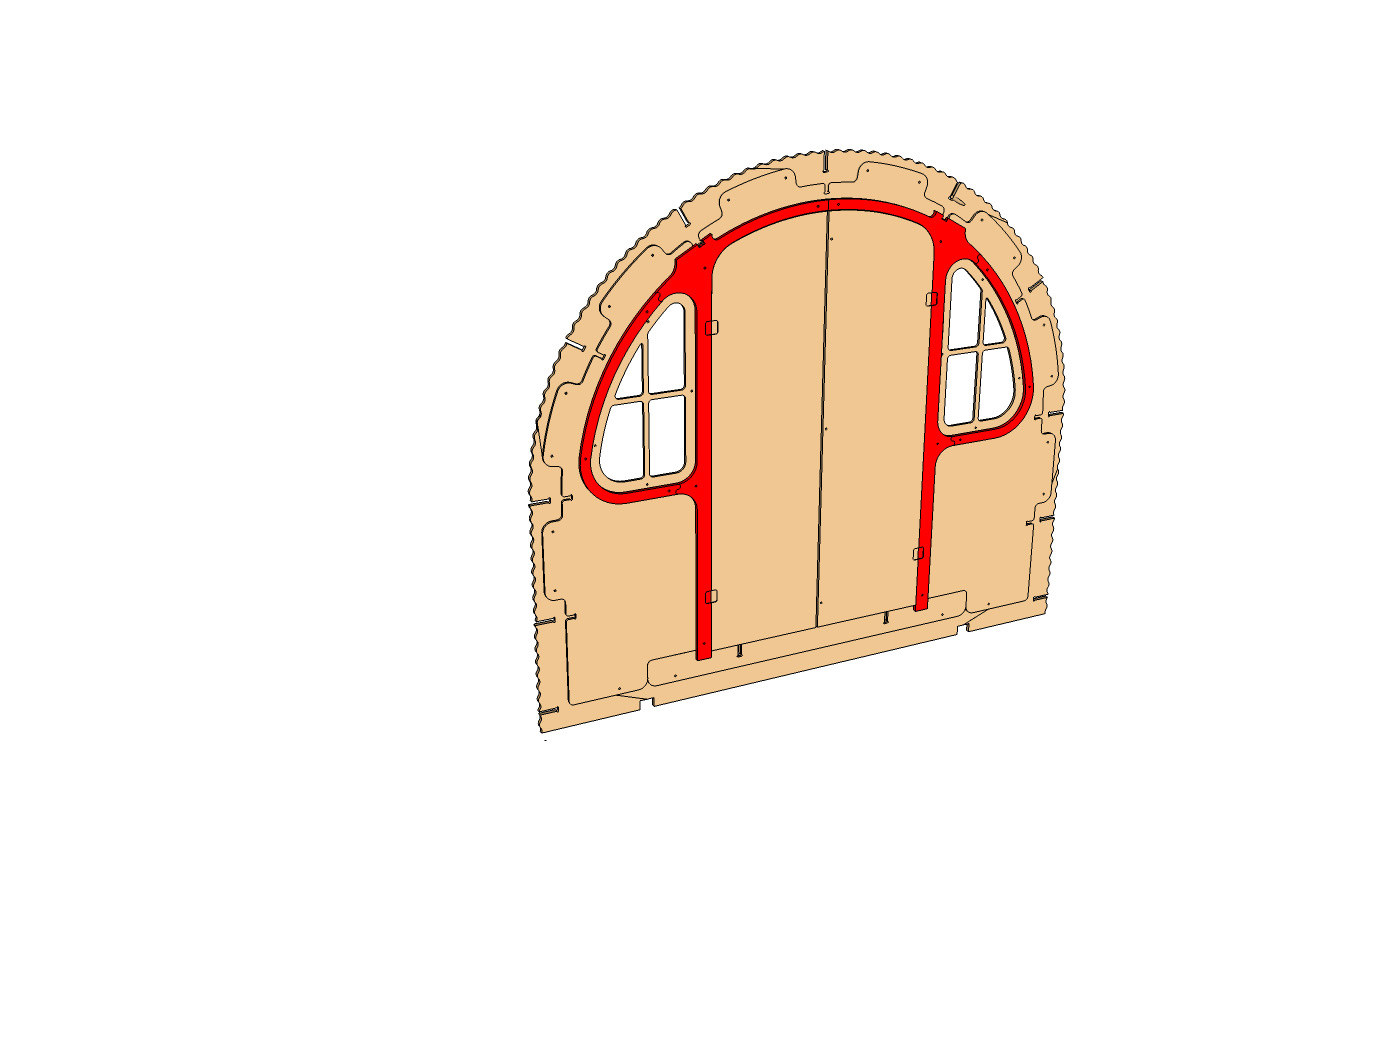
, vkhck
The bolts holding the frames help keep everything aligned, but for extra strength screw the frame parts to the wall panels with 1″ galvanized screws. It’s probably better to screw them from the inside, but the outside is OK too.
Install the plexiglass panel into the window frames with clear caulk and then bolt the windows into their opening. A strip of thin weatherstripping around the perimeter of the back side of the frames will help keep water out.
You’re done this end…just repeat these steps for the other end. If you don’t want opening doors on the other end, screw the doors to the endwalls instead of using hinges.