This project is a very straightforward guide for converting an old PC power supply box with a cooling fan into an AC powered, activated carbon fume extractor. After coming across a similar guide for the poor man’s fume extractor on Instructables (which consisted of little more than the gutted power supply itself), I decided to add activated carbon and a few other things to make the power supply fit my situation. The innards will vary from power supply to power supply, so I will not provide any precise measurements, just outline the steps. Down to business…
Projects from Make: Magazine
Re-purposed Power Supply Fume Extractor
This weekend project is useful for any maker attempting to solder indoors. Instead of just throwing away that old power supply you've got in the junk box, bring it back to life as a super cool (and super effective) fume extractor.
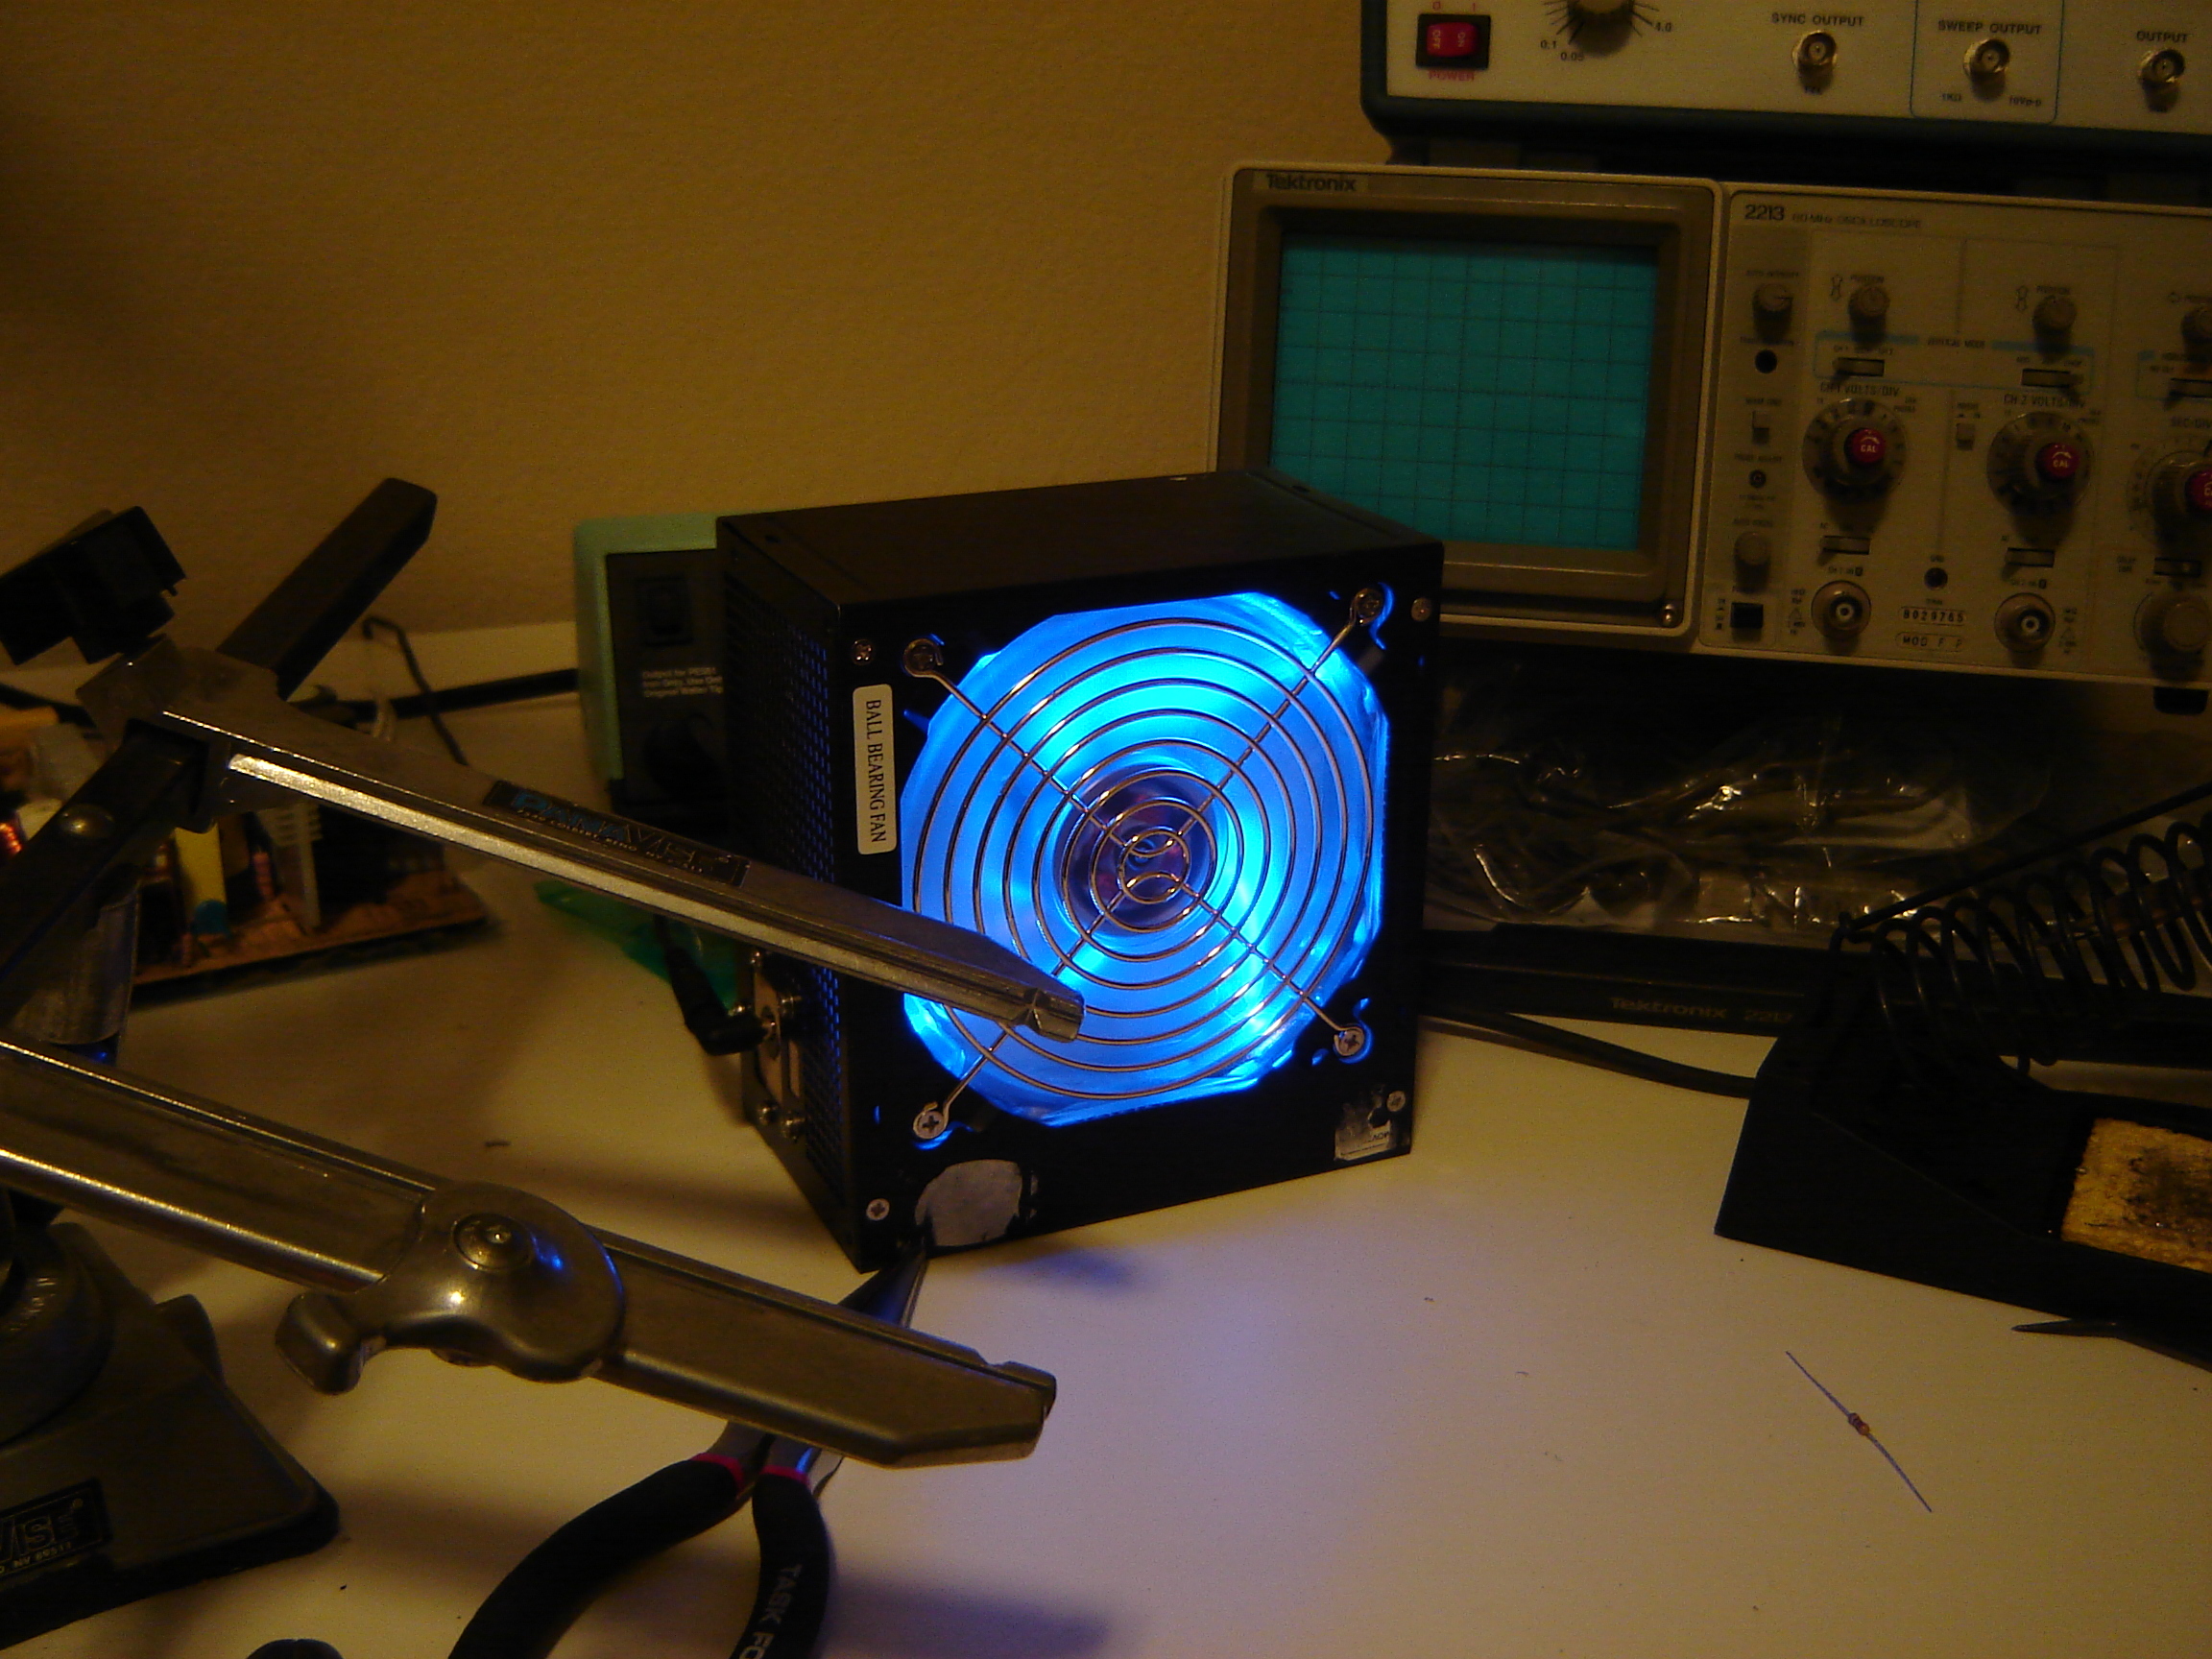
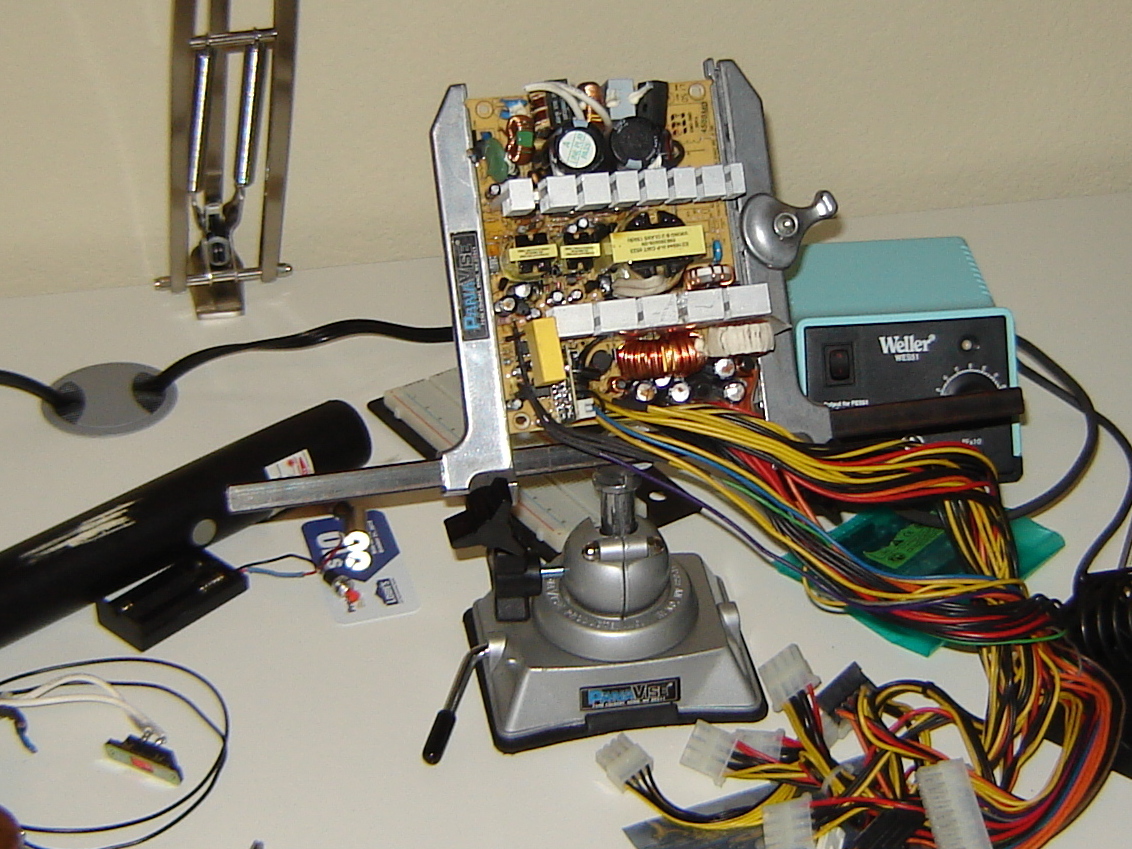
First things first: choose a power supply to work with. I was too eager to crack open the one I chose to remember to take a picture before modifications. Pretty much any old power supply will work, just a few things to note:
The bigger the fan, the better
Pay close attention to any openings in the unit’s frame. Ideally, you want one opening for intake (with the fan) and one for exhaust.
After deciding on a power supply to use, separate the two halves of the frame and remove the PCB. It just took a few screws to lift out the one I have pictured.
As always, use caution when taking your unit apart. There are many high-voltage capacitors on the board, so don’t go blindly stabbing around with your screwdriver.
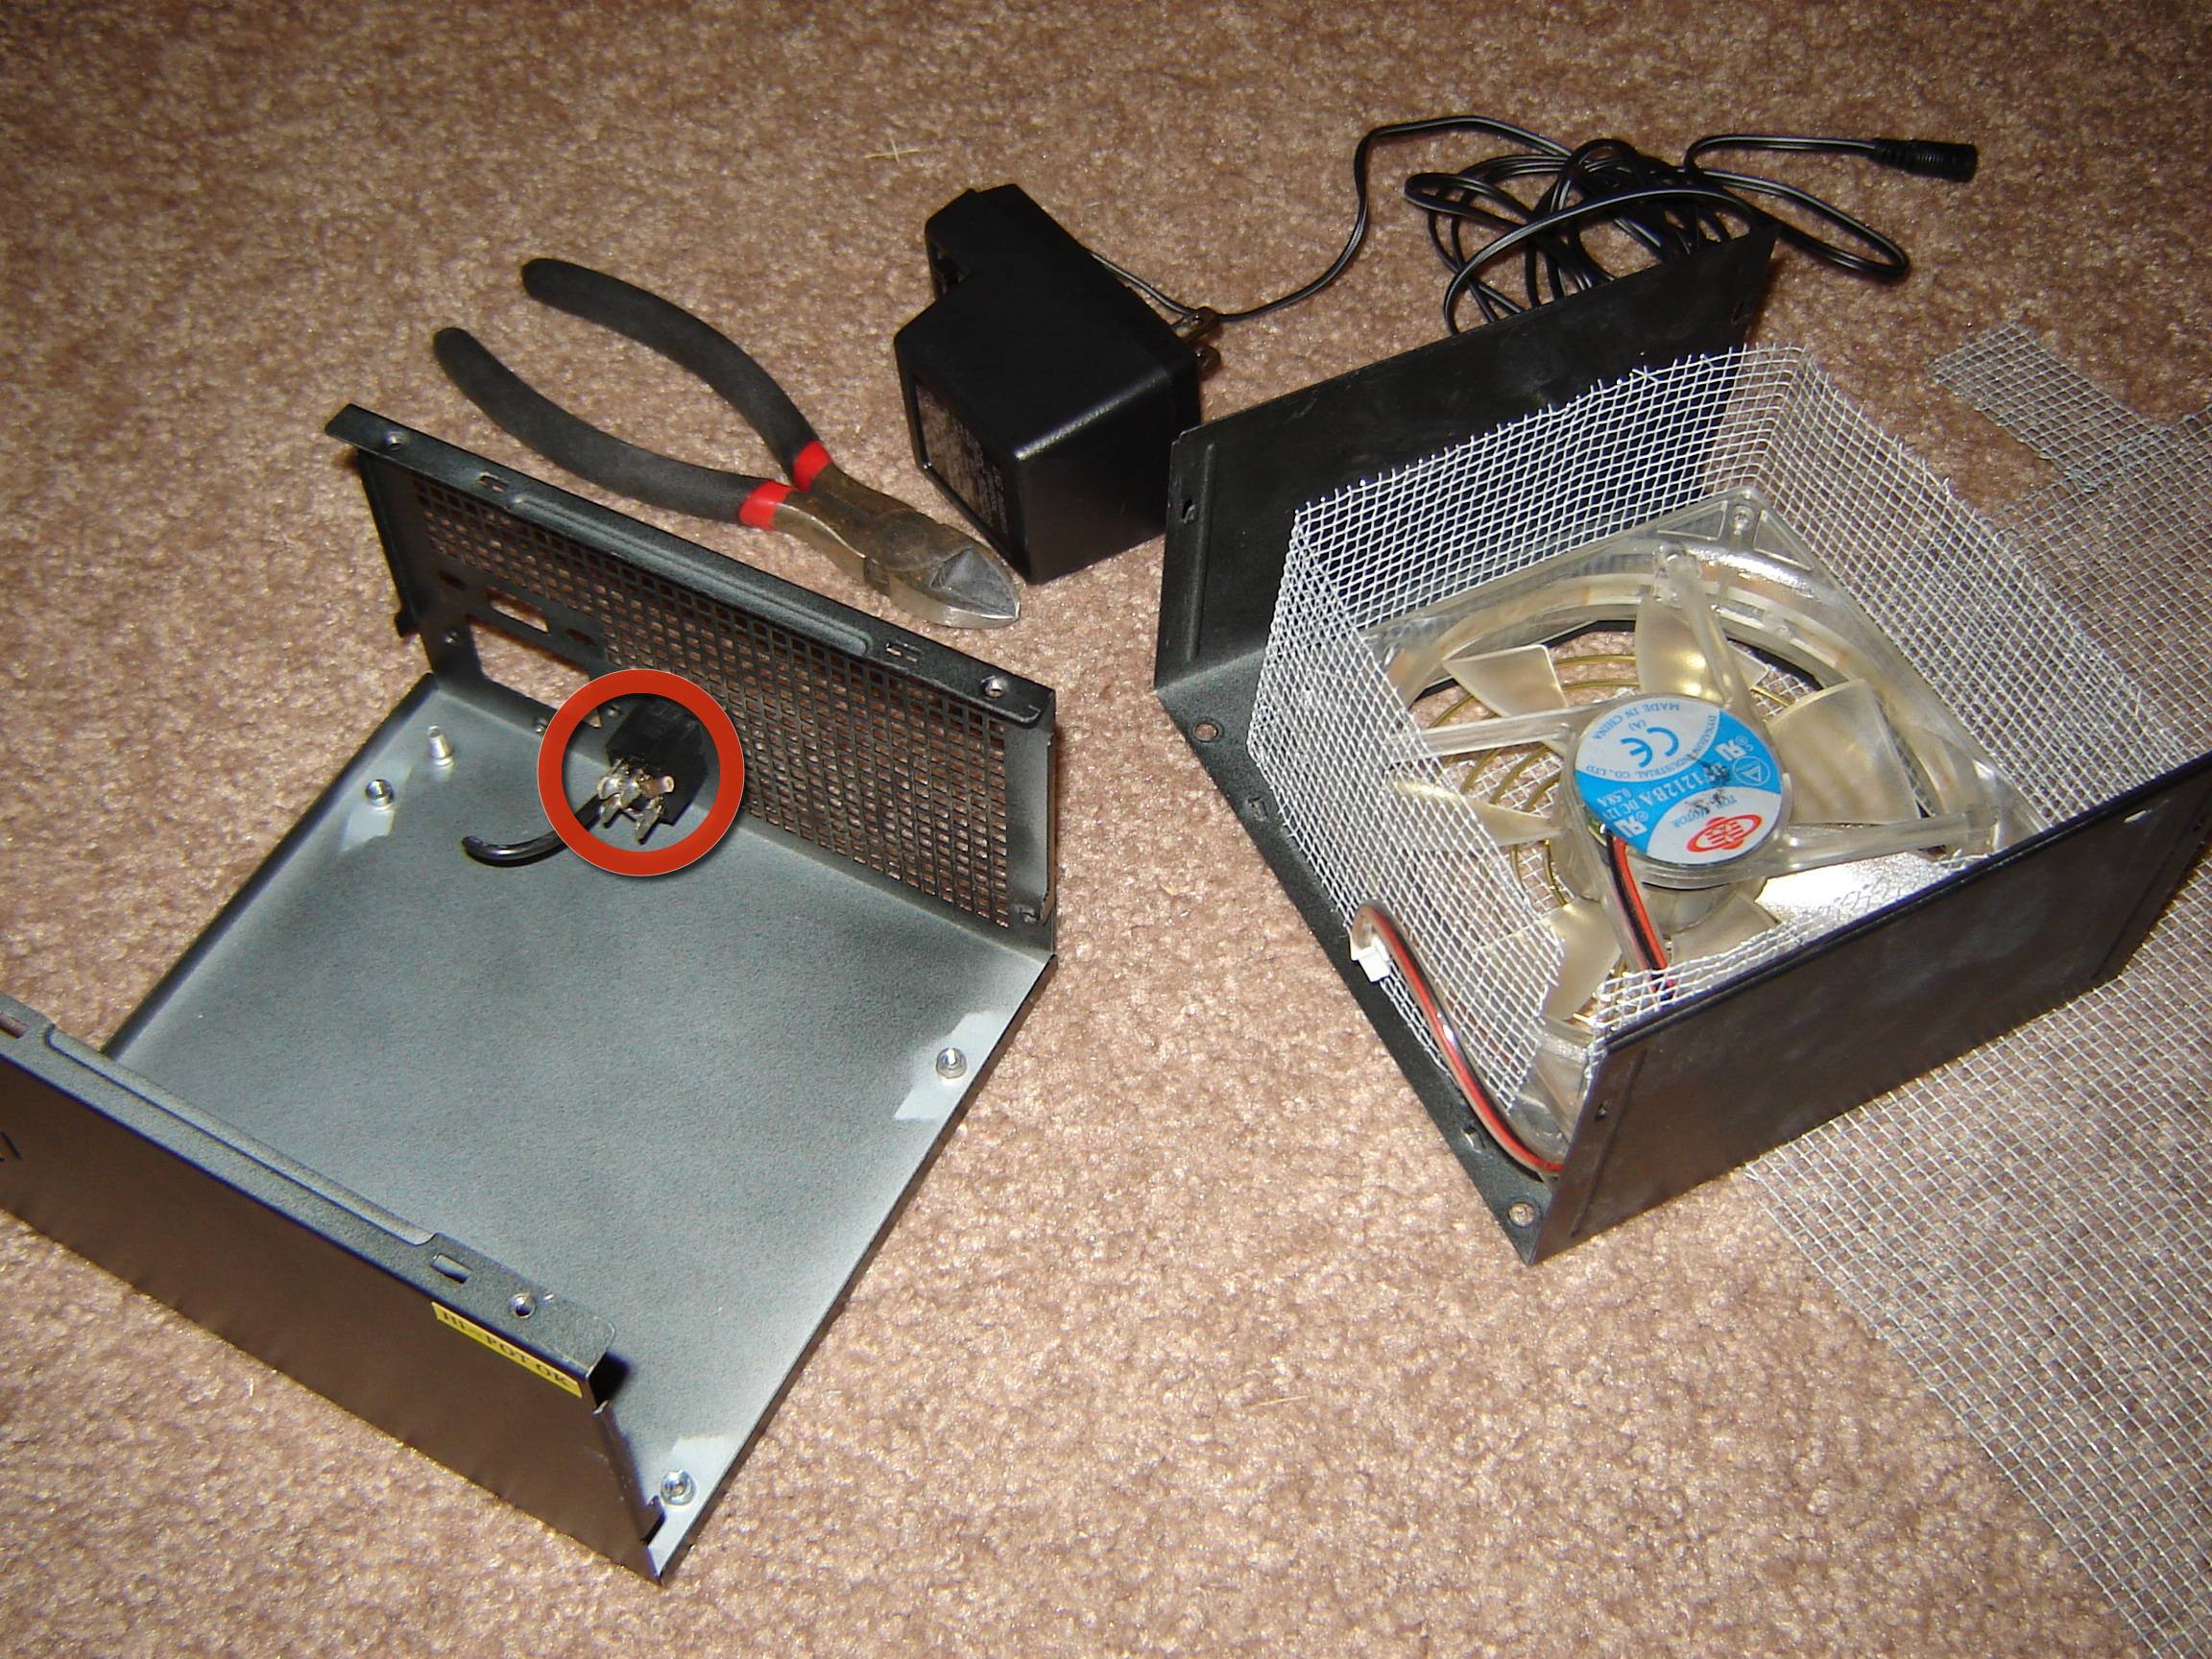
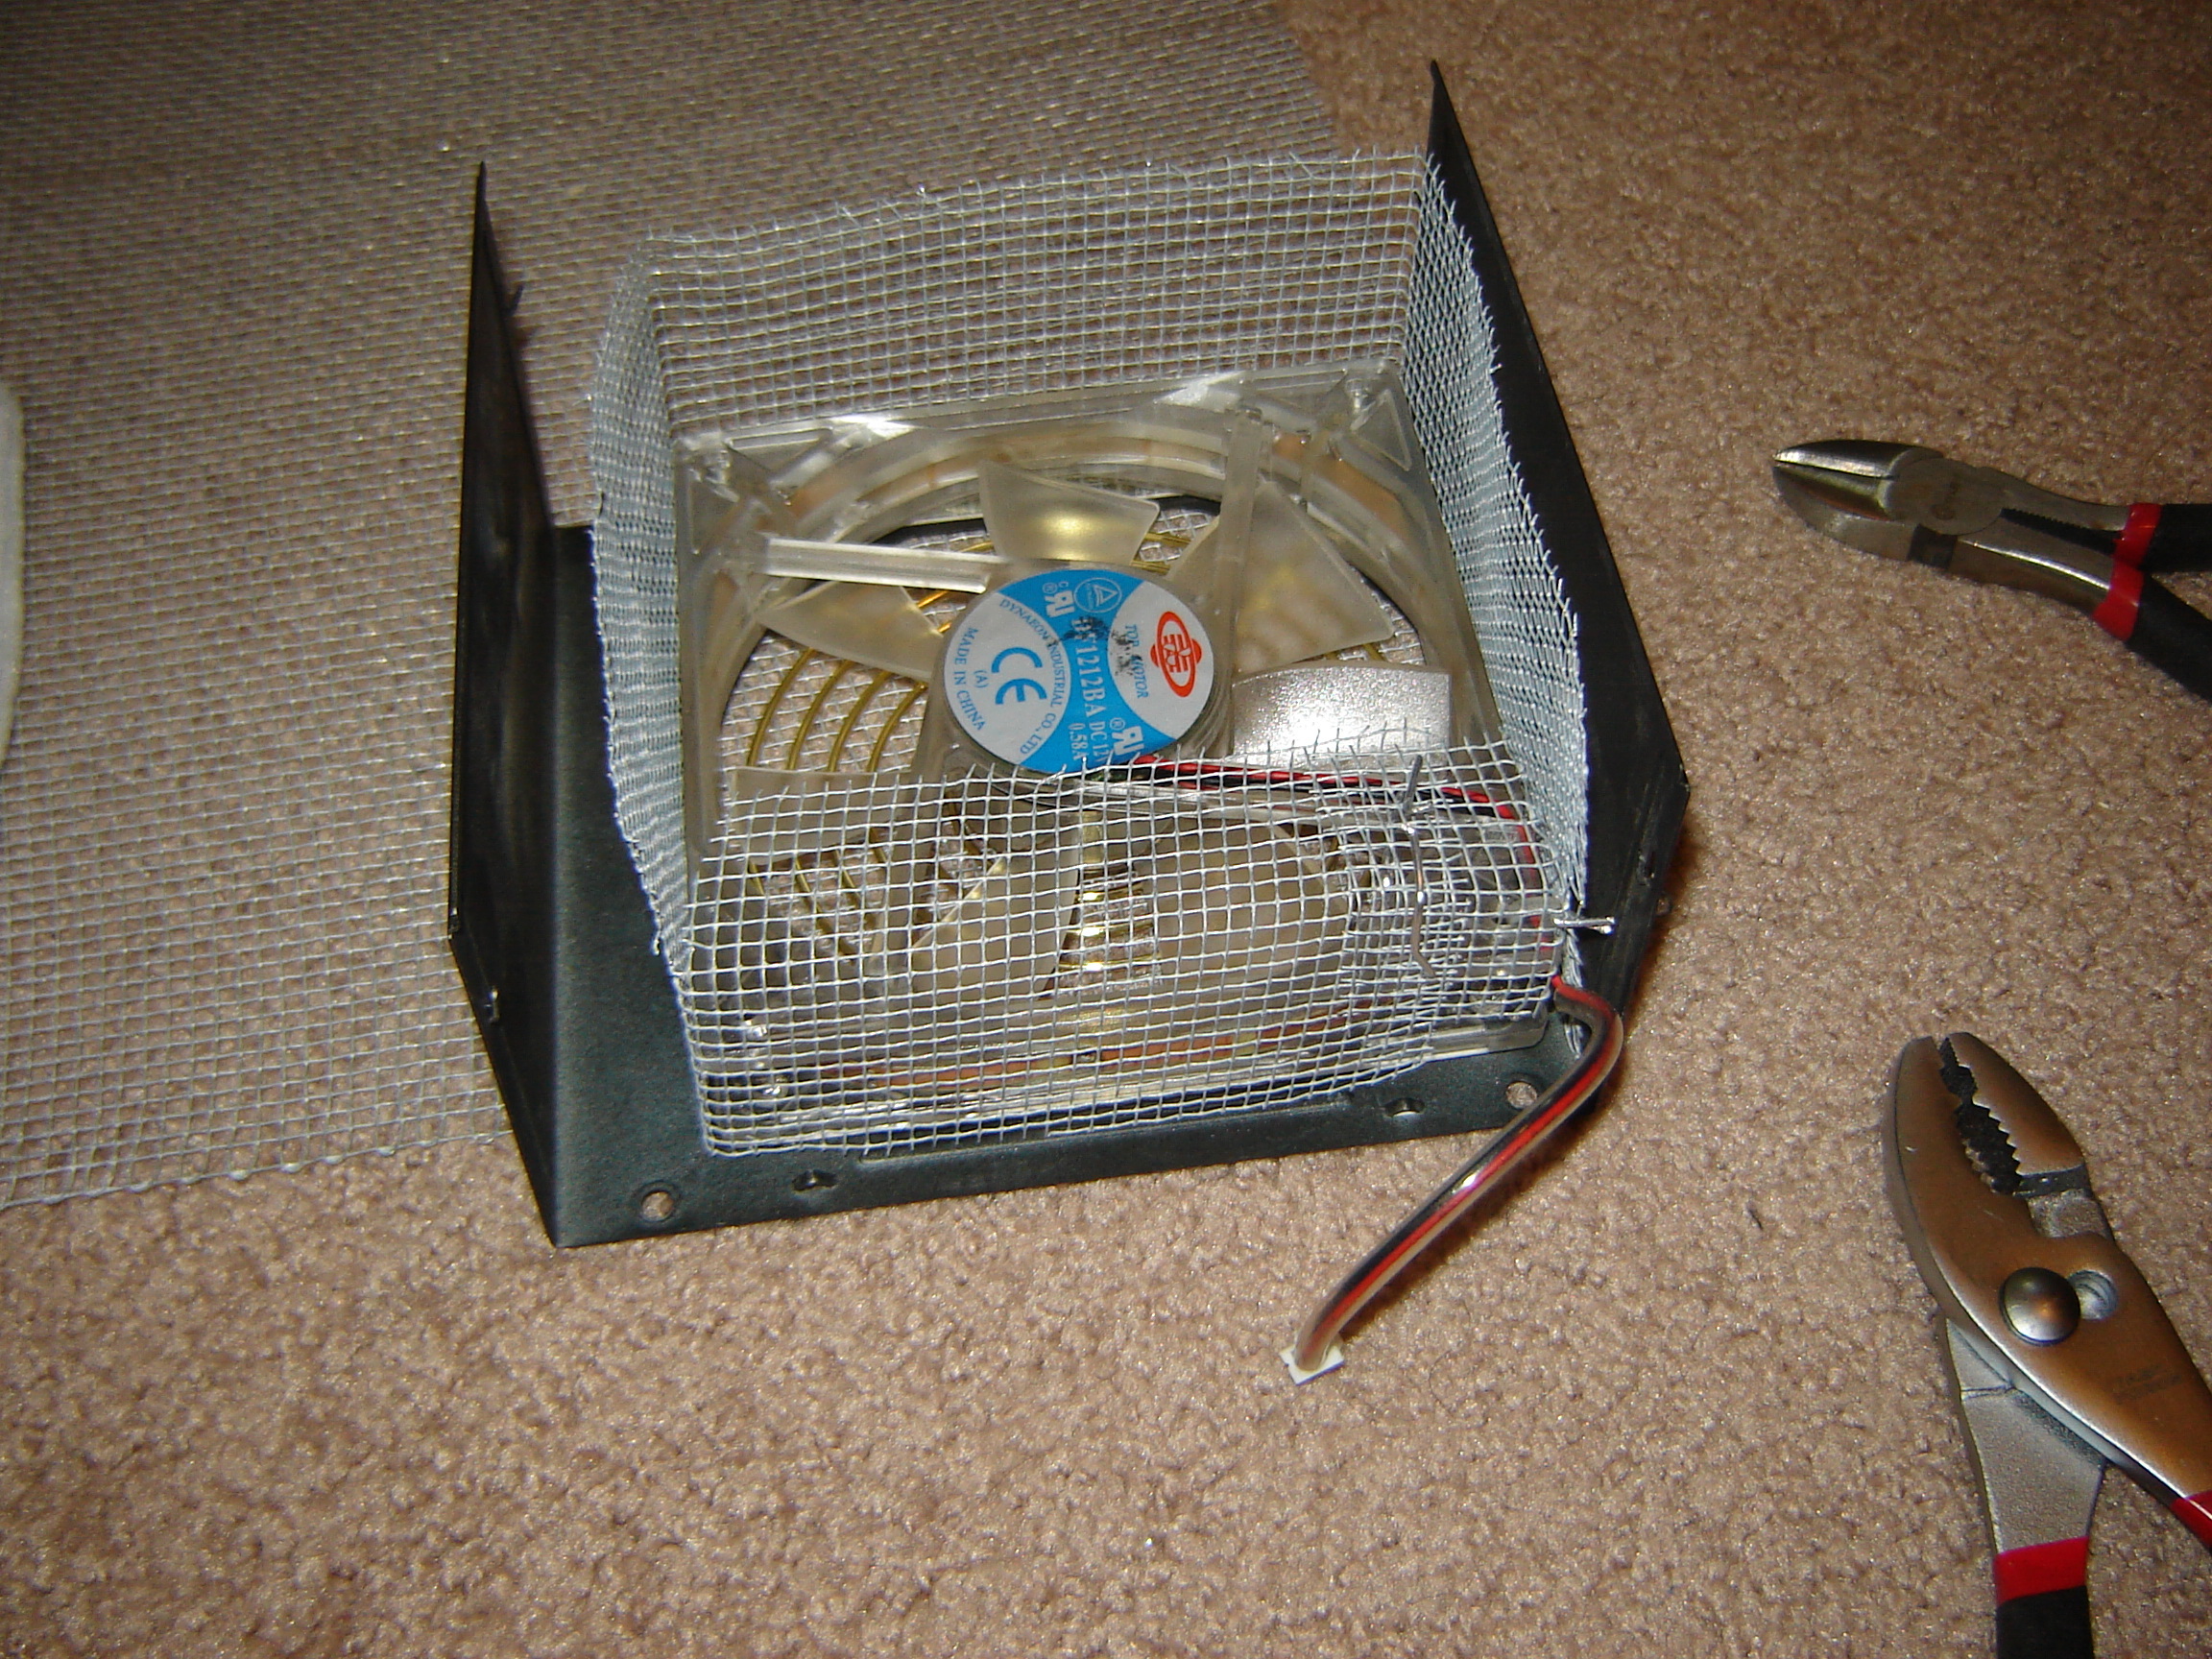
Now we want to make the housing for the activated carbon filter. Note in the pictures that I kept the power connector for the fan; I took the female counterpart off the PCB from the last step, too.
I used mesh from a screen door (ask the folks at your local hardware store) because of its rigidity and the small spacing between the wires. I found it rather easy to bend the screen and have it keep the shape.
Use thin-gauge aluminum wire to attach adjoining edges.
I had to add a fold to make space for the power outlet (see Step 4).
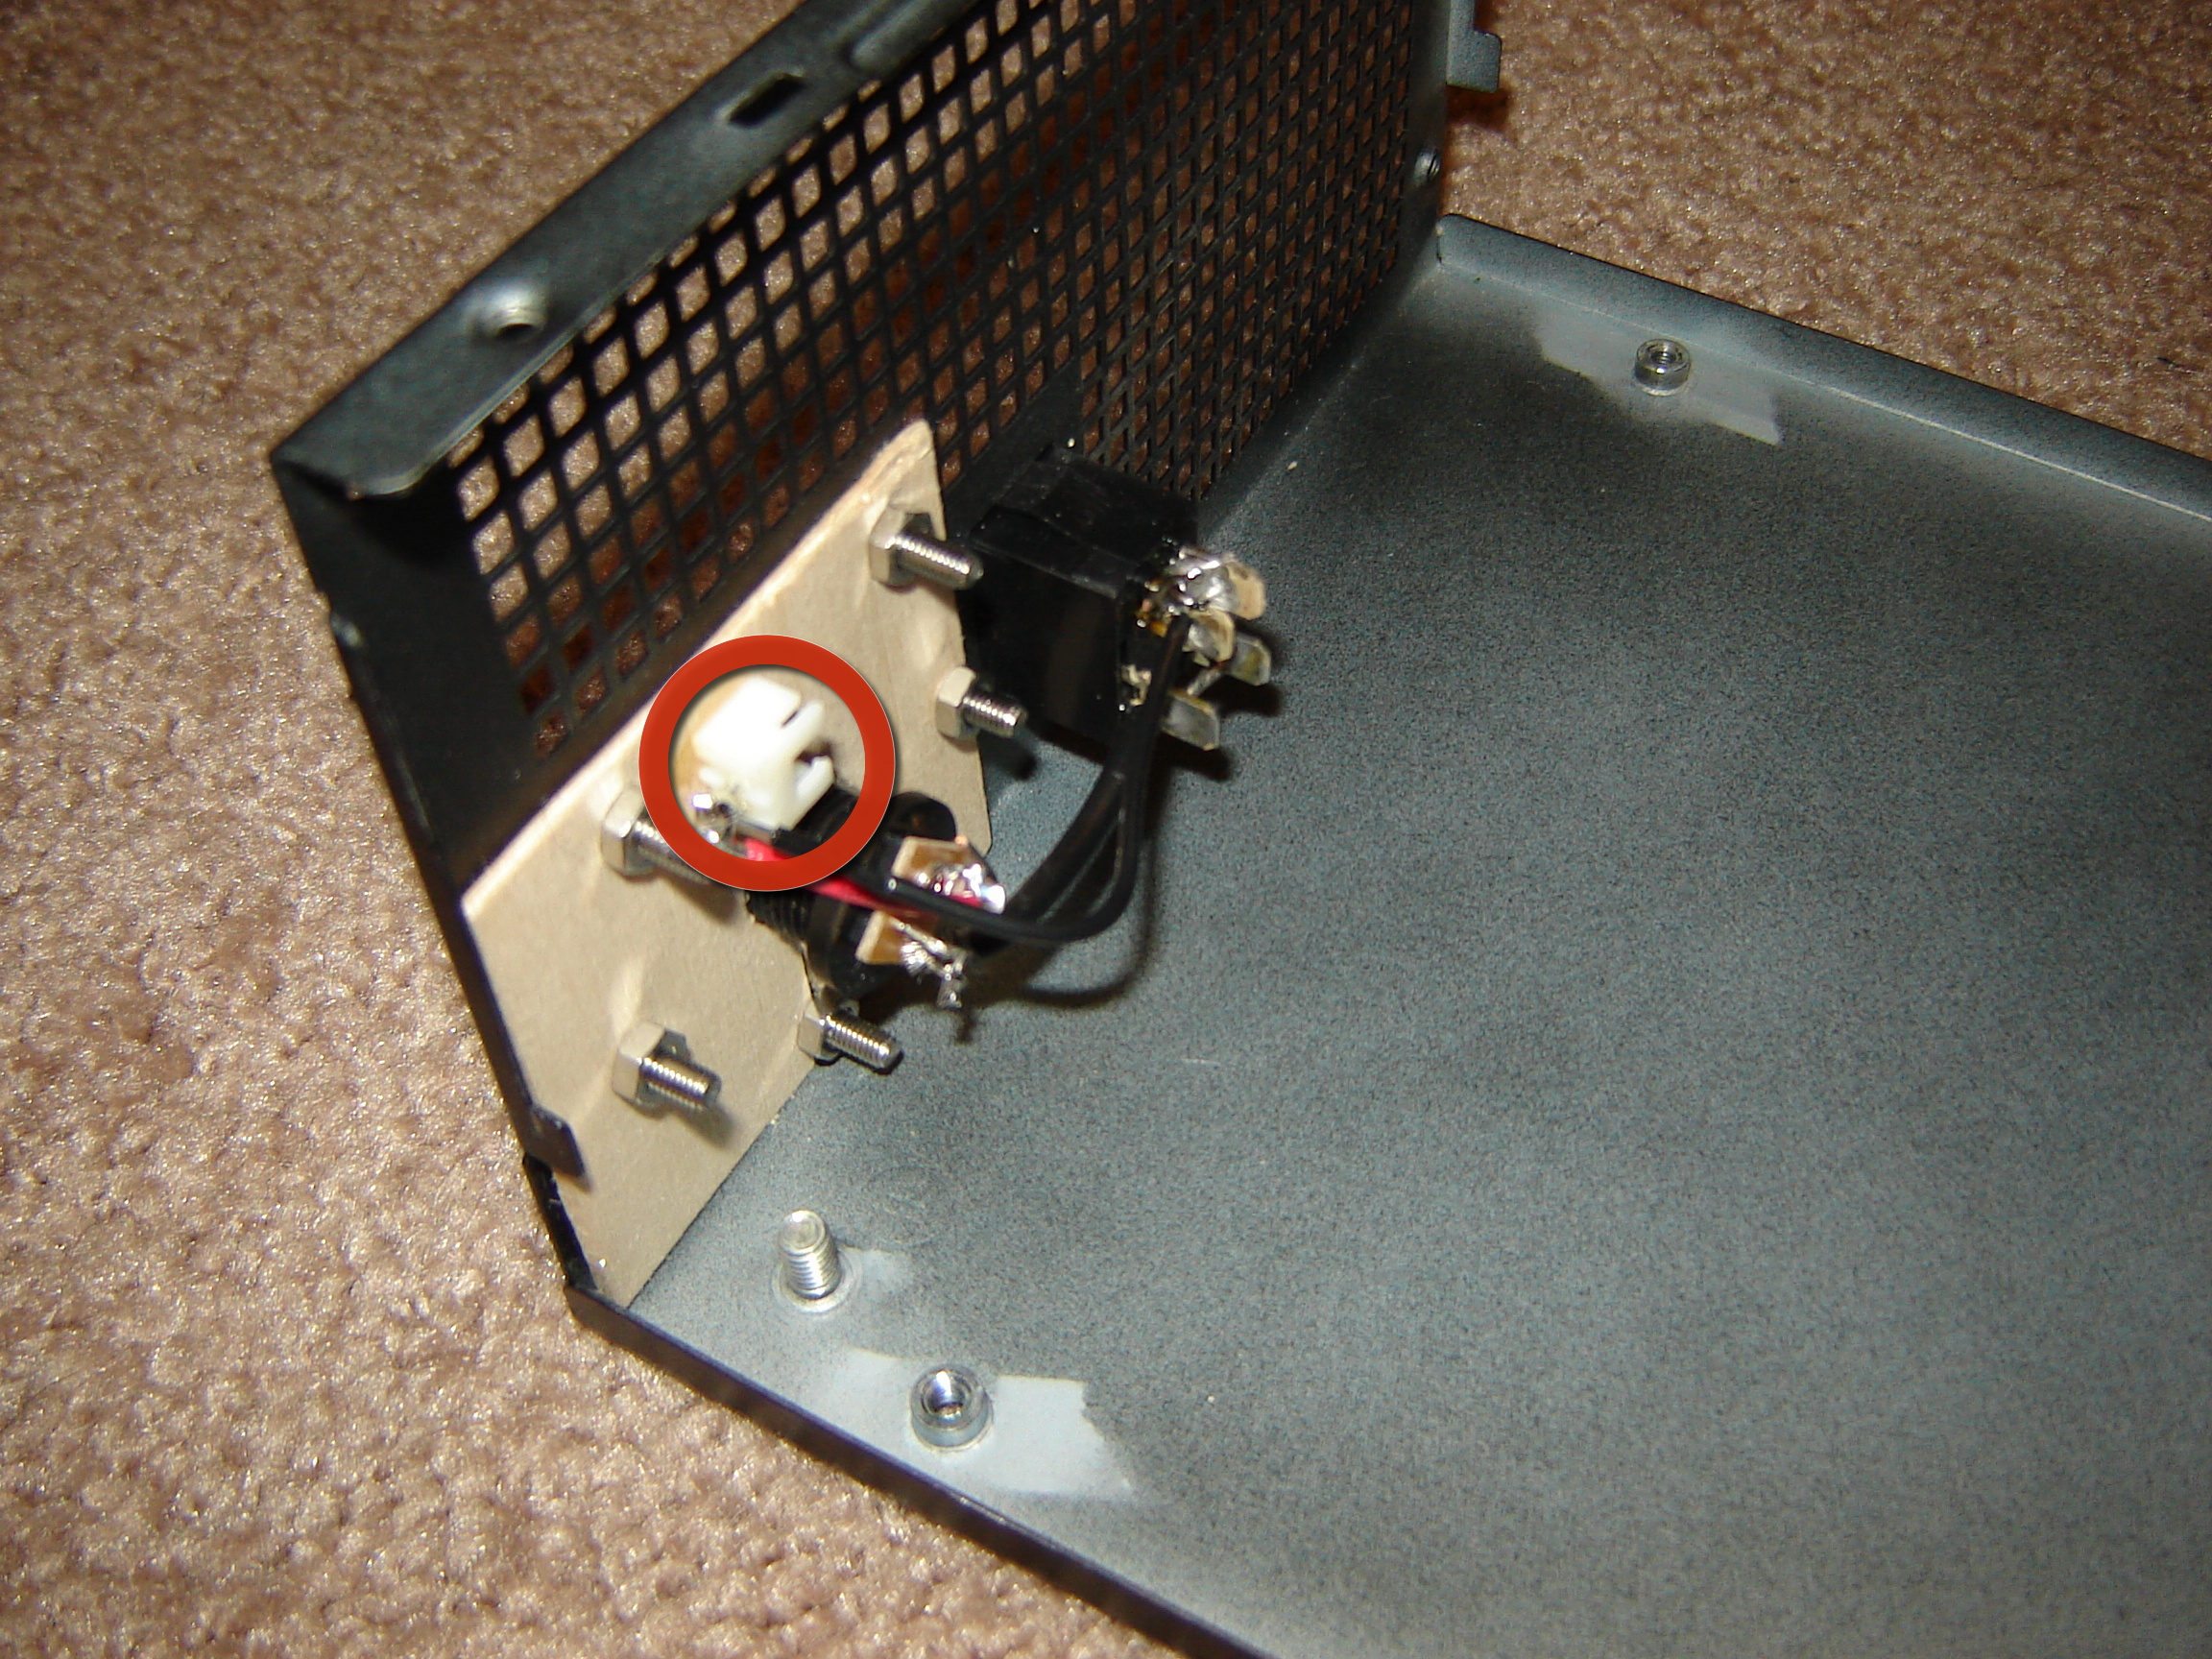
I left the power switch [circled] attached to the frame because I figured it would make a convenient on/off switch for my new fume extractor.
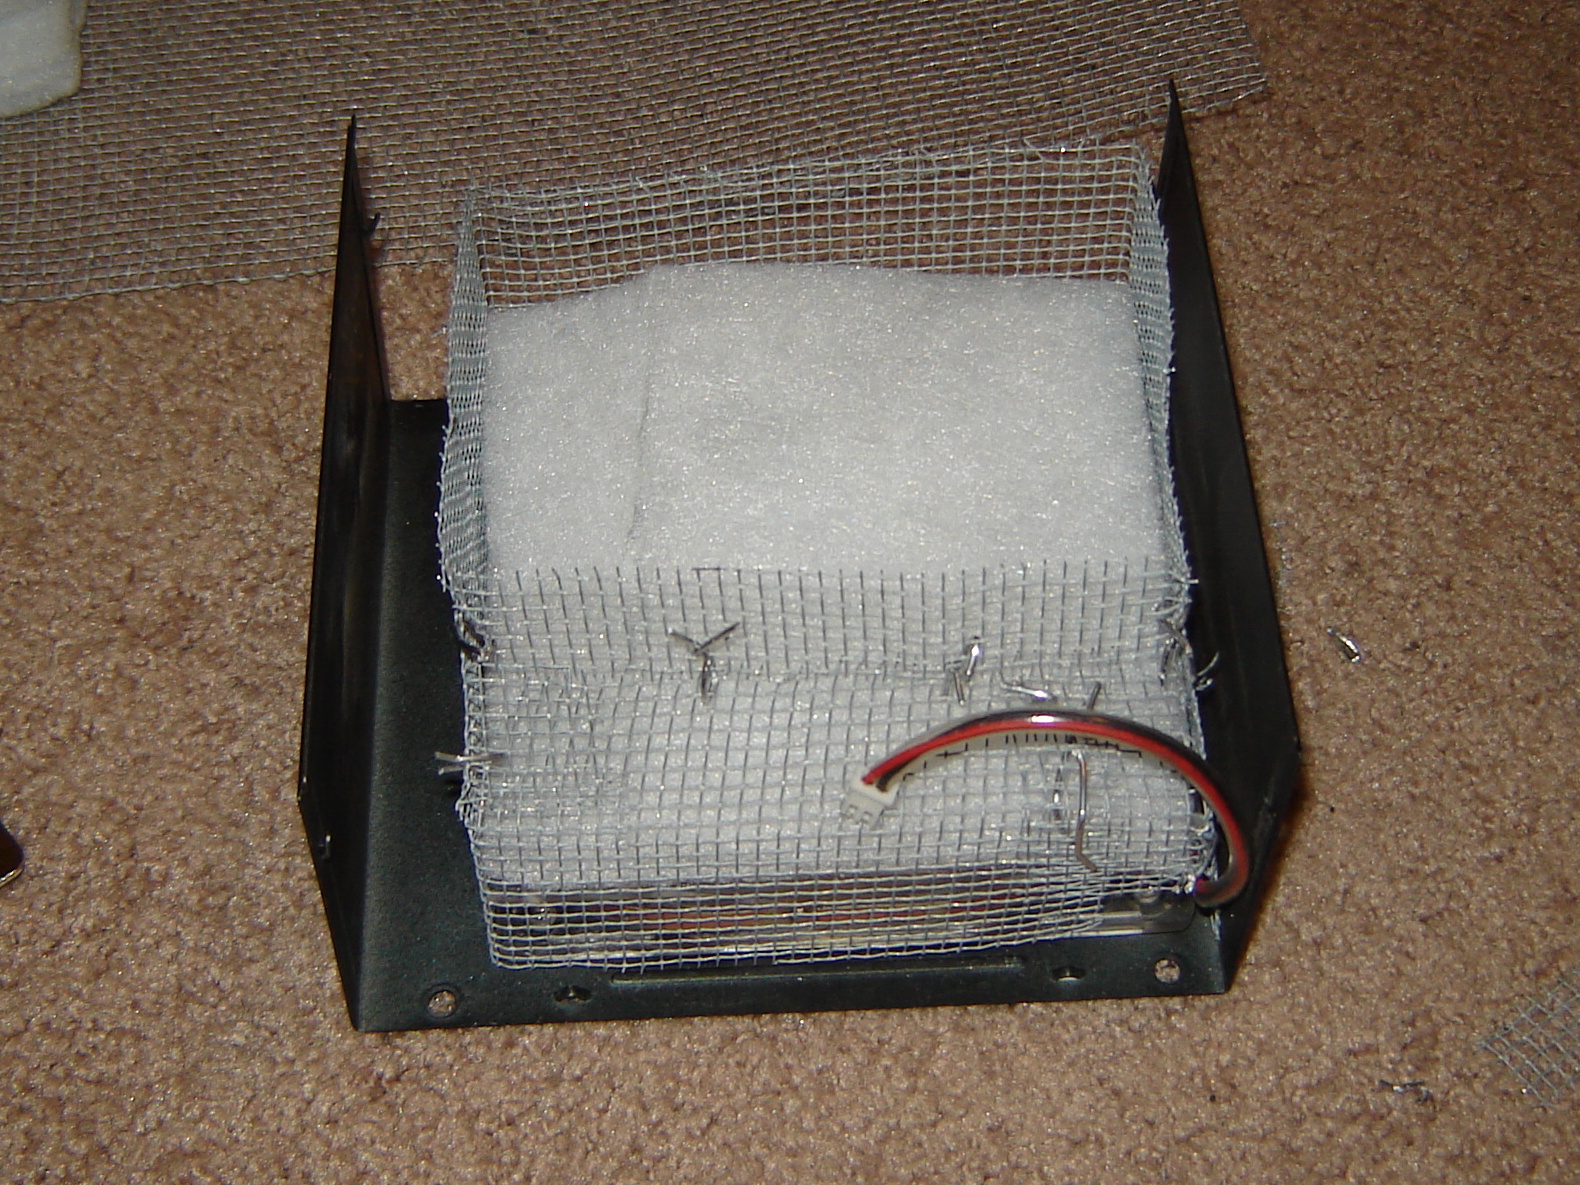
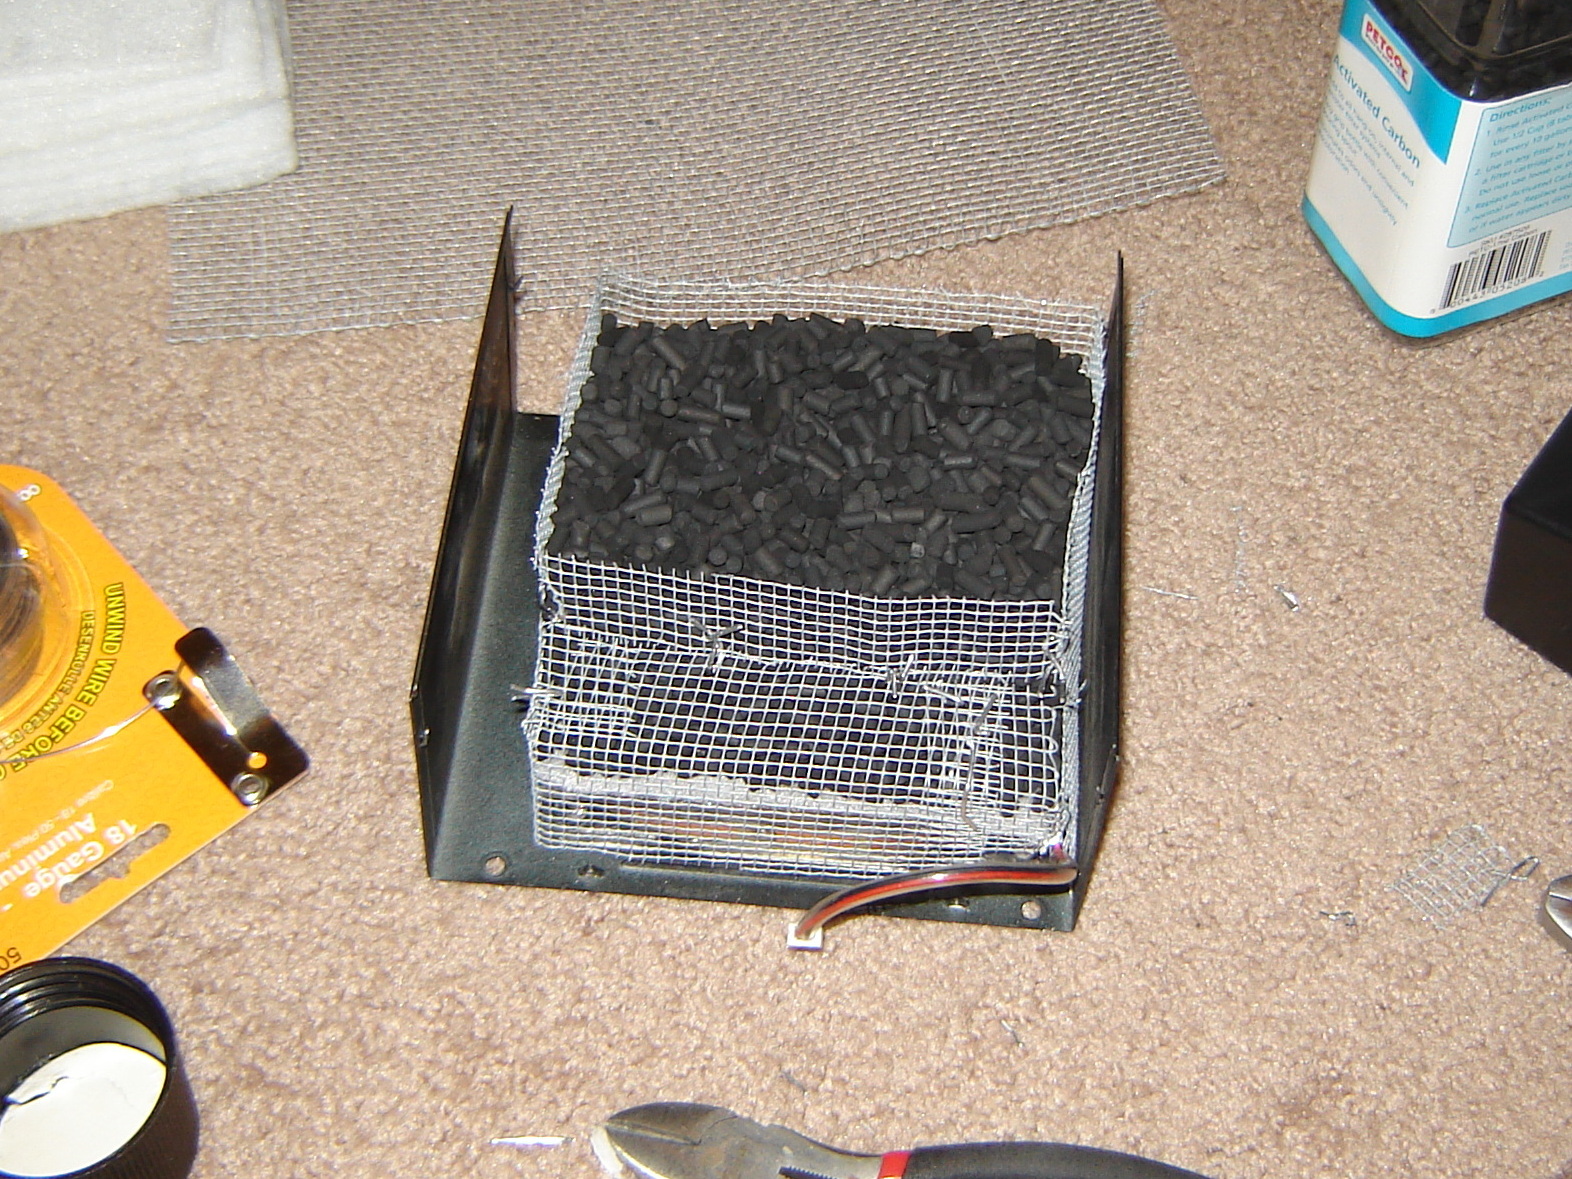
I cut sections of air vent filters to fit the space allowed by the mesh cage and completely separate the fan from the carbon.
You can pick up activated carbon at your local pet or aquarium supply store. I chose pellets that were much larger than the spacing of the door screen.
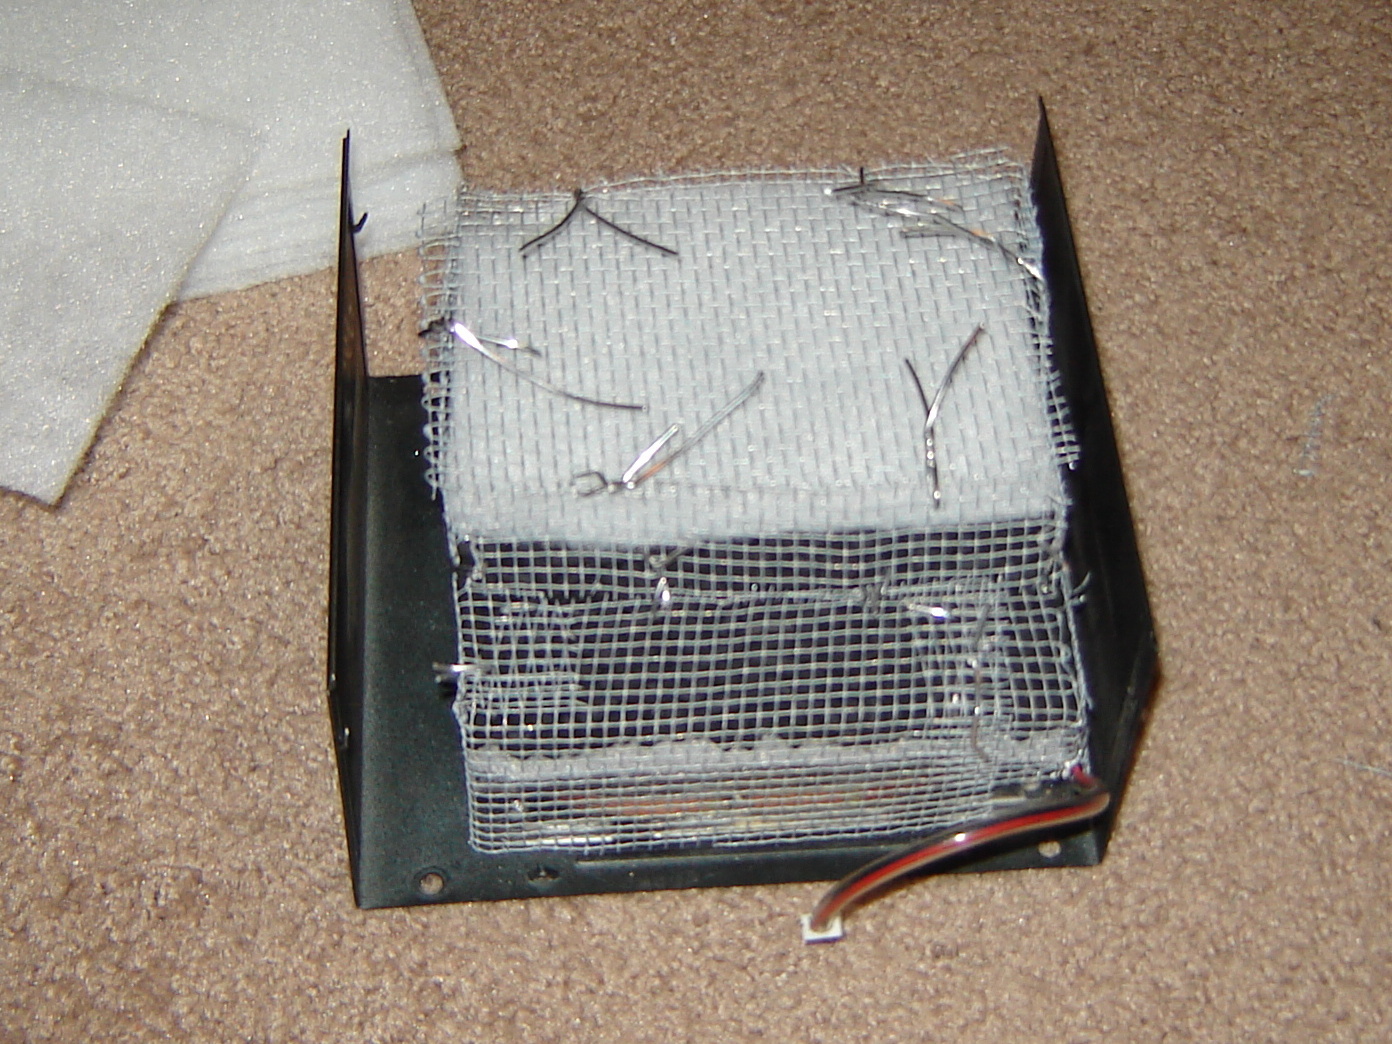
Add another layer of filter and close it up with more screen and wire.
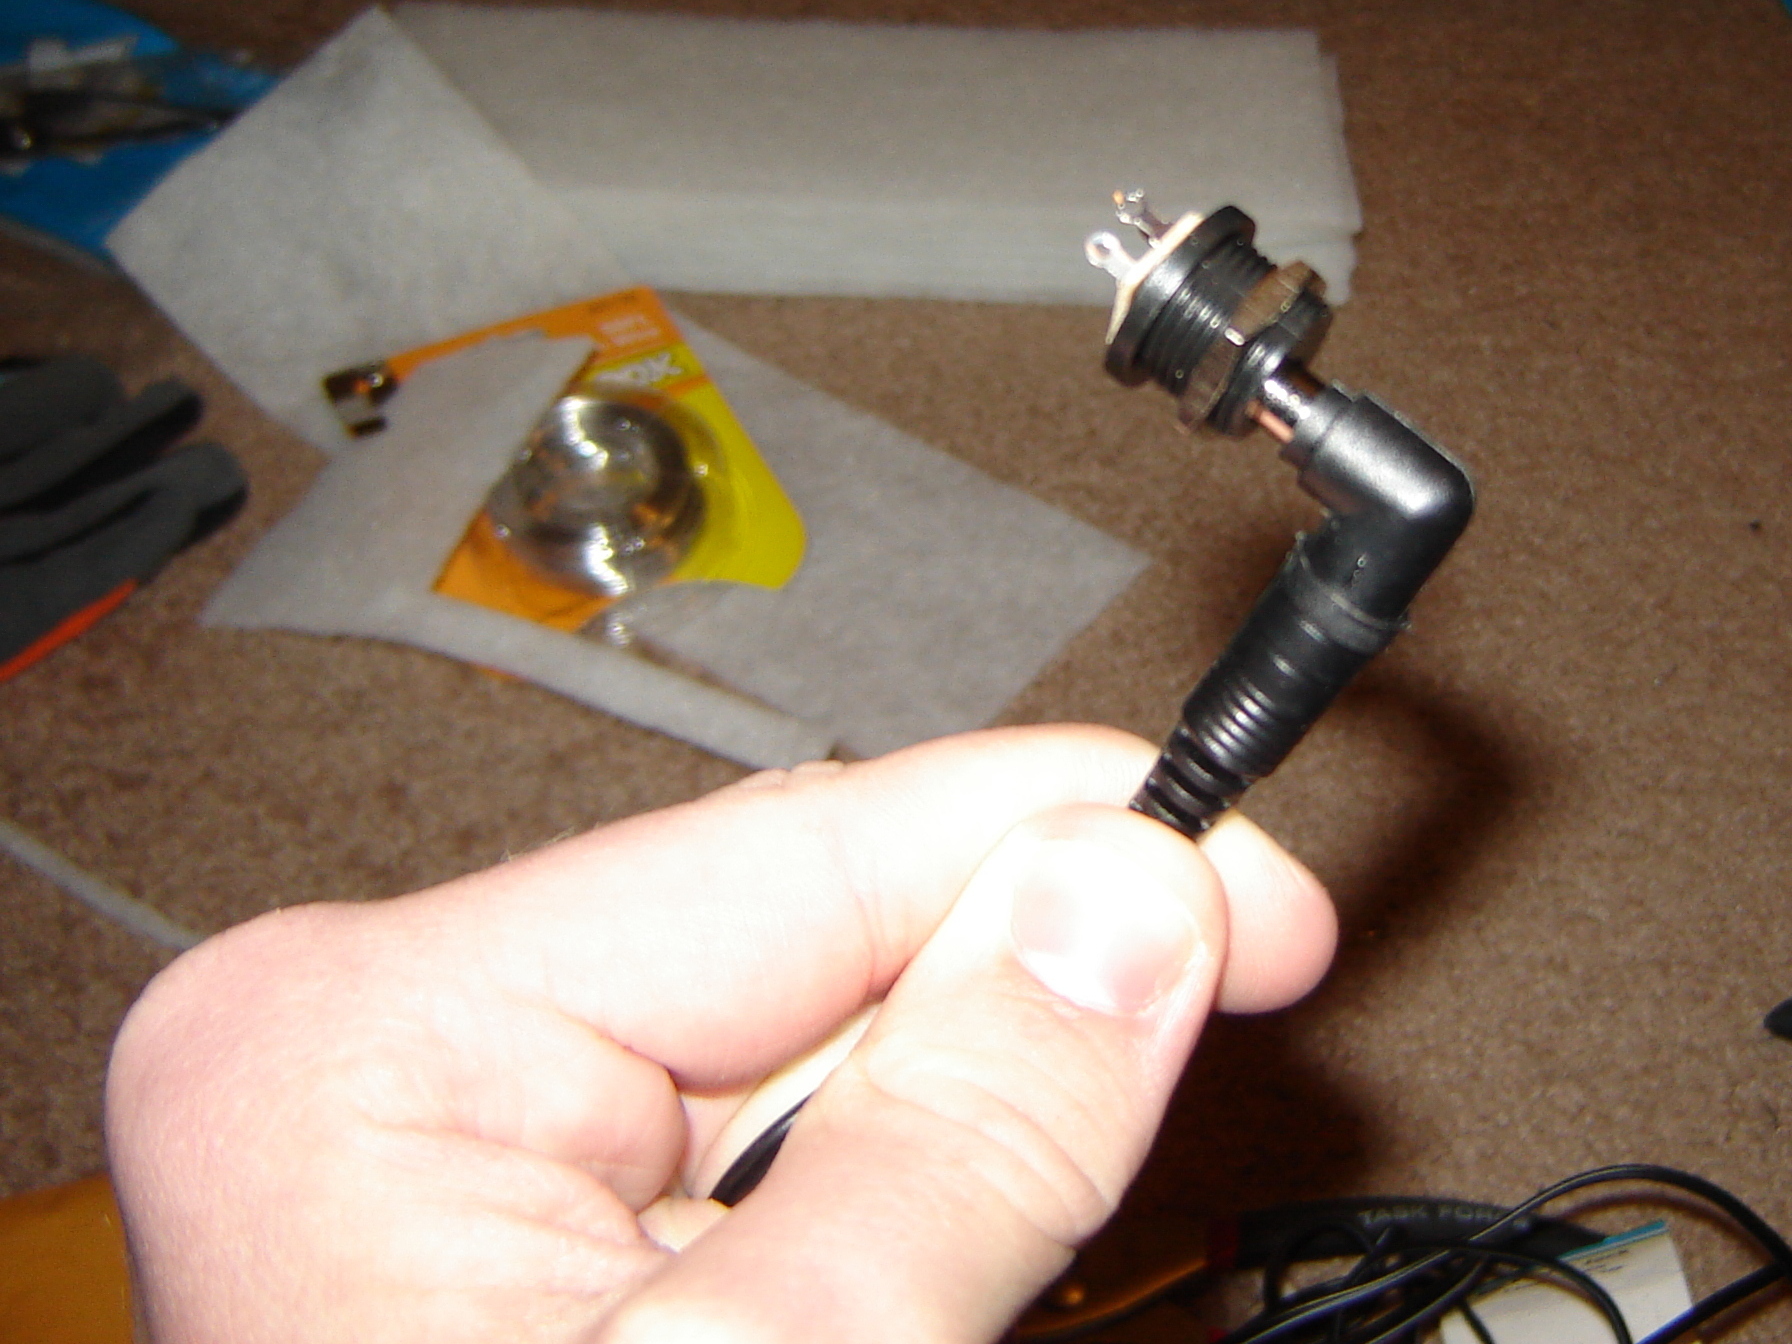
I used some small nuts & bolts to attach a strip wood panel for the DC power jack. [Luckily, the power supply I chose already had a nice switch on it, which I just de-soldered and wired to the power jack.]
Note the female connector for the fan’s power cord [circled]. This completes the tiny circuit.
All that’s left to do is to plug the fan part into the switch part and carefully reassemble the housing.
Mind the polarity of the DC current with respect to the direction of the fan’s rotation. You want the fan to be pulling air toward it, through the carbon filter.


