The burghers of Leiden, Holland, must have wondered what that oddball from the university was up to. Throughout the years 1614 and 1615, they saw Willebrord Snell, a young professor of mathematics, repeatedly climbing up and down the town’s church steeples and bell towers, lugging a huge quarter-circle of iron. Then they saw him carefully rolling out and then rolling up a long metal chain, all the while carefully writing down notes in a notebook. What could this fellow be up to?
It turns out he was busy making scientific history. Professor Snell was inventing the science of geodesy and laying the baselines for the future practice of surveying.
Specifically, Snell was attempting to figure out the exact size of the Earth. The first attempt was made nearly two millennia earlier by the Greek scientist Eratosthenes of Cyrene, who used the different lengths of the sun’s shadows at noon in two towns as the basis of his calculations. The circumference that Eratosthenes came up with was pretty accurate, but Snell thought he could do better with a new technique he’d invented, using triangulation for the purpose of measuring very long distances. Snell’s method was a game changer, and soon, people of science all over Europe saw what an incredibly valuable tool triangulation was.
Prior to Snell’s work, the only way to reckon the distance between two towns or landmarks was to measure it directly. A common method was to make a couple of extremely long rulers and leapfrog them along the flattest and most direct path possible between the two points. That got old fast, so somebody came up with the slightly better idea of counting the turns of a wagon wheel and then applying basic algebra to figure out how many feet or yards the wagon had traveled. Neither of these methods was very accurate, and if there was something in the way of the end points, say a mountain or a river, these methods didn’t work at all.
As a math professor, Snell knew well the trigonometric principles formulated by early Greek and Arab mathematicians. From their work, he understood that every triangle made of three sides and three angles, and further, that if you know the values of two angles and one side, or two sides and one angle, then you can accurately calculate all the other sides and angles.
Specifically, Snell used two trigonometry formulae — the law of sines and the law of cosines — to invent the practice of modern triangulation: the calculation of the distance between points by first making an accurately measured baseline and then measuring the angles made between the distant point and the two ends of the baseline. Snell’s great innovation was to accurately calculate new baselines from previous measurements instead of physically measuring them all, revolutionizing the speed and accuracy of surveying large areas of land. With this technique and his trusty quadrant (the iron gadget that mystified the burghers) he charted all of Holland. Soon after, surveyors and mapmakers were redrawing the world more precisely than ever before.
Understanding Triangulation

Triangulation isn’t a difficult technique to grasp. In this edition of Remaking History, you’ll make a simple piece of measuring equipment that allows anyone to calculate distances for making good maps.
Suppose you need to determine the distance from point A (the Palace of the Fine Arts) to point C (the Golden Gate Bridge) as shown in the diagram. Because the bay is in your way, you can’t measure the distance directly, although you can see point C from both point A and point B (a nearby tree).
First, make an accurately measured baseline between points A and B. The longer your baseline is, the more accurate your subsequent distance calculations will be. Use a reel-type tape measure or other direct measuring device for this.
Then, go to point A and measure the angle between point B and point C. Go to point B and measure the angle between points A and C.
You now know two angles. Use the fact that the three angles in a triangle must add up to 180° to calculate the third angle.
Now you’ve got all the information you need to calculate the length of segment AC. You’ll simply plug the quantities into your calculator and use the Law of Sines:
You know the length of segment AB, and the values for angle ACB and angle ABC. Just look up the sine values, set up the rate pairs, and solve for AC.
Build Your DIY Surveyor’s Semicircle
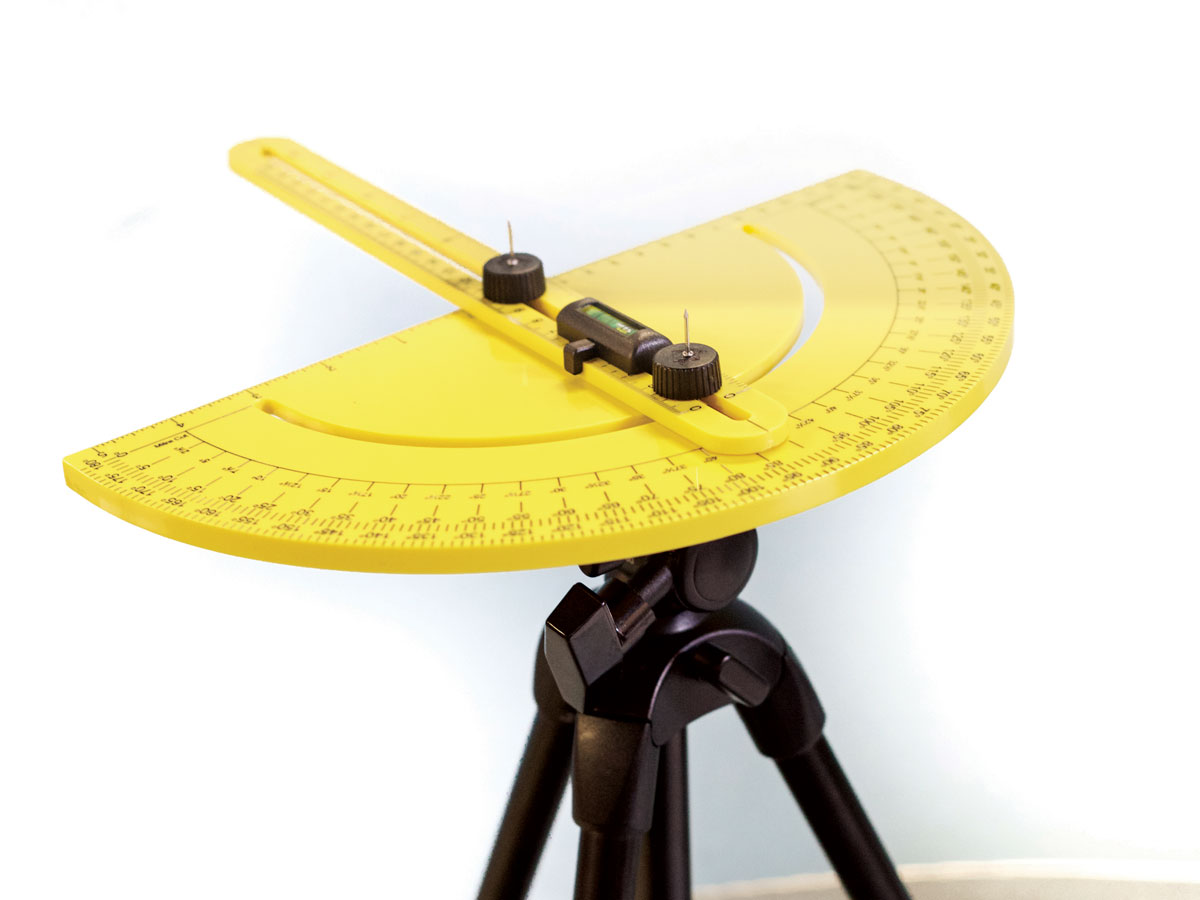
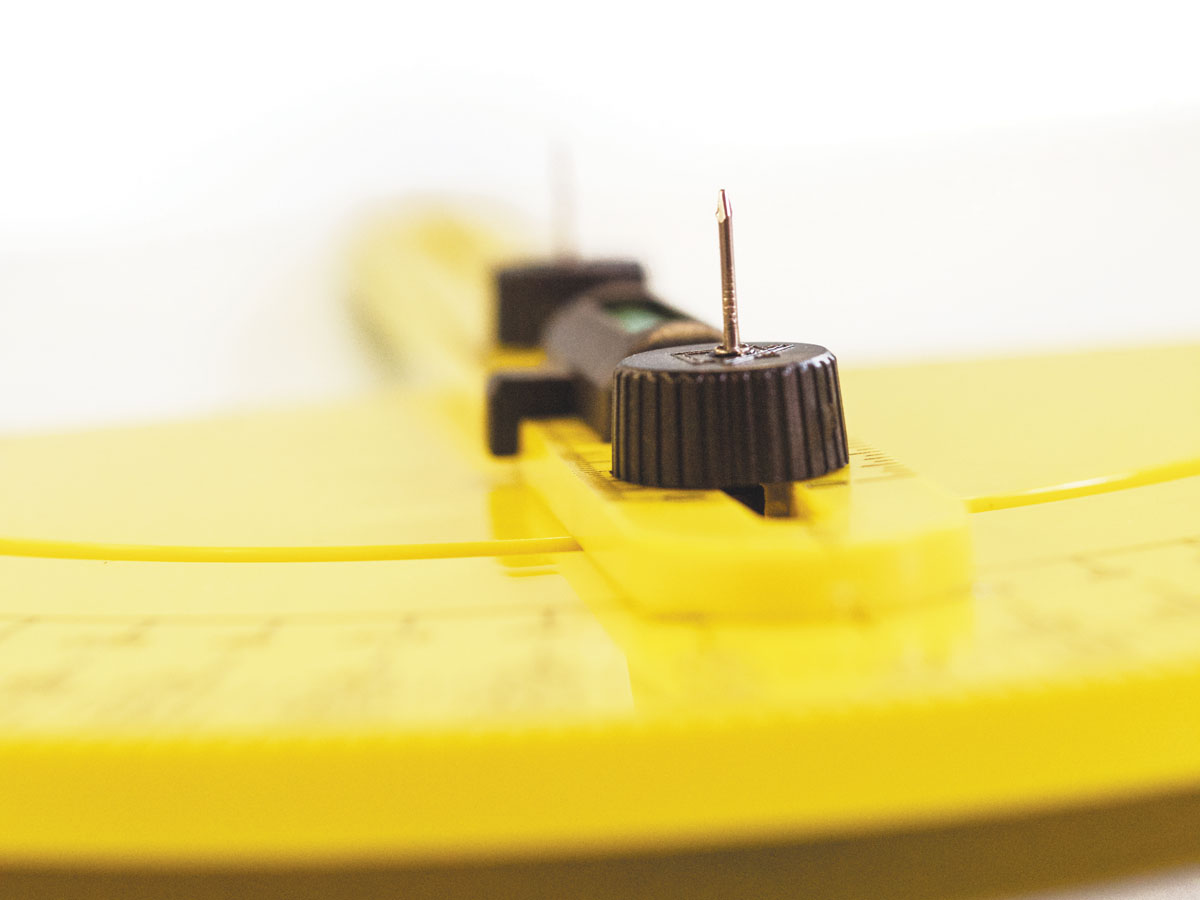
The key to accurate triangulation is measuring angles precisely. To do that, you’ll make a Snell-style angle-measuring instrument: a surveyor’s semicircle, also known as a graphometer or semicircumferentor, the ancestor of today’s theodolite.


