By Rebekah Fox

We all know the sad but true story of zippers. Before the pocket tears or the elbows need patching, the zipper fails and the garment is soon sent to the darkest corner of the closet with a tear and a prayer that someday, someone will find a way to replace a zipper. Zipper repair can seem daunting, but this handy guide will show you how any home sewer probably already has all the necessary tools right at hand. I will show you step-by-step how to assess the zipper malfunction, how to buy a new zipper, and of course, how to remove the old and sew in the new!

To learn more about sewing, head to my blog: artandneedlework.com

What will the next generation of Make: look like? We’re inviting you to shape the future by investing in Make:. By becoming an investor, you help decide what’s next. The future of Make: is in your hands. Learn More.

Project Steps

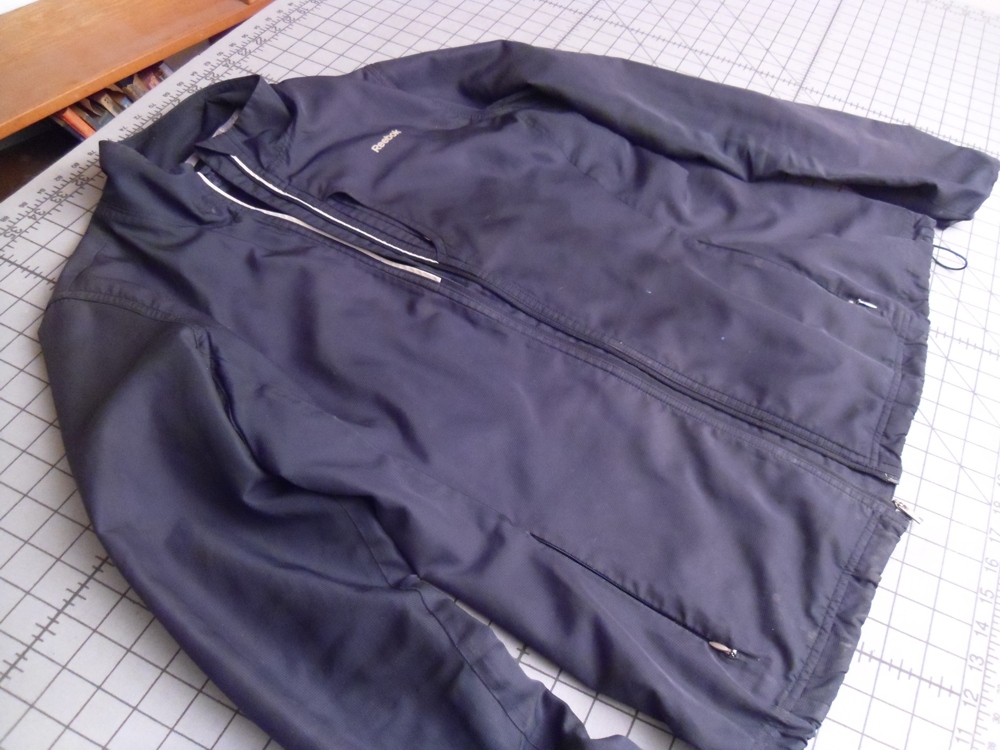
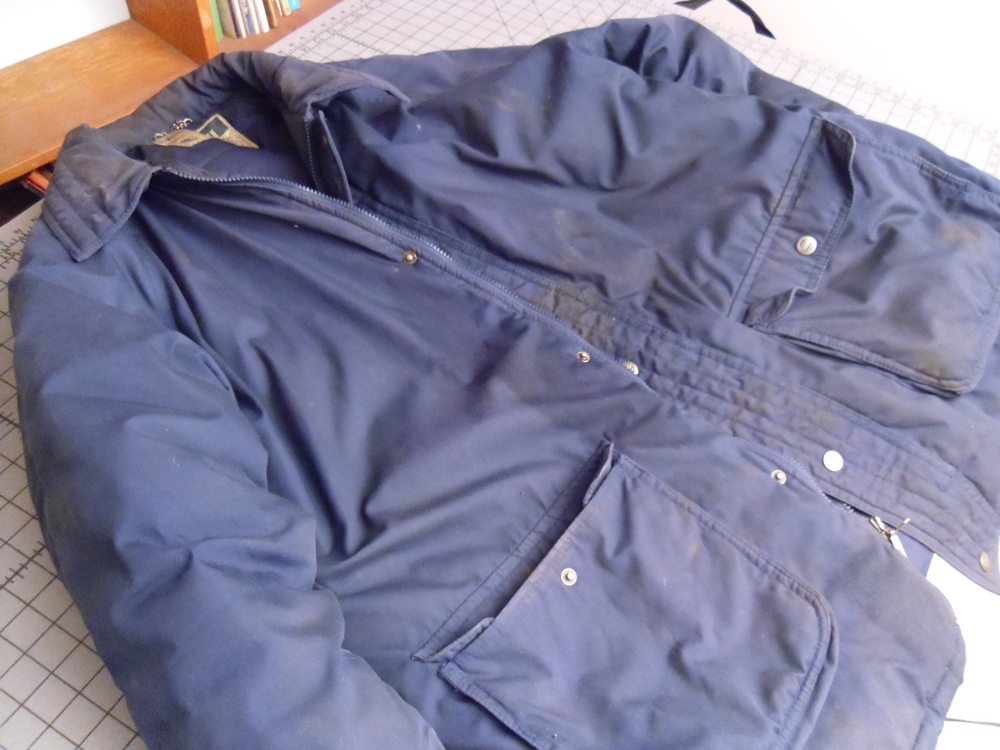
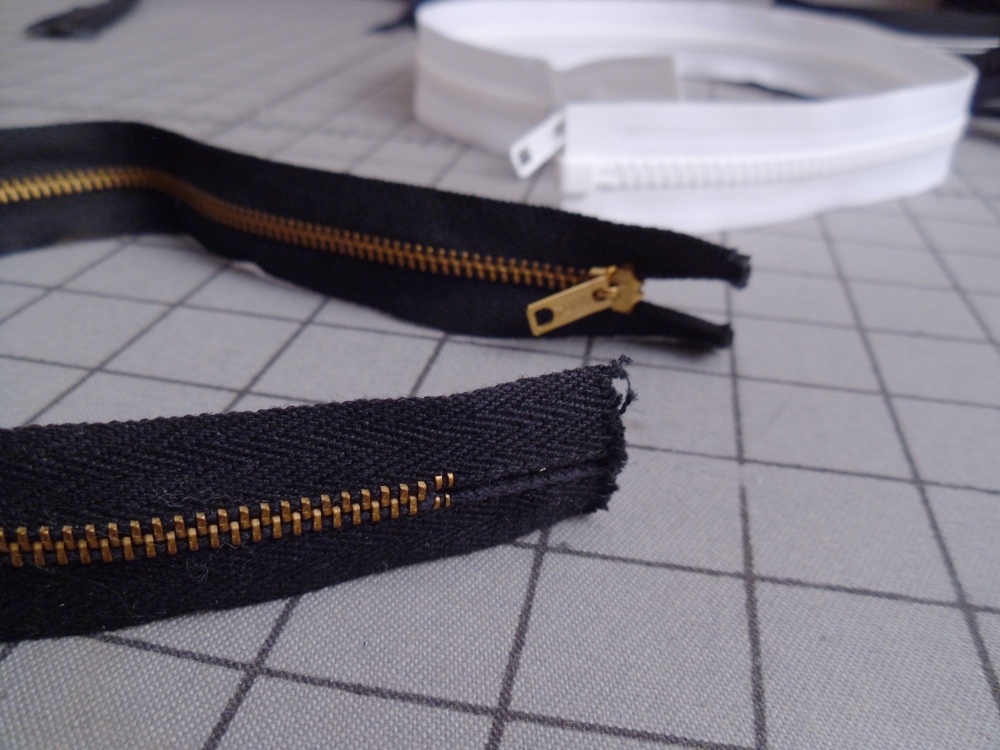
I will be replacing the zippers on this jacket and coat today. Both have separating zippers.

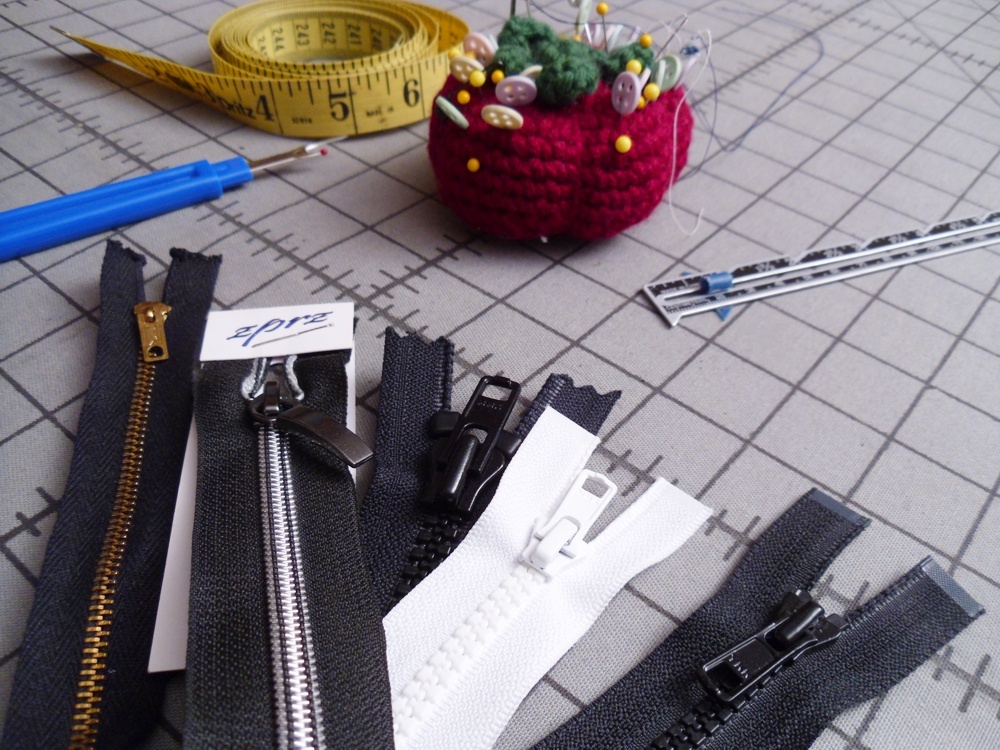
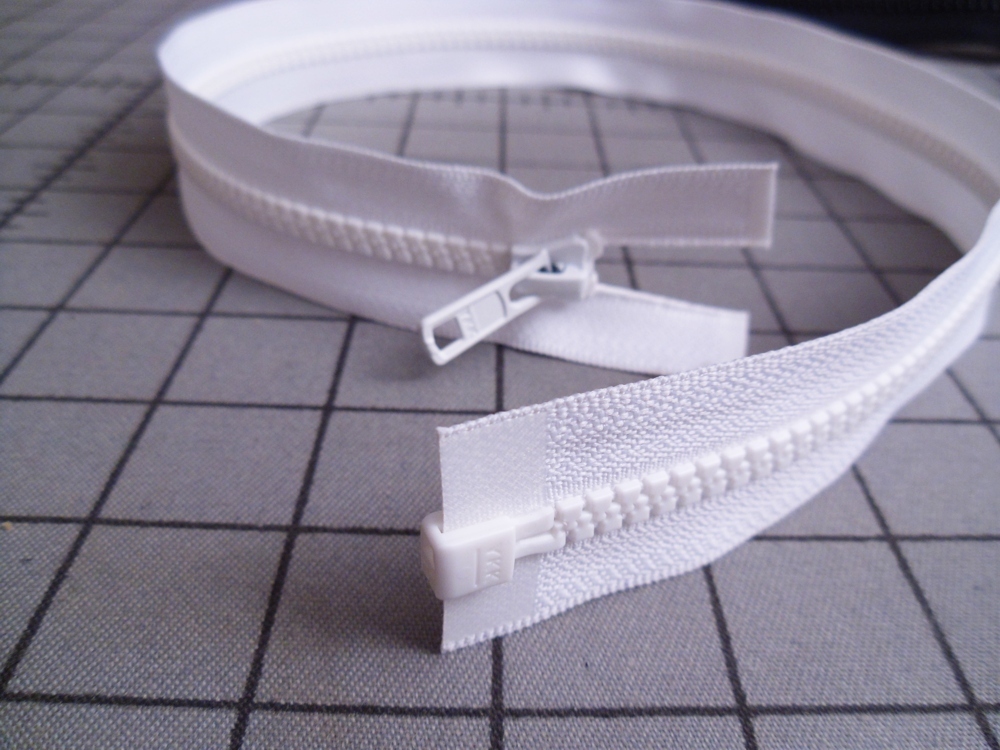
What is a separating zipper? The white zipper pictured here is a separating zipper and unlike its sister zipper, the black, closed-end zipper, it can be opened at the bottom.

The reason for a dysfunctional zipper varies. So before you start tearing out the old zipper, let’s assess the problem. Look for these things:

1. Zipper teeth are missing or jagged 2. Zipper box is broken or missing 3. Zipper slider is loose and seems to be coming off teeth 4. Slider just can’t seem to align teeth correctly 5. Slider doesn’t smoothly glide up and down teeth

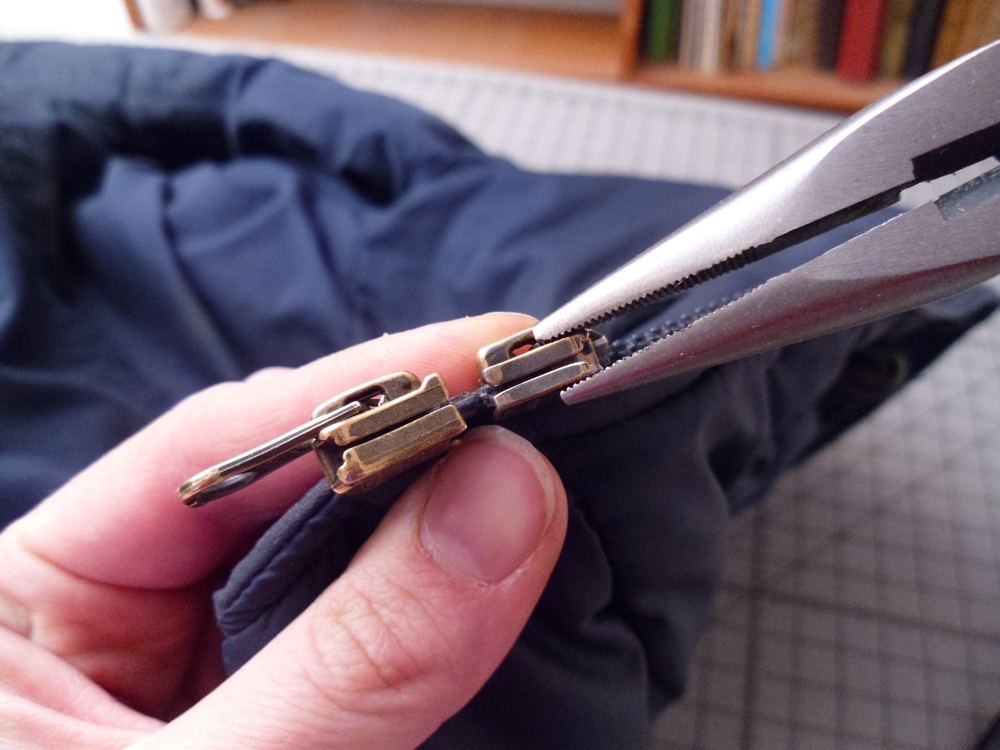
Problems #1 and #2 mean, without a shadow of a doubt, a zipper replacement. However, with #3, #4, and #5, there is hope in salvaging the old zipper. If your slider seems loose or is not aligning the teeth correctly, it could just mean that the slider is bent.

To fix the slider, use long nosed pliers and pinch the slider slightly to make the gap smaller. Don’t clamp down too hard! Remember, it’s easier to make the gap smaller than larger. So pinch and test, pinch and test.

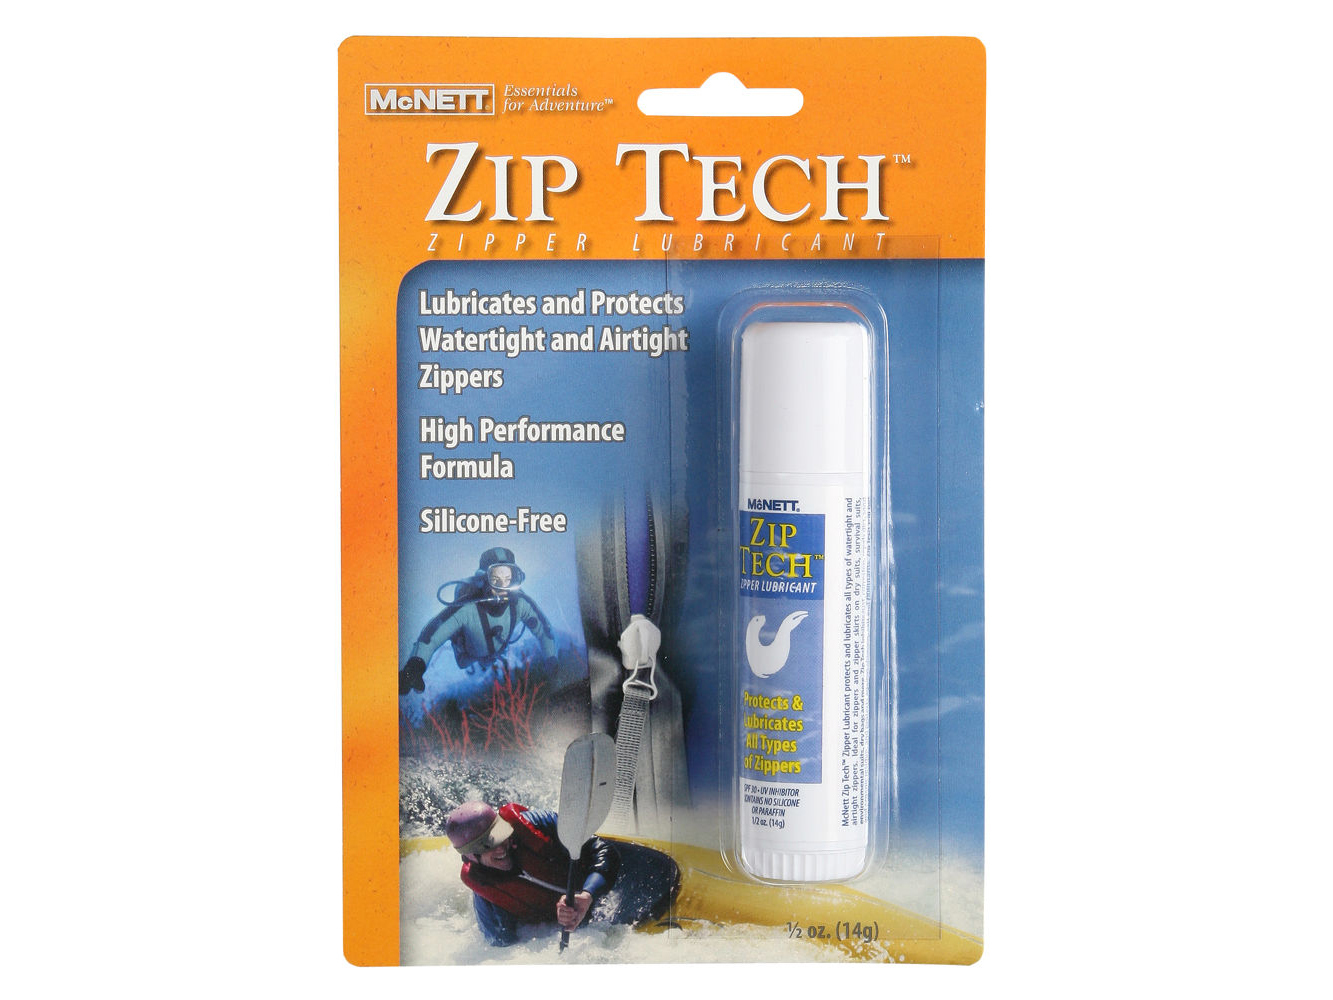
Now about #5—slider doesn’t slide up and down smoothly. There could be some miniscule flaw in the zipper but chances are the zipper, especially metal or brass ones, just needs a lube job. Have you heard about zipper soap? There are a number of good brands on the market. Like McNett Zip Tech. Well worth a try!

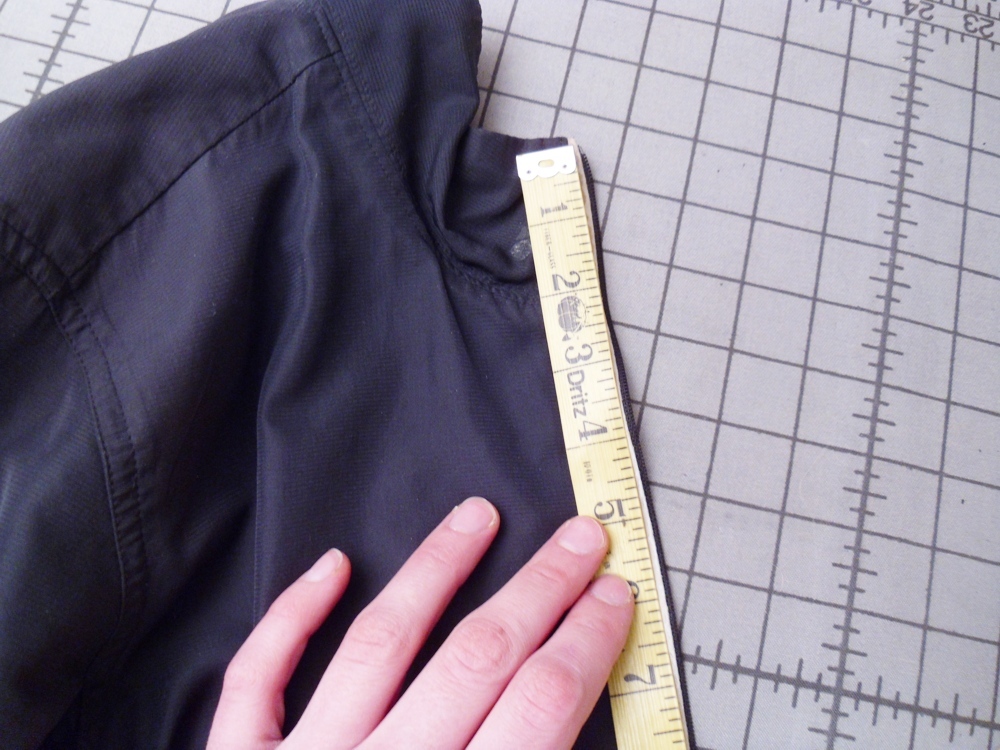
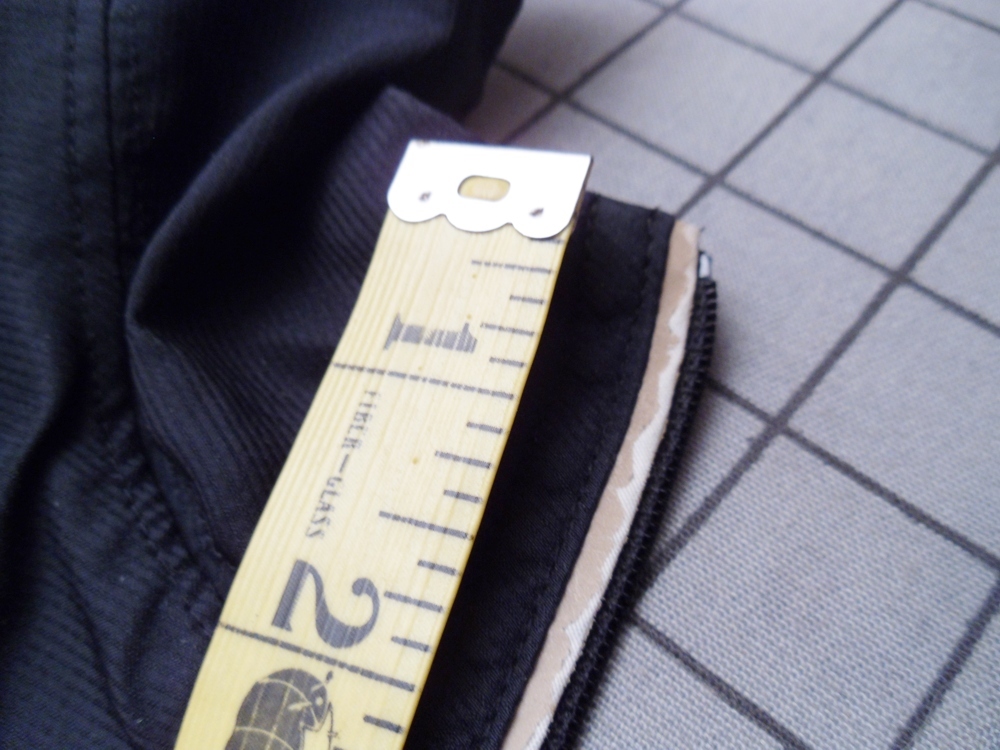
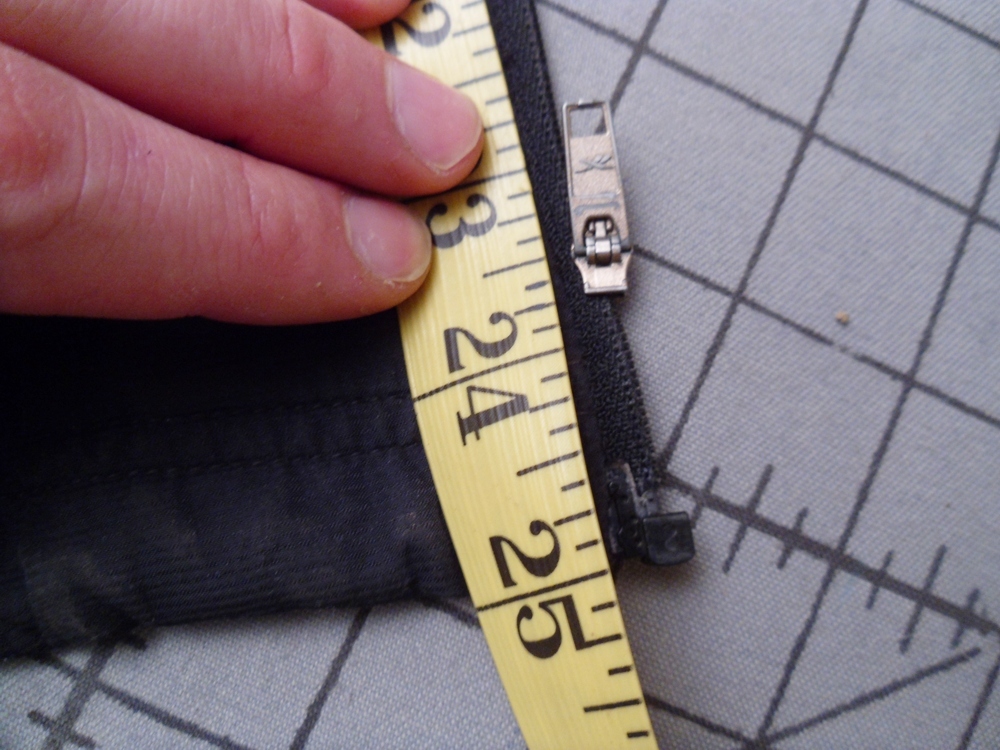
If there is no way to salvage the zipper, it’s time to find a new one. But what size? To find the right size you need to measure the existing; from top to bottom.

On my jacket the zipper is 25″. So I will buy a 25″ long separating zipper. I buy my zippers from Hobby Lobby, Joann, Fabric.com, and my favorite, Zipperstop.com.

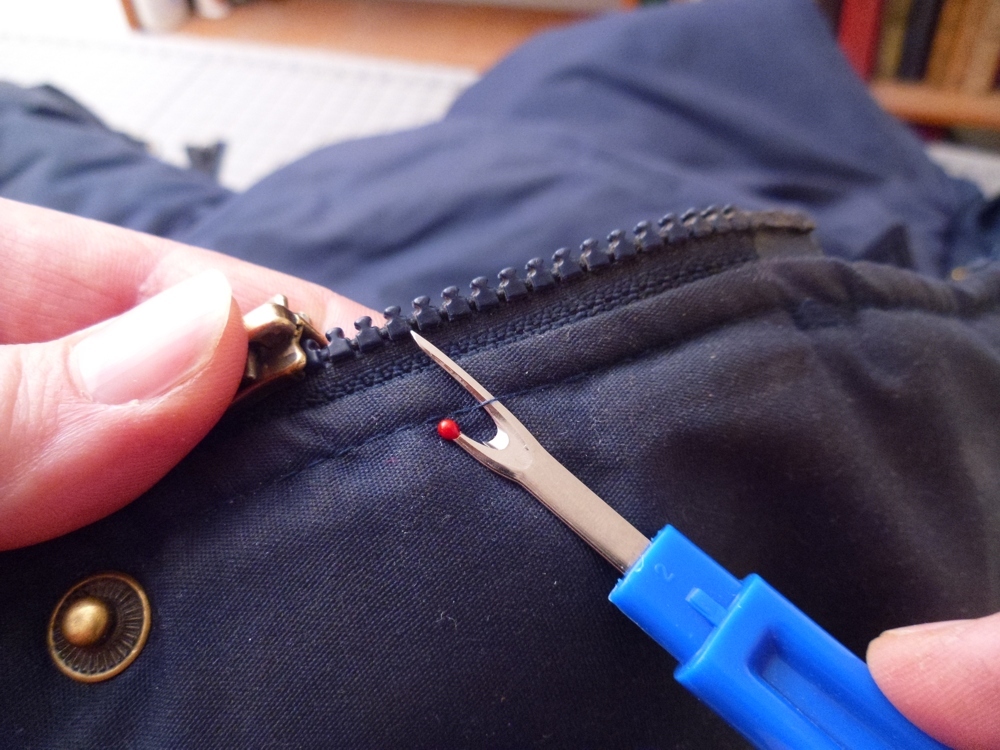
Time to remove the zipper! Hey, before you reach for the seam ripper, grab your camera. Take photos of the garment before so you know how you should put it all back together. Each coat/jacket is constructed differently so these pics will be invaluable later on.

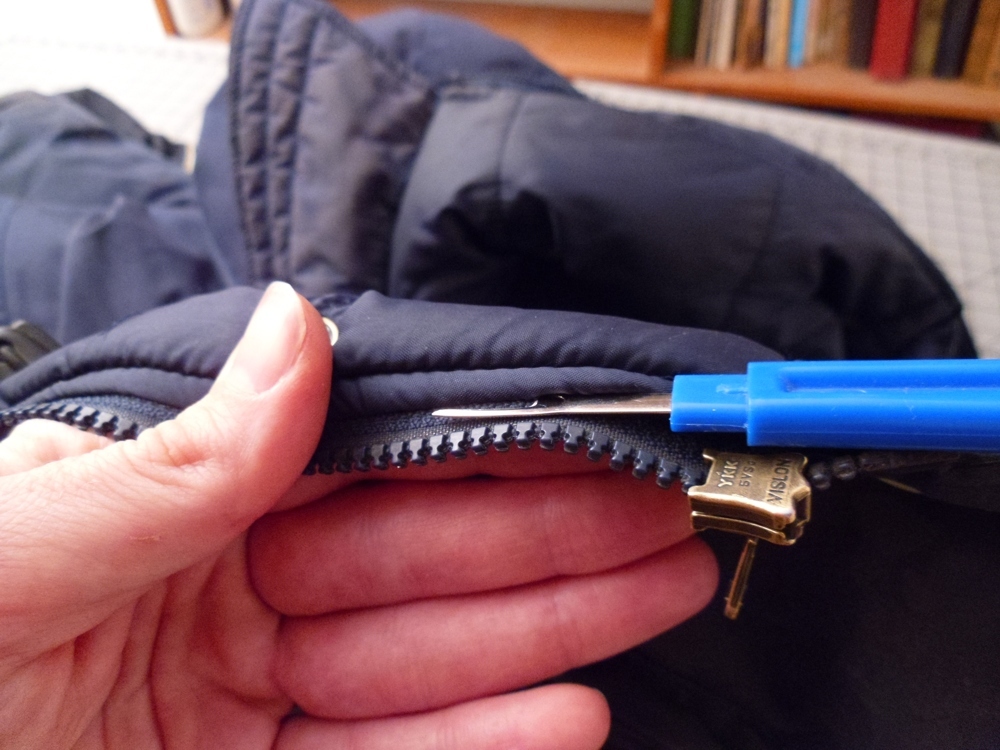
Cut through a few stitches to make an opening and then run the seam ripper along the inside of the seam. Take your time at the beginning and end of the zipper because this is where a lot of tacking was done by the manufacturer. I broke many seam rippers by rushing the process.

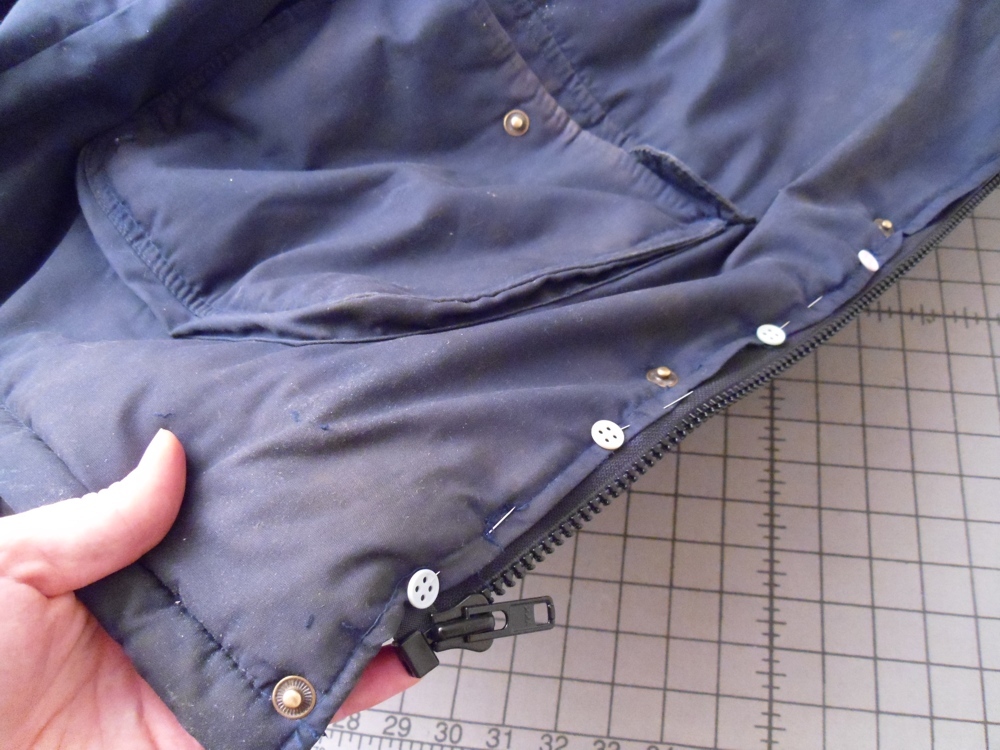
Take your new zipper and unzip it so you are working with one tape. For this coat I am just going to insert the zipper and pin it between the folded edges of the coat’s Front and Back. I would traditionally seam the zipper to the Front edge by opening the fold and having raw edges even, but this coat’s batting is escaping with a vengeance.

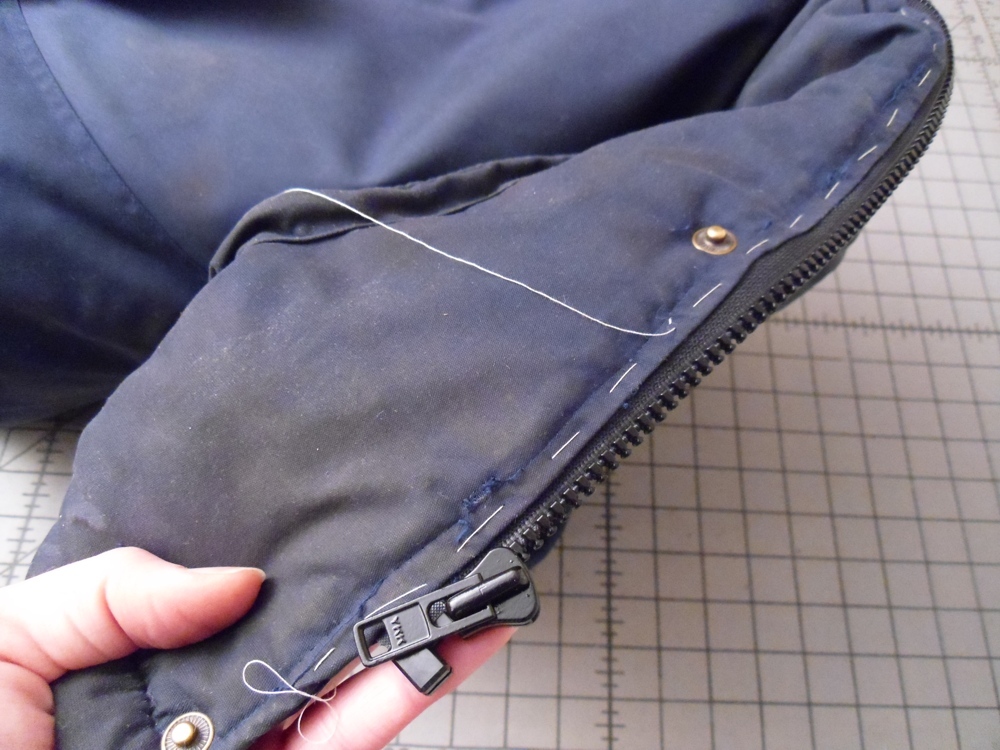
After pinning I hand baste the zipper using long running stitches. You absolutely need to baste! There are so many layers to deal with and don’t forget those pesky snaps, velcro, or windbreakers that get in the way. It is the surest way to make your zipper straight and to avoid bubbling.

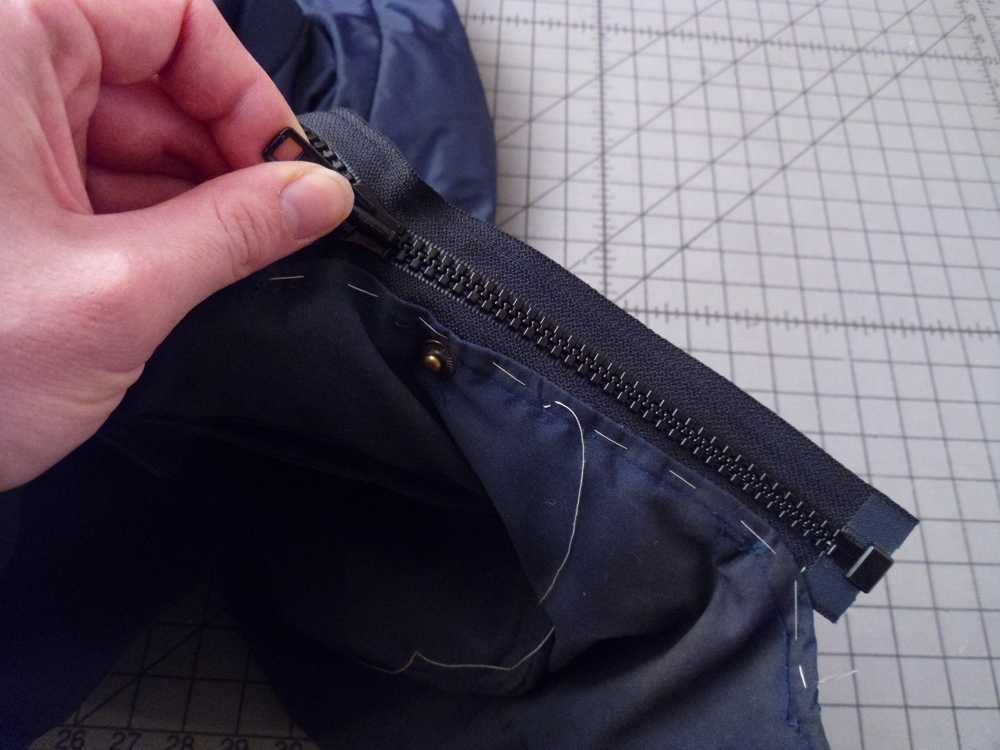
There is a little trick to basting in the second zipper tape to the other side. The trick is to zip up the zipper and start pinning the second tape in place at the very top.

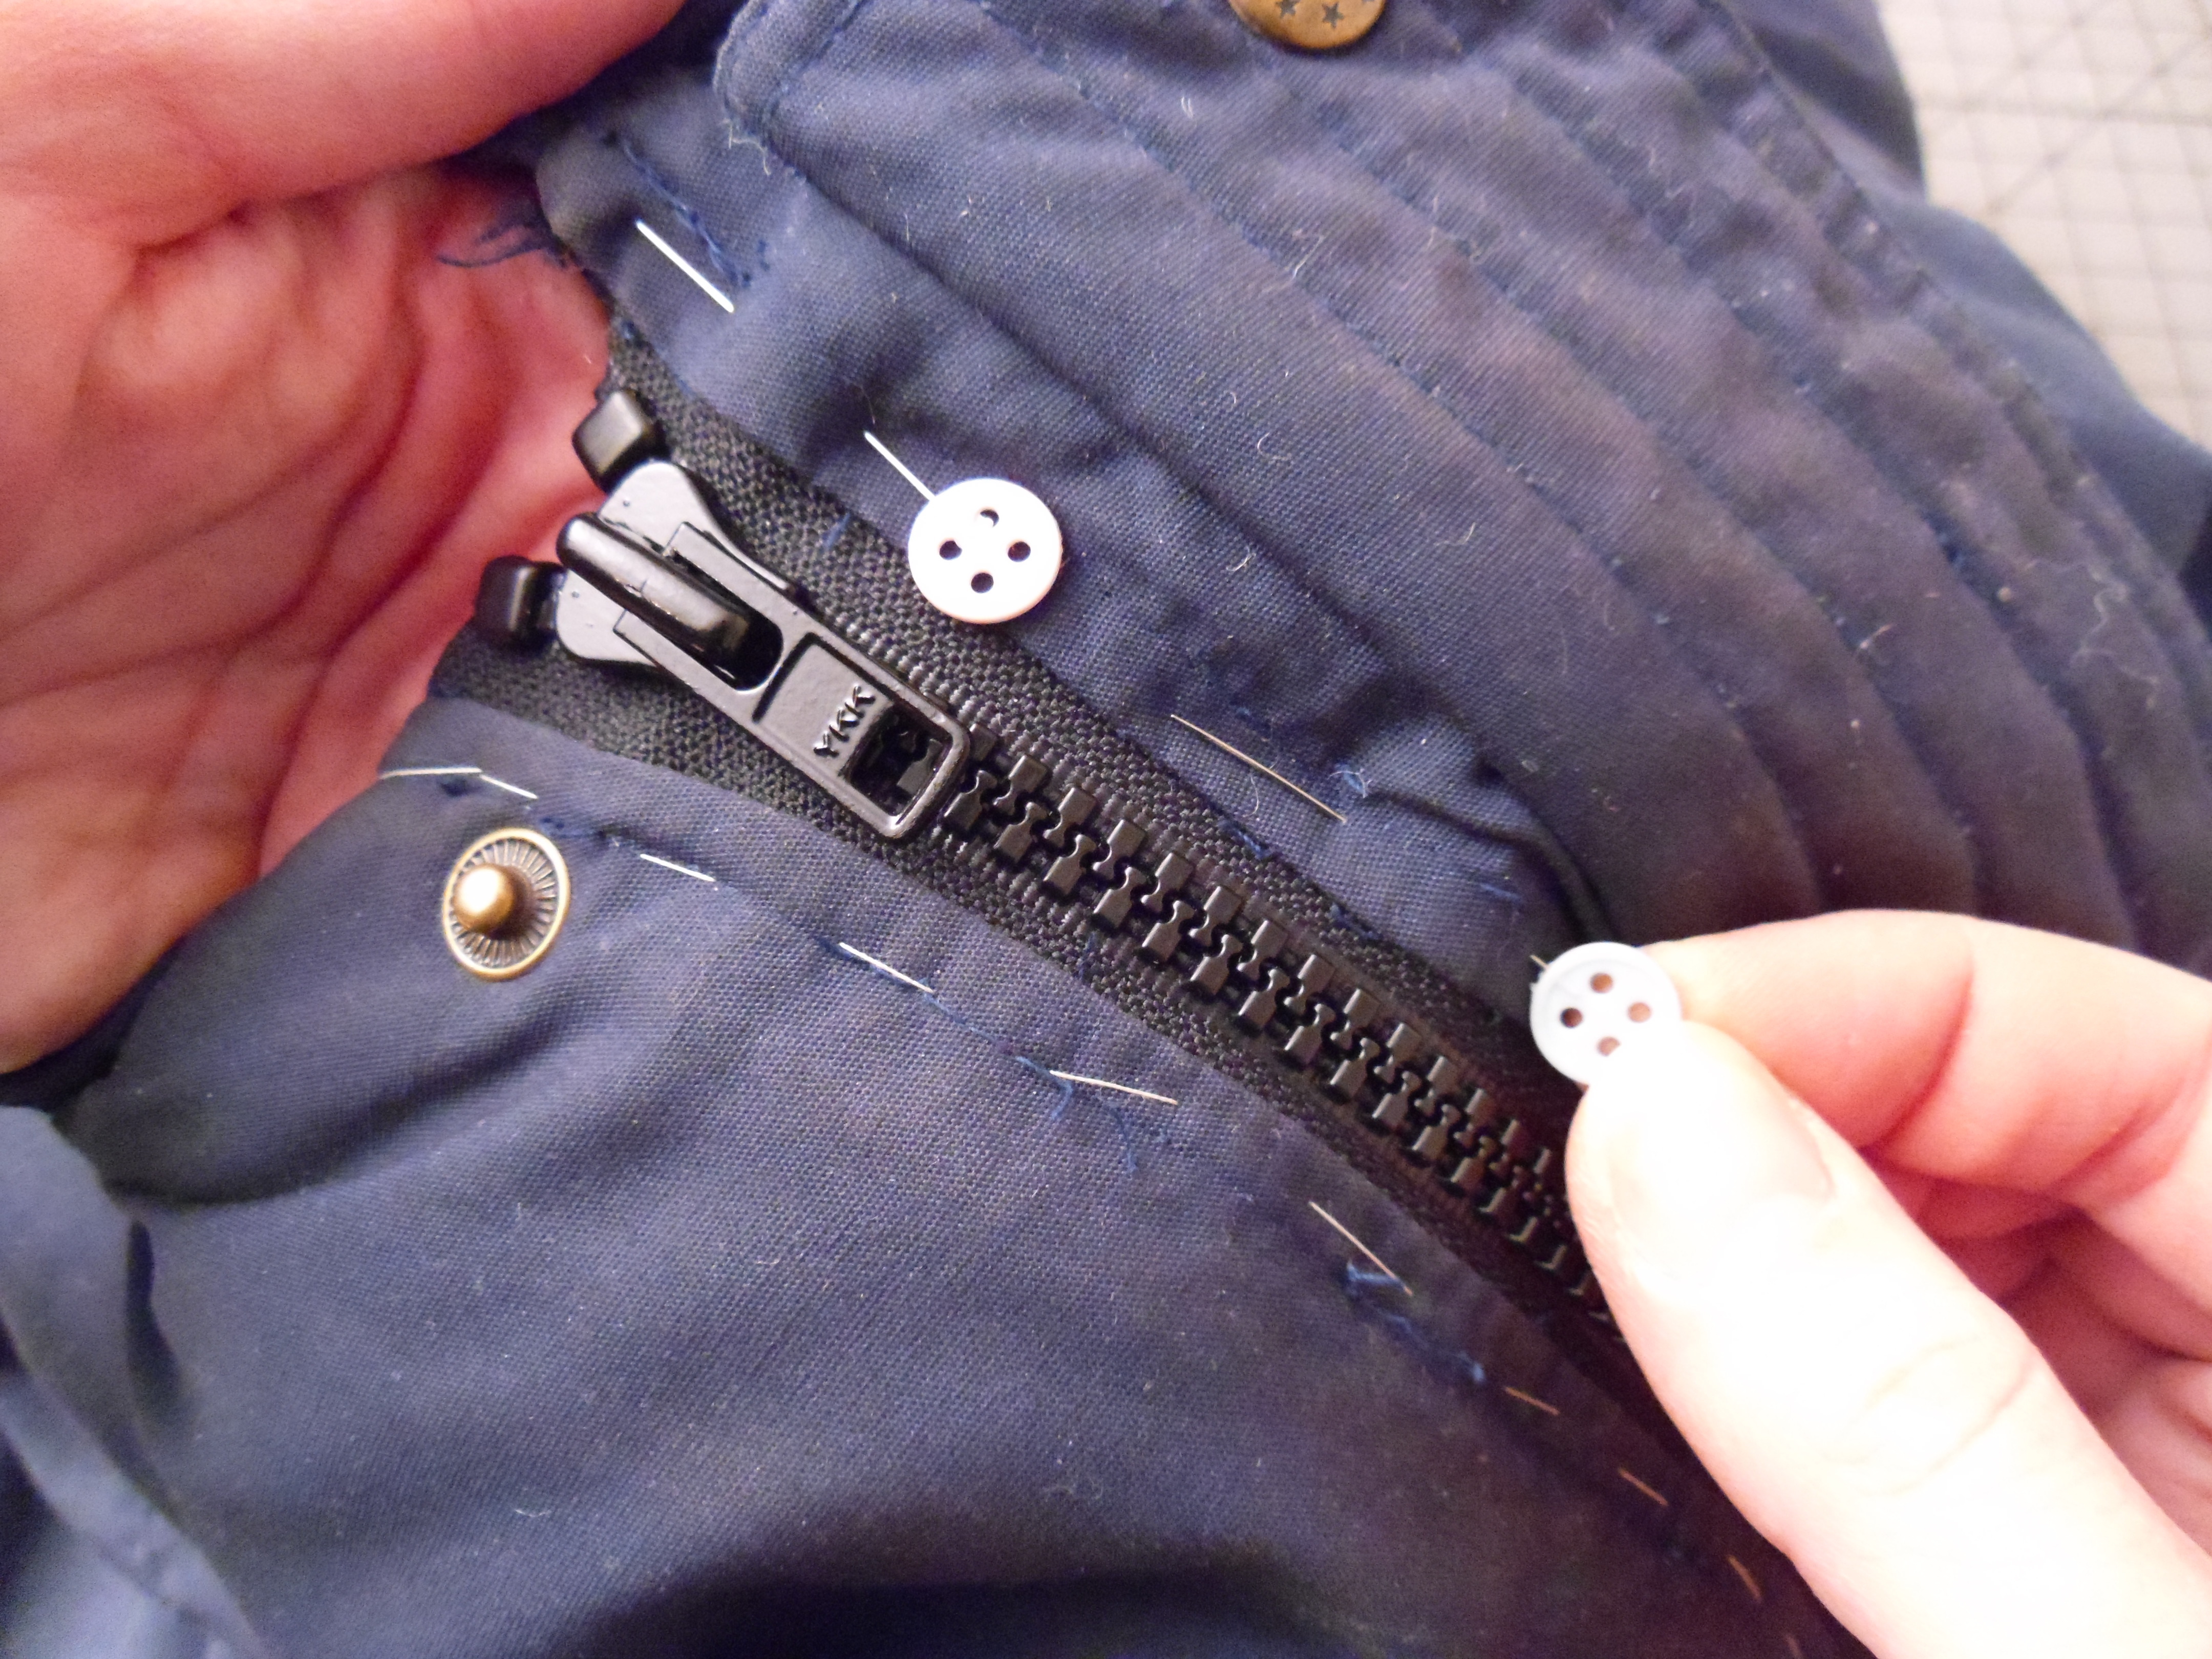
Once a few pins are in place you can unzip the zipper and continue pinning the entire length. Pinning at the top when the zipper is closed will ensure proper zipper placement. Once you are done pinning, zip up the zipper again and see if everything is aligned (like necklines and hems), and check to see if everything is lying flat.

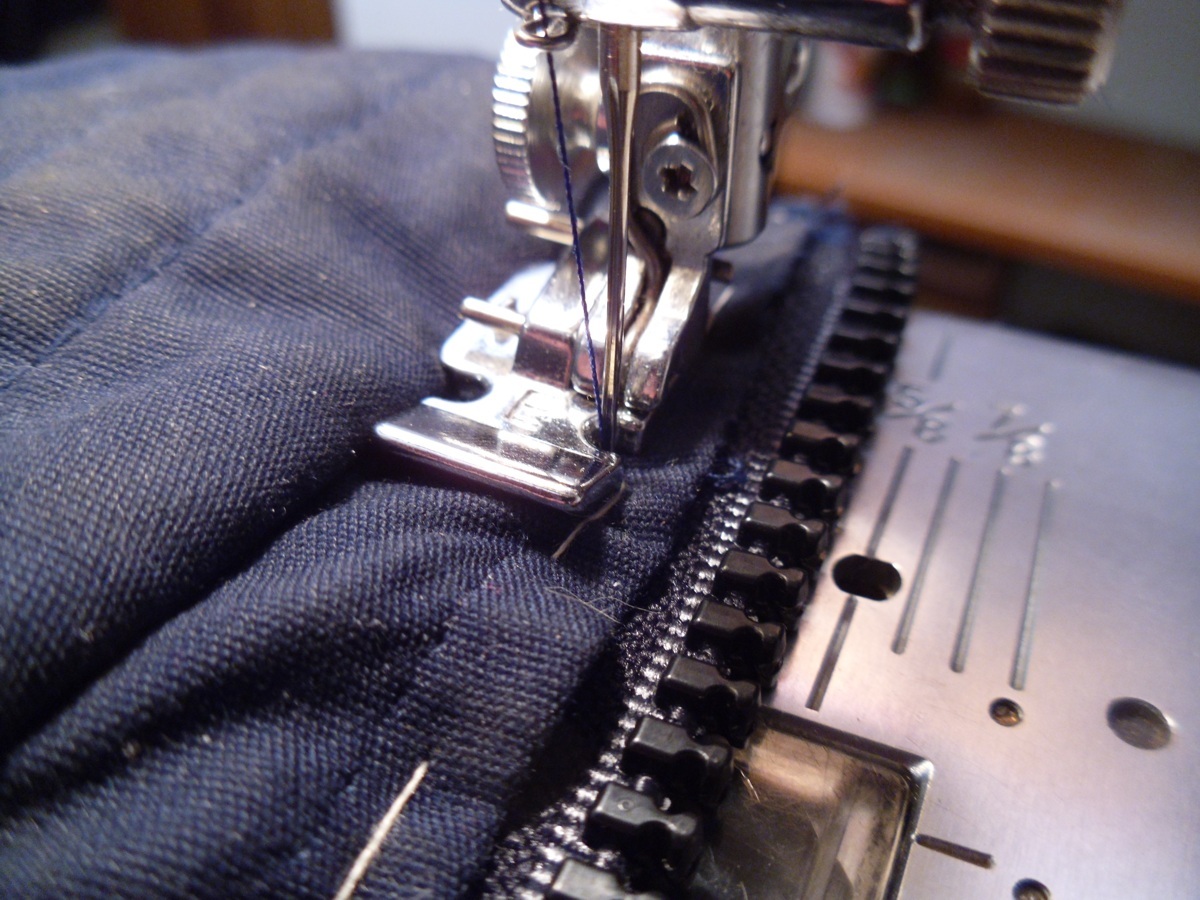
With basting done it has come time for the actual sewing! The hand basting did most of the work here. All I have to do for this coat is machine topstitch along the original stitching line as seen in the photo.

I like to stitch with a size 100 needle, zipper presser foot, and all-purpose thread, preferably 100% polyester, (just because the coat’s outer shell is of the same fiber content). Finally, I lengthen my stitch length to 3.0. Depending upon the coat’s construction, I will topstitch again right on the fold edge near the zipper teeth.

So that’s how I replace a broken zipper on a coat or jacket. It isn’t that hard to do, save for time-consuming hand basting and working with such bulky materials. With a little bit of gumption, I’m sure any home sewer can tackle the job. Just go to your nearest closet and pull out the dusty winter wear and get cracking!