Projects from Make: Magazine
Replacing 9g Servo Gears
Replacing the gears on a 9g Servo, specifically the ArcBotics 9g Black Gear Servo.
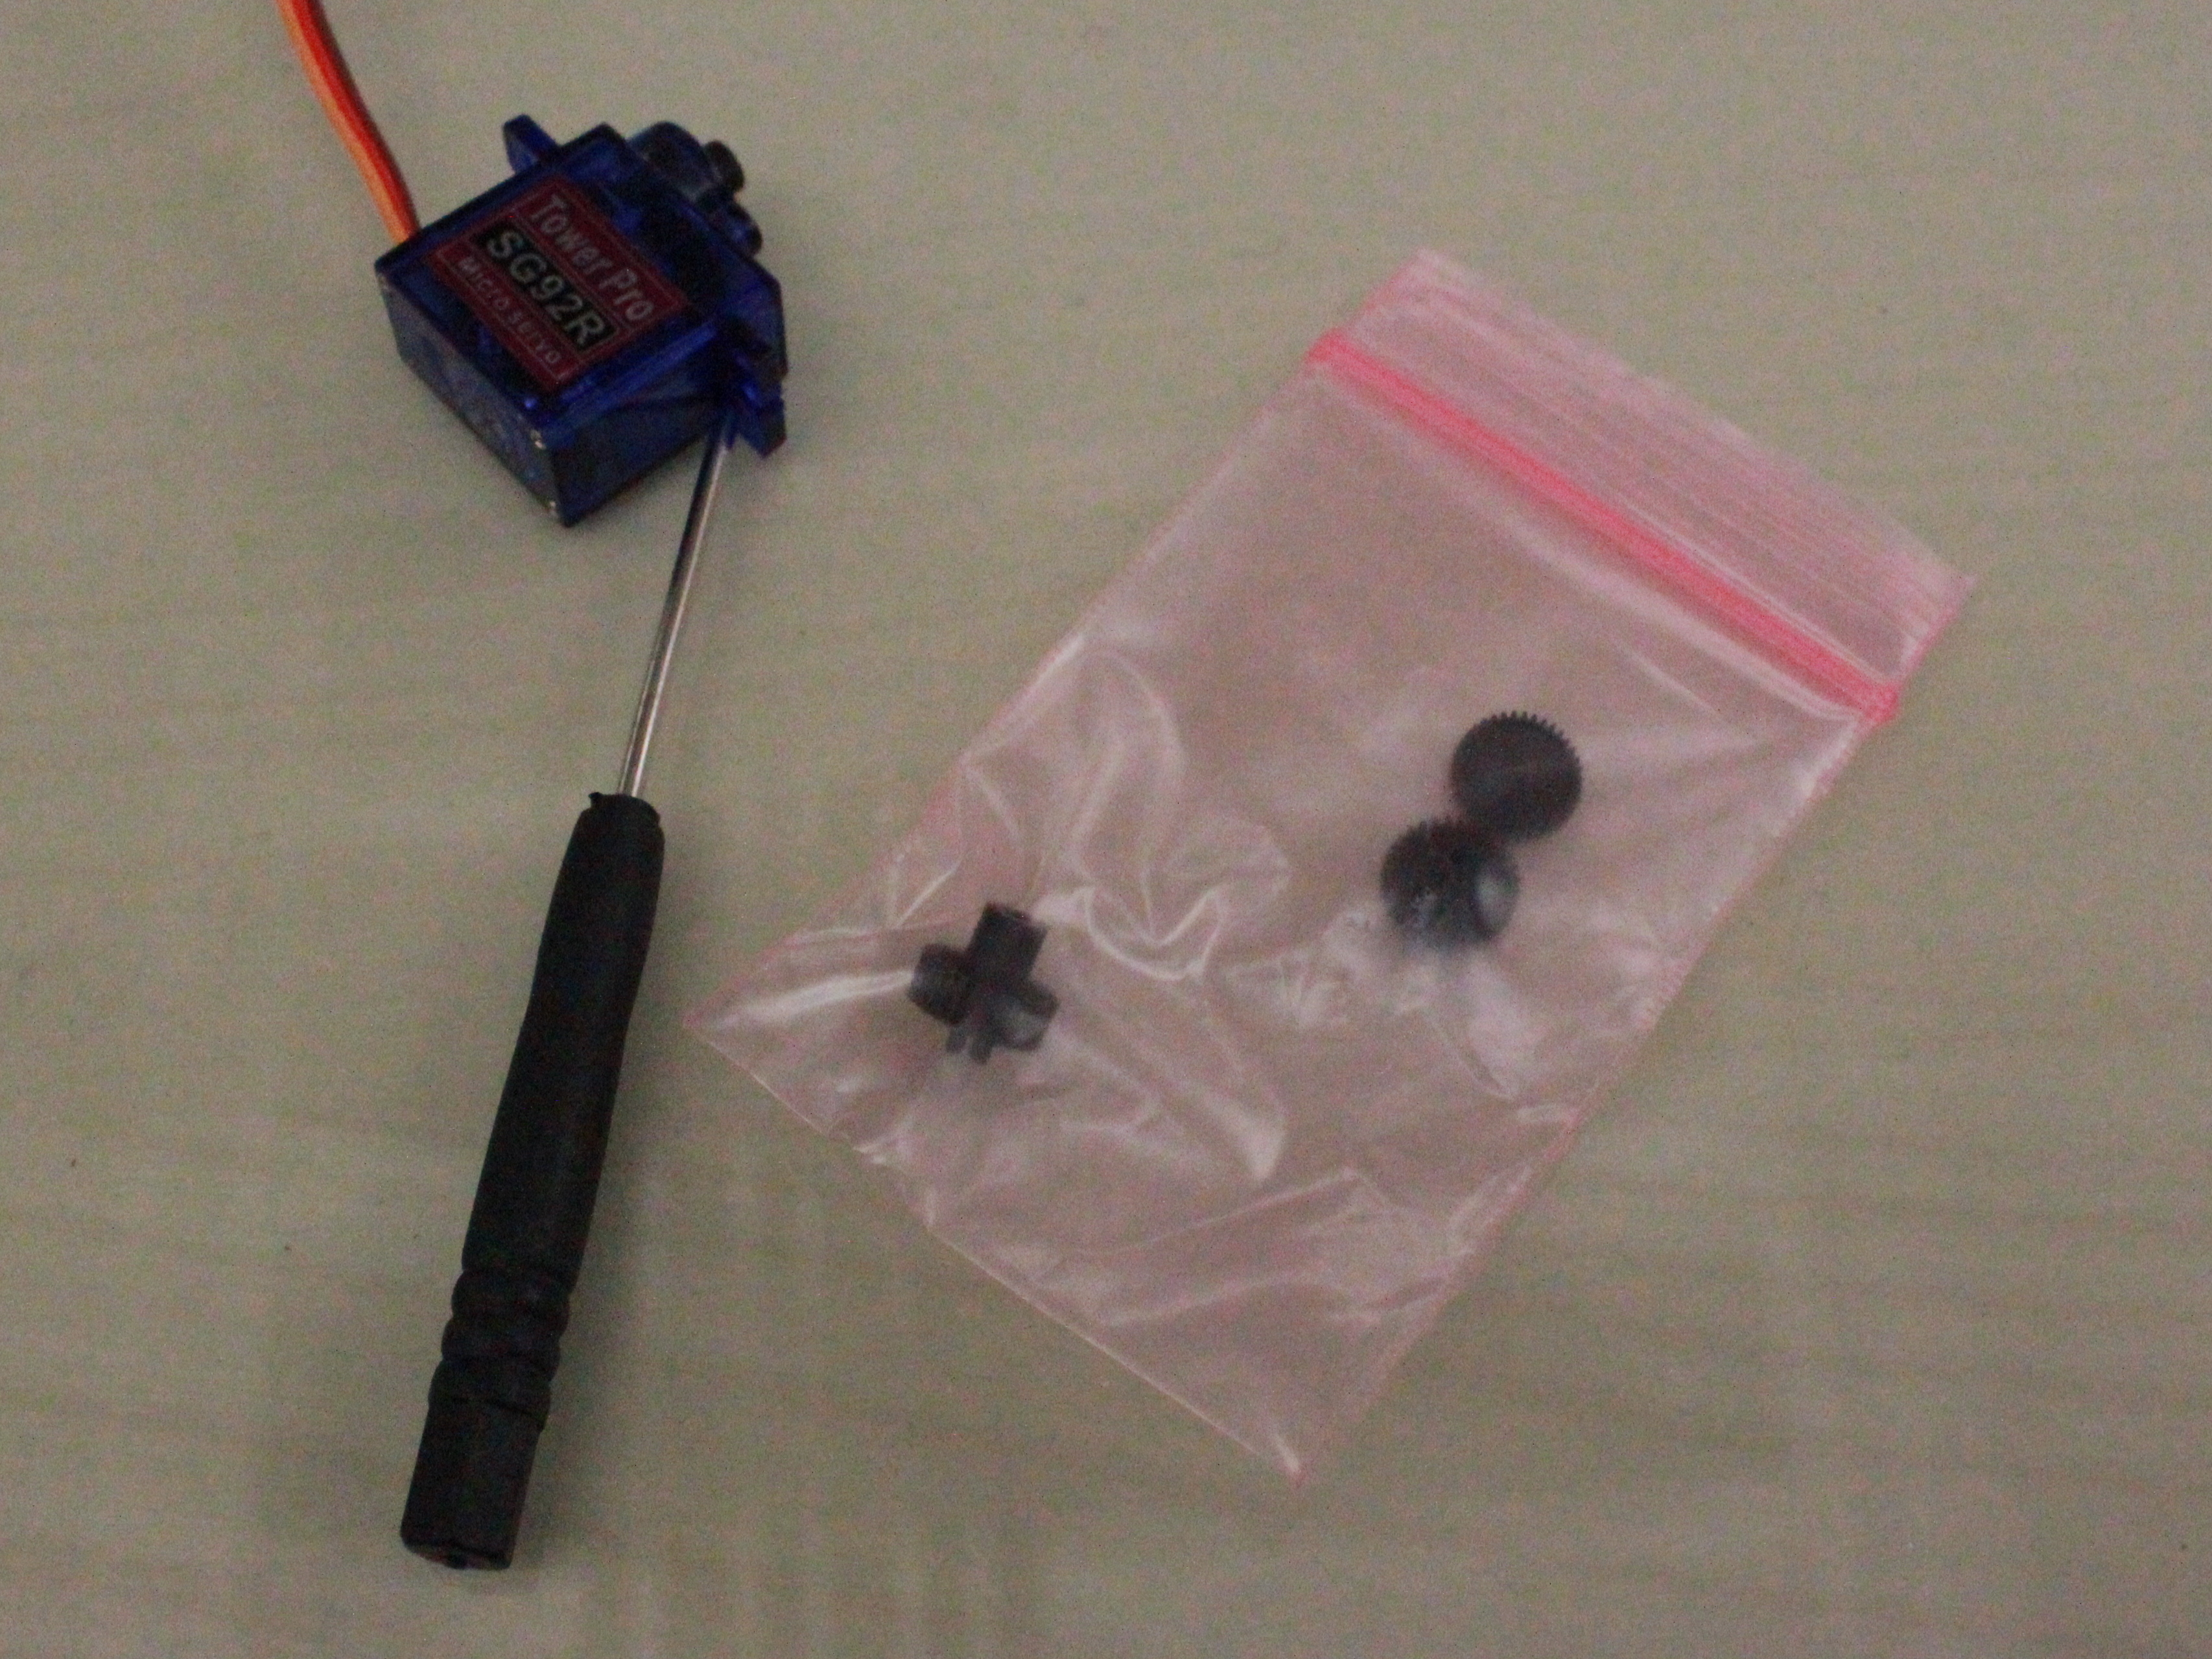

Sometimes with all the wear and tear of use (especially if you have 19 of them working in a robot…), servo gears need to be replaced. It’s a much cheaper alternative to buying a new servo. Here’s how to do it!
You’ll need:
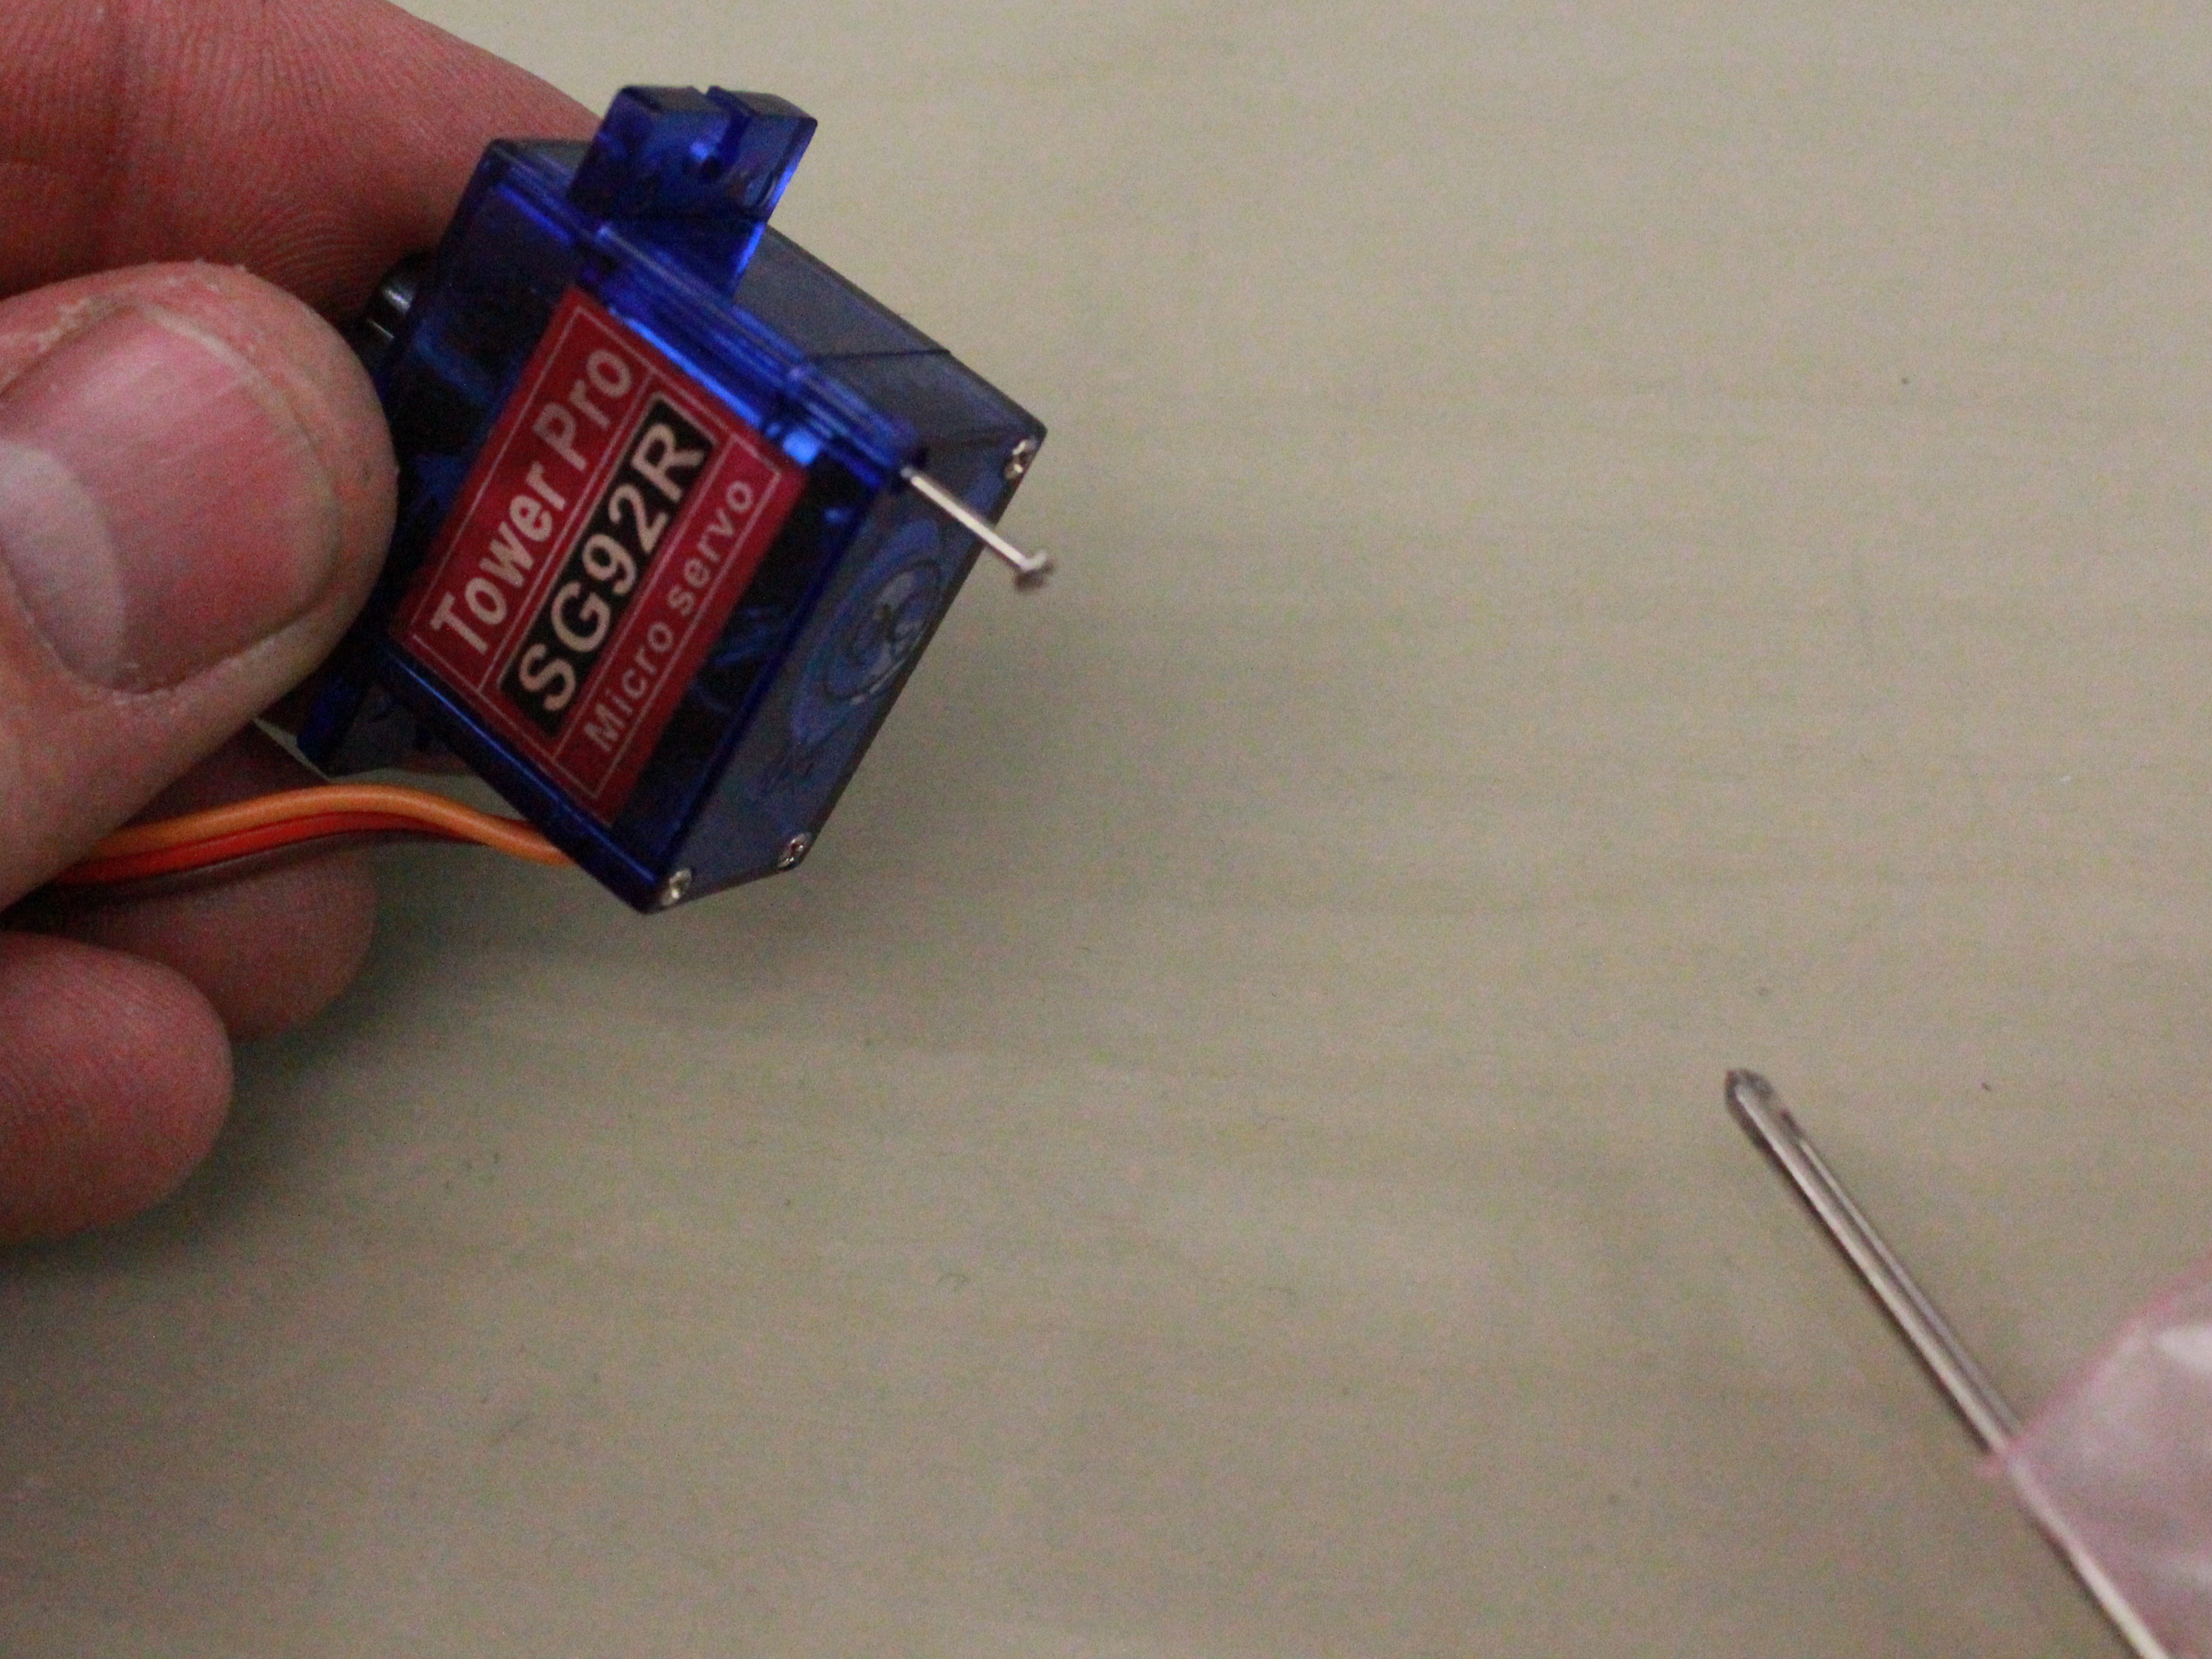
A fine Phillips-head screwdriver
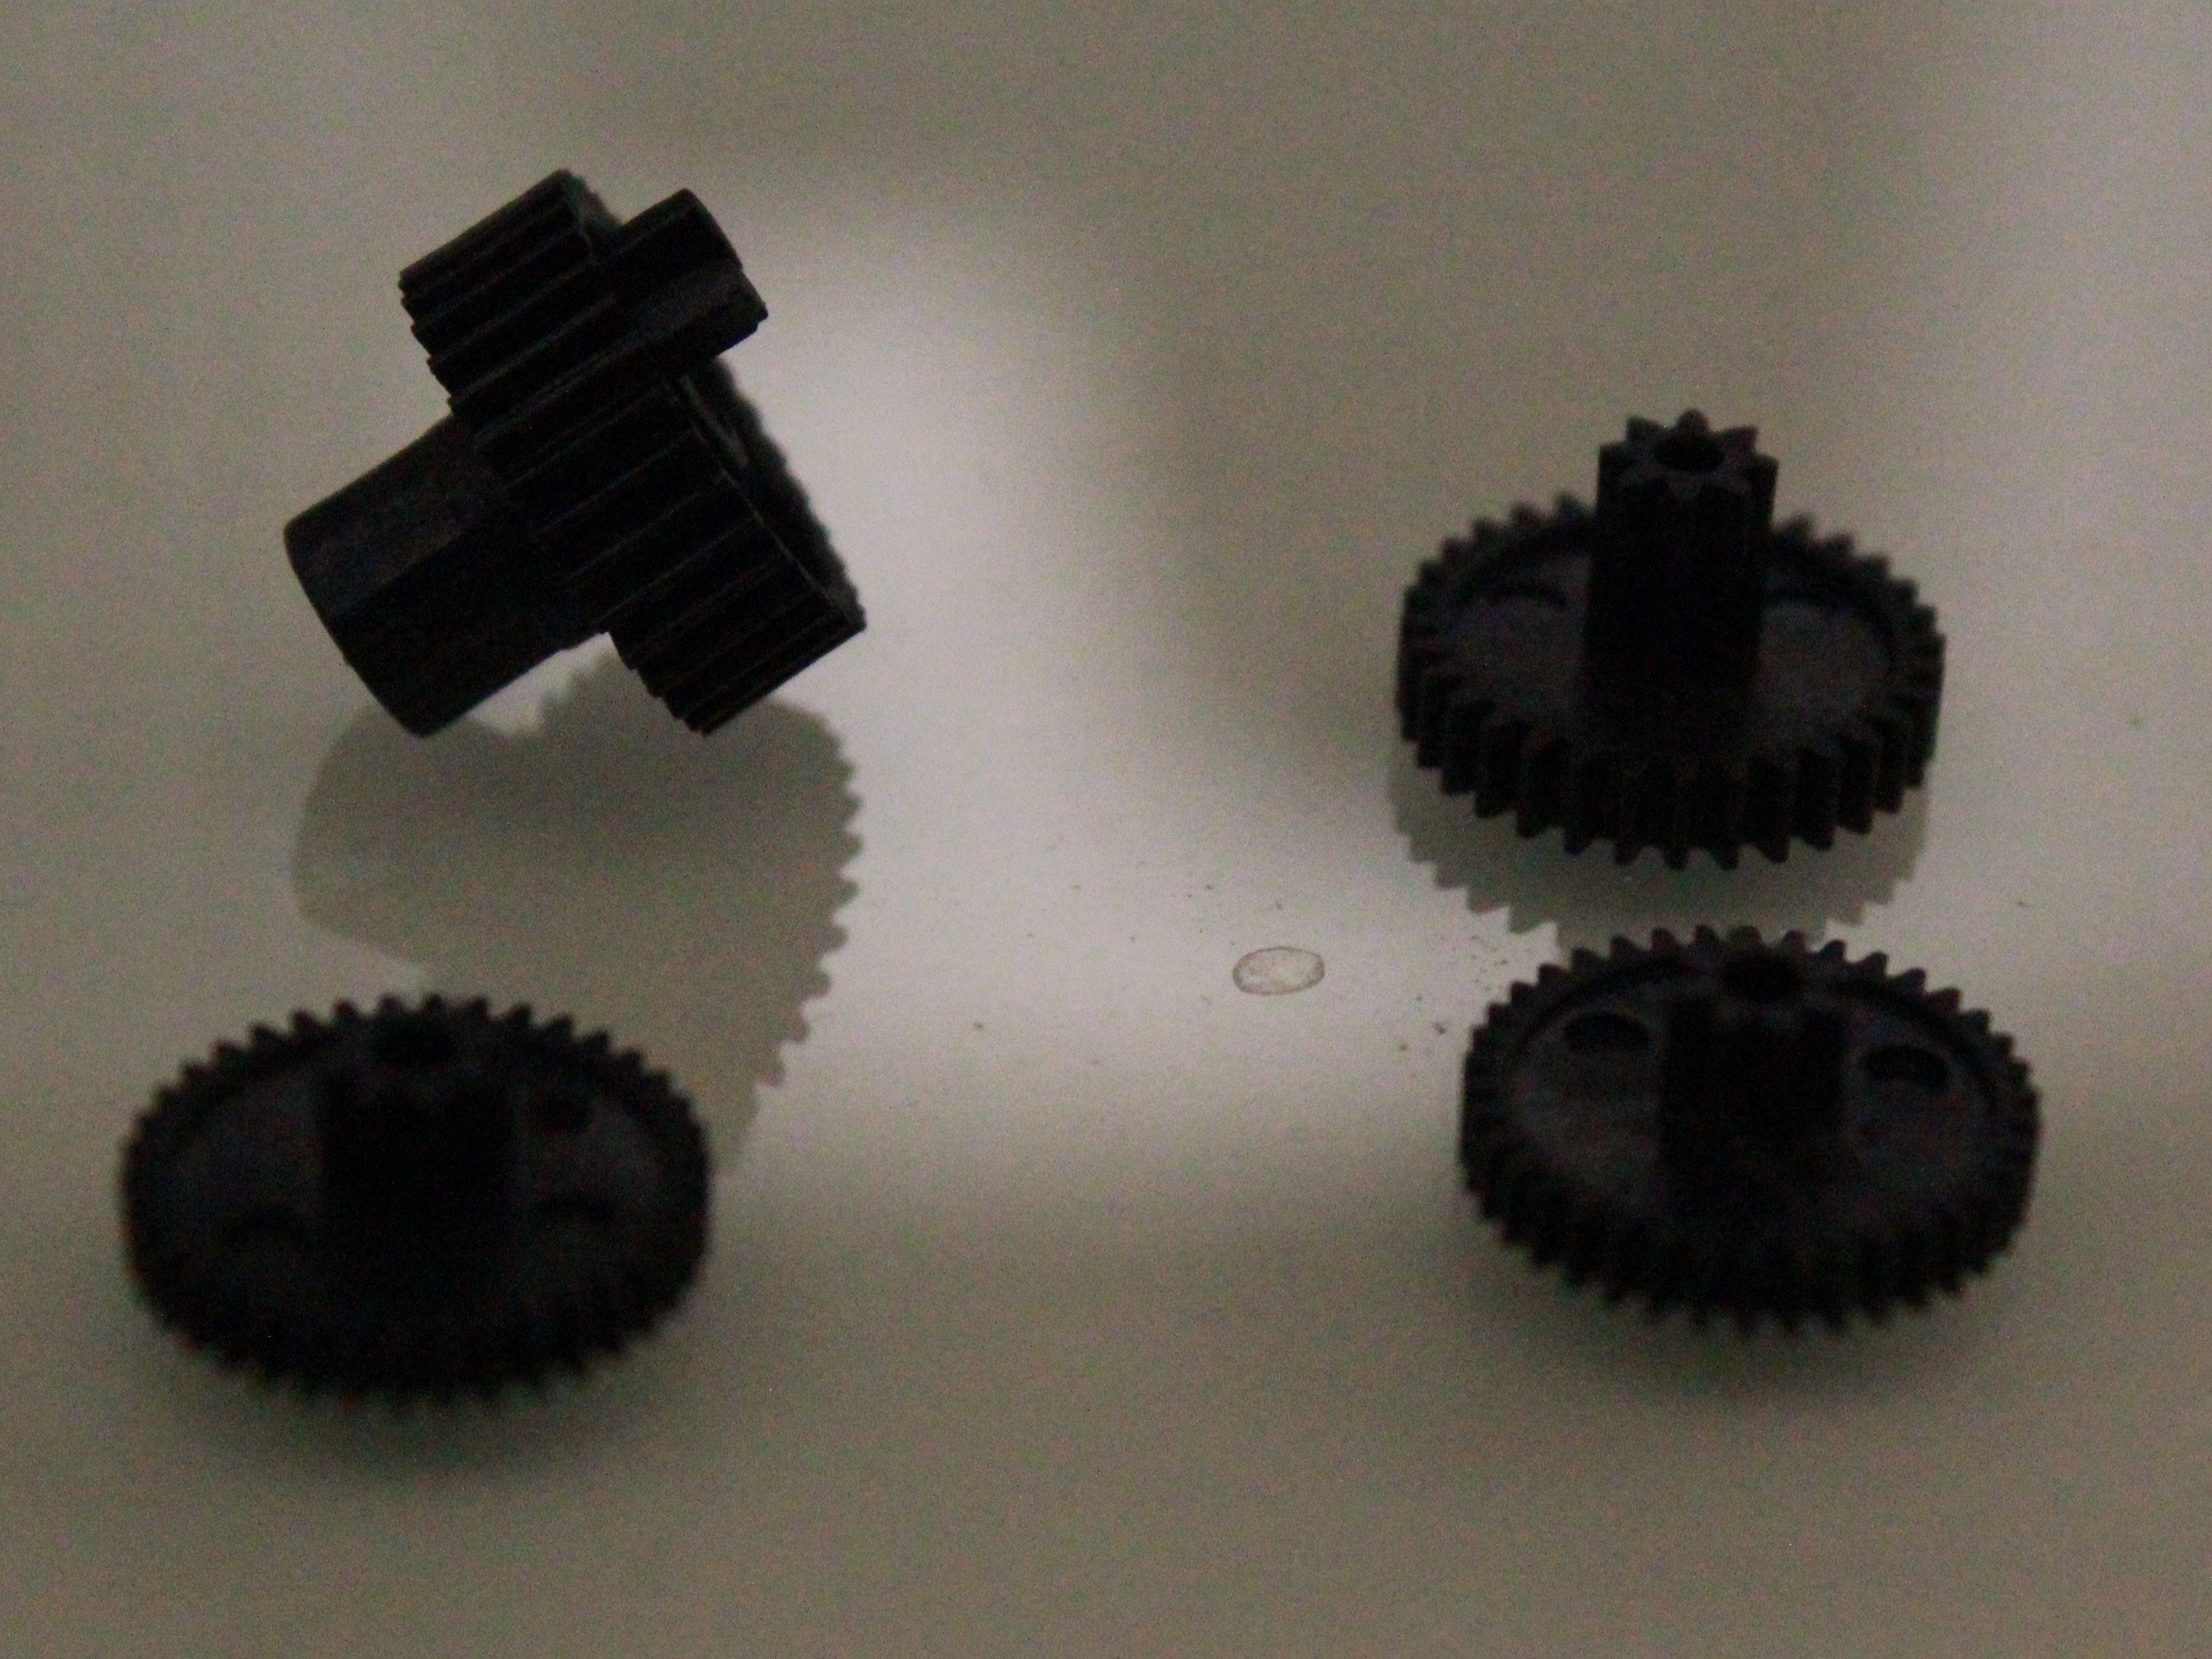
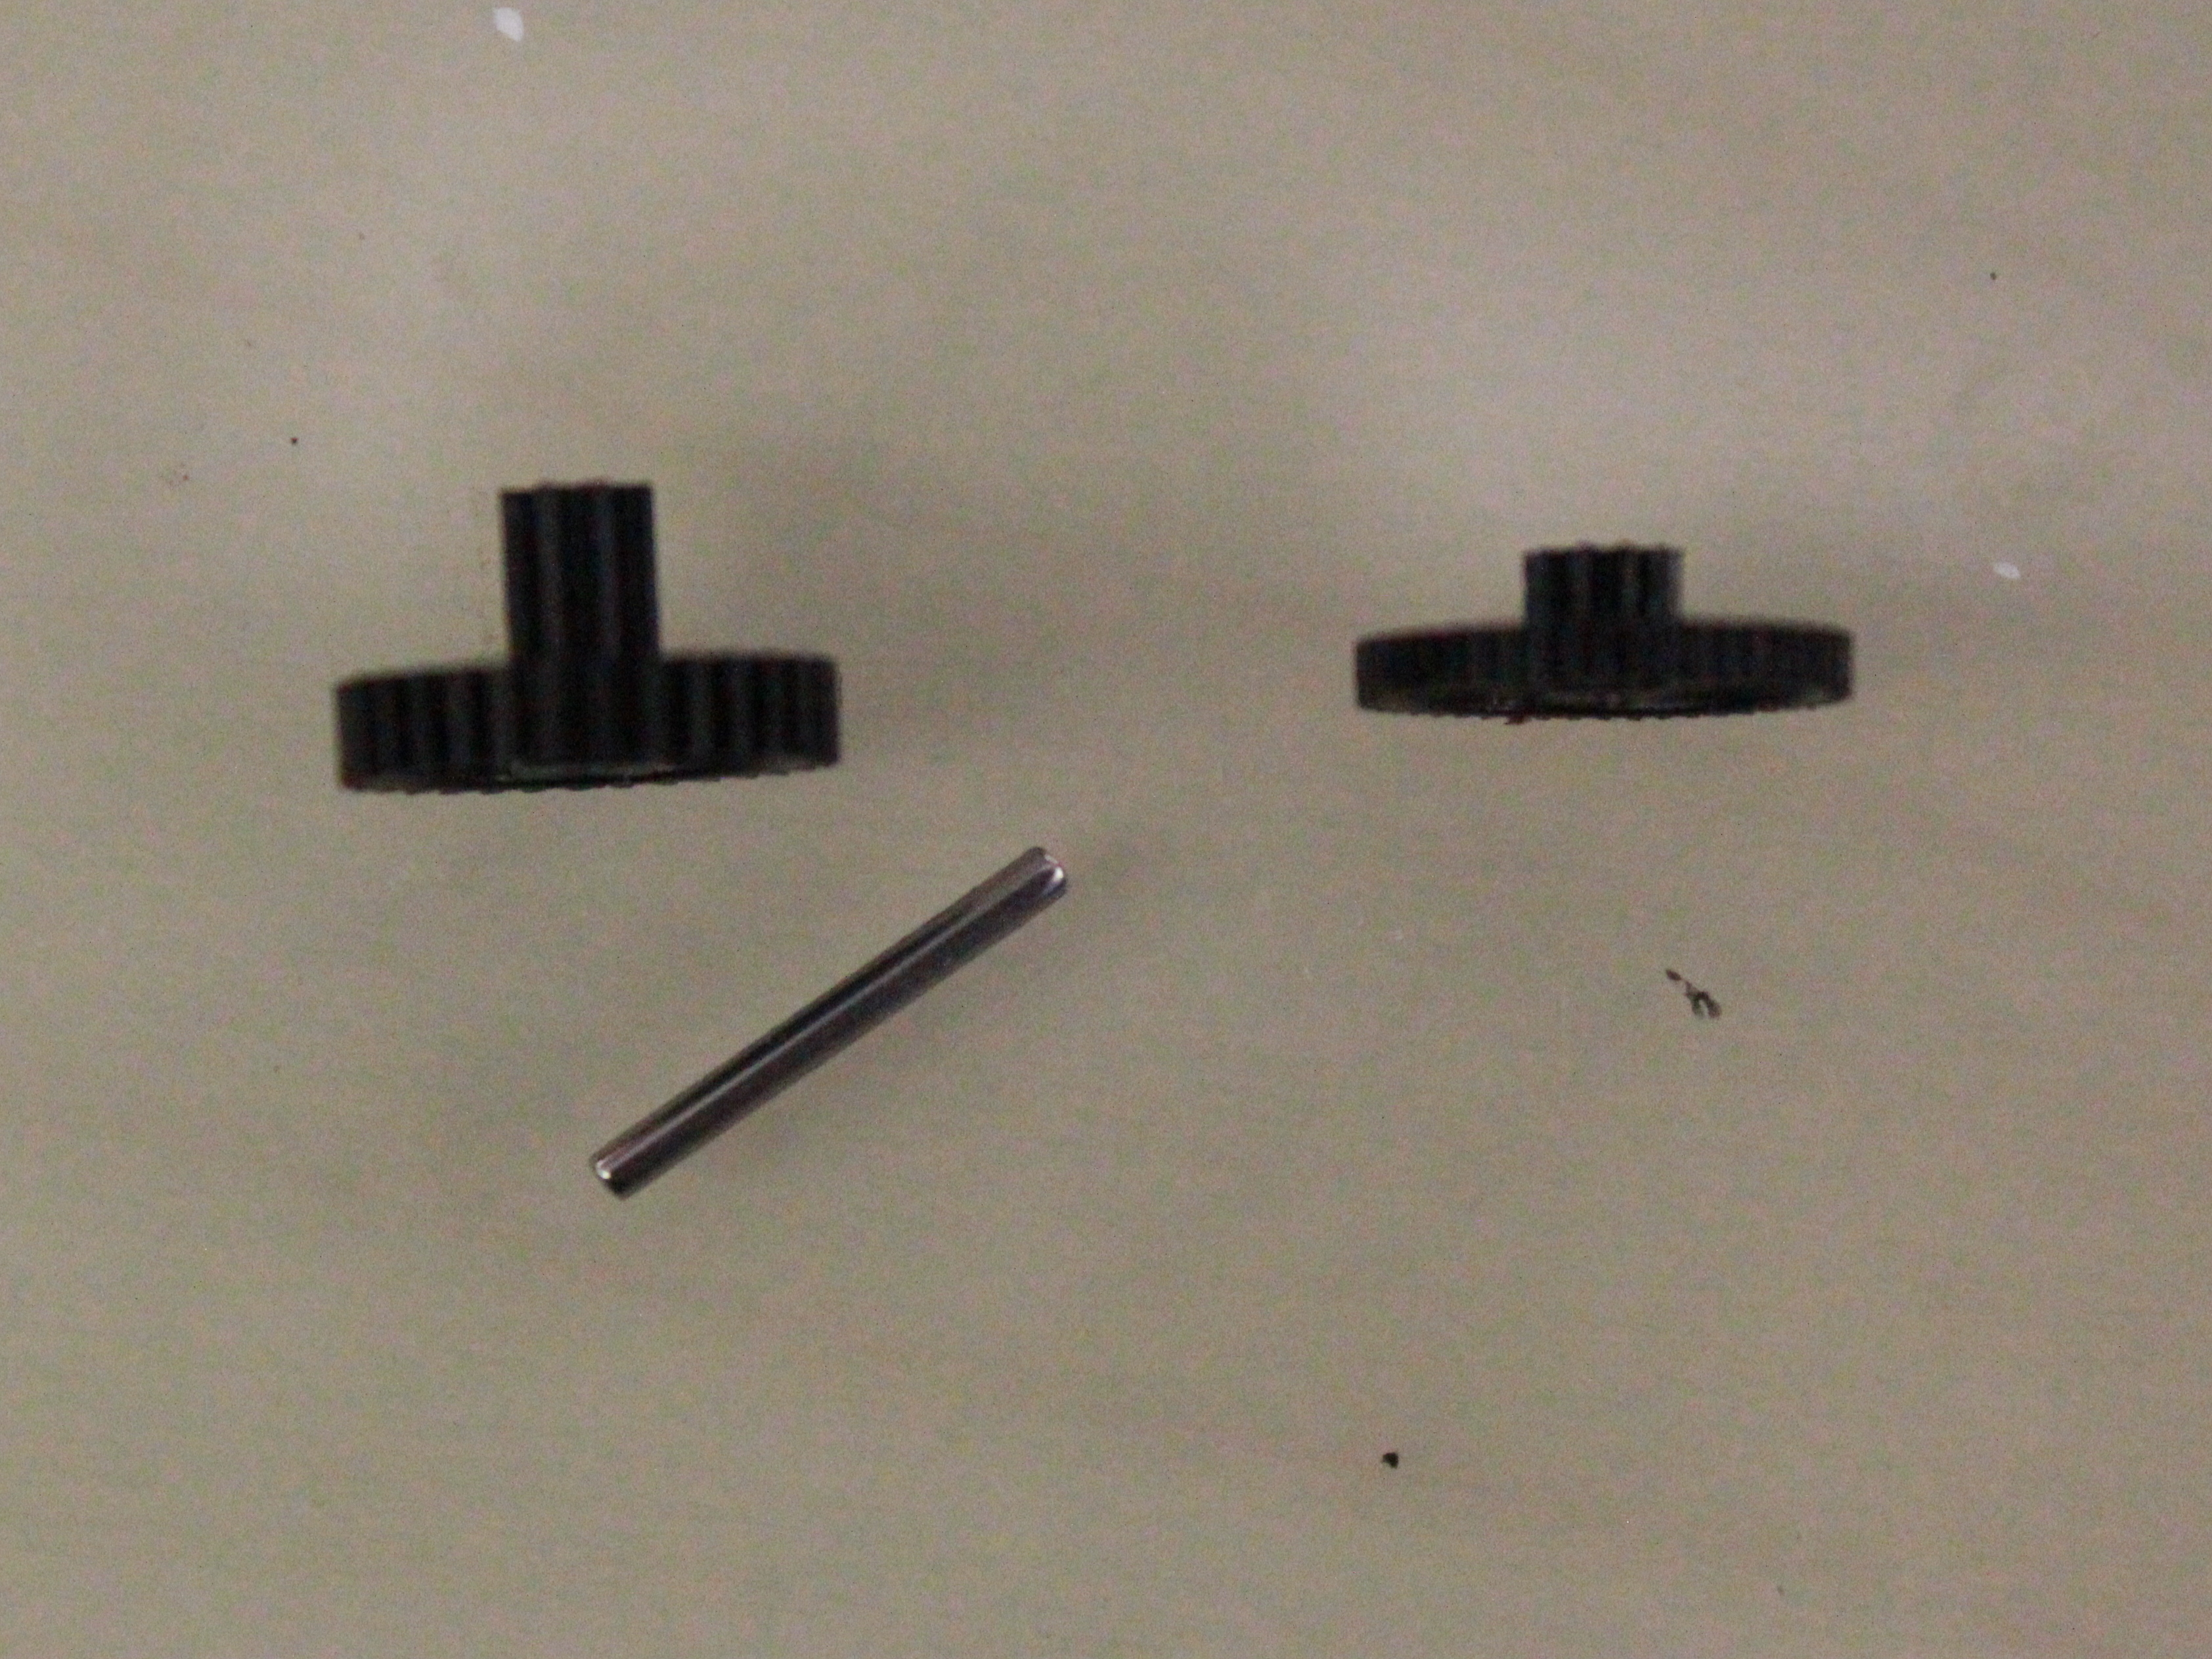
Replacement gears
Broken servo
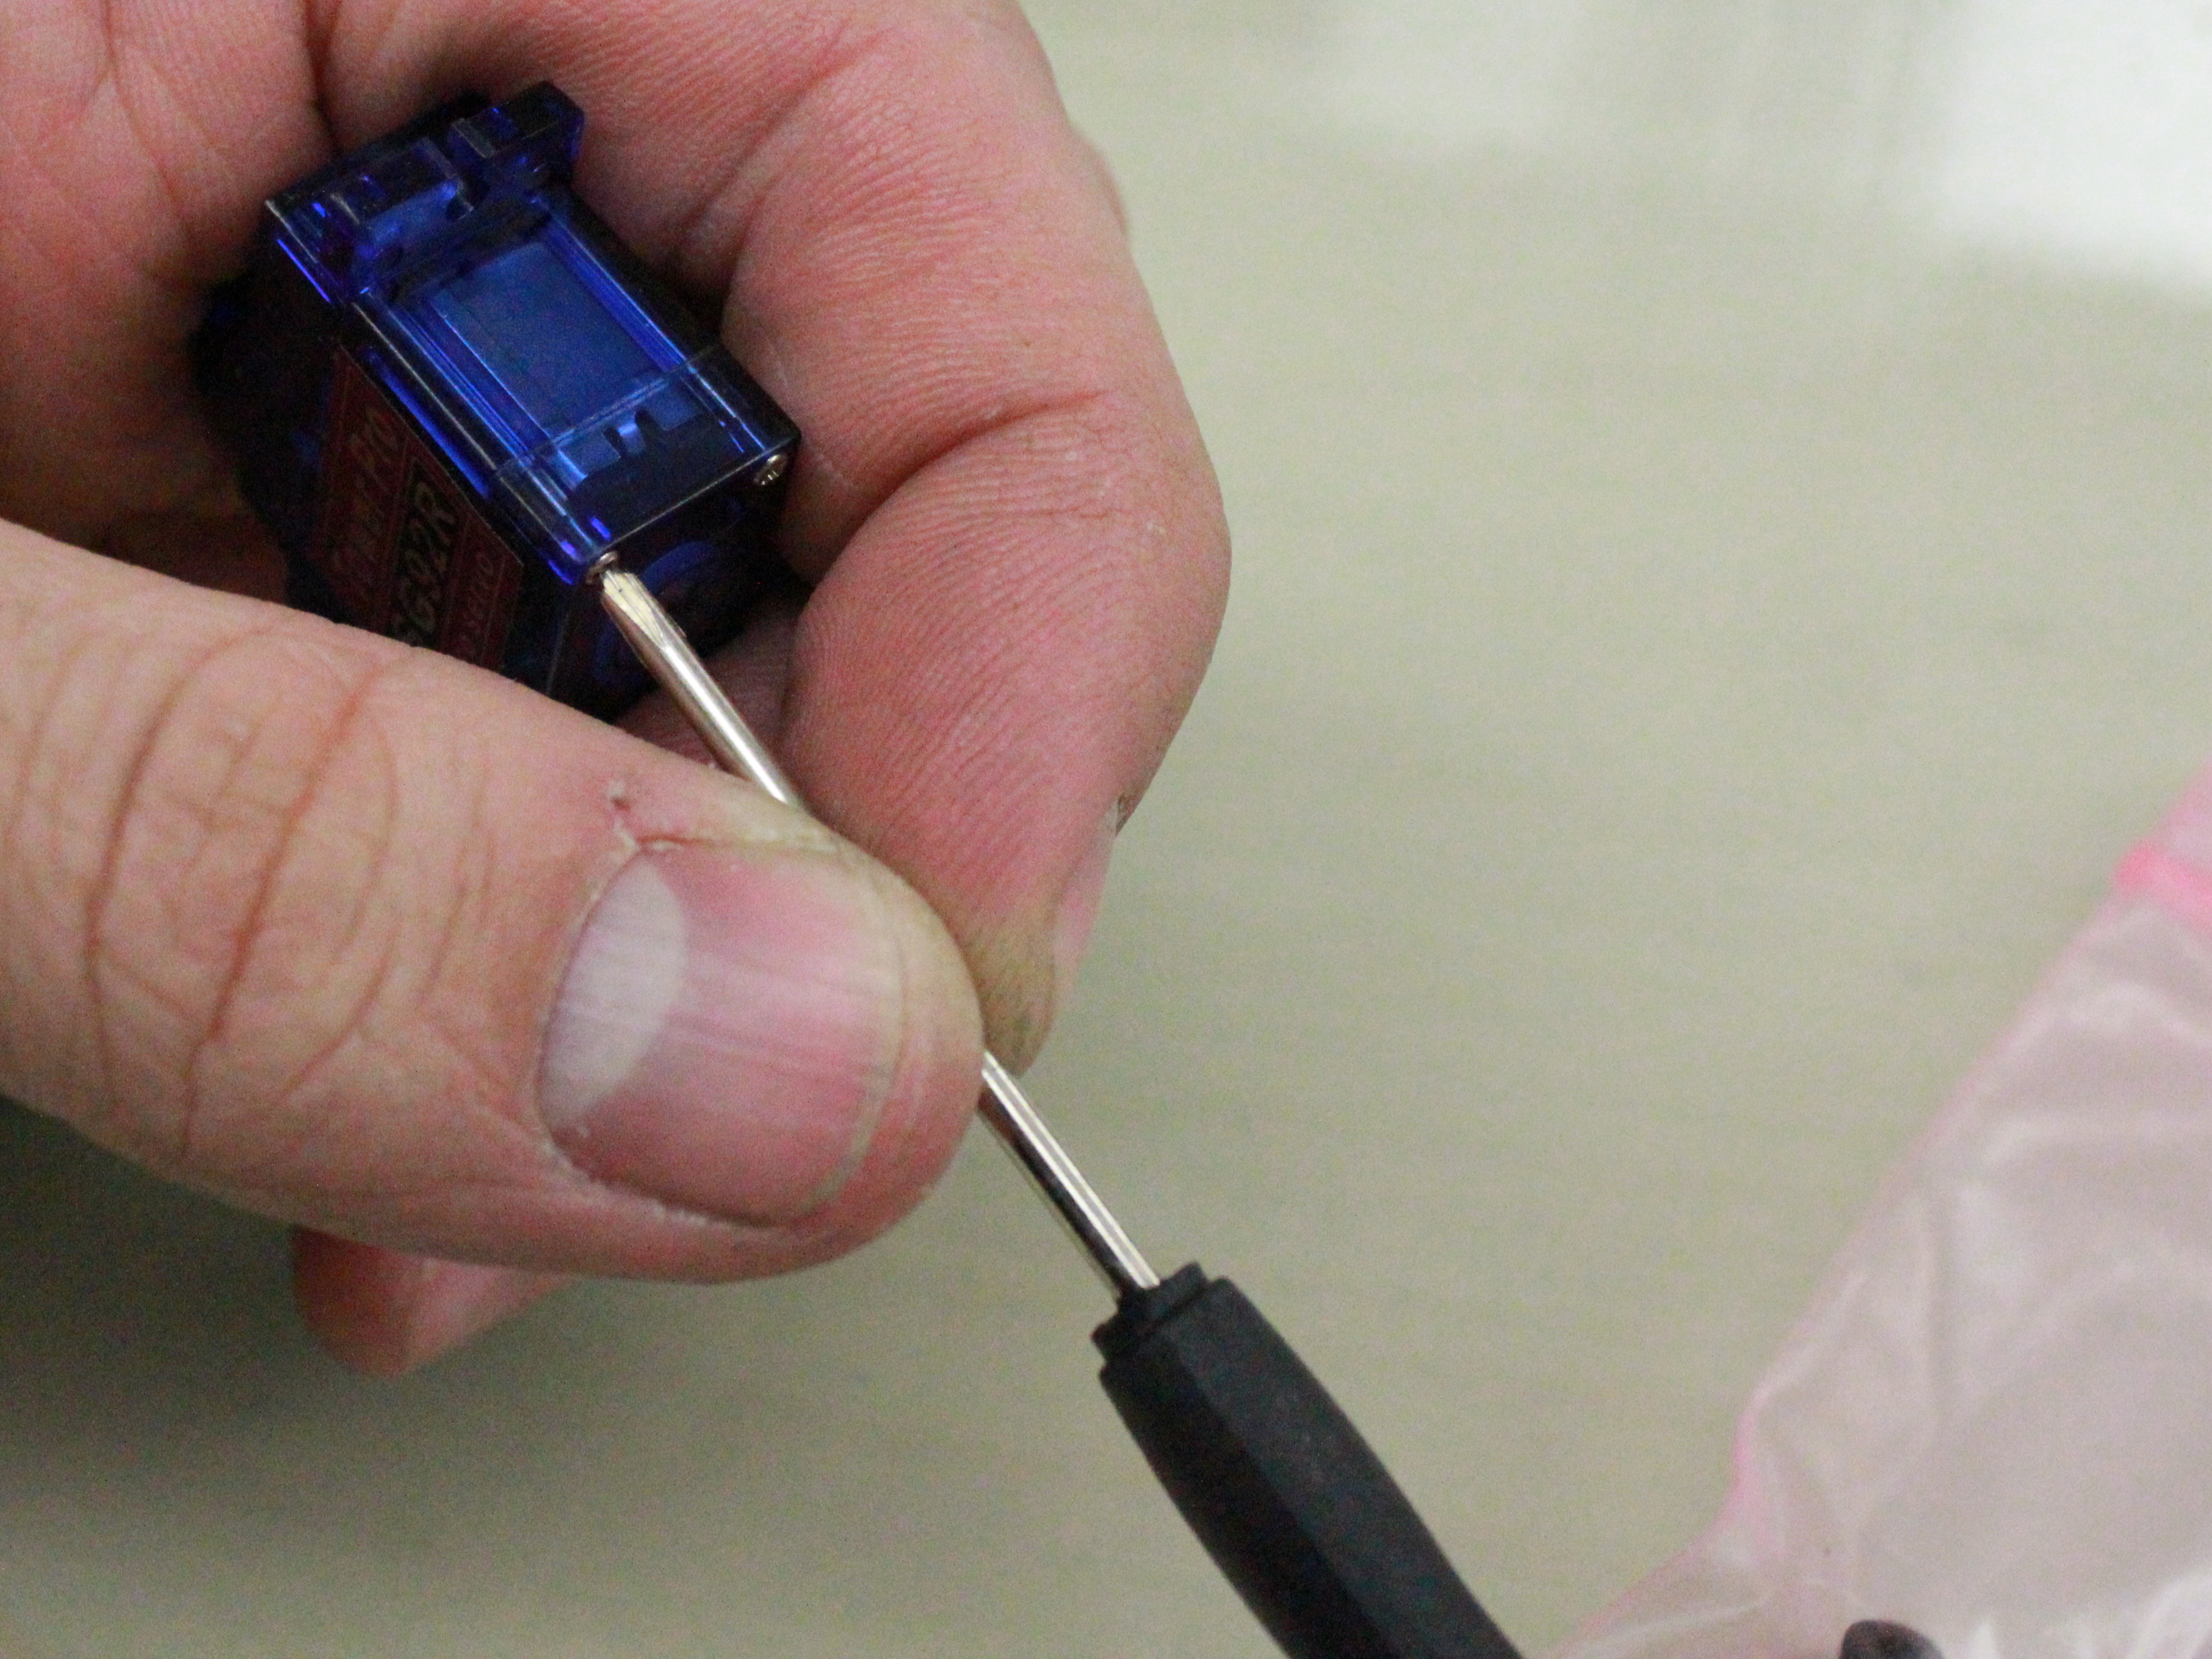
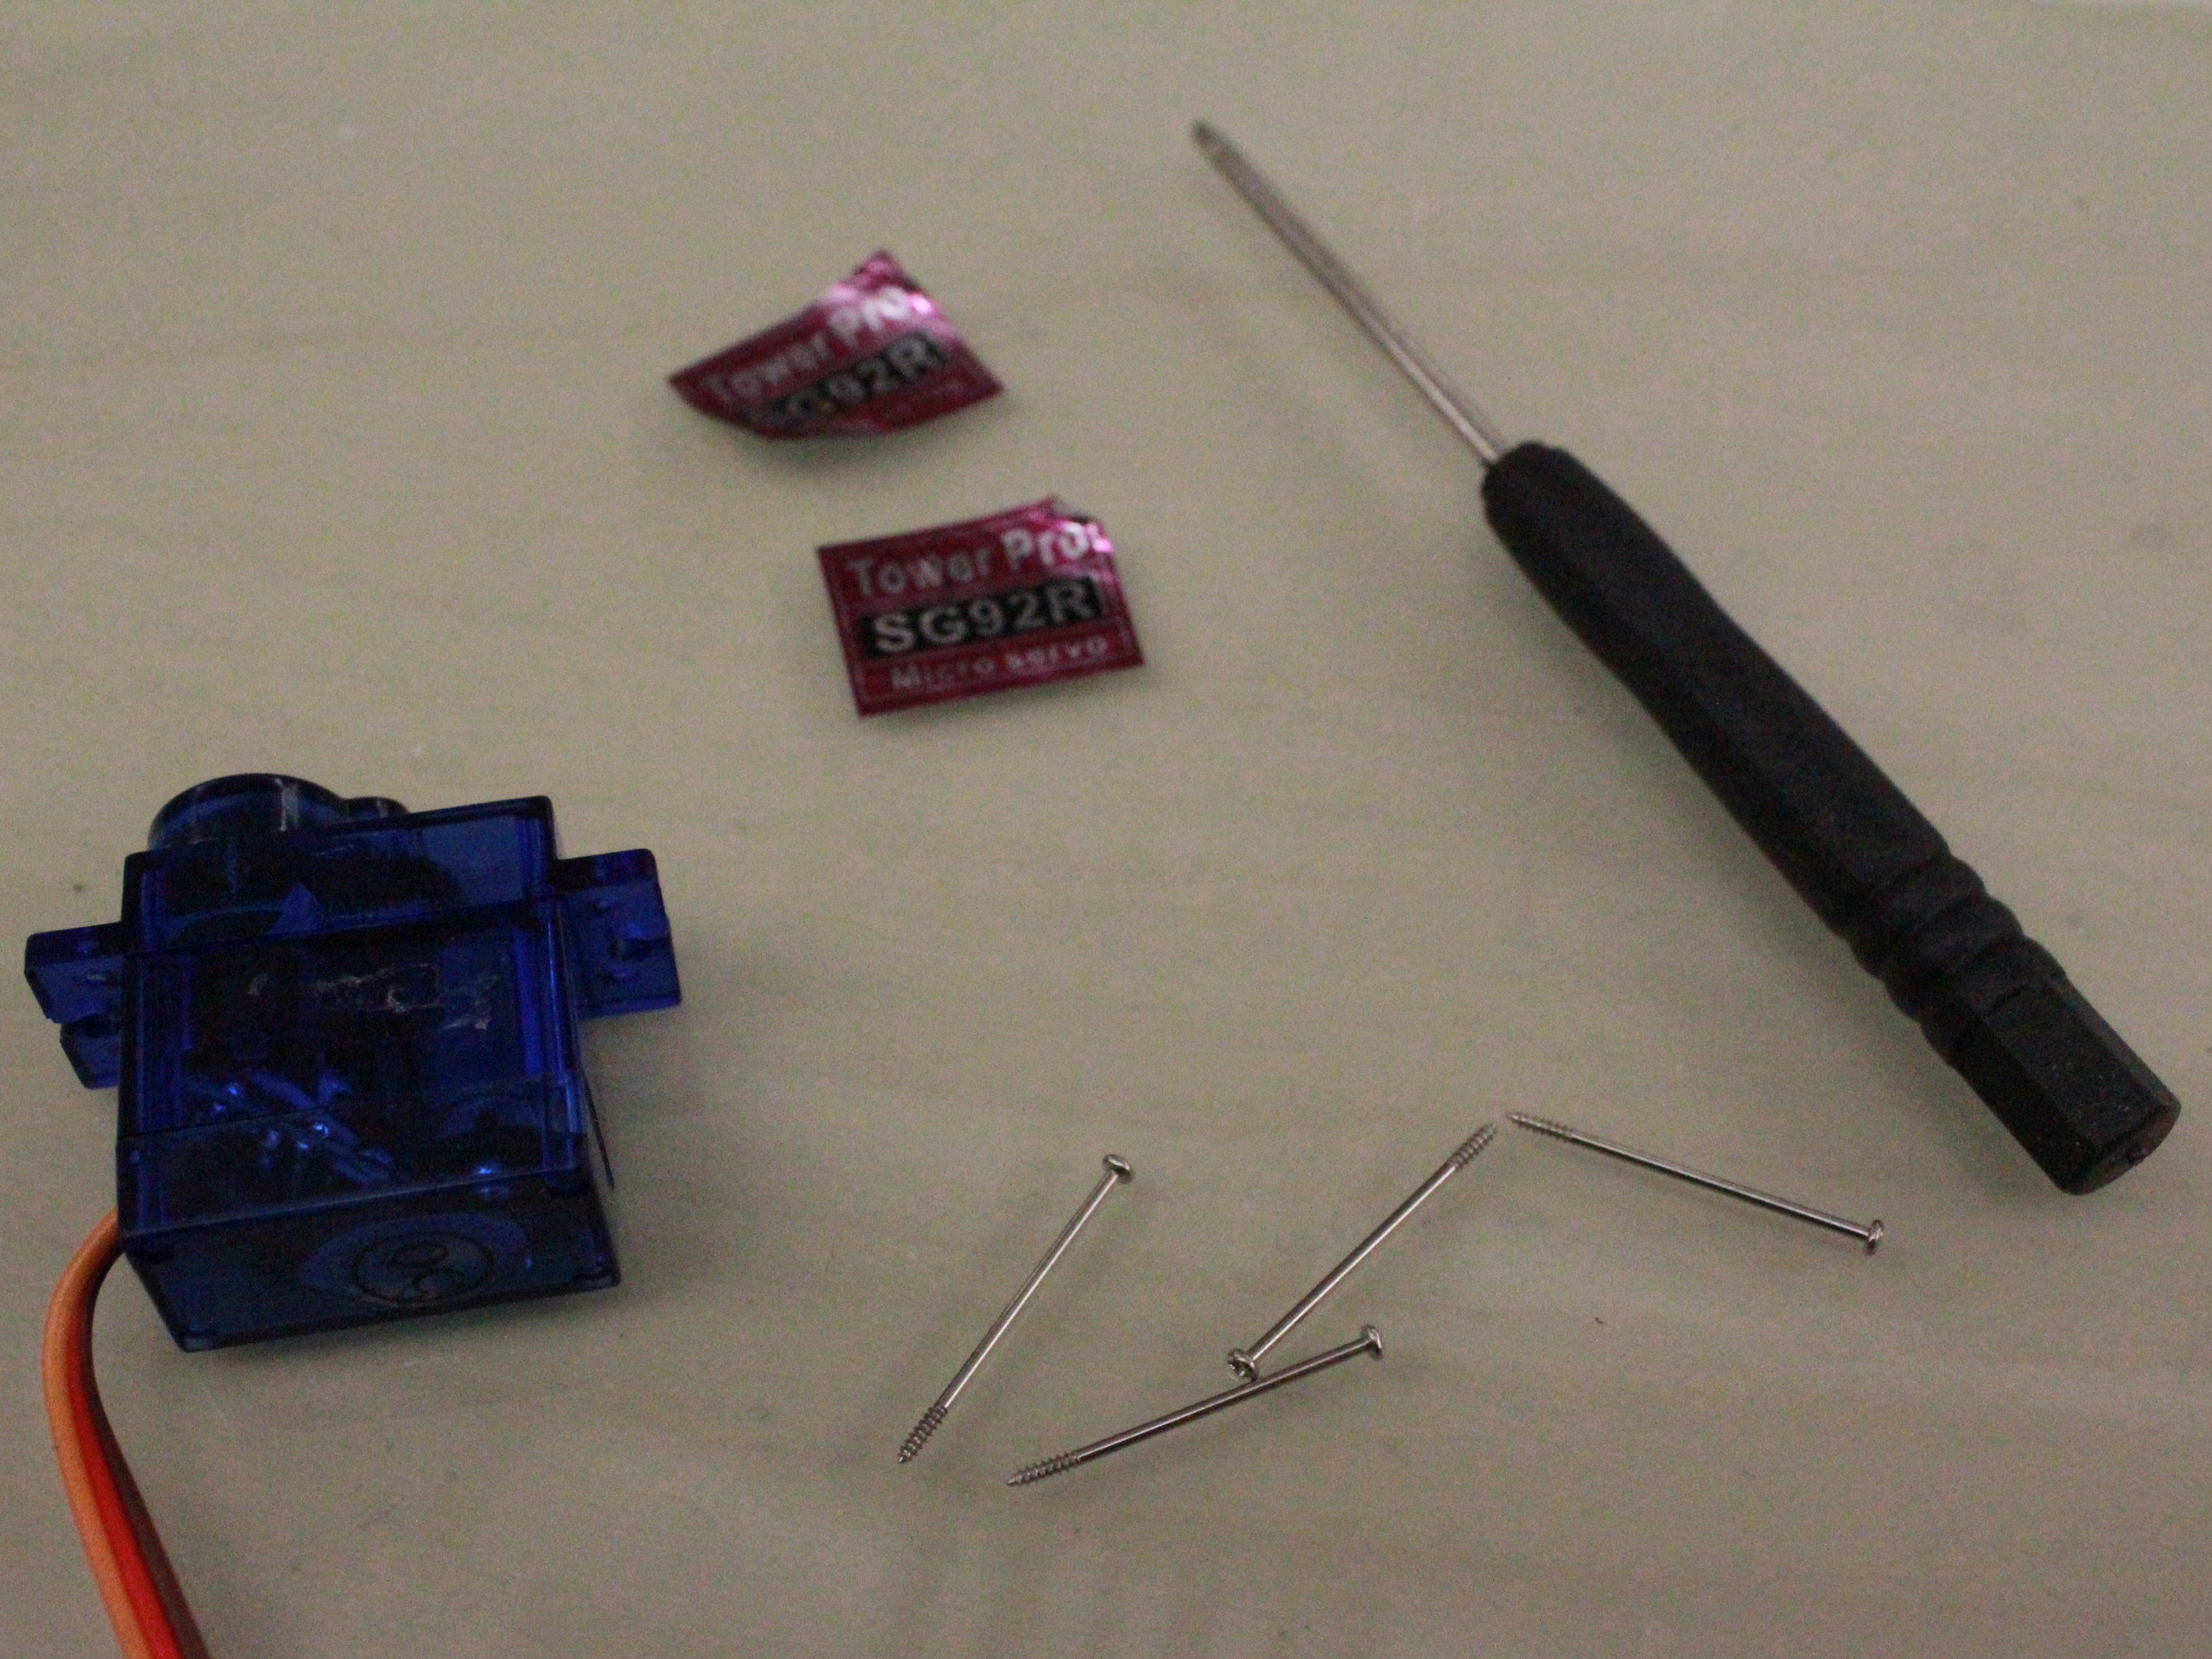
Start by taking out all the screws from the bottom of the case.

Take off any stickers on the outside; these might also hold together the different plastic parts of the case.
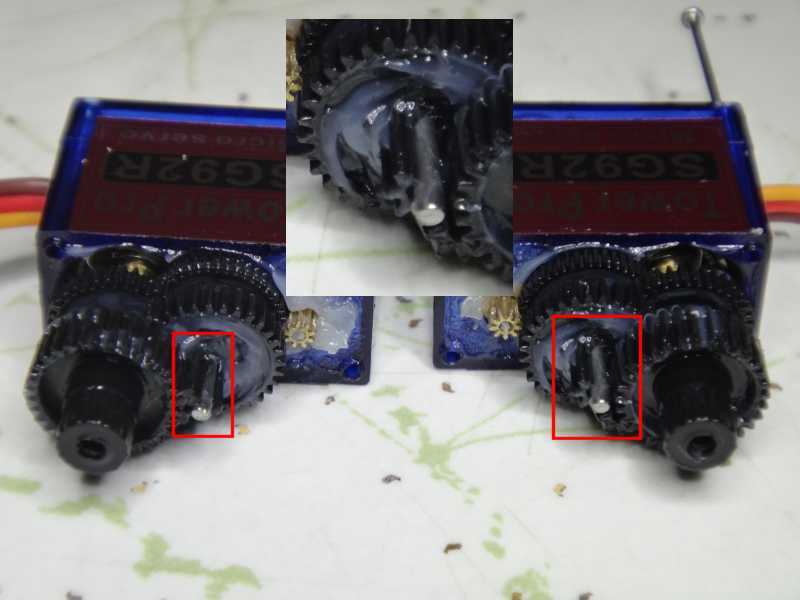
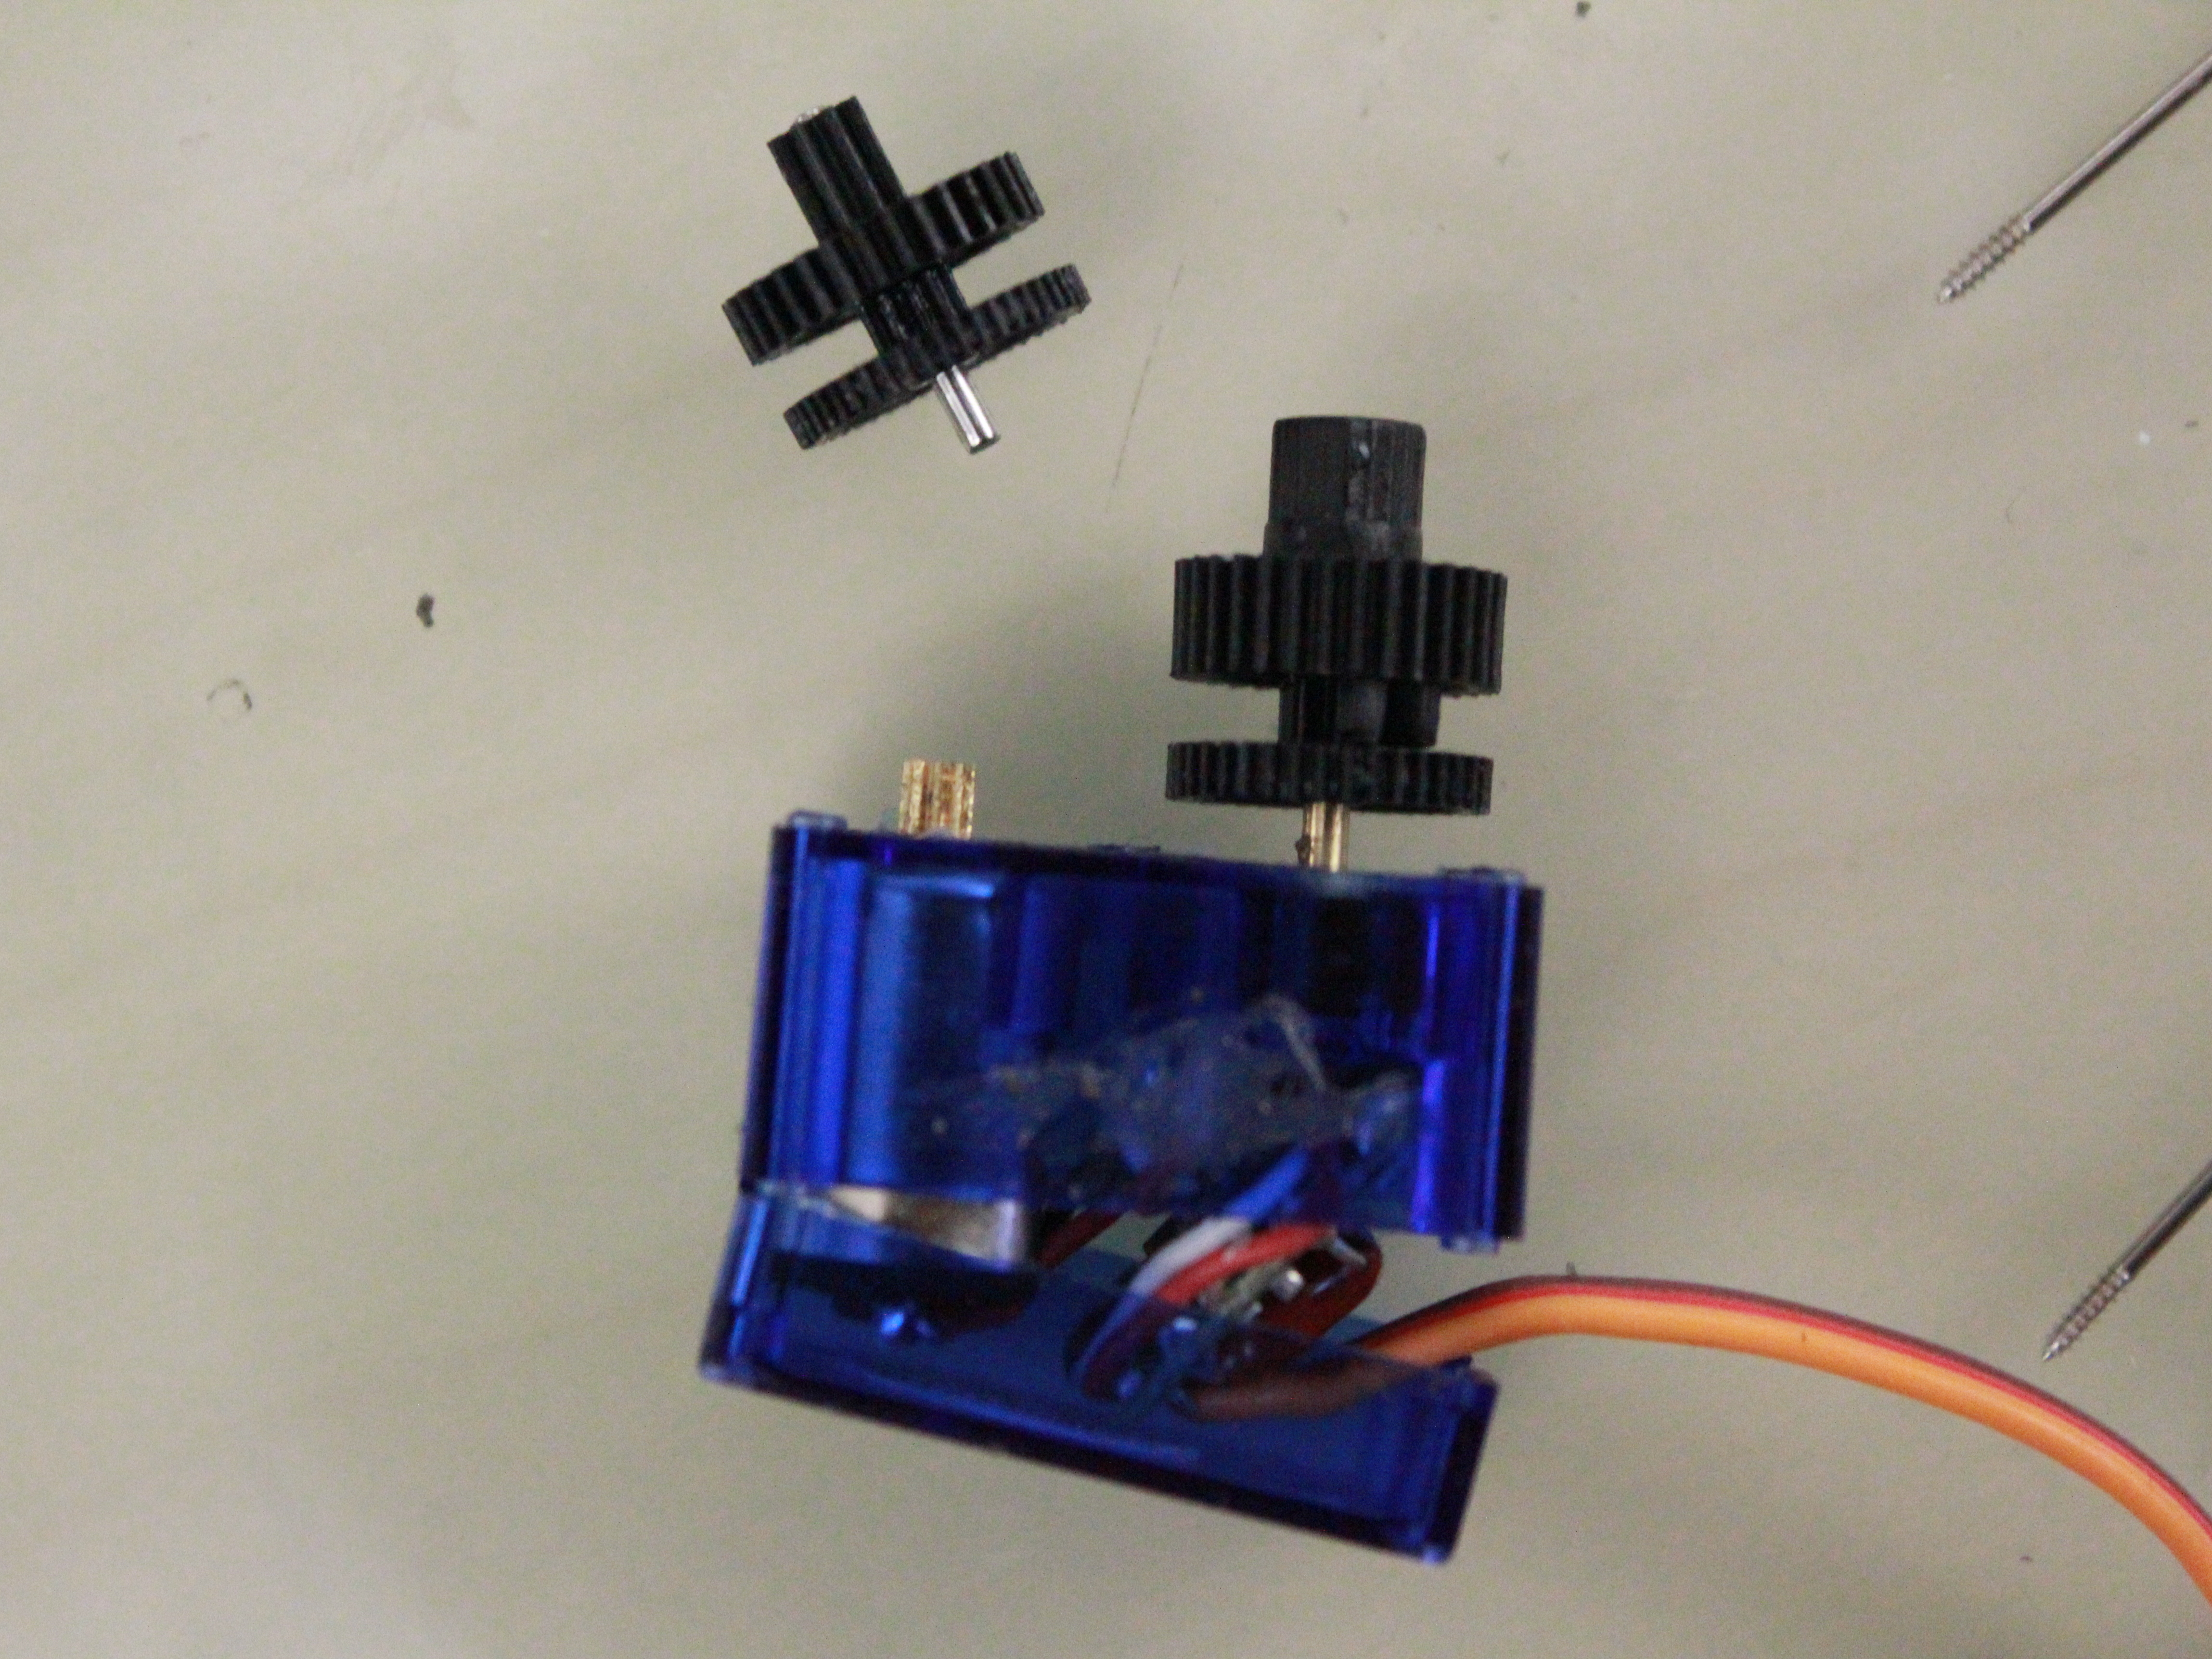
We’re specifically going to look at changing the highlighted gear. It’s the one that breaks 95% of the time. The other gears are replaced in a similar manner.
Wiggle out the two gears that are on the same metal rod, and remove them.
Place one of the replacement gears in their place.
Put the servo back together in the reverse order that you took it apart.
Servo fixed!


