When I walk down the cereal aisle, I see my childhood. My mouth waters for the sugary sweet cereals that I once coveted. Growing up, my mom only allowed me to eat them on very special occasions. When I was finally on my own and could eat anything I pleased, I realized I was more attracted to the colorful box art than the overly sweet contents.

On recycling nights I find myself eyeing the brightly colored graphics coming from the recycling bins, and I usually can’t pass by without filling up with an armful of these treasures. The mighty cereal box’s sturdy structure can easily be transformed into projects packed with a full serving of recycled fiber.

What will the next generation of Make: look like? We’re inviting you to shape the future by investing in Make:. By becoming an investor, you help decide what’s next. The future of Make: is in your hands. Learn More.

Project Steps

Folder.

Start with a large cereal box that’s at least 9″ wide. Open up and flatten out the box. Cut the front and back panels to 14 1⁄2″ tall by 9″ wide.

Mark a line 2 1⁄2″ from the bottom of the panels, then score along the line. You can use a butter knife or a bent paper clip to make the score lines.

Place the panels side by side on a flat surface with the printed sides facing down. Tape the 2 together along the inside center. Then fold up the pockets along the score lines. Close the folder and run a piece of tape along the spine. Leaving it closed, wrap the tape around to the other side. Then tape the pockets.

Magazine holder.

Mark an angled line around the box using a marker. The lowest side of the box should be about 3 1⁄2″ from the bottom. Cut along this line all the way around the box, then fill it with your favorite magazines.

Postcard.

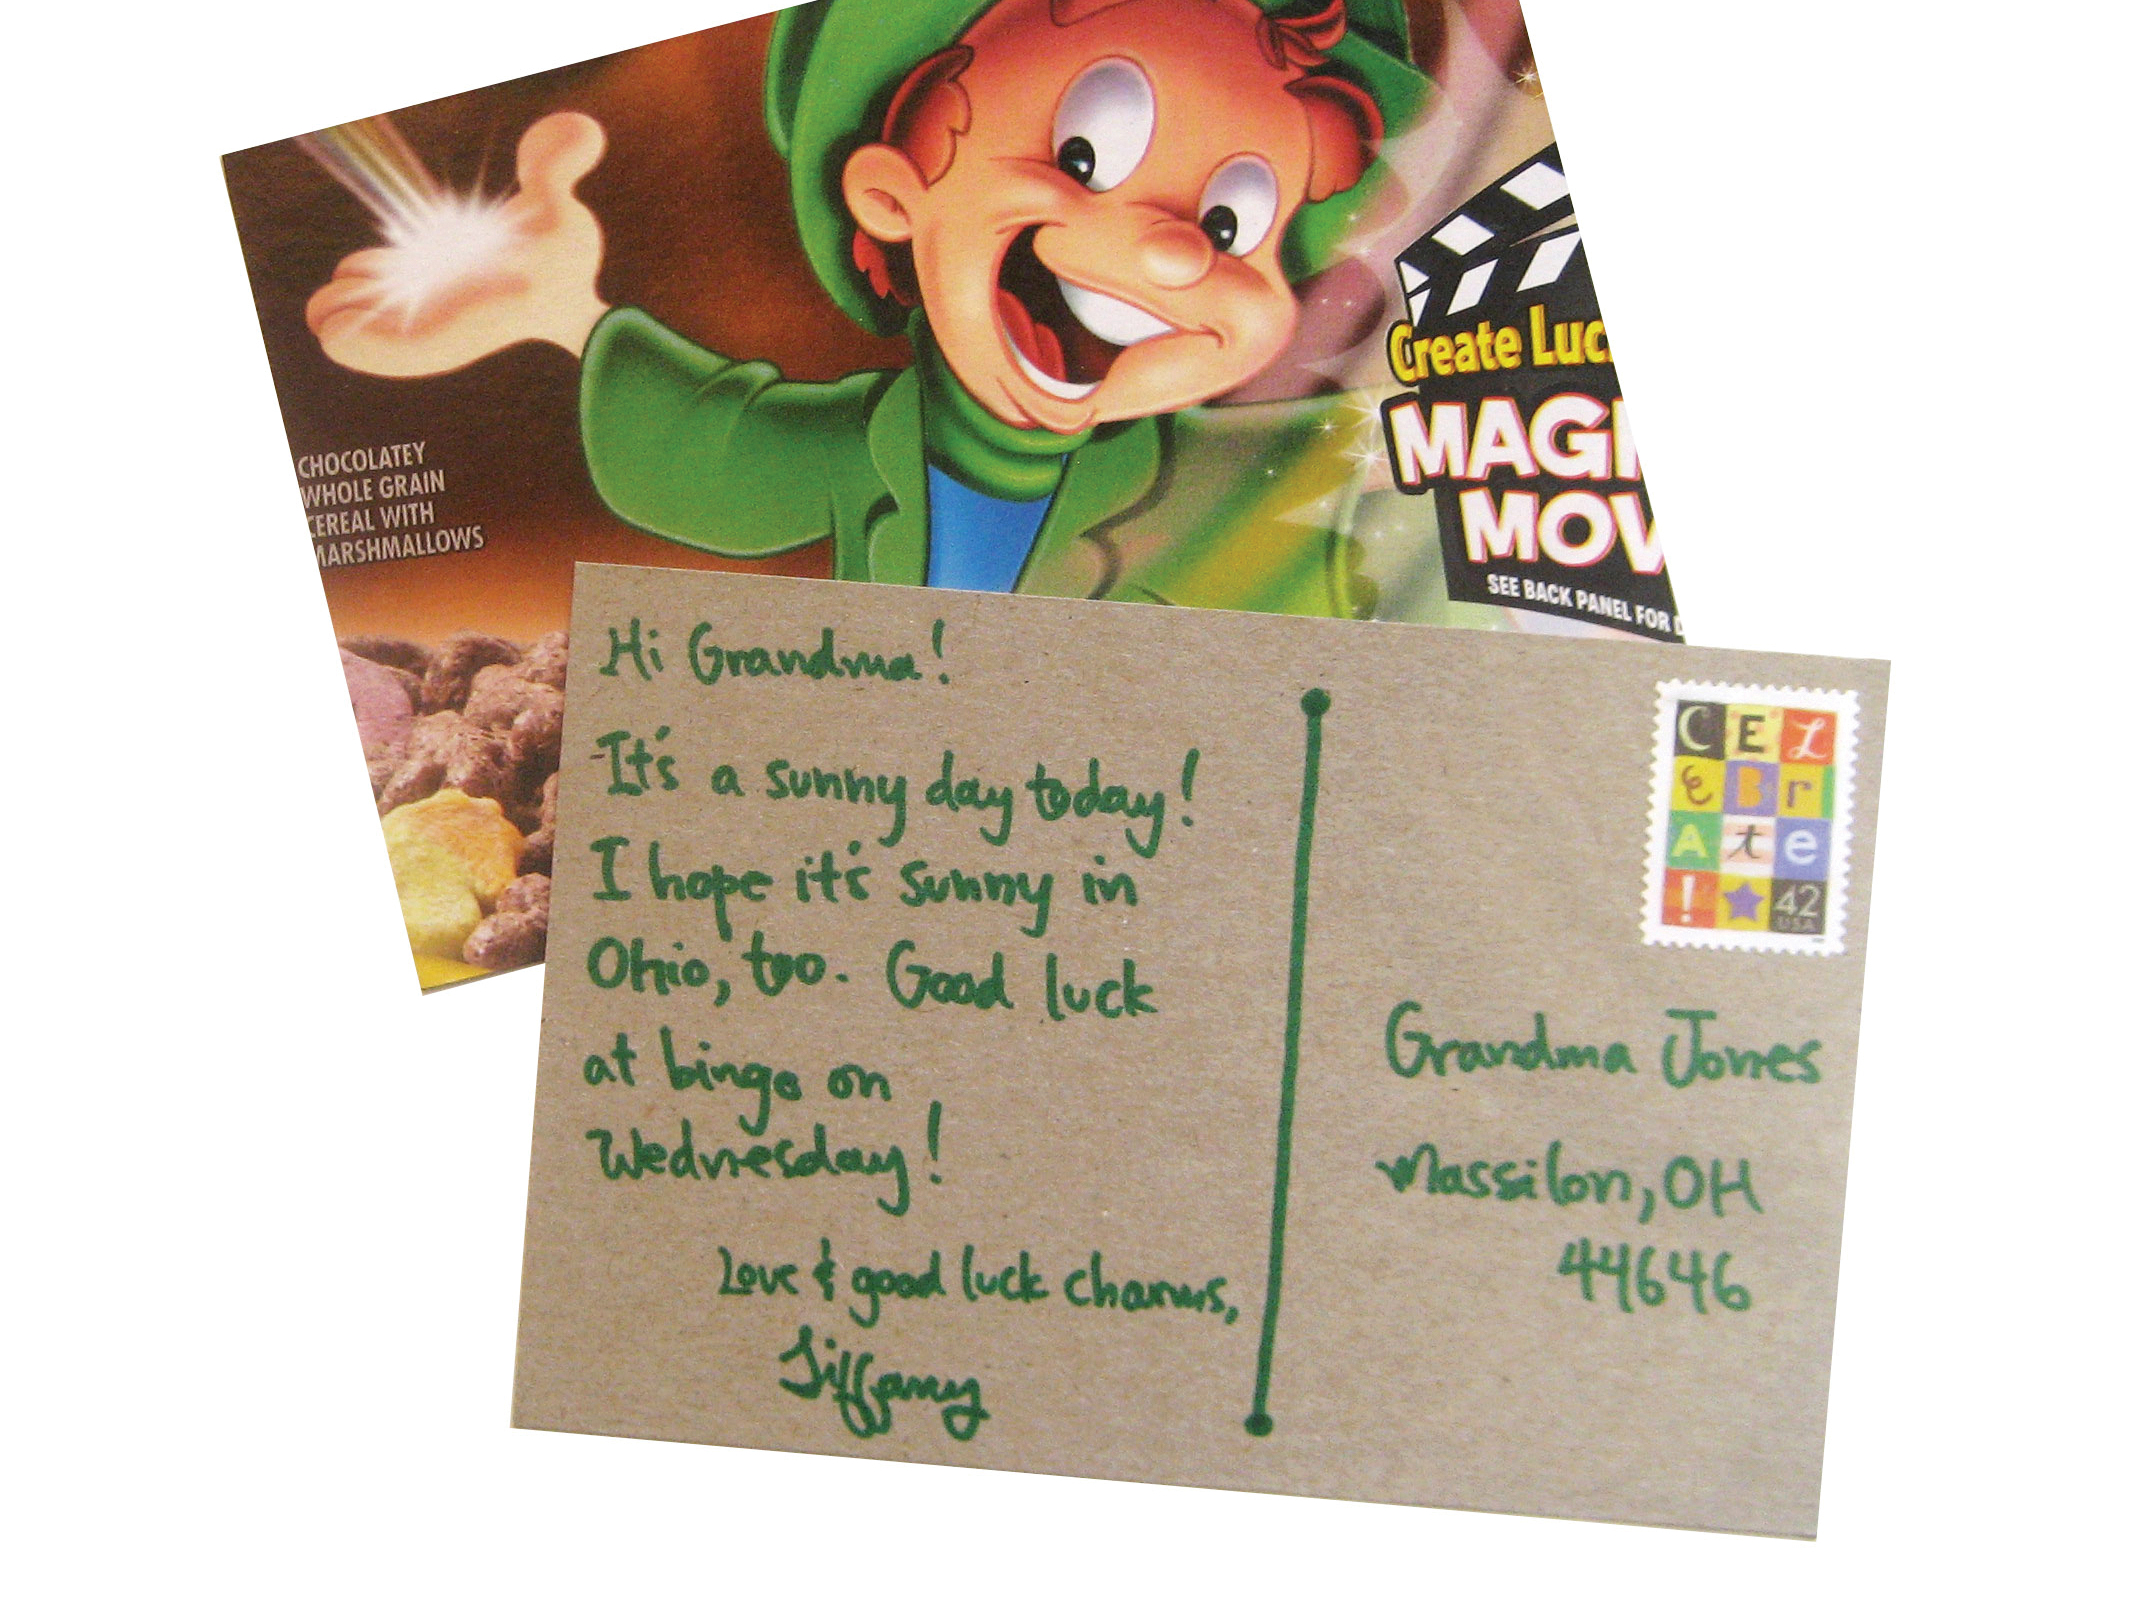
Flatten out a cereal box. Mark a 4″×6″ rectangle and cut it out. Mark lines on the blank side of the postcard for the address, and start writing.

Business card holder.

On a flattened cereal box, measure out the business card holder with the dimensions provided. You can also download a full-sized template from craftzine.com/09/recycle.

Place the ruler on top of your outline and run your paper-scoring tool along each of the dotted lines.

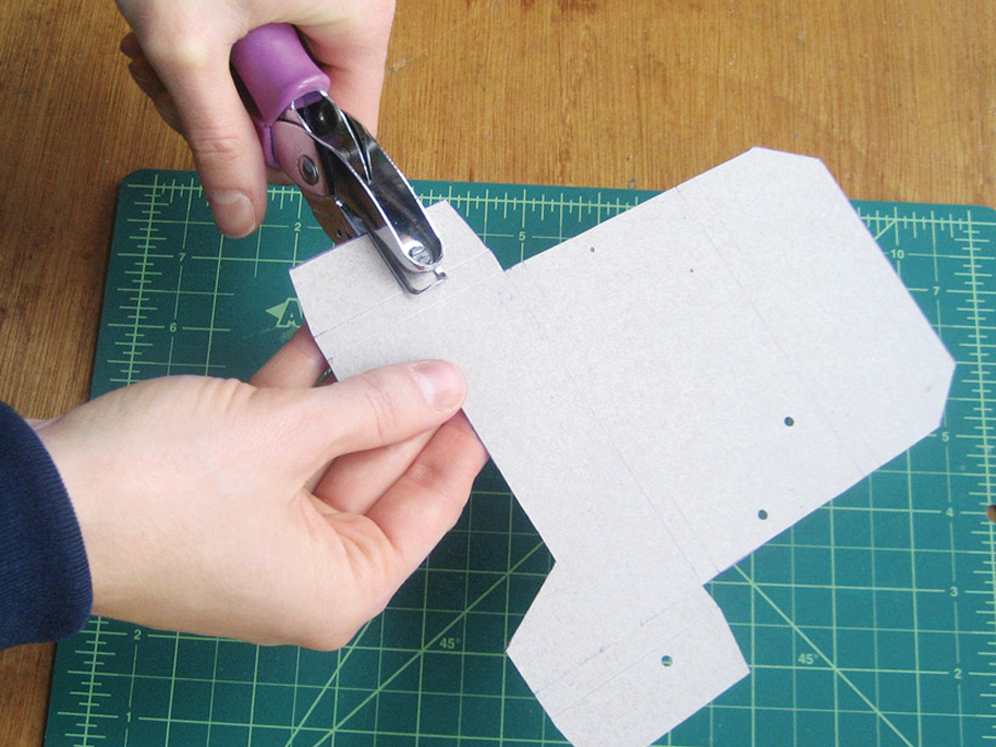
Cut along the lines and punch holes where indicated, either with a small paper punch or a tack. If you’re using a tack, wiggle the tack in the hole so it’s large enough to fit the elastic cord through. Then fold along the lines you scored.

Tie a double knot at one end of your cord and slip it through hole A with the knot on the inside of the box. Then thread it through B, going through the inside of the box and ending on the outside. Next, thread in through C, out through D, in through E, and back in through F, ending on the inside of the box. Tuck in tabs A and F. Tie a double knot in the elastic about 1″ down, and trim off any excess.

Put a little bit of glue on tabs A and F to secure them. Fold up the box and slip the elastic over the corners. Let it dry. It also works great as a little reusable wallet.

Business cards. Try making business cards. You can order a custom self-inking rubber stamp from sweetpaperie.etsy.com or designyourowncard.com, or you can make your own stamp. Keep the design and words as simple as possible. Measure and cut out the desired number of 2″×31⁄2″ pieces of cereal box. Then start stamping.

Conclusion

This project first appeared in CRAFT VOLUME 09, pages 144-145.