You can find these interesting looking old lanterns in many antique shops and flea markets. Typically they’re rusted beyond use, but a quick modification turns them into a fantastic lamp for that rustic looking room.
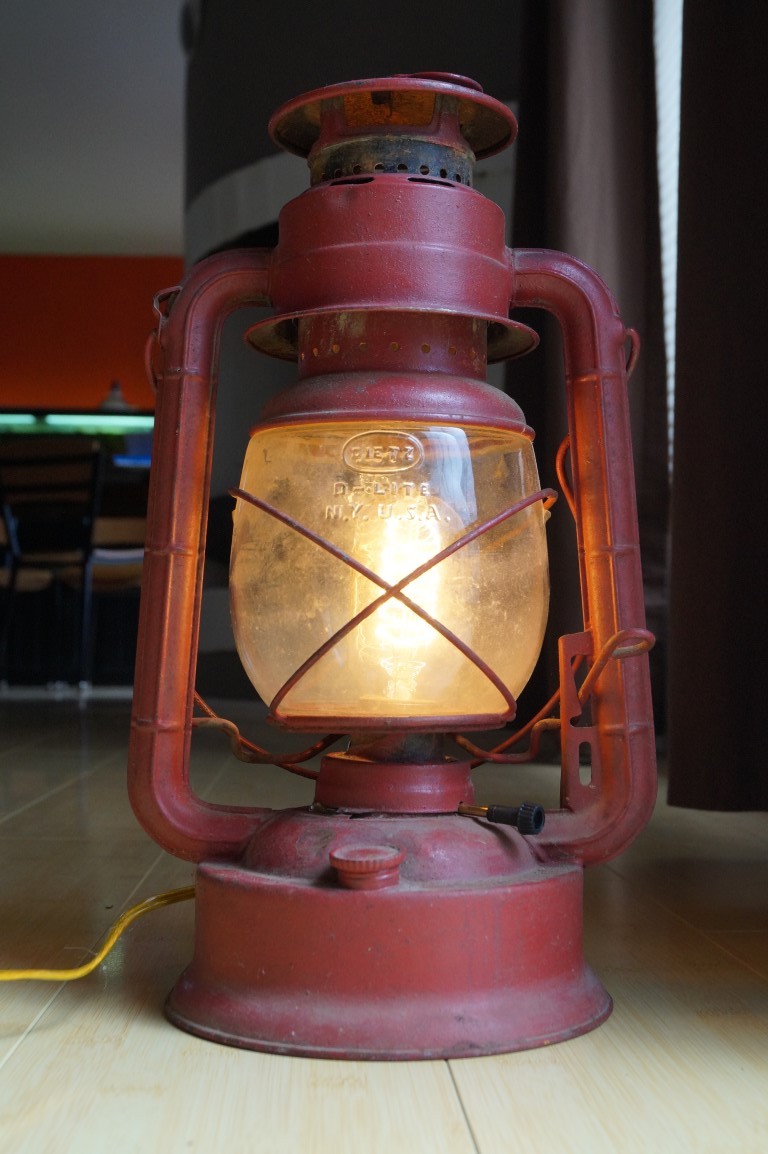

Cobwebs, dust, and other debris may have collected in the lantern over the years. Clean them out thoroughly as these can be a fire hazard.
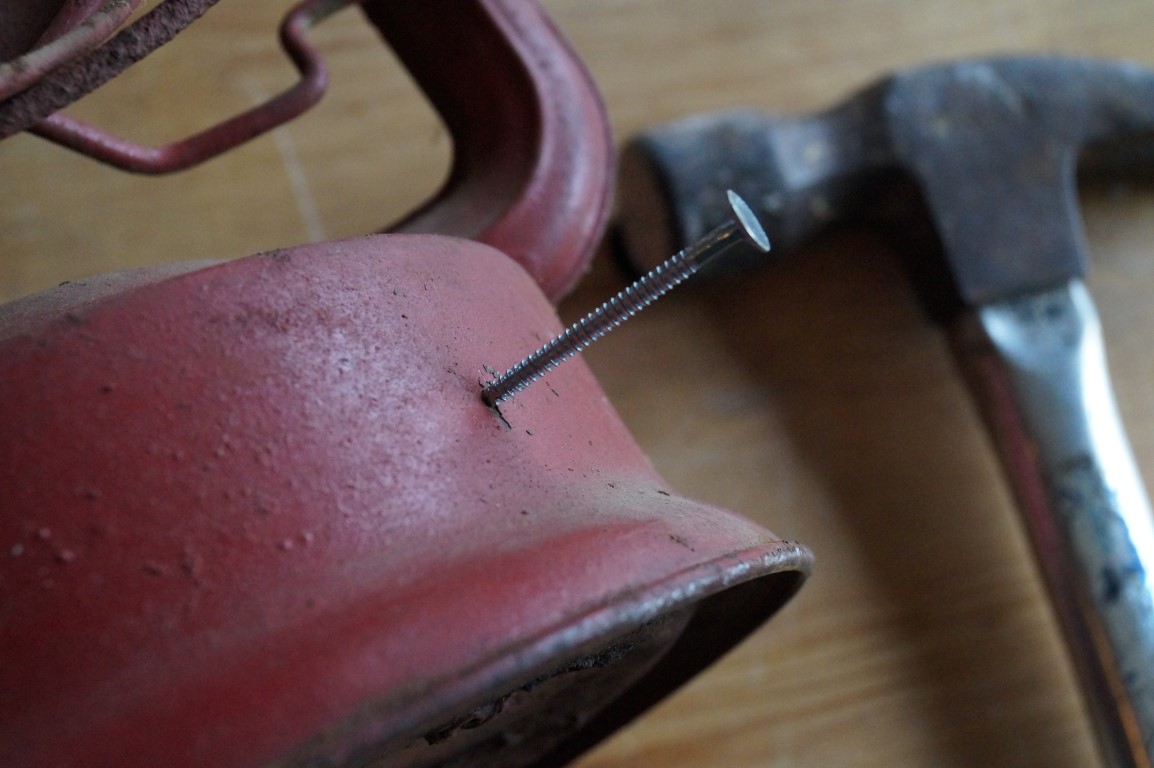
Drilling a hole in the side of the fuel cannister can be a bit of a pain. Knocking a dent into it with a nail and hammer first helps considerably.

The piece of the lantern which holds the wick will be in the way. Using a dremel tool, cut away a hole large enough for the socket to stick through.

This little stand acts as a spacer in the original lamp. Unforutnately, it can hold your socket up too high. I’ve cut it into sections and folded it away to give myself a little more space.
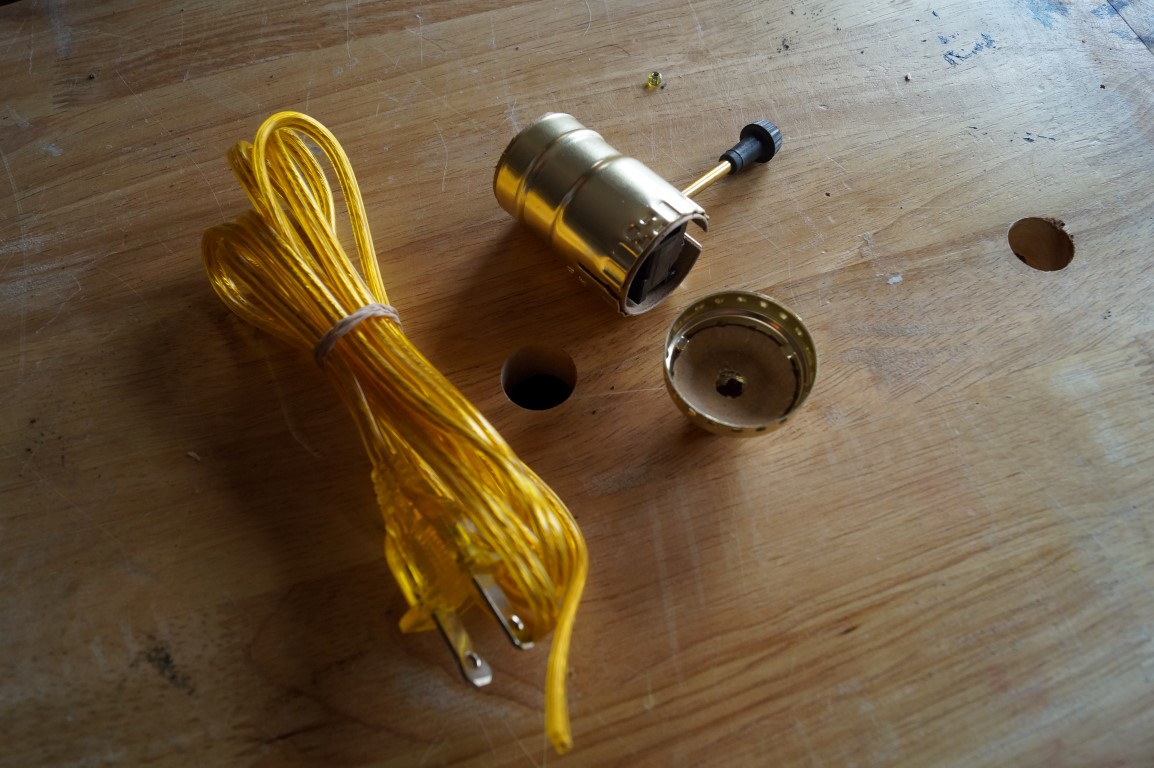
Attach the wires and such. It’s smart to tie a knot in the cord to keep it from getting yanked out of the assembly. It’s also a good idea to test at this point to ensure that you’ve got your wires connected well.
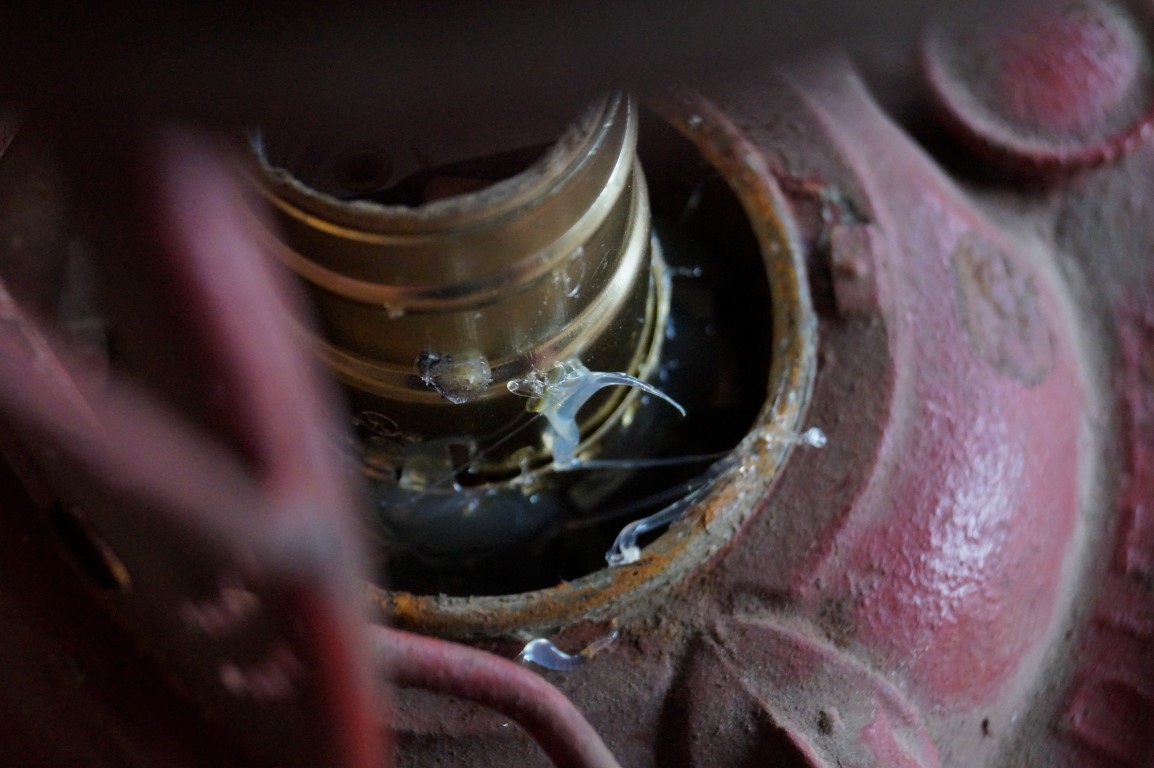
I used hot glue to glue the socket in place where I wanted it. Use a LOT of hot glue.
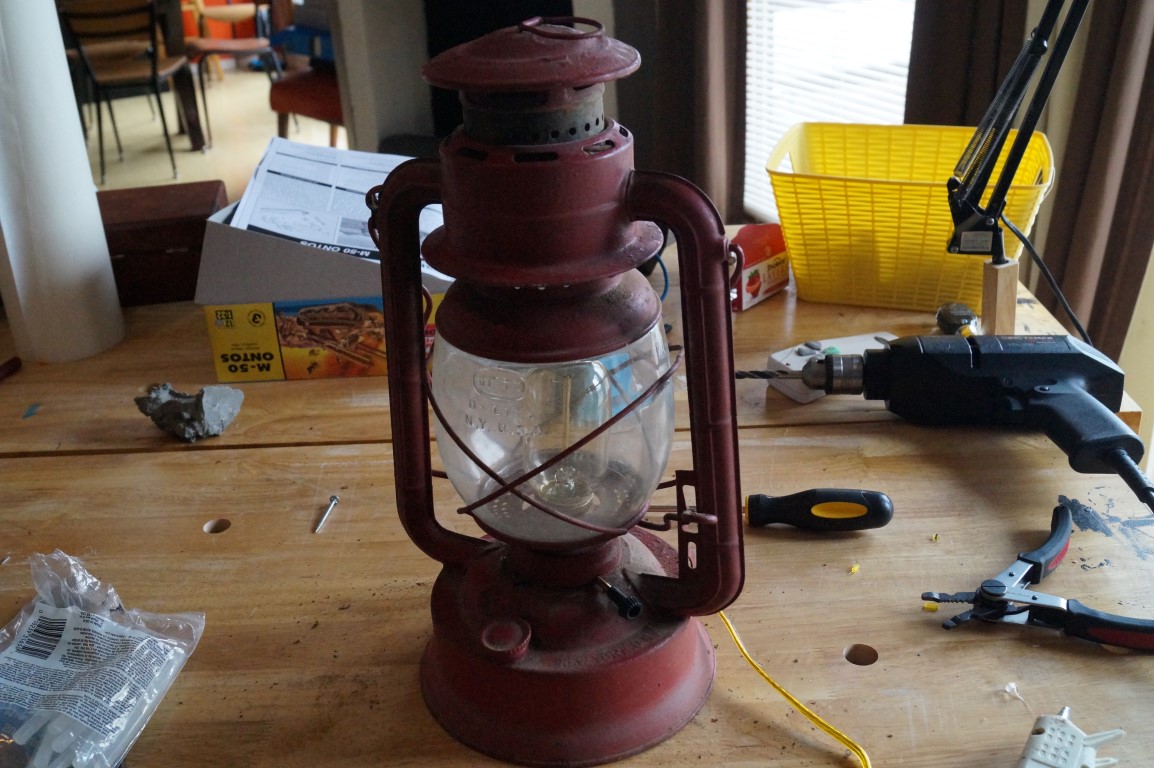
Assemble the lamp back together before attempting to add the bulb. Depending on the size of the bulb you are using, it may require some flexible fingers to install. A 40 watt bulb sheds plenty of light, though a lower wattage might be easier on the eyes.