700_6746

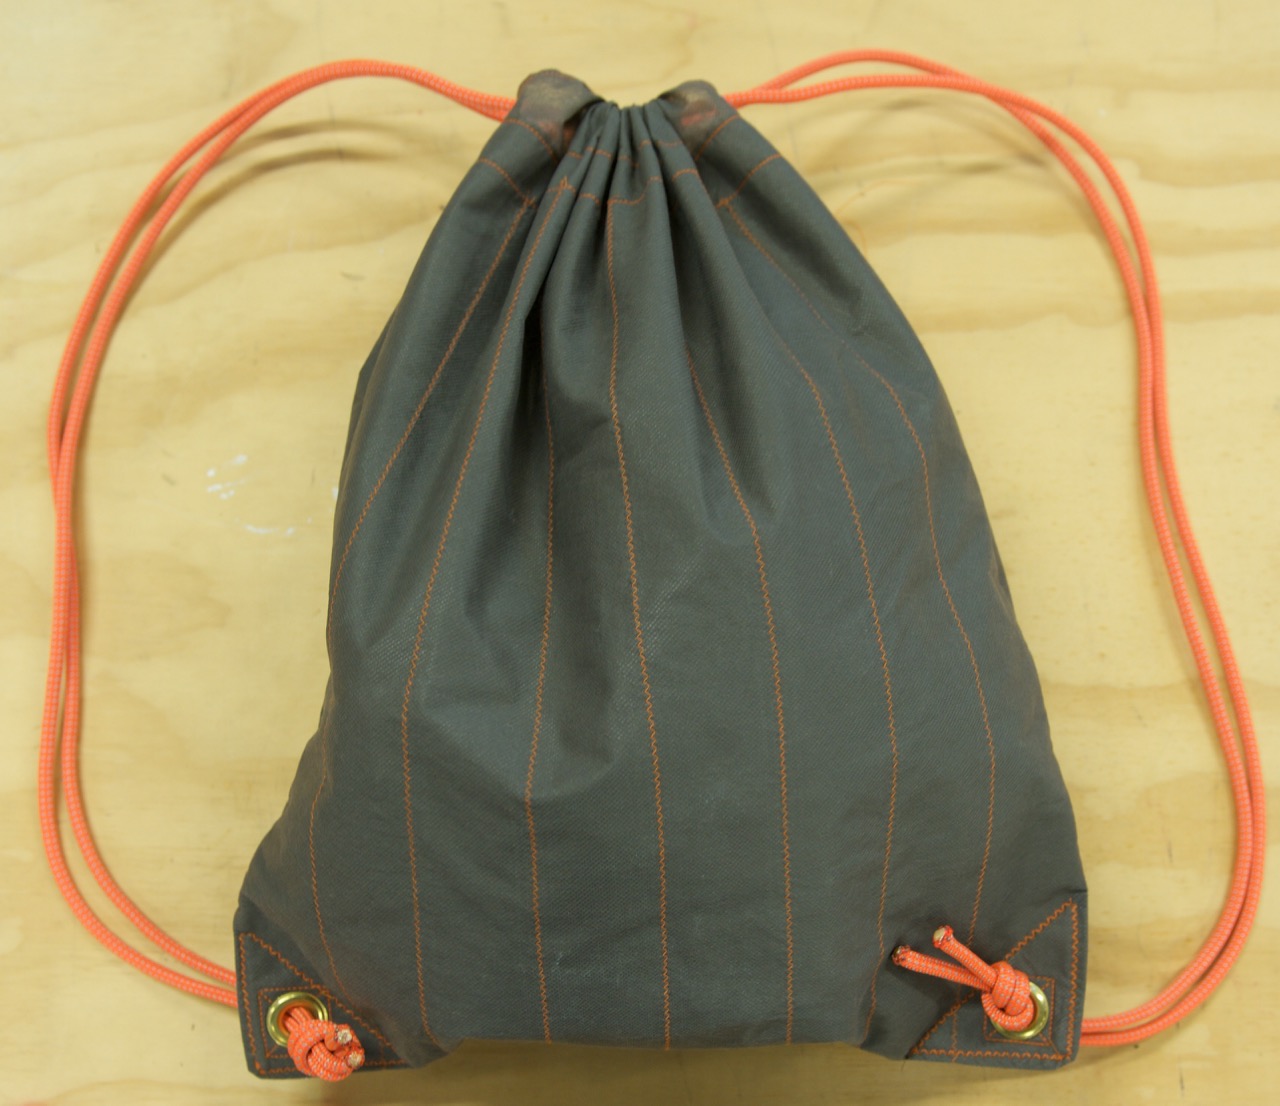
This drawstring bag is the perfect way to carry around your stuff! You can throw it over your shoulder or wear it as a backpack. I loosely based this project on another drawstring bag I had; it broke because the stitching was weak, so I made this version more durable. Also, I used much thicker rope for the drawstrings than I’ve seen on most other bags. This is an aesthetic decision that can be changed according to your taste.

I designed the main pouch to hold my climbing gear and added some pockets inside to hold my wallet, keys, and phone. However, if these storage options don’t fit your needs, please feel free to alter the design. You can really add as many pockets inside as you want and you could also try putting pockets on the outside too.

Since this is going to hold my climbing gear, I wanted to use outdoorsy colors, so I chose the grey and burnt-orange color scheme, but you can pick any colors or patterns you like to fully customize your drawstring bag!

700_6741
The pockets inside offer a great place to store your phone, wallet, and keys.

Version 2

This project is fairly easy if you already have some sewing skills. If you’ve never used a sewing machine before then you may want to try a more basic project first. You’ll also want to set aside 4-6 hours to complete it. You’ll need the supplies and materials listed in the sidebar on the right, and plenty of table space to spread out.

The fabric I used was a bit thin and delicate, so I doubled it up and reinforced it with stitching. If your fabric is durable enough with just one layer, then feel free to skip this reinforcing step. However, I think it looks pretty cool too, so you may want to add the stitching just for aesthetics.

What will the next generation of Make: look like? We’re inviting you to shape the future by investing in Make:. By becoming an investor, you help decide what’s next. The future of Make: is in your hands. Learn More.

Project Steps

Gather materials

Gather the tools and materials listed in the sidebar.

Check out the diagram to get a general sense of how this bag is assembled. Also, note the names of the different parts of the bag, as these names will be referenced later.

Cut out the pattern

Cut out four 18″×26″ rectangles of your fabric.

Lay two pieces on top of each other with the outside of the fabric facing out, and sew around the perimeter about ½” from the edge. This is called a basting stitch and is used to just temporarily hold these pieces together.

Repeat for the other two pieces of fabric.

NOTE: If you are just going to use one layer of fabric per side, then you only need to cut two pieces, not four, and you don’t have to stitch anything together.

Add stitching reinforcement

This step and the next step are not necessary if you’re only using one layer of fabric, but it looks cool regardless!

Look at the diagram for the reinforcement stitching. Mark a line 18″ from the bottom of the rectangle. (This side that we are drawing on will be the inside of the bag so that the lines will not be visible.)

Mark the center of the line you just drew. Then, add tick marks every 2 inches out from the center on both sides.

Repeat this by adding a center mark and tick marks on the bottom. Now you can connect these tick marks with straight lines (shown as zigzag lines in the diagram).

Add stitching reinforcement (cont'd)

Sew over these lines with a zigzag stitch; then, sew over the ends of these stitches with a straight line stitch. This keeps the zigzag stitches from fraying and coming undone.

Repeat for the other side piece of the bag.

Sew the sleeves

Locate the two flaps at the top of the bag and select the flap that will be on the outside of the bag (this should be the opposite side that you drew lines on).

Fold over the corners so that the edges come down 1″ from the seam.

Sew along the folded edge and trim the excess fabric.

Fold over the whole piece and pin it in place so that it looks like the second picture.

Sew straight across to create the sleeve for the rope; trim the excess fabric.

Make the pocket

Cut a 10″×12″ rectangle of fabric to make the pocket.

Fold the fabric in half so that it’s 10″×6″. Make sure the backside of the fabric is facing out.

Sew along the sides and turn the fabric outside out.

Fold over the open end of the fabric and pin it in place.

Make the pocket (cont'd)

Pin the fabric in place on the inside of one of the sides you made earlier.

Sew along the sides and bottom of the pocket.

You can also sew half way through the pocket to split it into two separate pockets.

Sew the bag together

Lay the two sides of the bag on top of each other so that the outsides are out and the insides are facing each other.

Pin them in place, and sew along the sides and bottom edges.

Trim off the excess fabric.

Sew the bag together (cont'd)

Turn the bag inside out, and sew along the edges again. This technique hides the unfinished edges of the fabric.

Turn the bag inside out again so that the seams and the pocket are once again on the inside.

Add grommets

Use one of the grommets to help you mark out the reinforcement stitching for the grommets.

Fold a square of scrap fabric along the diagonal, and cut off the corner. Slide this into the inside corner of the bag to provide more durability for the grommets.

Sew a triangle around the corner of the bag, and also a square with an ‘X’ in it to reinforce the grommet.

Add grommets (cont'd)

Trim the excess reinforcement material.

Punch the hole for the grommet.

Add grommets (cont'd)

Insert the grommet pieces into the hole so that the finished side is facing out (the side without the pocket).

Punch the grommet using the hardware included with your grommet kit.

Repeat steps 9-12 for the other corner of the bag.

Cut the rope

Cut two 8′ lengths of rope and use a lighter to seal the fraying ends.

I used a thicker rope, but you can use a thinner material instead, such as paracord.

Add ropes

Thread a piece of rope into one sleeve, and then back through the other sleeve.

Thread both ends through the grommet and tie a knot to prevent the rope from slipping back through.

Repeat on the other side of the bag with the second rope.

Fill it up

Your bag is now finished! Grab some stuff and fill it up to test it out.

I made this bag to hold my climbing gear, and also to fit my wallet, phone, and keys.

Use it

Now that you’re packed up, you are ready to go!