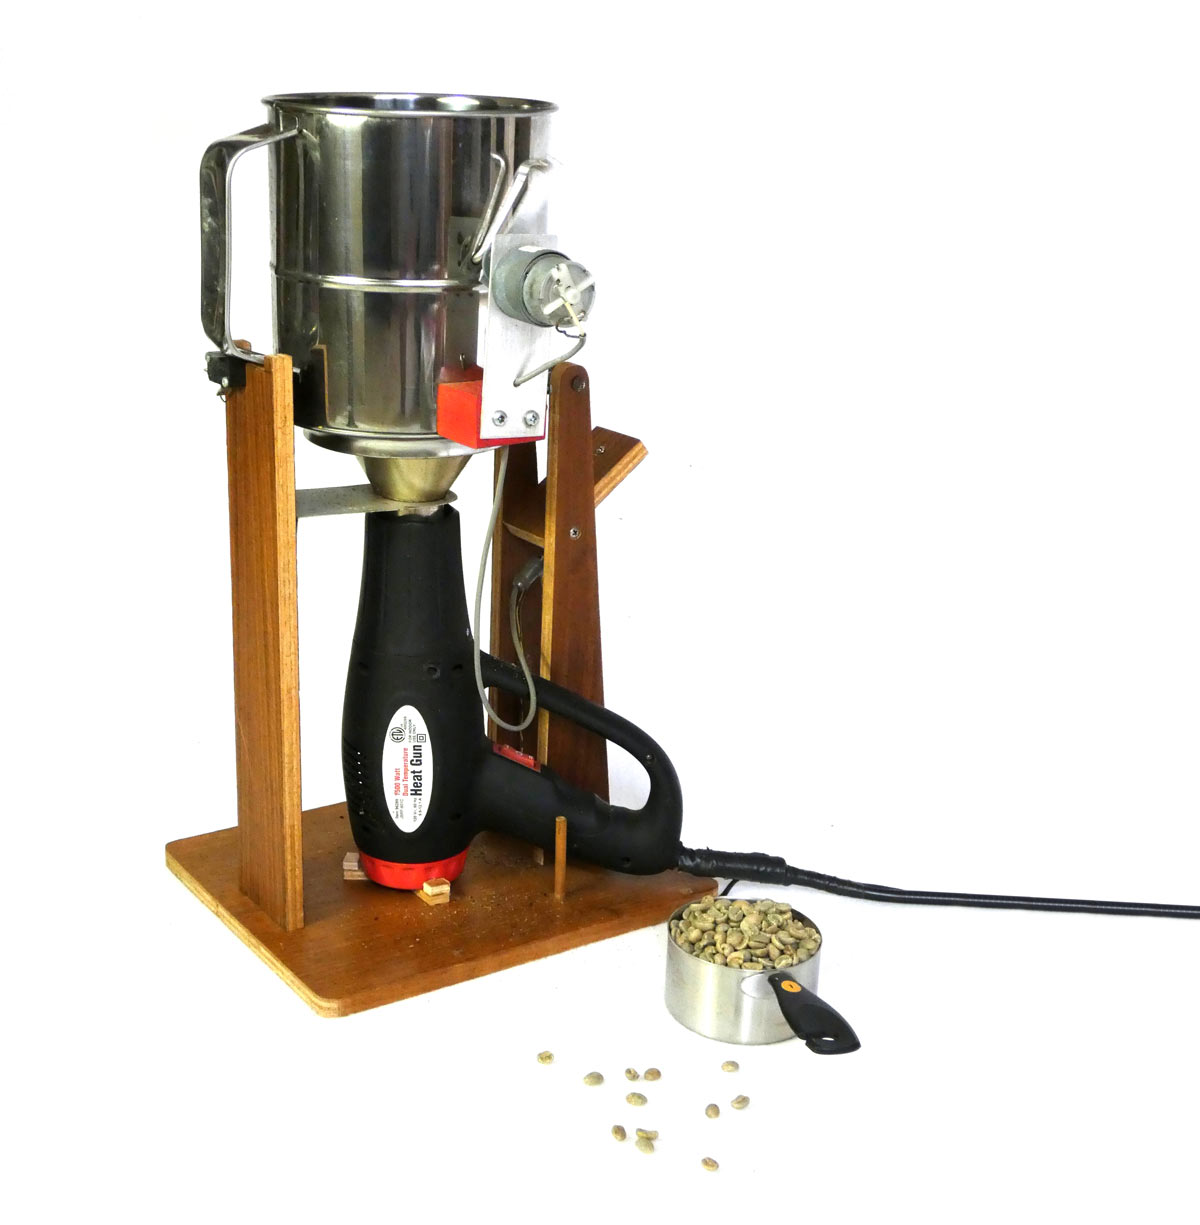
Over the years, Make: has been kind enough to publish three of my DIY coffee roaster builds. (I’ve promised my editor this will be the last; he’s probably skeptical.)
Each roaster has improved on its predecessor in a few ways. This one, based on a simple flour sifter, is my best yet. How is it even better?
-
- Best heat distribution to every bean
- Beans are totally visible for the entire roast, unlike even some commercial machines
- Quick and easy to dump (and cool) the beans after roasting. Check out sifter roaster videos online for comparison. Hint: They usually skip the critical bean-dumping stage.
- Easily roasts 12oz of green beans — more than some commercial roasters
- Uses cheap parts and materials widely available at Amazon, Harbor Freight, and Lowes.
“But,” you say, “I don’t roast coffee!” Well, most people don’t — yet — but you should seriously consider it. What you may not realize is you’re 10–15 minutes away from the freshest coffee obtainable. Green (raw) coffee beans are widely available from many reputable dealers, and of course Amazon. Somebody’s gotta roast all those beans and it might as well be you.
Here I’ll cover the basic version. You can also make a larger version that quickly cools the beans in a tray with two small fans. If you can’t decide, you can build the basic roaster on the larger base meant for the fan-cooled version, with the possibility of adding the cooling parts later.
You can make the simple sifter roaster in a weekend, tops, with no special skills, for well under $100. Adding the fans would take a little more time and maybe another 20 bucks.
Build Your Flour Sifter Coffee Roaster
The instructions below require the specific sifter and heat gun (hereafter called HG) in the Materials list. Others will work as well, but will differ in critical details and dimensions. All unspecified screws are #6×½” Phillips pan-head sheet metal screws.


