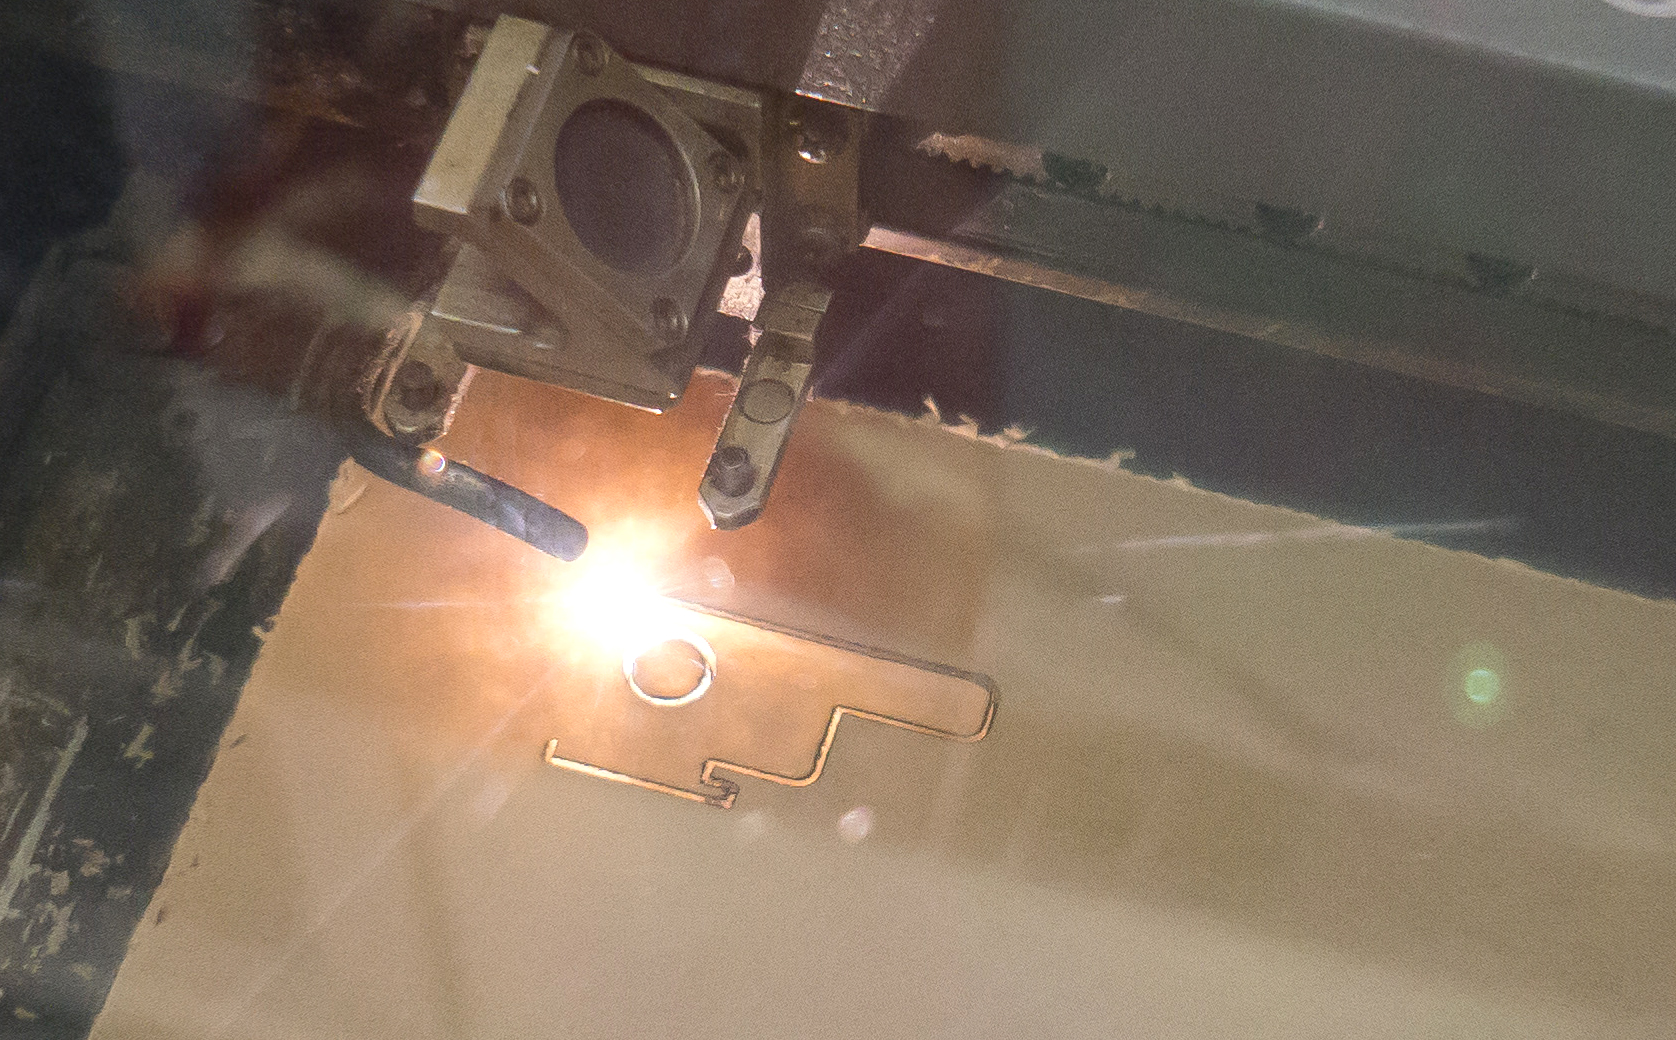
laser cutting stl file 2

3D printers are not always the right tool for the job. They’re fantastic tools with unique capabilities, but there are often better, more efficient ways to fabricate simpler parts. For flat designs, a waterjet or laser cutter can breeze through one or more parts in the time it takes a 3D printer to extrude a single layer. A more efficient process allows you to iterate through designs more quickly, improving the overall quality of your project. While these tools aren’t exactly cheap, they are becoming increasingly accessible at makerspaces and school workshops.

3D printing the Eckerman's bounce flash tool was pretty effortless, but I was convinced there was an even better way.
3D printing Eckerput’s bounce flash tool was pretty effortless, but I was convinced there was an even better way.

To be clear, I believe that the massive growth of consumer 3D printing is a wonderful thing. The technology has allowed a community and culture of making and sharing “instantly” manufacturable designs to grow and thrive. Thanks the 3D printing revolution, I was able to find a neat little ‘bounce flash’ tool for the pop-up flash on my Sony NEX-6 mirrorless camera. Designed by ‘Eckerput’ on Thingiverse, the tool slides into my camera’s hotshoe and holds the flash up so that the emitted light hits the ceiling before it hits the subject. Bounce flash photography reduces glare and produces more natural looking photos.

I laser cut a flash bounce tool designed by 'Eckerput' on Thingiverse.
The flash bounce tool designed by ‘Eckerput’ on Thingiverse.

While printing the file on our MakerBot Replicator was a pretty effortless process, I couldn’t help but think about how much faster it would have been on our Epilog Mini 24 laser cutter. In this tutorial, I will show you two methods for converting .STL files designed for 3D printing into vector files for vector laser cutting using either Rhino 3D or Autodesk 123D Make.

NOTE: Please be warned, your laser cutter may operate differently from the Lab’s Epilog Mini 24. For your safety, please consult the appropriate manuals to get properly acquainted with your laser cutter.

For information on vector cutting and another neat laser cutting project, check out my article from last week!

What will the next generation of Make: look like? We’re inviting you to shape the future by investing in Make:. By becoming an investor, you help decide what’s next. The future of Make: is in your hands. Learn More.

Project Steps

Choose your file

Remember that the design must be flat. I laser cut a flash bounce tool designed by ‘Eckerput’ on Thingiverse.

Choose your material

Make sure your laser cutter can actually handle your material!

I used an ⅛” thick acrylic sheet.

Method 1: Open the .STL file in Rhino 3D

Notice how the part is made of a mesh of lines. To make something more laser-friendly, you need to extract the outlines.

Method 1: Use the 'Explode' tool to separate faces

You can either type ‘Explode’ into the command line or go to ‘Edit > Explode’ from the menu bar.

To verify that your part has been properly exploded, try selecting different faces. If only one face is highlighted, your part is ready for the next step.

Method 1: Use the 'Duplicate Border' tool to create an outline

After selecting an appropriate face, you can either type ‘DupBorder’ into the command line or go to ‘Curve > Curve From Objects > Duplicate Border’ from the menu bar.

Method 1: Separate the new outline and delete the old solid model

Drag the outline away from solid model to separate them. Then, highlight the solid model and hit the ‘delete’ key.

Method 1: Save as an Adobe Illustrator (.ai) file

Make sure that you are in an appropriate view. In the ‘AI Export Options’ window, turn on ‘Preserve model scale’ and set 25.4mm to 1″ in the text boxes.

Method 2: Import the .STL file into Autodesk 123D Make

The import button is on the left hand side of the window.

Method 2: Scale as needed and set the 'Construction Technique' to 'Stacked Slices'

For parts larger than ~2″×2″, you can use the ‘Original Size’ radio button if you want to make the part as designed. However, due to imperfections in the export process, I’ve found that it is best to scale up small parts in 123D Make and then scale them back down in Illustrator.

When scaling, make sure that ‘Uniform Scaling’ is on.

See the third image to get a better idea of the scaling issues you might run into.

Method 2: Use the 'Get Plans' button and Export as a DXF

See second image for placement of menu option

Open your converted file in Adobe Illustrator and edit as needed

Scale your art with the text boxes labeled ‘W’ for width and “H” for height. Make sure that “Constrain Width and Height Proportions” is active by clicking the chainlink button near the width and height boxes.

Scale your ‘Artboard’ to match the size of your material.

To get our laser cutter to recognize paths for vector cutting, I had to change all stroke thicknesses to .001pt. It can also use colors to differentiate paths for multiple speed and feed settings.

NOTE: Your cutter may be different. For your safety, please consult the appropriate manual for instructions!

Send the job to your laser cutter

Our laser cutter is connected to the computer as a printer. Again, your cutter may be different. For your safety, please consult the appropriate manual for instructions!

Your part is ready to go

Get your laser cutter running and enjoy your new, more efficiently fabricated part!

Since your laser cutters tolerances are most likely very different from a 3D printers, you might find that your part isn’t exactly the right size for certain fits. Fortunately, you should be able quickly iterate through different scaling factors!