I demonstrate how to transfer a file from SketchUp, to be cut by a laser cutter in pieces using the Slice Modeler plugin desinged by TIG from http://www.cad-addict.com.

What will the next generation of Make: look like? We’re inviting you to shape the future by investing in Make:. By becoming an investor, you help decide what’s next. The future of Make: is in your hands. Learn More.

Project Steps

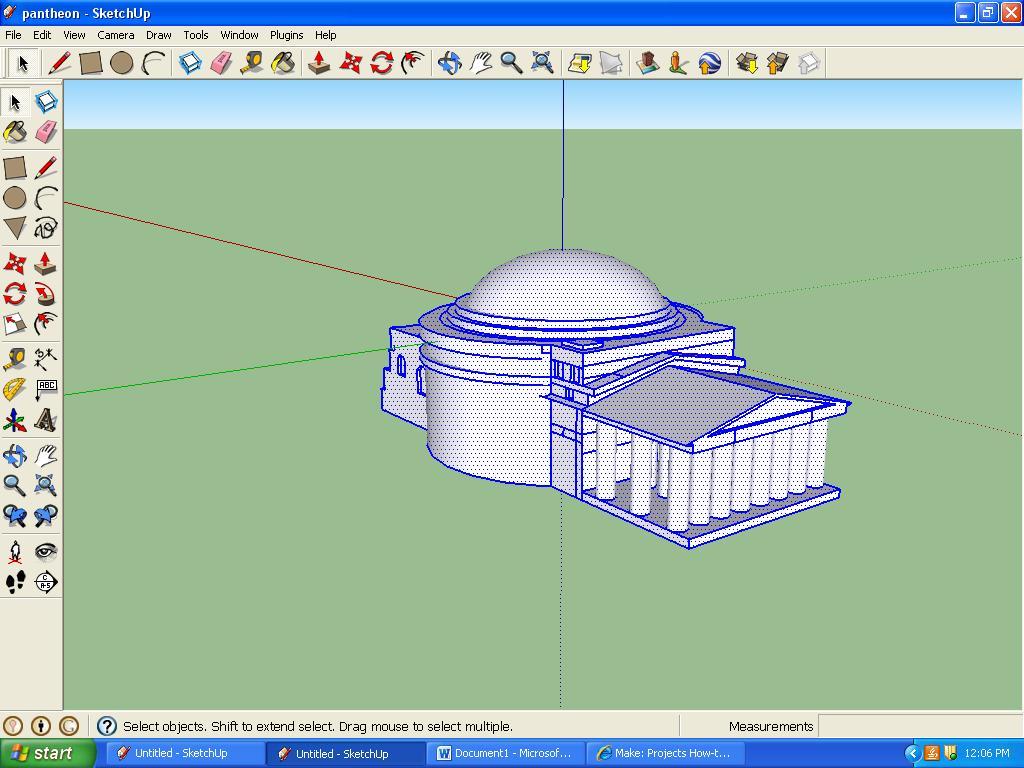
Once you have constructed your desired object, choose the arrow tool in the top left and drag it over the entire model. Once releasing the arrow tool, the whole thing should be highlighted in blue.

Once successfully highlighted, right click on the object and press “make group”. A large blue box should appear around your design.

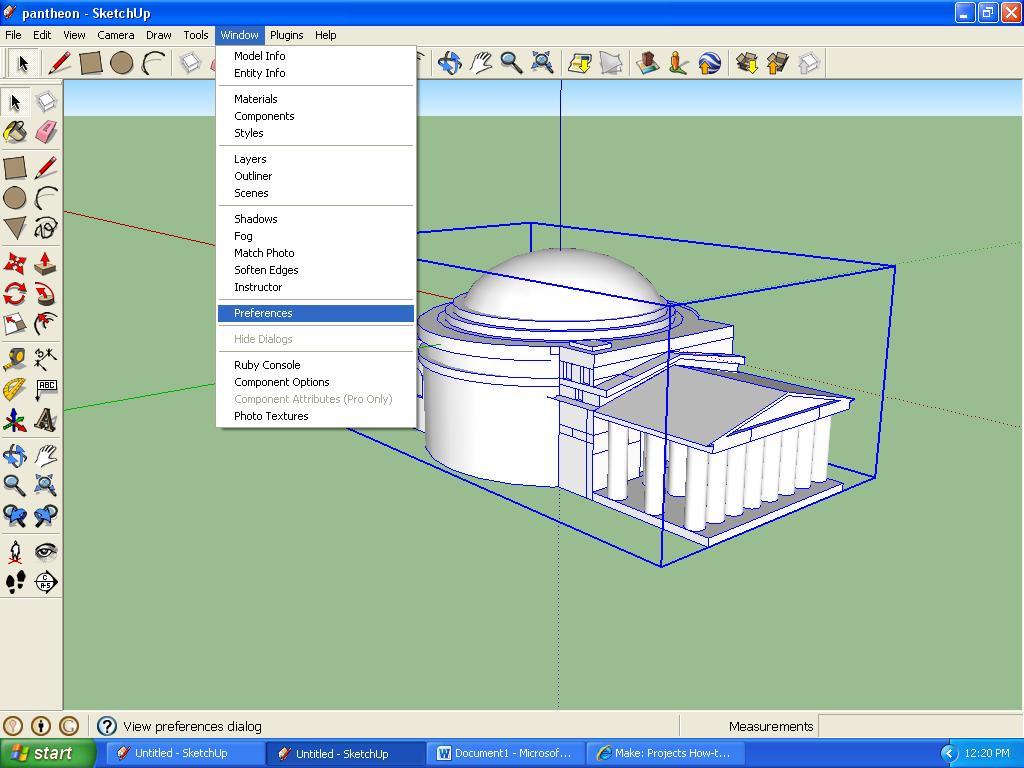
On the task bar at the top of your screen should be the word “Plugins”. Plugins can be found between “Window” and “Help”.

(If you do not see the Plugins option, it may be hidden from view or not acknowledged by the program. To fix this, click Window, then scroll to Preferences. A small window will appear like this:

Click Extensions. Providing you downloaded the Plugin correctly, it will show up among other Plugins as shown above. Click all the boxes that appear.) Then hit OK.

In continuance, after clicking Plugins, Slice Modeler should appear to be an option. With your object still selected, click Slice Modeler. ( All credit goes to TIG from cad-addict.com for designing the plugin.) A window named “Slicing Parameters” will now show up like so:

Now, this is where there may be variables. The whole process contains a little bit of guess and check. To begin, I normally plug 1/8 for “Slice Spacing” and 1/8 for “Slice Thickness”. Now, I begin with numbers so small simply because I am designing models for a MK5 HBP Cupcake. The platform for the machine is only 4’ by 4’. If your object is larger and your application is different, then I’d suggest plugging in slightly larger numbers to begin with.

Under these two options is the “Slice Orientation”. This all depends on your desired result and the design of the object. There are 3 options, X which slices horizontally, Y which slices vertically, and Z which slices in a somewhat undetermined fashion depending once again on your object. For these instructions and easiest presentation, I will pick X for my Slice Orientation. You may leave “Layer” at “Layer 0”. It has no effect unless customized. Then color is the orientation of the object which may be left at default.

After finishing these parameters, click “OK”. It will then ask you if you wish to add a number to each slice. Click yes to make it easy to keep track of all the cuts once made. It then gives you specifications:

Click leave Original Section hidden to only see the cuts themselves opposed to the cuts within the entire object.

The original menu will then appear once again. If you wish to slice the object two ways, then follow step 4 all the way through again. So if you only want the object cut one way, simply hit cancel. In this case, I’m only going to slice my model on the X axis.
You are then left with your sliced model! If your model does not have full and complete walls, there may have been missing components in the original sketchup file as can be seen here:

If this is the scenario, then simply connect the lines to make full walls in order to have proper cuts. It is fairly obvious as to what lines are and are not connected. I fixed this issue and erected full walls ready to cut!

(Now that you have a full set of slices, the flights of ideas plugin found at flightsofideas.net should also be on your screen once downloaded and clicked in step 3. The plugin is an SVG extension which is an acronym for Scalable Vector Graphic. It takes the slices and exports them. The extension should be right on your screen next to the object as seen in the picture above. It is in the top left corner with green lettering saying “SVG” and a dragonfly next to it.)

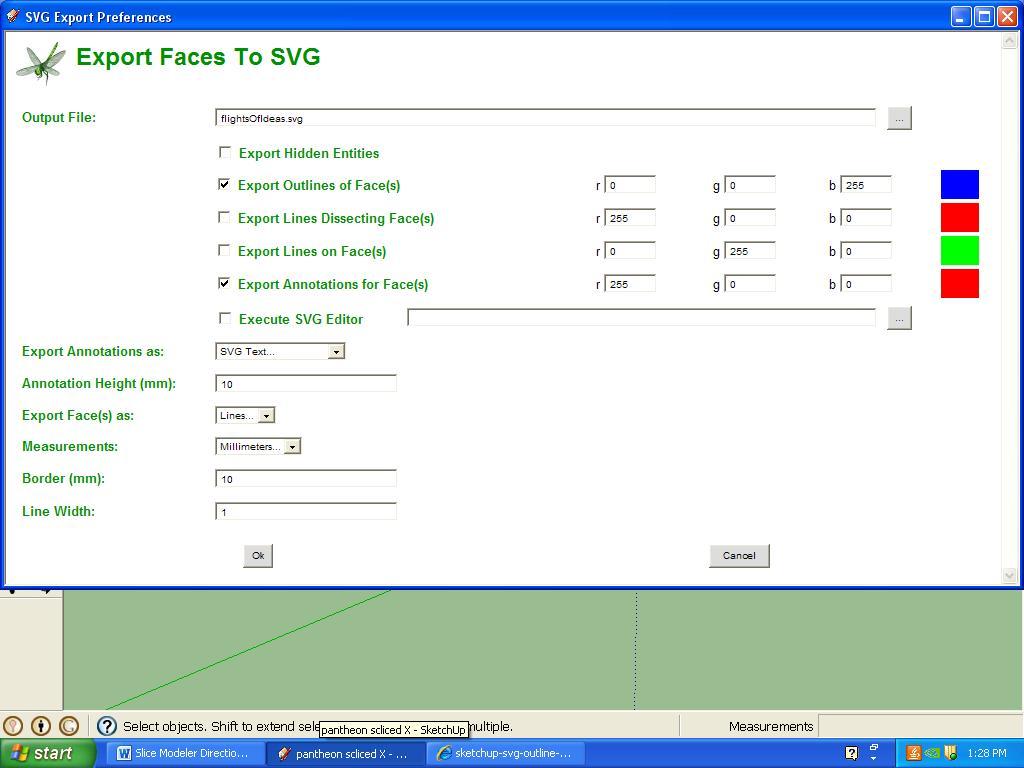
The object should still be grouped from Step 2, but if not, follow the step again. After grouped, click the Flights of Ideas extension. A window then pops up that says “Export Faces To SVG”.

At the “Output File” bar, type in what you wish to save the object as. ***NOTE***- Ensure after naming the object you leave the file extension “.svg” at the end. This is important!

As for the rest of the Flights of Ideas settings, you may leave them be. Hit ok, and it will then acknowledge that the file has been exported.

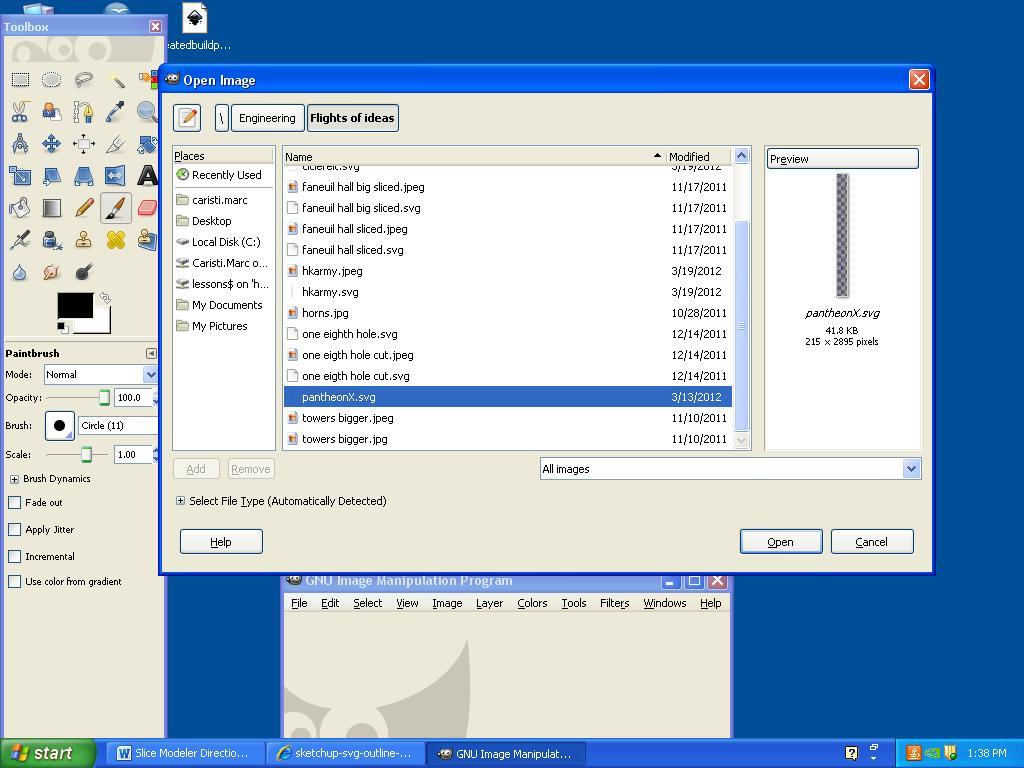
Open up Gimp. Find your file, where it should have a “.svg” file extension if exported correctly as highlighted in blue, and open it up:

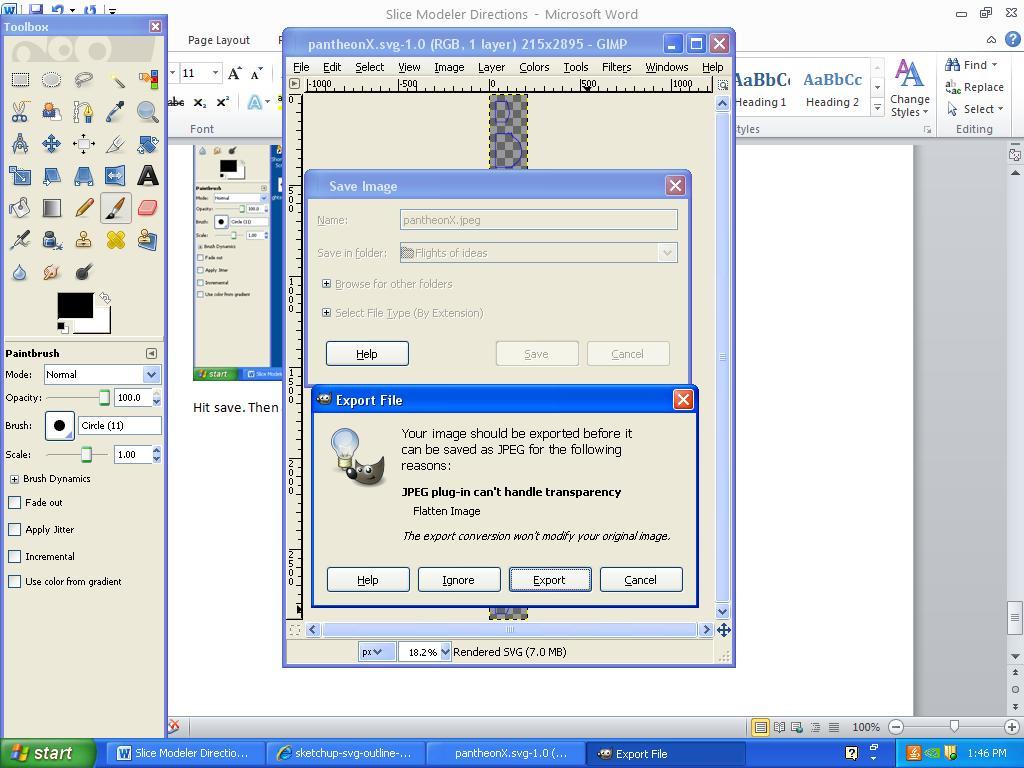
Here you should find all the slices of your object lined up and ready to be sent to the laser cutter! One last step though. You must click file, then save as. The name of your object will appear with the “.svg” file extension at the end of it. You must erase the “.svg” and put “.jpeg” in its place instead. A jpeg is a picture file that the laser cutter will acknowledge and open up.

Hit save. Then another box appears. Click “Export”

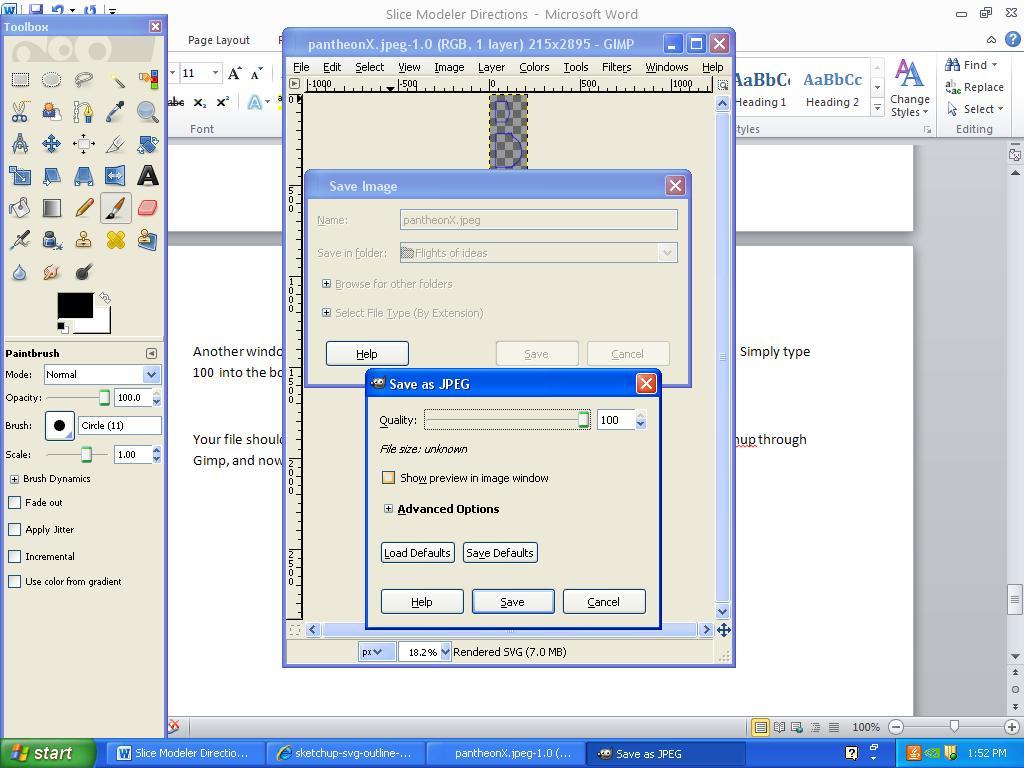
Another window will then pop up that says “Save As JPEG”. The first line down says quality. Simply type 100 into the box and hit save.

Your file should now open on your laser cut and has made a successful transfer from Sketchup through Gimp, and now into whatever program you use to run your laser! Happy cutting!