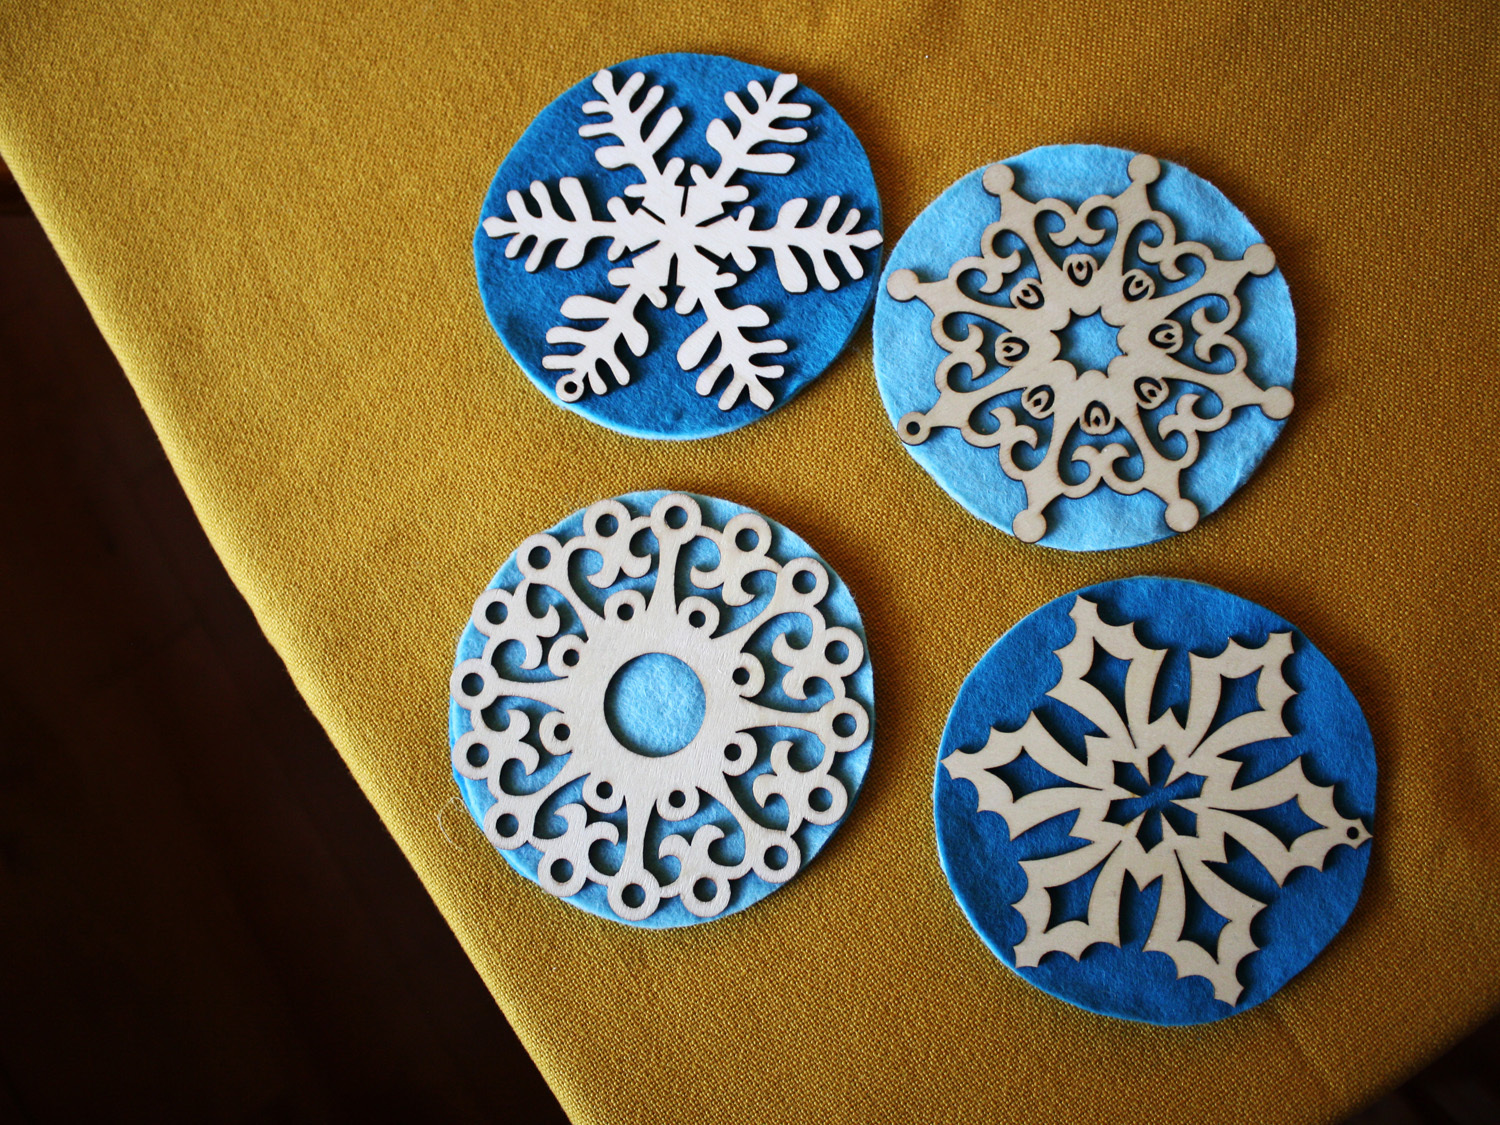
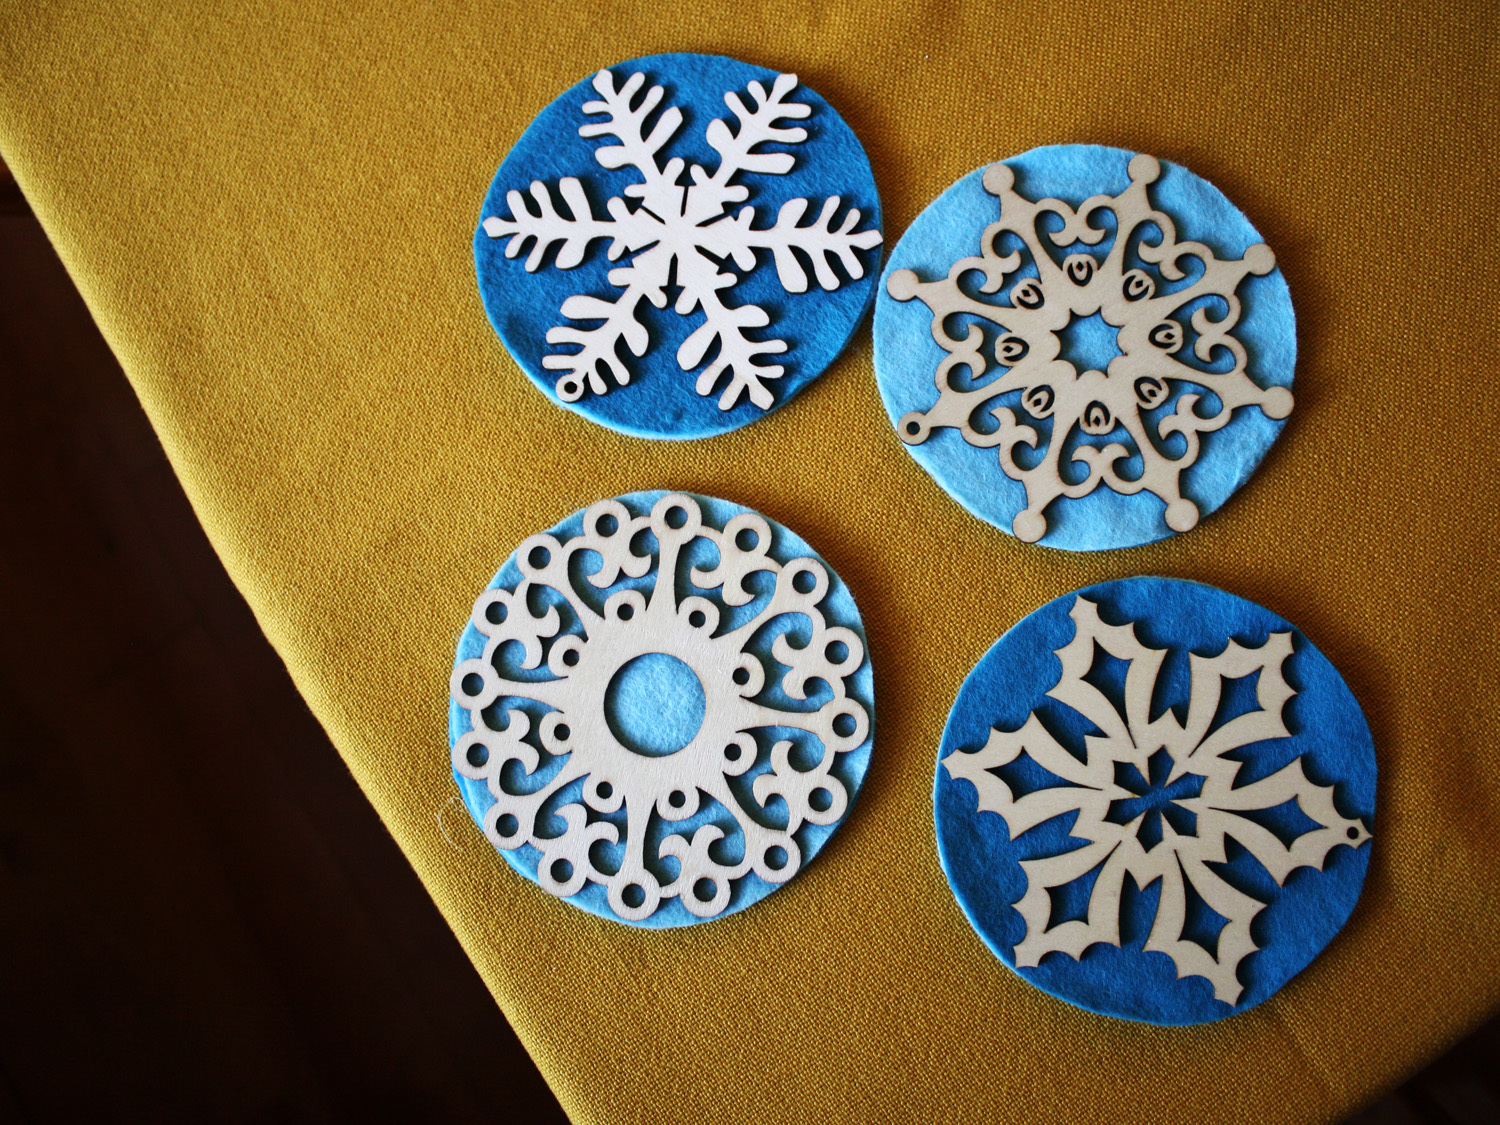
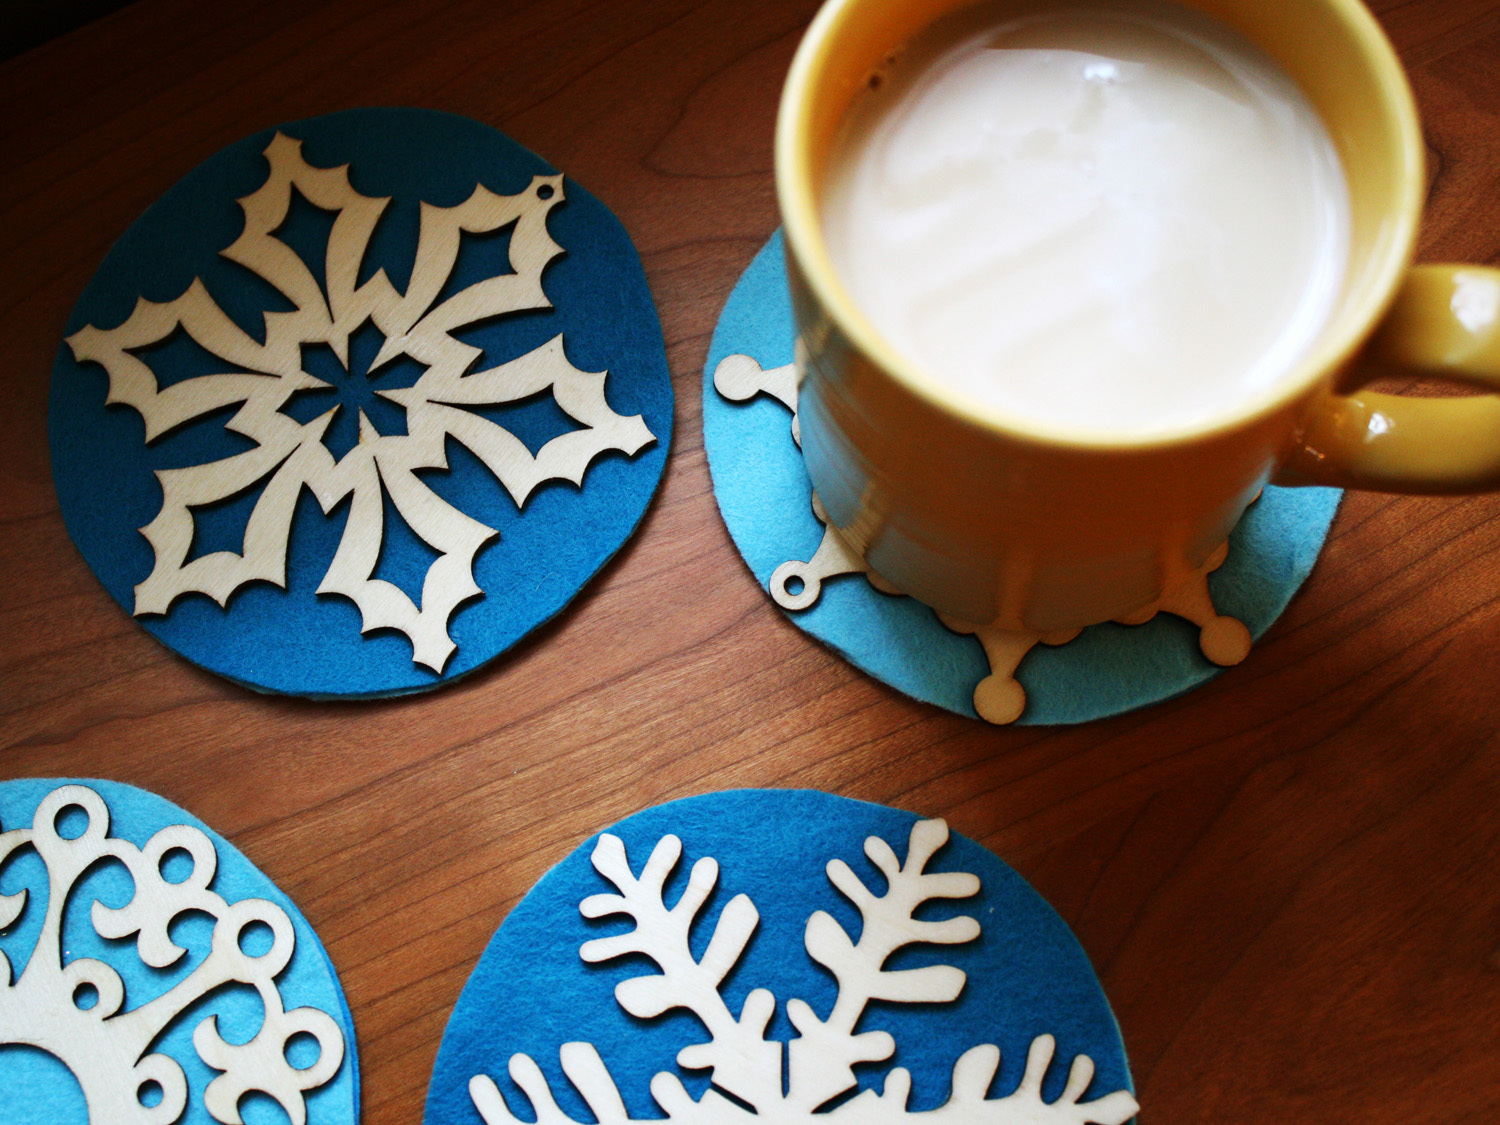
For the past few years, I have seen pretty little laser-cut ornaments in the craft stores. Recently, on a paint run to Michael’s, I discovered an assortment of lovely unstained snowflakes. They were so pretty, I scooped up about a dozen or so. They are the perfect size to place a hot mug of tea or coffee on so I thought, “Why not?” Here’s my how-to for an easy-yet-elegant holiday gift that would be especially delightful as a hostess gift.

What will the next generation of Make: look like? We’re inviting you to shape the future by investing in Make:. By becoming an investor, you help decide what’s next. The future of Make: is in your hands. Learn More.

Project Steps

Step 1: Prepare snowflakes

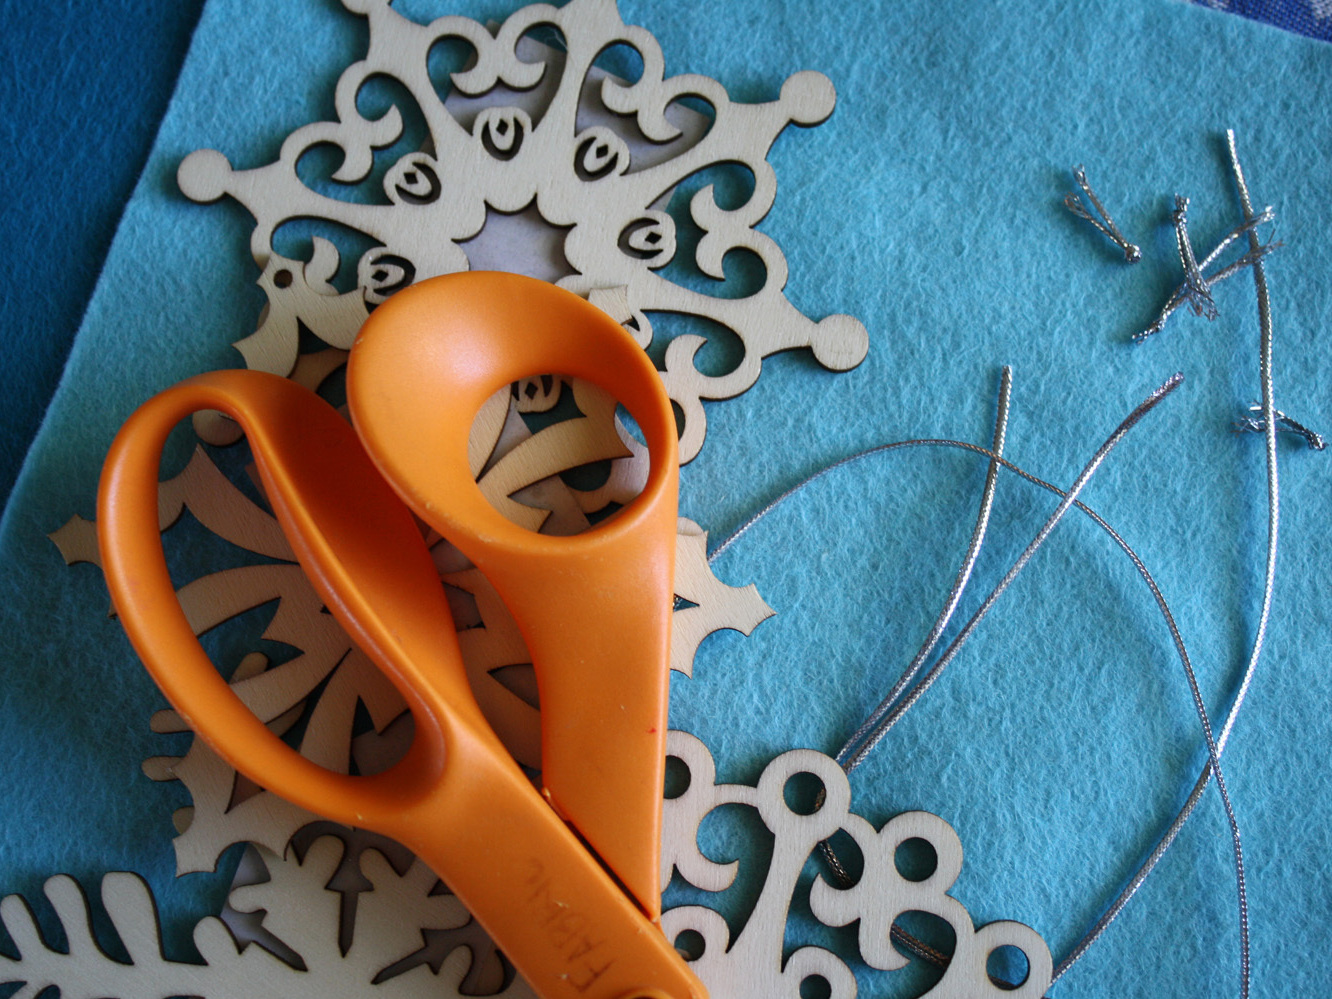
If your laser-cut pieces have ties or ribbon on them, snip them off.

If there is a sticker label, peel that off as well. If you are having a problem removing all the stick of the sticker, try looping a piece of sticky tape, sticky side out, around your finger and use that tack to grab any stubborn stick still remaining on your wood pieces.

Step 2: First hard coat

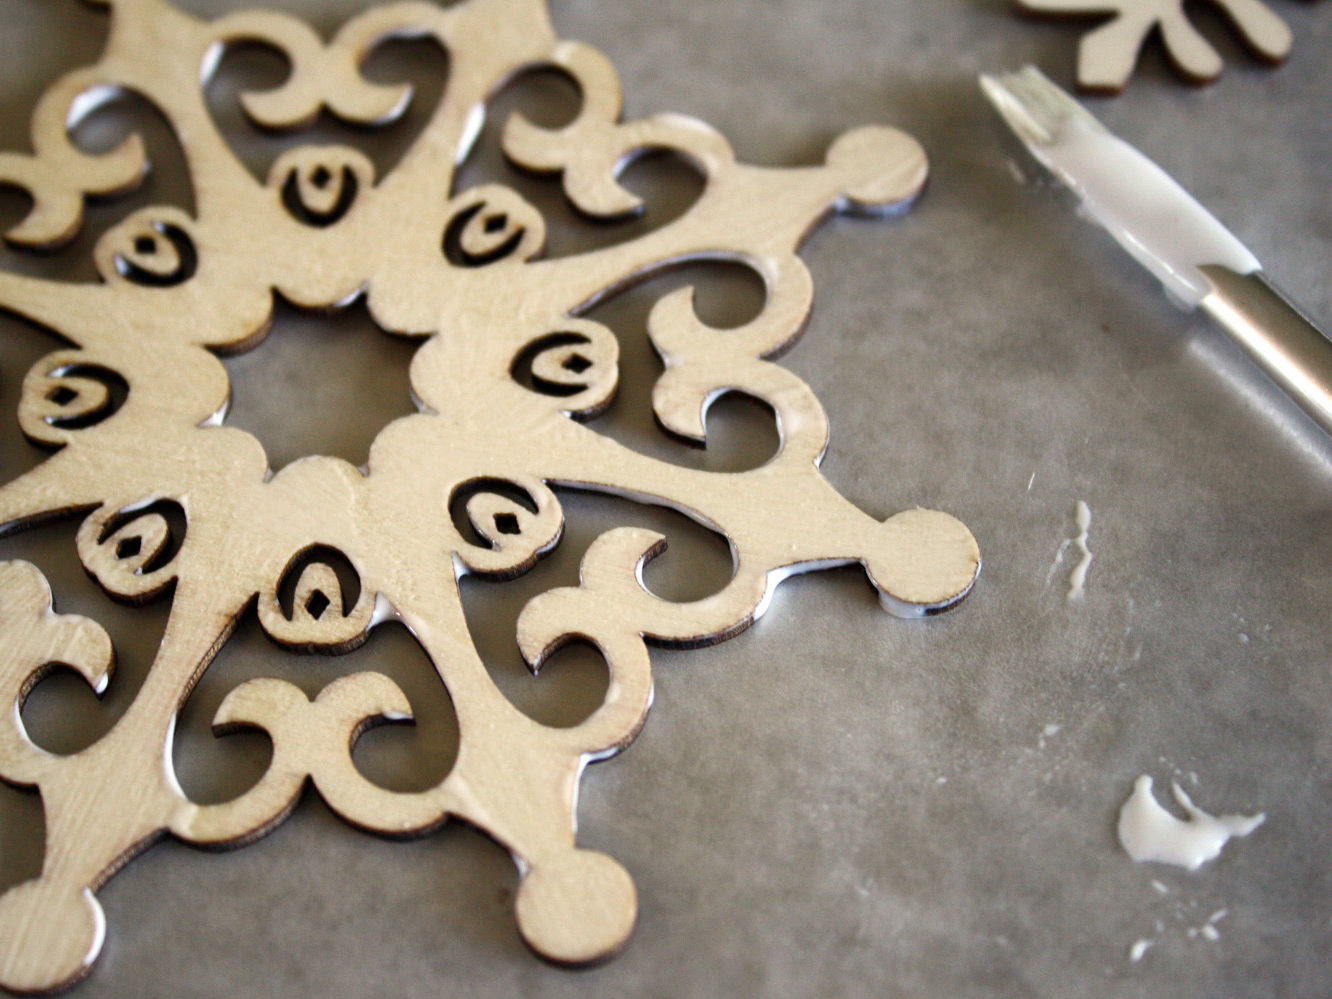
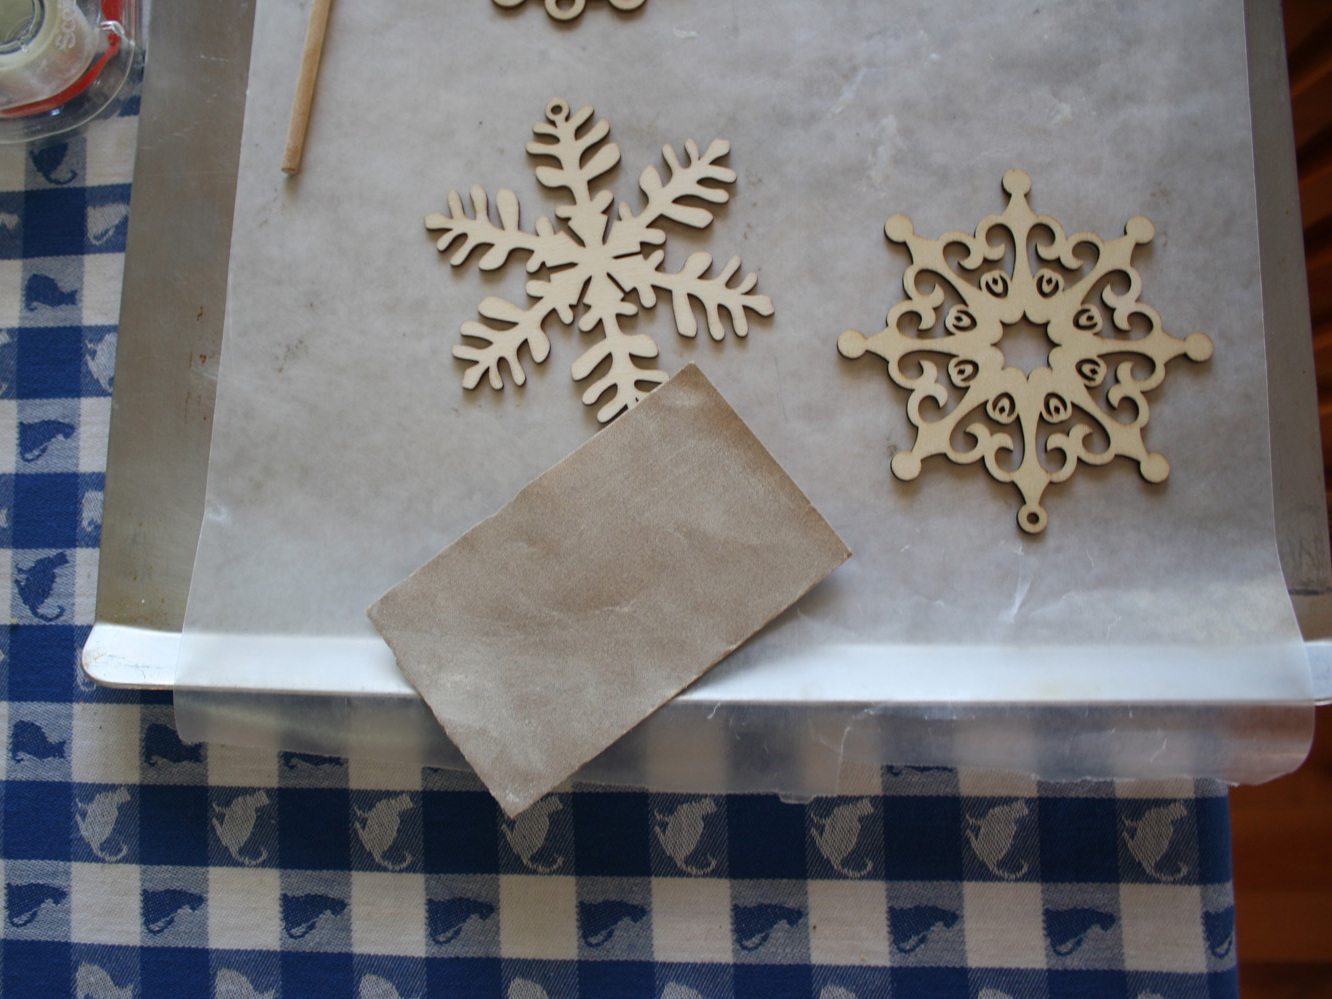
Set up a mess-happy workspace to give your pieces their first hard-coat. I used wax paper on top of a cookie sheet.

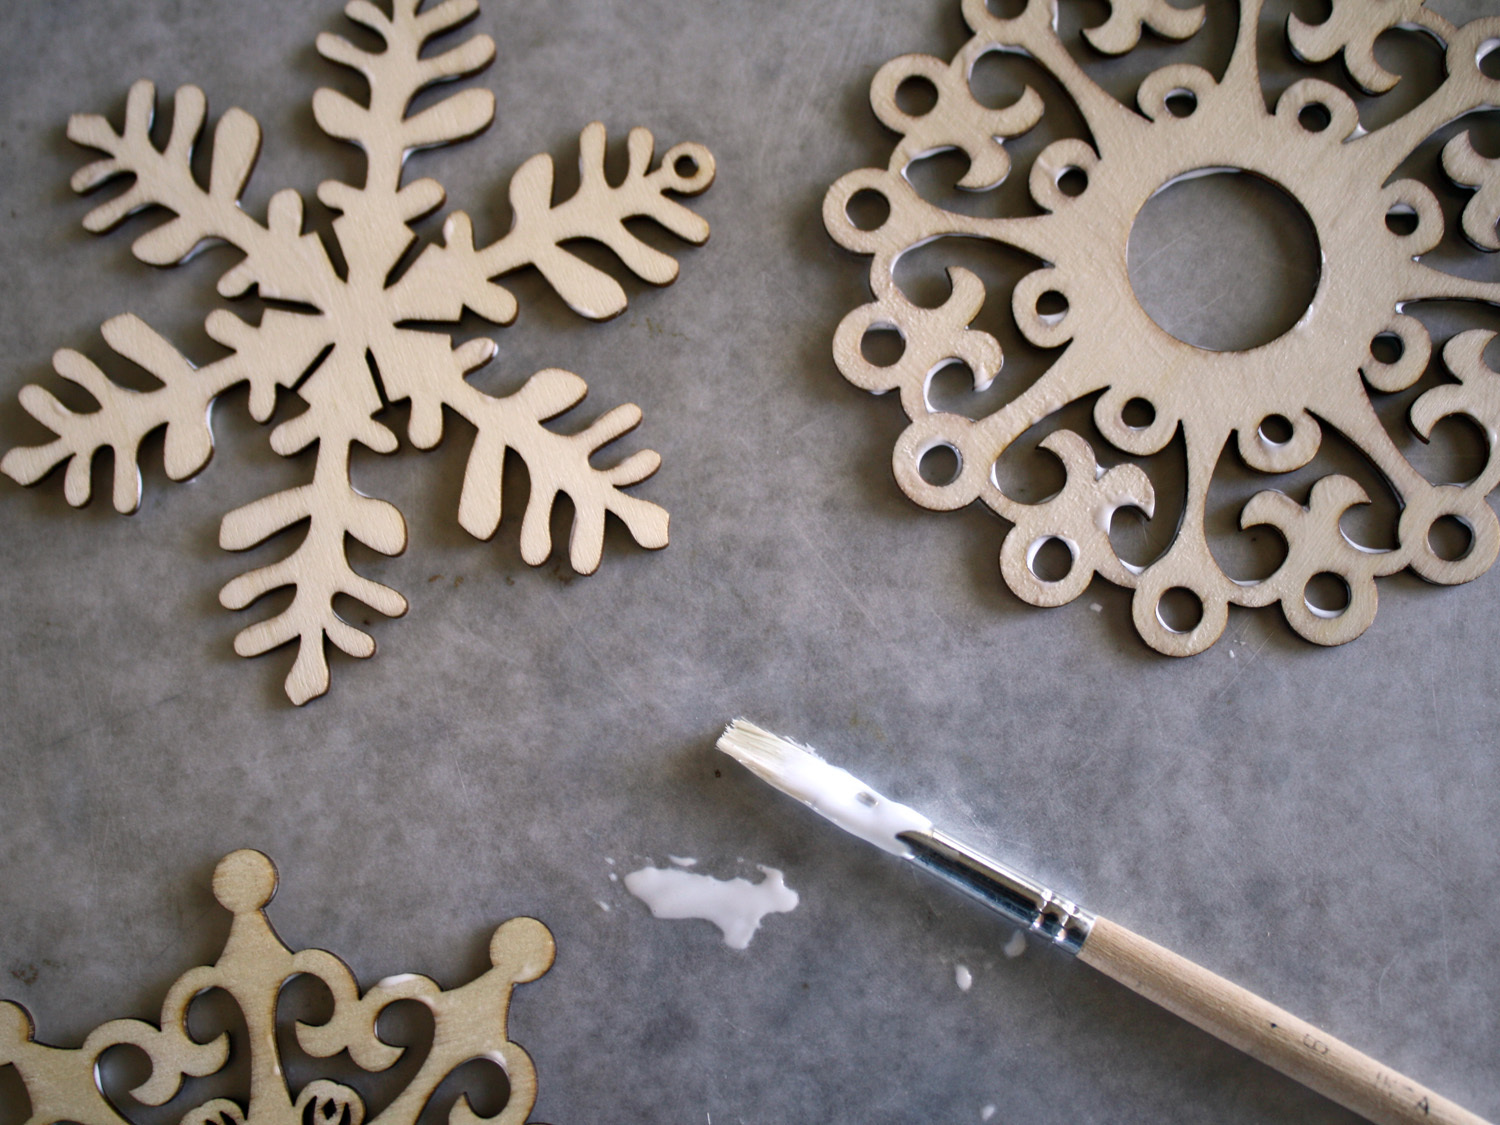
Give each piece an even coat of the Mod Podge Hard Coat.

Make sure you are using the Hard Coat or other sealer that is water-resistant and weather-proof. We’re going to be camping many a happy glass full of something liquid on these, so they need to be waterproof.

Go slow and keep your brush barely wet, otherwise all the nooks and crannies of your pieces may decide to collect some of that Mod Podge for their own.

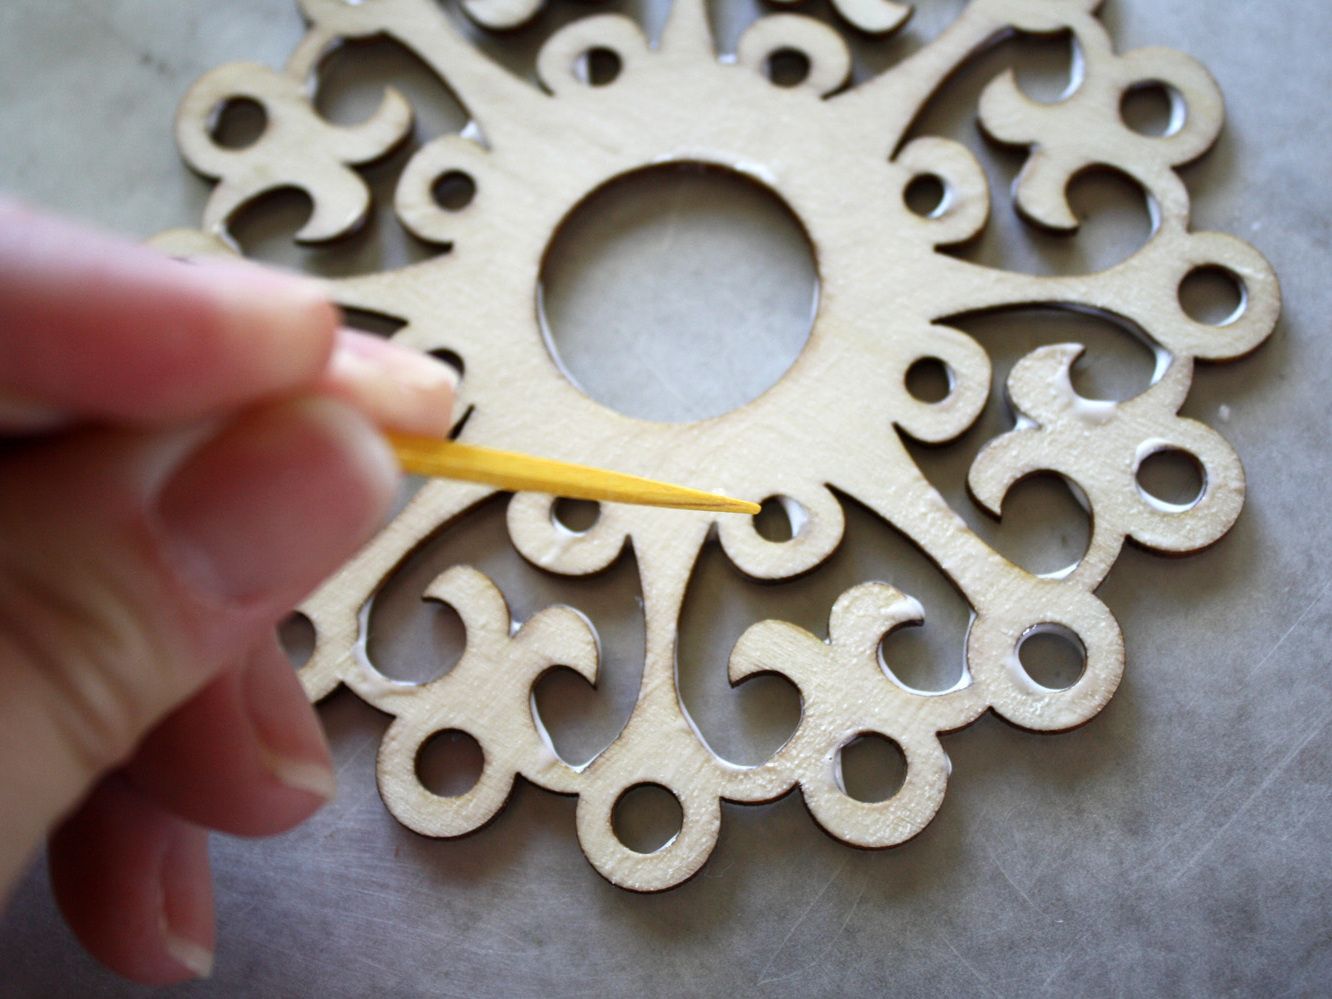
Set the pieces aside to dry a couple of hours. If you find globs of the hardcoat gooping up your nooks and crannies, use a toothpick to dab and scoop them clean.

Step 3: Final two coats

Once they are dry, grab yourself a small piece of fine-grade sandpaper and give your wood cut a little sandpaper love.

Dust off any debris.

Give it another coat, dry, and sand again.

Top it off with one final coat, for a total of three coats of Mod Podge on your wood cuts.

Count on this part as being an all-day project.

Make pattern for the felt backing

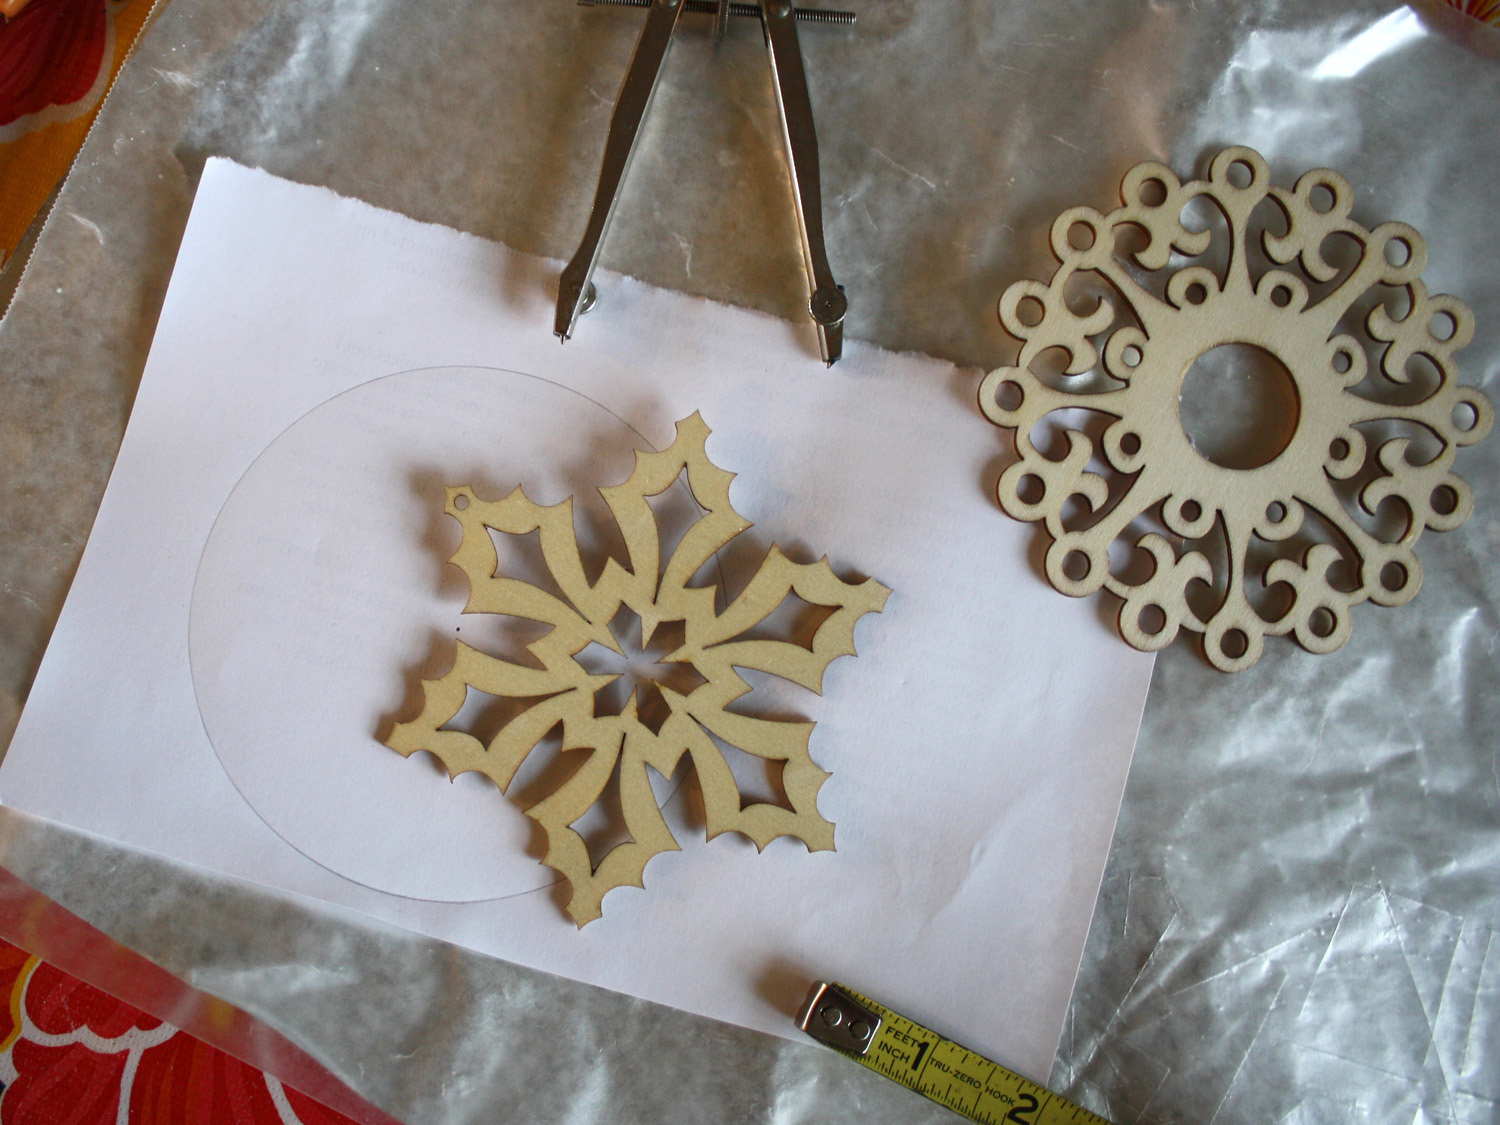
Measure your wood pieces with a compass, unless you have found yourself something with angles (then use a ruler).

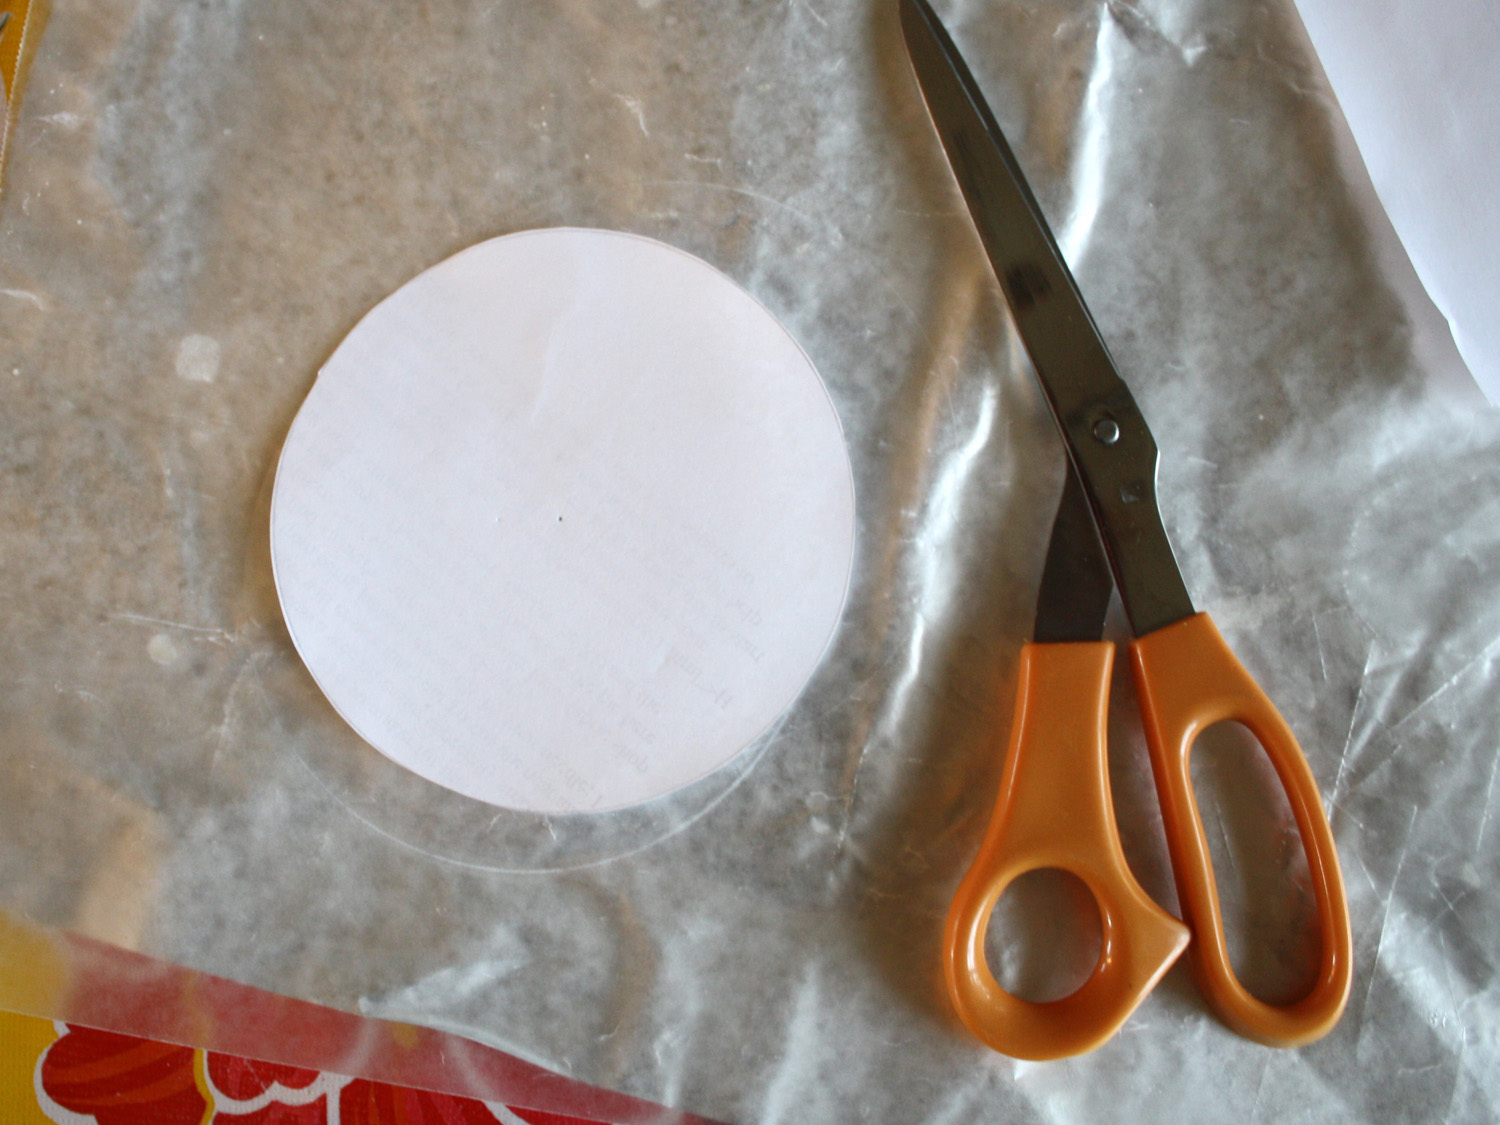
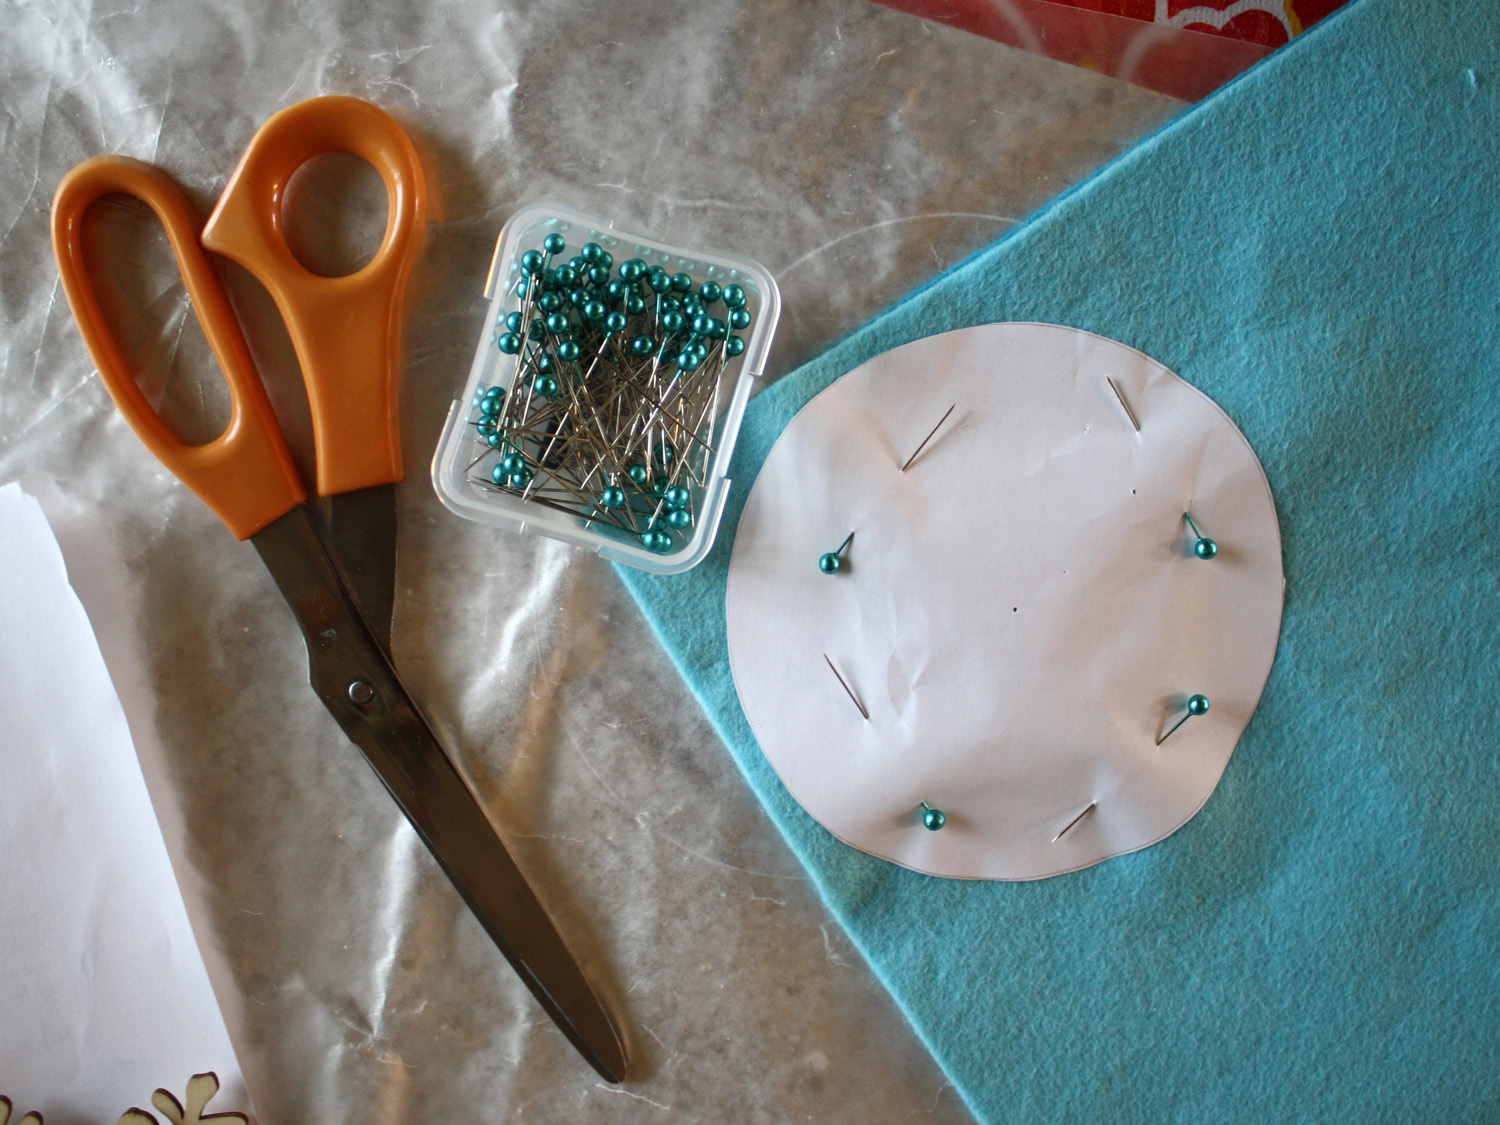
On a scrap piece of paper, make a pattern for your backing felt and cut it out.

Step 5: Cut out felt backing

Pin pattern to your felt pieces and cut.

I used two shades of blue that will be glued together to create a wee bit more stability for your coasters. You can use all the same color of felt or four different colors; it’s all up to you.

If your wooden pieces measure 4″ across, you will need two sheets of felt, 9″ x 9″.

A wool felt or wool blend is preferable. Acrylic felt will work as well, but I find wool and wool blends come in prettier colors. I picked up my felt from Lupin at etsy.com.

Step 6: Glue felt together

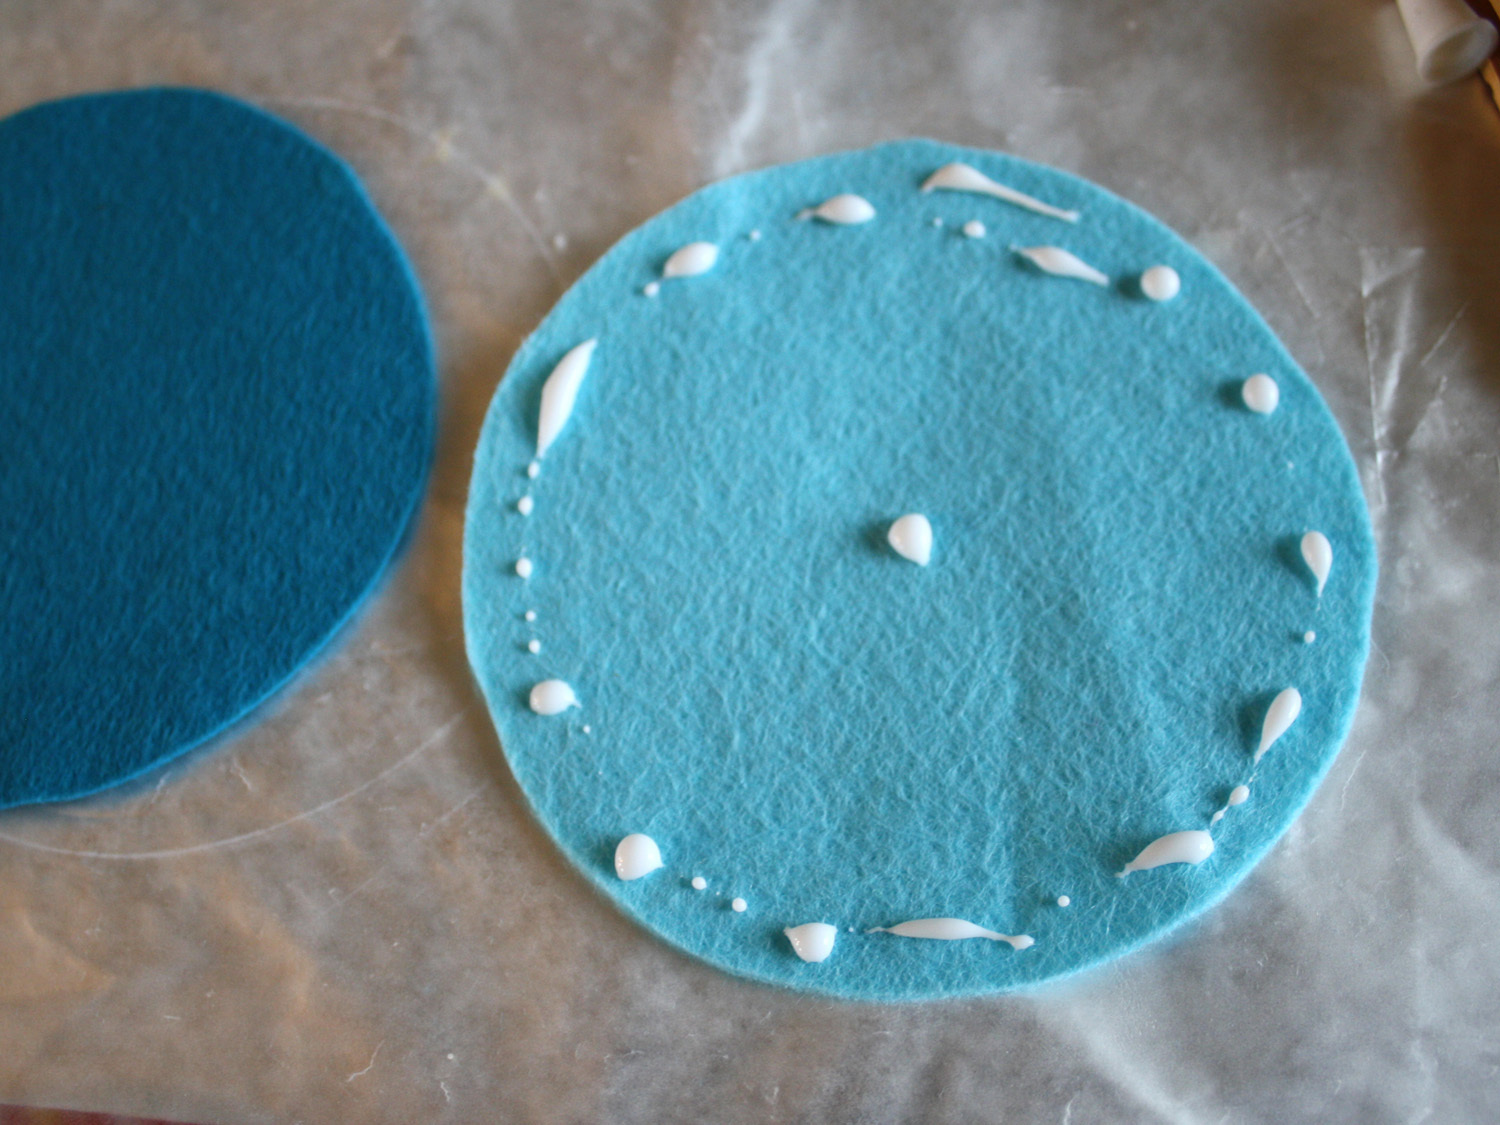
Layer up two circles of felt and glue them together by dabbing small dots of tacky glue along the edges.

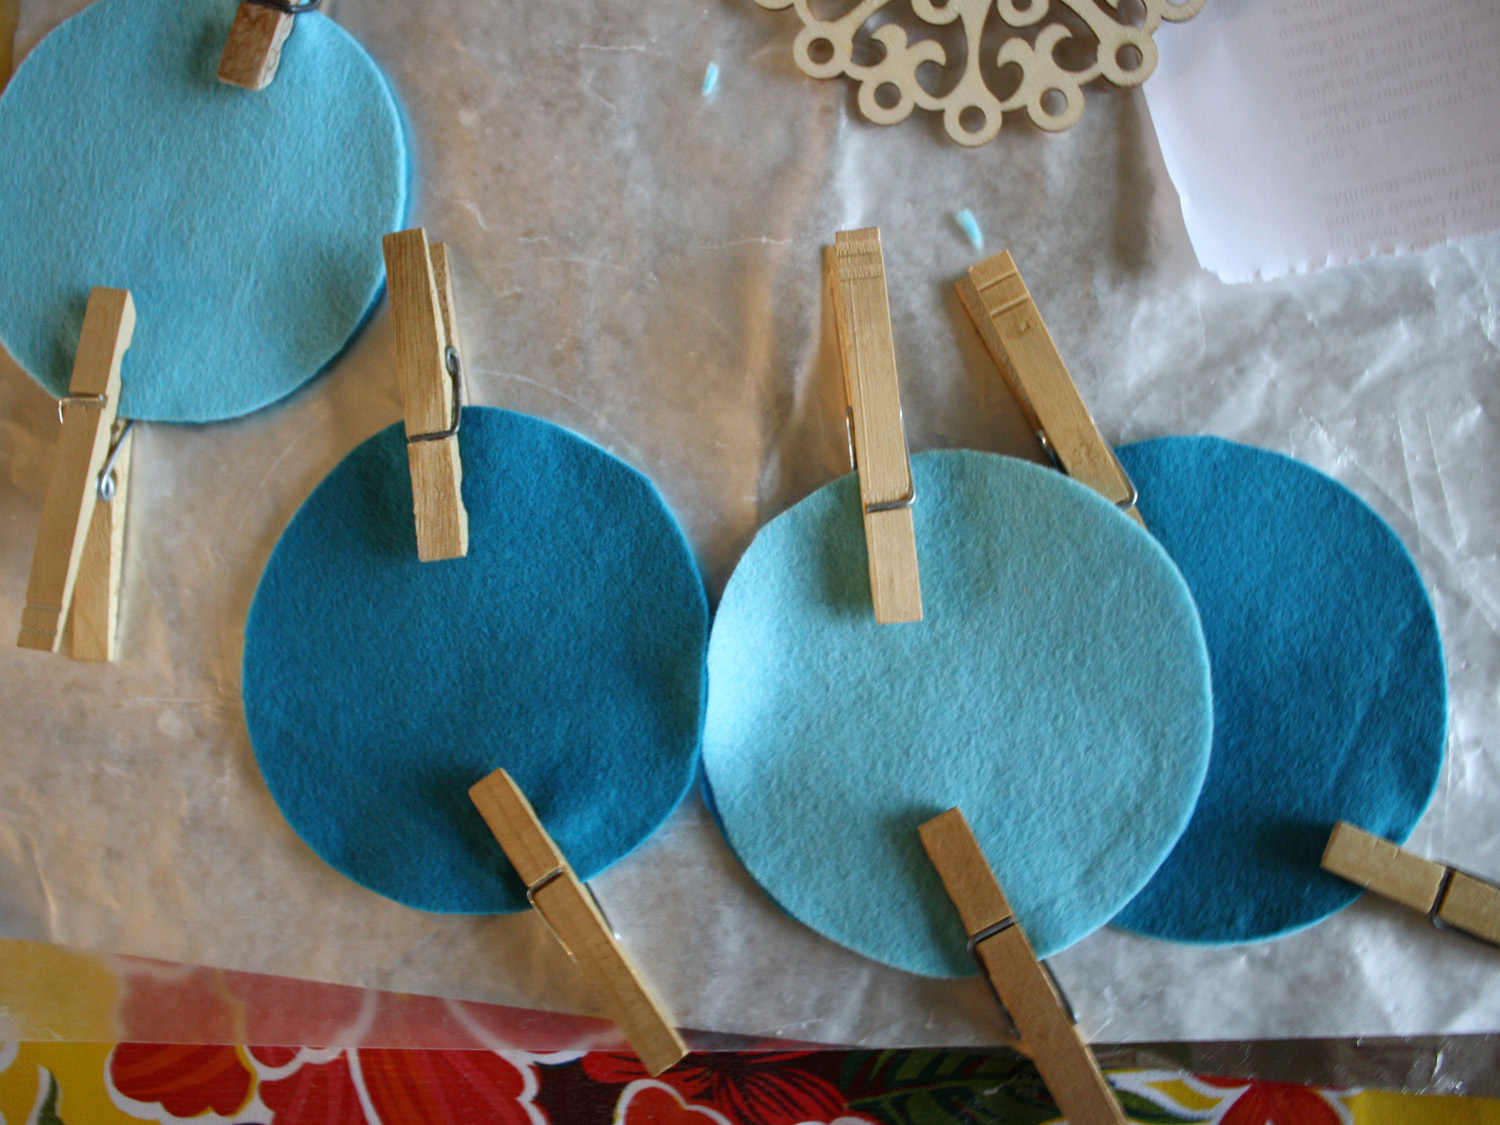
You can anchor them together with clothespins until they dry.

A quick press with a hot iron will smooth out any bumps and wrinkles.

Step 7: Attach snowflake to felt

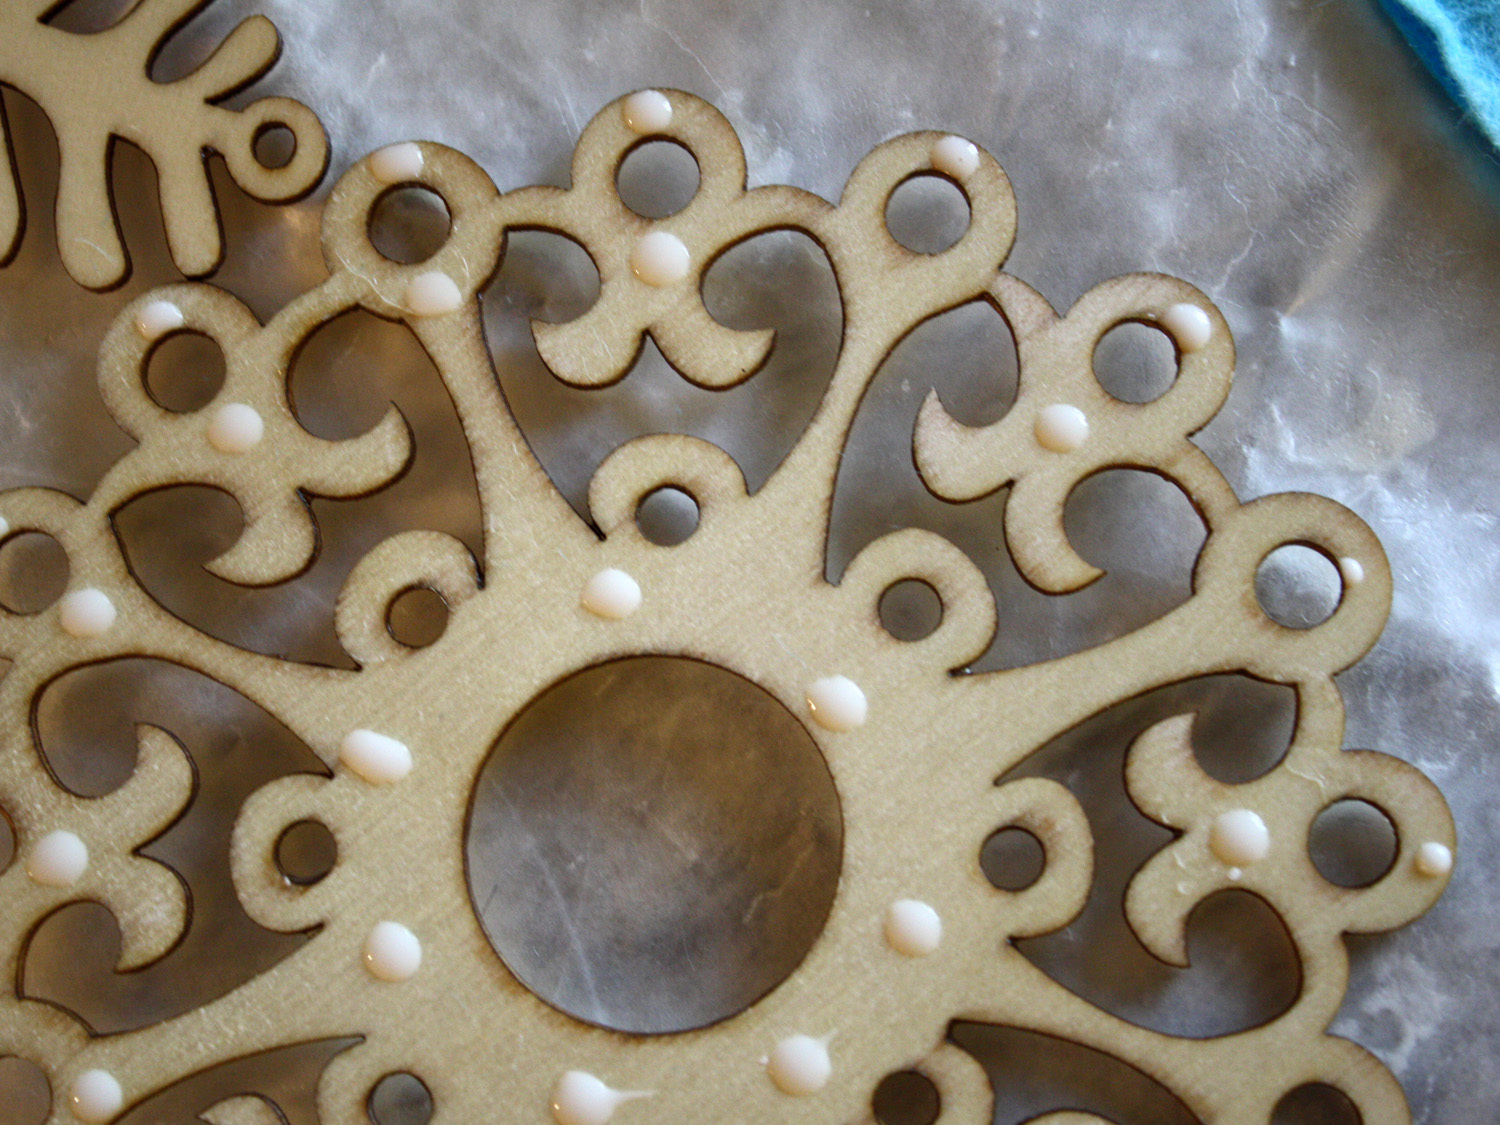
Apply wee dots of tacky glue to the back of your wood cut, position over felt circle and gently push down.

Repeat for each shape and set aside to dry.

Step 8: Enjoy

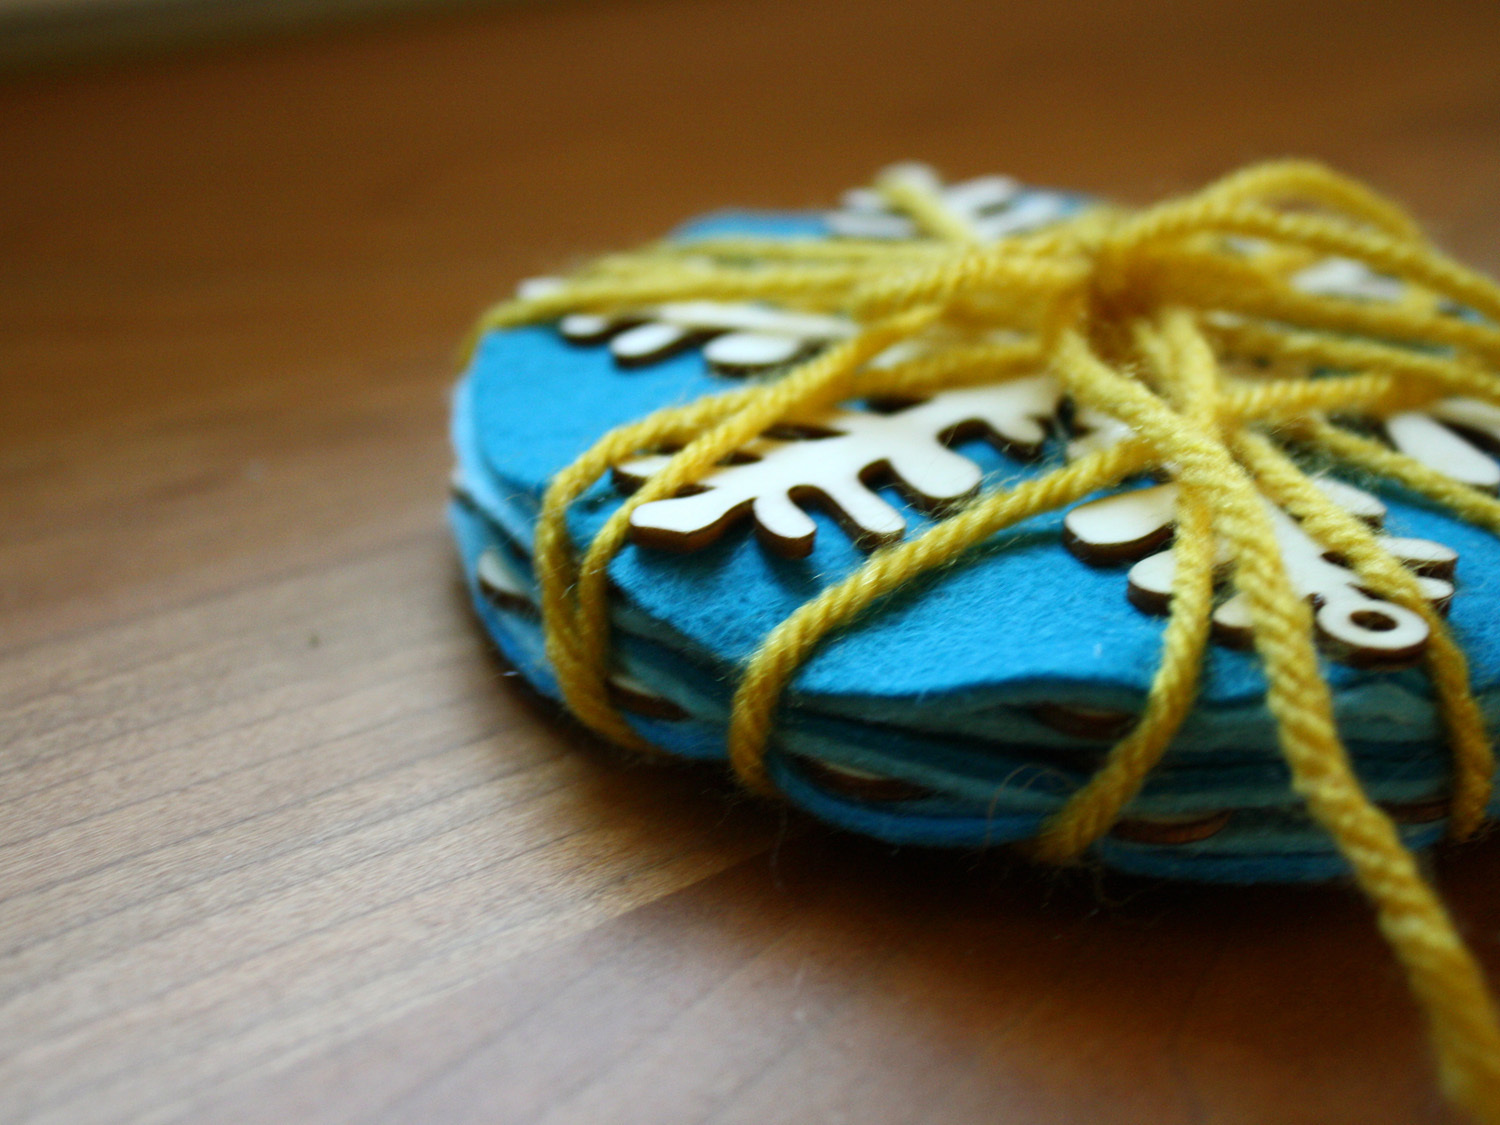
Admire your crafty work and wrap ’em up, or make yourself a hot cuppa somethin’ and relax.

Conclusion

If you are having trouble finding laser-cut snowflakes, a simple style in maple can be found here, or try getting a friend or two to go in on a purchase of this lovely set. You can also forgo all the Mod Podging and pick up this beautiful brass set from Crate and Barrel; just don't forget to add the felt!