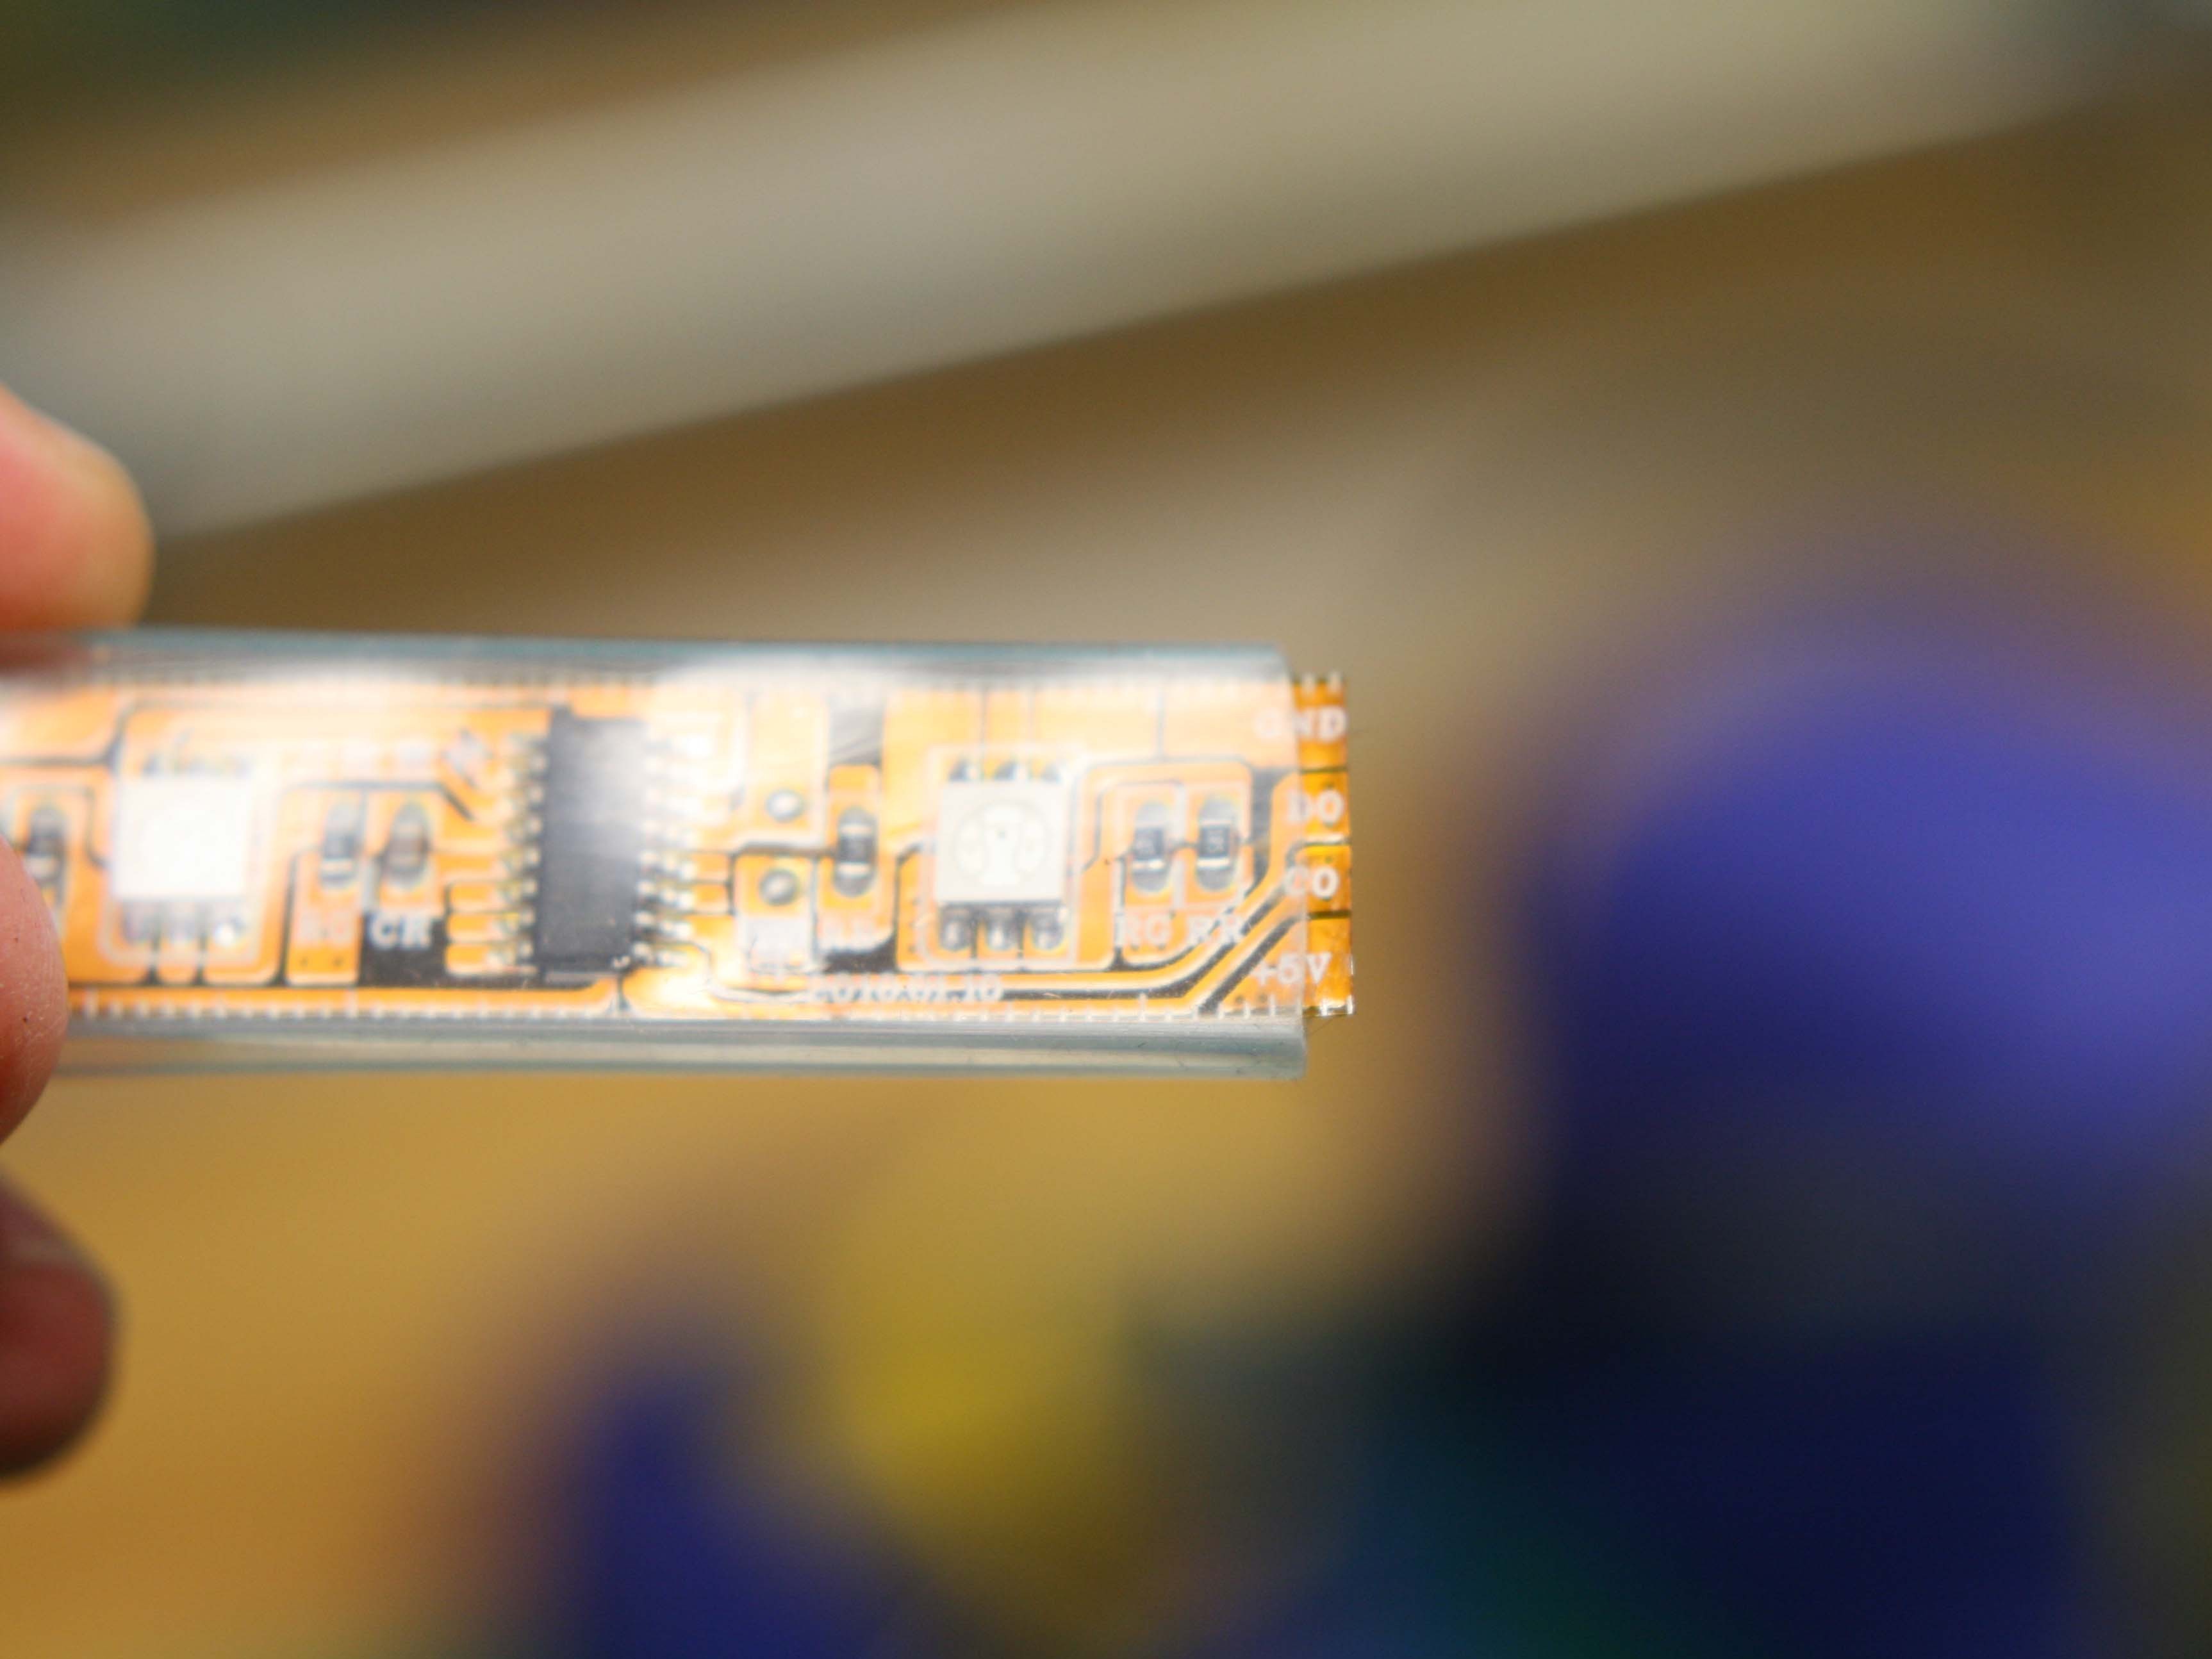
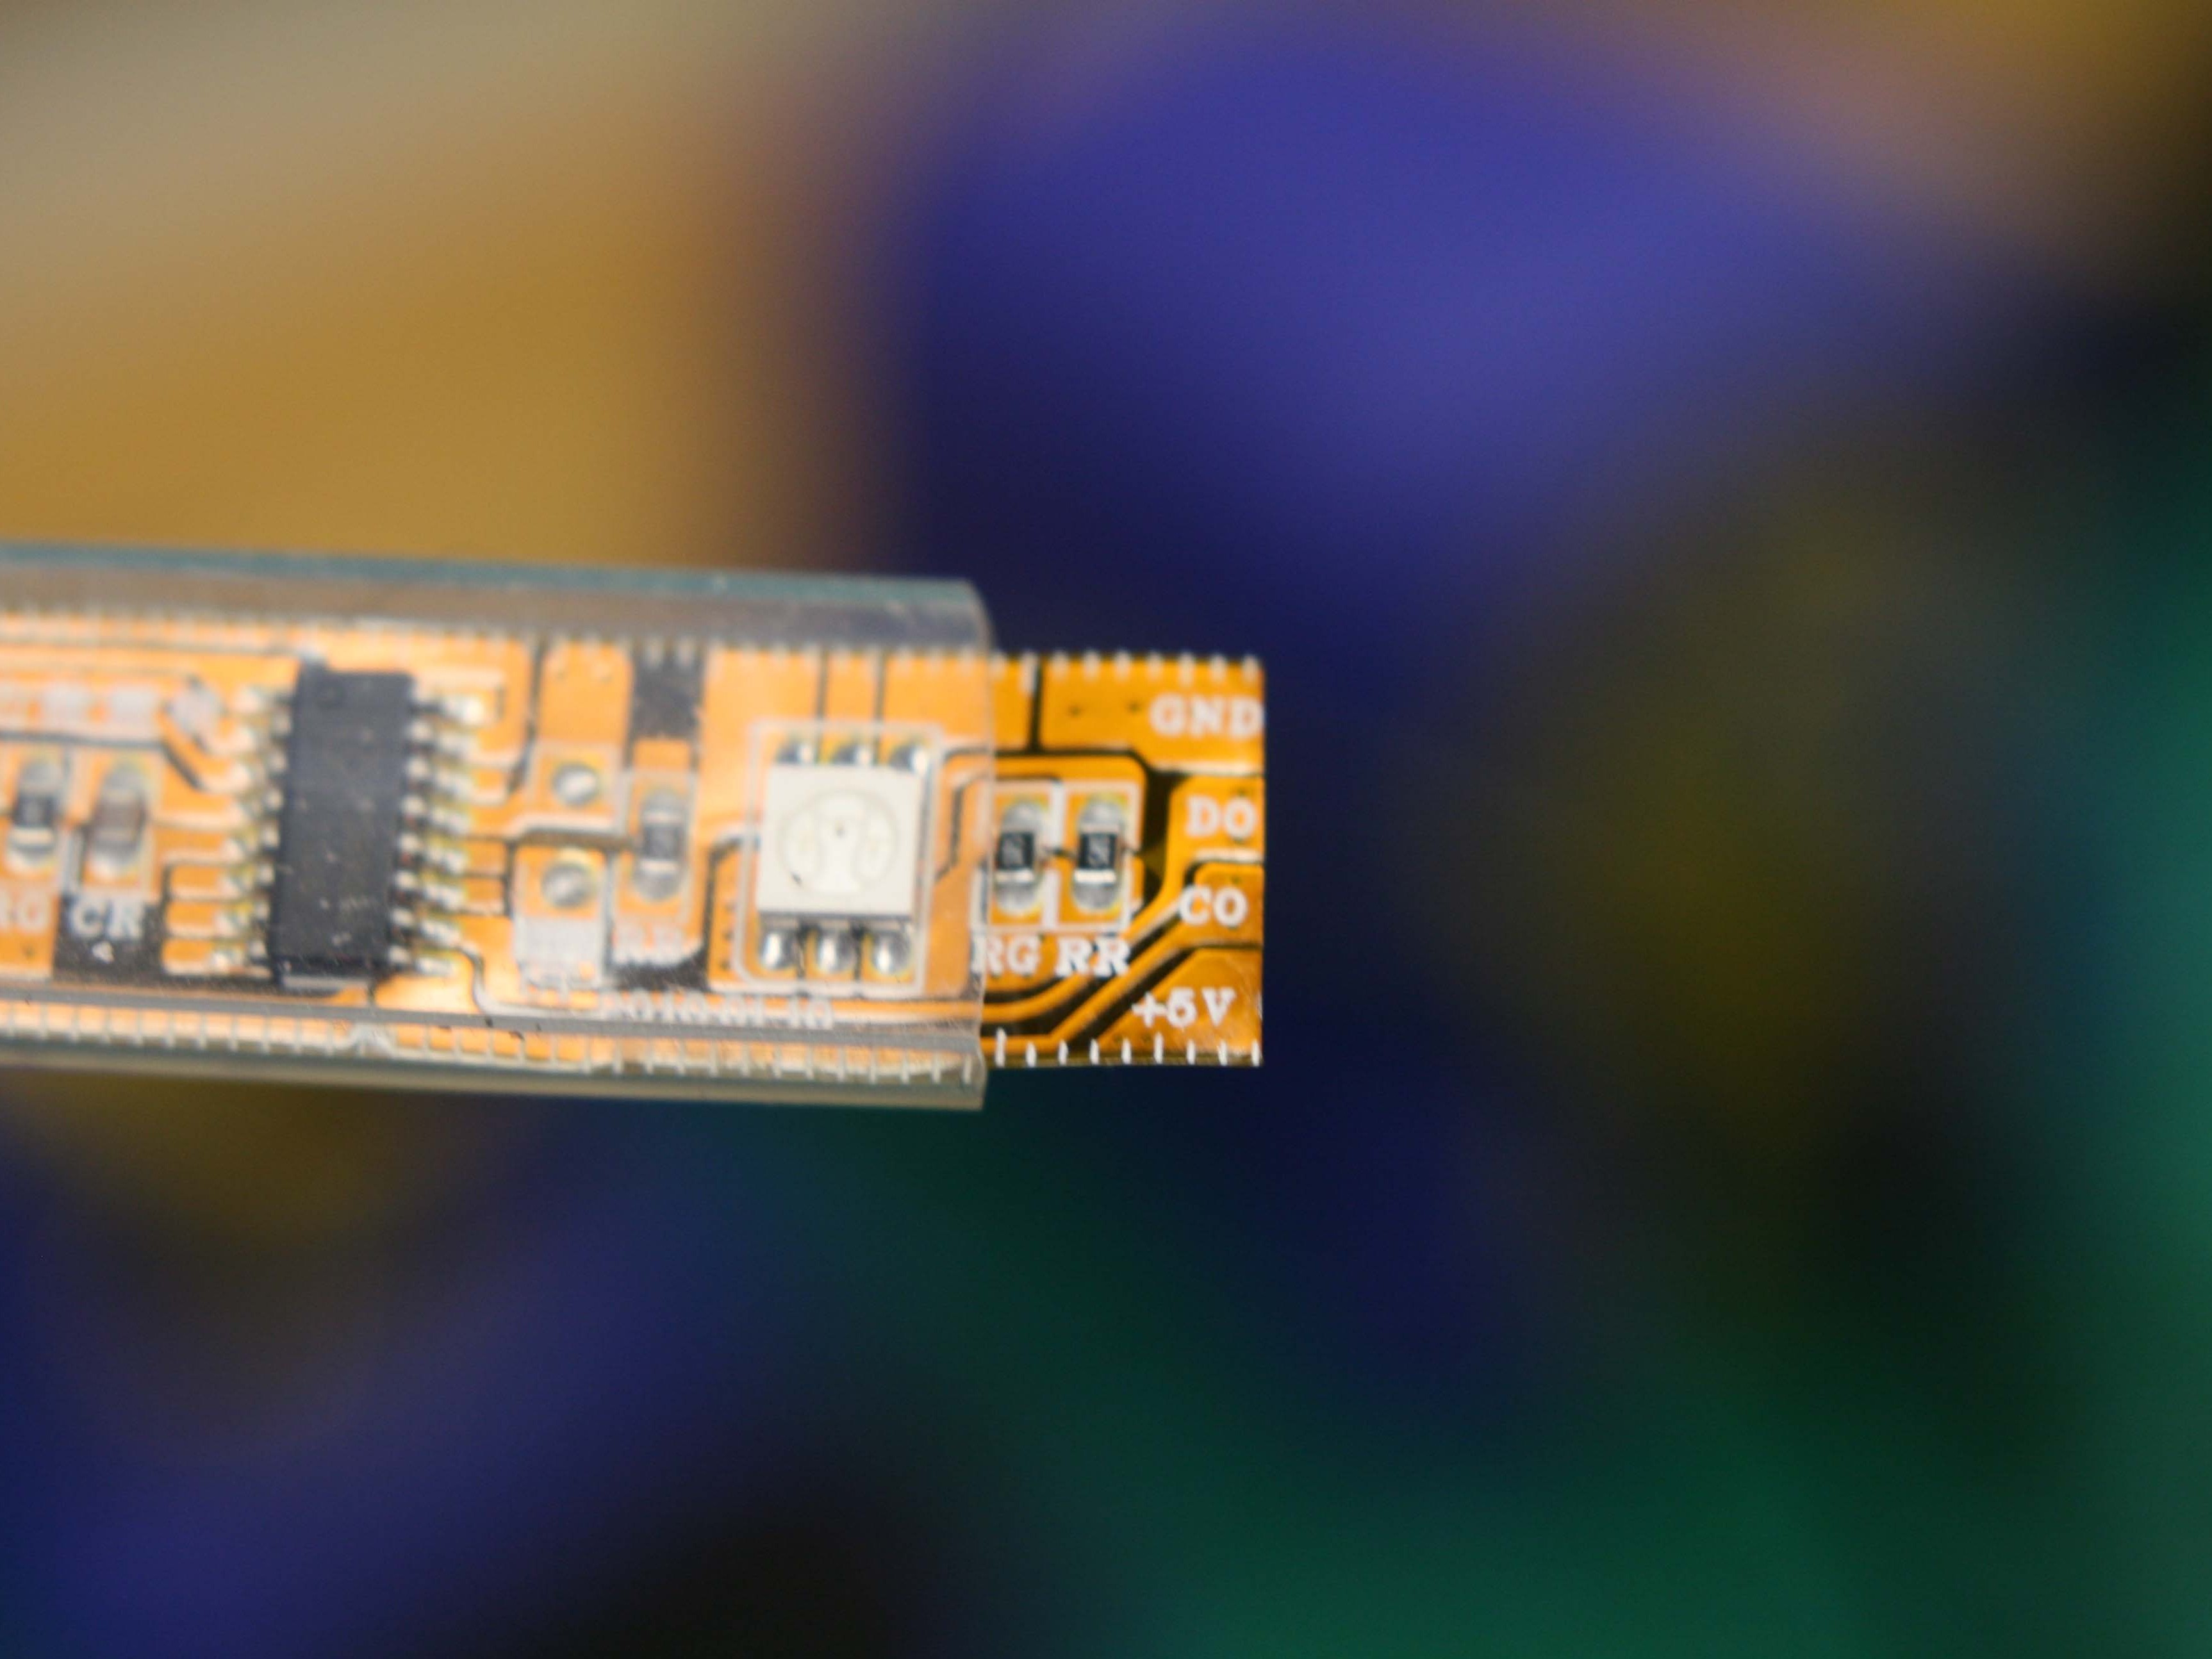
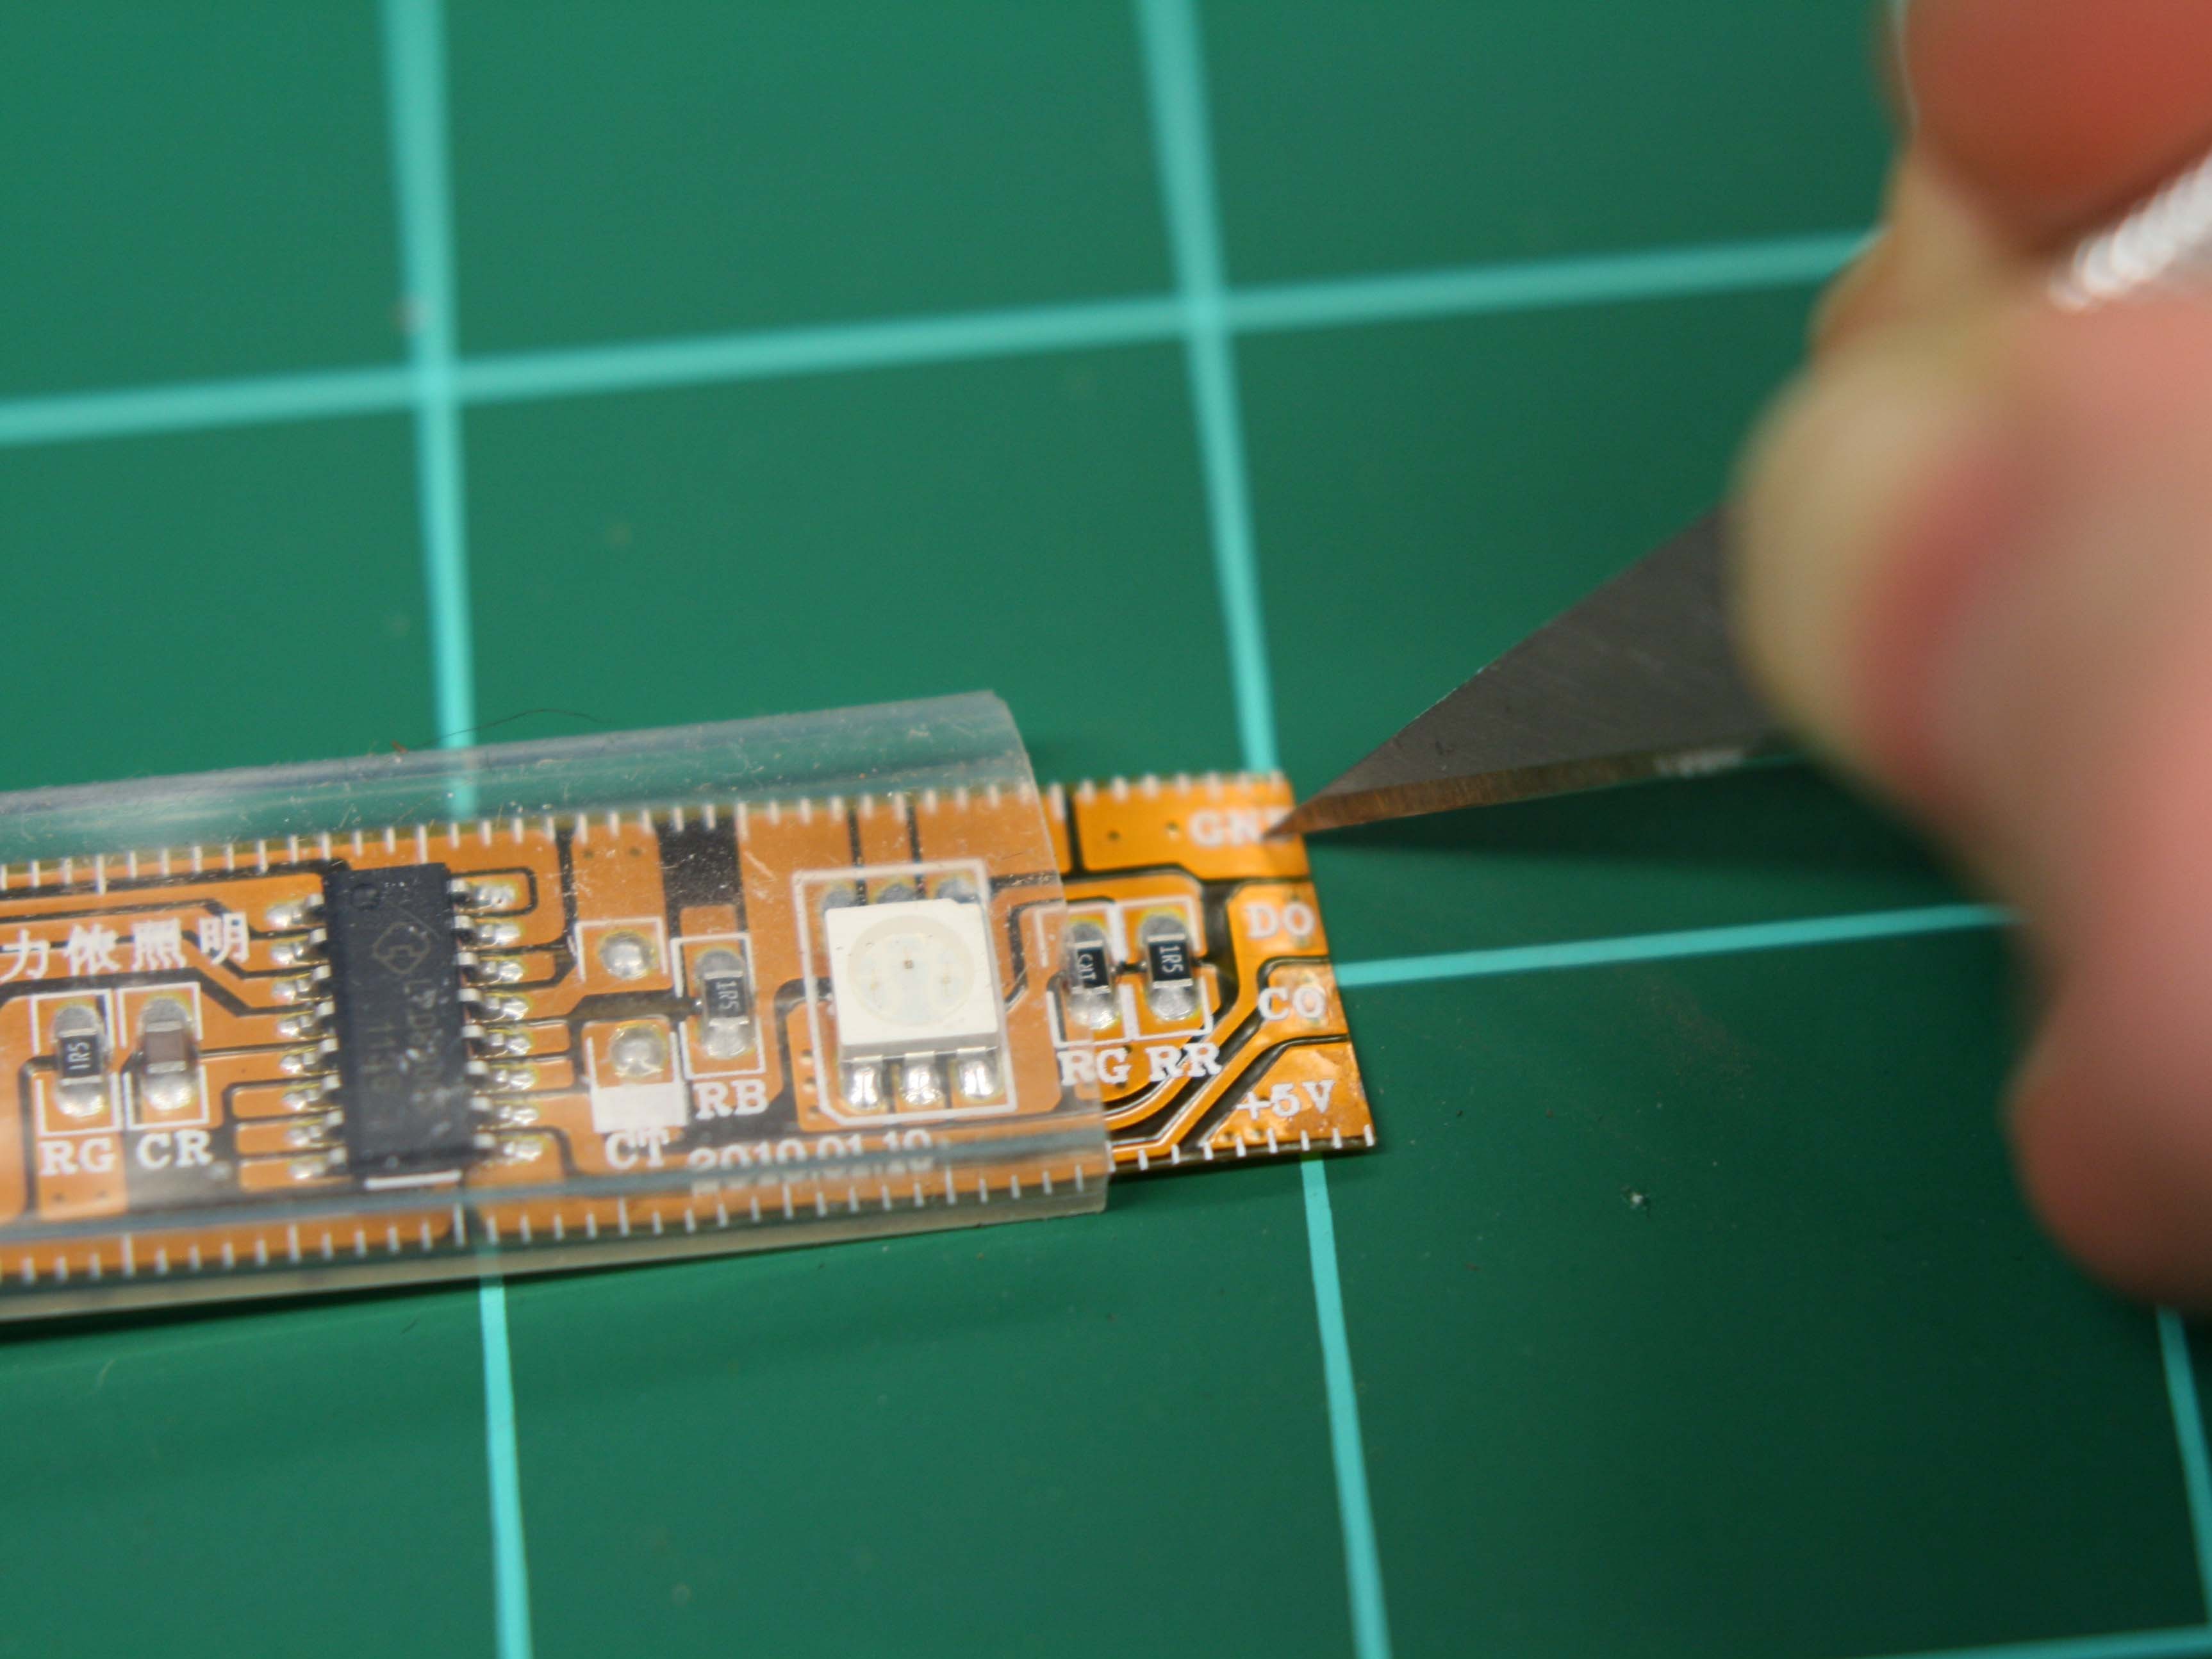
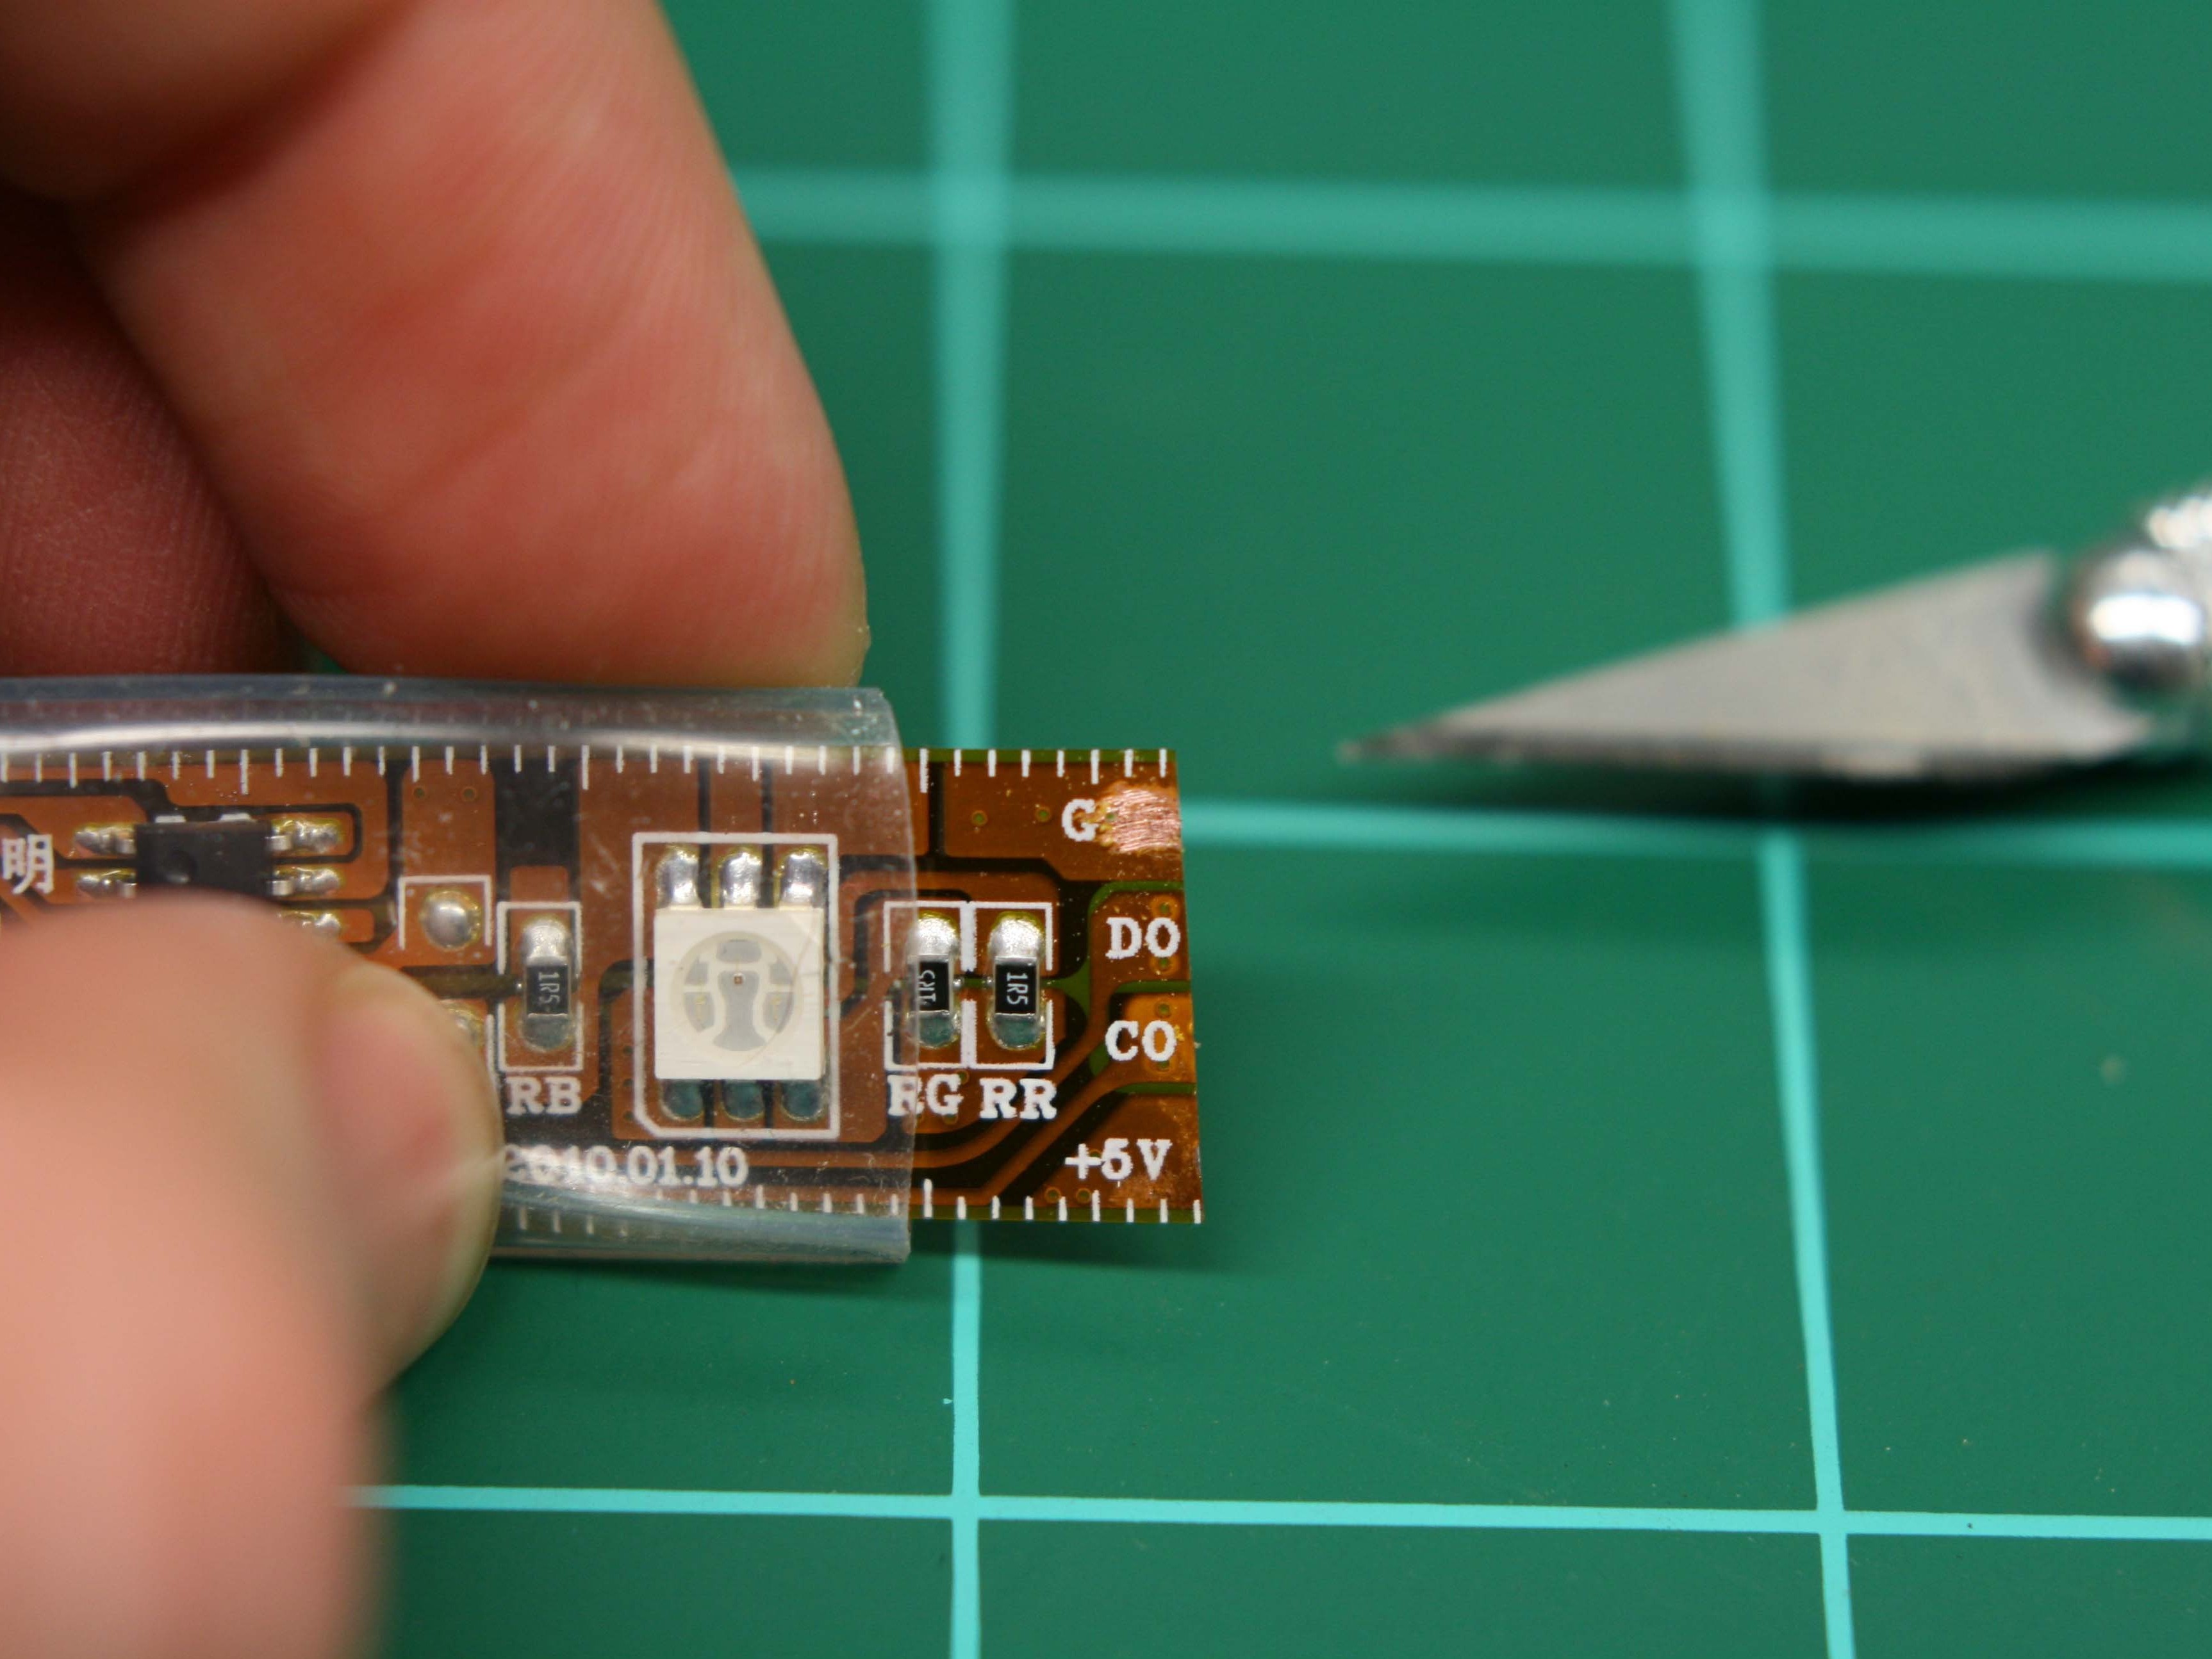
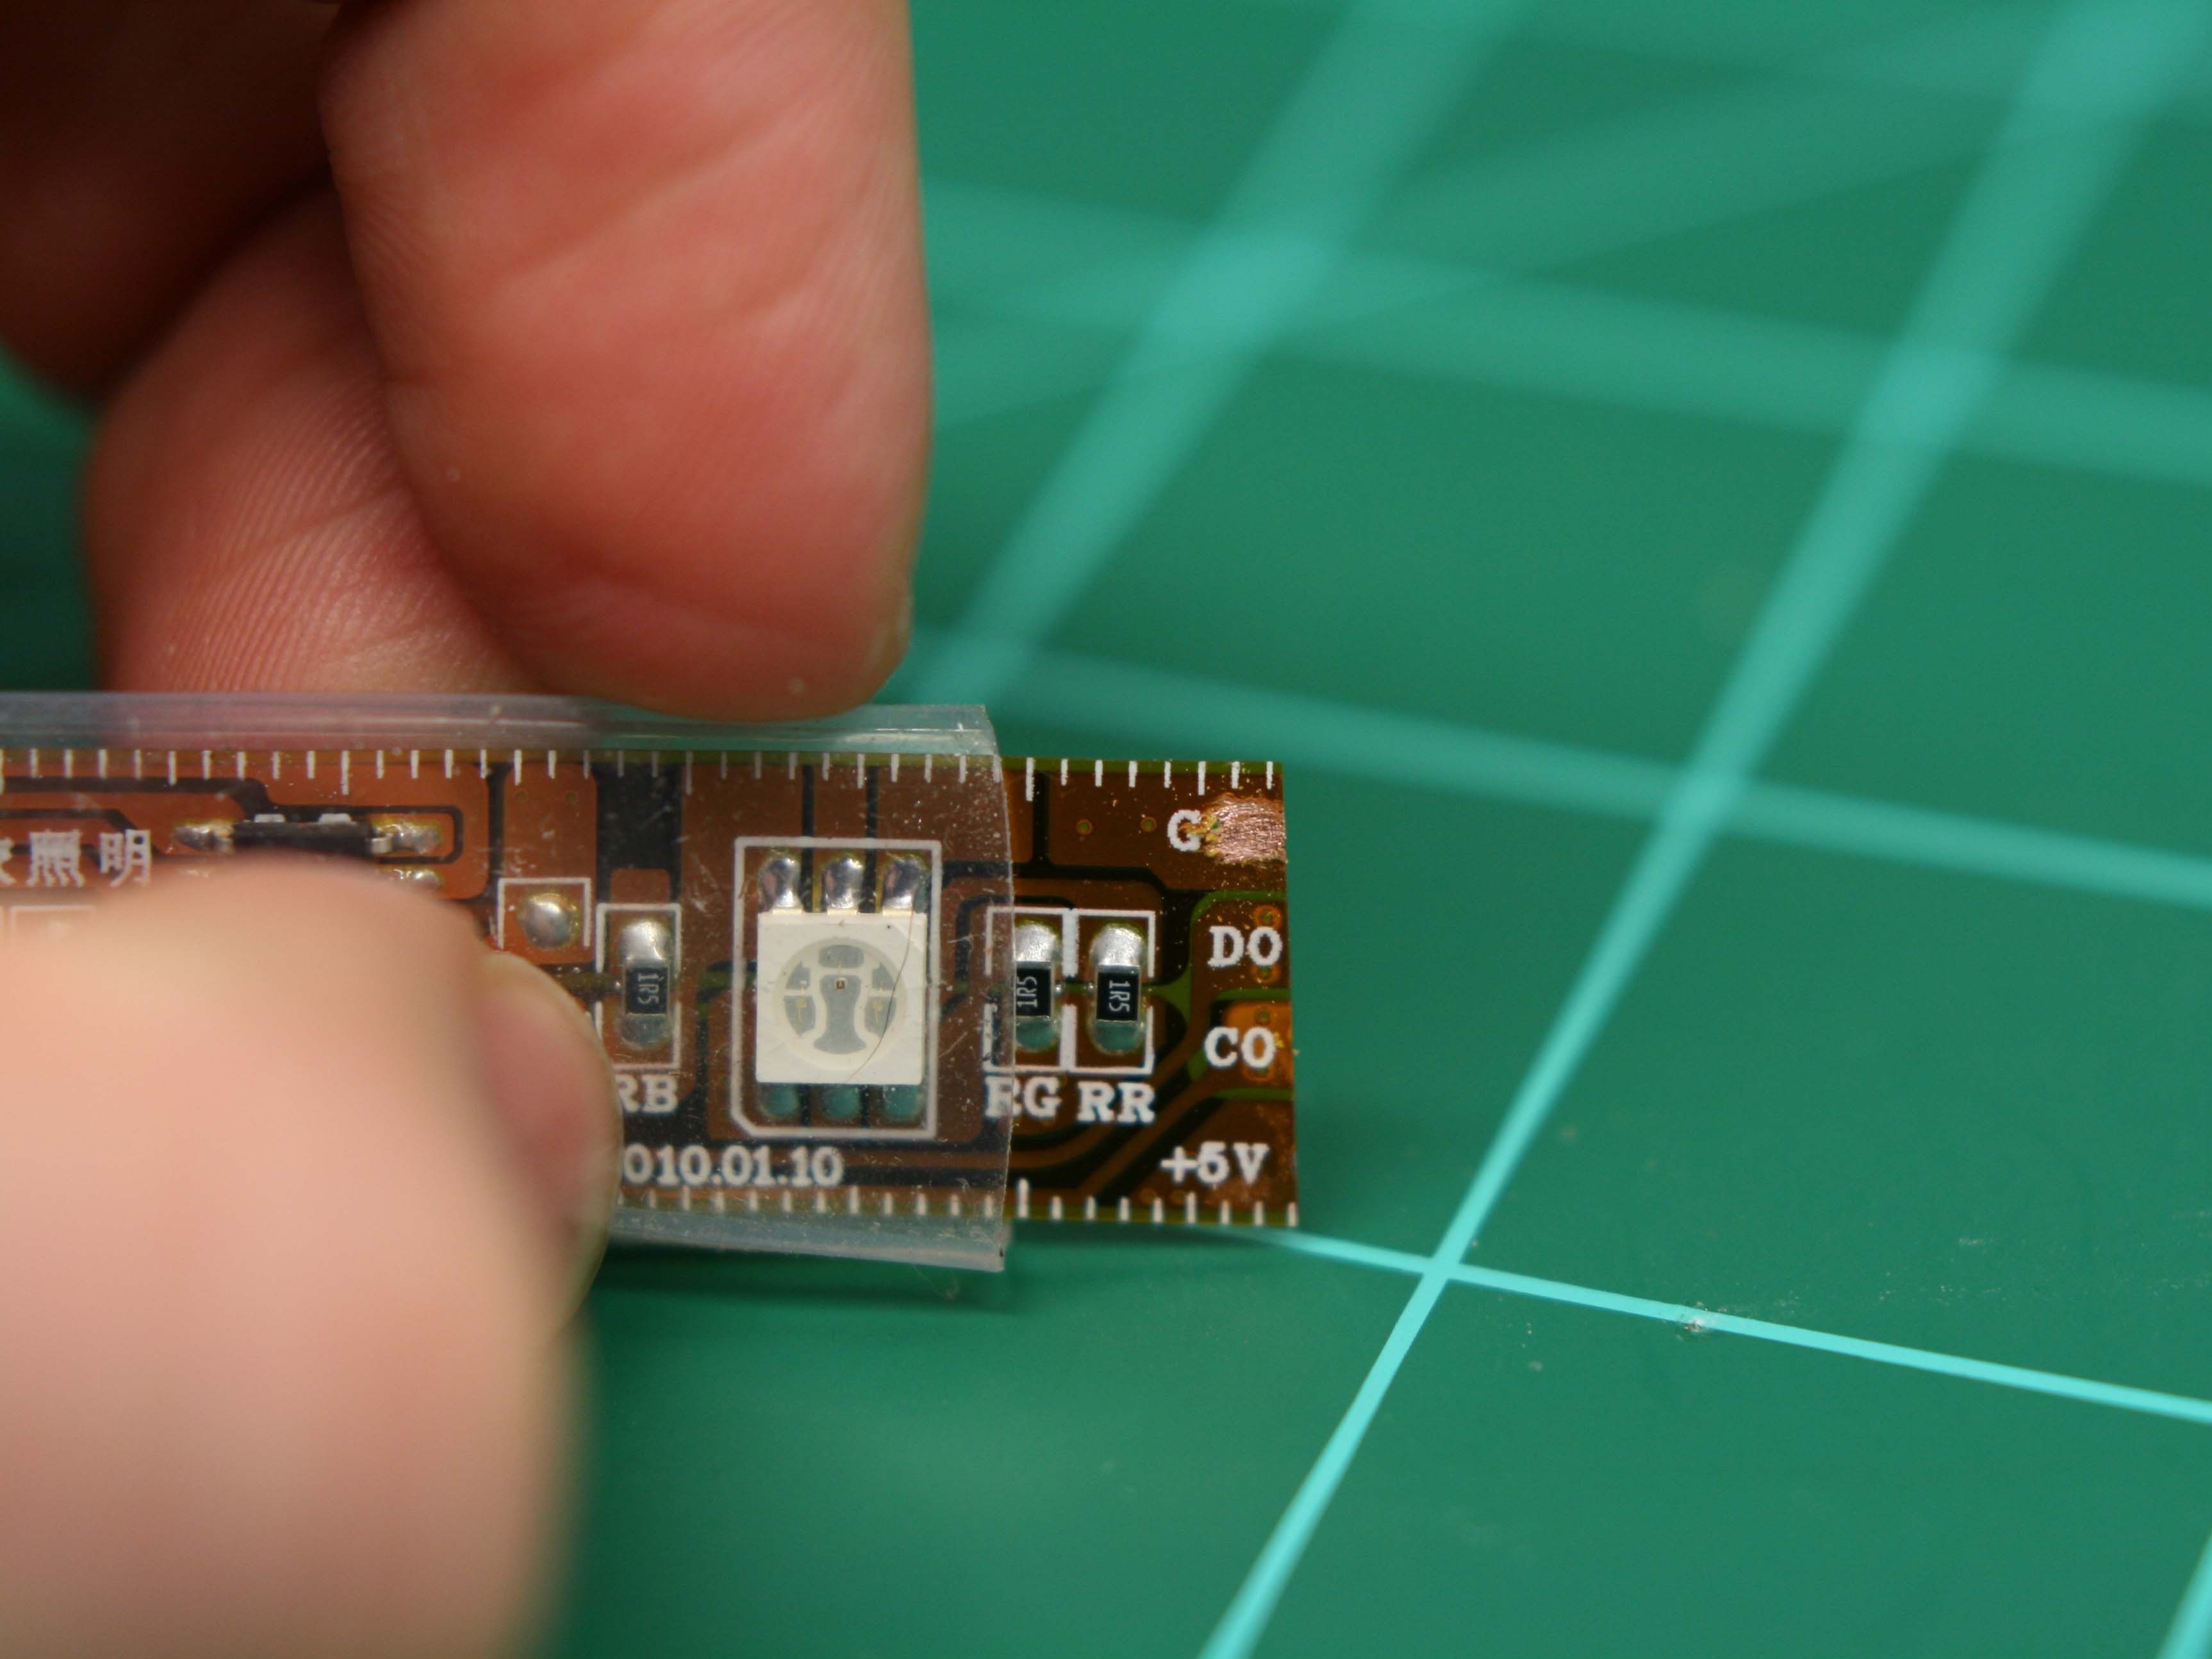
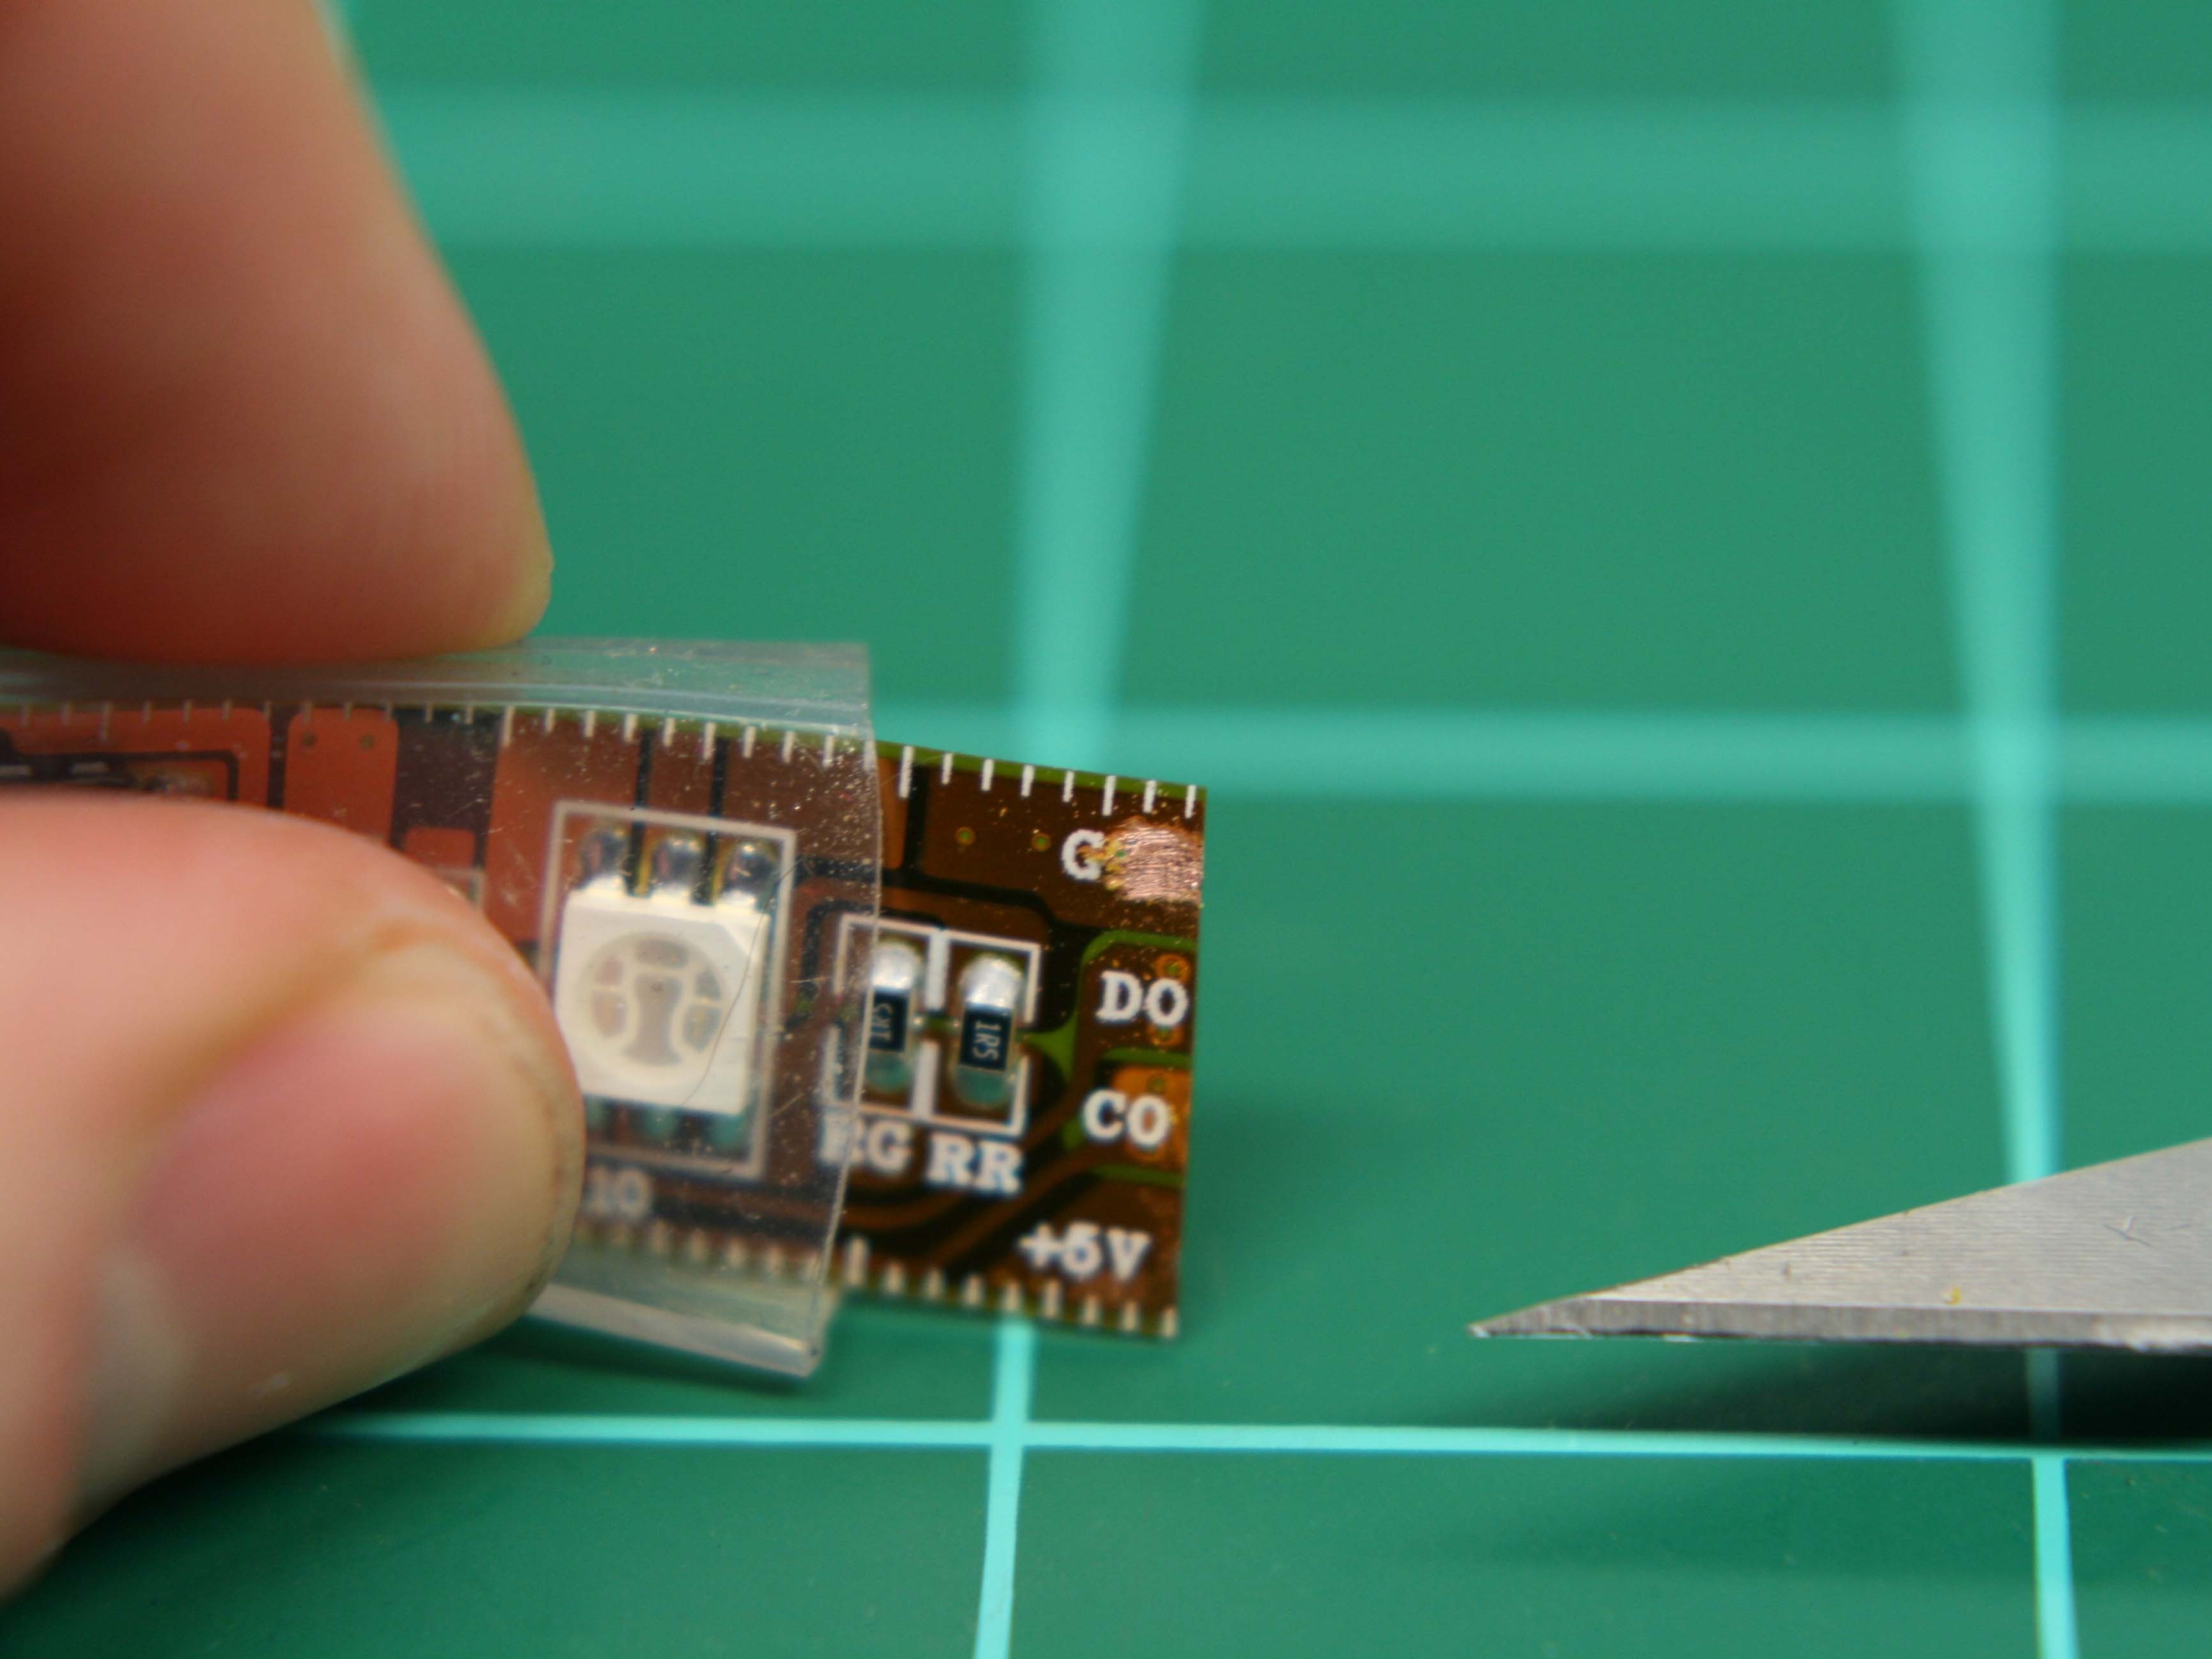
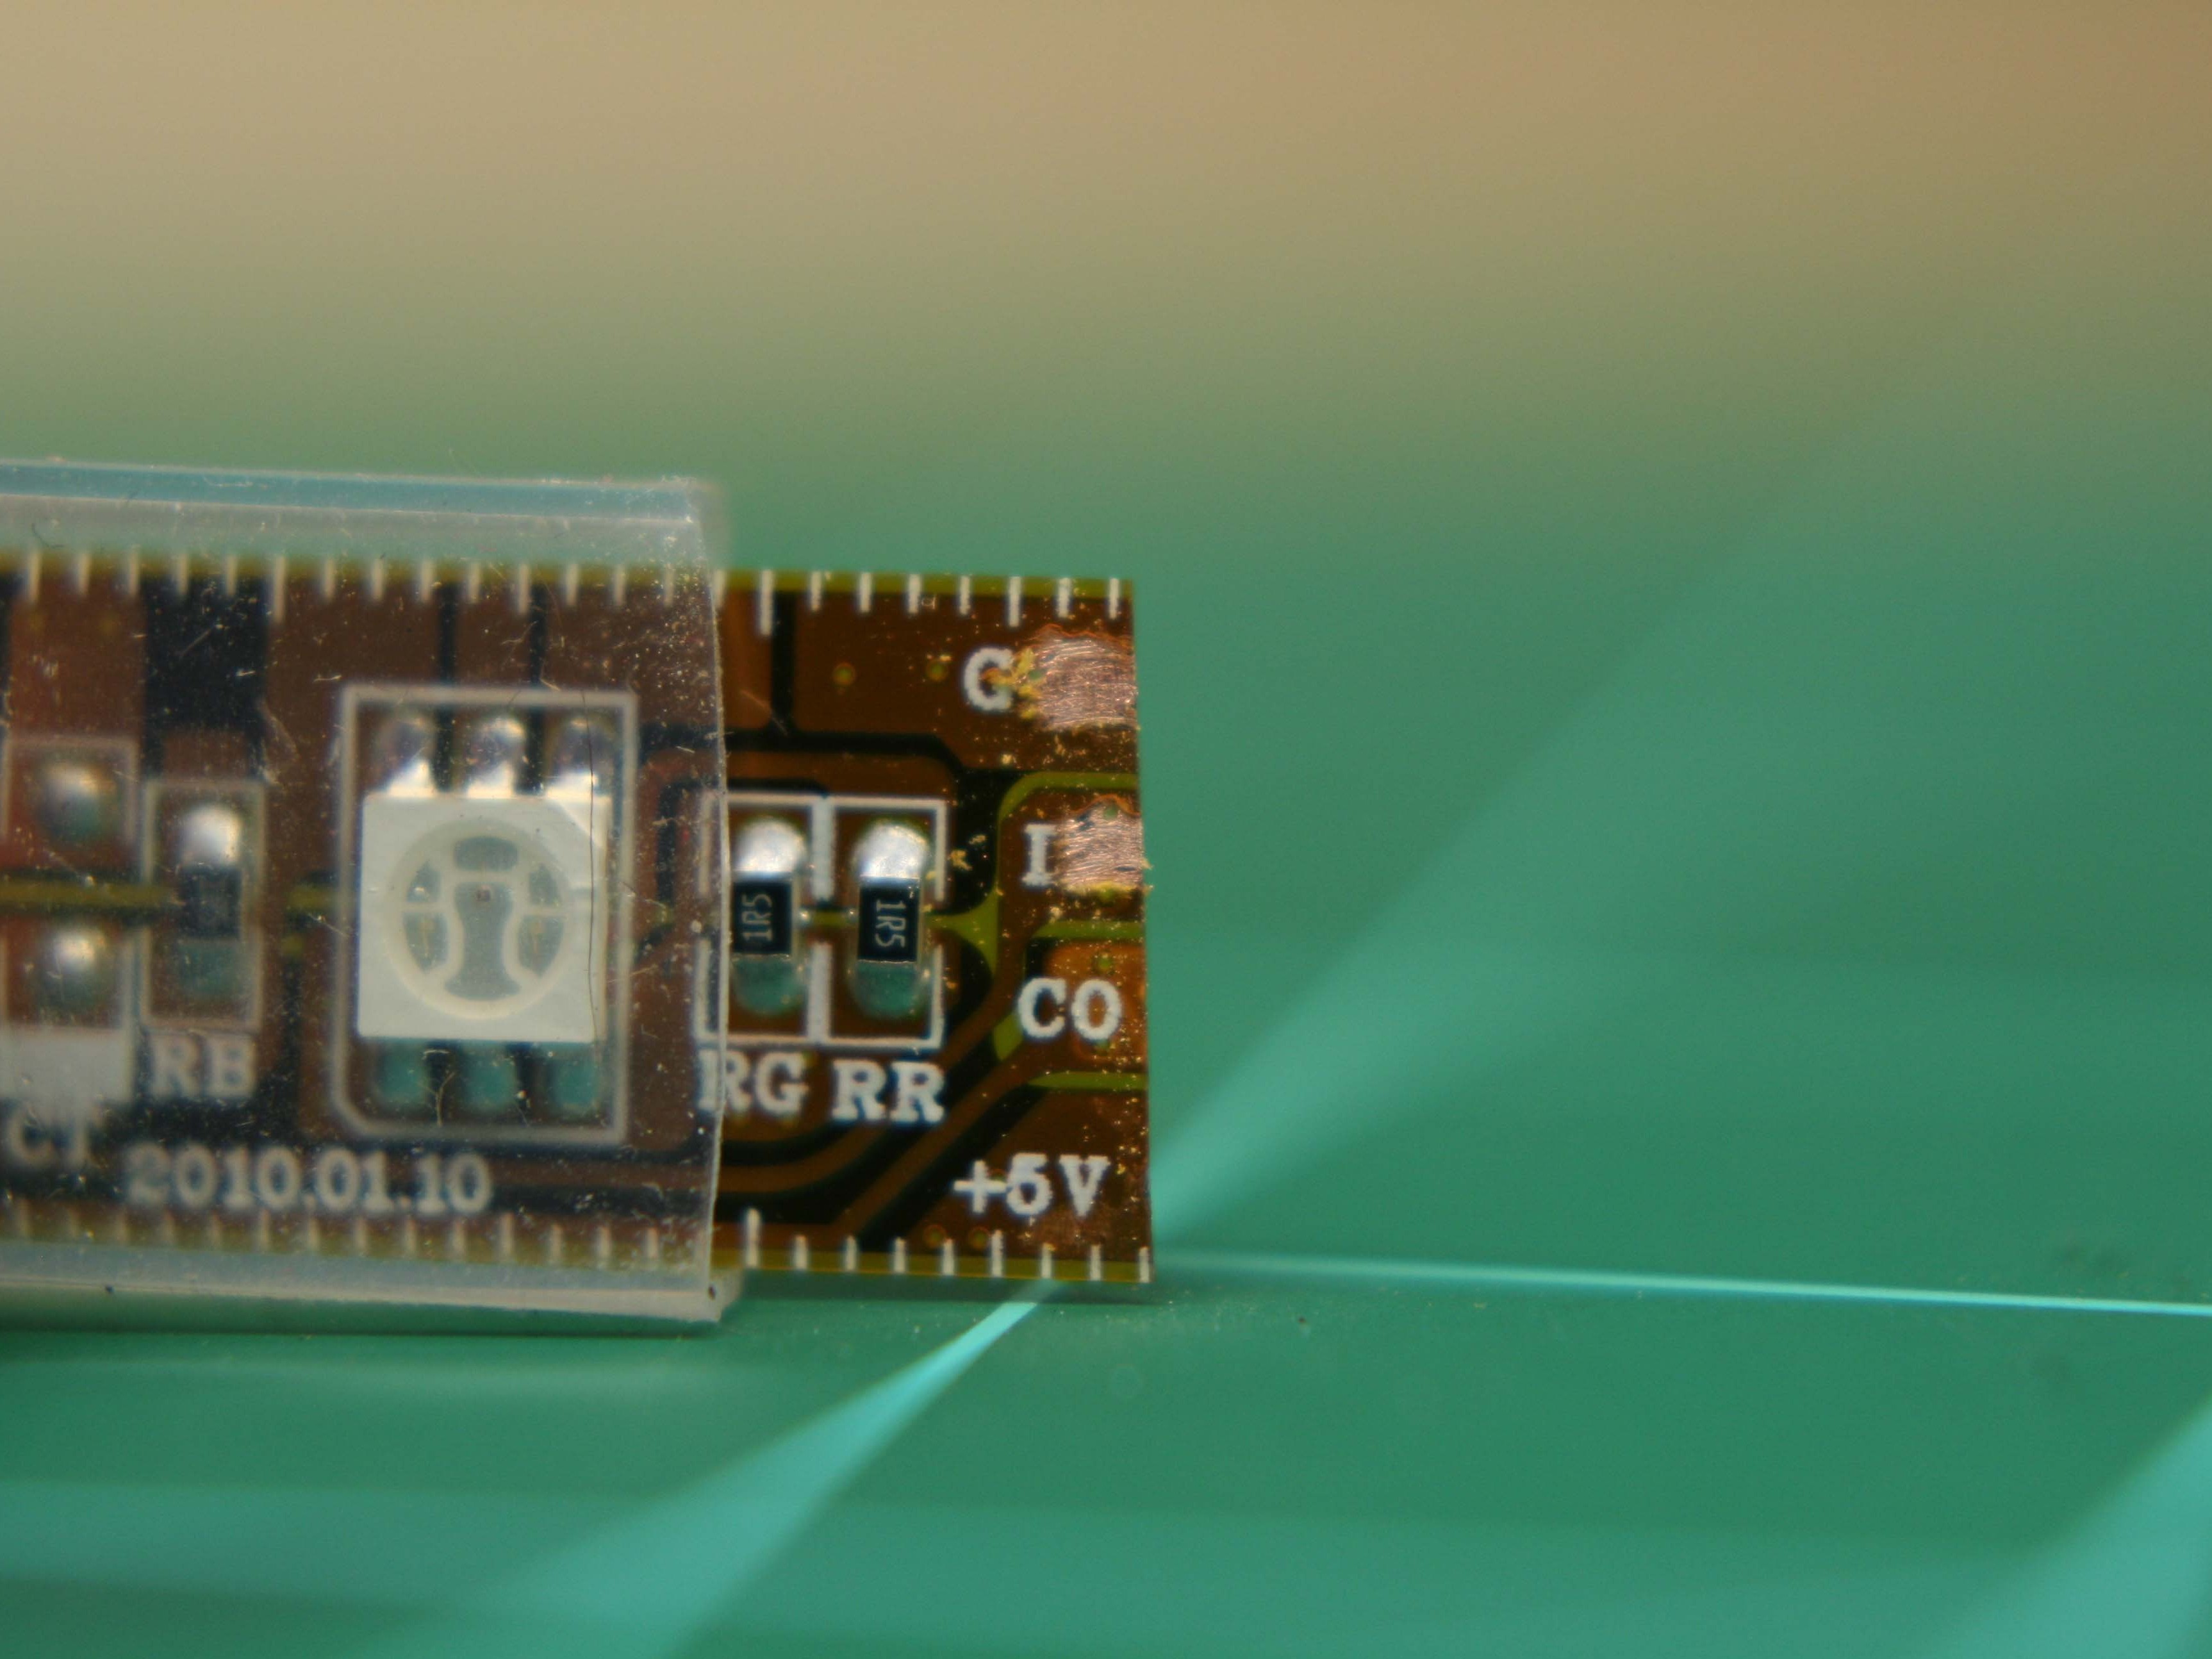
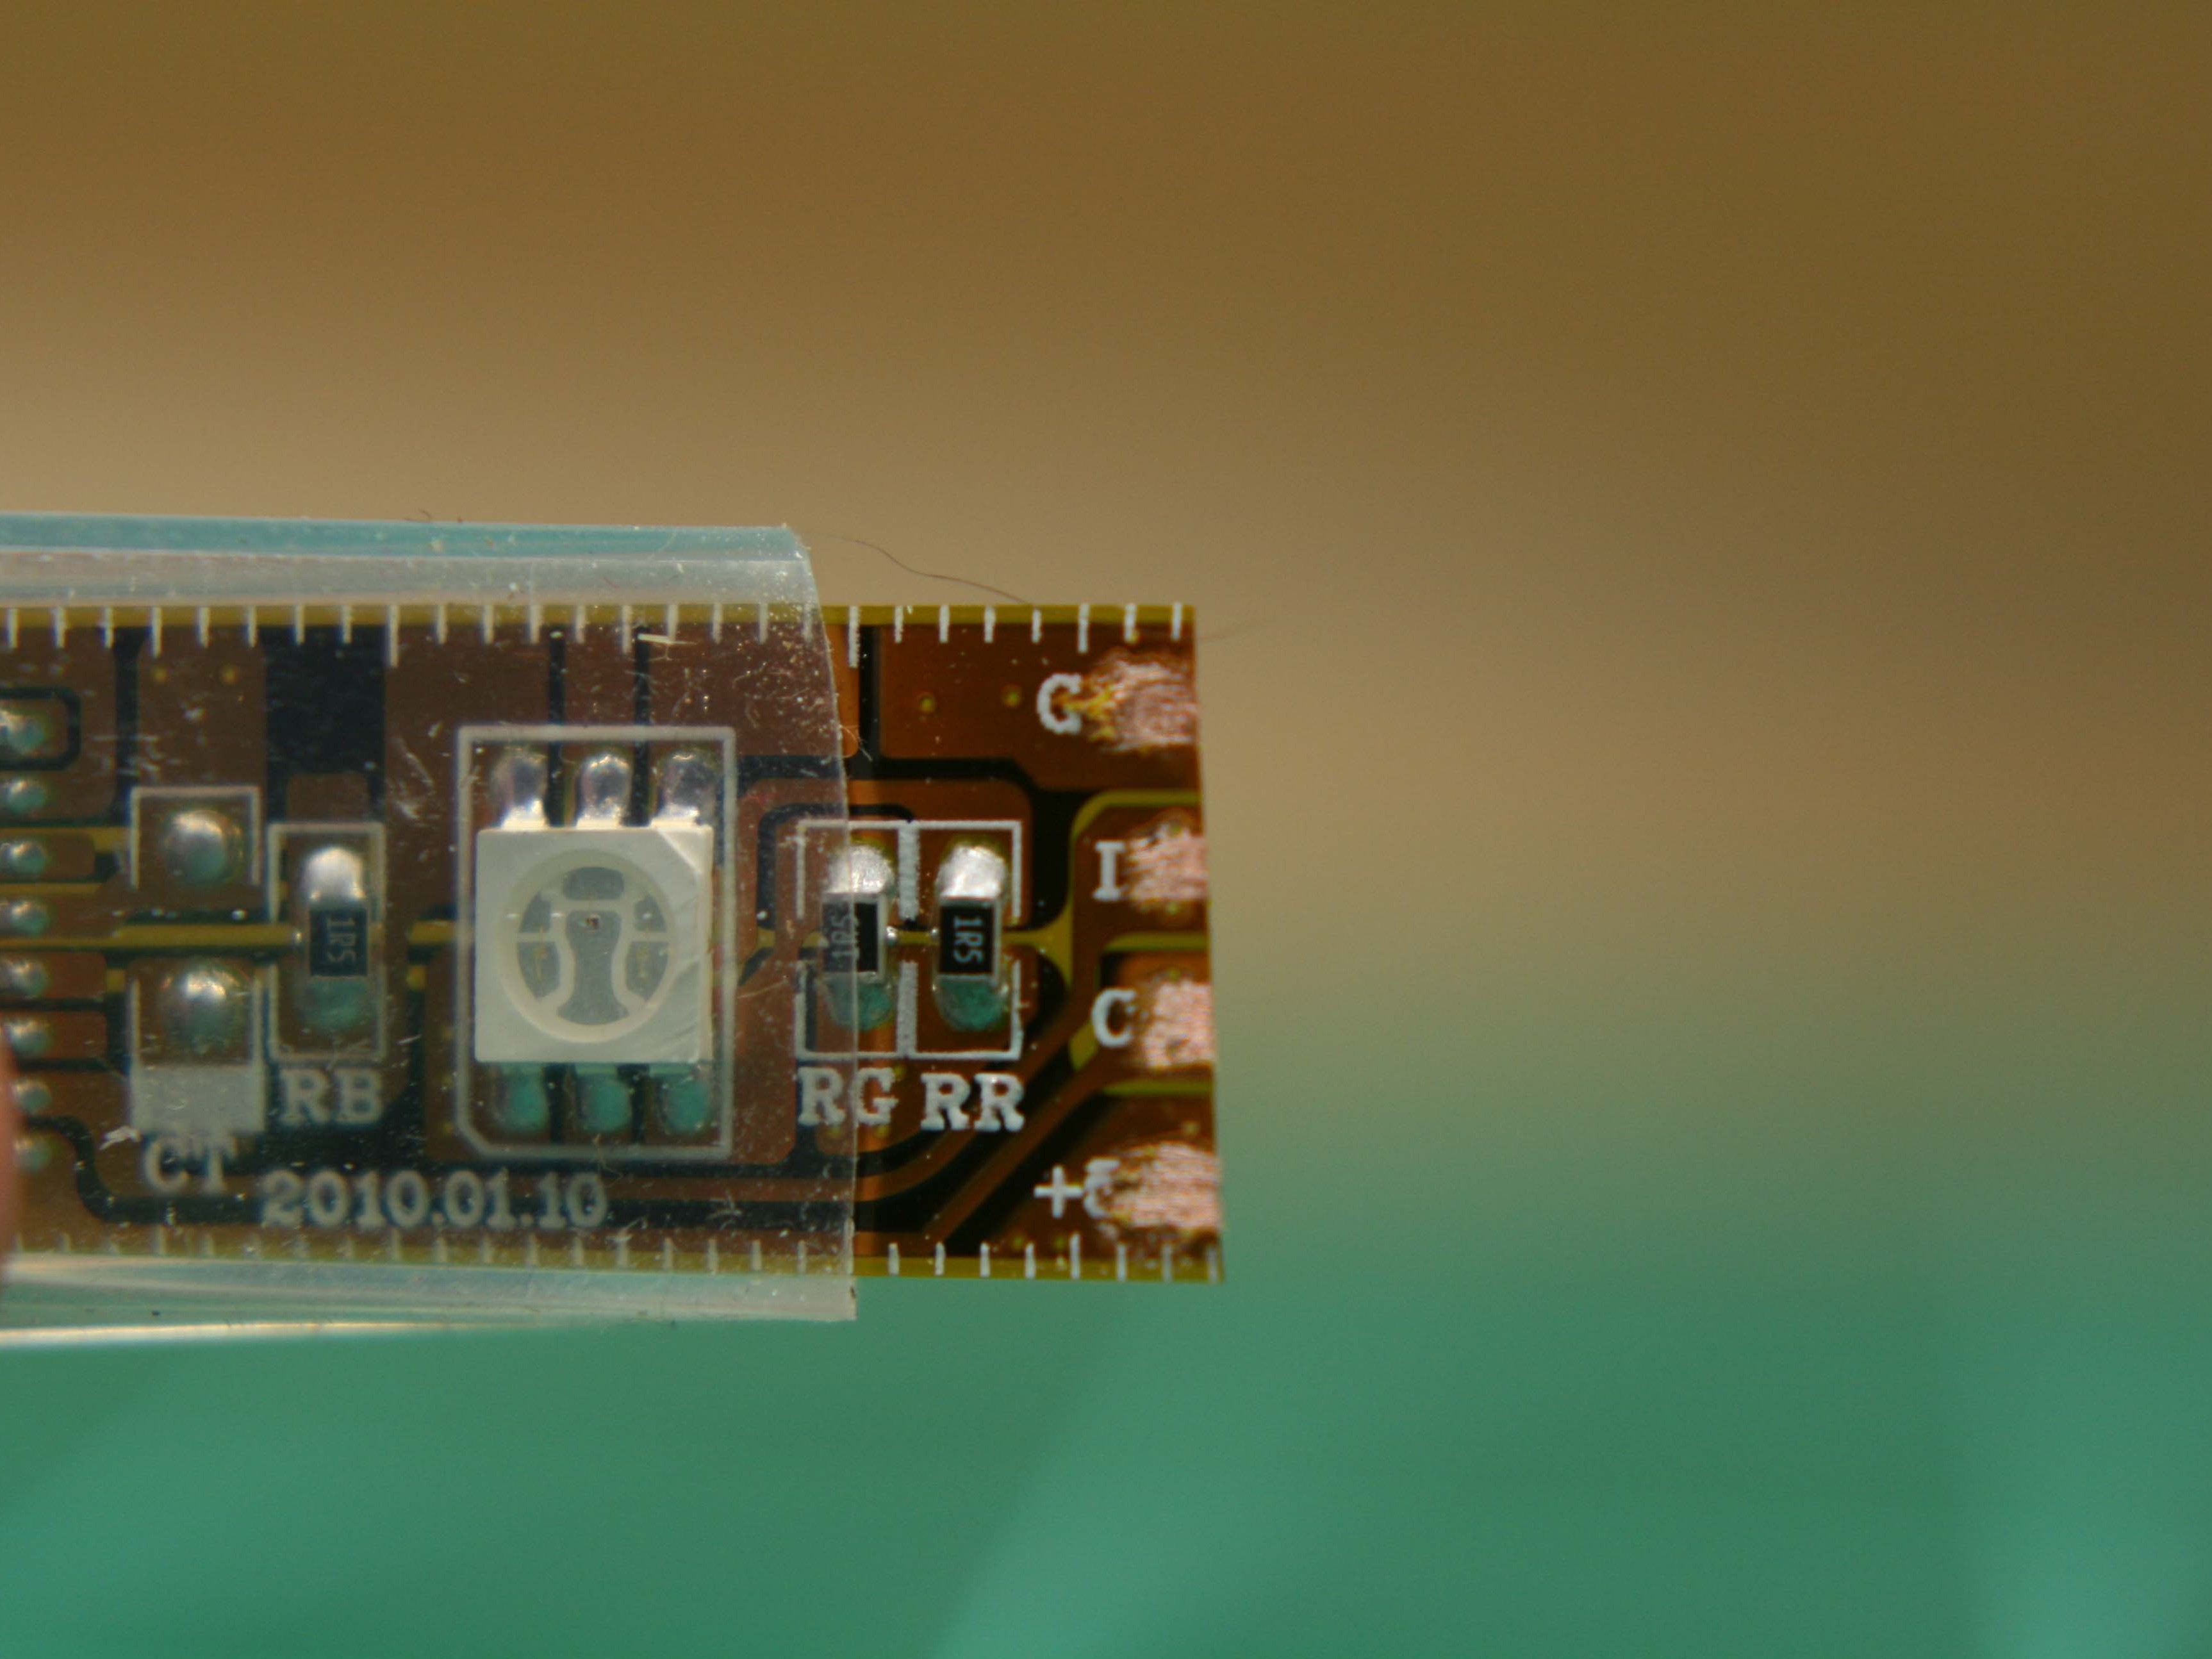
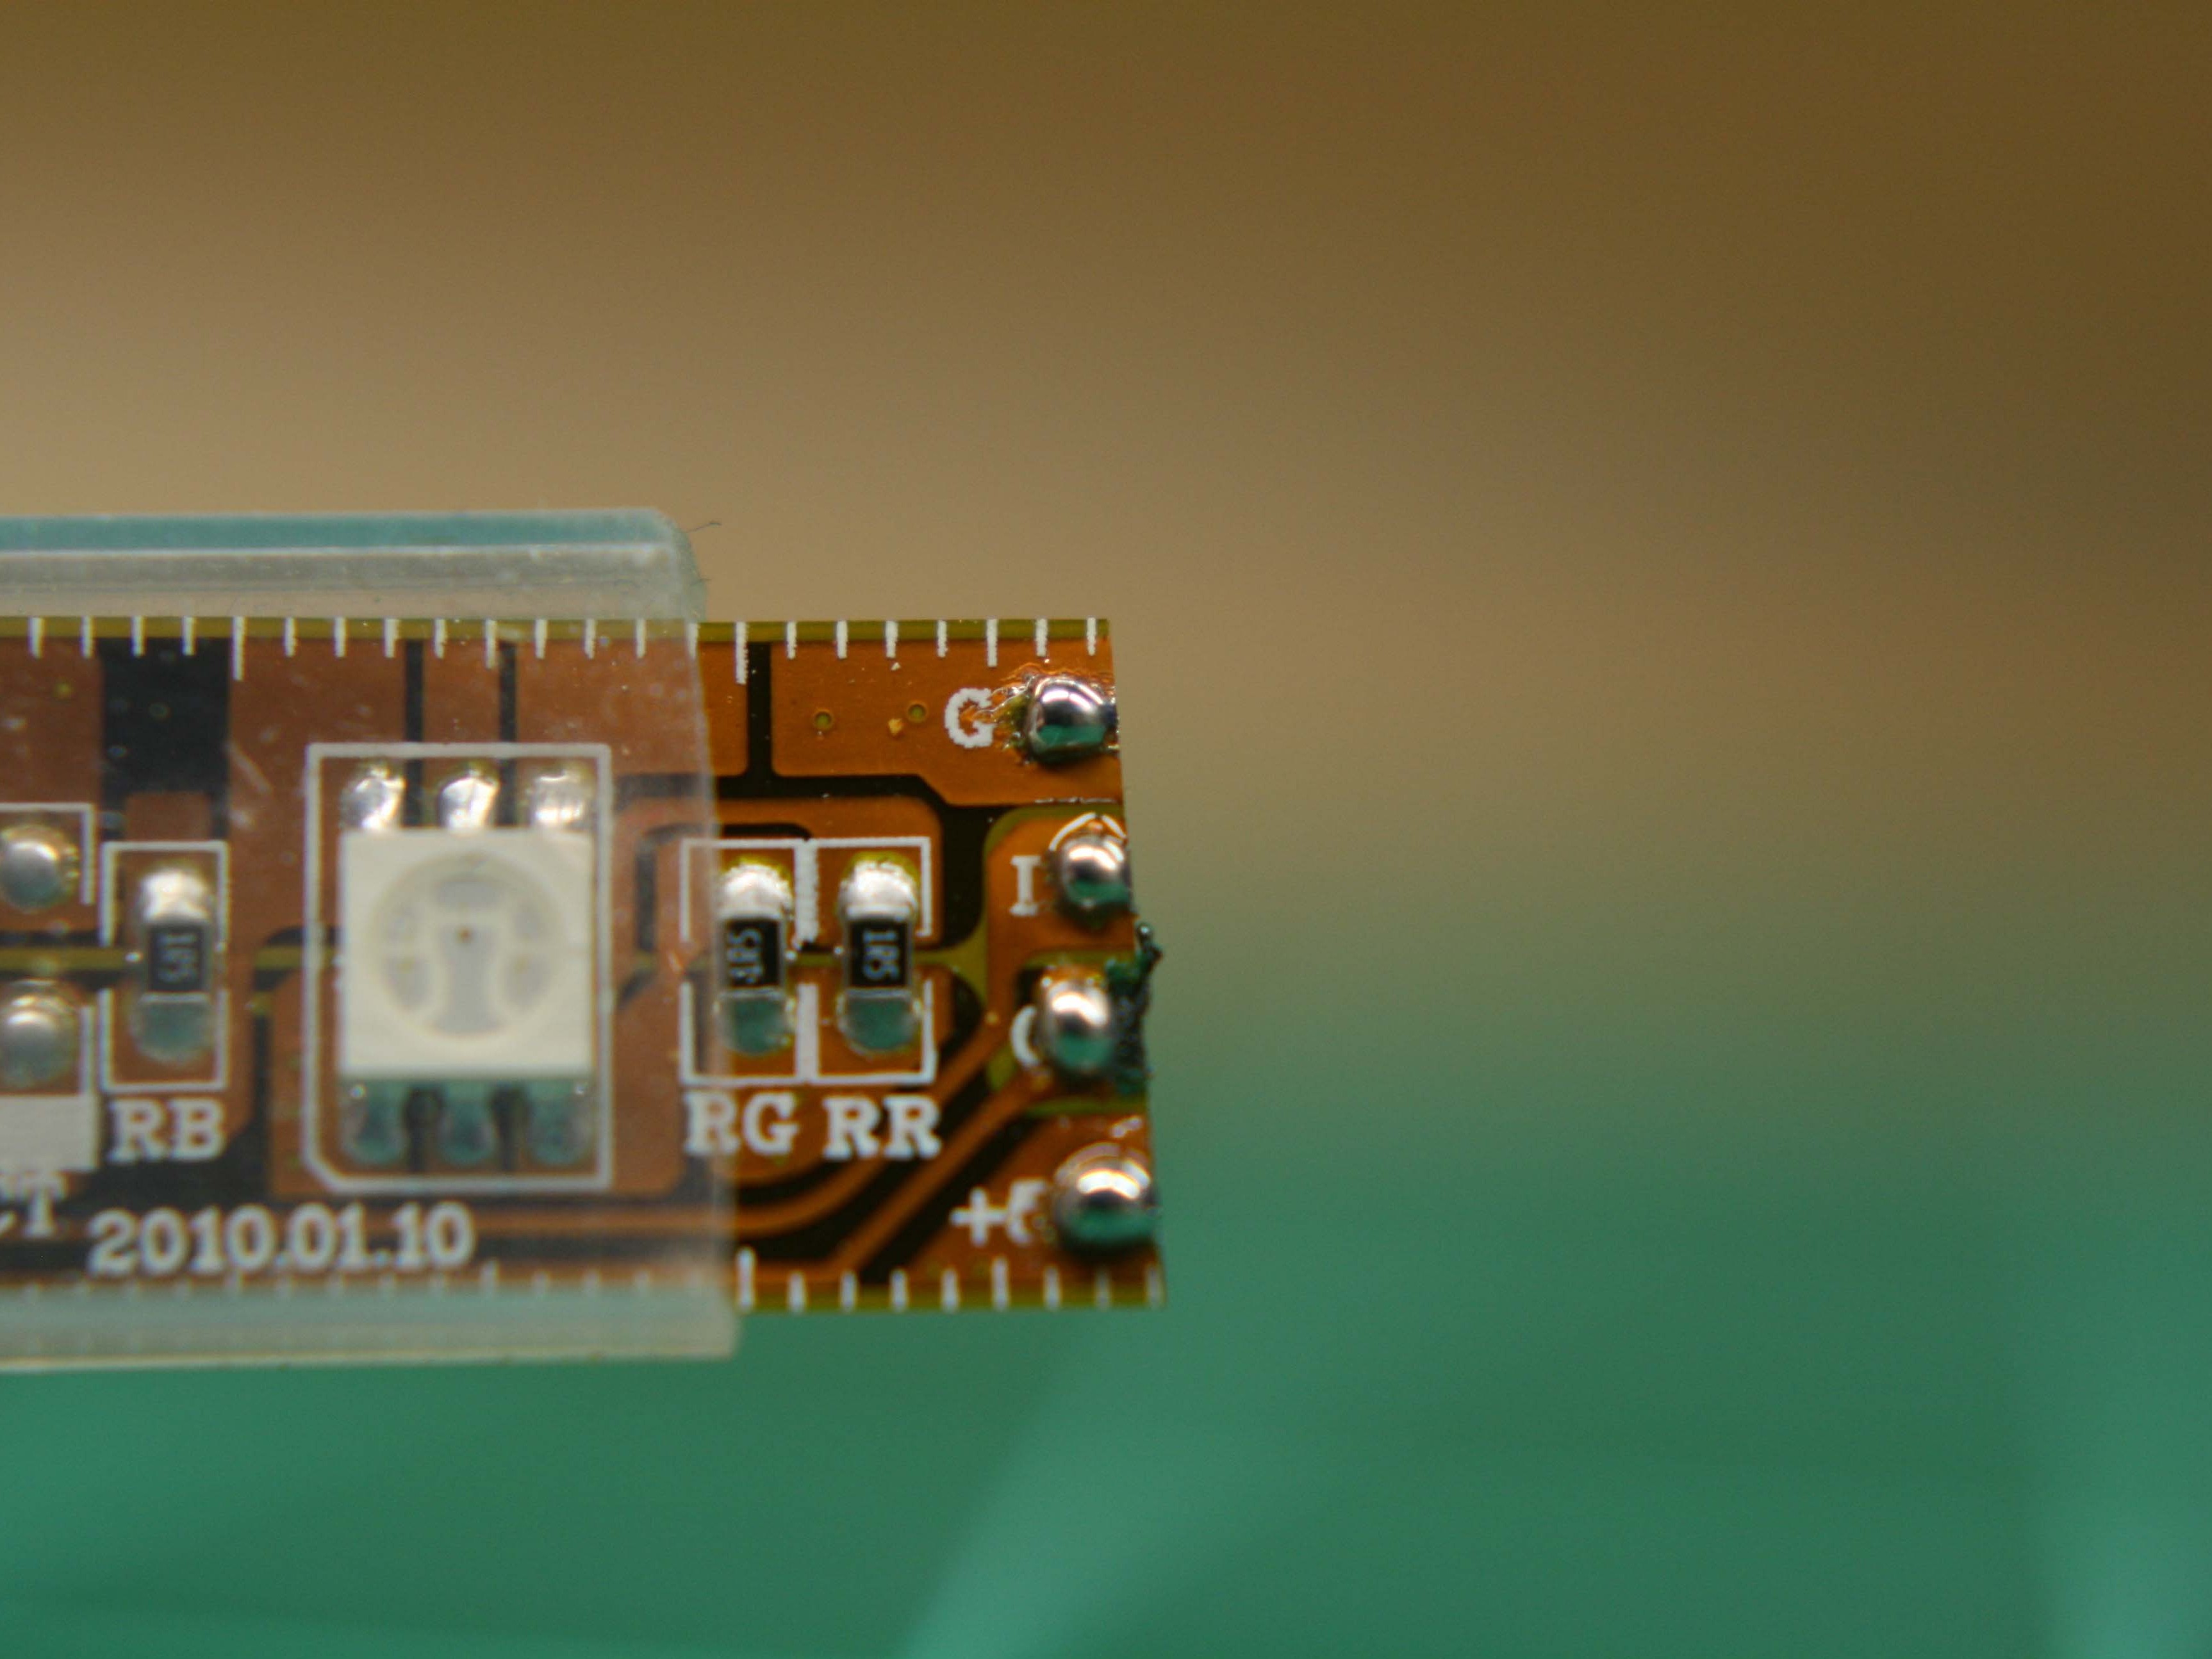
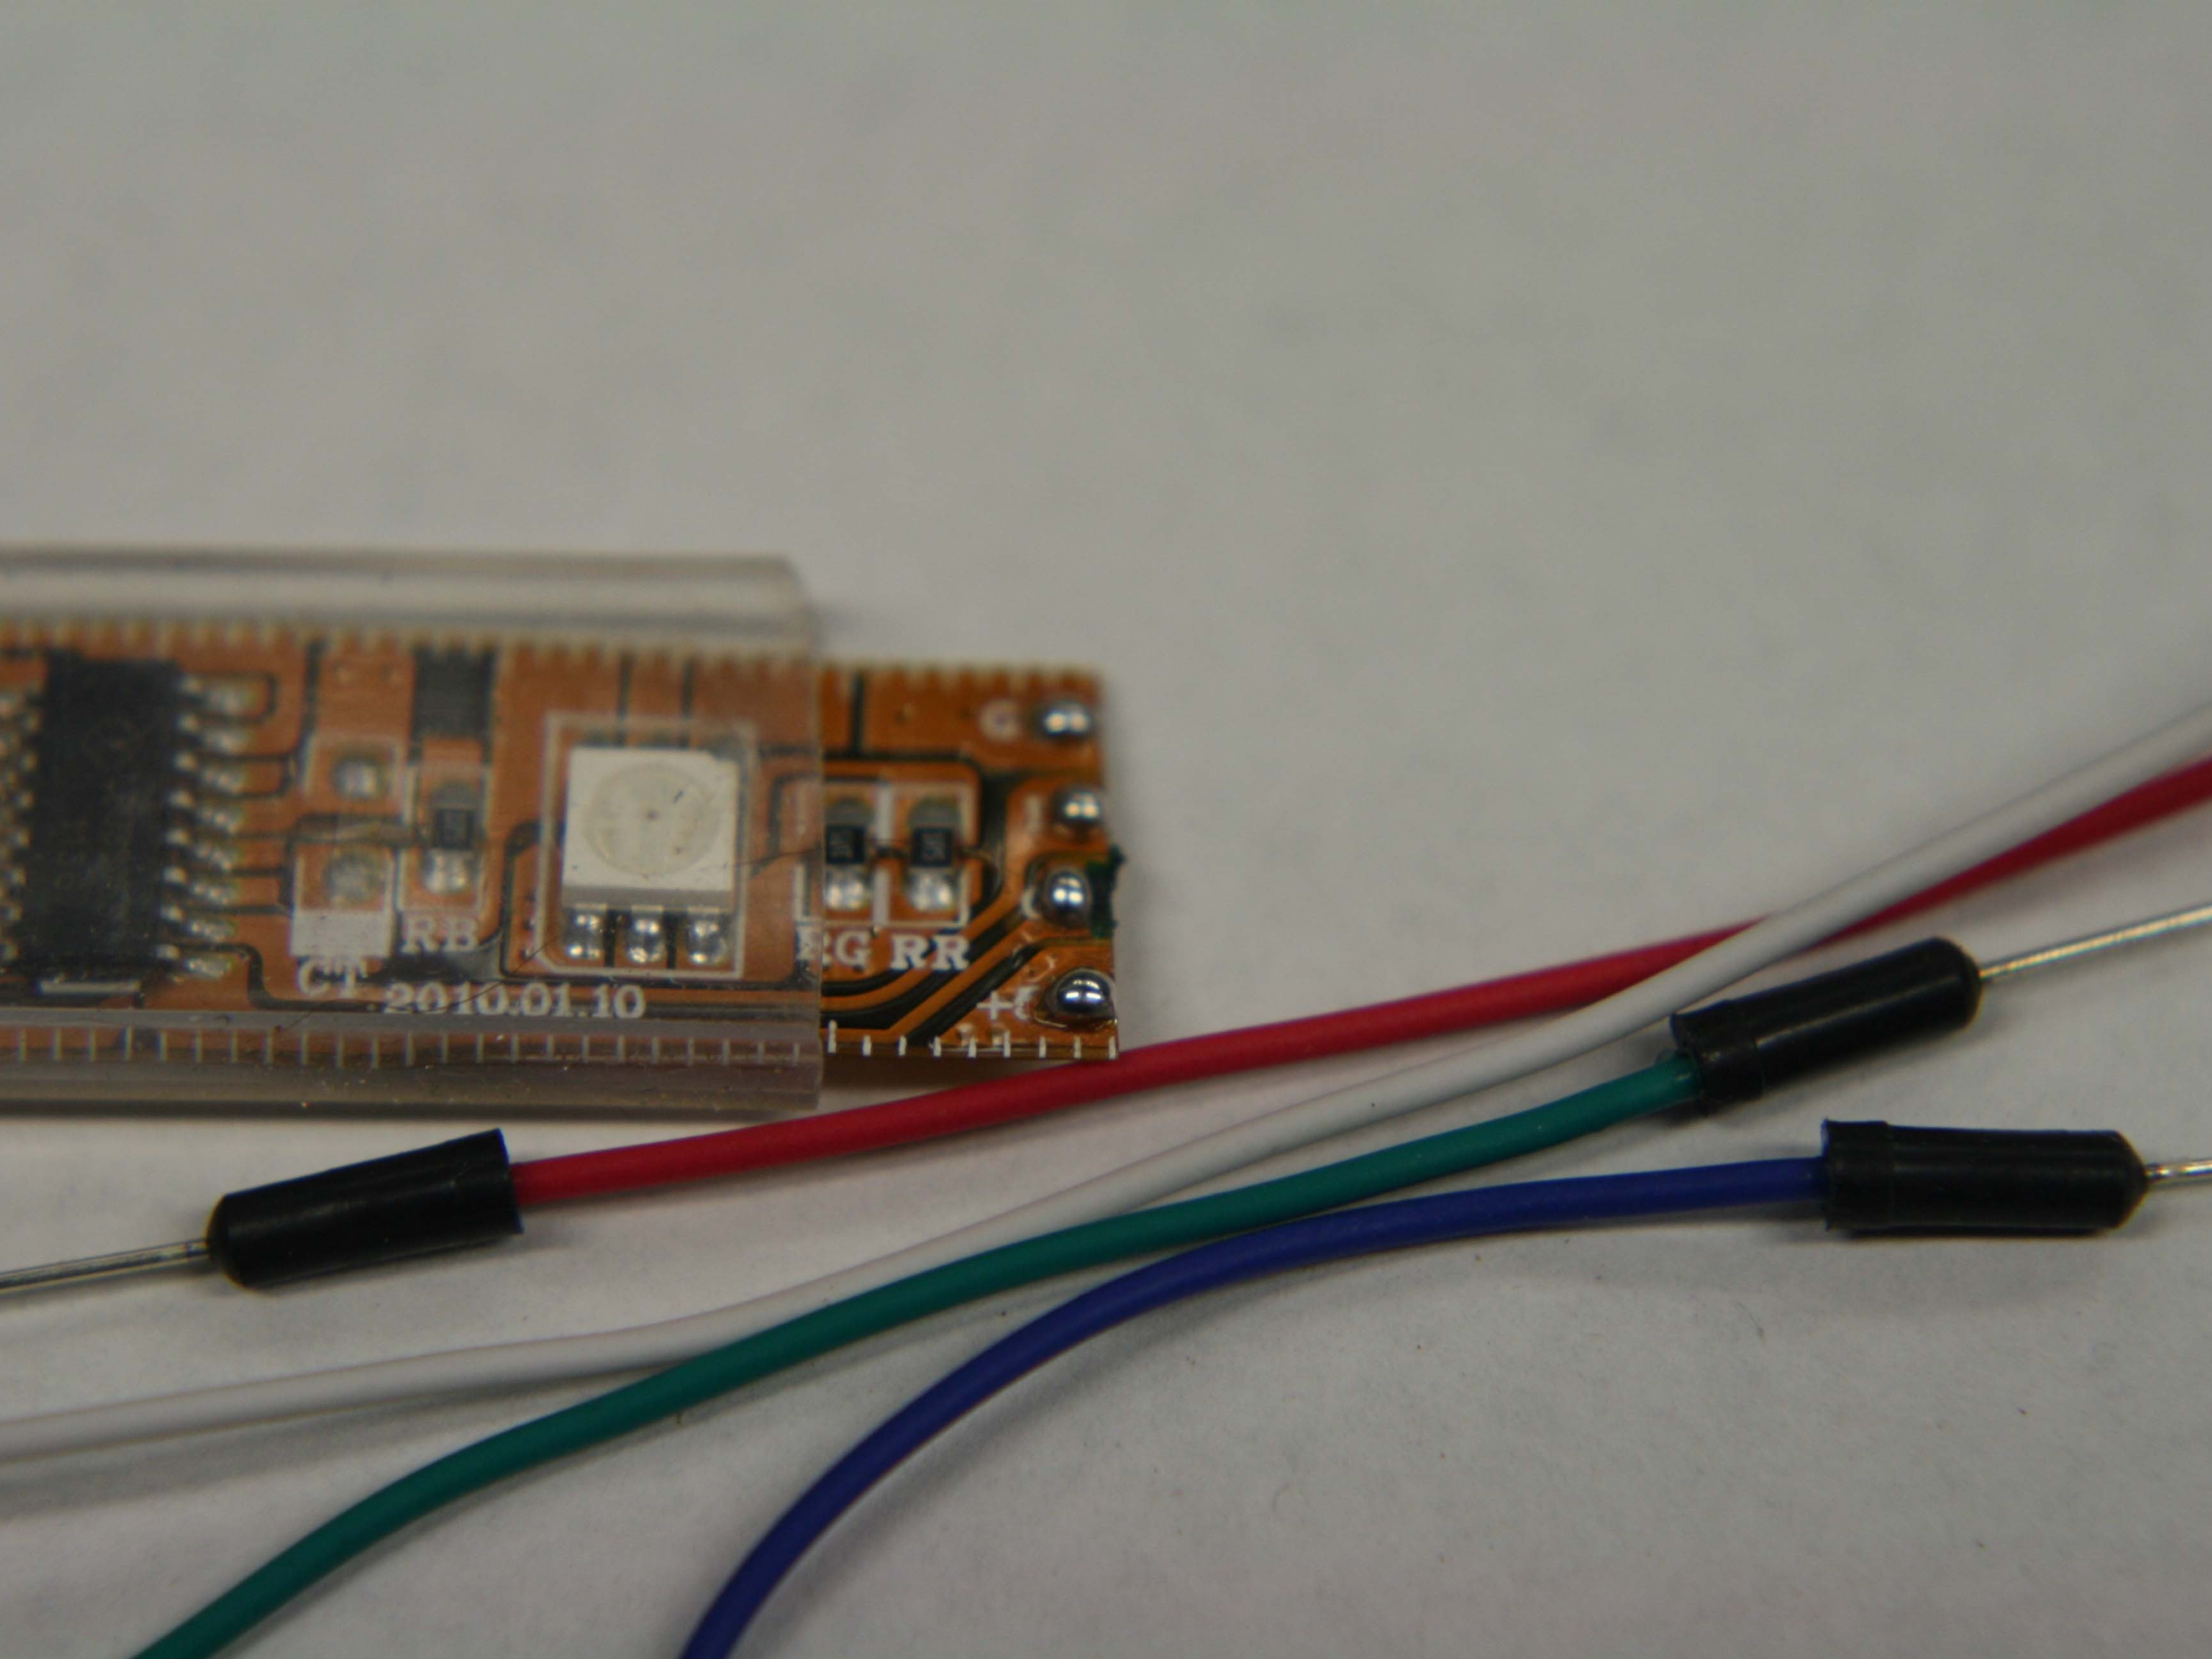
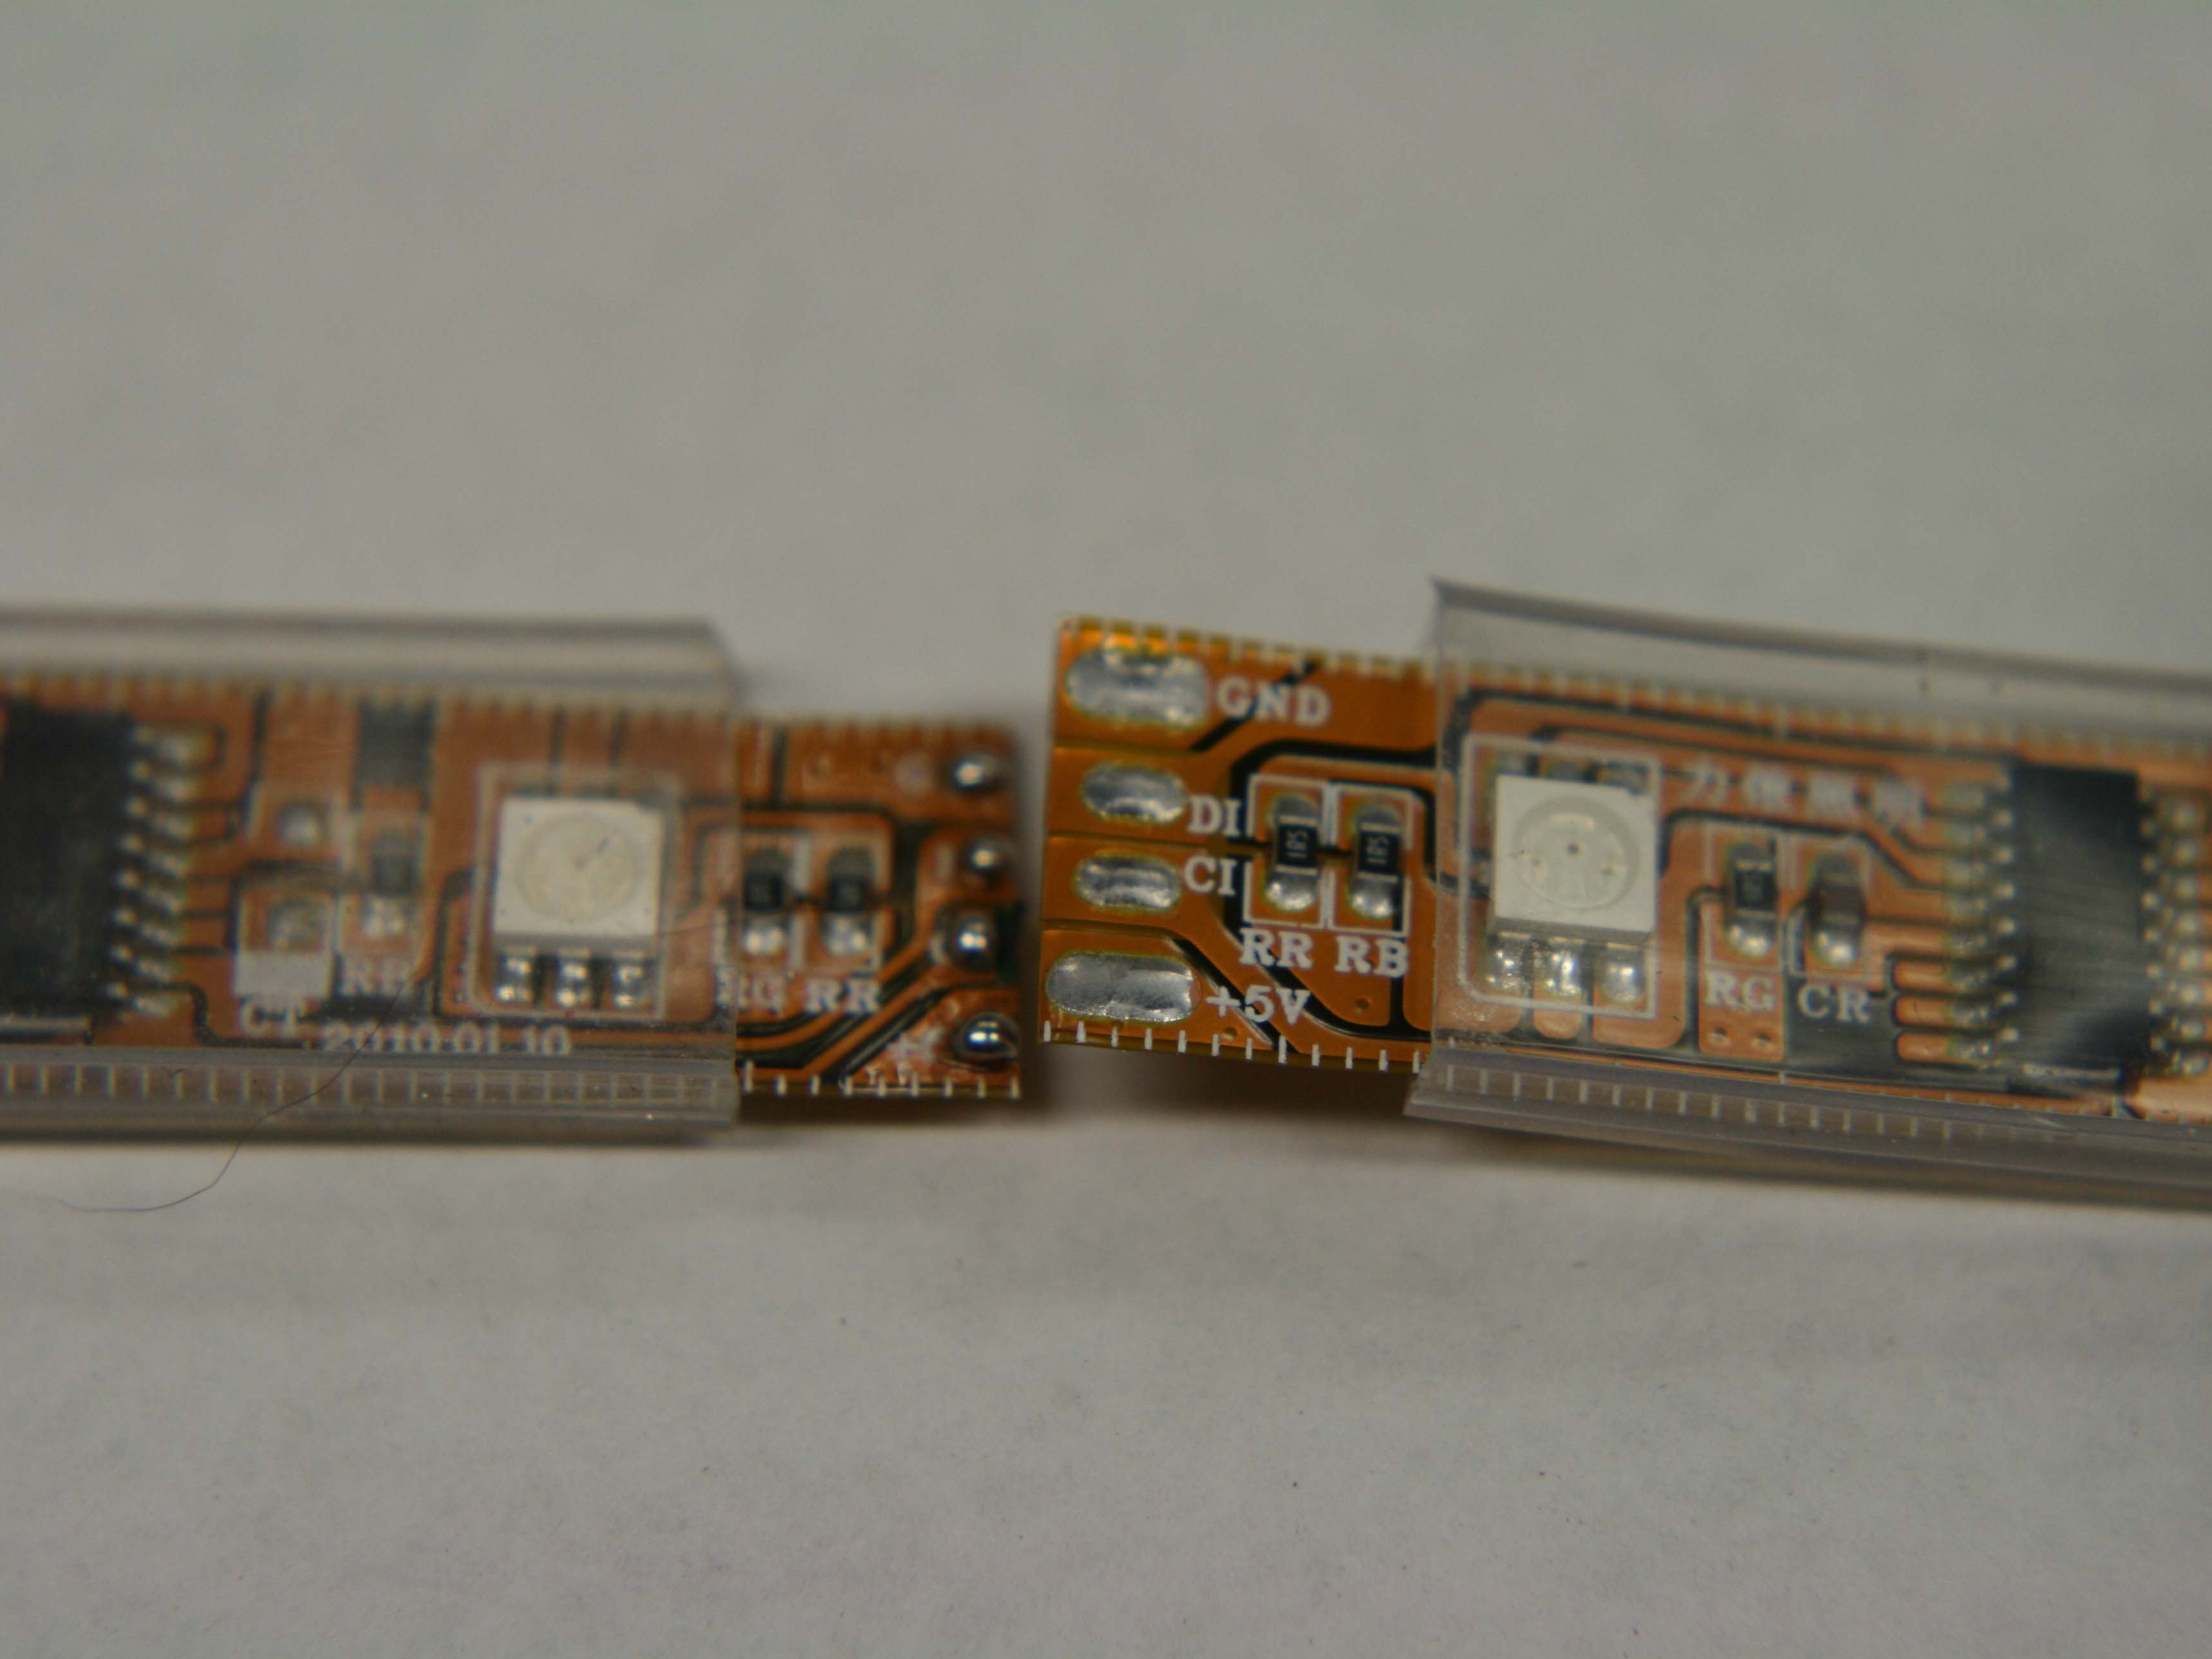
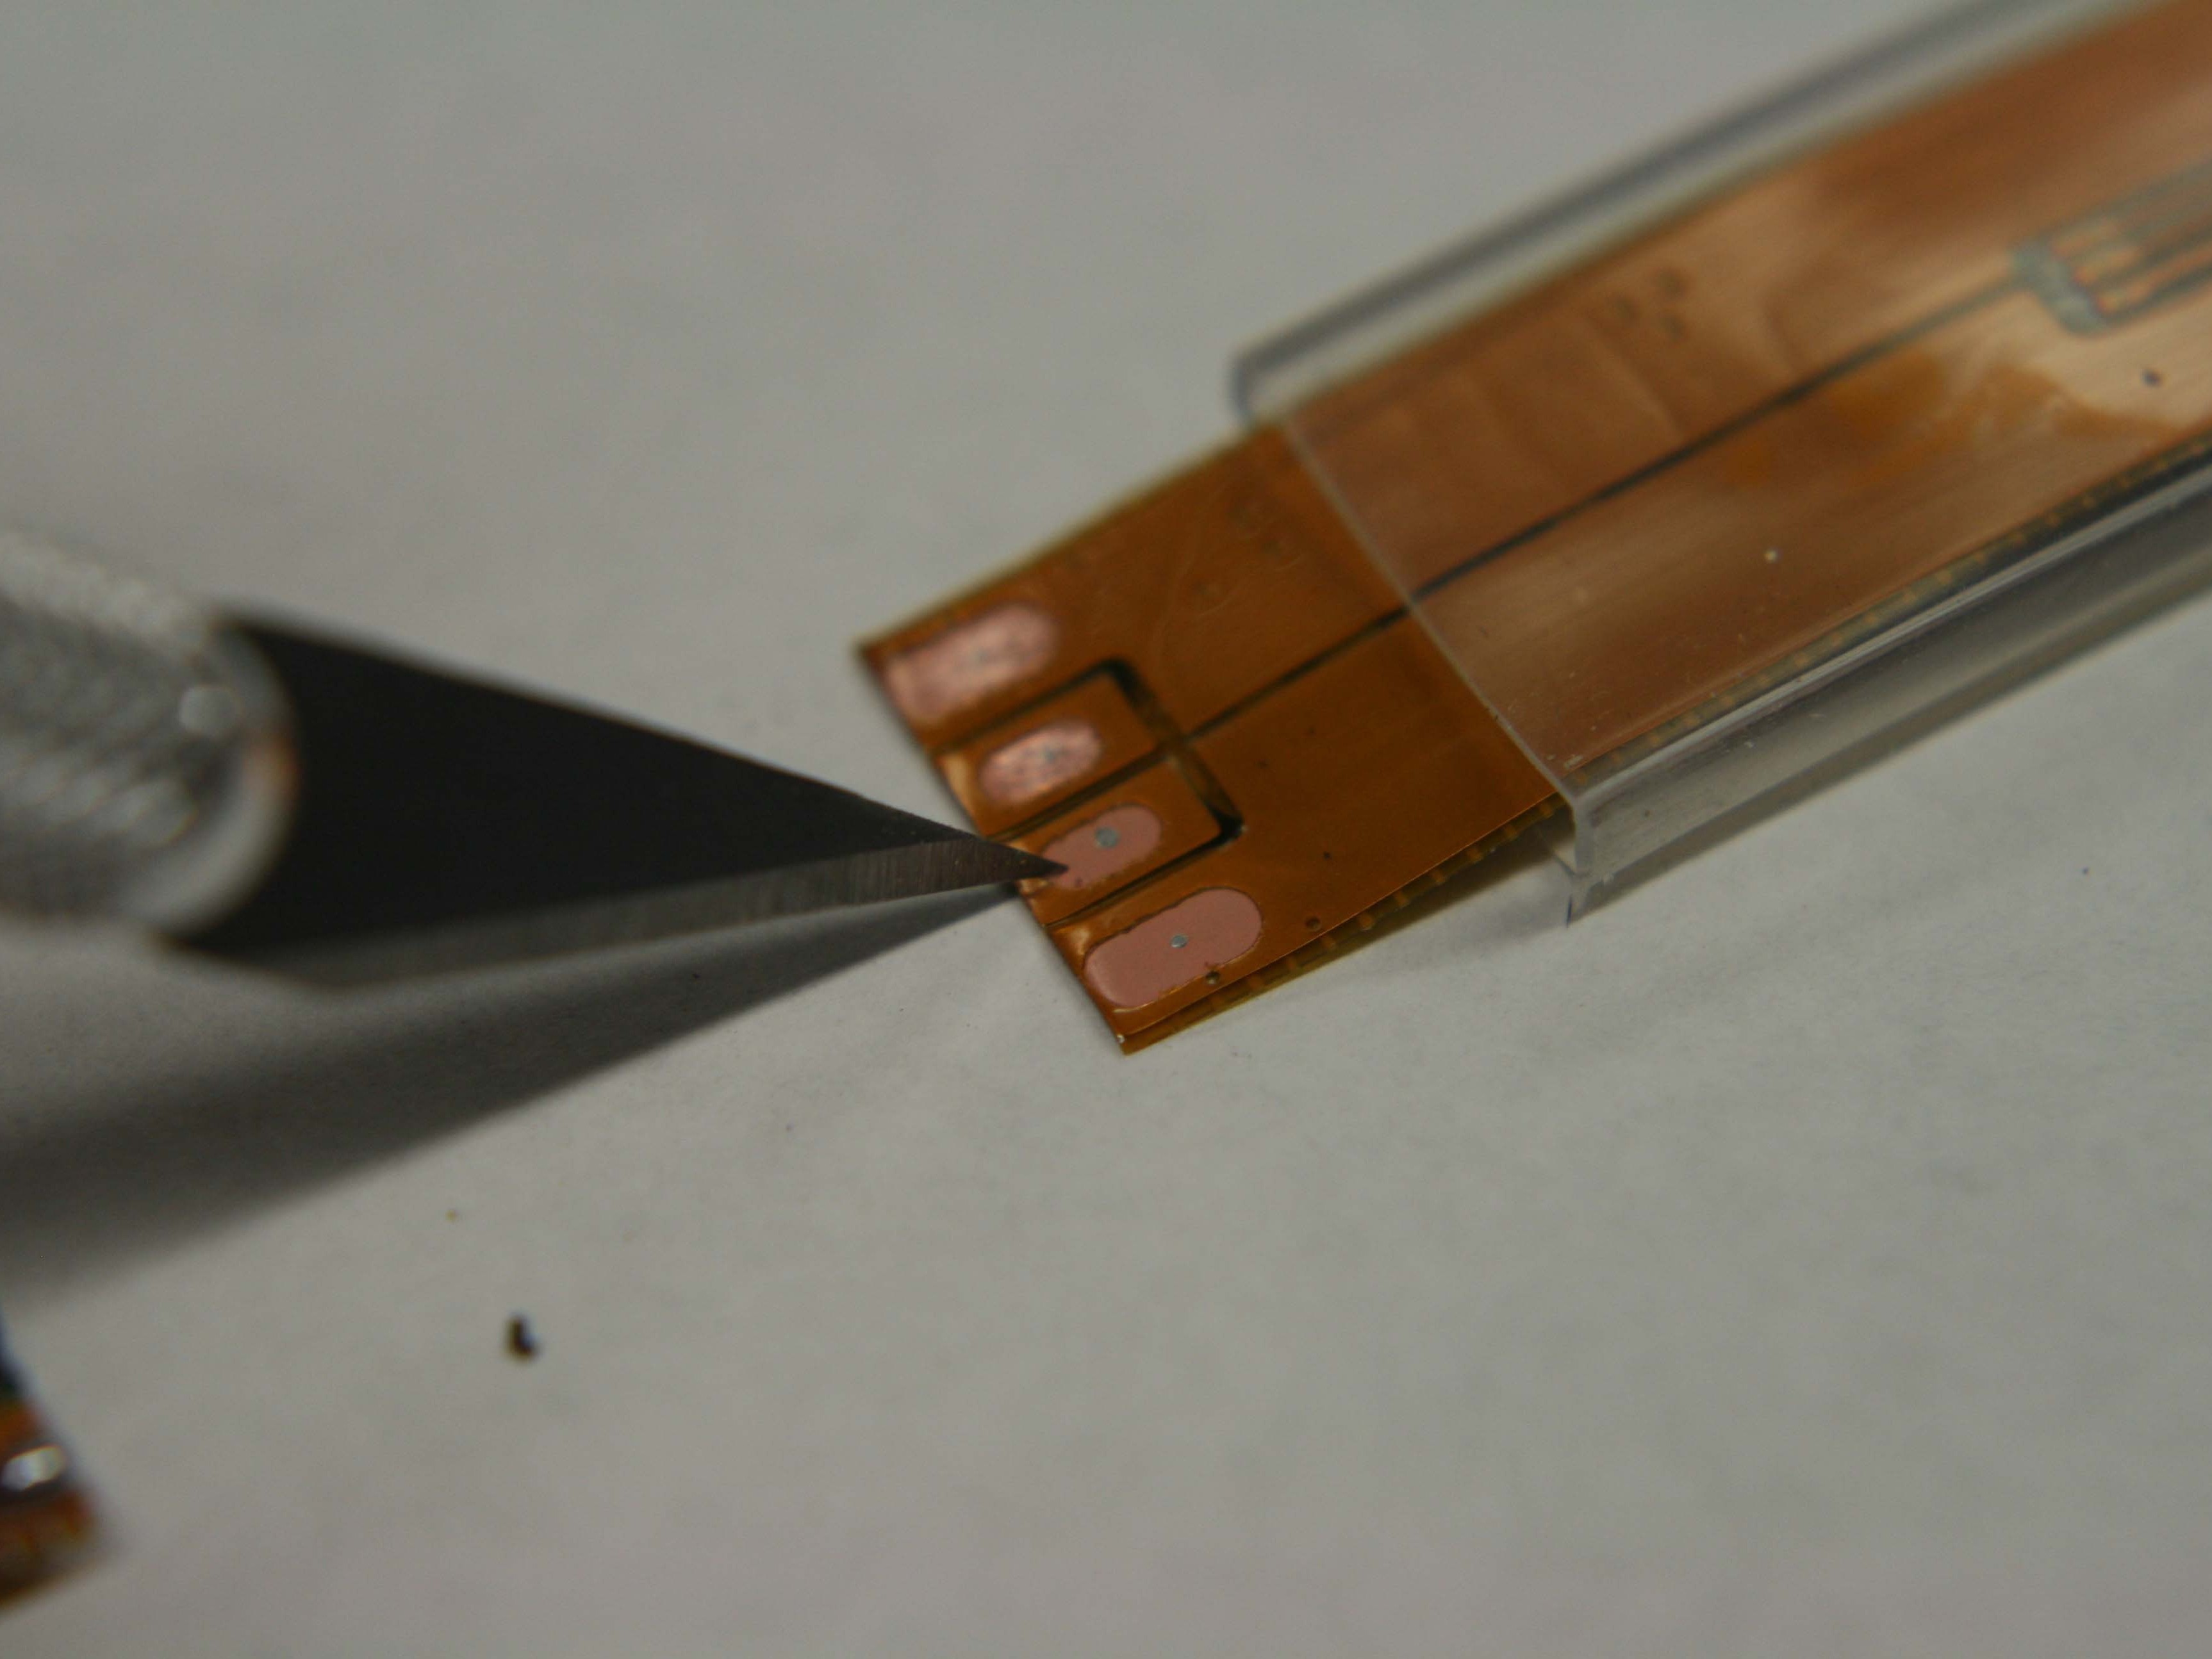
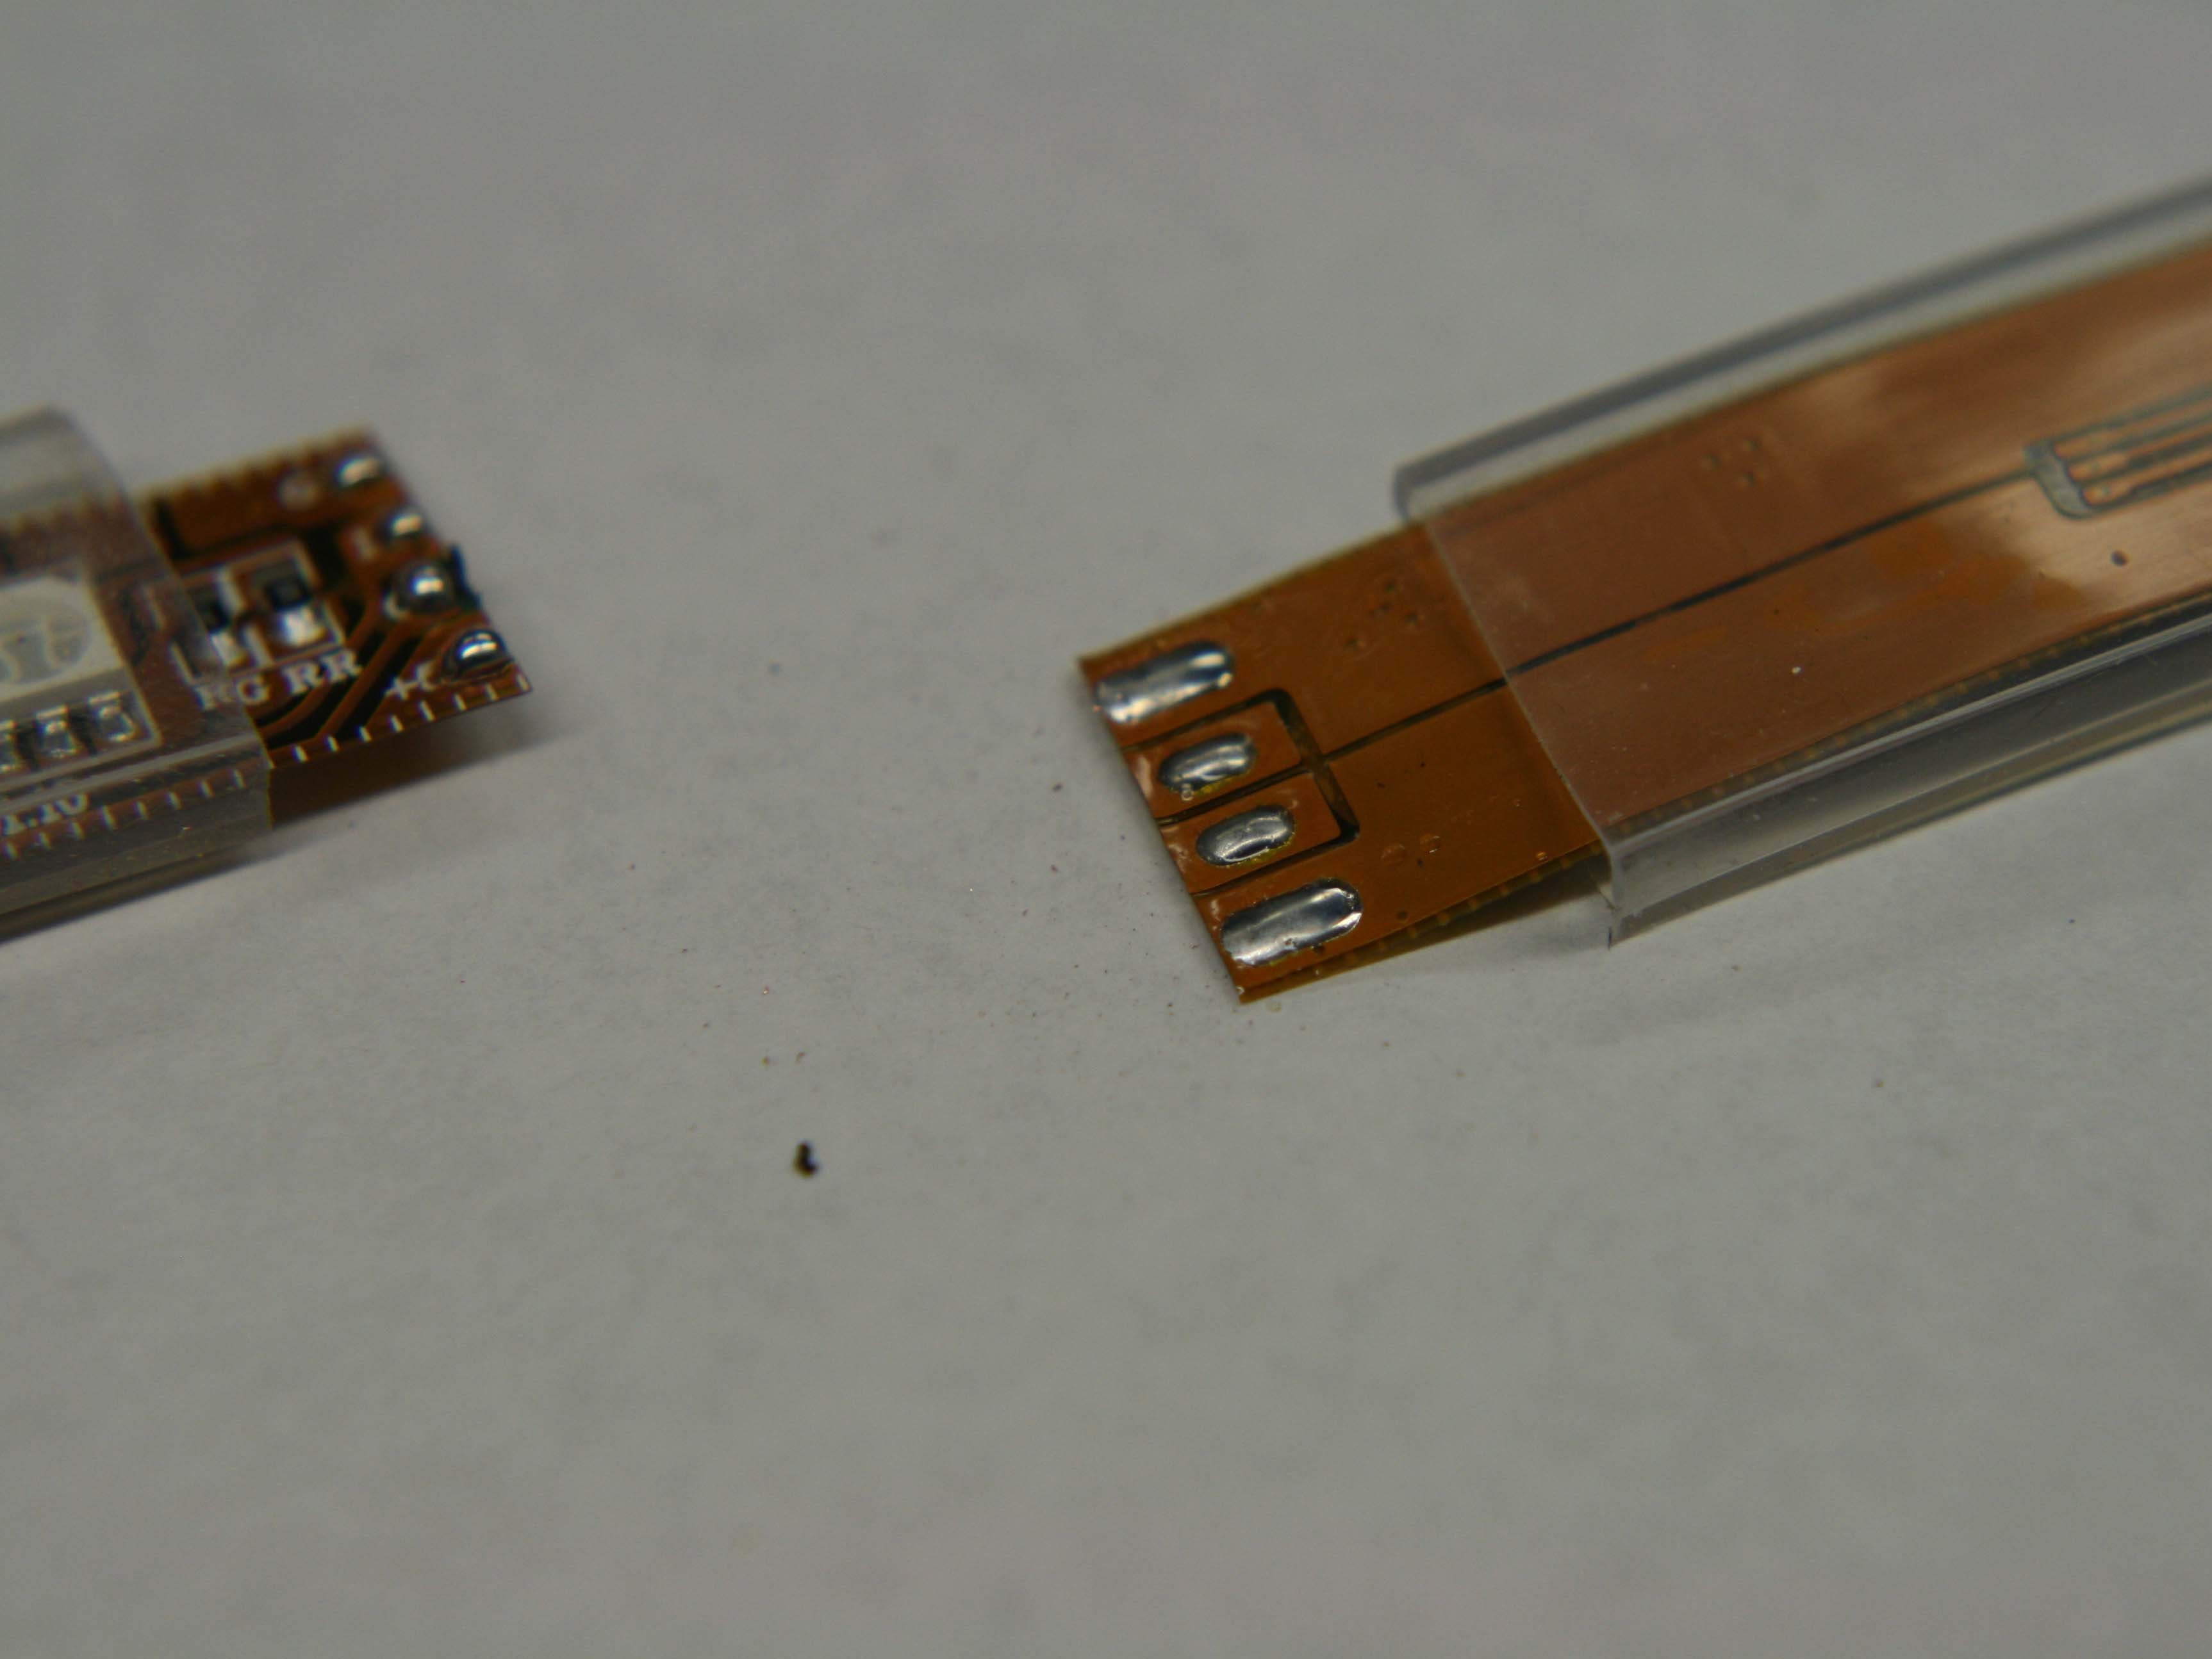
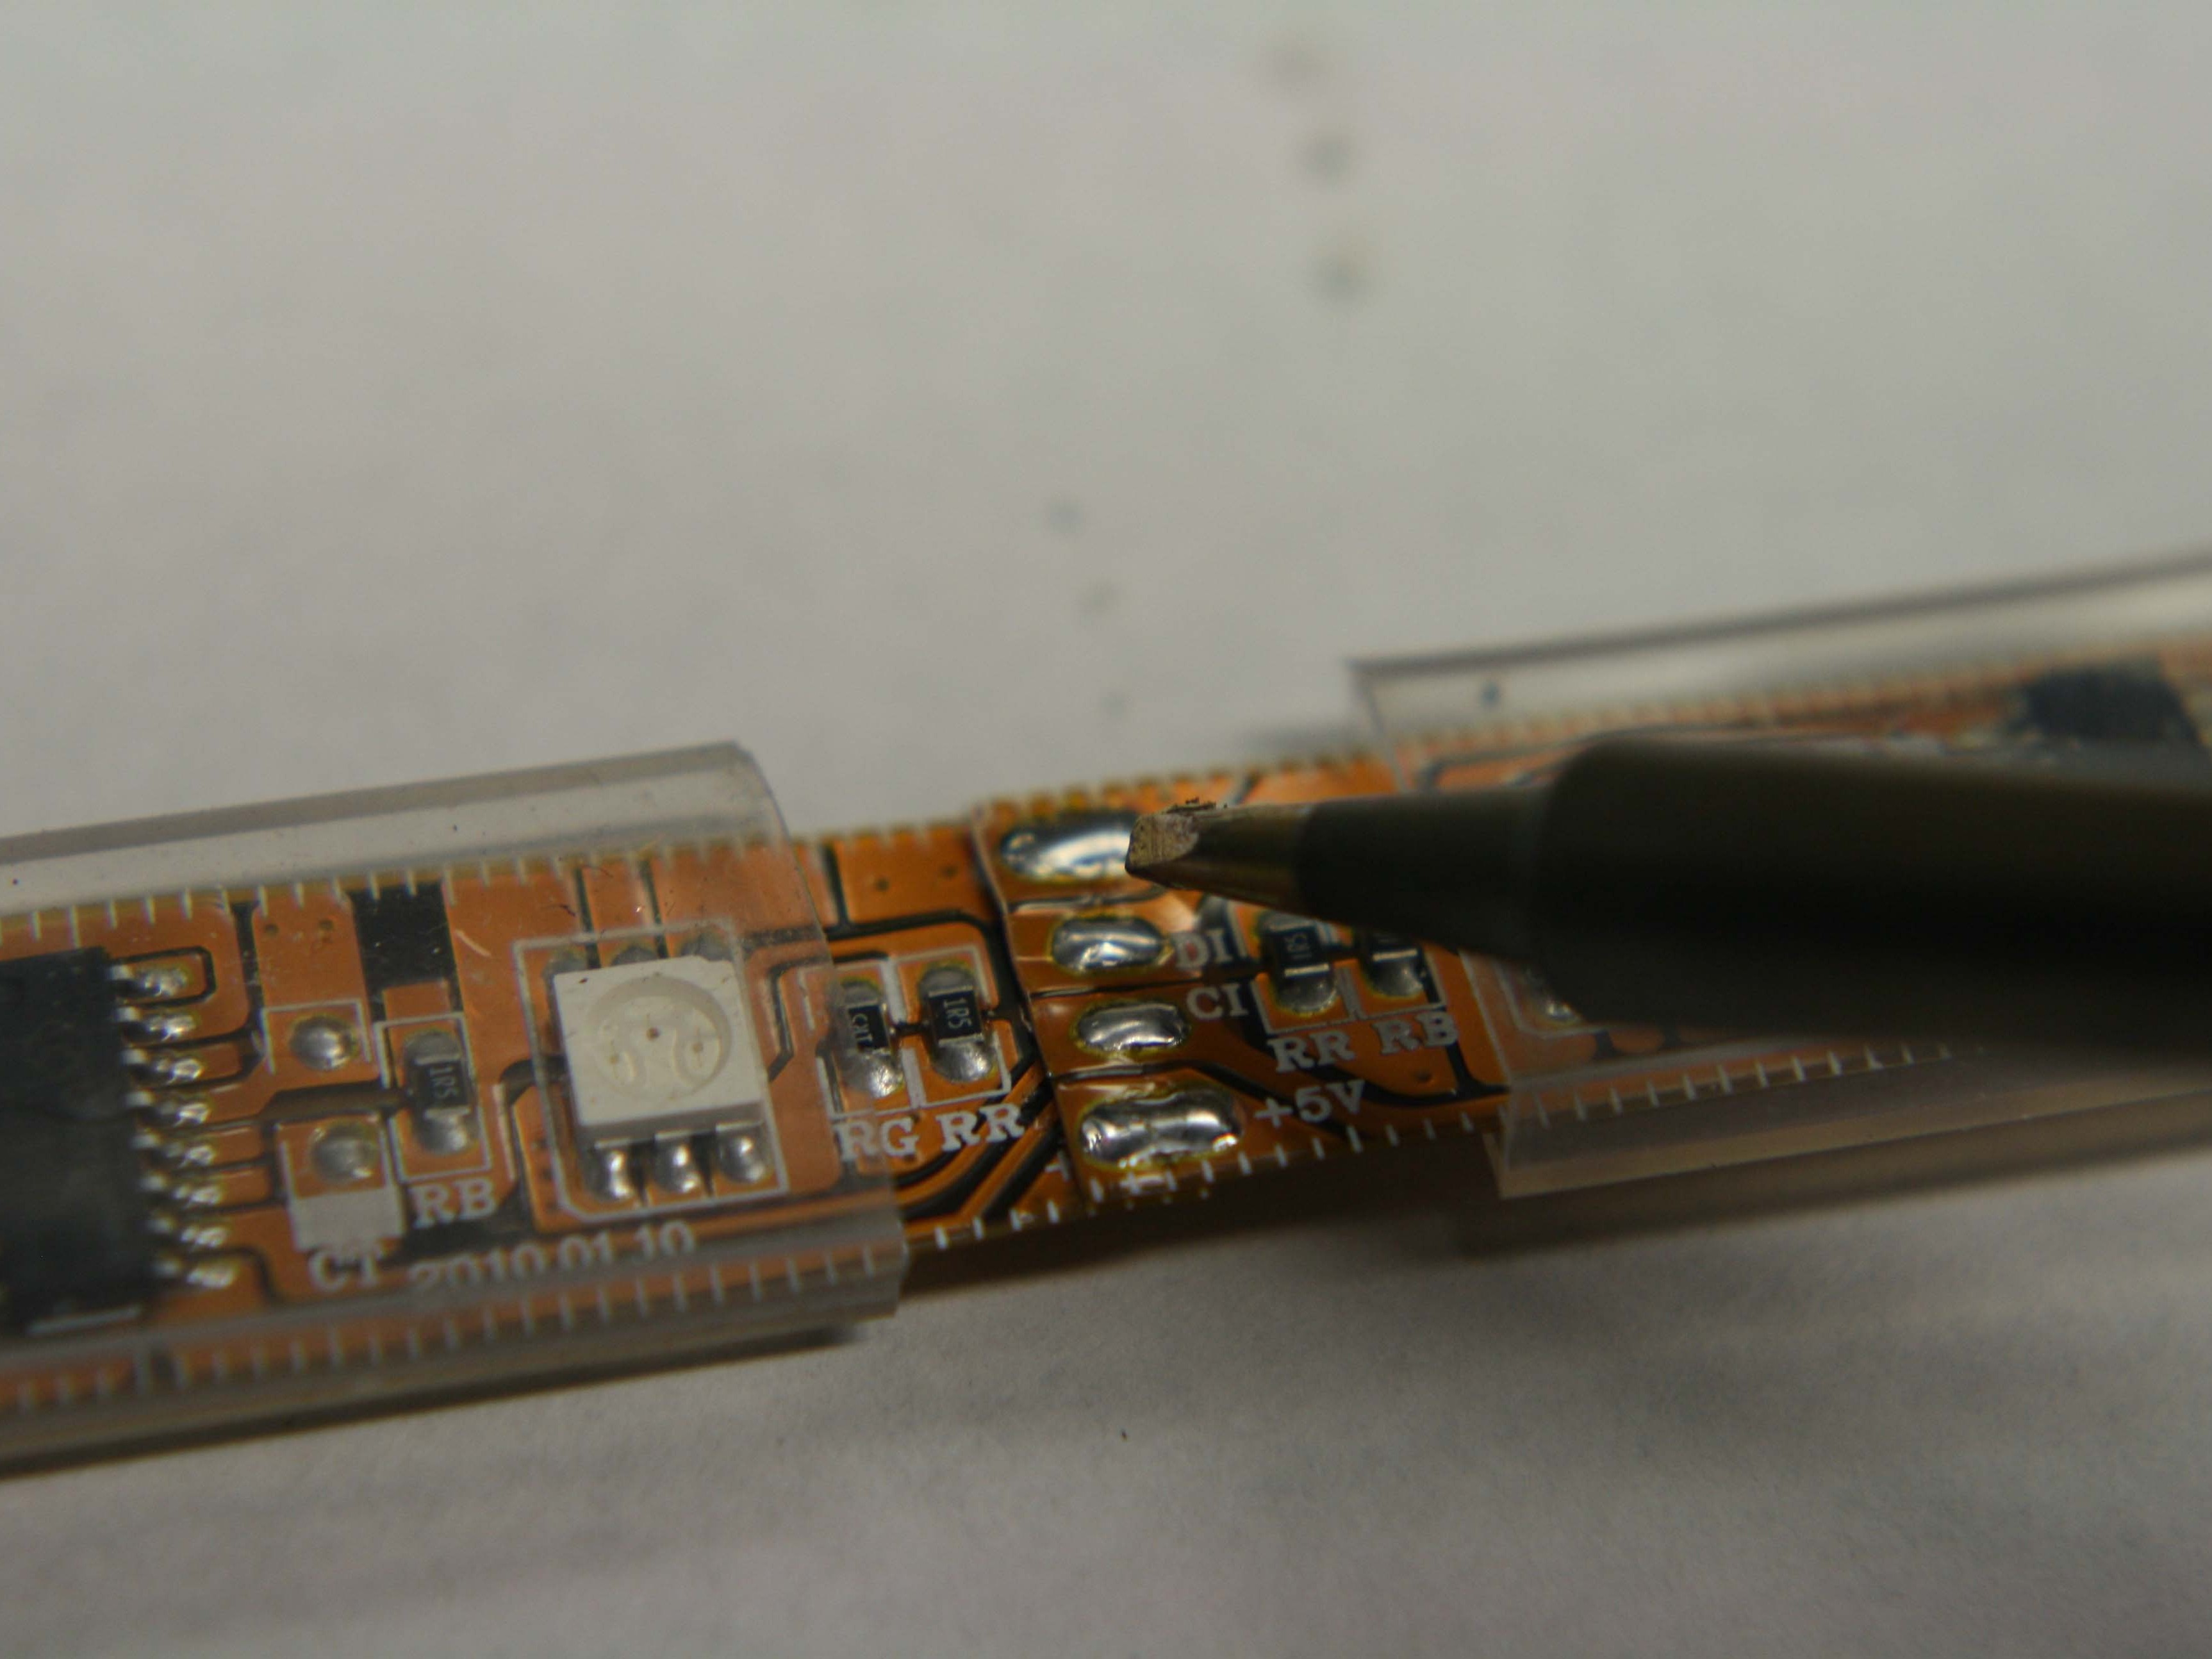
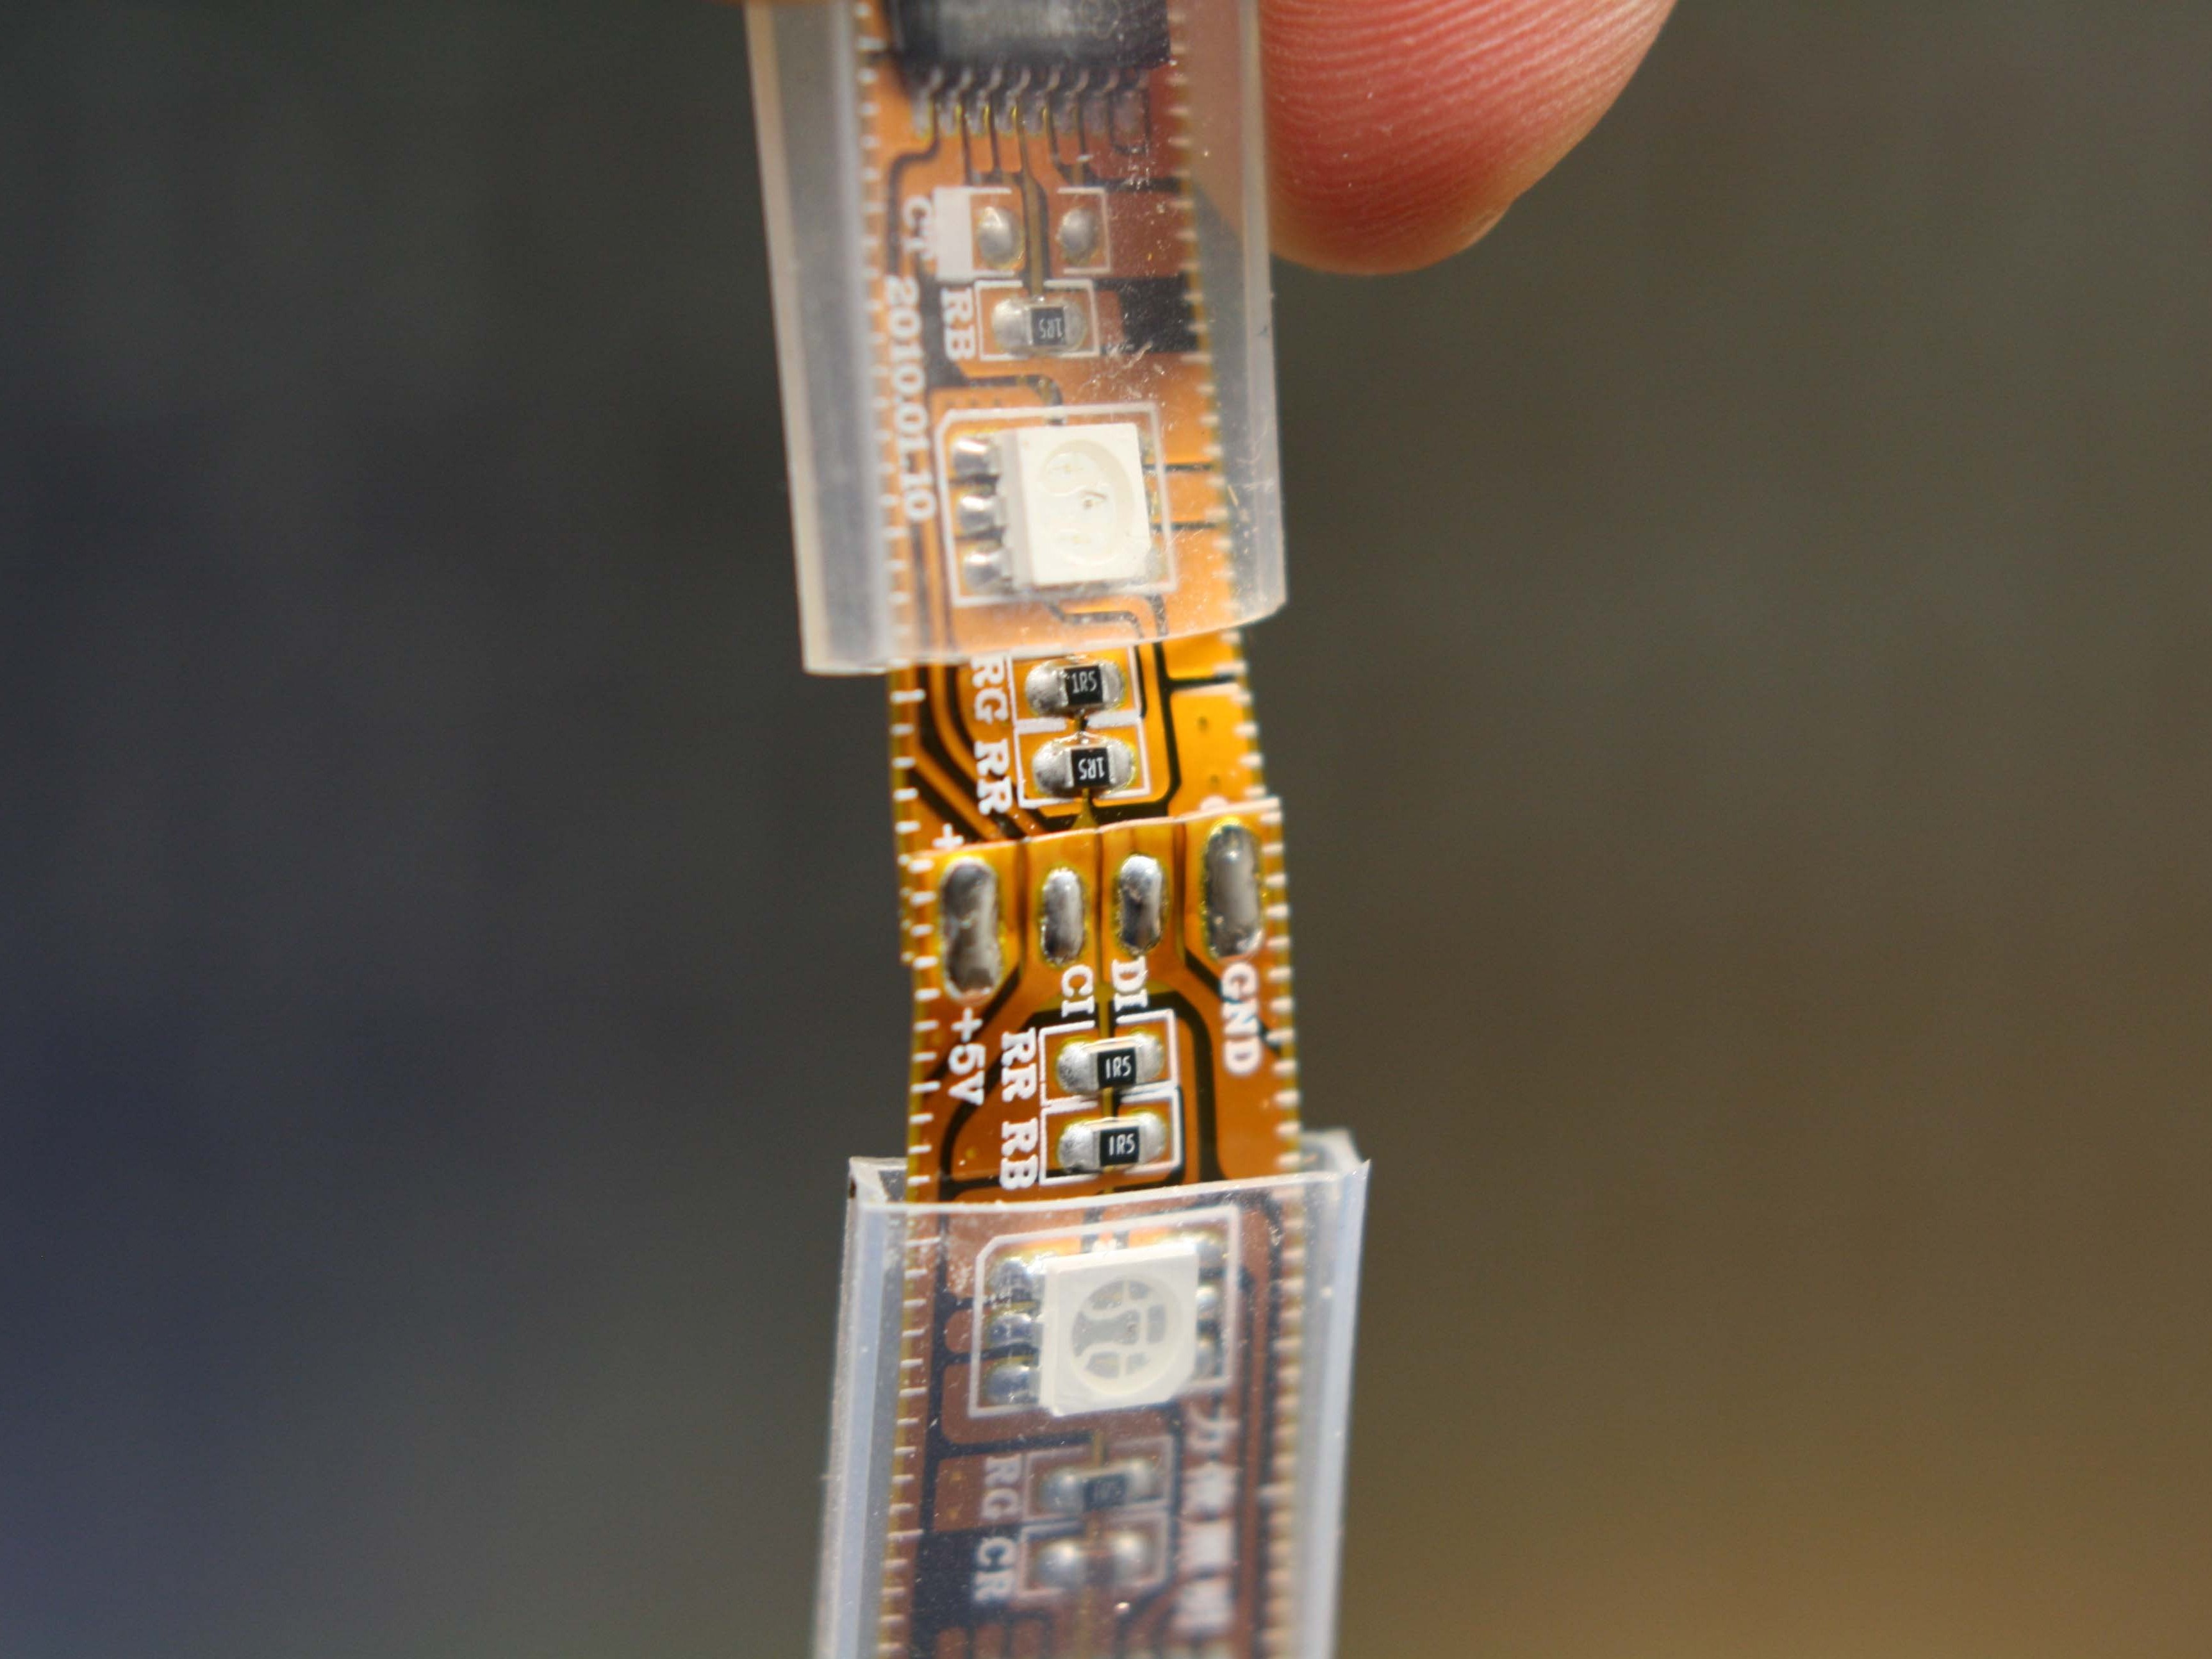
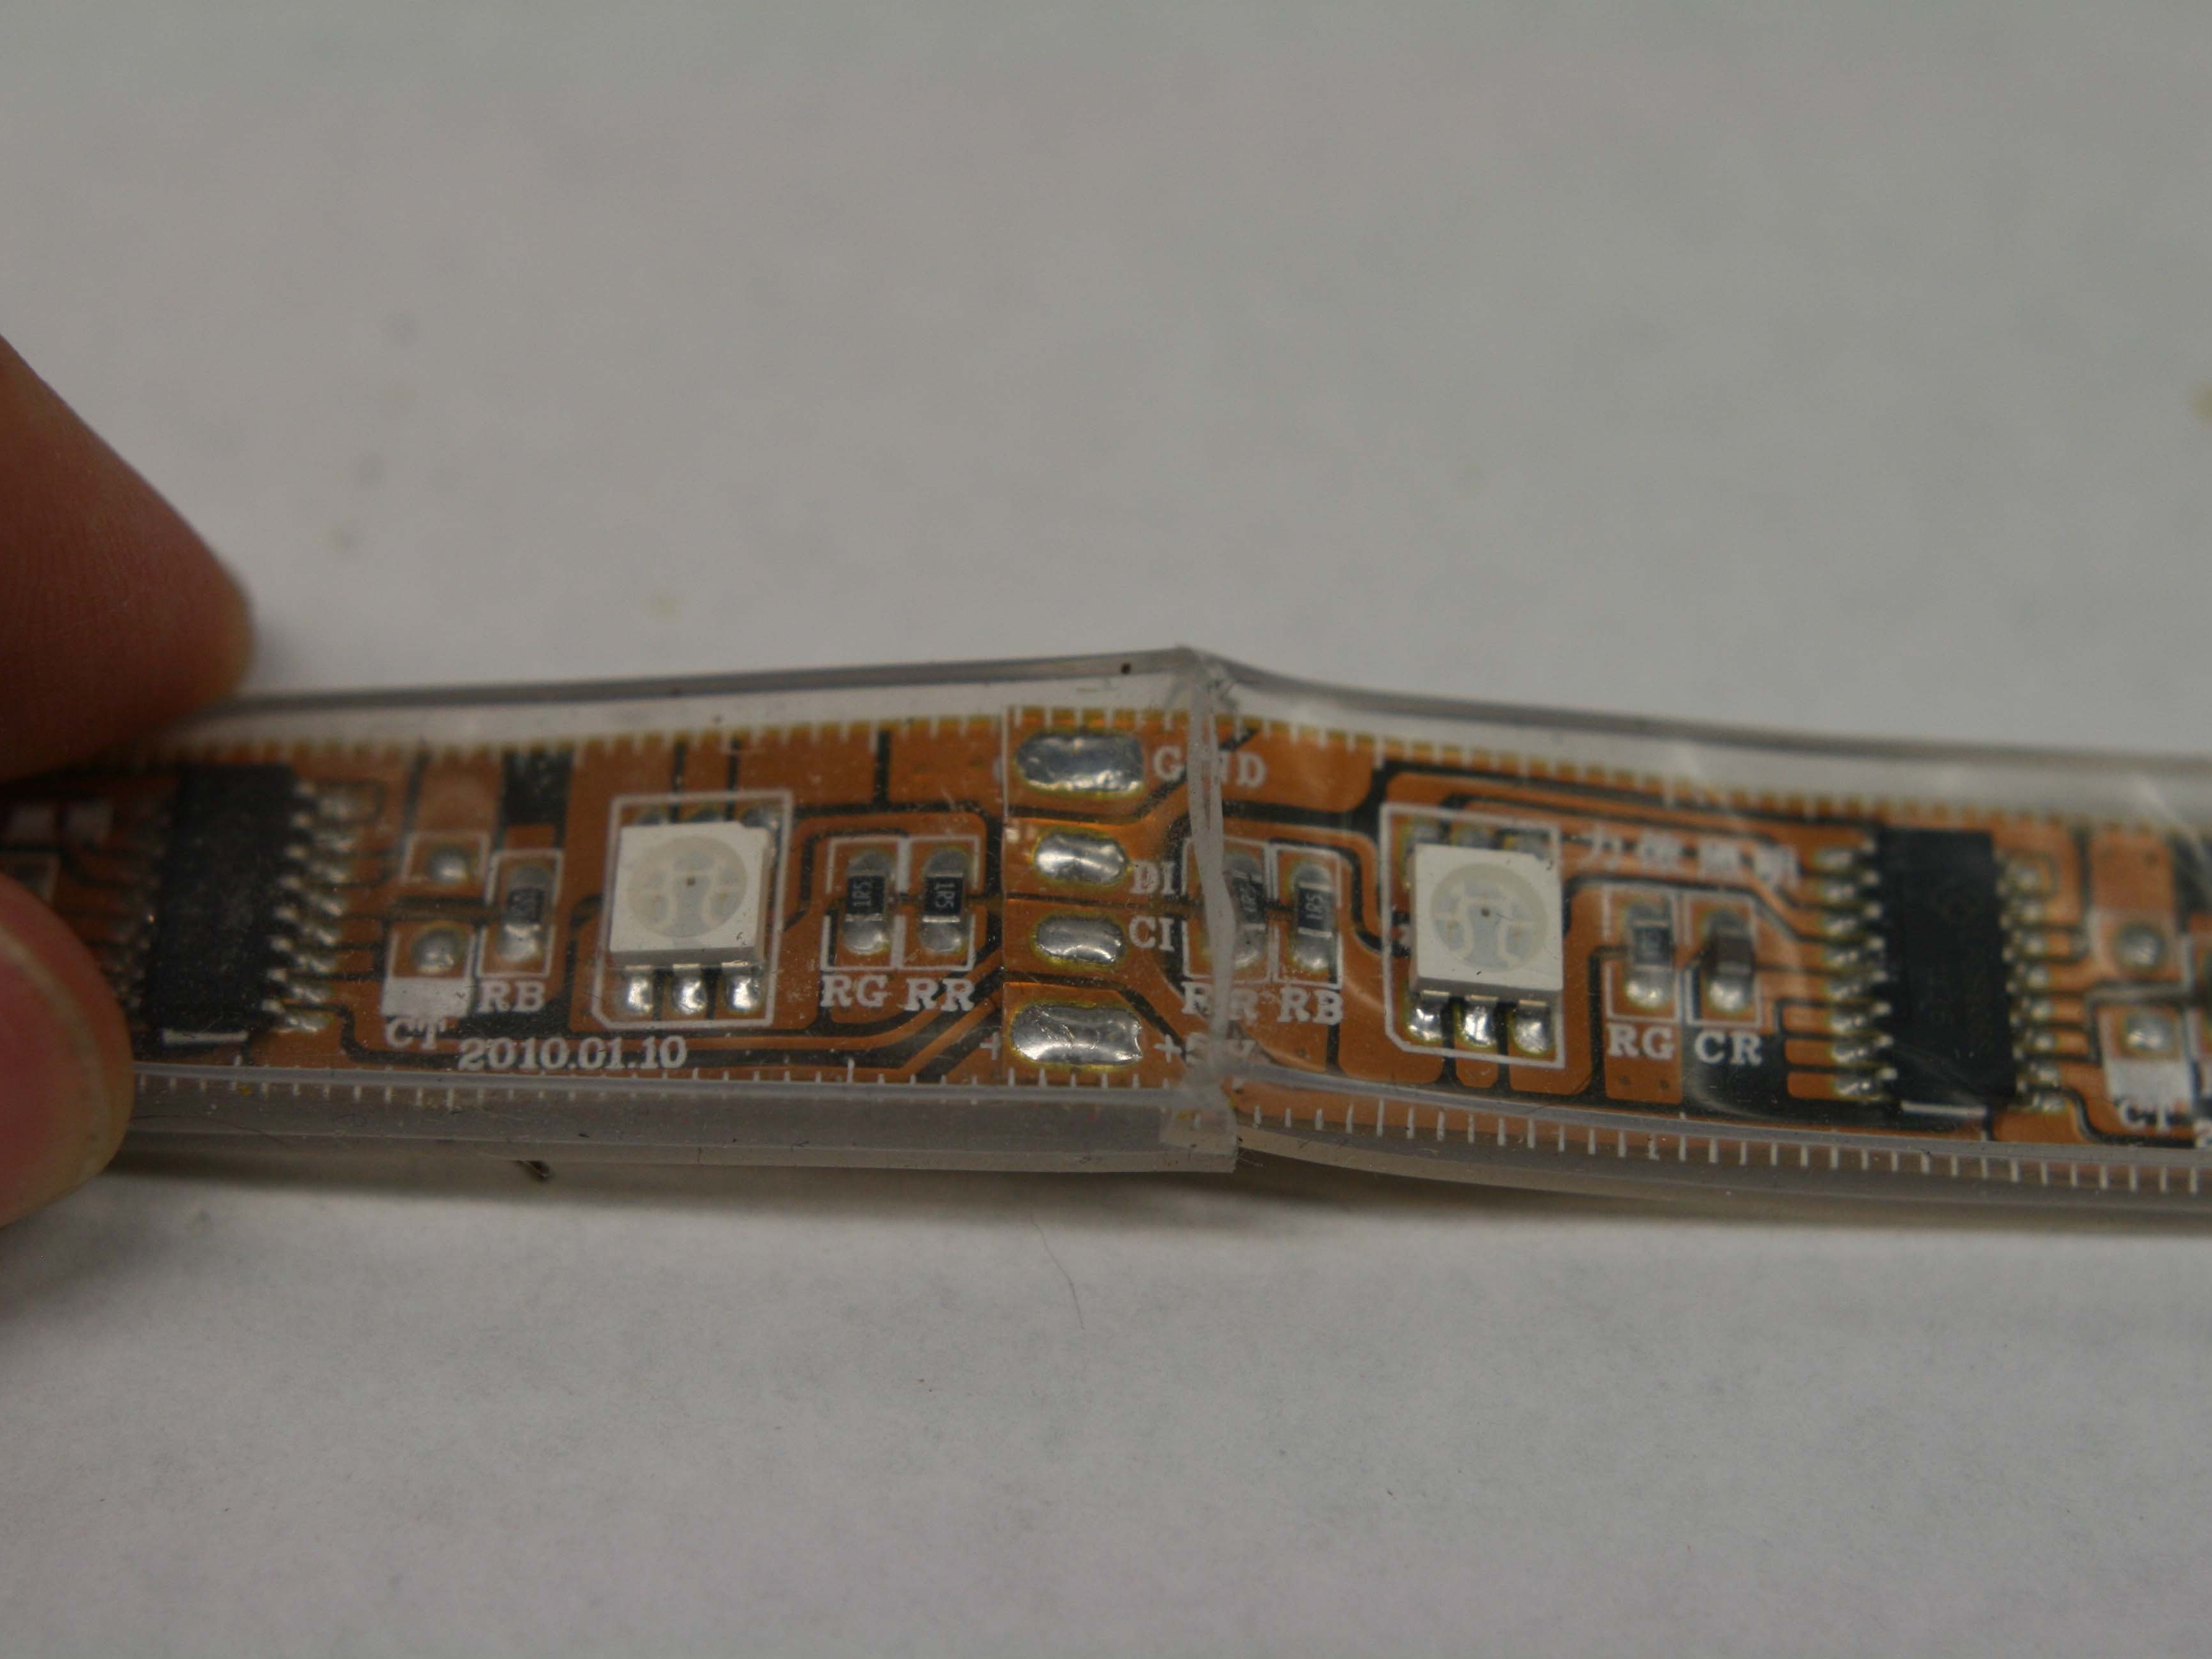
MAKE SURE YOU CONNECT THE OUTPUT SIDE OF THE 1ST STRIP TO THE INPUT SIDE OF THE OTHER. The output side is labeled GND, DO, CO, +5V. The input side is labeled GND, DI, CI, +5V.
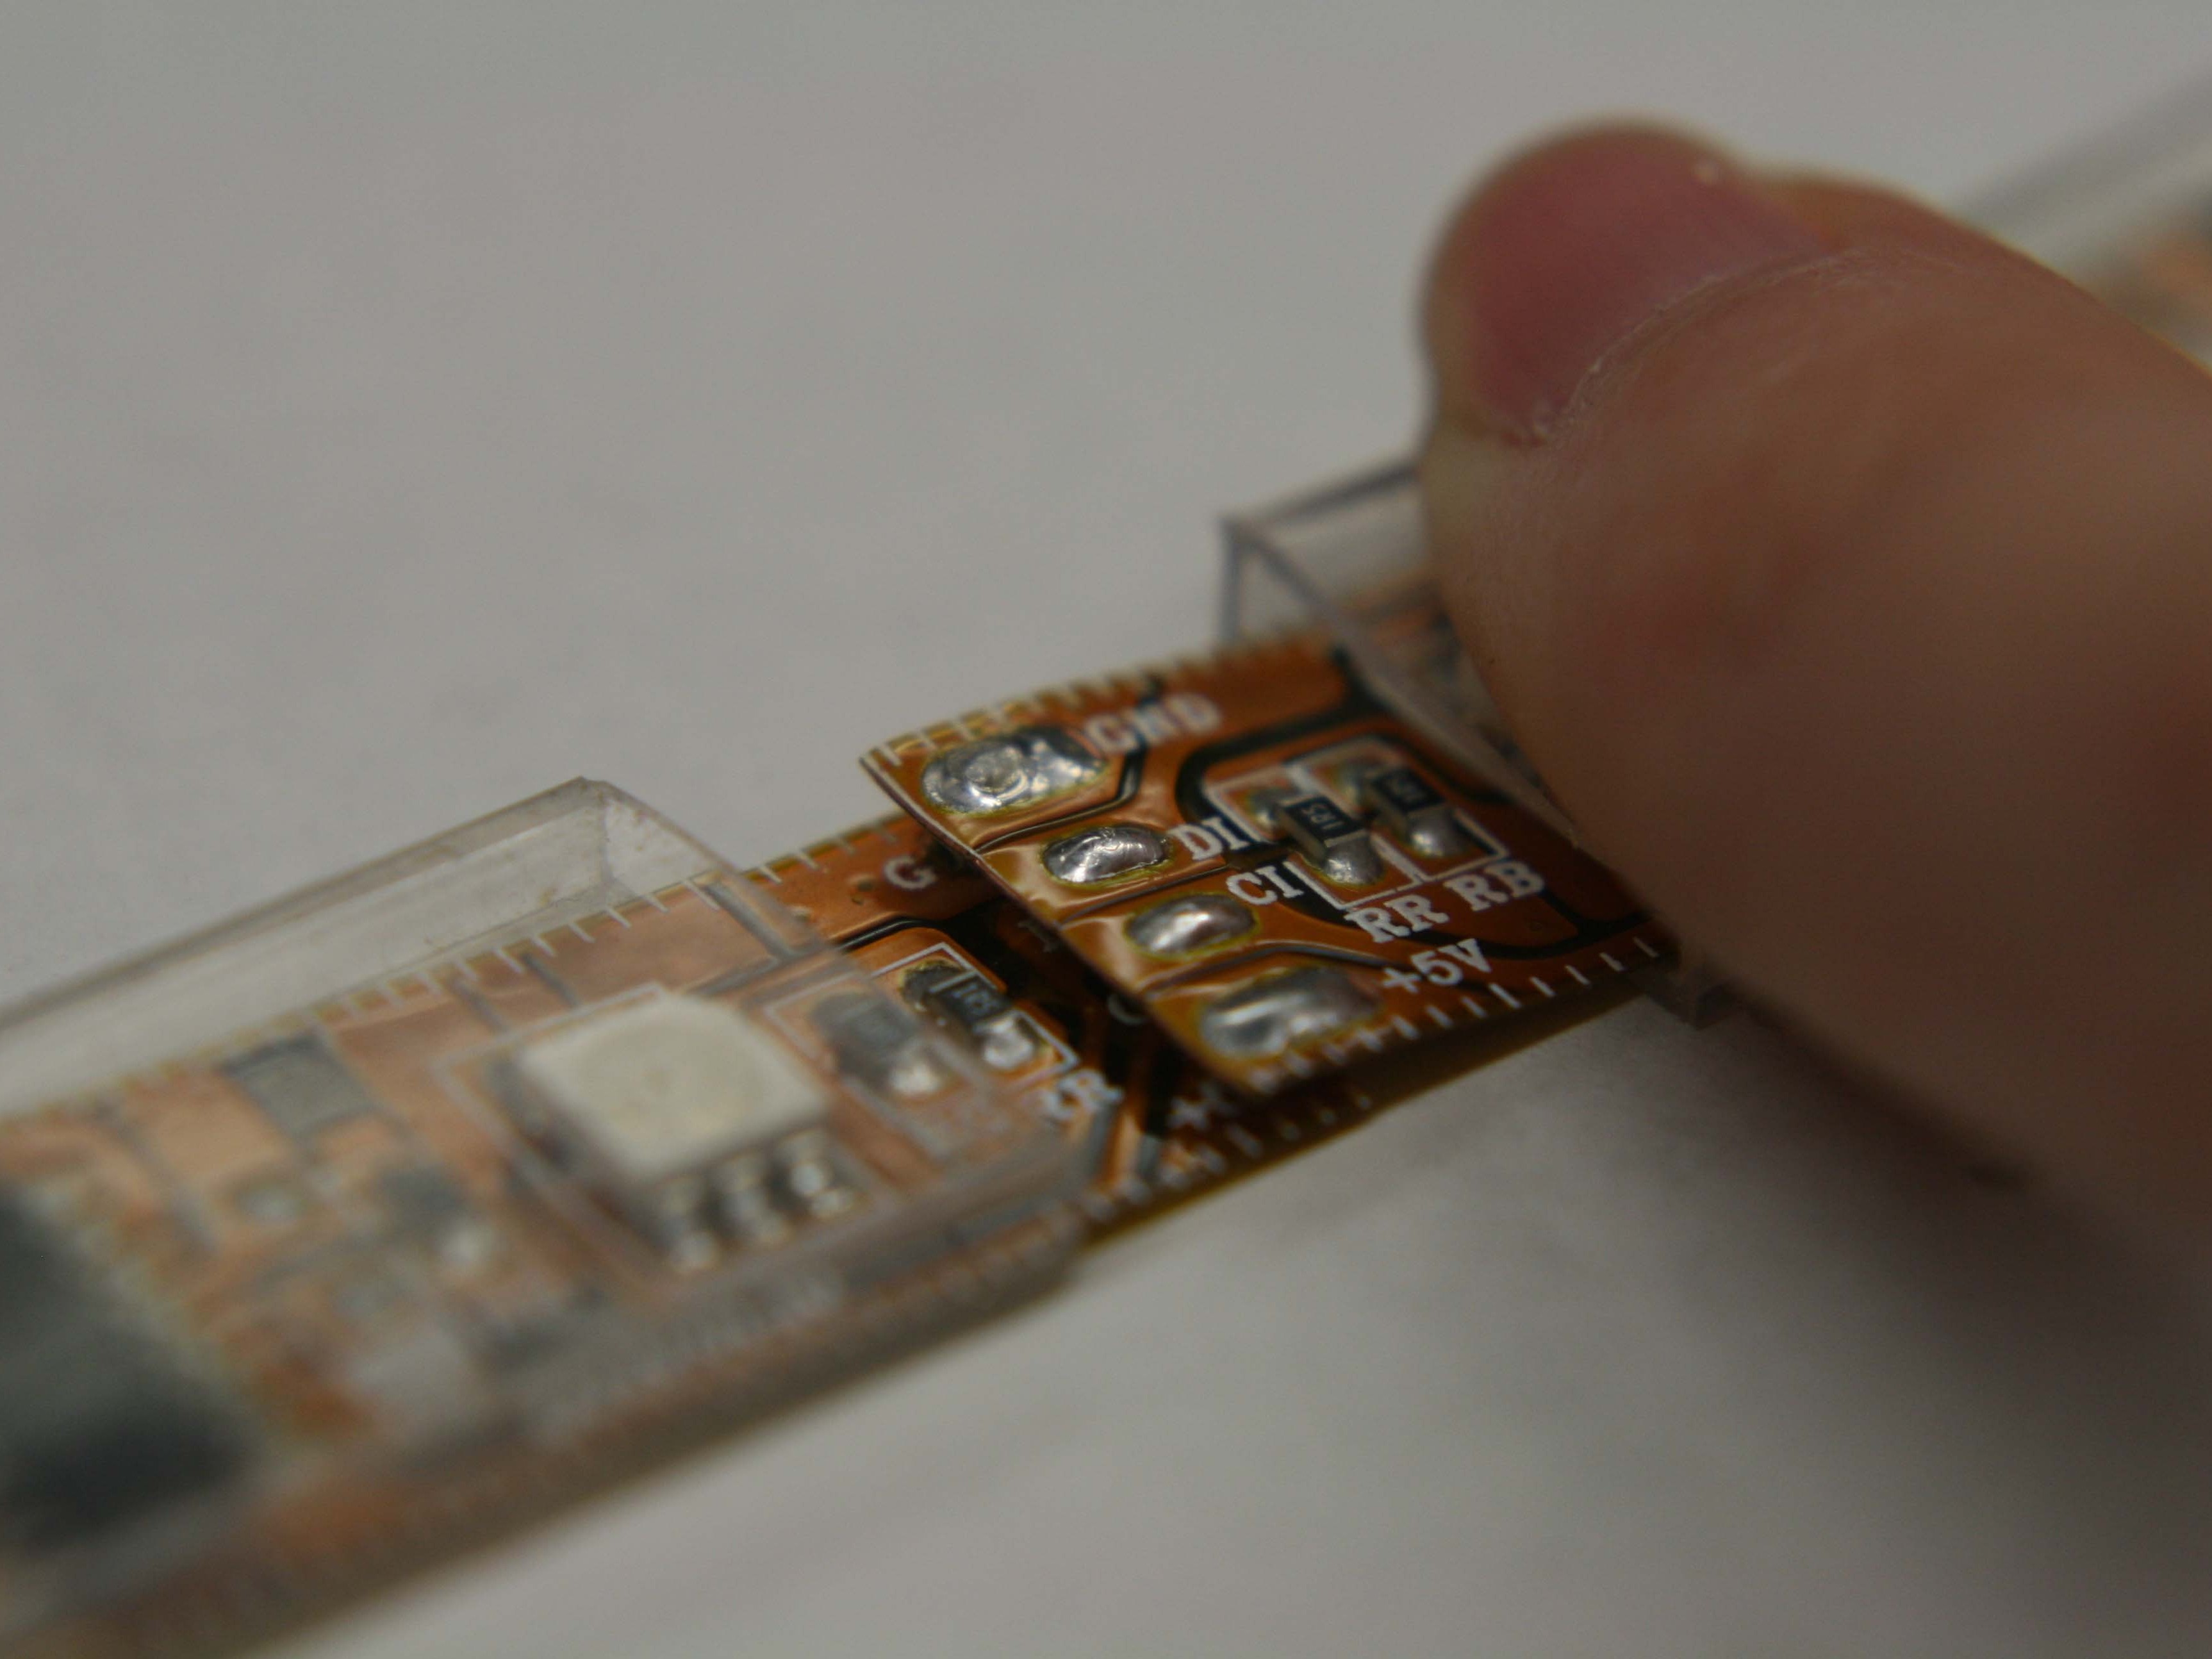
Once your sure you’ve correctly identified the inputs and outputs, align them so that the +5V connects to +5V, the GND connects to GND, and the the D0 connects to DI and the CO connects to CI. Hold it in place so the solder joints are touching.
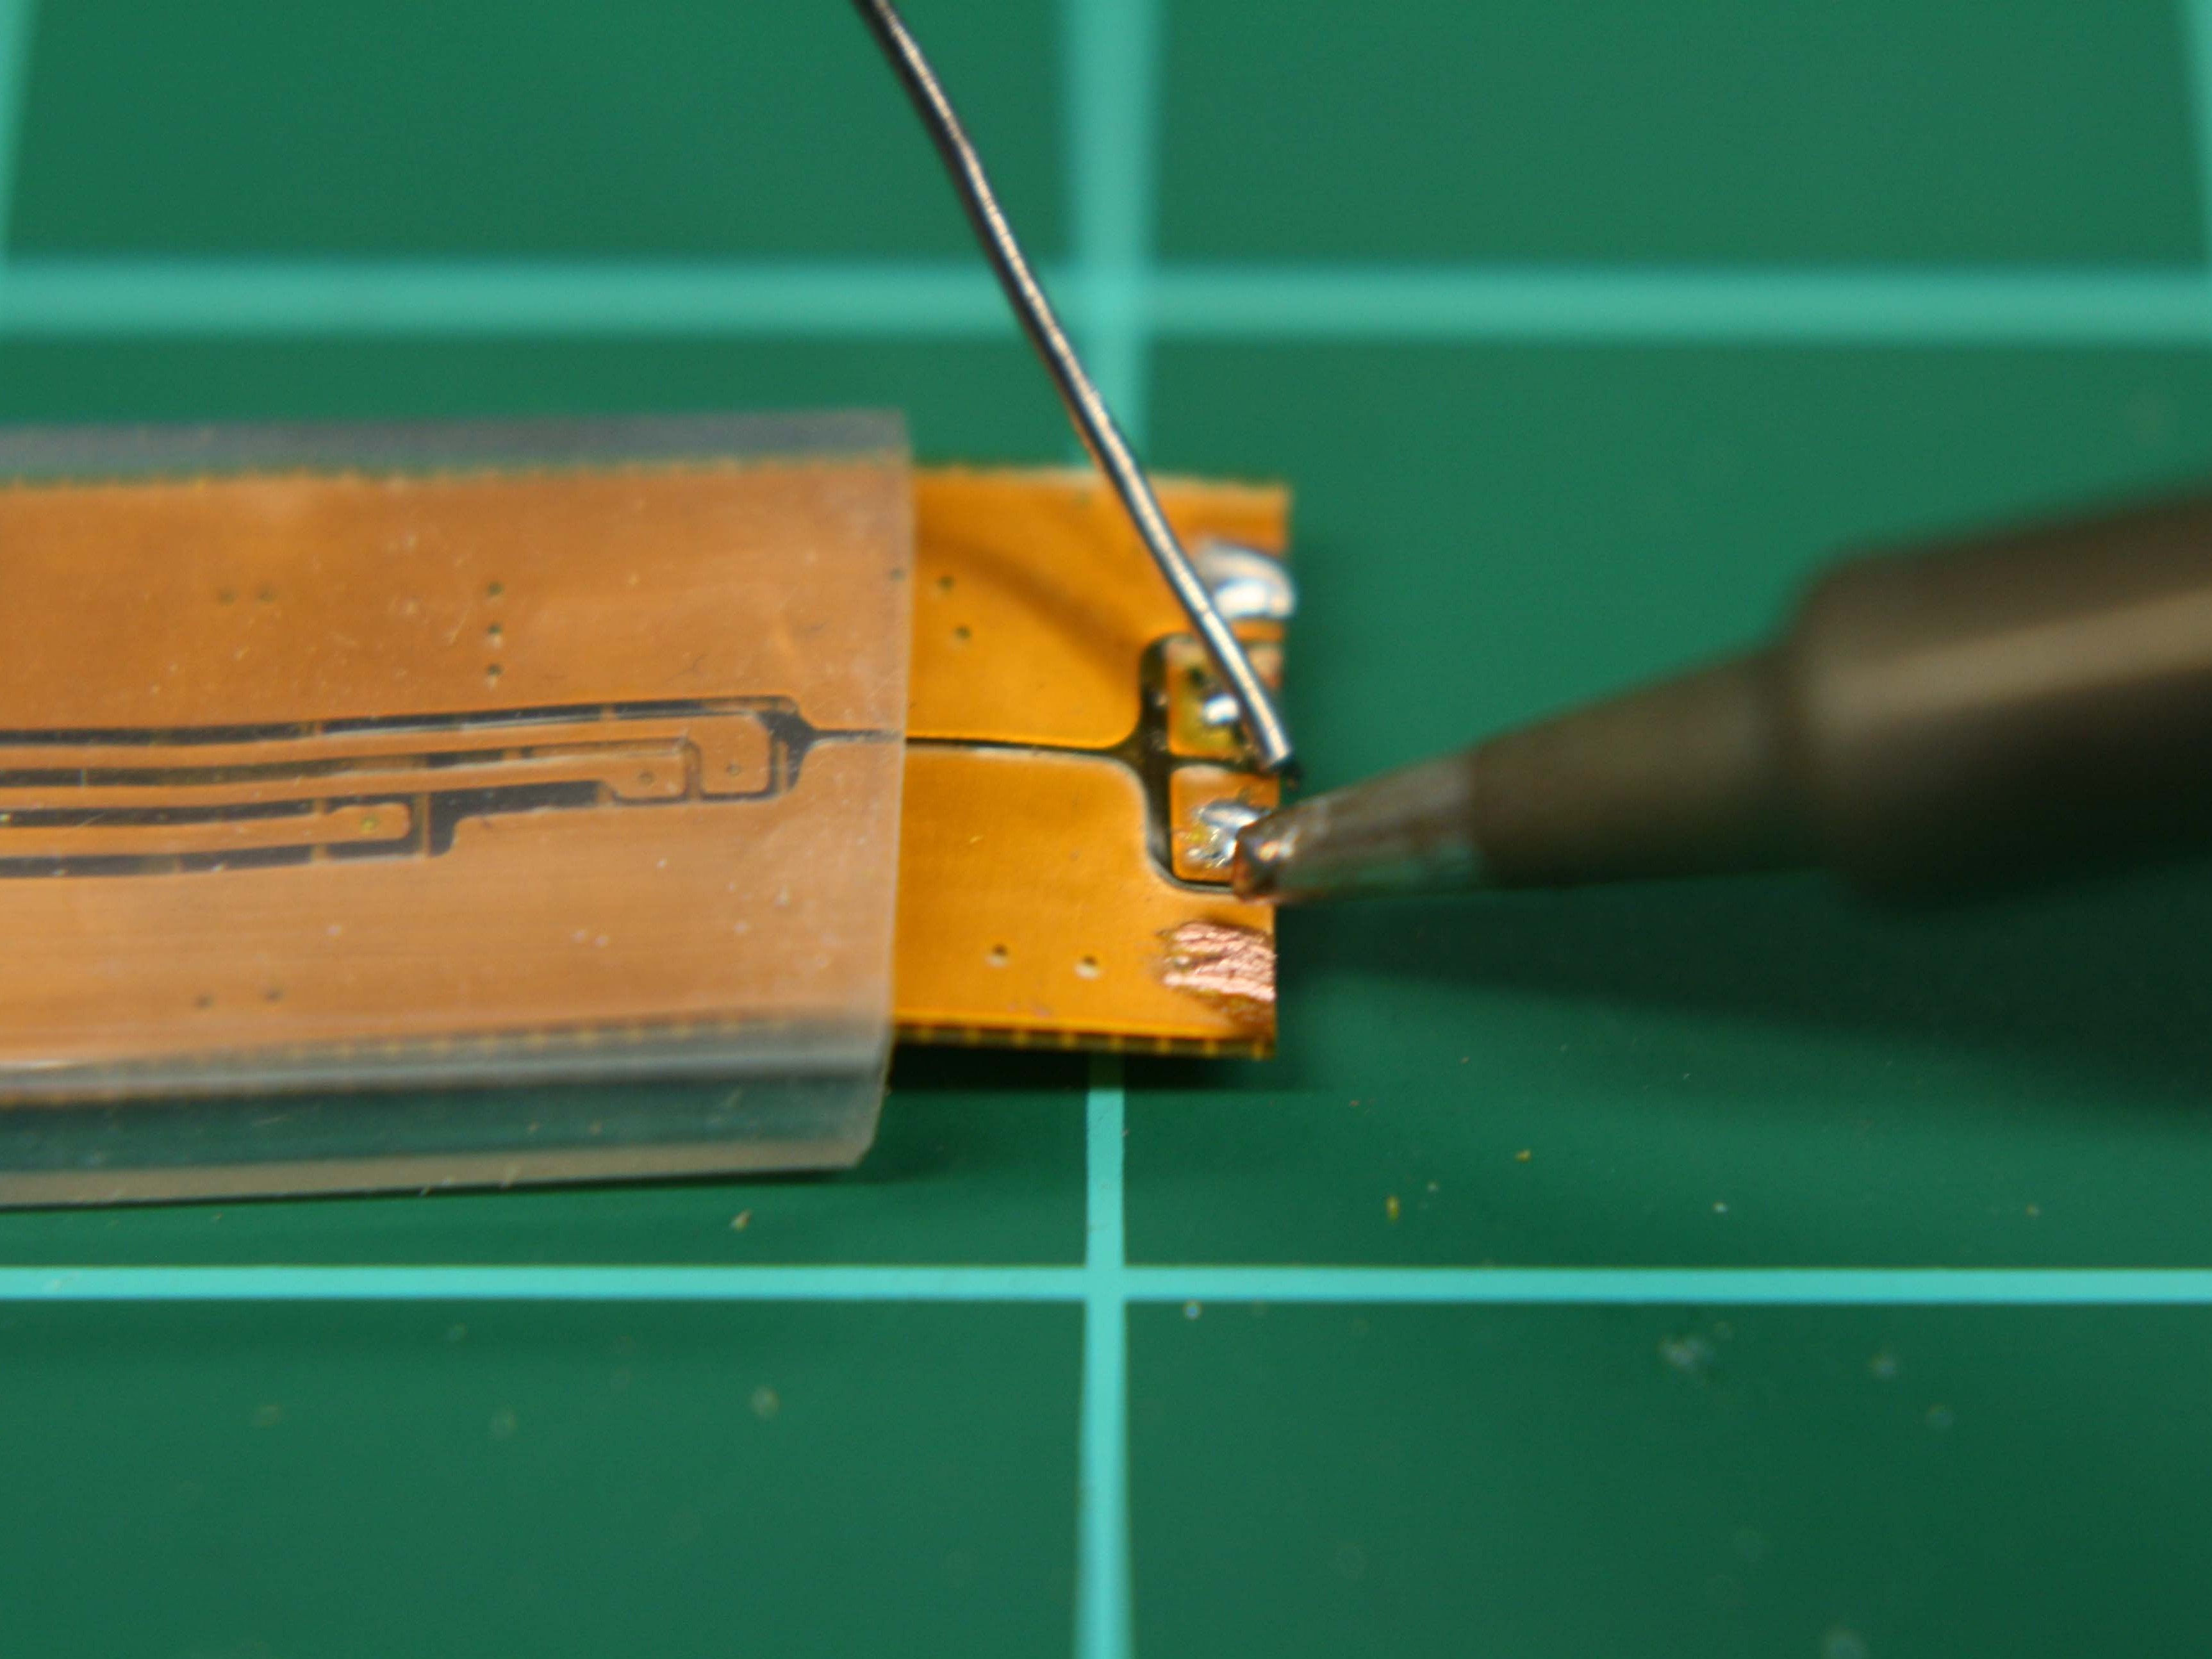
Use your soldering iron to apply heat to the solder blob that is on top. What is going to happen is that the heat will liquify the blob on top, transfer that heat to liquify the blob under it, then liquify the blob on the bottom strip. Don’t apply too much pressure because this can cause the solder blobs to pool out and connect to each other, which would be bad. You’ll feel the strips sink into each other and at that time you can remove the heat.
Repeat this with the rest of the pads, repeating the process above.
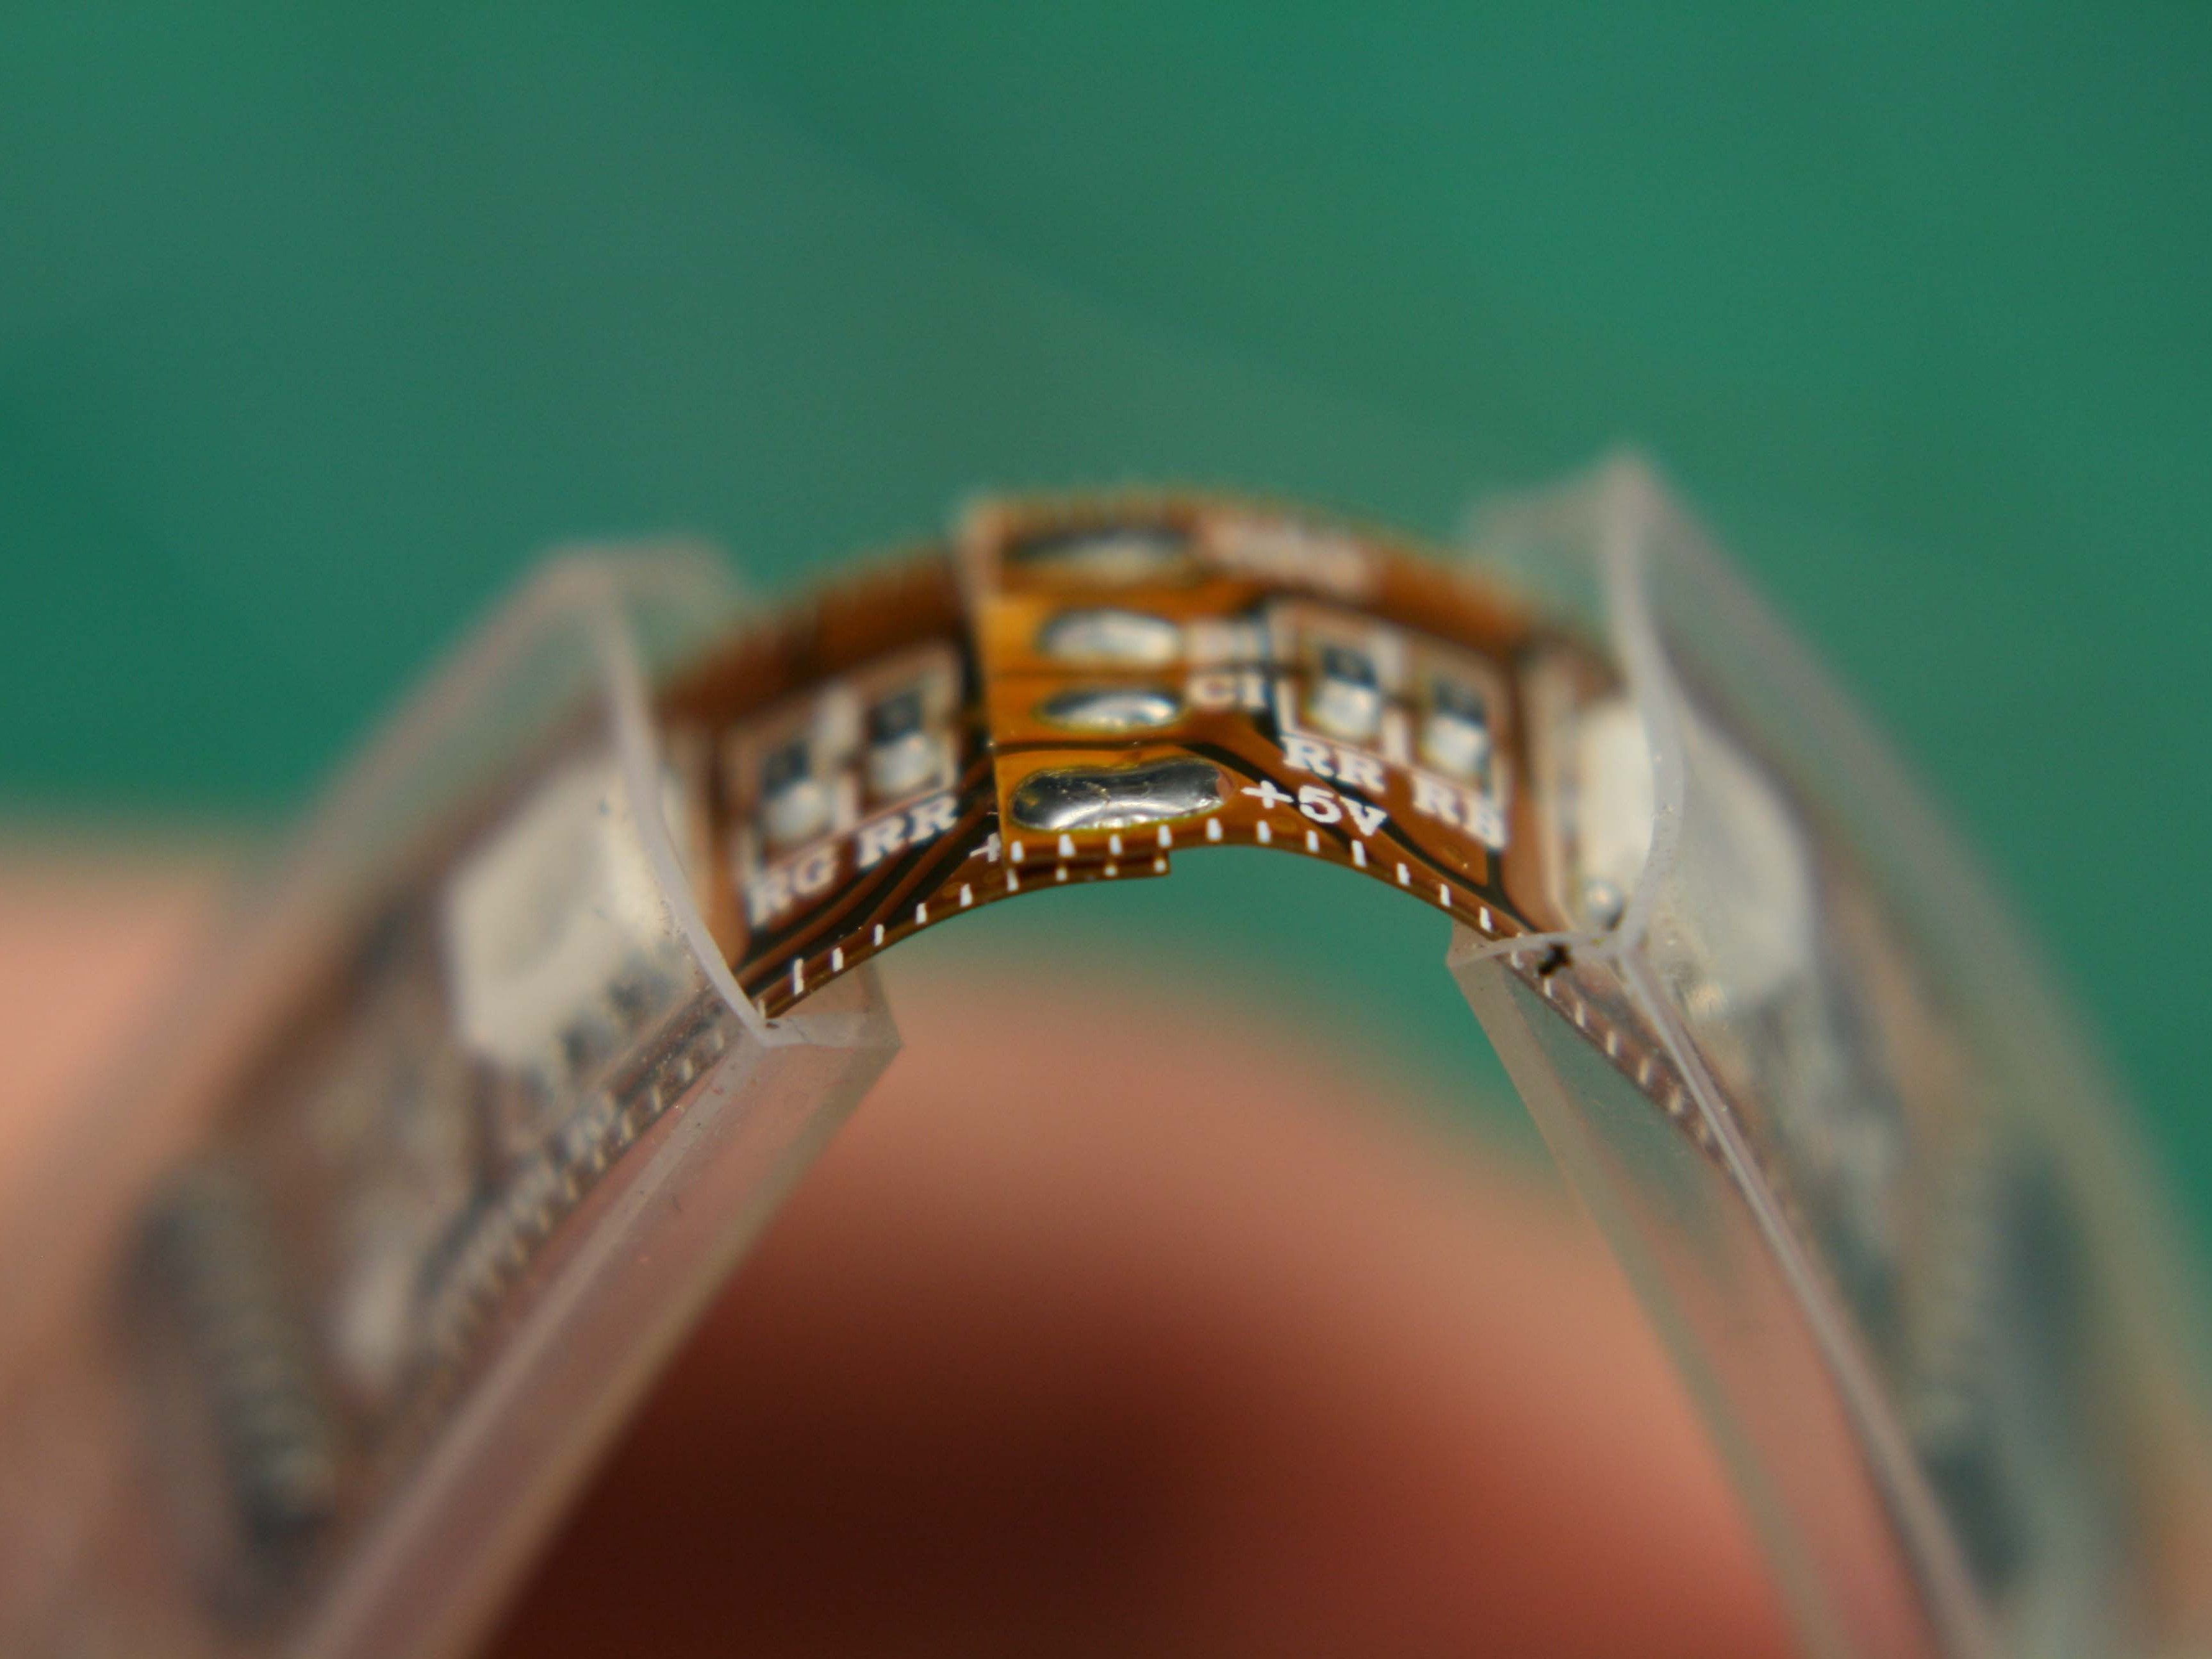
When you’re finished check to make sure you have a solid connection by bending it a bit and making sure your joints are soldered.
Also, use a multimeter to check the resistance between adjacent pads to make sure there are no shorts. As long as there is resistance you should be fine. If your meter reads 0.0 ohms you have a problem and should desolder it and try again!


