What will the next generation of Make: look like? We’re inviting you to shape the future by investing in Make:. By becoming an investor, you help decide what’s next. The future of Make: is in your hands. Learn More.

Project Steps

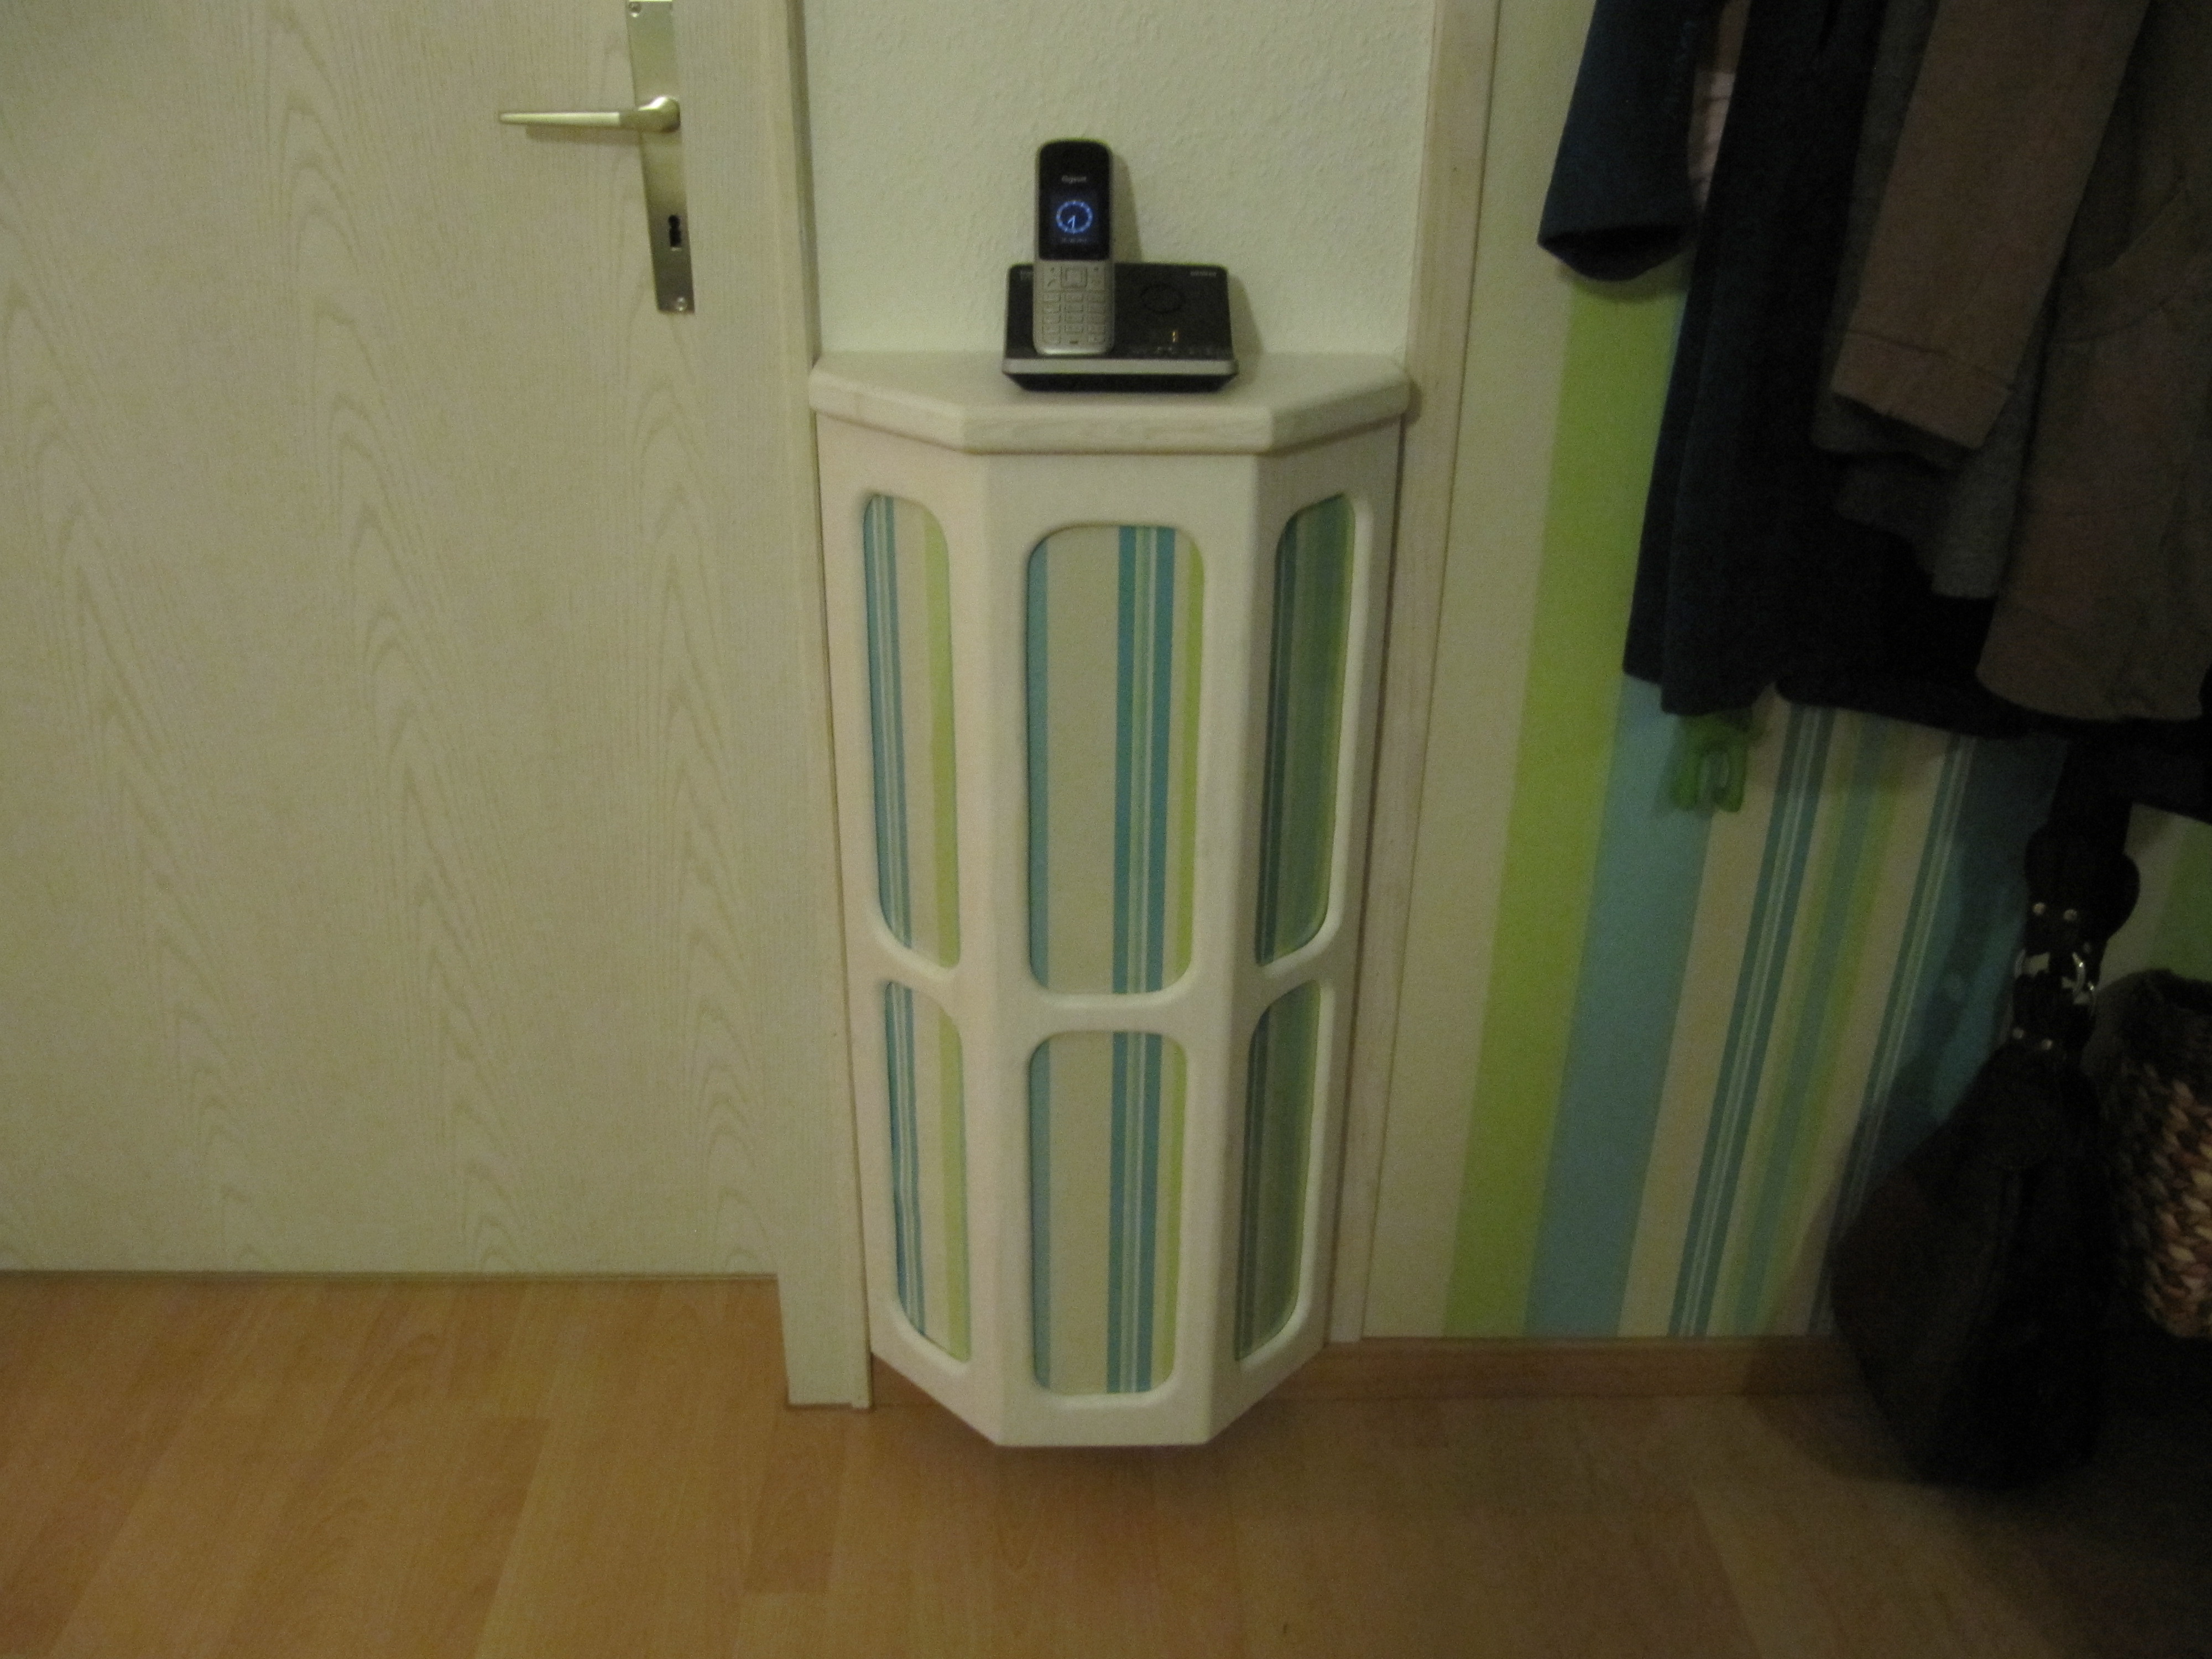
With internet, telephone, and network storage devices there are so many ugly cables and devices. Let’s hide them!

The dimensions listed are the ones I adopted for my equipment. They may not fit yours. So, please check before you start and adapt it to your needs.

Cut the borders of the of the long boards with the circular saw (table or hand). As it is very difficult to get the angles exactly 30°, measure the angles you got and use them as reference for the other parts. For now it is only important that all parts are cut with the same angle.

Cut the the oval windows with the jig saw. The dimensions shown are the dimensions I used. Maybe it is better to make thicker walls. Add 0.5 to 1 cm on each side.

With a 10mm round-over bit cut the outer side of the windows.

With a rabbetting bit cut the inner side of the windows.

Out of a thin (2-3mm) board, cut with the jigsaw some parts which fit into the windows. They have to be bigger than the holes but smaller than the groove of the rabbetting bit. You can use the wall boards as a template.

Out of the polystyrene glass you will need parts of the same geometry. Instead of cutting it with a saw, scratch it with a knife and break it. I used a pair of nippers to make the corners.

Test to see if they fit; correct them if necessary. As it is hard to make all windows identical, mark which part fits into which window.

Cut 3 ribs. Measure the angles and dimensions of the boards and transfer them. The “3cm” dimension in the photo must be adapted so that the screws used in the next step reach the outer walls but do not go through them.

Drill holes to place the screws for the next step. The holes’ diameter must be larger than the screws used.

Glue the 3 boards onto the 3 ribs.

First put glue on the centre of the upper rib and glue it onto the top of the central board. Fix the board with a screw.

Glue the lower rib onto the the central board. Always fix the parts with the screws.

Glue the the other two boards. Press them to the centre board so that the gap in between is reduced. Use clamps and fix them with the screws. Put enough glue into the gap so that it is squeezed out.

Glue the central rib and fix it with the screws.

Let the glue cure.

When the glue is fully cured, round the corners of the door with the sander. I used first a belt sander with 80-grit sandpaper and an orbital sander with 80-grit sandpaper. Be very careful — if you are not used to belt sanders, use an orbital sander with 60-grit sandpaper.

Sand the whole front with an orbital sander and by hand. First use 80-grit sandpaper, then 120-grit.

Place the finished door onto the 80×60 board and mark where it ends. Cut this part so that the board has the same size as the door.

Cut a hole into the back for power and telephone sockets.

This next step is complicated to explain. First glue a rib on top and bottom of the 80×60 board to enlarge the hinge area.

Then determine the correct angle to cut out the hinge hole by laying the door onto the 80×60 board and holding the hinge onto it. Note that the hinge has to be placed so that the door closes with a little bit of pressure remaining.

Cut the marked part out of the 80×60 board. As this cut has a difficult angle, I used a hand saw. Make the hole large enough so that you can reach the hinge screws from the back when the door is closed.

Now finally join the door and the back part with the hinge. As the wood is very thin near the hinge, drill holes before placing the screws. Test to make sure you can open the door.
Place the whole construction onto the thick board. Mark where the door is located, add 2cm, and cut it with a circular saw.

Drill a hole for the telephone cables.

Round the outer corners with router.

Sand the flat parts with the sander (first with 80-grit paper, then 120).

Sand the corners with 120-grit sandpaper by hand.

Fix the top with a bracket. I made my brackets out of some wood parts and drilled some holes into it for the screws.

The interior depends on your equipment.

If you have a device which is designed for wall mounting, put screws onto the back wall.

Otherwise you need a shelf. Make sure there are enough holes for good ventilation and to pass the cables including their plugs.

Now protect you cabinet. How you paint it is up to you and the precise instructions are normally printed on the paint can.

I used a water-based wood paint. I painted it once than sanded it once with 240-grit paper by hand, painted it, sanded it again, and then painted for the third time.

Check to find out where you can drill holes into your wall. Make sure there are no electrical wires or water pipes in the wall. Note that electrical wires normally are inline with plugs and switches.

Drill 3 holes into the back wall of your cabinet at the chosen locations, with a larger diameter (about 6mm) than your screws. (The photo shows two on top and one on the bottom.)

Hold the cabinet in the chosen location and mark the places to drill through the holes of the cabinet’s back wall.

Drill holes (8mm) into the wall and place screw anchors into them.

Hold the cabinet in position and fix it with the screws.

Choose a decoration for the windows. I chose the wallpaper we already used in the room. But you can use anything flat, like dry flowers or funny pictures. Normally it is better to affix it onto the boards with tape.

Put the glass into the window.

Put the board into the window.

Drill a hole for some small screws to affix the board.

Affix it with the small screws.

Connect all your devices, close the cabinet, drink a beer, and say goodbye to the ugly wire spaghetti.