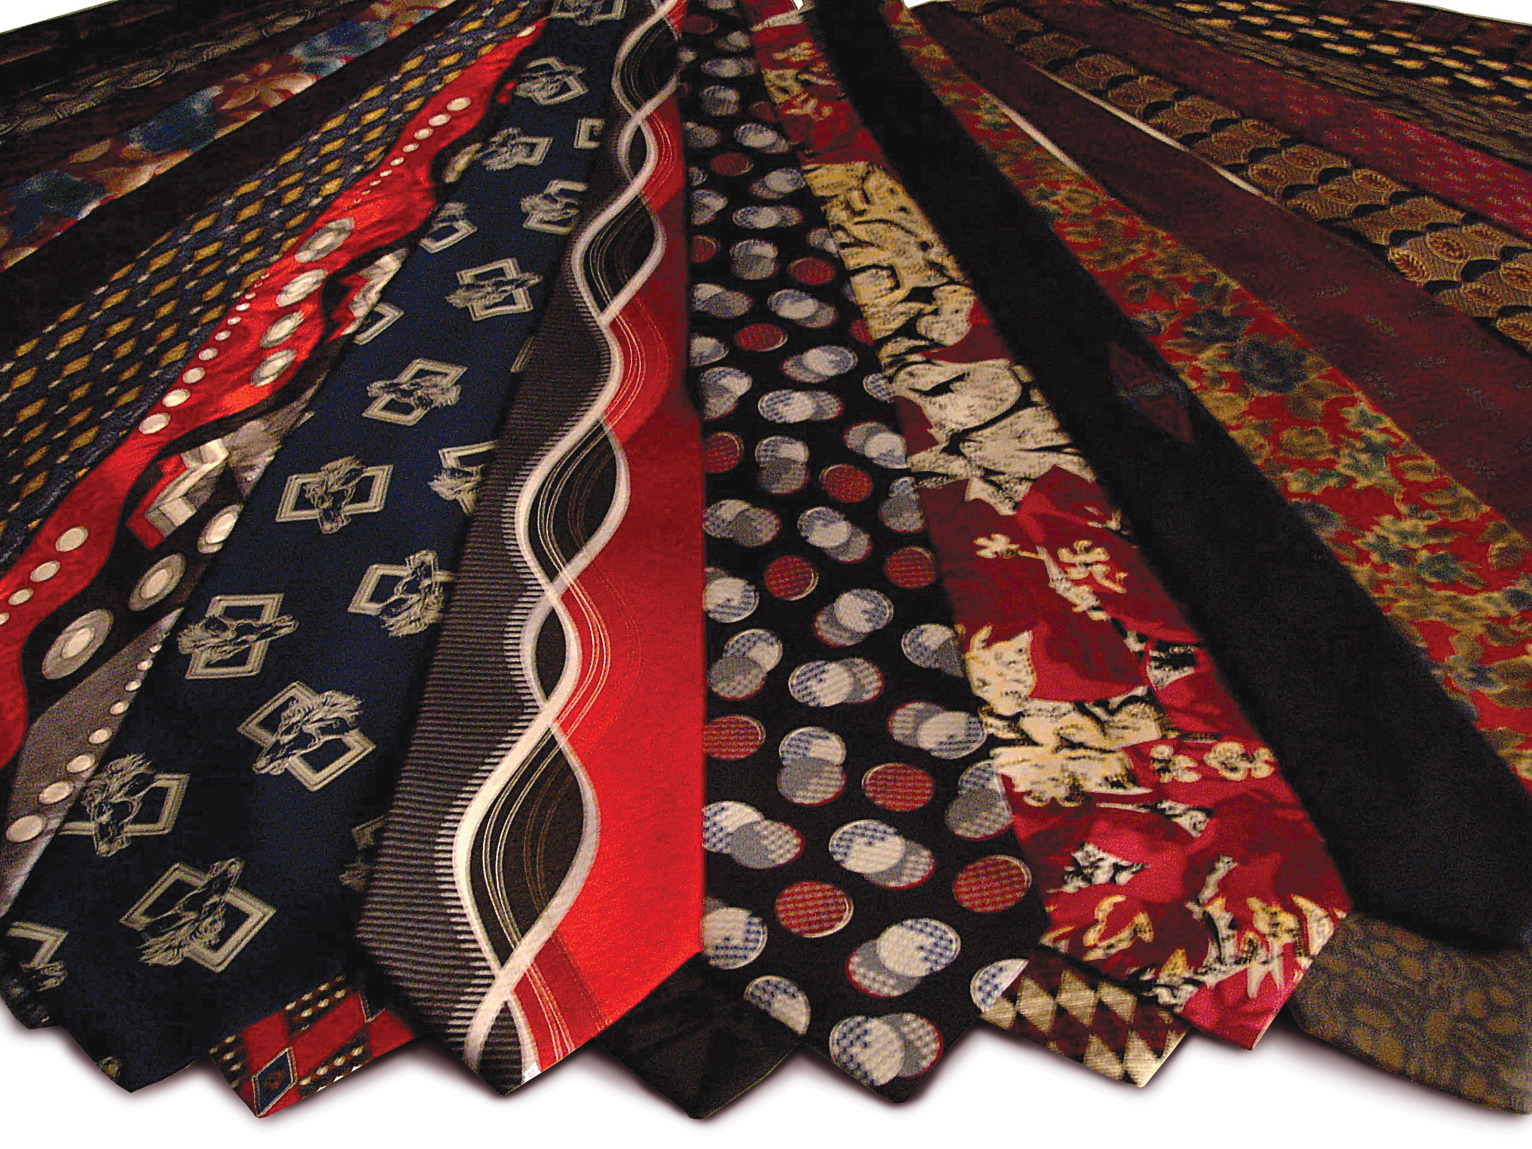
So many cool ties, but who wants to wear them around their neck? Why not sew them together to make a funky skirt?

A couple of months ago a friend gave me a fabulous collection of vintage and not-so-vintage neckties. Thrilled, I sorted out the ties that were too fragile and those with spots or stains, and organized the remainder to make 3 skirts. My tie skirts are fun to wear and have started some great conversations. Gather a handful of neckties and some simple supplies, and you too can tie on a unique and eye-catching skirt.

What will the next generation of Make: look like? We’re inviting you to shape the future by investing in Make:. By becoming an investor, you help decide what’s next. The future of Make: is in your hands. Learn More.

Project Steps

Find your ties and measure.

Of course, retail stores sell ties, but it’s more fun and less expensive to shop at used-clothing stores, the Salvation Army, and other charity shops. Don’t overlook ties you may already have around the house. It’s important to check for stains, holes, and durability. Choose clean and sturdy ties.

The number of ties needed for your skirt depends on your waist size and the width of your ties. Measure down from your waist to get the desired length of your skirt. Use this number to measure up from the bottom front tip of your tie. The width of this upper part of the tie, minus 1/8″ for seam allowance, is how much fabric the tie adds to the waist measurement of your skirt. The total measured width of your ties needs to add up to your waist measurement plus 8″–10″ for an overlap.

Plan your skirt.

After you’ve selected your ties, find a large, flat area to lay them out. Arrange and rearrange them until you’re satisfied with the overall look and effect of the tie assembly.

Sew your ties together.

Cut the ties to your desired length plus 1″.

Arrange the ties to your liking, keeping in mind that the skirt will overlap 8″–10″ at the front, right side over left.

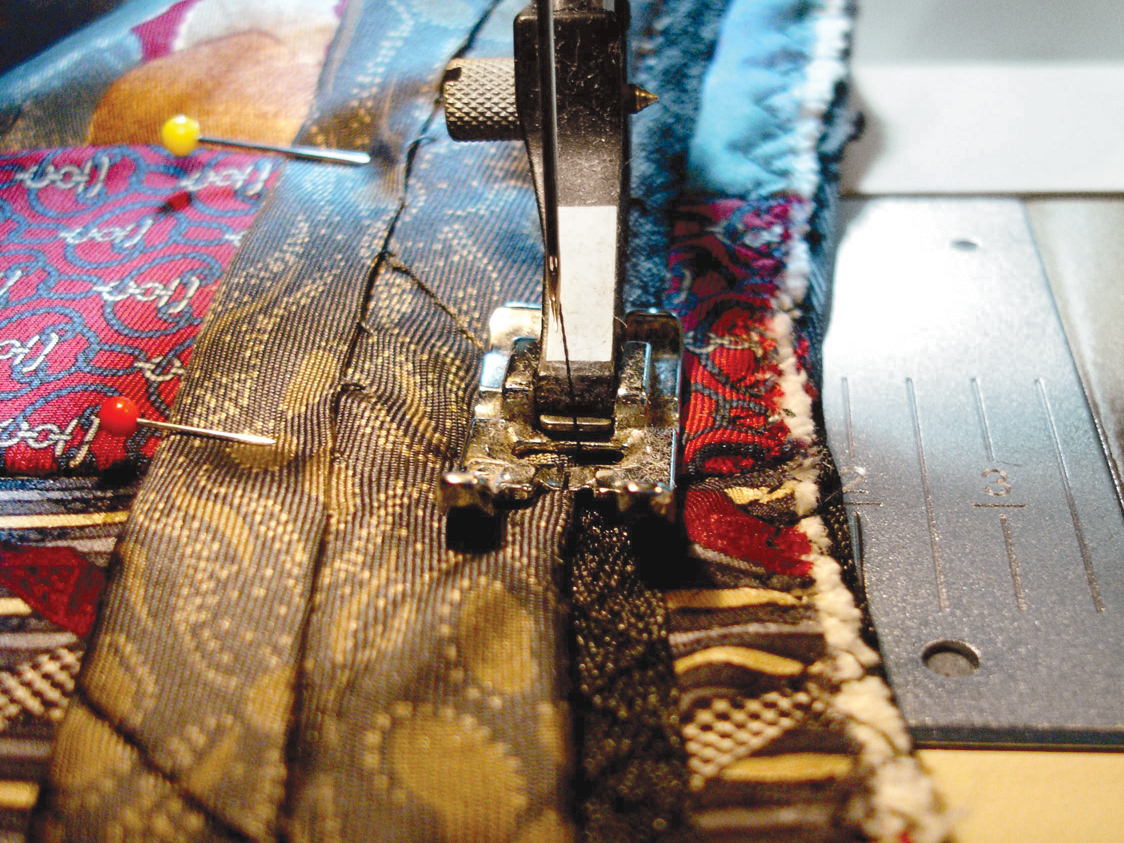
Starting with either end of the skirt, place the first and second ties face to face and pin along the sewing edge. Set the sewing machine to a very narrow zigzag and stitch down the edge of the ties, making sure to catch the edges of both ties. Press open. Repeat this process, adding ties in the proper order until they are all sewn together.

At the waist, stitch 1″ in from the edge. Pin 1⁄4″ twill tape over this stitching to reinforce the waist, and stitch in place using a narrow zigzag. Trim the waist edge, leaving a 5/8″ seam allowance. Finish the edge using a wide zigzag or other finishing stitch.

Assemble the waistband.

Sew several leftover narrow tie pieces together to form 1 long piece that measures 2 times the waist measurement plus 1yd. Use uncut, pointed edges for both ends of the waistband. These ends will form sashes at either side of the waistband.

Attach the waistband.

Place the waistband face down on the front of the skirt. Start pinning the waistband to the waistline, just touching the lower side of the twill tape on the skirt’s right front side. Leave an 18″ piece of waistband hanging free to serve as the right front skirt sash, and pin around the waistline of the skirt. There will be some extra waistband that extends beyond the left side of the skirt; this will partially wrap around the waist and serve as the left end of the sash.

Using a narrow zigzag stitch, sew along the edge of the waistband that touches the twill tape. Press the waistband up over the seam allowance. Hand-stitch the back of the waistband to the seam allowance.

Wrap the skirt around your waist so that the right front overlaps the left. Mark the waistband at the left side with a pin. Sew a 1 1⁄4″ buttonhole centered over the pin. Cut the buttonhole open and pass the waistband sash through the buttonhole from under the waistband to the top of the skirt. Tie and enjoy!

Conclusion

This project first appeared in CRAFT Volume 08, pages 117-119.