Before getting started, be sure your workspace is well ventilated. Some plastics may give off an odor, although I haven’t experienced a problem with this. Set your iron on the synthetics setting. Making sure not to touch the hot iron directly to the plastic, slowly iron on top of the parchment paper. Keep the iron moving. As the plastic layers begin to fuse together, they’ll shrink a bit. Be aware that any ink from the bags will transfer to the paper.
I recommend reading through this step and then practicing on a few extra bags first. Experiment with the number of layers and iron temperatures, as this is not an exact science and your results will vary.
After ironing one area, let it cool before lifting the paper. Check to see if the layers have started to melt together. You may want to increase the iron’s temperature if you find that the plastic isn’t fusing. Reposition the parchment paper and continue this process until you’ve fused the entire length of the stacked layers.
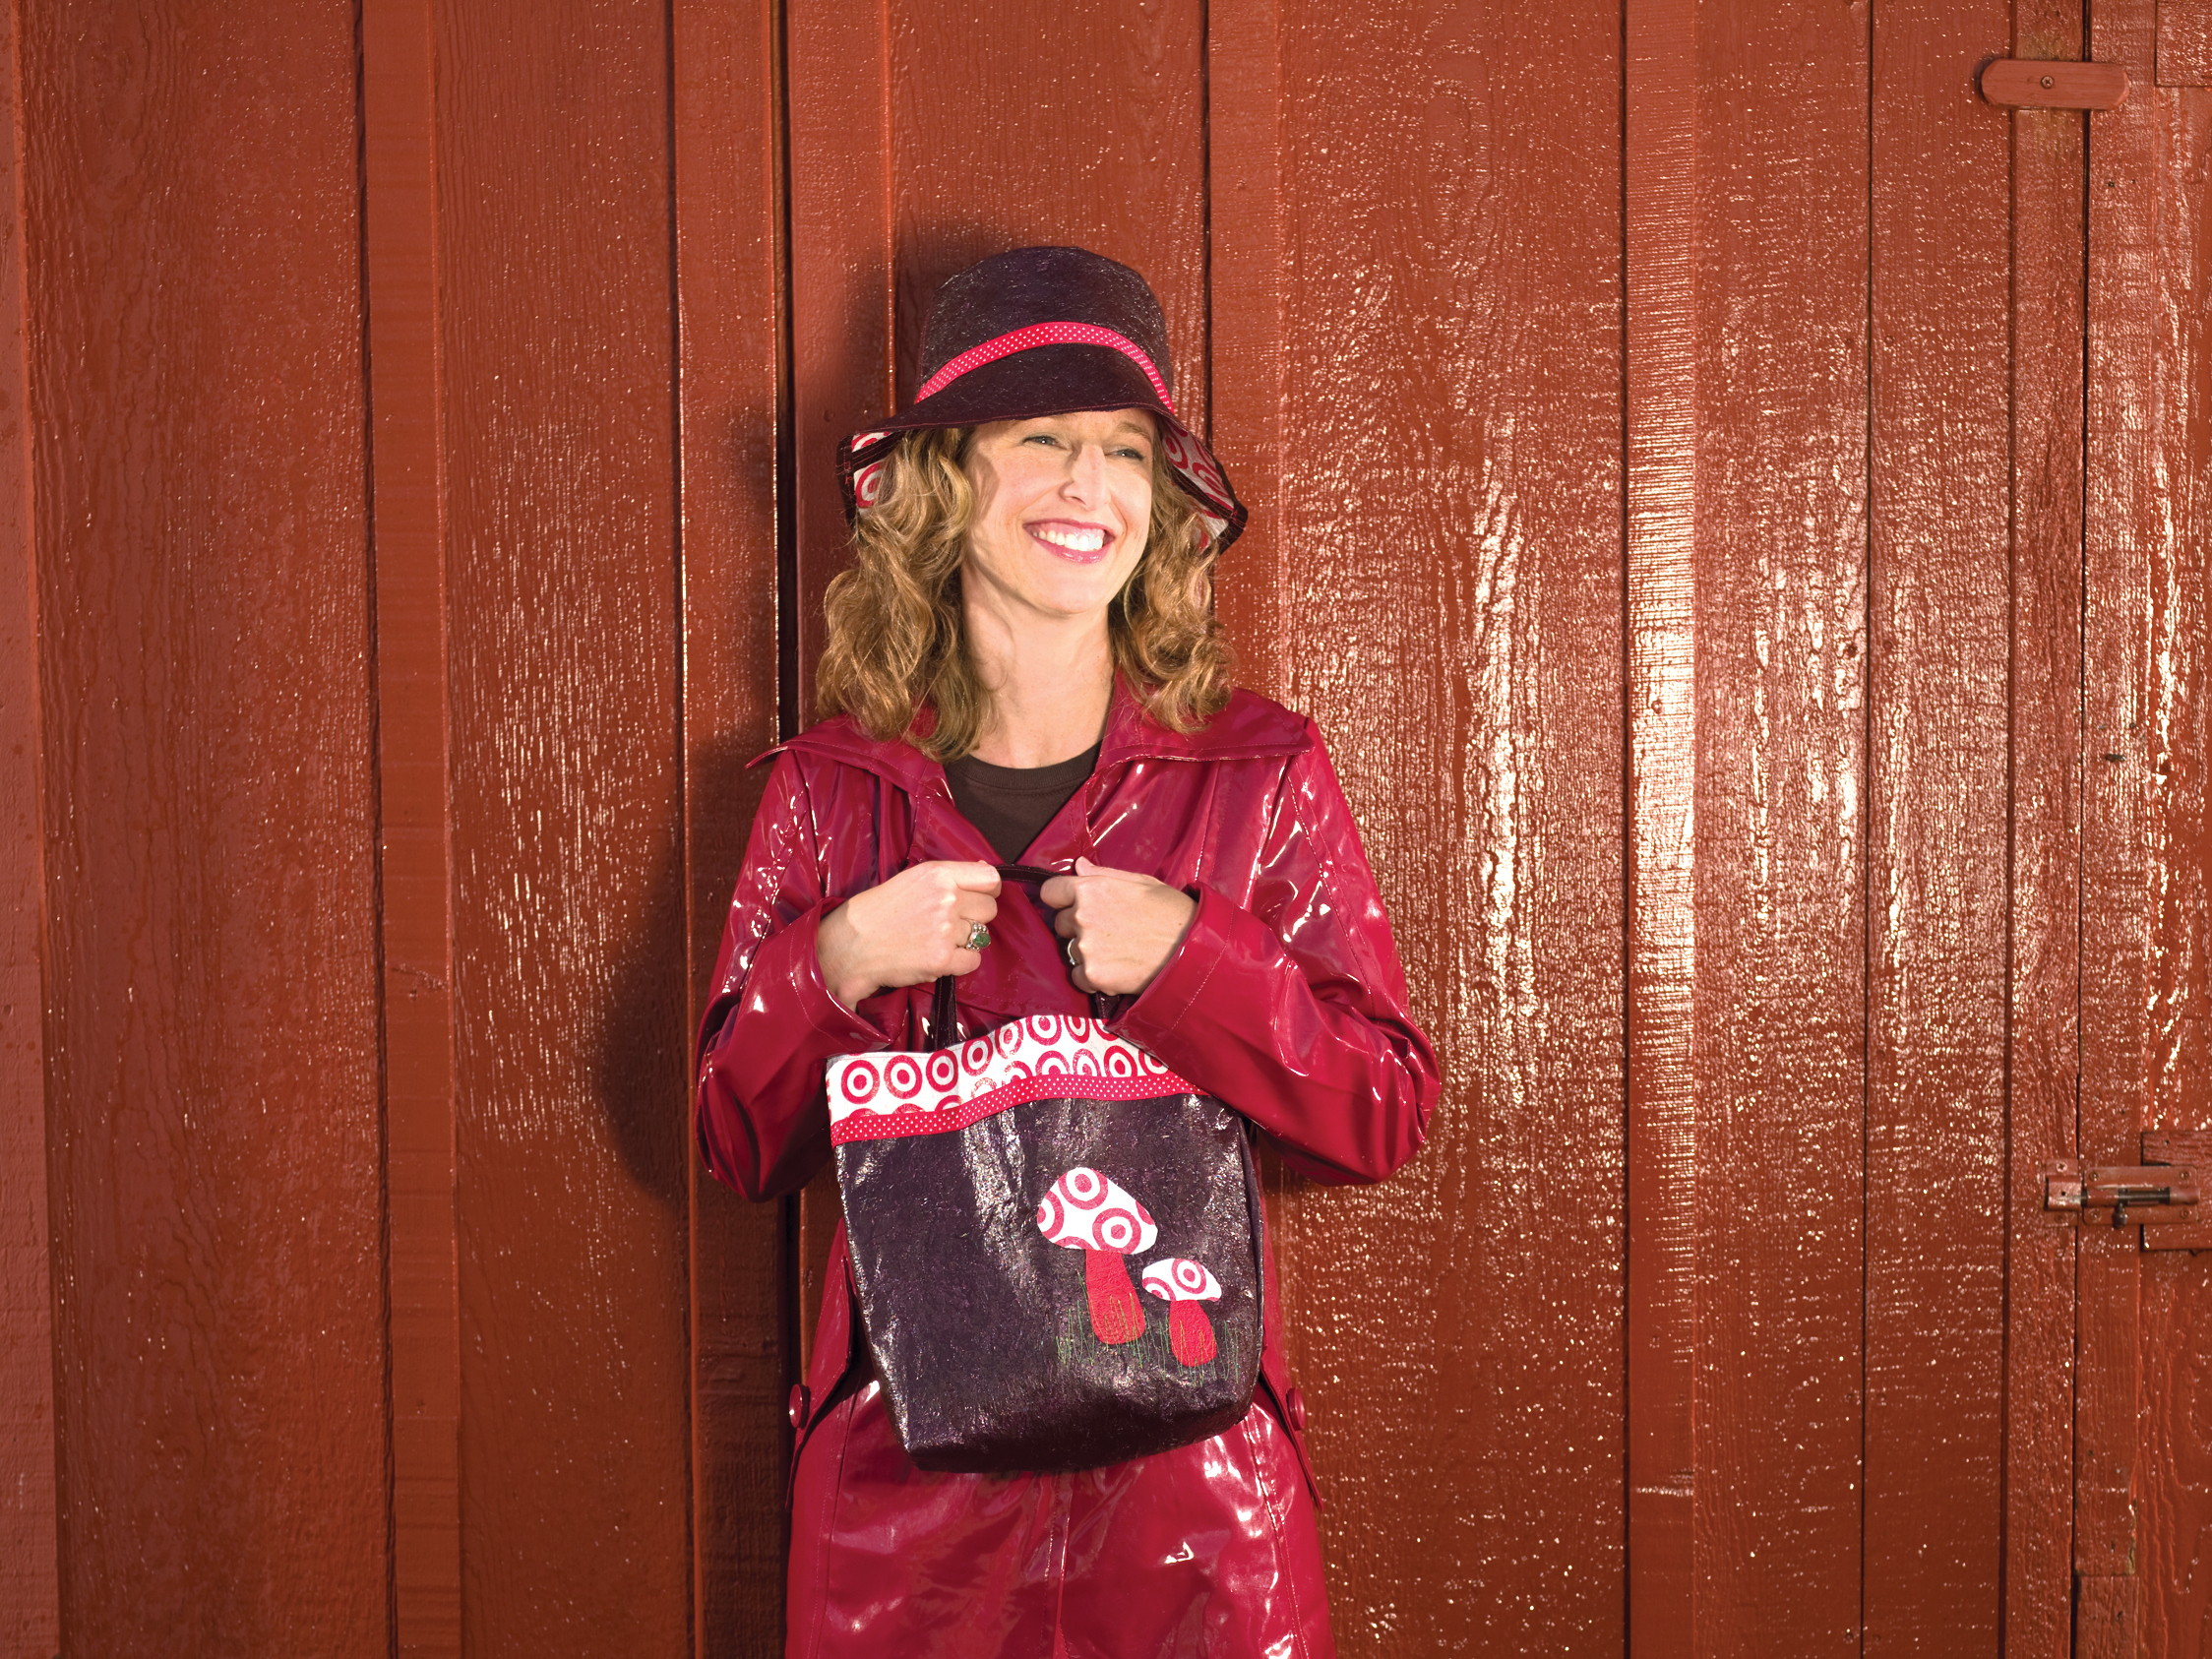
Turn the fused plastic sheet over, cover with parchment, and repeat the fusing process from the other side. The layers of your fully fused plastic should feel like 1 piece. The trick is to go slowly — an iron that’s too hot will result in fast-shrinking plastic that’s rippled. Once fused, your plastic sheet should measure about 14″×36″, big enough to make either the Toadstool Tote or the Rain Bucket Hat.
To create the tote appliqués as shown, you’ll also need to fuse a small amount of red plastic for the toadstool stems.
Stitching fused plastic with a machine is fairly easy, as long as the plastic hasn’t become too thick or hard. Use a universal needle and a stitch length of 3–4. Practice stitching on a few scraps and adjust your machine’s tension if necessary to achieve even stitches. Straight pins can be used to hold your work, but if you find that the plastic is too difficult to pin through, try using paper clips.


