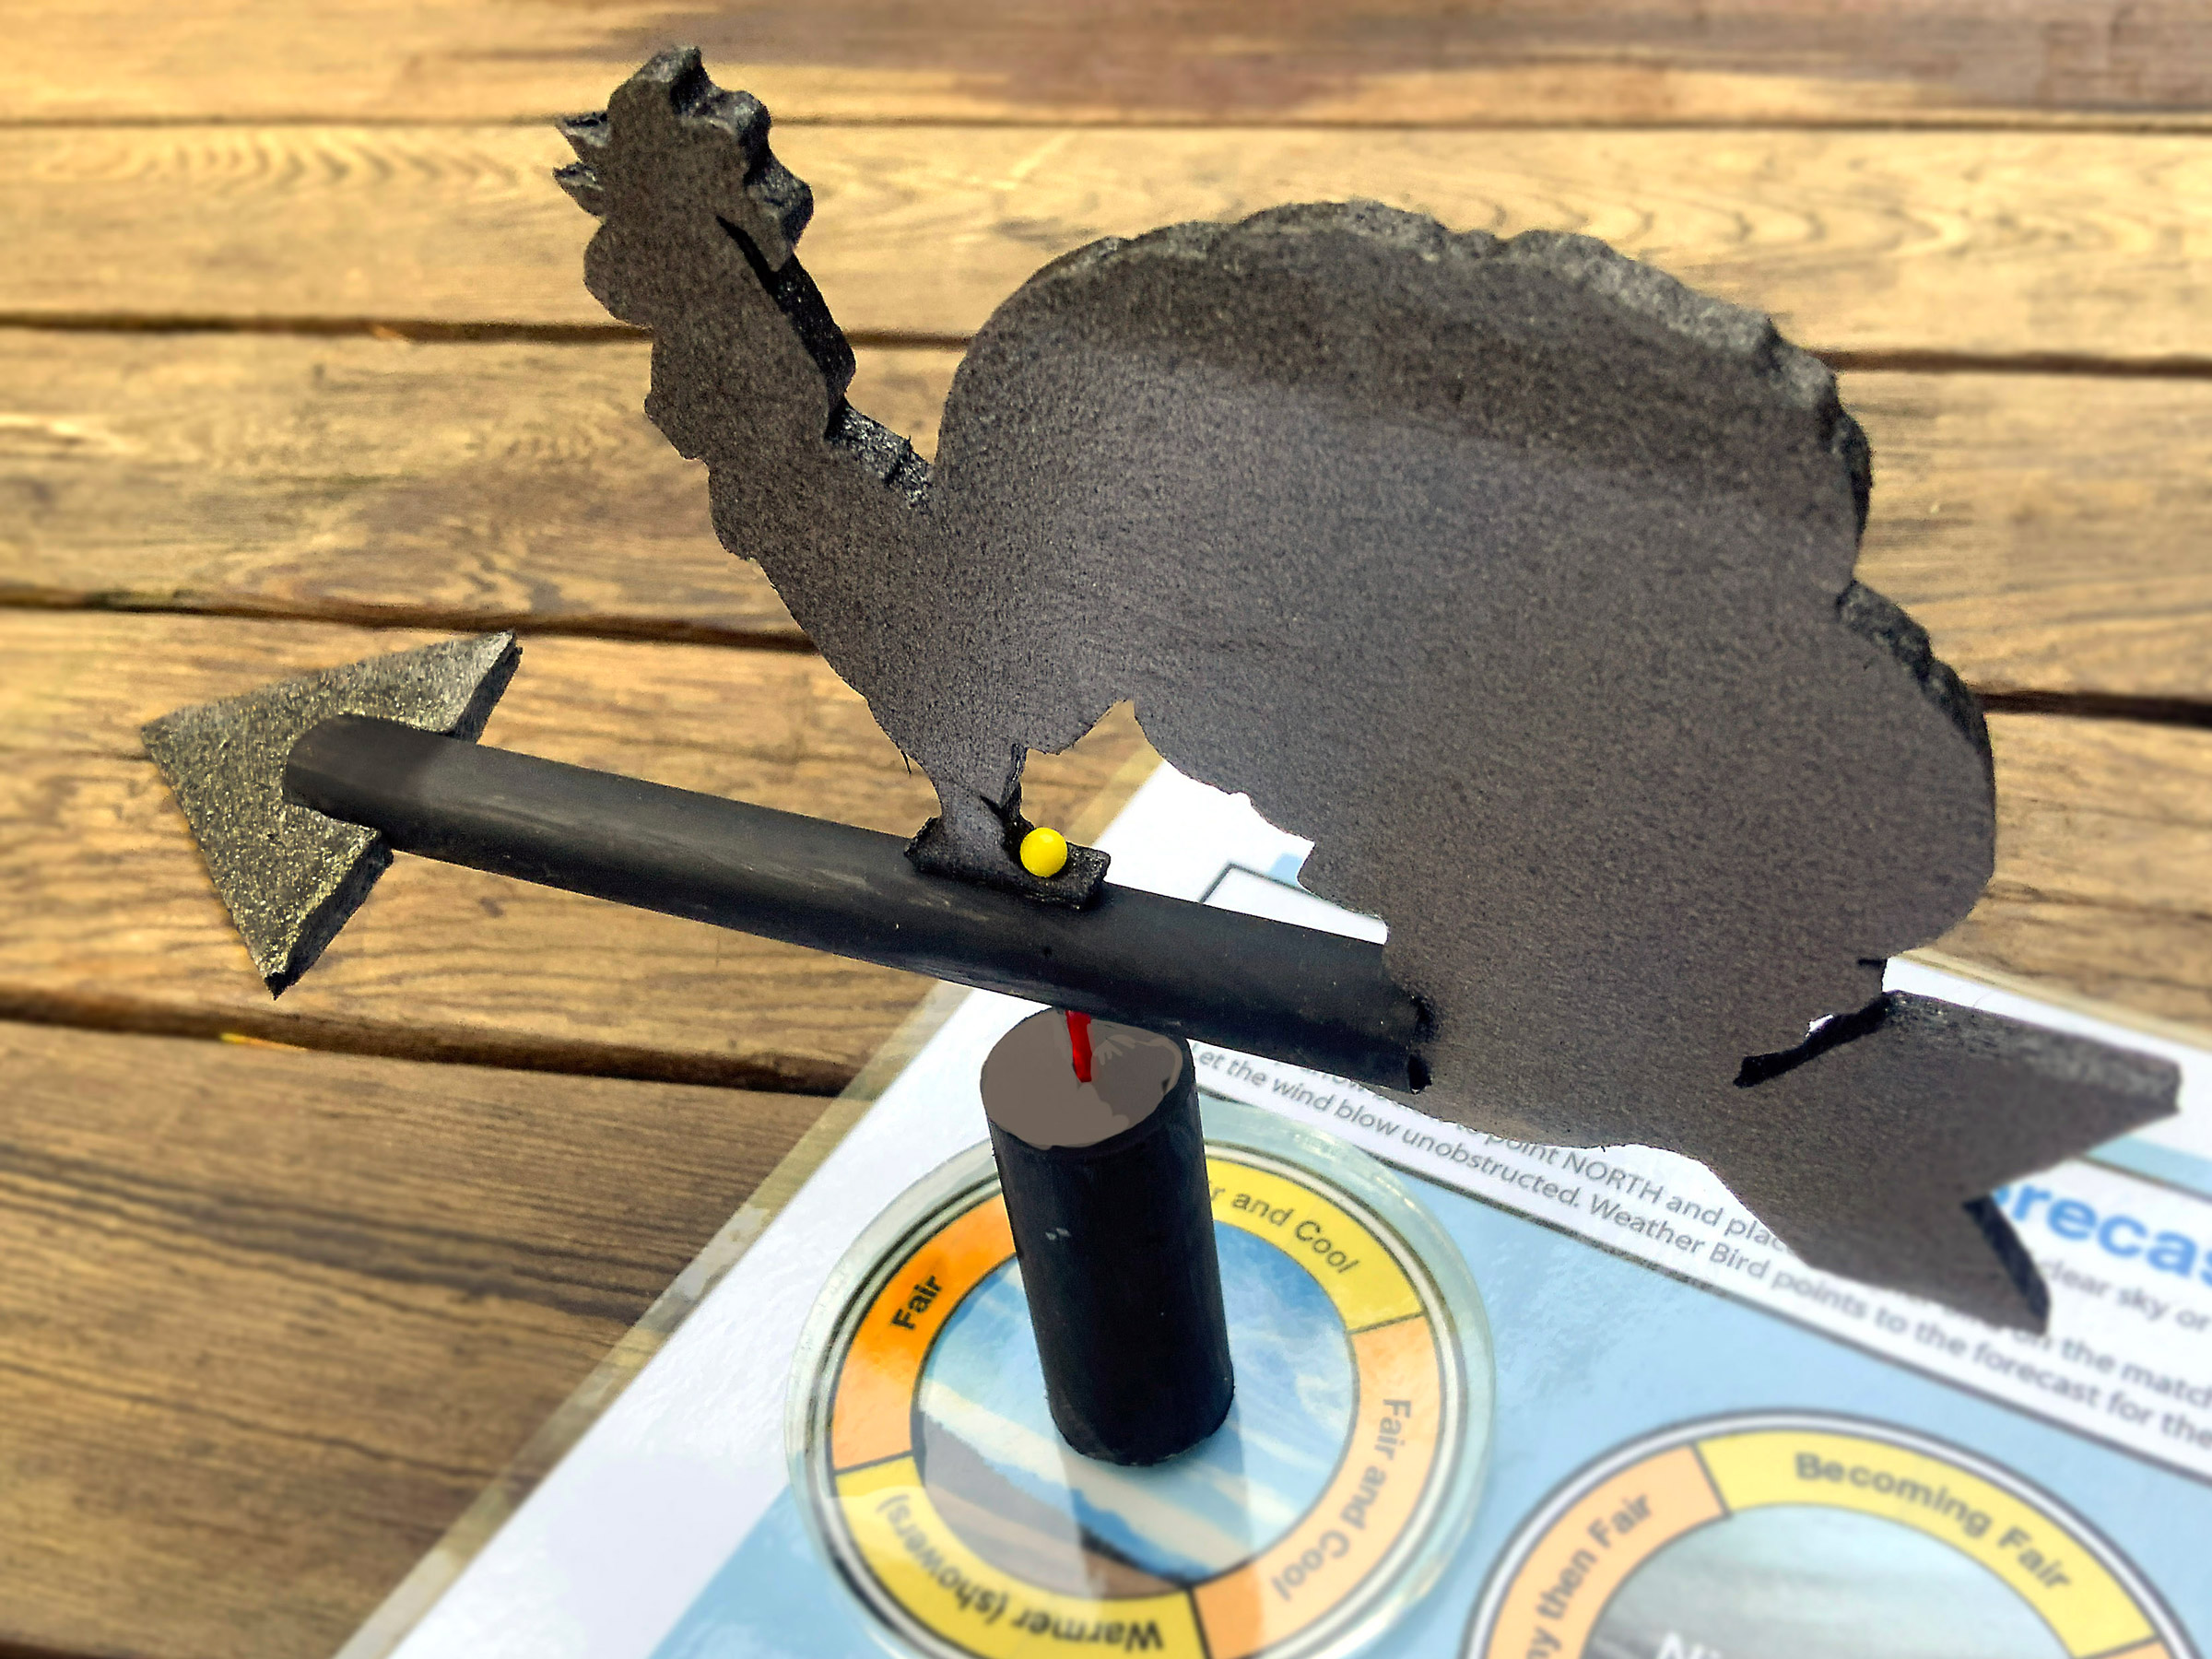
The spinning Weather Bird wind vane points to tomorrow’s forecast! But how does it know?

How It Works

As warm and cold fronts cycle around low-pressure areas, they create likely sequences of clouds and wind directions. If you can figure out where you are in these swirling weather patterns, you’ll have a pretty good guess as to what weather will come next.

In this toy, the panel of cloud wheels is designed from tables of observed clouds and wind directions. Look up: If you see high, wispy clouds with winds from the north, then fair and cool weather is ahead! Why? Because you’re likely located west of a counter-clockwise-spinning low-pressure system with a cold front already past you. Keep in mind these tables are made for weather patterns in the Northern Hemisphere and can make only general forecasts. Predicting the weather is never an exact science — but you can try it yourself, learn about weather phenomena, and have fun by making your own Weather Bird!

(For more information and useful explanations about cloud types and weather fronts systems I recommend the Davis Instruments Weather Forecasting Quick Reference Card, Amazon B001444YUS.)

What will the next generation of Make: look like? We’re inviting you to shape the future by investing in Make:. By becoming an investor, you help decide what’s next. The future of Make: is in your hands. Learn More.

Project Steps

Build Your Weather Bird

To make the Weather Bird wind vane, download the bird and arrowhead pattern. Print it out on heavy paper, trim and pin it to the foam tray, and then cut out the foam with a hobby knife. (You can also use the downloaded SVG file to laser cut the paper bird pattern.)

Or, use the paper pattern as a guide with a hot wire foam cutter — it’s really fun and you’ll get a perfect result! See Make: Volume 16 (or follow the link) for complete plans to make a 5-Minute Foam Factory. Lots of other foam cutting fun, too!

Of course, you don’t have to make a fancy bird design, a simple arrowhead and fin shape will do.

Insert the foam bird cut-out in one end of the large straw. Carefully stick the straight pin through the top of the bird’s foot, down through foam inside the straw, and out the bottom. Be sure to stick the pin perpendicular to the straw. The pin is the vertical axle the bird spins on.

Insert the arrowhead on the other end so that it is horizontal and flat. Put the pin inside the small mini straw and check to see that the Weather Bird spins freely. Blow on it to see that it points into the wind reliably. Trim the big straw if needed to balance.

Drill a small hole in the center of a 2″-long rod or dowel to accept the tiny straw. Trim the mini straw to be slightly longer than the pin. Glue or screw the dowel to the center of a 3″ circle of clear acrylic. I painted the straw and dowel black to match.

Finally, print out the panel with the cloud wheels (in the previous download). Laminate it in clear plastic to be weatherproof if you like.

Use It

Go outside and look: What kind of clouds do you see? Find the closest matching cloud wheel on the panel and place the Weather Bird there. Line up the panel so it points north. When the wind blows, Weather Bird points to the forecast! Keep a daily log of your Weather Bird’s predictions and compare them to the official weather forecasts and the actual weather. How did the Weather Bird do?

Conclusion

Fun Fact! Why roosters on weather vanes? It’s from a papal decree in the 9th century that said every church should have a rooster on top because Christ told Peter, “This very night, before the rooster crows, you will disown me three times.” To this day, the decorative birds are found on barns, steeples, and rooftops.

This article appeared in Make: Volume 88.