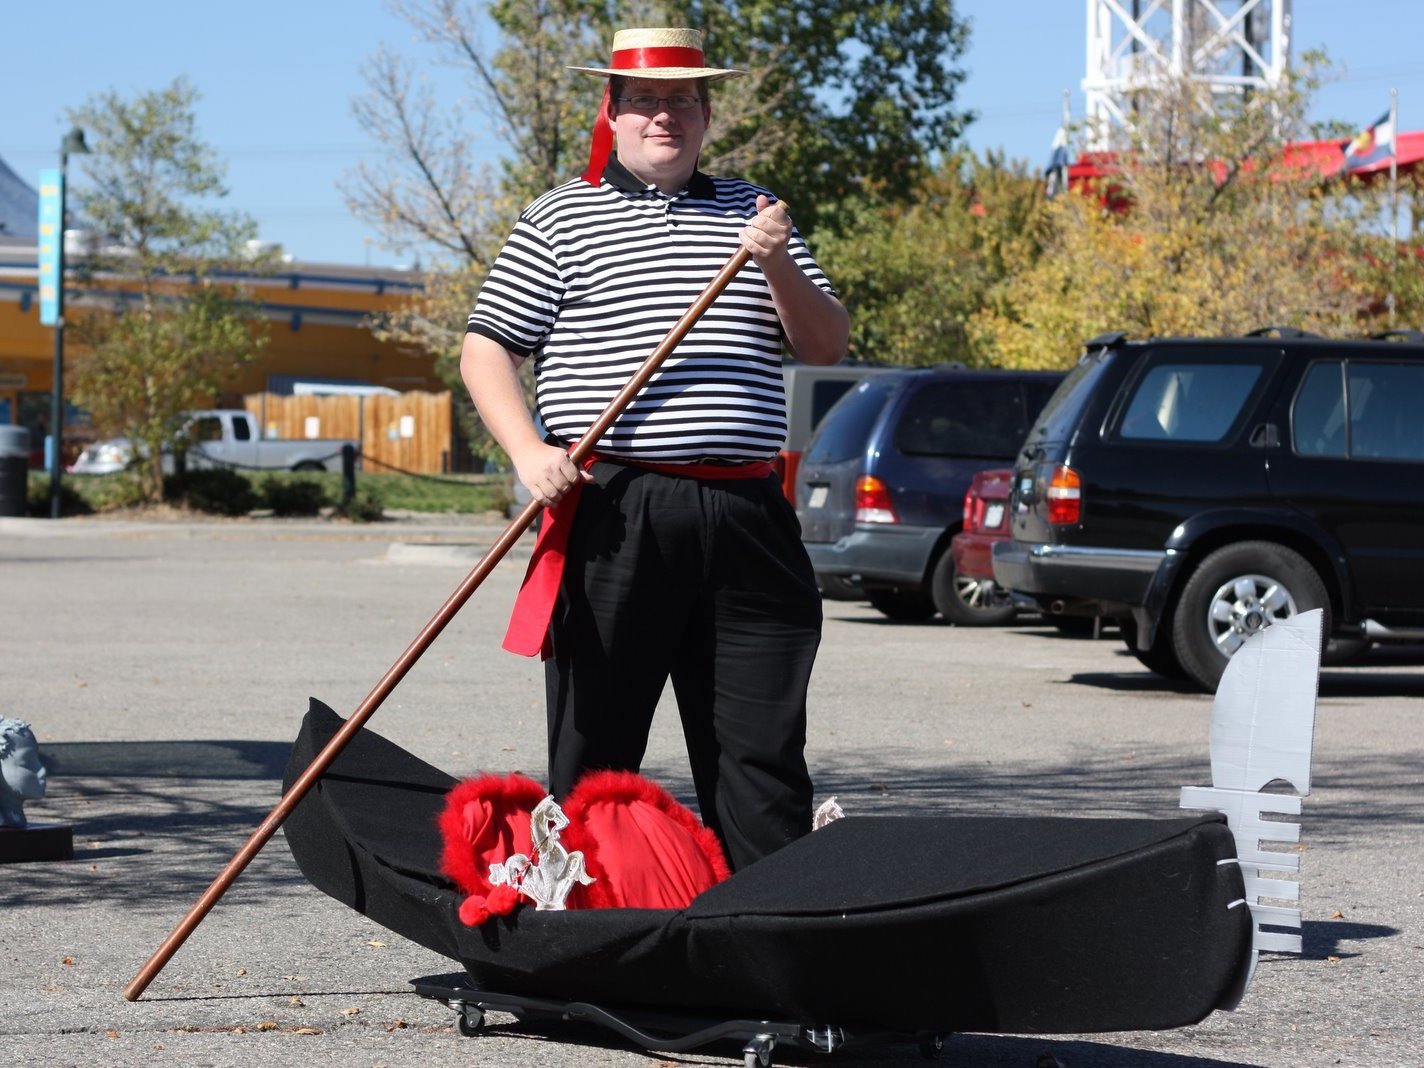
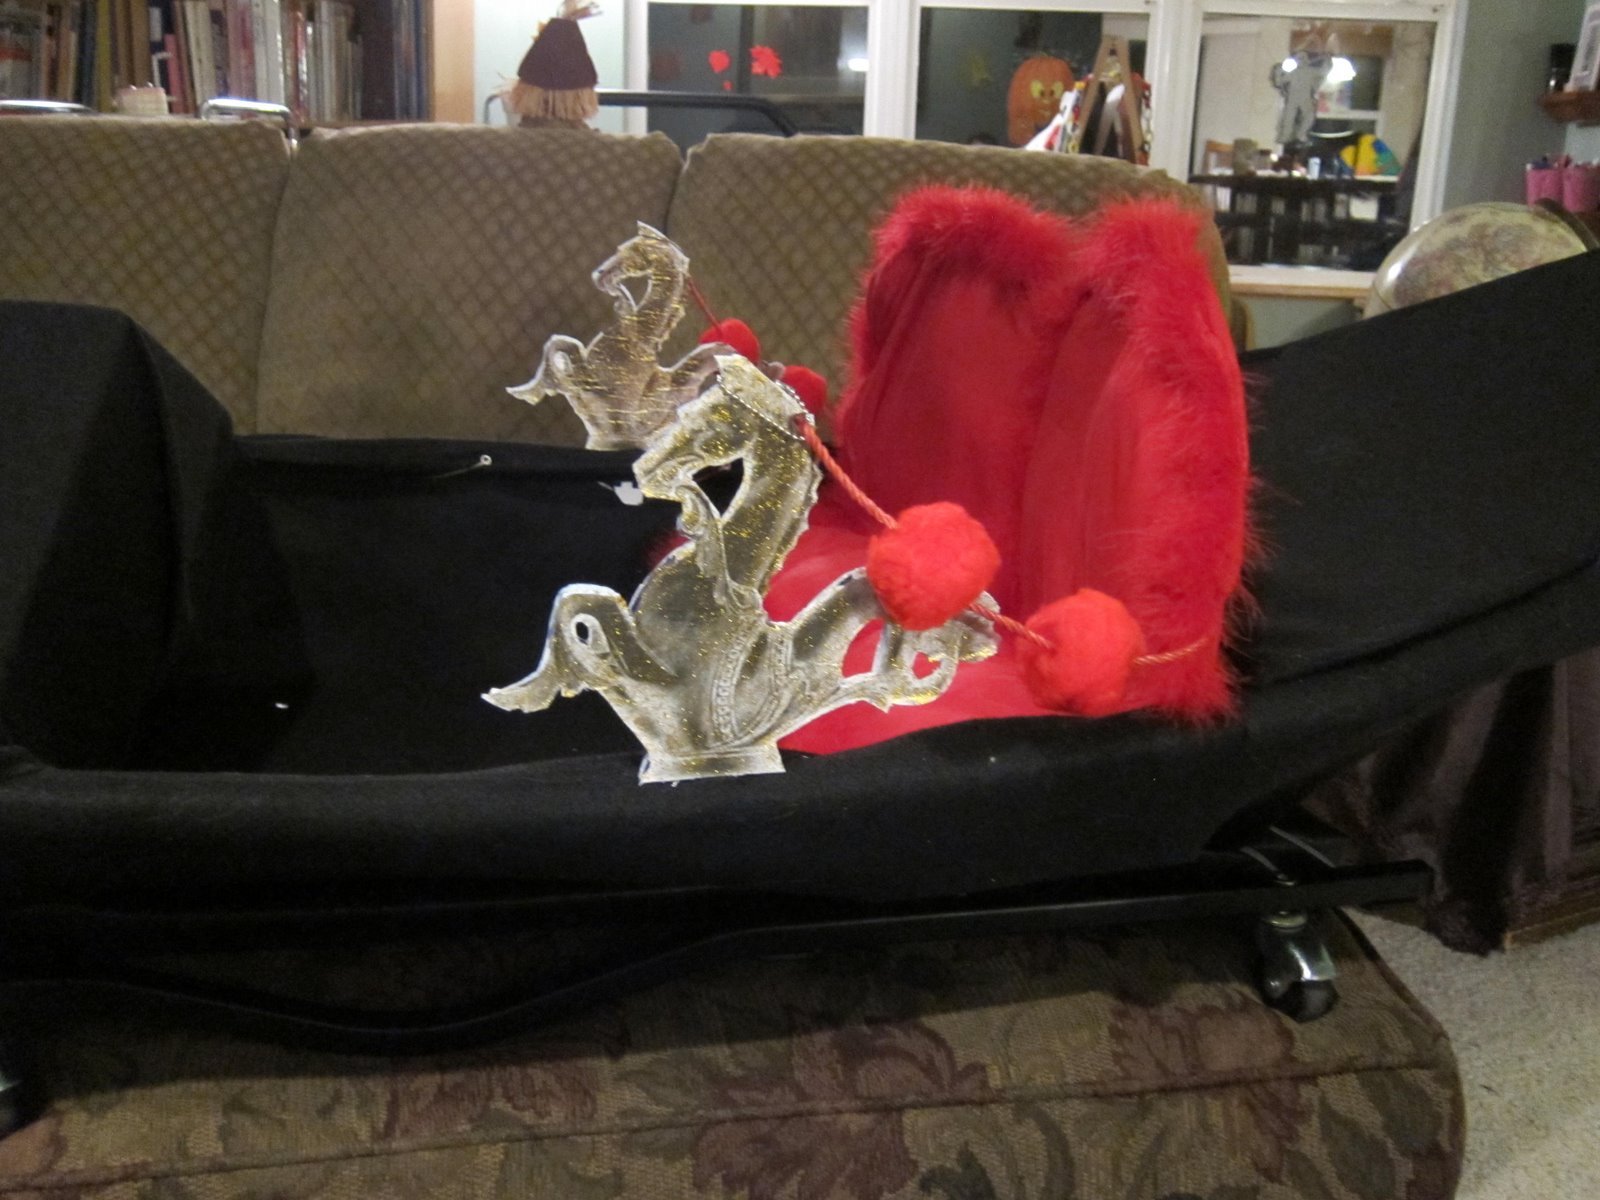
After our family’s 2010 trip to Italy, we decided to recreate different memories as our costumes. I was excited to be a gonolier from Venice (Venezia!), complete with my own gondola. I made it sturdy enough that I could give kids rides around. The costume was a big hit!

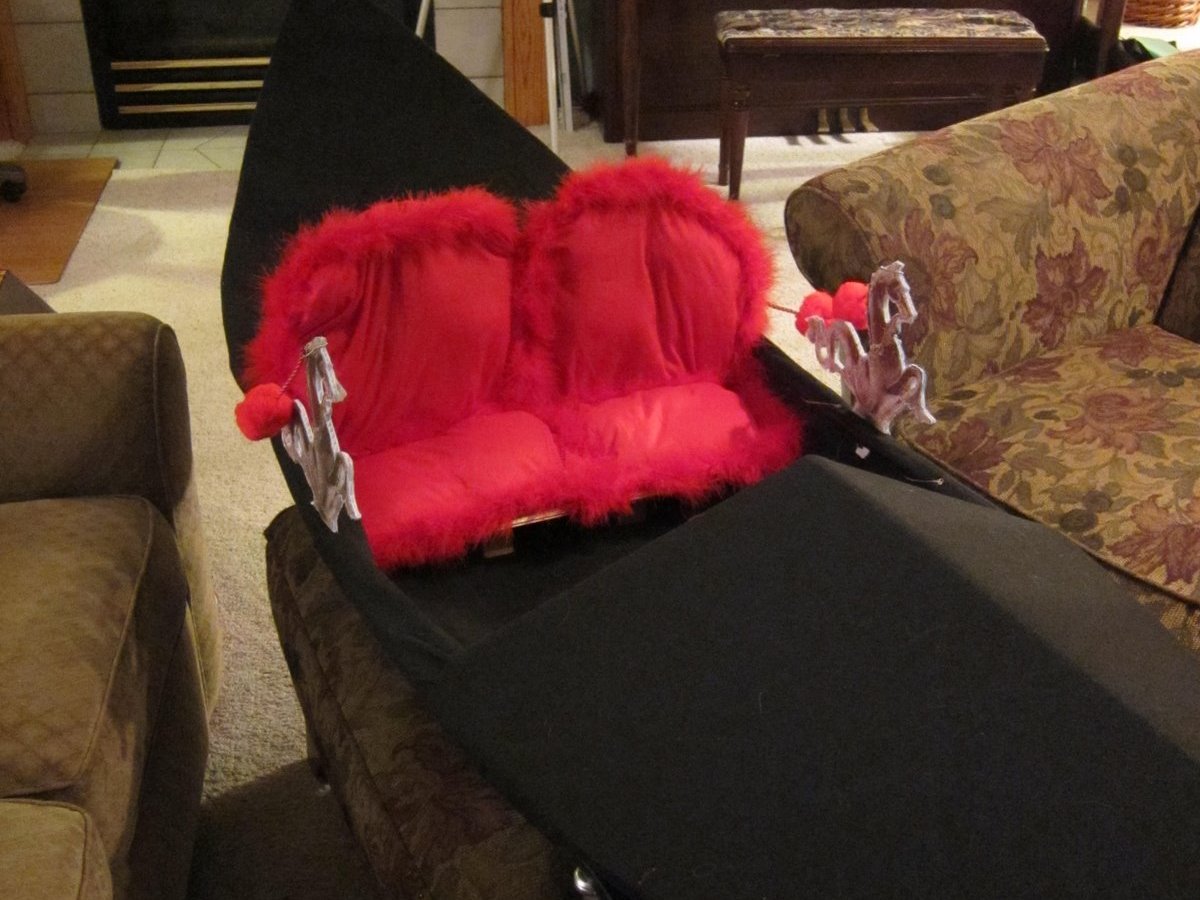
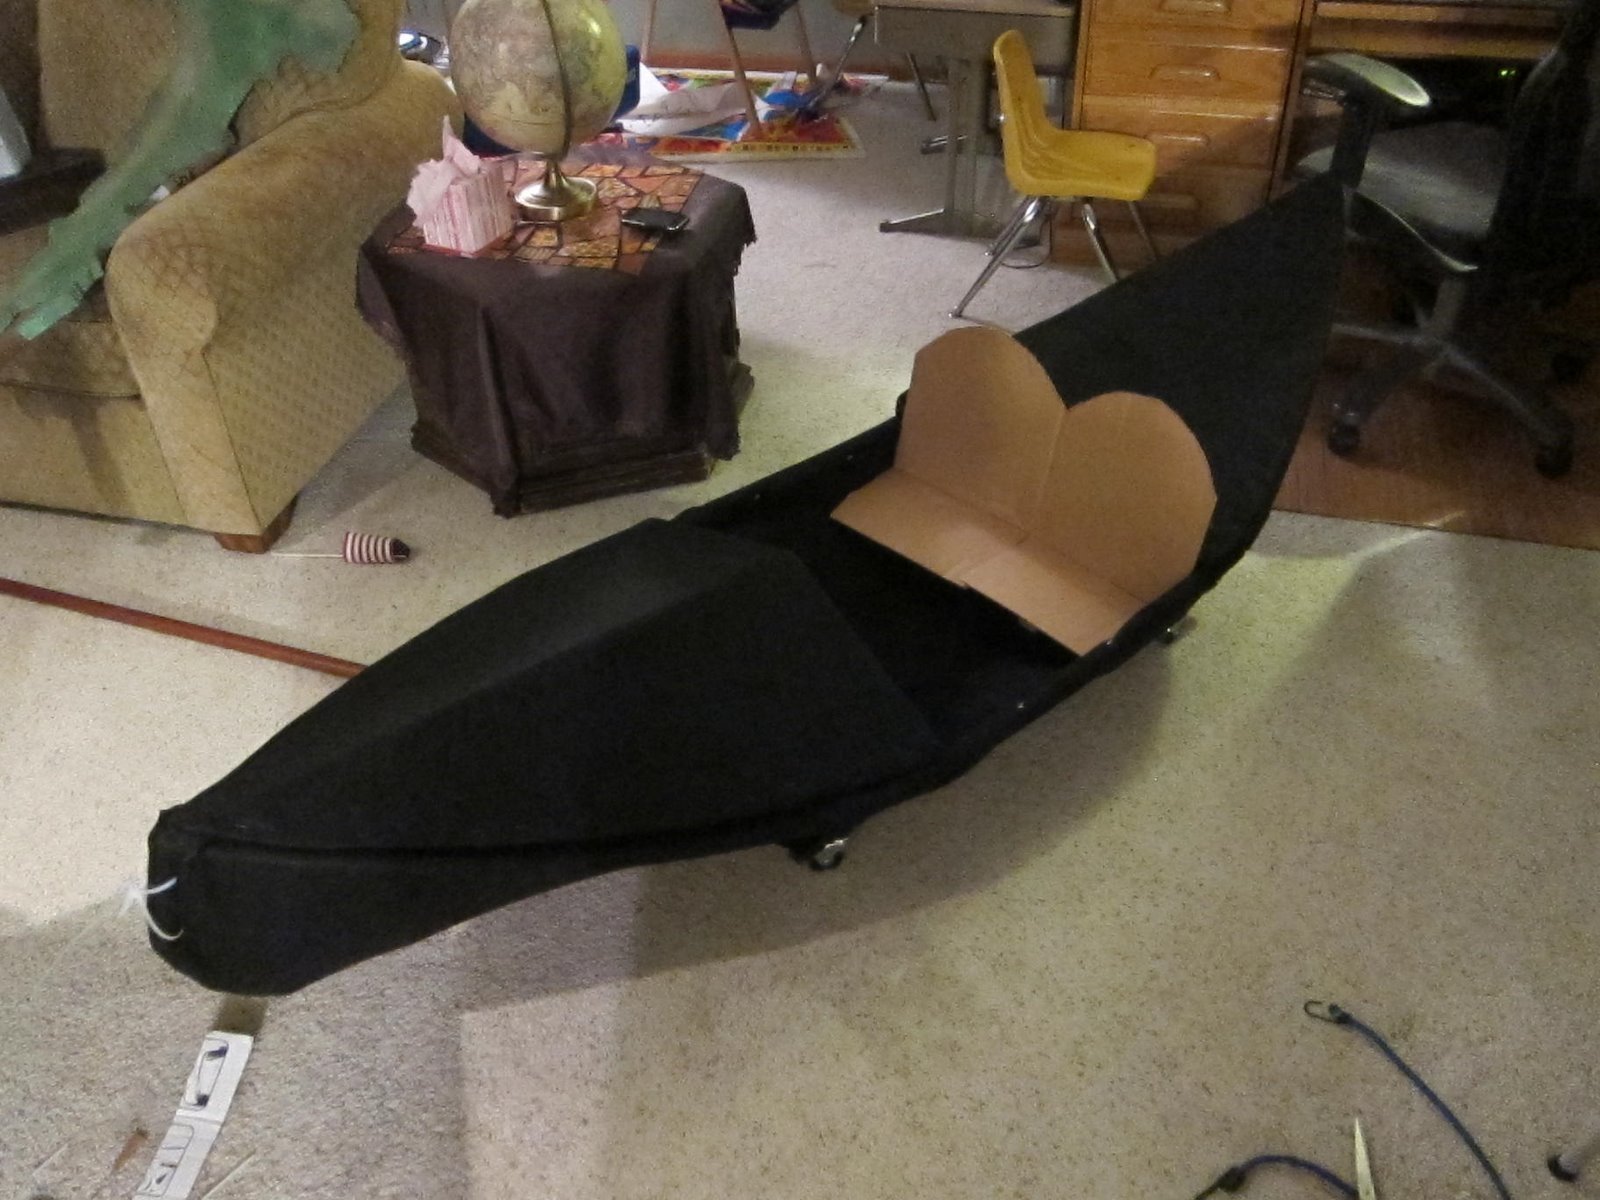
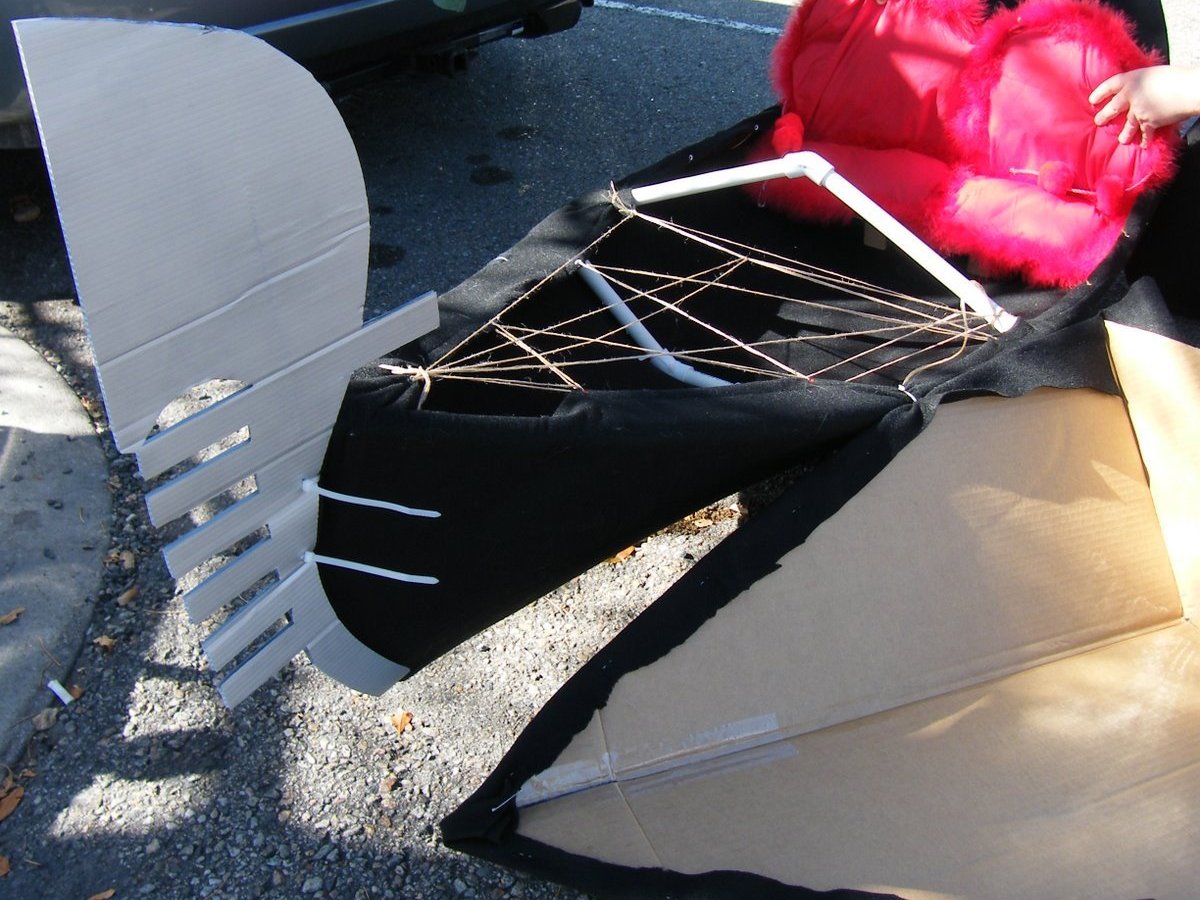
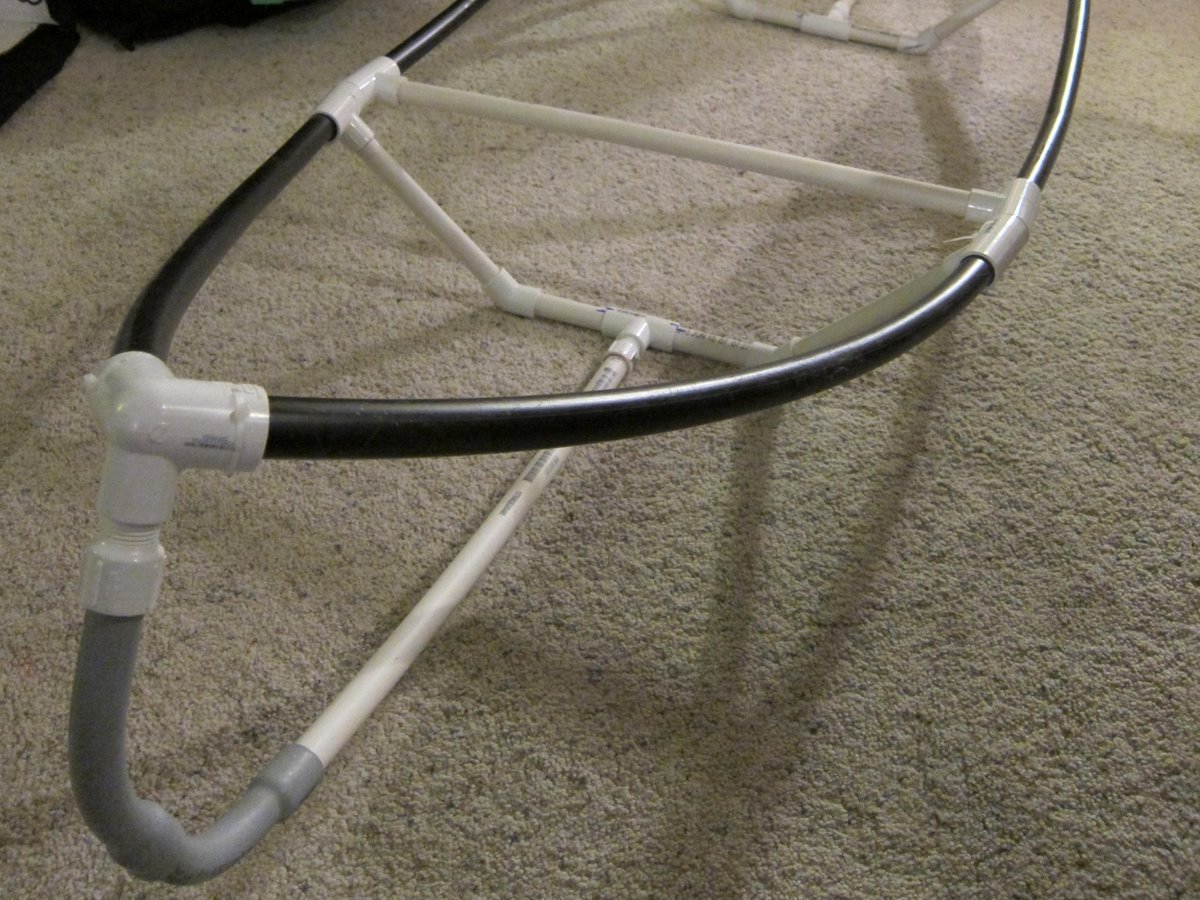
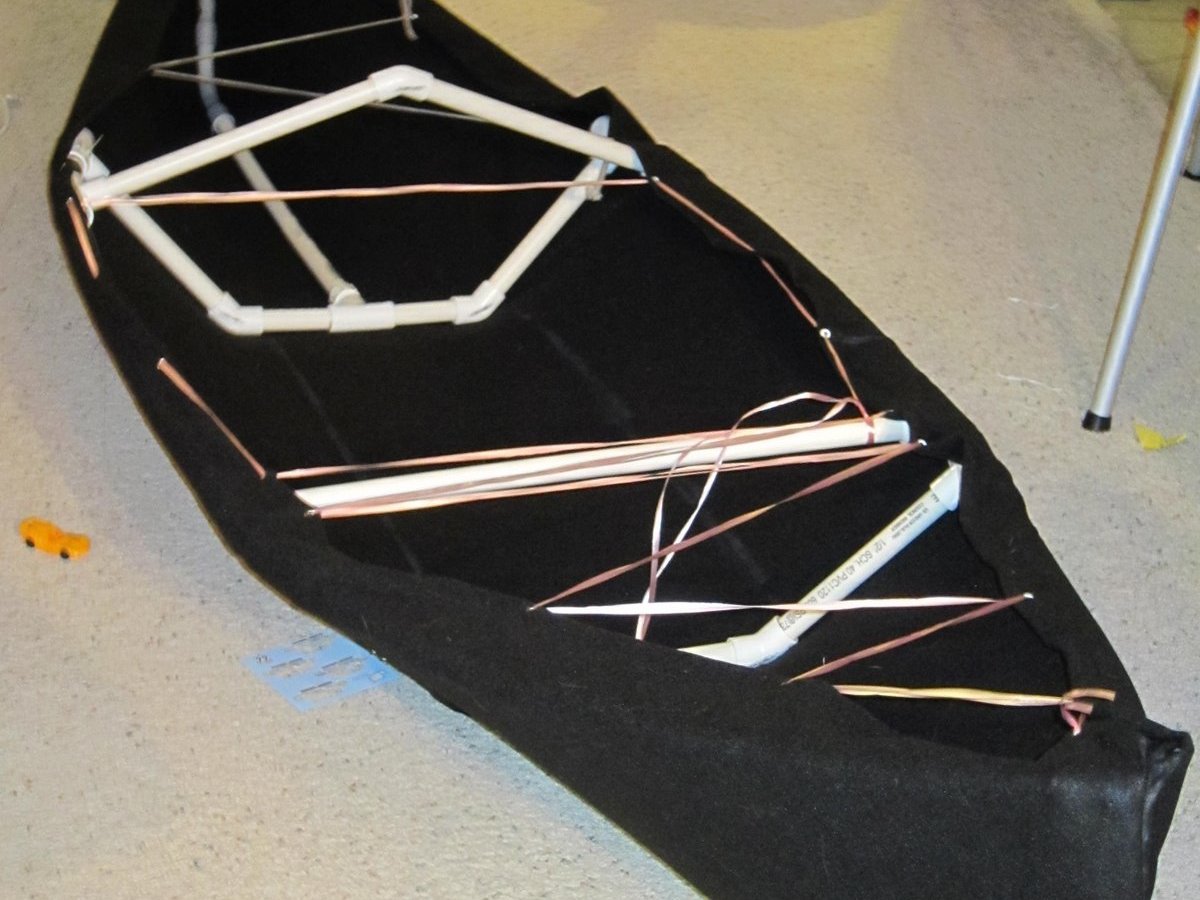
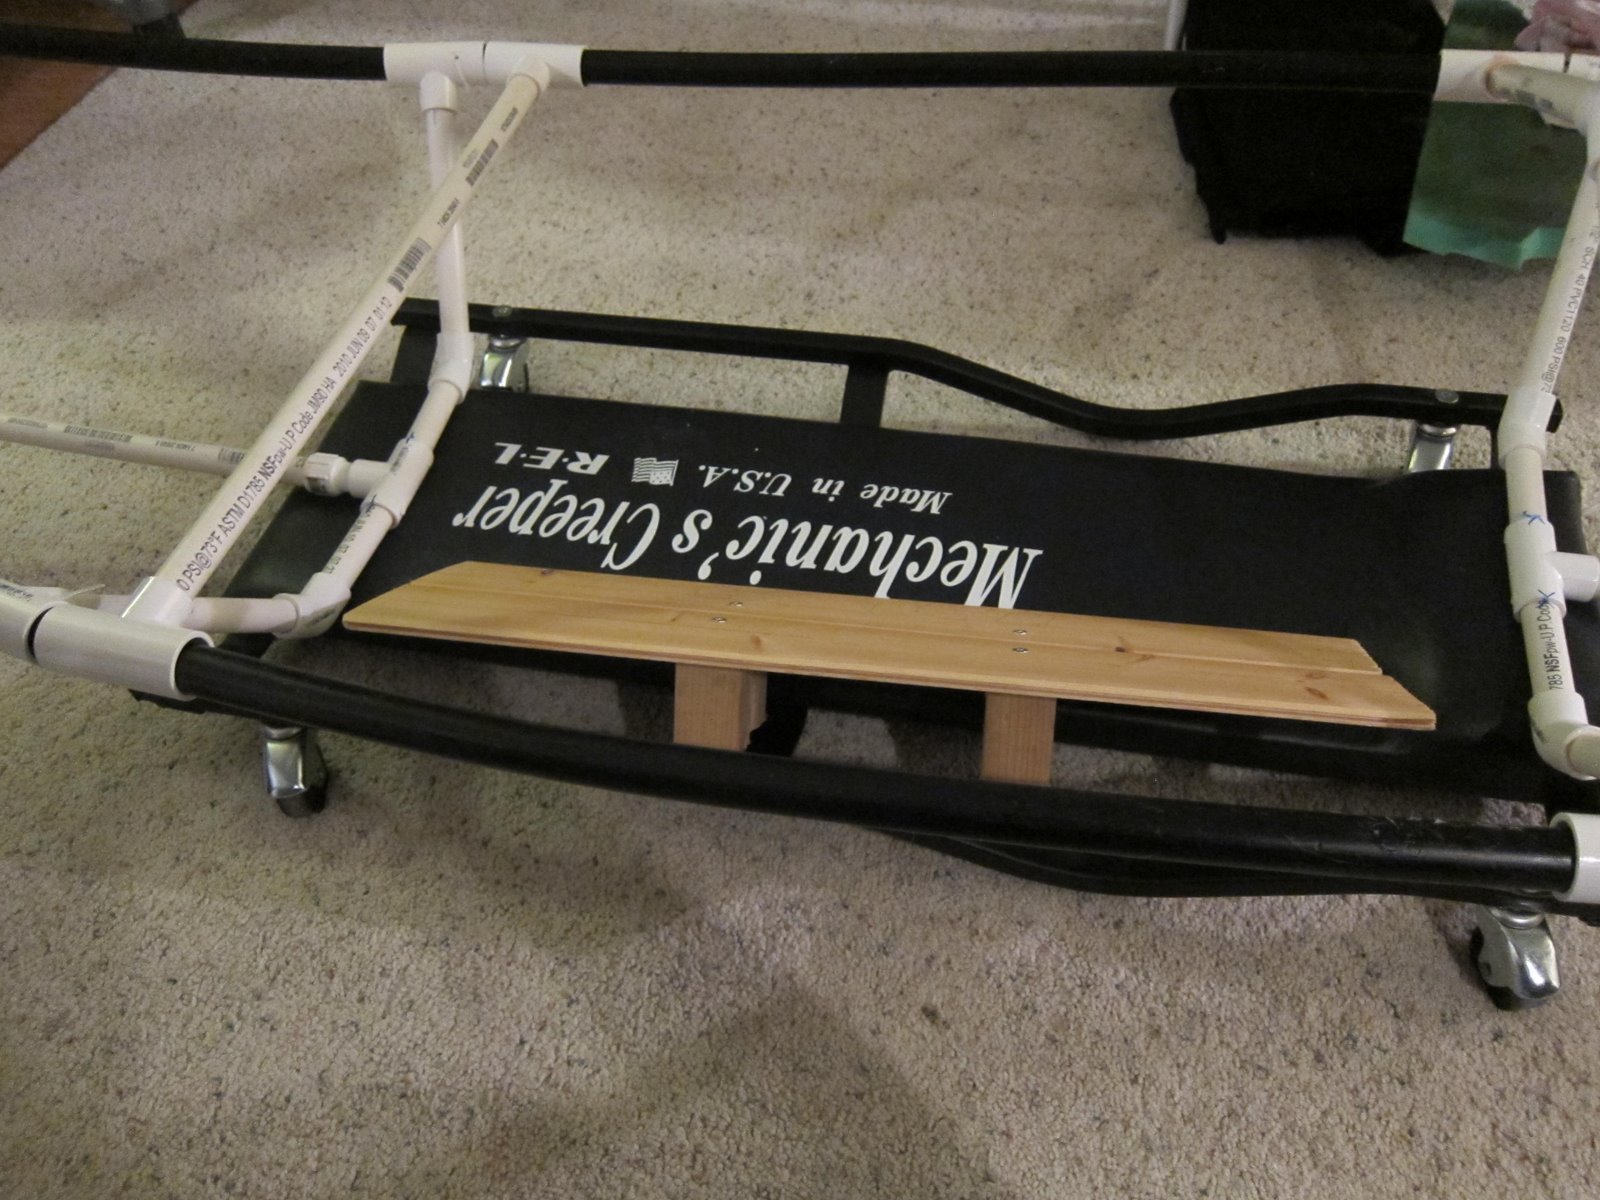
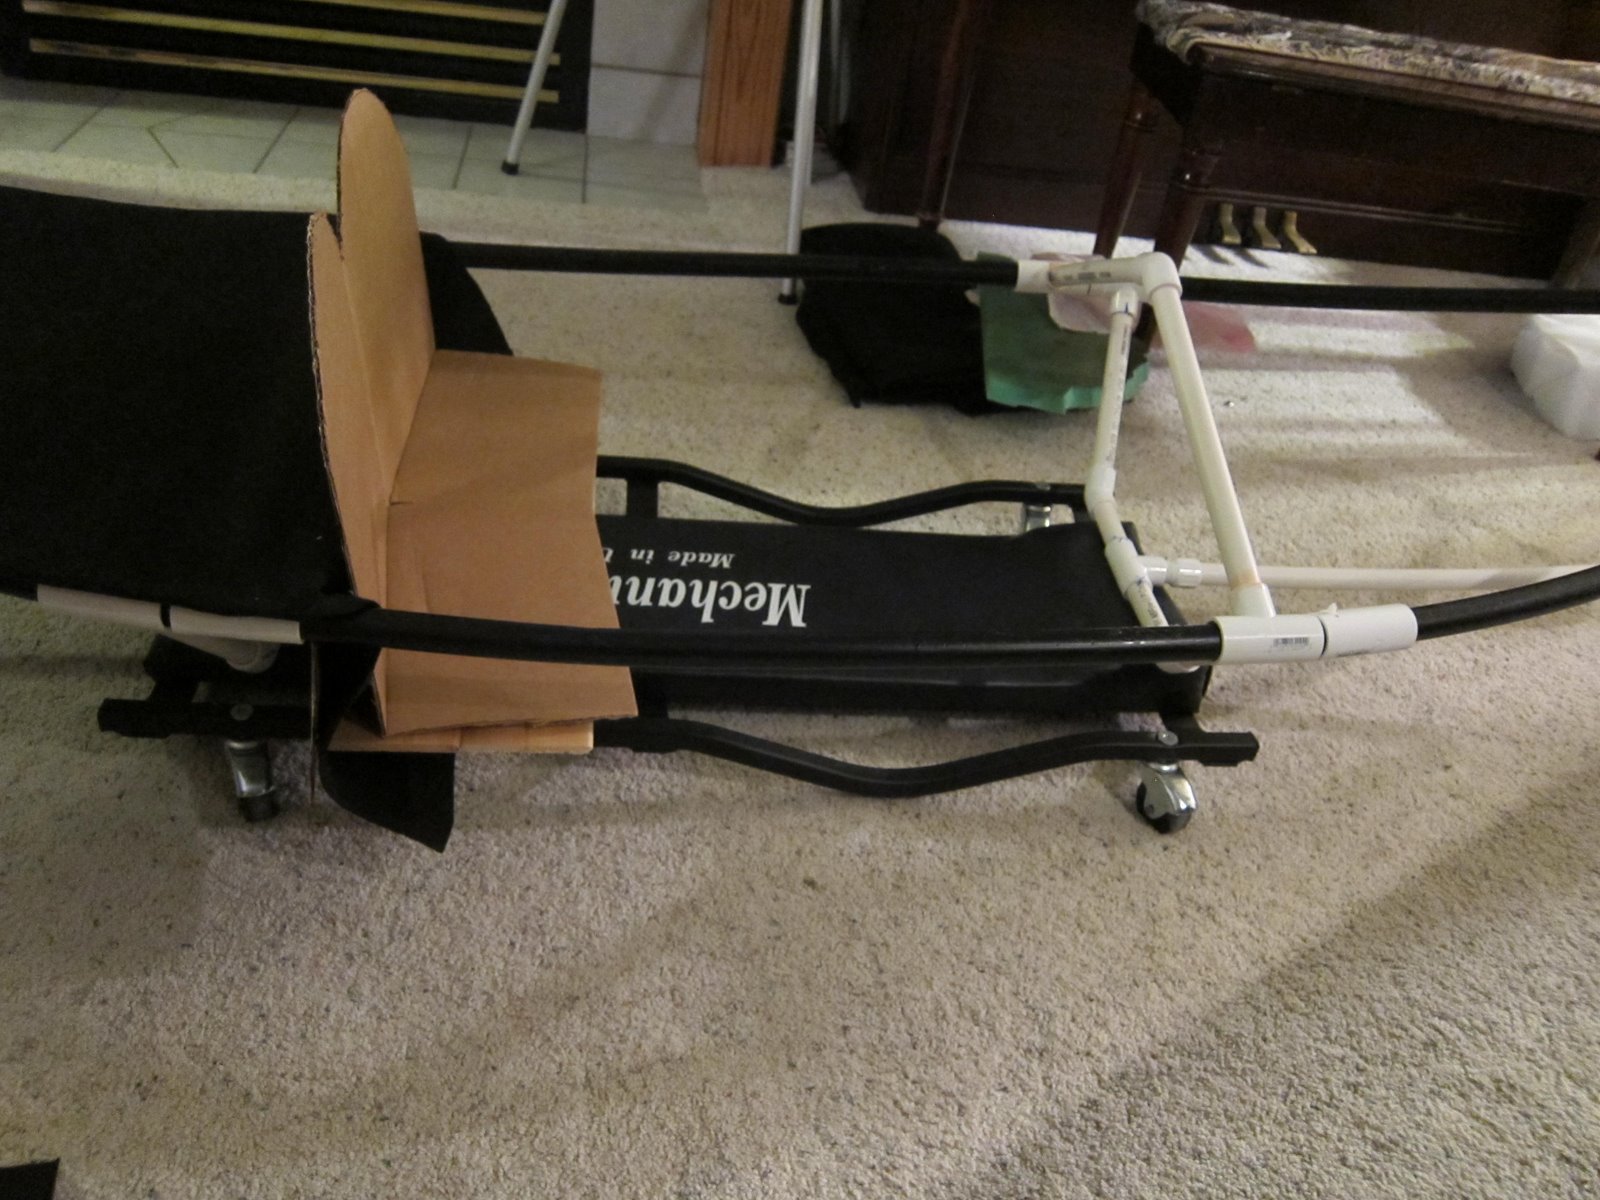
The base of the gondola was an auto mechanic’s creeper. On top of the creeper was a canoe-like frame built from PVC pipe (rigid) and PVC irrigation hose (flexible). I wrapped the frame with black felt, and held it taught with a rivet eyes/string system (similar to how shoes are laced). The top is cardboard, covered with the same black felt. Other details were cut from chloroplast / plastic cardboard (old election signs). Finally, I added some soft red fabric and a cheap-o dollar store dress-up boa.

All told, I had probably $40ish in this costume, with the creeper, felt, and PVC pieces being the most expensive. As with most of my costumes, I actually had many of these things lying around.

For the gondolier: I got a cheap hat and striped shirt online, paired with black slacks and long strip of red fabric as a sash.

Enjoy!

What will the next generation of Make: look like? We’re inviting you to shape the future by investing in Make:. By becoming an investor, you help decide what’s next. The future of Make: is in your hands. Learn More.

Project Steps

1 – Mechanic Creeper

2 – 10′ sections of 3/4 rigid PVC

4 – 45 degree electrical PVC conduit bends (they make a more gradual front/back)

10 – 3/4 “T” connectors for rigid PVC

5 – 45 degree 3/4 rigid PVC couplers

2 – 90 degree “T” connectors (3/4 rigid PVC) (for the bow/stern points)

4 – straight -> threaded 3/4 rigid PVC couplers (because the only 90 degree “T” connectors I could find had threads on the lower section)

1 – 16′ of flexible 3/4 PVC irrigation tubing

1 – set of PVC primer / cement

1 – couple yards of wide black felt (not exactly sure how much I ended up using)

1 – small amount of red fabric to cover seats

3 – large sections of cardboard (one for seats, one for the top in the back, and one for the top in the front)

1 – old election sign (chloroplast / plastic cardboard) – for the front fin and side dragon/mermaid decorations

1 – Probably 10′ of string/rope/twine to tie the “skin” of the gondola taught

1 – Riveting tool and eye rivets

3 – pieces of scrap wood for seat base

20? – zip ties. Really, they are the new duct tape. :)

1 – can silver spray paint

1 – bottle of school glue

1 – shaker of gold glitter

1 – hot melt glue gun / several sticks of glue

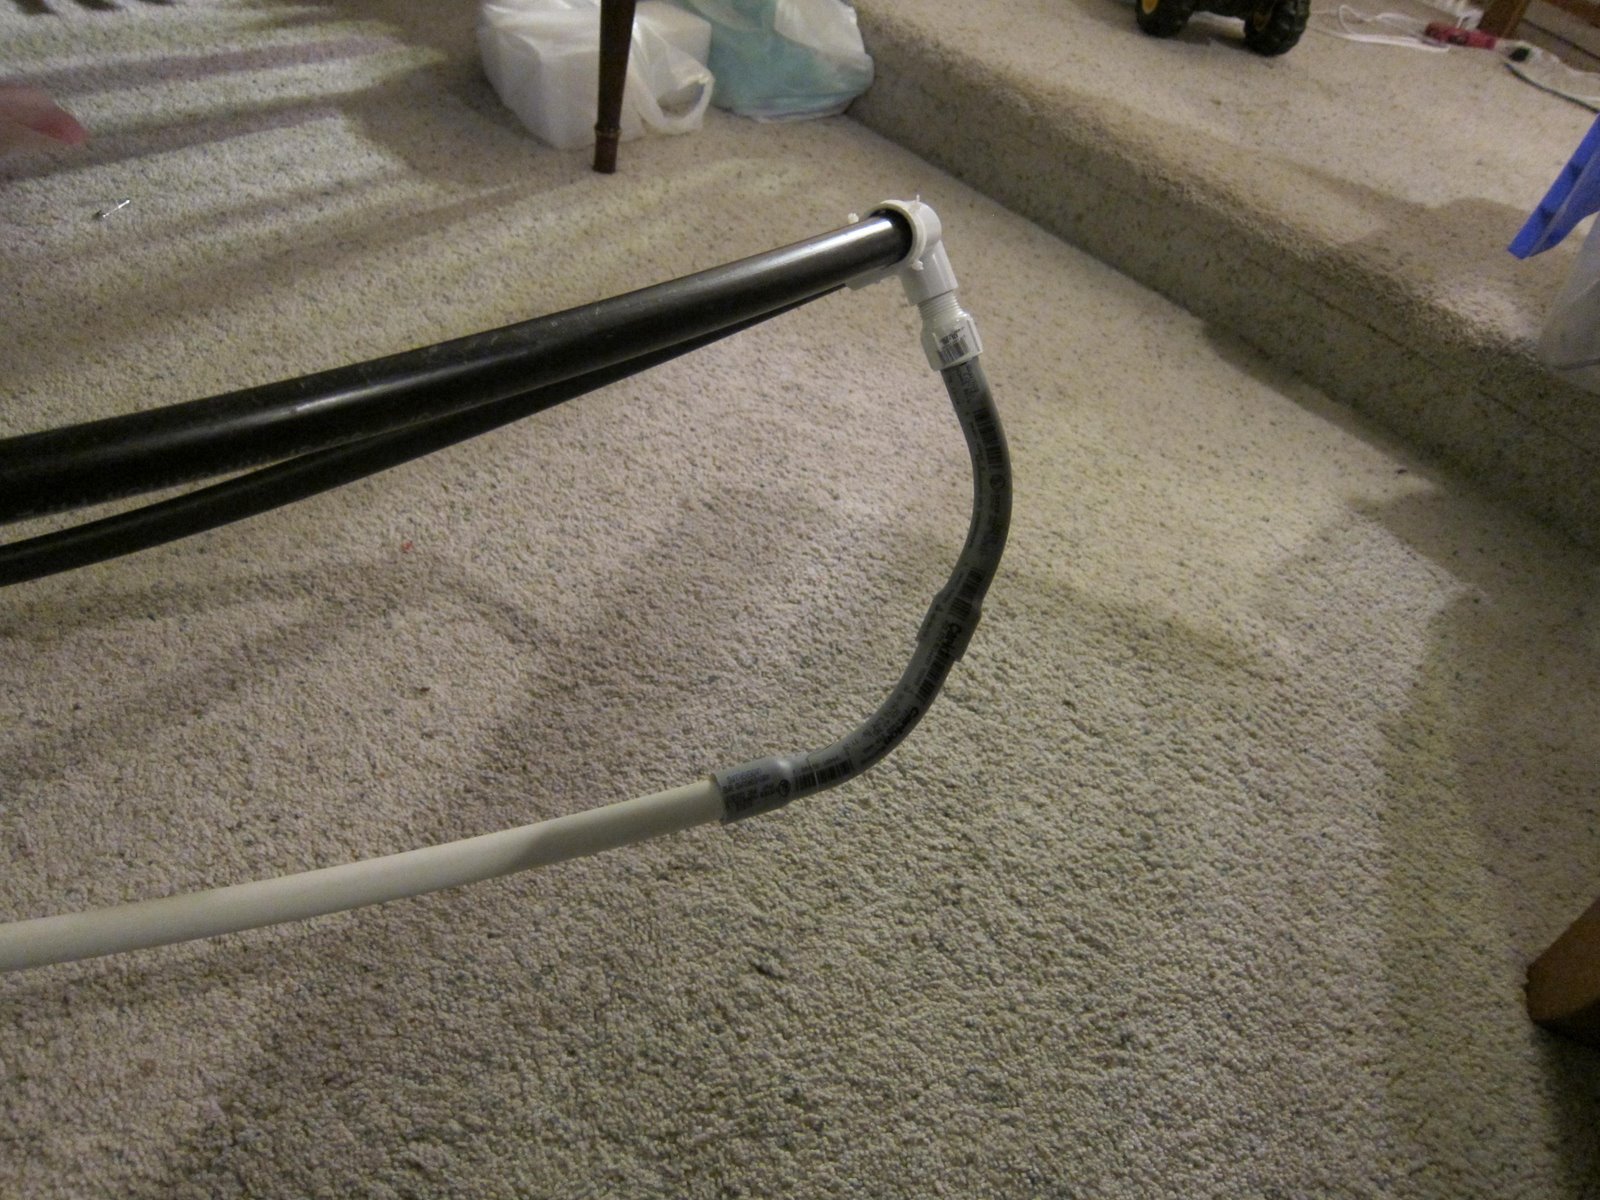
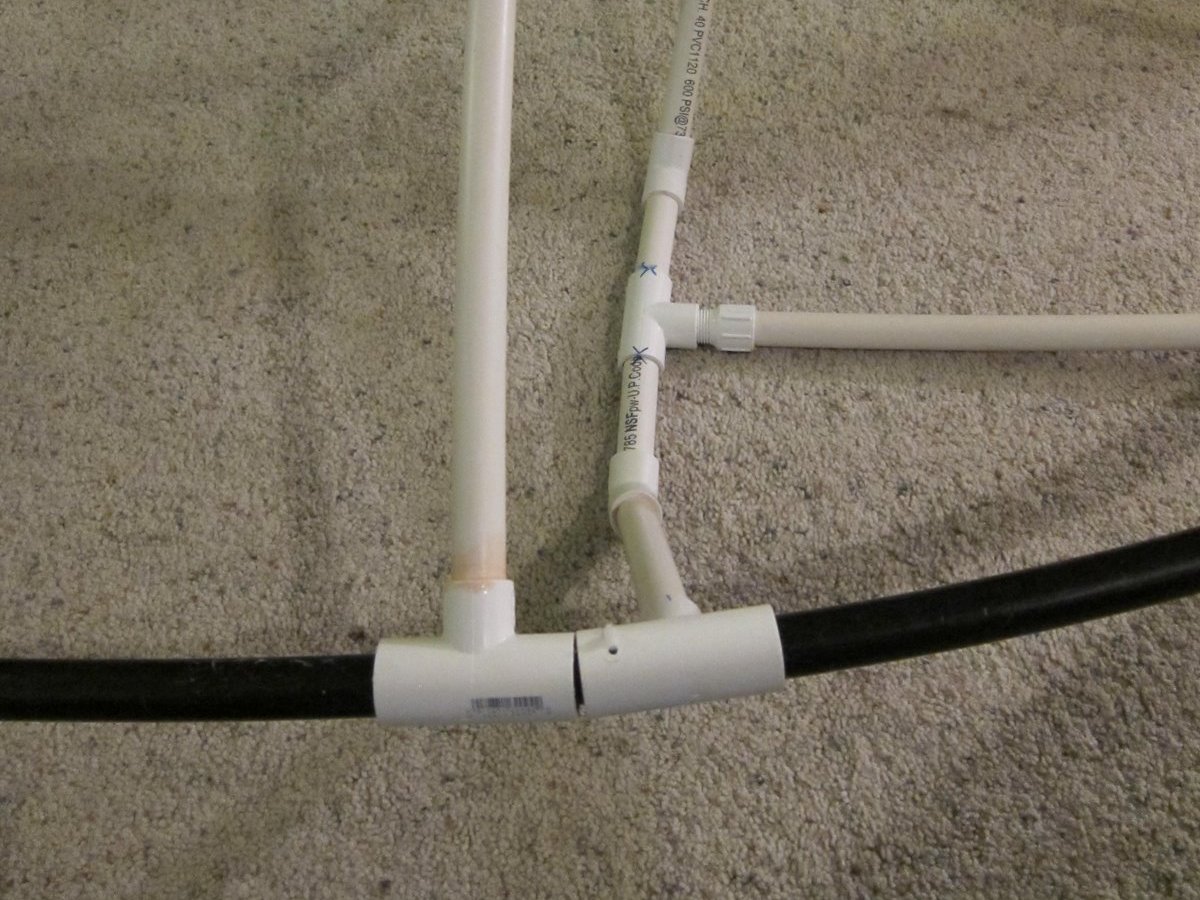
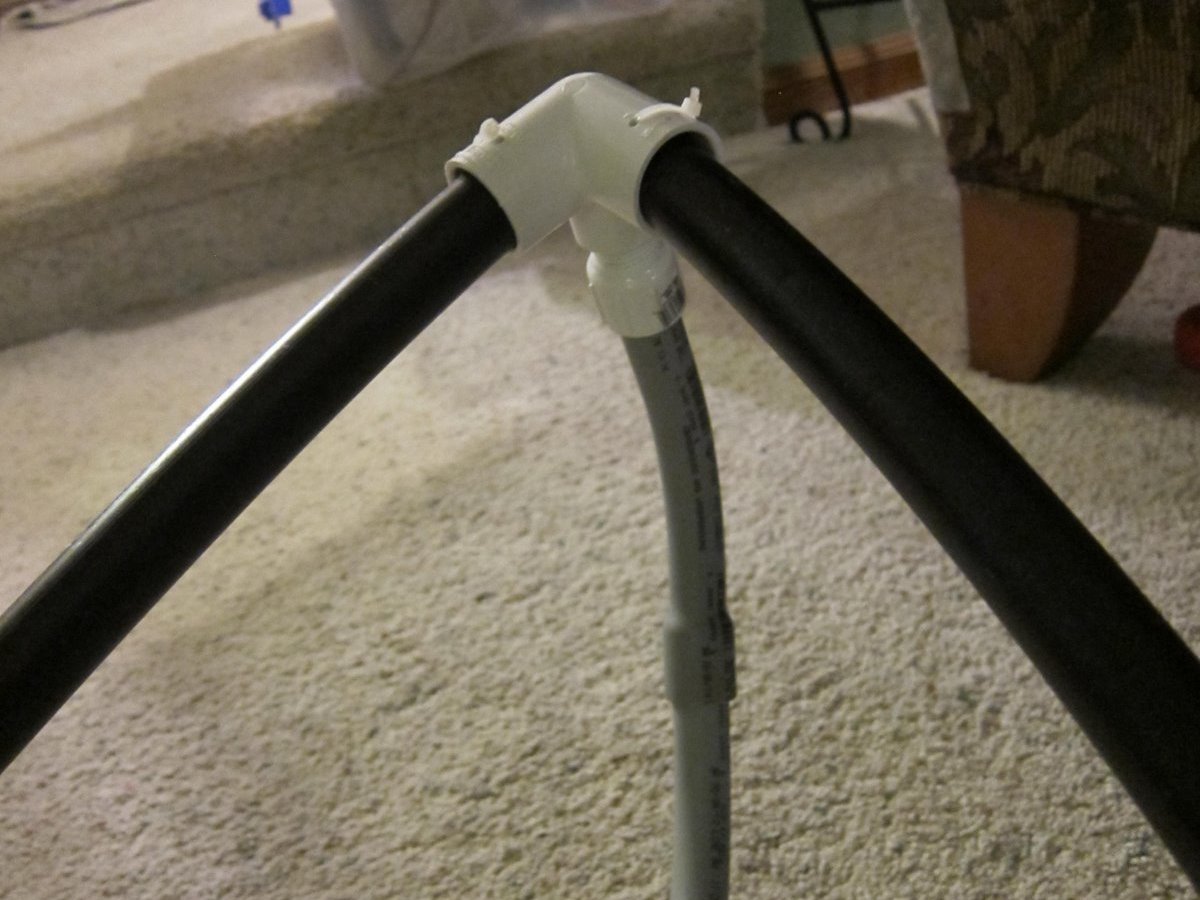
Unfortunately, I didn’t measure any of my pieces really — it was more created by eye. You should be able to see how the various connectors and pieces of the gondola were constructed by looking at the next few pictures in detail. The flexible tubing would slide right through the other connectors. To “lock” the sections in place, I’d drill through the connector and the flexible tubing and insert a zip tie. All the pipe-to-pipe connections (rigid) were test fitted first and then glued using PVC cement.

More PVC construction photos

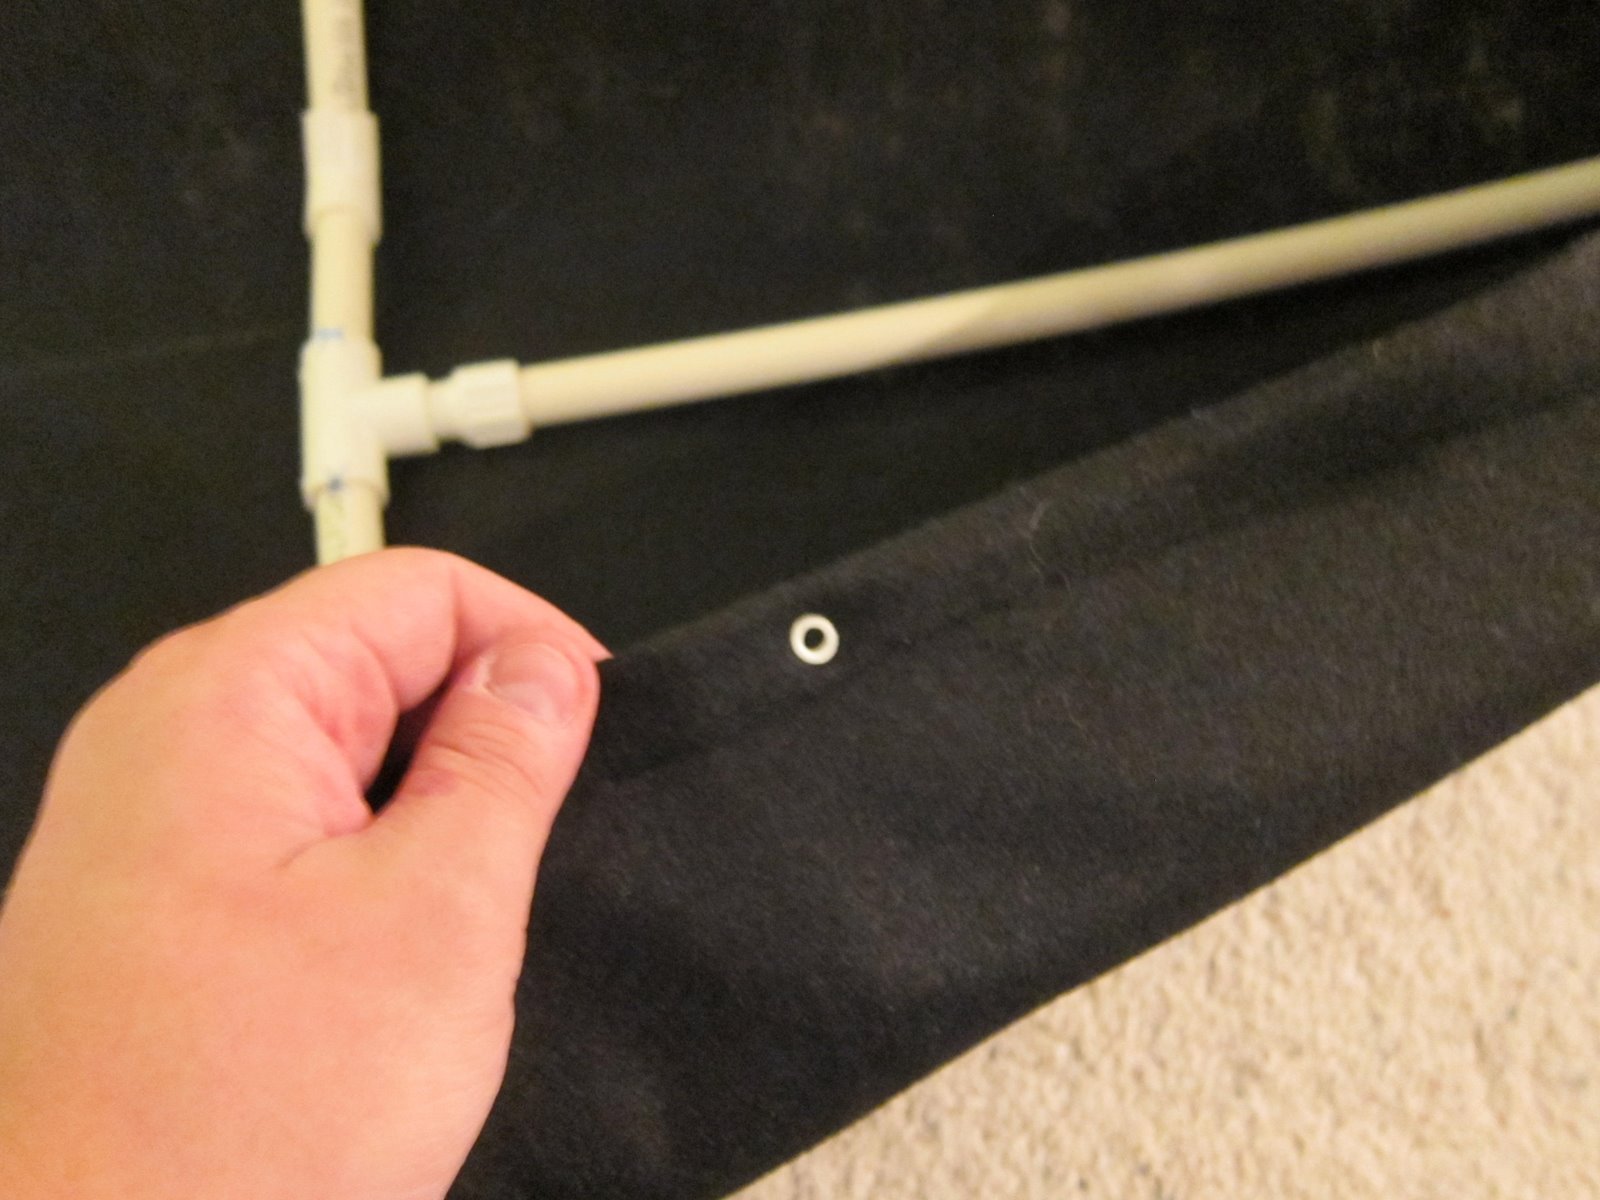
I unfolded the wide black felt and laid the frame upon it. I then rough-cut out the shape by just pulling up the sides and cutting a couple of extra inches over the top of the frame. I then sewed a seam to give me a double-thick layer to better hold the rivet-eyes. I laced up the rivet-eyes in a criss-cross pattern to hold the “skin” of the canoe taught. For the center section where the laces couldn’t criss-cross, I just wrapped under and around the side rail of the frame, so the skin still over-wrapped the top of the frame.

After covering, small holes were placed in the bottom of the fabric to allow for zip ties to connect the frame to the creeper.

The next step was building the simple seat platform and cutting the rough shape of the seats out of cardboard. The wooden platform was attached to the creeper with zip ties, and the cardboard was hot-glued to the wooden platform after the red fabric covering was added.

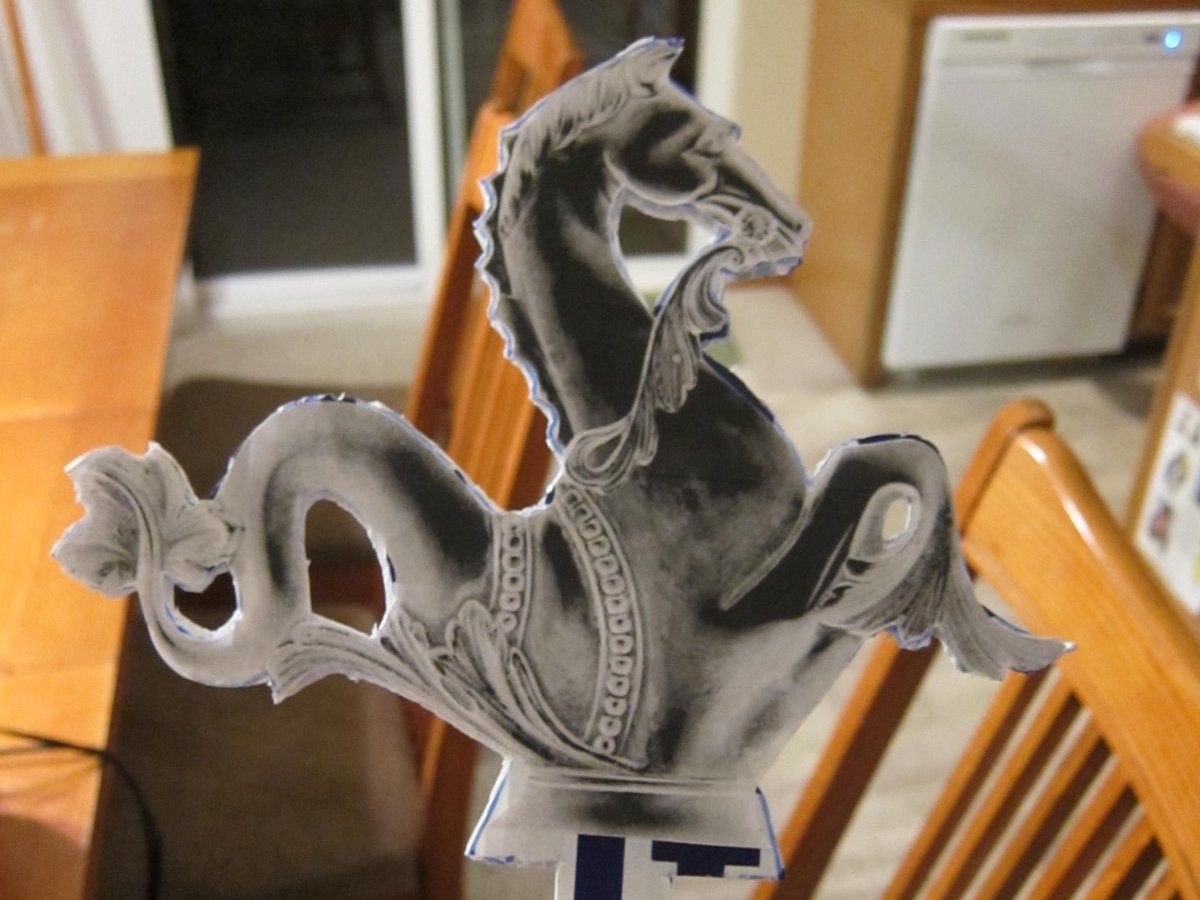
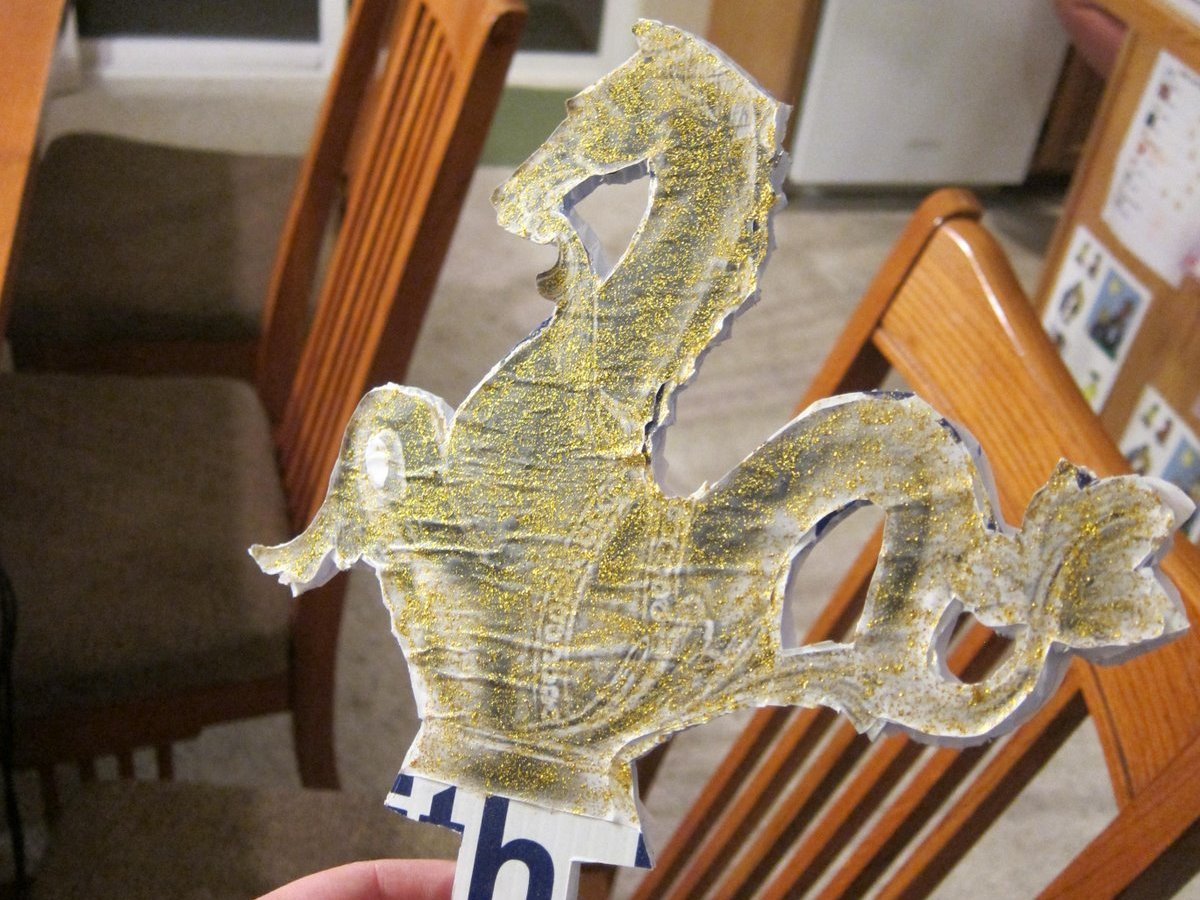
The final details include the side dragon/mermaids (actually they are the oar stays so the gondola can be rowed like a canoe in rougher water) and the front fin. I cut these out of chloroplast using some pics found on the Internet and printed as templates.

To “glitz up” the dragons, I covered them with a thin coat of school glue and sprinkled glitter on them.

I spray painted the fin with silver spray paint.

They were attached to the frame using zip ties.

The seats were covered with red fabric (stuffed with crumpled paper), and it was held down with hot glue. The red boa was the fur trim on the seats, again held down with hot glue.