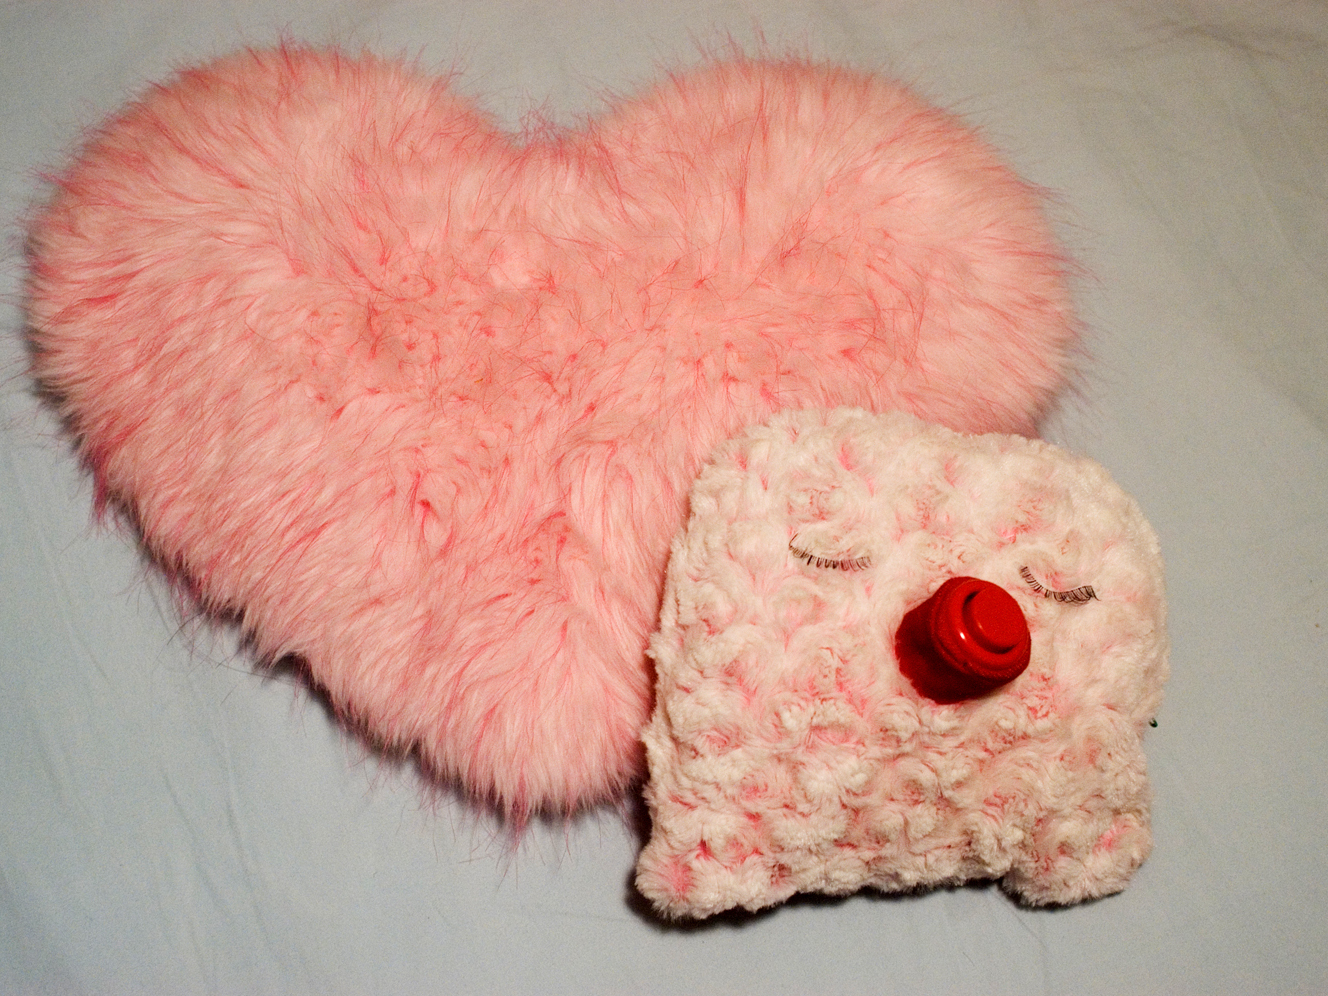
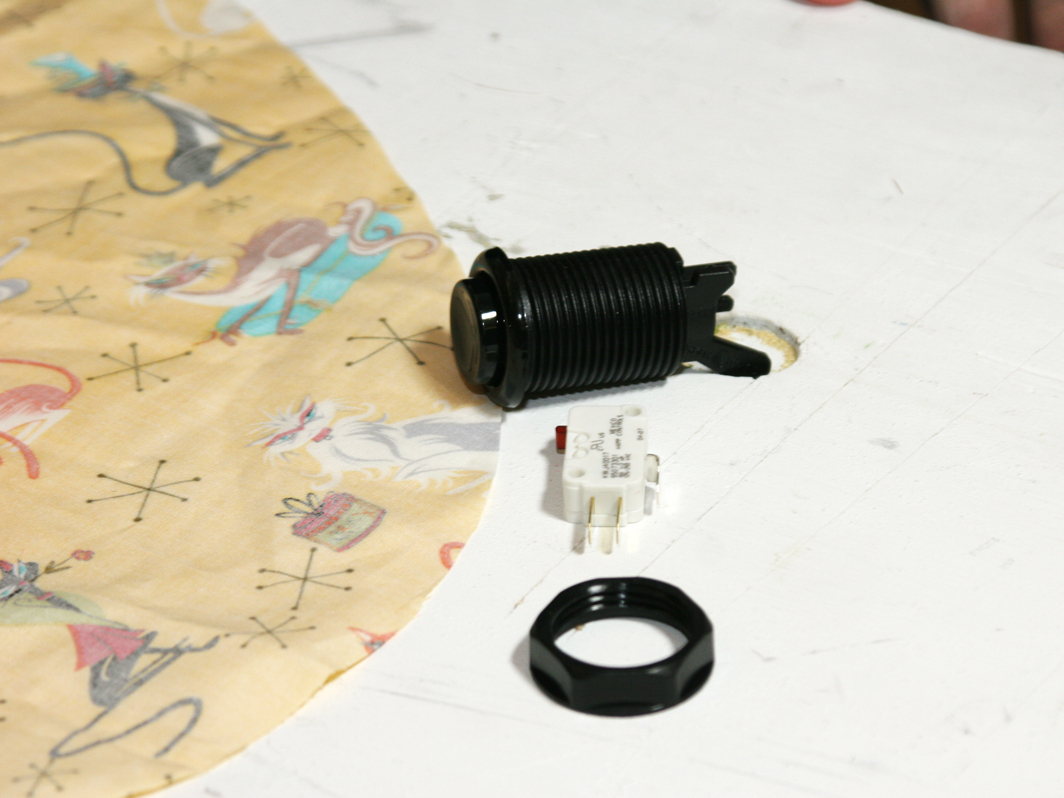
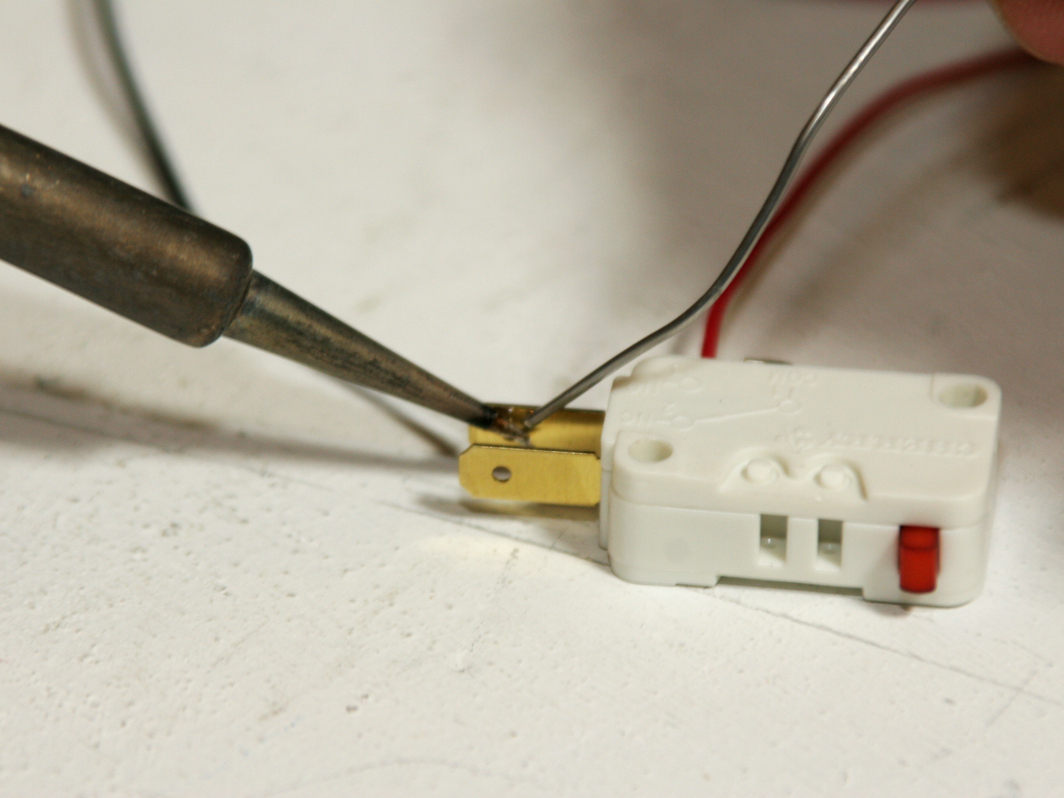
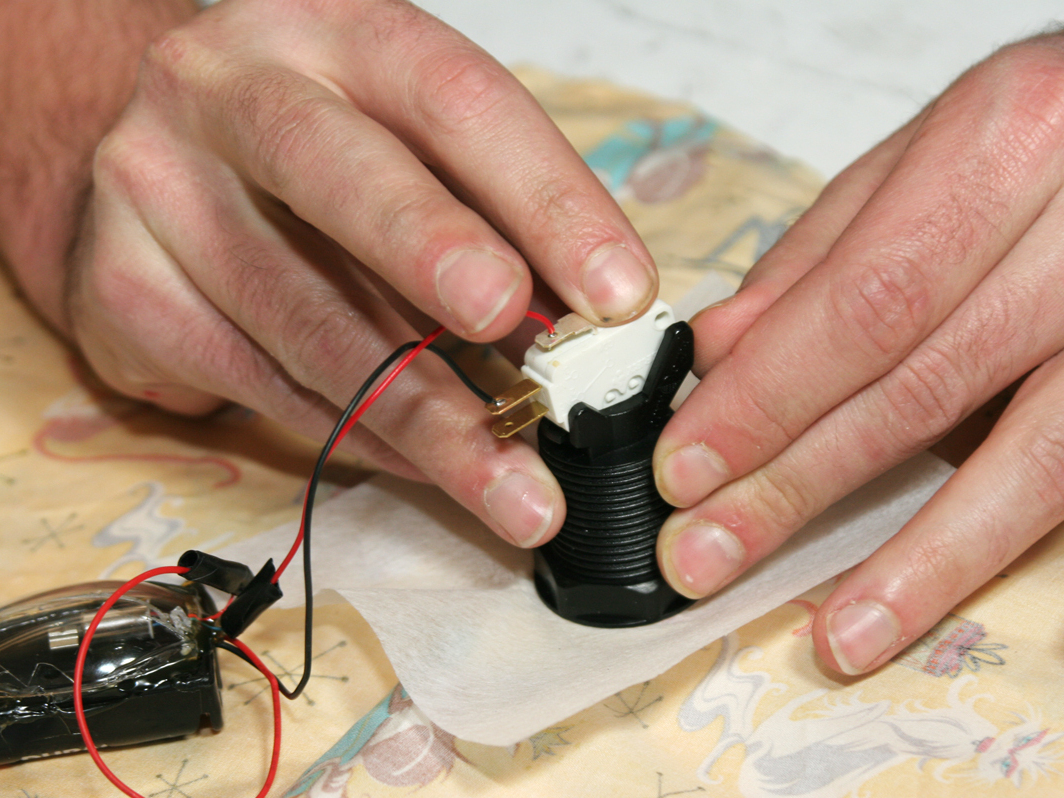
Disassemble the arcade button and switch assembly. You should have 3 parts: the plastic pressable button with screw threads, the matching plastic nut, and the actual microswitch (aka “cherry switch”) with leads that can be soldered.
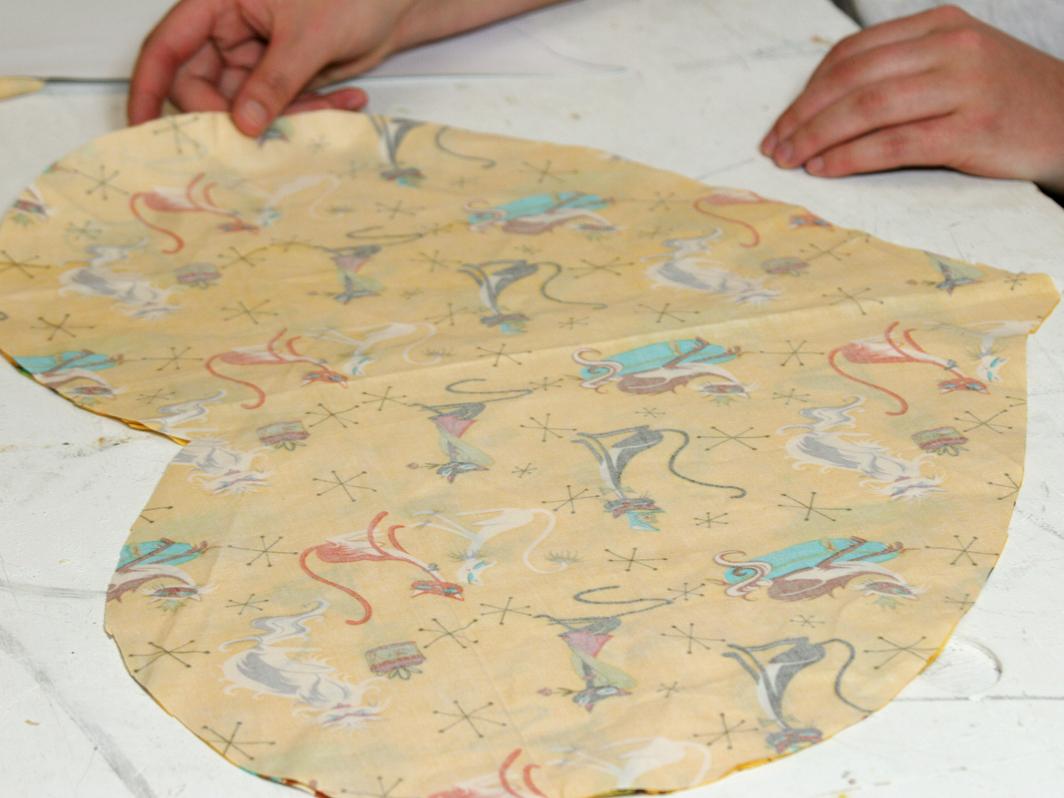
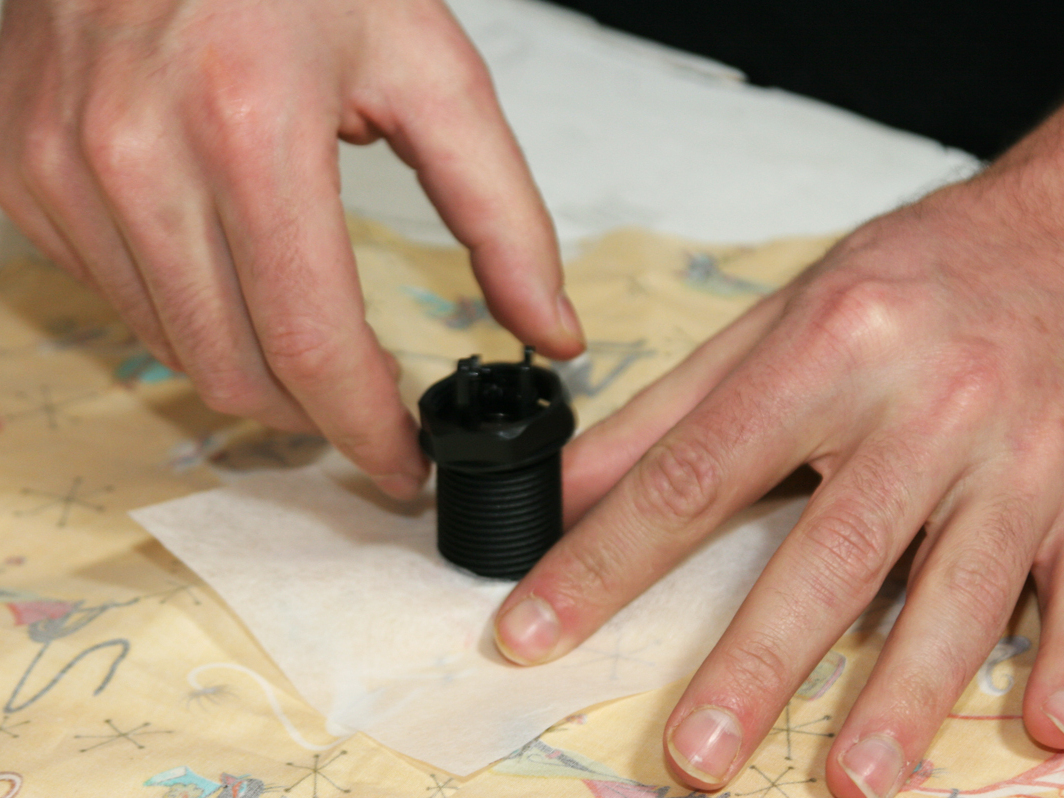
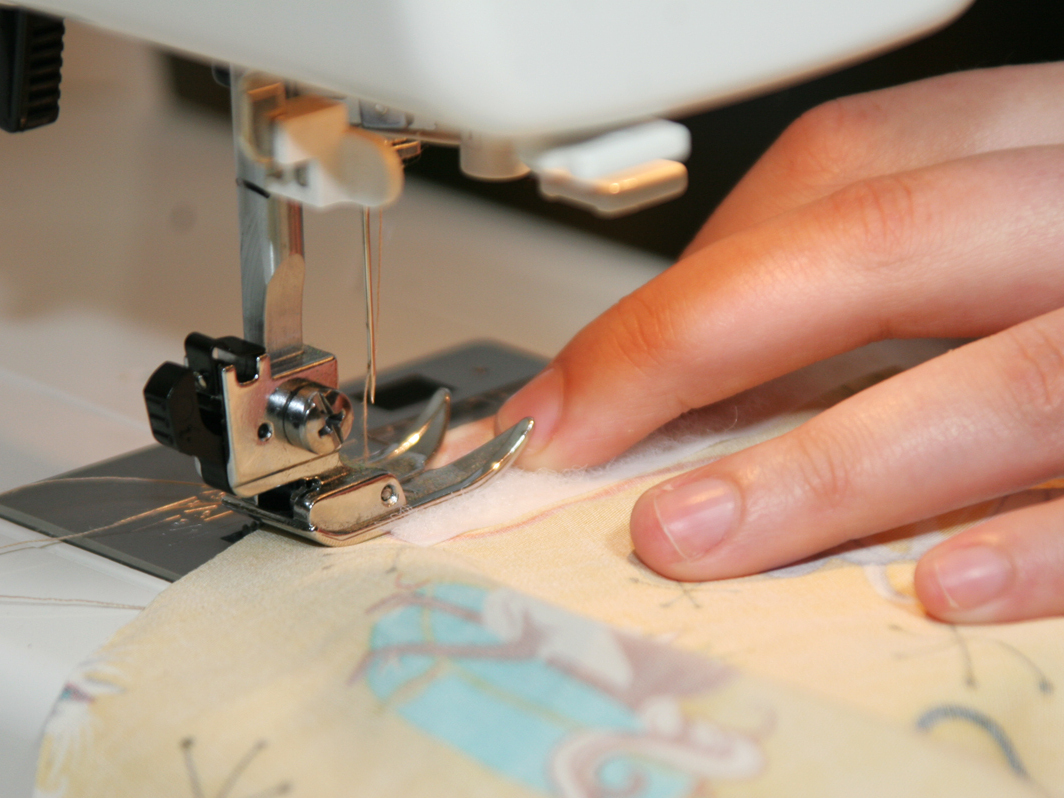
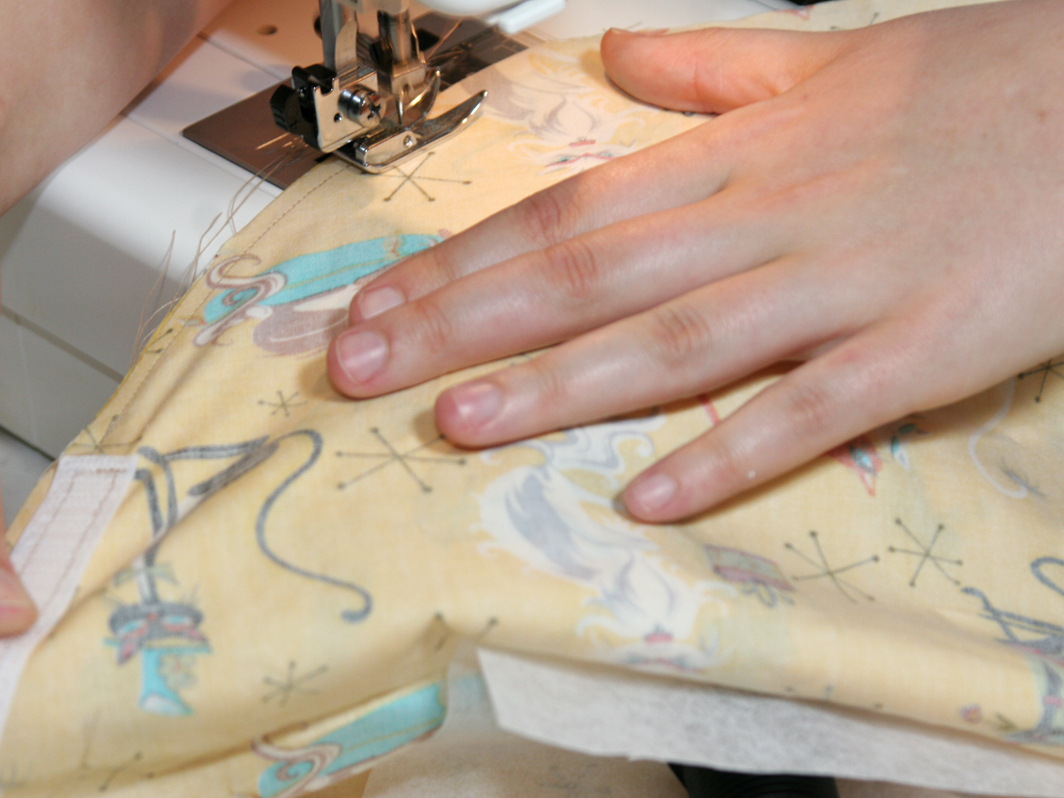
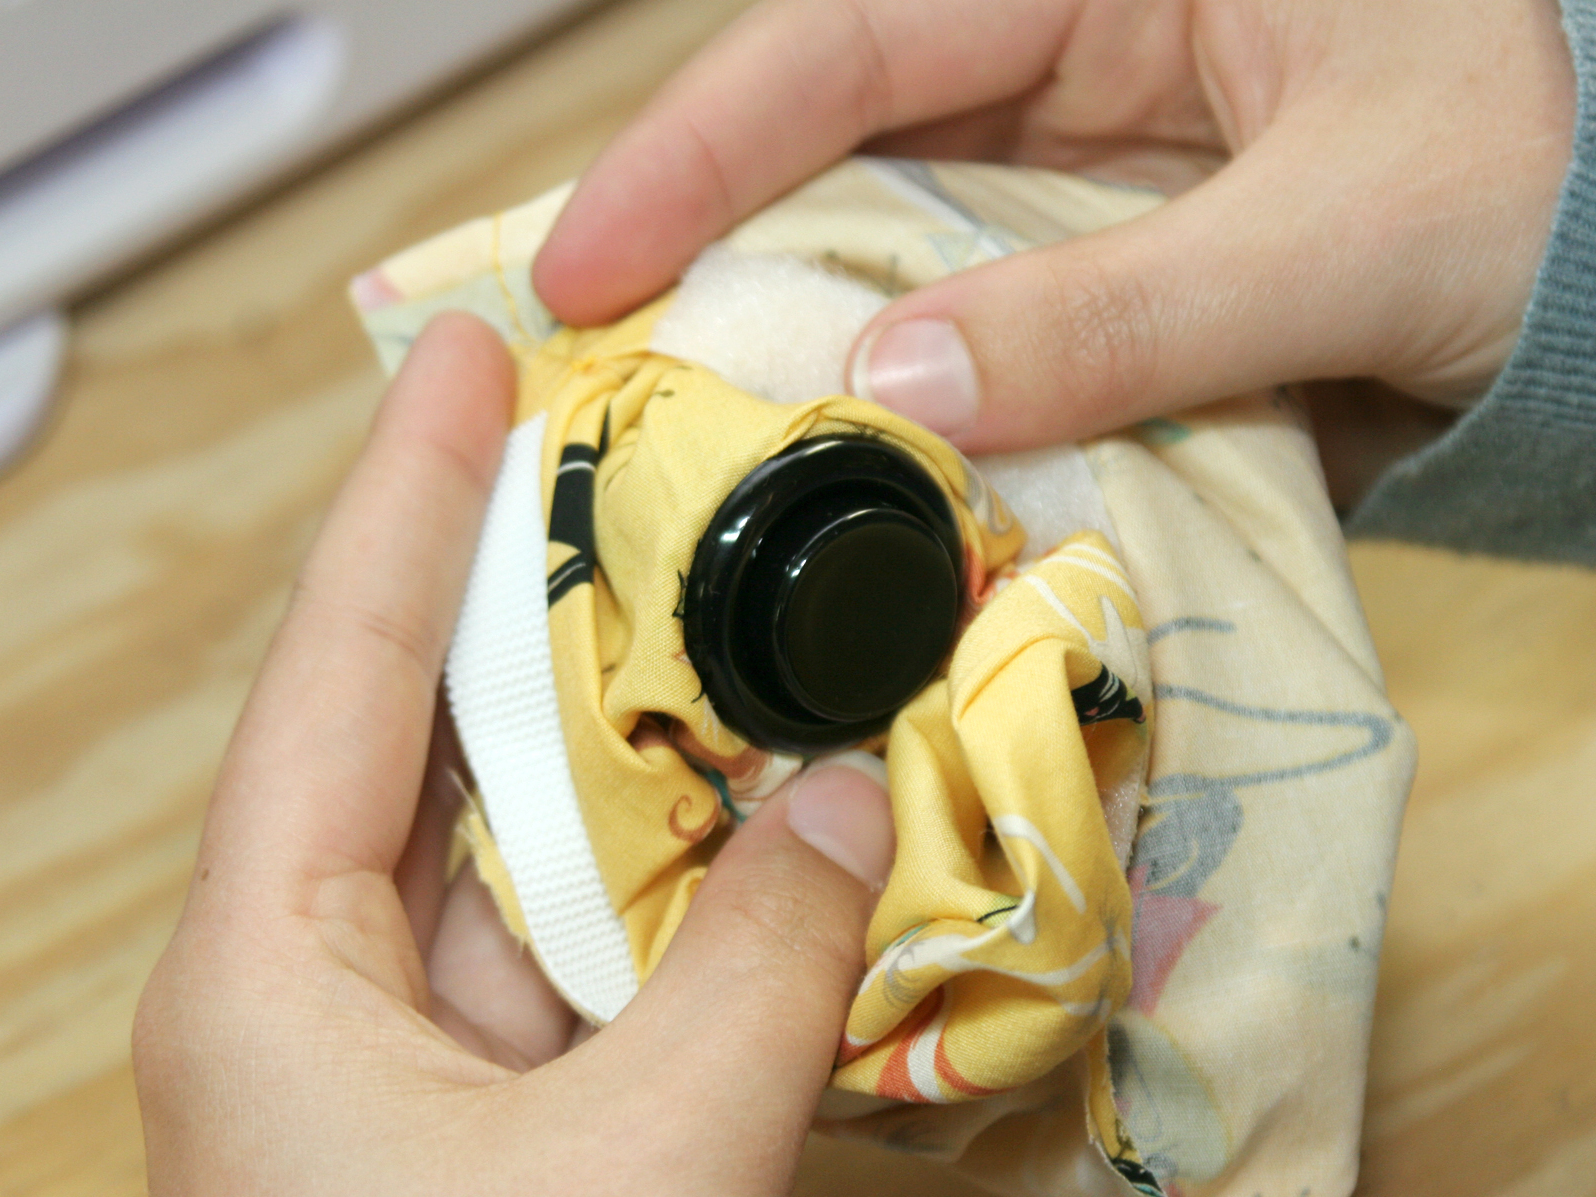
Mark on the back of the fabric where you want the button to go, then cut out a hole slightly smaller than the actual button, so the fit is tight. Cut a piece of interfacing that’s a couple of inches larger than the hole in the fabric, then cut a hole in the interfacing the same size as the hole in the fabric. The interfacing adds extra bulk and stiffness for the button nut to grab onto, so it won’t fall out when pressed. If your interfacing is the iron-on type, iron it onto the back of the fabric, matching up the holes. If it’s not iron-on, just pin it together while you attach the button.
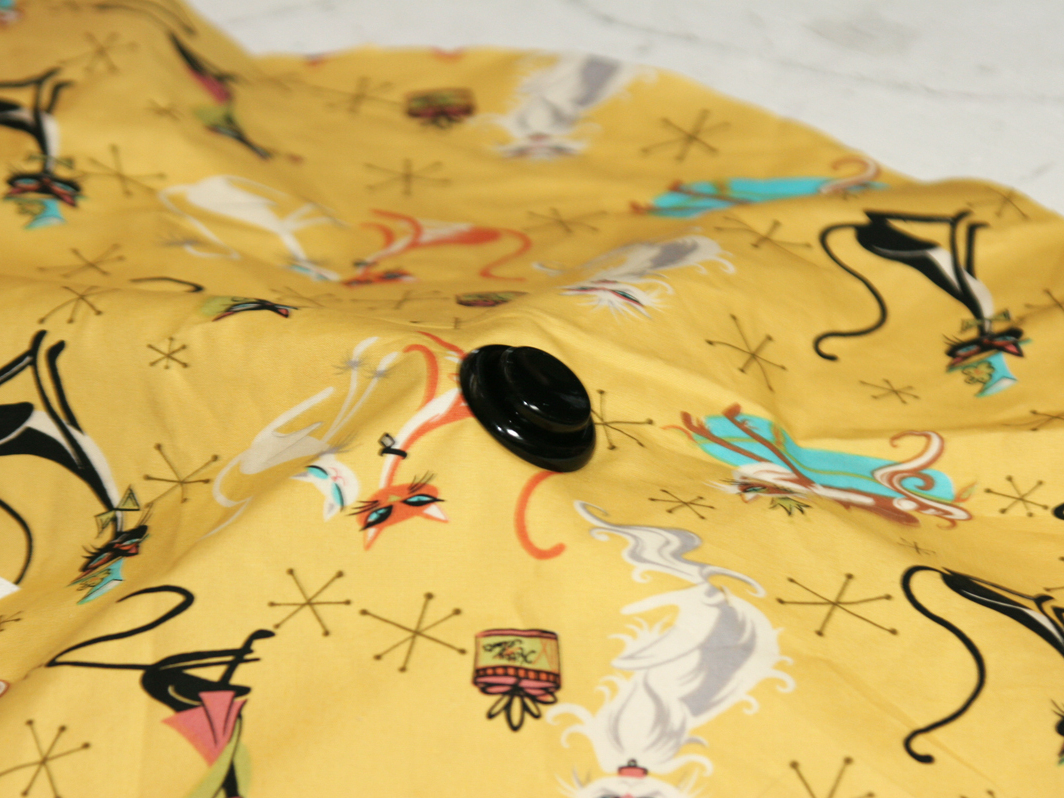
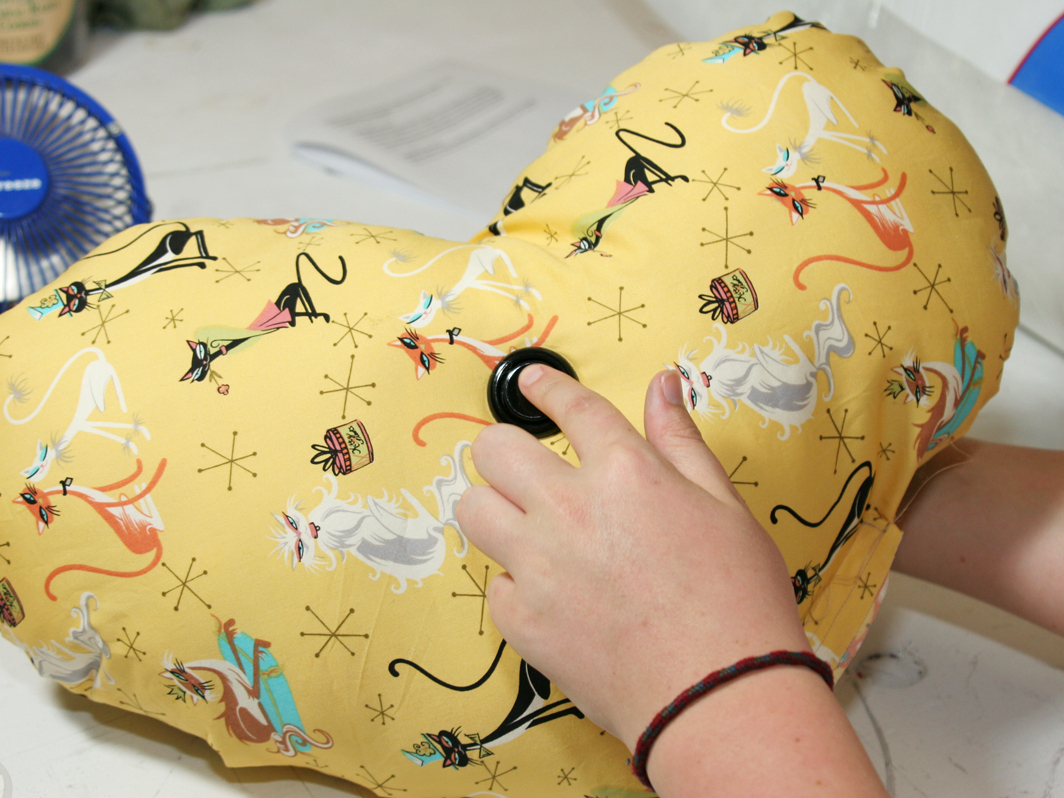
Attach the button to the fabric. Place it through the fabric and interfacing from the front, then screw the nut on from the back, so the button is held in place as if the fabric were the arcade cabinet the button originally came from.


