EMFTV-3-01-01

YouTube player

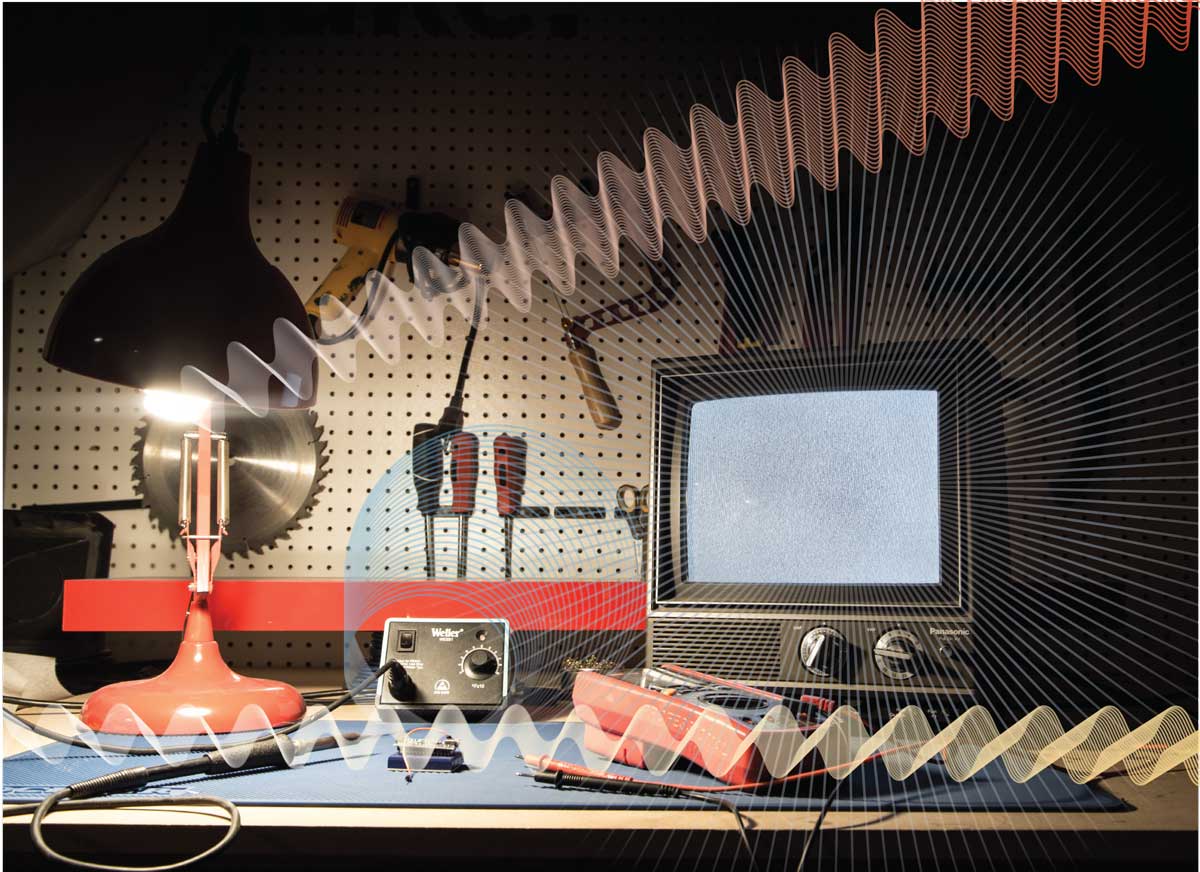
Elektrosluch is an open-source device for electromagnetic listening. It allows one to discover the sonic worlds of electromagnetic fields, surrounding our every step. At the end of this project you will have a working version of Elektrosluch, ready for your headphones to be plugged in. Consequently you will be able to listen to the electromagnetic fields of the various devices around you. My suggestions for starting out are to place the Elektrosluch near computers, tablets, cellphones, cameras, and CD players, to listen to the unique sounds of their electromagnetic fields.

In this tutorial, I’ve designed a version of Elektrosluch with the least amount of parts possible, open for future upgrades in one’s personal taste. Certain part values are variable and the options are described in the steps.

Elektrosluch Parts
All the parts you’ll need to create your own Elektrosluch. All photos by Jonas Gruska.

This tutorial assumes using a perfboard with at least 15 x 24 holes, and requires attention to spacing of the parts on the board. Please see the layout for exact coordinates of parts on the board if spacing or size is an issue. Also, pay close attention to the layout image and photos to see how to connect the parts between each other on the bottom side of the breadboard. Leftover leads from resistors/capacitors can be helpful in creating longer solder-bridge paths.

What will the next generation of Make: look like? We’re inviting you to shape the future by investing in Make:. By becoming an investor, you help decide what’s next. The future of Make: is in your hands. Learn More.

Project Steps

1.

Solder in the inductors, L1 and L2. Make sure they are space far enough apart to create a perceptible stereophonic experience when listening. These inductors are the essential parts of the projects—basically very long loops of thin wire around a metallic core. They act as antennas for magnetic field and allow us to pick-up the electromagnetic fields.

Elektrosluch 2

2.

Solder in the 2.2 µF capacitors, C1 and C2. These capacitors define the bottom cut-off frequency of the circuit. The higher the value – the more bass frequencies you will get. Since bass frequencies picked up by Elektrosluch are mostly 50/60 Hz mains (depending on your country), some people prefer to use lower values to get rid of those.

Elektrosluch 3Elektrosluch 4

3.

Solder in the 1 kΩ resistors, R1 and R2. These, together with R3 and R4 (390 kΩ) define the gain of the circuit. The topology used is called “inverting amplifier” and with provided values results in gain of -390. The minus represents that the signal is inverted to the original, but in this circuit that doesn’t really matter.

Elektrosluch 5Elektrosluch 6

4.

Solder in the 390 kΩ resistors, R3 and R4. As you can see in the picture, they are soldered “standing up” to save the space.Elektrosluch 7

5.

Solder the socket for the integrated circuit (IC) we will be using. The ICs can be soldered directly, but I highly recommend putting in the socket, because it will allow you to replace the IC if you accidentally break it or want an upgrade. It also lowers the risk of damaging the IC during soldering. As you see, solder bridges have been made between the socket and resistors

Elektrosluch 8Elektrosluch 9

6.

Solder in the 2.2 µF capacitors, C3 and C4. These will, together with C1 and C2 define the amount of bass you will get from the circuit. Higher values will result in more bass and vice versa.

Elektrosluch 10Elektrosluch 11

7.

Solder in the 100 µF capacitors, C5 and C6. These will be part of the virtual ground circuit, which is necessary for operation with operational amplifier.

Elektrosluch 12Elektrosluch 13

8.

Solder in the 100 kΩ resistors, R5 and R6. These two resistors will be defining the virtual ground point. They act as a simple voltage divider, which in this case divides our 9V battery into three potentials: 0 V, 4.5 V and 9 V. For our IC this will become -4.5 V, 0 (virtual ground) and +4.5 V.

Elektrosluch 14Elektrosluch 15

9.

Solder in the headphone jack and wires. These will connect the output of the C3 and C4 to the headphone output. Left channel is blue and right channel is green.

Elektrosluch 17Elektrosluch 18

10.

Use a piece of wire to connect the positive voltage supply of the IC to the positive point in our virtual ground circuit at the bottom (C5/R5).

Elektrosluch 20

11.

Now you can mount in the IC, OPA2134 into its socket. Feel free to experiment with other operational amplifiers. Opamps with the same pinout include the LME49720, TL072, OPA1662, NE5532 and others.)

Elektrosluch 21

12.

Solder in the battery leads in a way that the negative lead is connected to C6/R6 and positive to C5/R5.

Elektrosluch 22

13.

Double check all the connections on the bottom of the board.

Elektrosluch 24

14.

Plug-in your battery, plug-in your headphones and start exploring! You can create a simple battery holder by using a piece of double-sided mounting tape underneath the battery.

Elektrosluch 25

Taking It Further

This device doesn’t have a volume control — you can add it if you like by placing a dual logarithmic potentiometer before the headphone jack.

This device doesn’t have a on/off switch — if you want one, place it in between the positive connection from the battery and the rest of the circuit.

The version presented here is bare-bones, but it will work great for starting the exploration of electromagnetics. Feel free to experiment with different gain configurations, capacitors and op-amps. There is not much in this design that can go wrong. Feel free to share you creations with us through zvukolom [at] zvukolom.org.

YouTube player