If you need metal stuck together, there is no quicker path than buying a portable 110-volt wire-feed welder.

Being a snob, I used to scoff at these small welders as not being serious machines. Then I started seeing them everywhere — at every auto body shop and every metal gate installer; even hooked up to a generator at drag races.

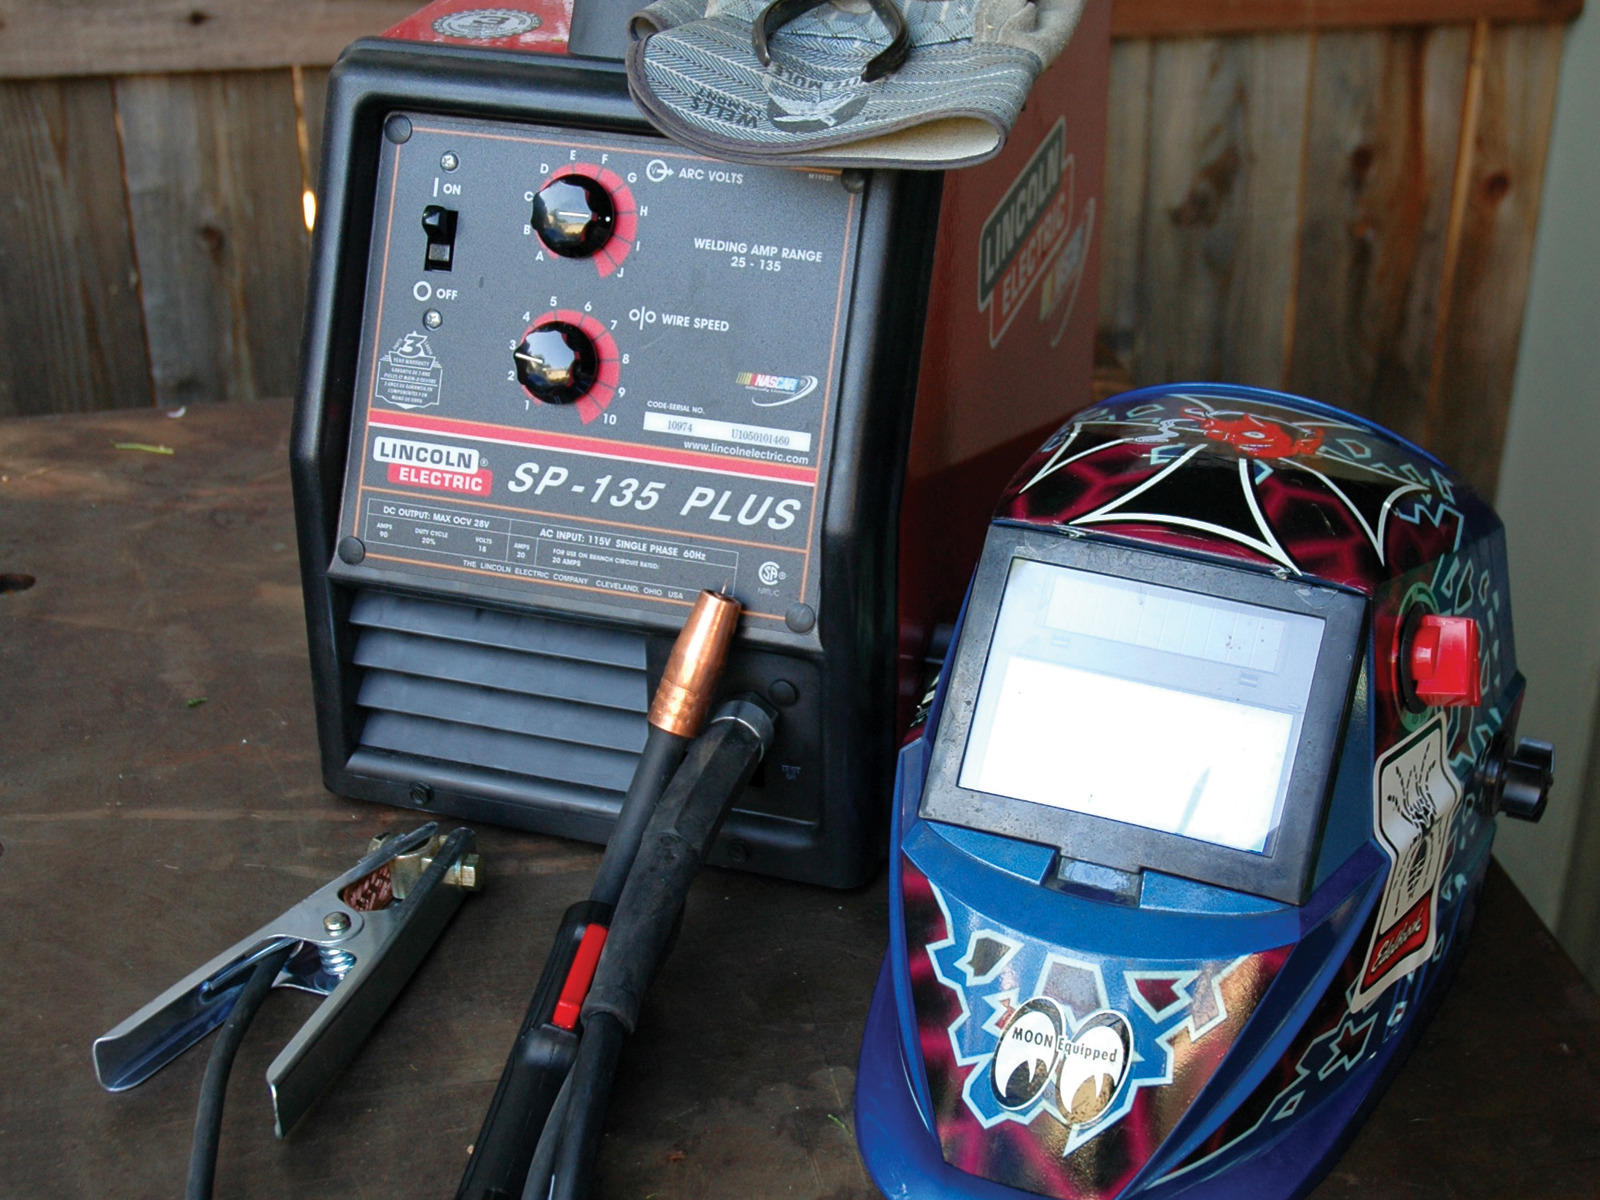
Having used a Lincoln 135 Plus wire-feed welder (about $600) for a month or two, I’m not scoffing any longer. Granted, it is not structural. You can’t weld a bridge, skyscraper, or engine mounts to a car frame. But you can weld steel up to 3/16ths, which is thick enough to make furniture, wrought iron gates, and bad art.

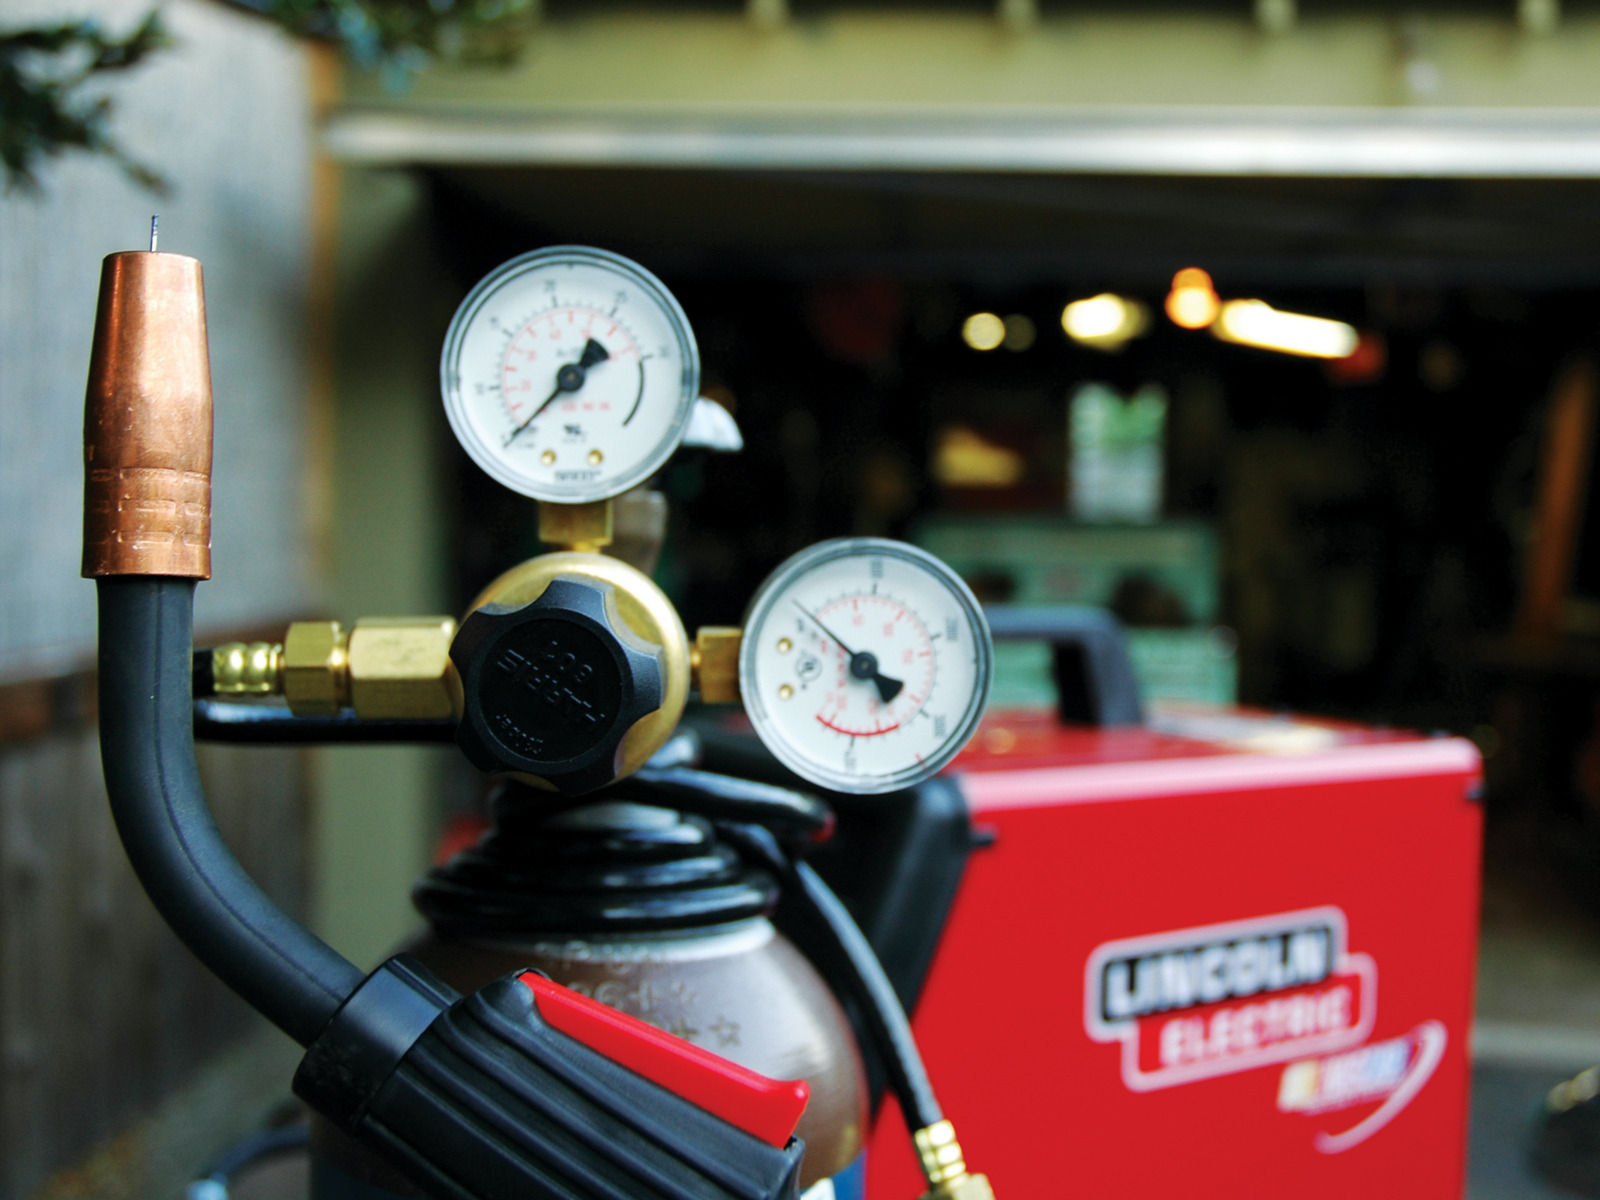
The beauty of the small Lincoln welders is they are light and portable. And when you get to wherever you’re going, you can plug them into a standard 110-volt 20-amp outlet. If you use the flux core kit, you don’t even have to carry around a tank of compressed shielding gas.

This article is not a replacement for the manual or the many excellent books devoted to welding. This is a primer to explain the process and show how you can be a welder by the end of the weekend.

What will the next generation of Make: look like? We’re inviting you to shape the future by investing in Make:. By becoming an investor, you help decide what’s next. The future of Make: is in your hands. Learn More.

Project Steps

A few things before we get started:

Read about Flux Core (FCAW) vs. Shielded Gas Welding (MIG)

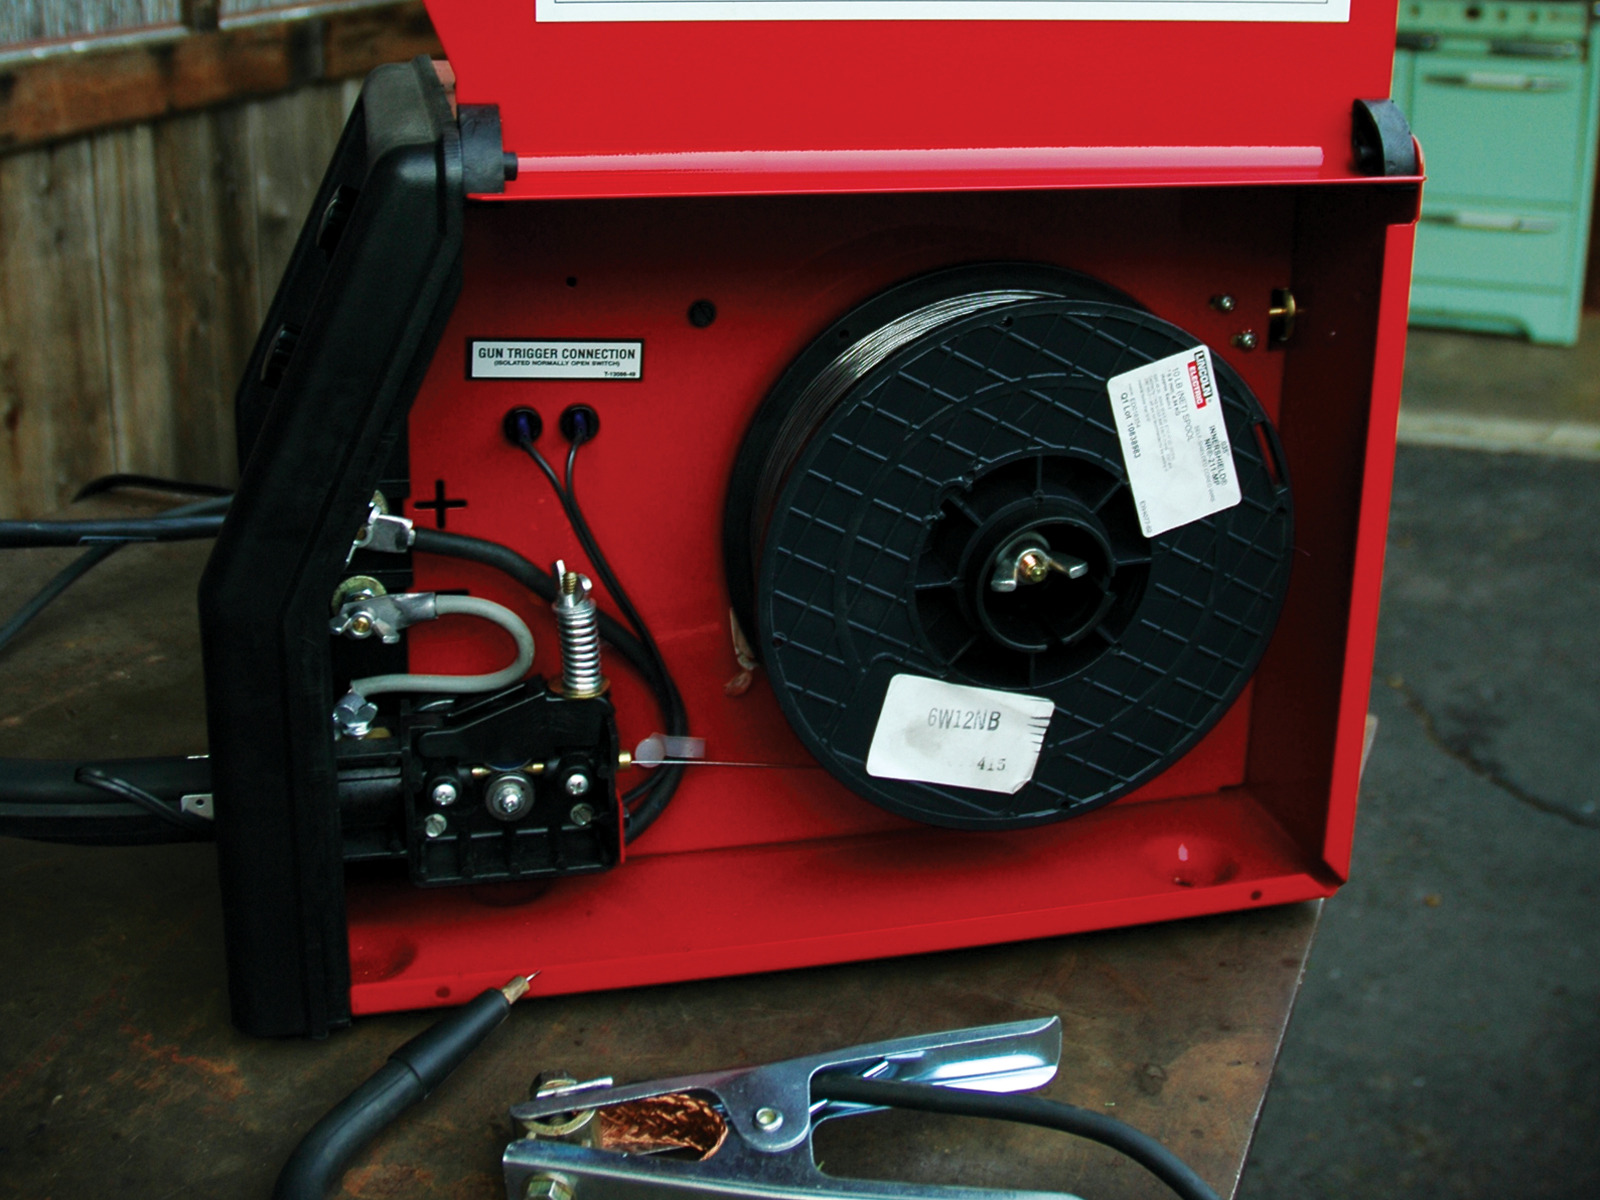
Read How the Lincoln Works . When you squeeze the trigger (1), the rollers (2) pull the wire off the spool (3) and force it out the gun (4). Along the way, the welder applies power to the wire and it is charged. The ground clamp (5) is attached to the metal that you are going to weld (a.k.a. “the work”). The charged wire streams out the end of the gun and when it gets very close or touches the grounded metal, a super hot electric arc is created between the feeding wire and the work. The work melts, the wire melts, and the resulting weld is the joining of the two.

Welding is dangerous! RTFM and see American Welding Society to learn about hazards from fumes to pacemaker risks to dropping something on your foot!

Just two dials.

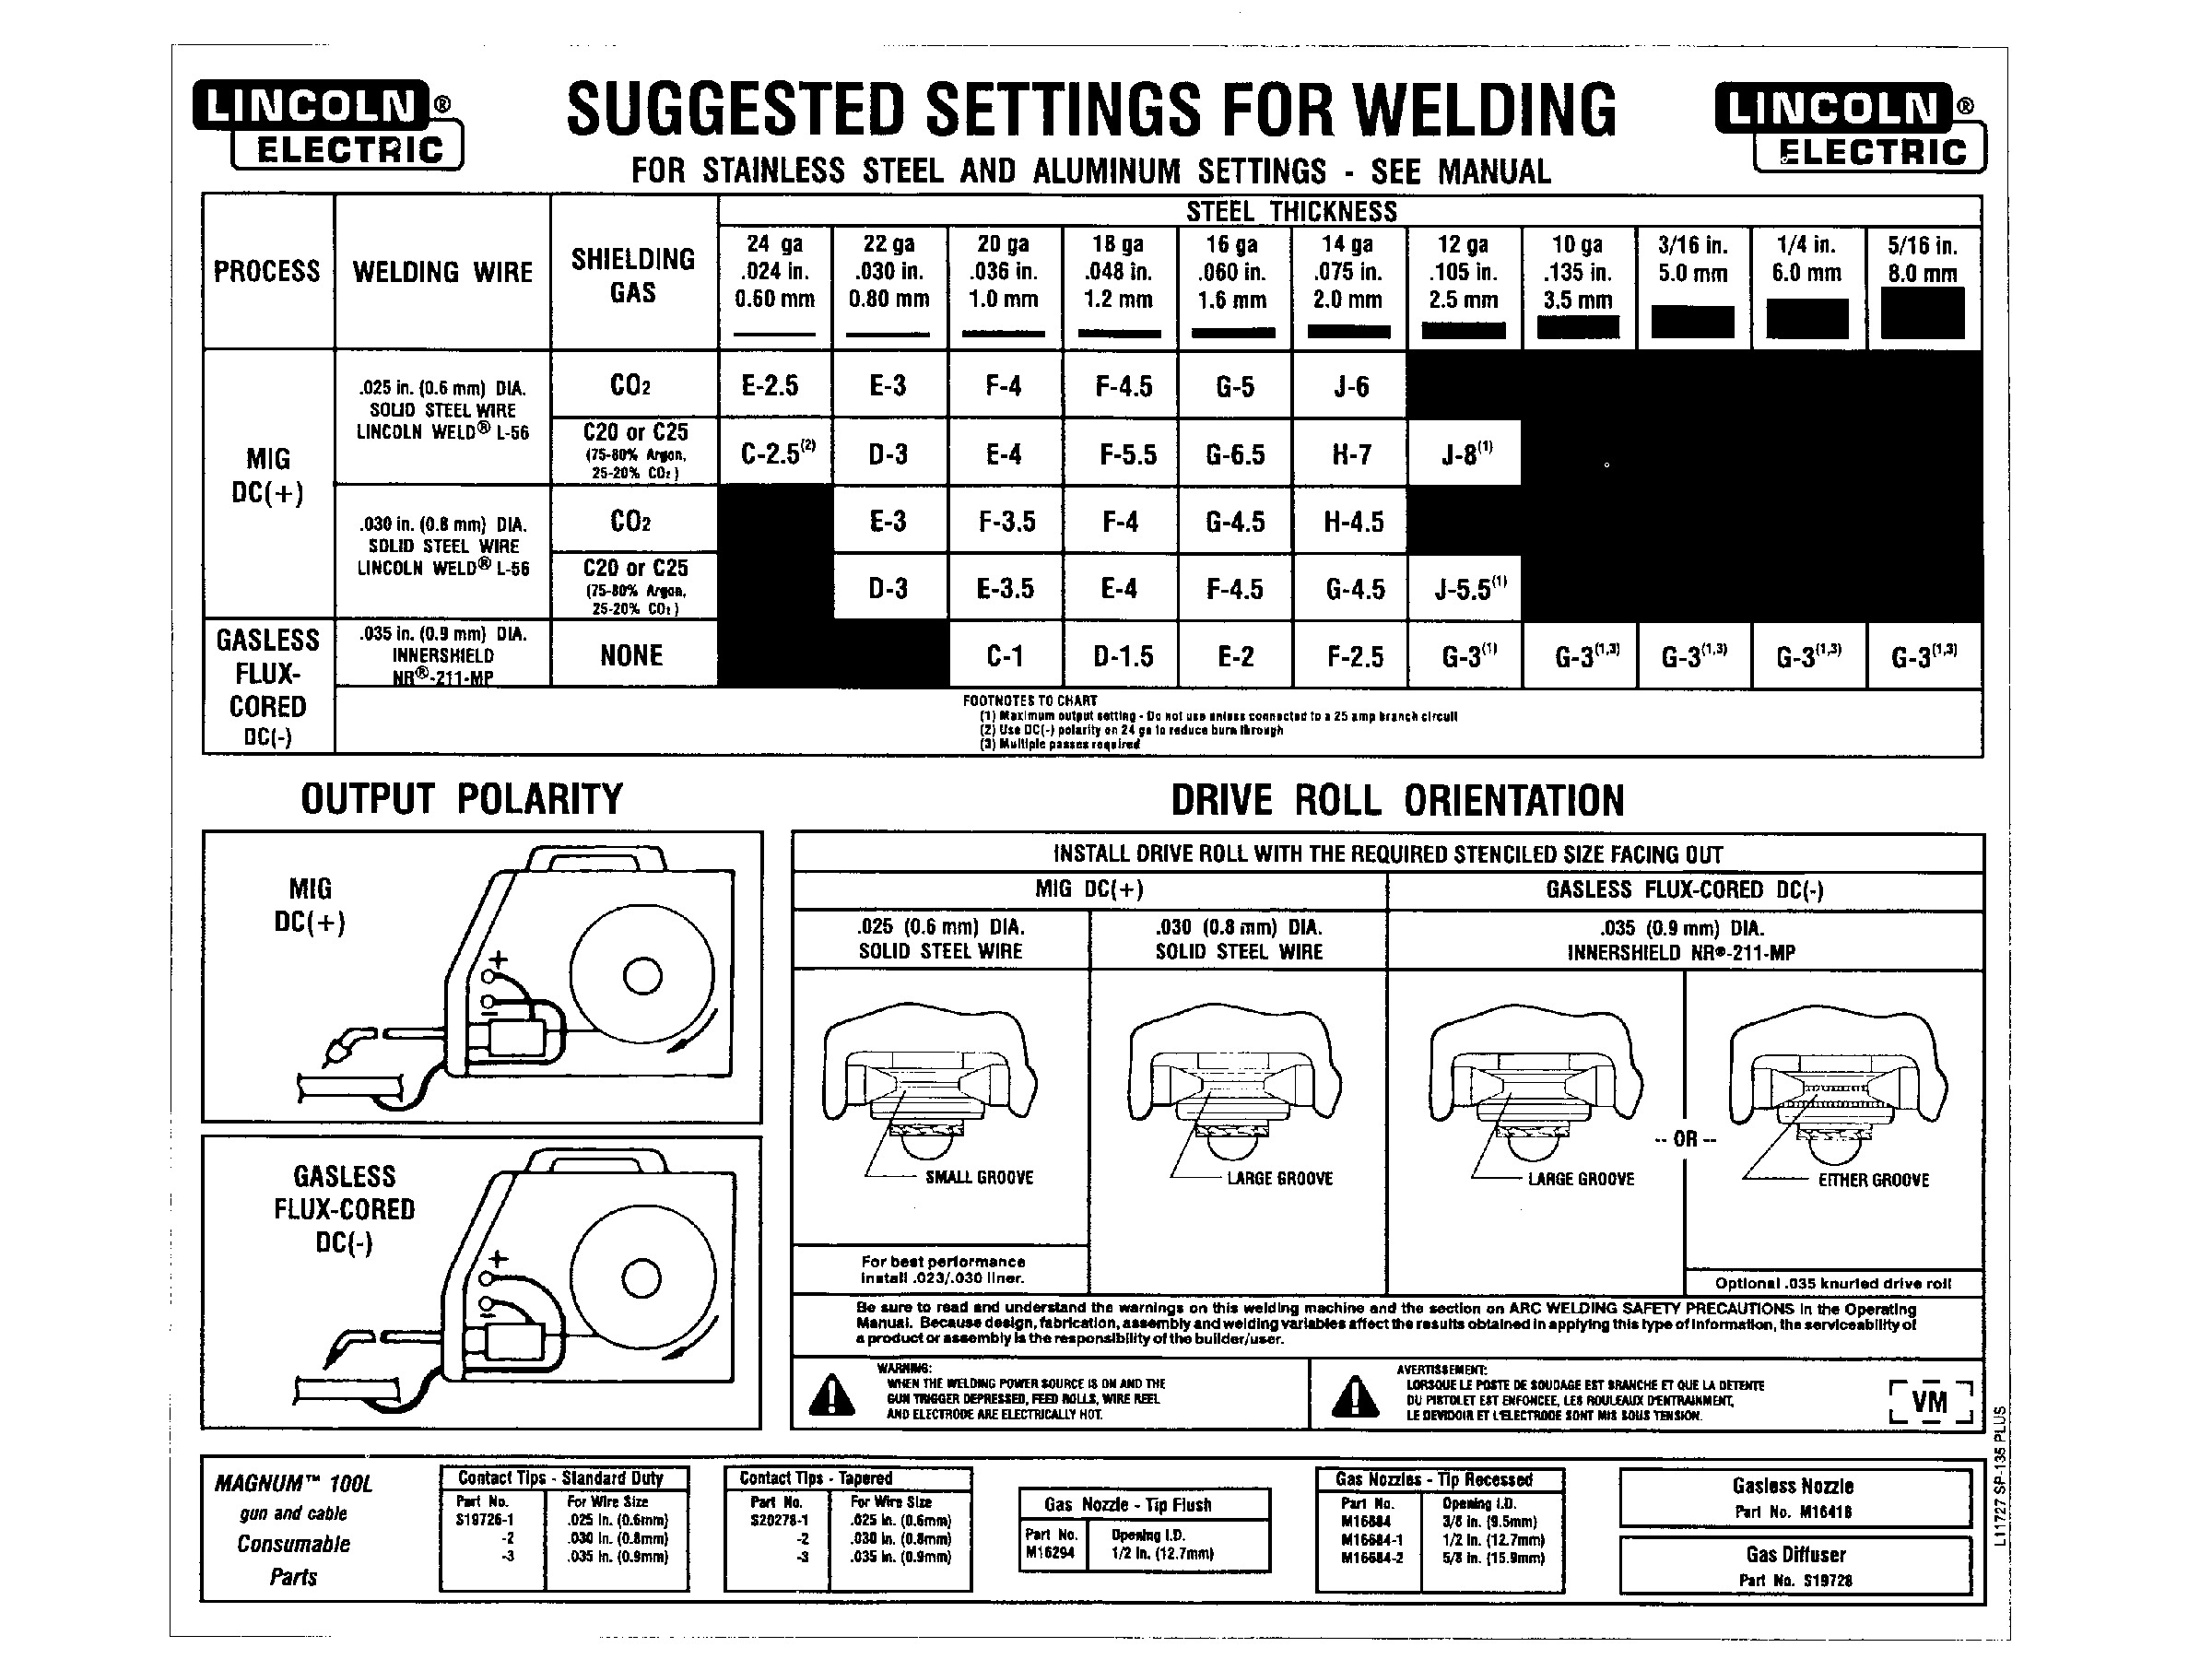
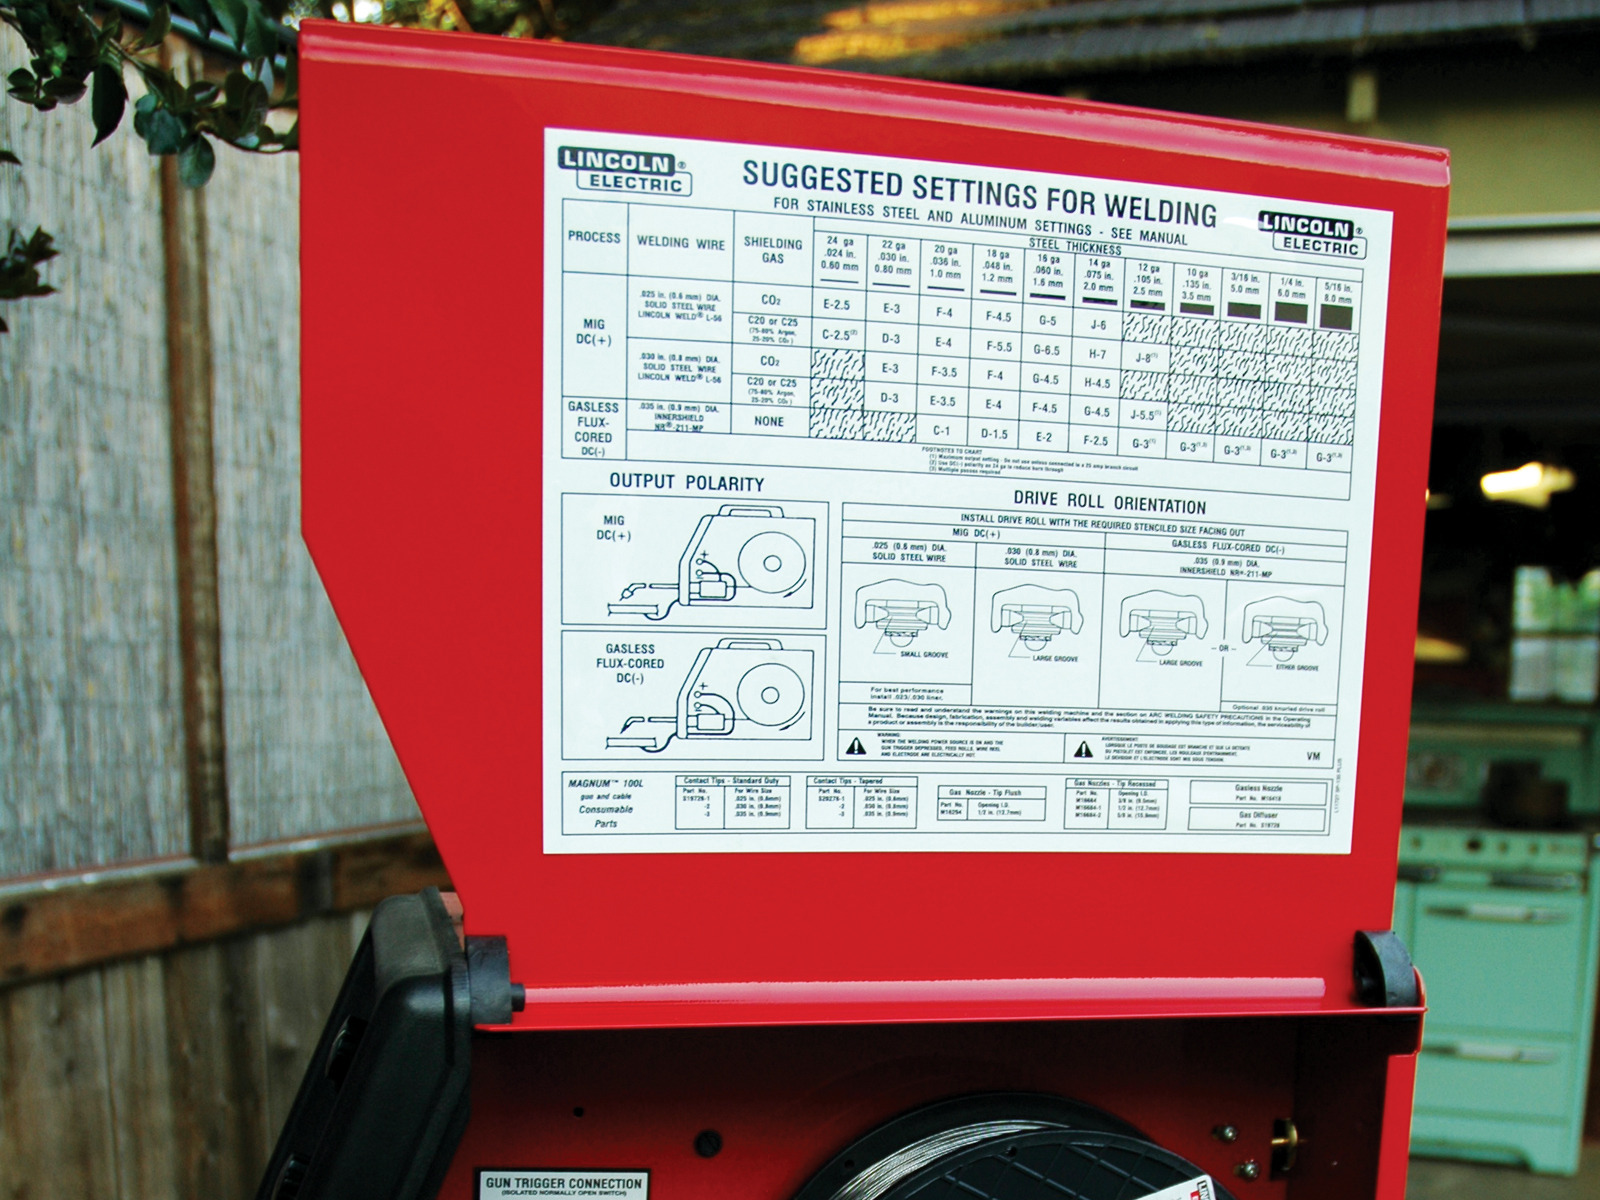
Note the dials adjust the speed of wire and amperage. Inside the welder side panel, there is a handy cheat sheet with wire speed and amperage (heat) recommendations for different thicknesses of metal.

Practice: Trim

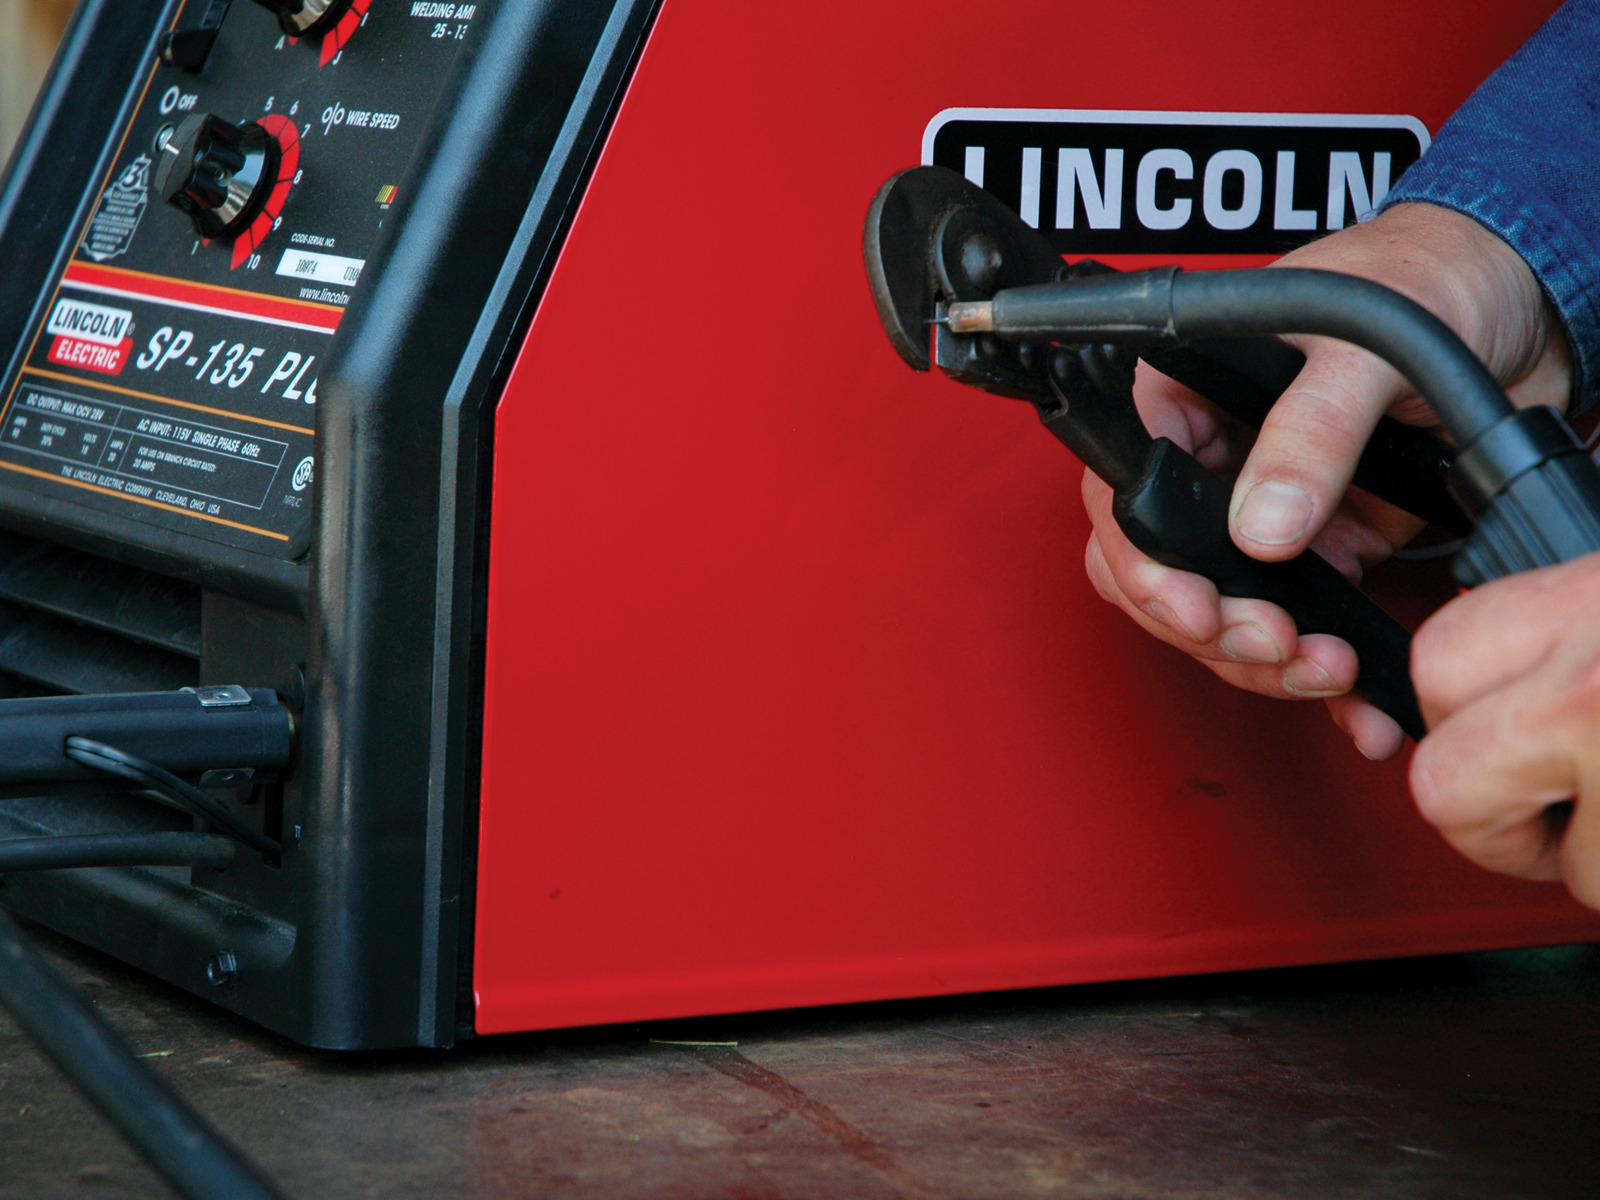
The distance between the welding gun and wire end is called “stick-out”. Squeeze the trigger and run the wire out an inch or two.

Be careful! When the trigger is depressed the wire is energized and will weld to any grounded metal.

Without touching the trigger, trim the wire stick-out to 3/8” beyond the copper gun tip.

Practice: Tack welds.

Tack welds are small, temporary spot welds that hold the metal together until you lay the final welding bead.

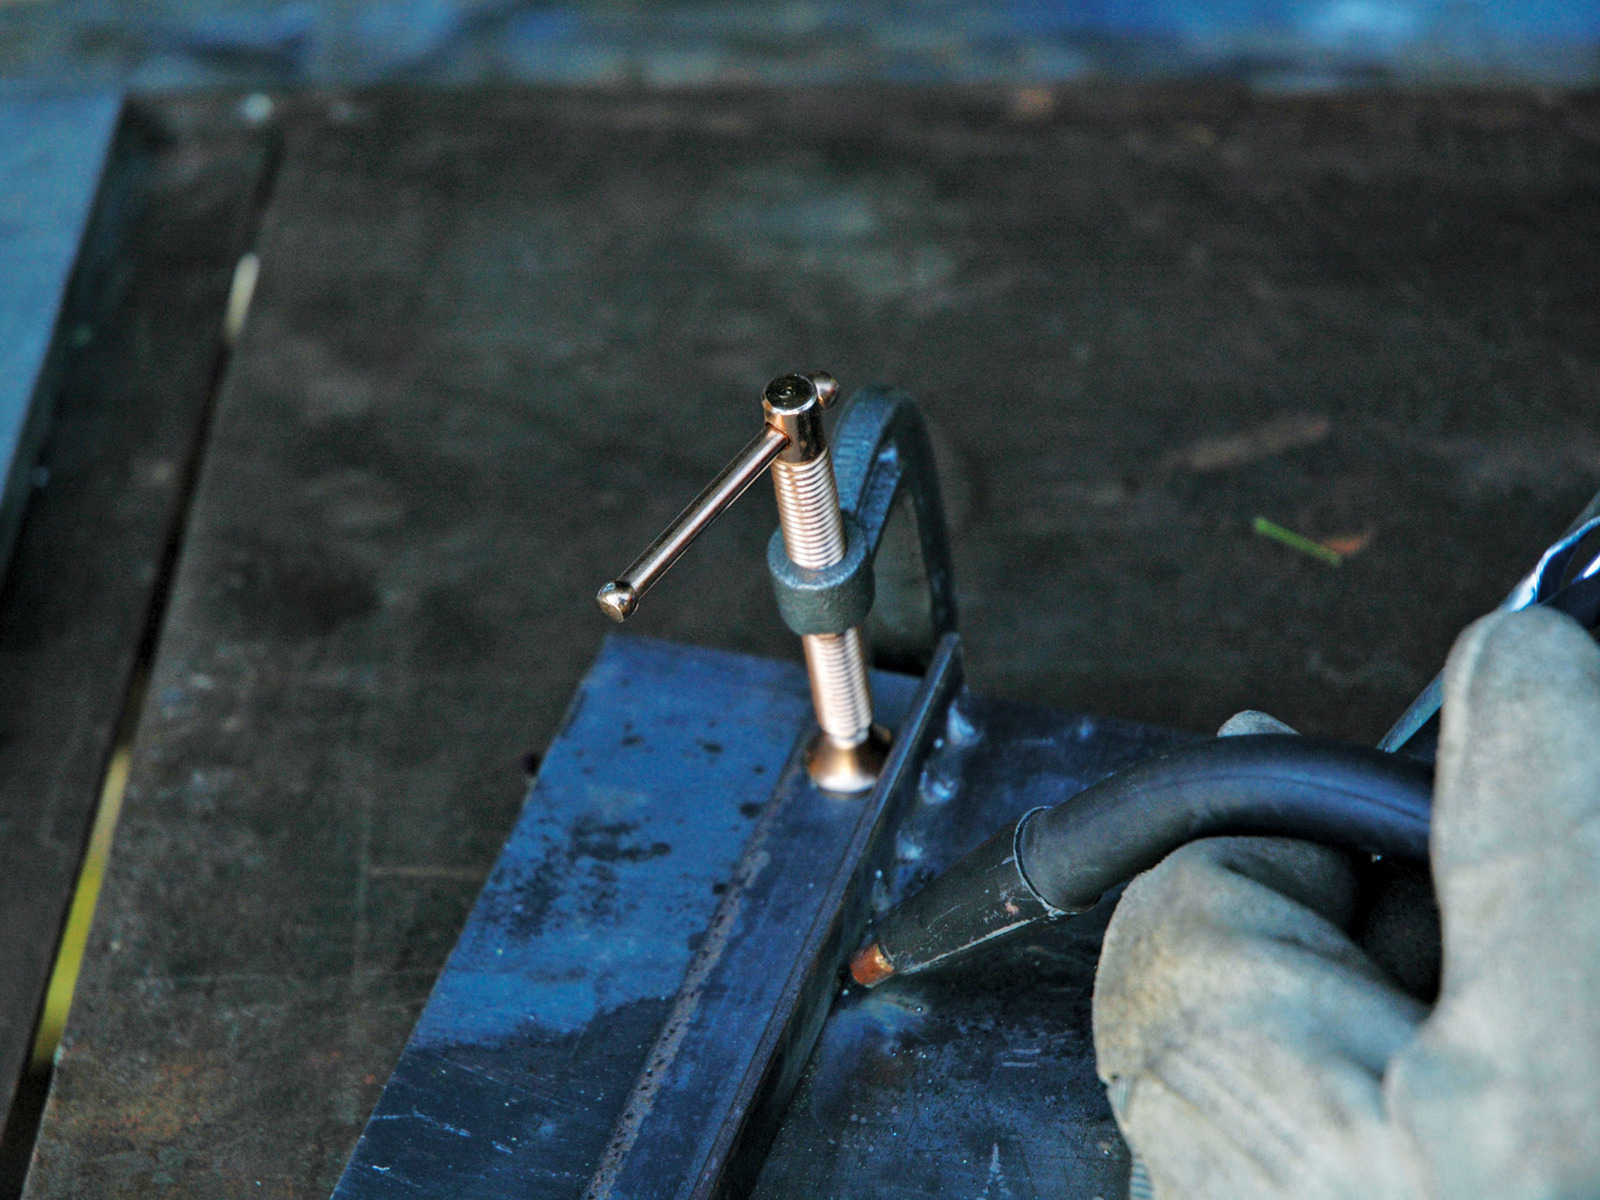
I am welding a pretty thick piece of metal (1/8” steel angle to a 3/16” steel plate) so I set the welder to G-3. The G represents welding amperage or heat and the 3 is the speed the wire is fed from the gun.

Hold the gun tip at a 45-degree angle to the corner joint.

Touch the wire to the work.

Practice: Weld!

With the wire touching the work, your gun is 3/8” from the work. As the wire feeds, there is a natural tendency to follow right into the weld and dip your gun tip in the molten pool. Don’t do that! When you pull the trigger, keep the gun at 3/8” from the weld.

Make sure your welding hood is turned on! Make sure your welding area is clean and non-flammable as the sparks are going to fly! Make sure ground clamp is attached to the work.

Squeeze trigger. Release trigger.

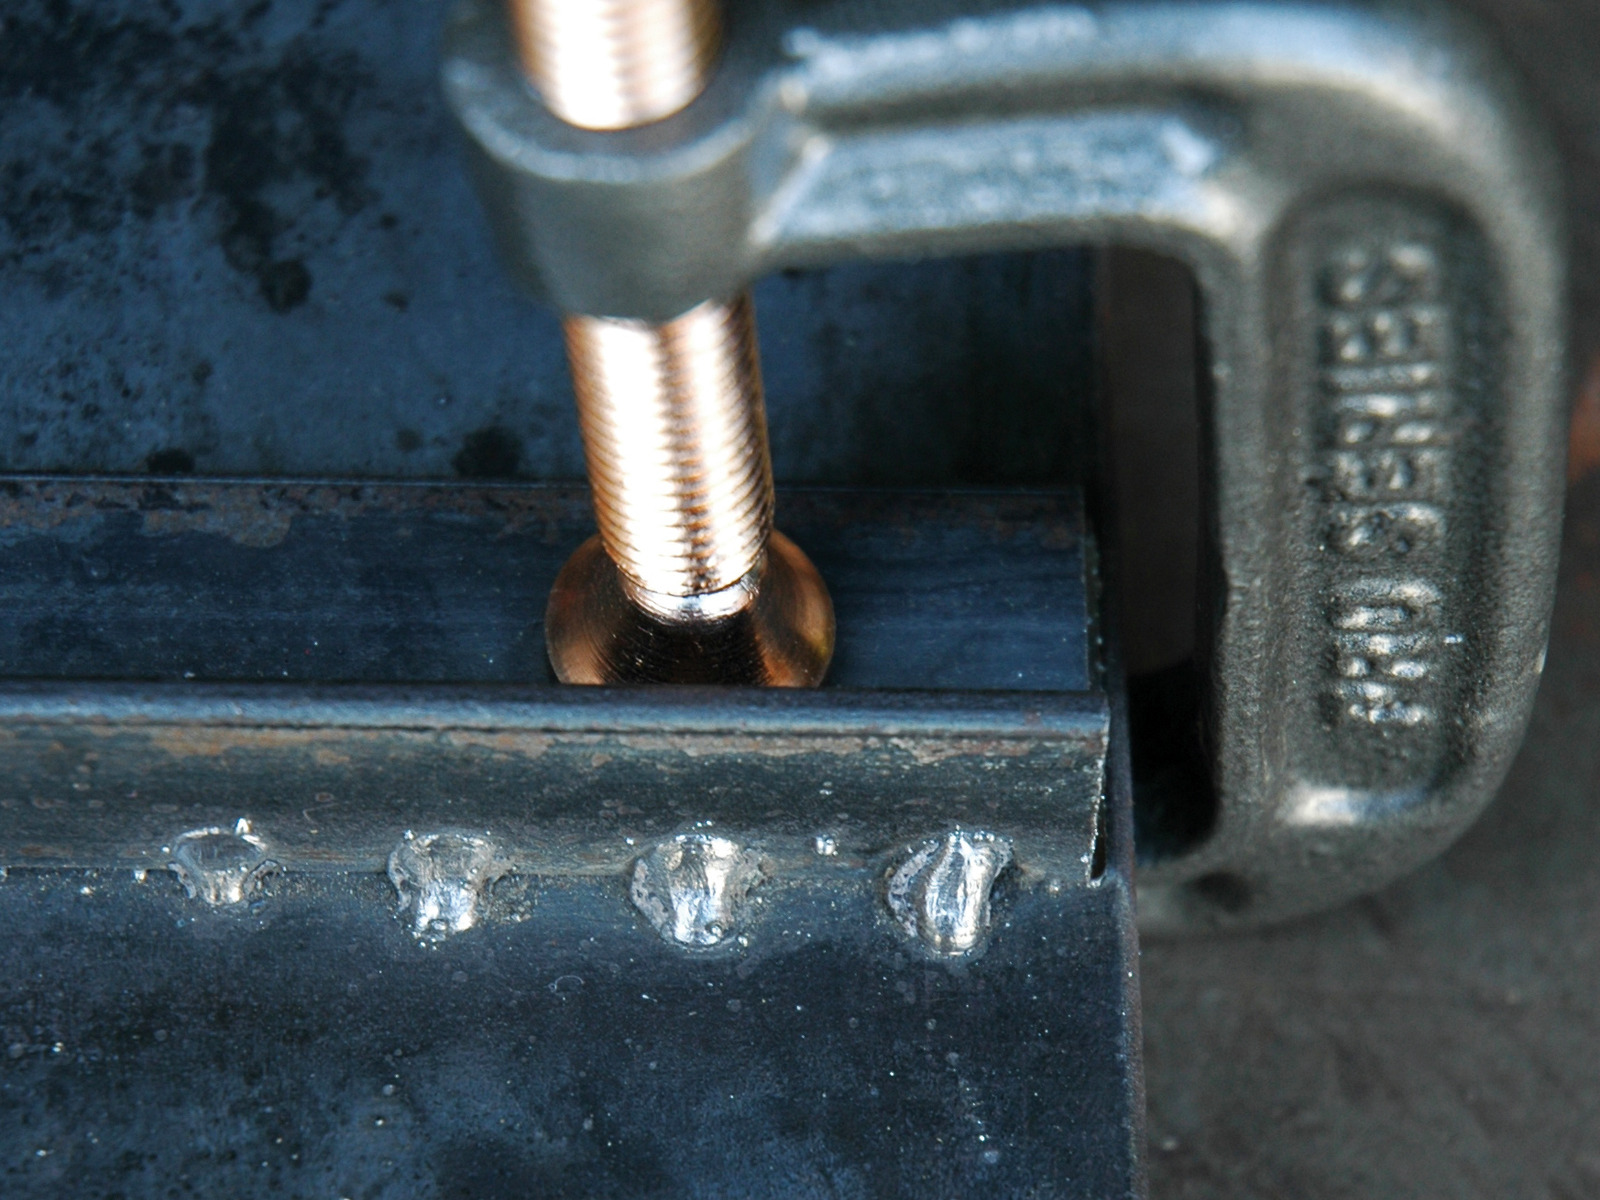
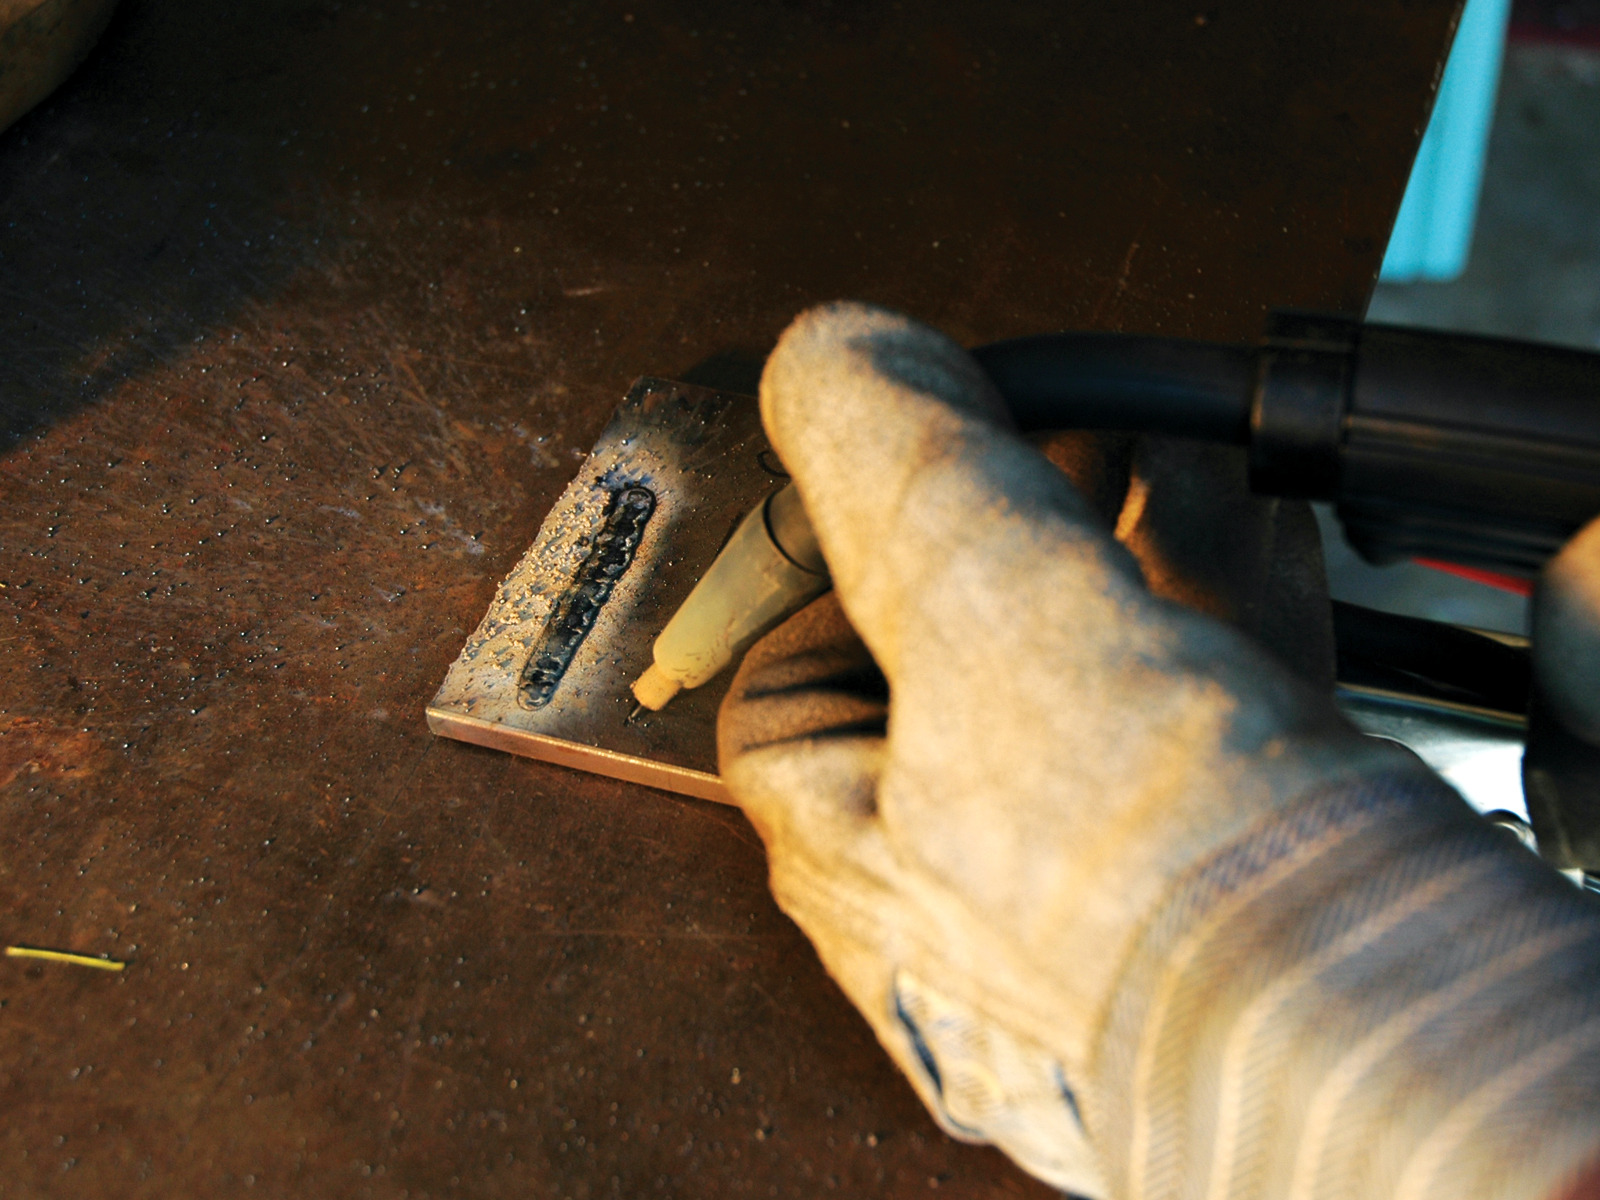
How long? The puny weld on the left is about 1/2 second, while the whopper on the right is about 2 seconds. About 1 second seems right.

Re-trim the stick-out between each weld.

TIP: To keep from burning your house down, make sure your work area is swept clean of flammables and make sure you’re standing on dry ground. Even if your rose garden or wood pile is eight feet away, sprinkle it with water, because sparks fly. Ideally, a steel welding table is swell, but that is a future welding project for you. A stack of bricks will work for now.

Prepare to weld real beads.

Now try welding some final beads. As opposed to small tack welds, a bead is a continuous line of welded metal.

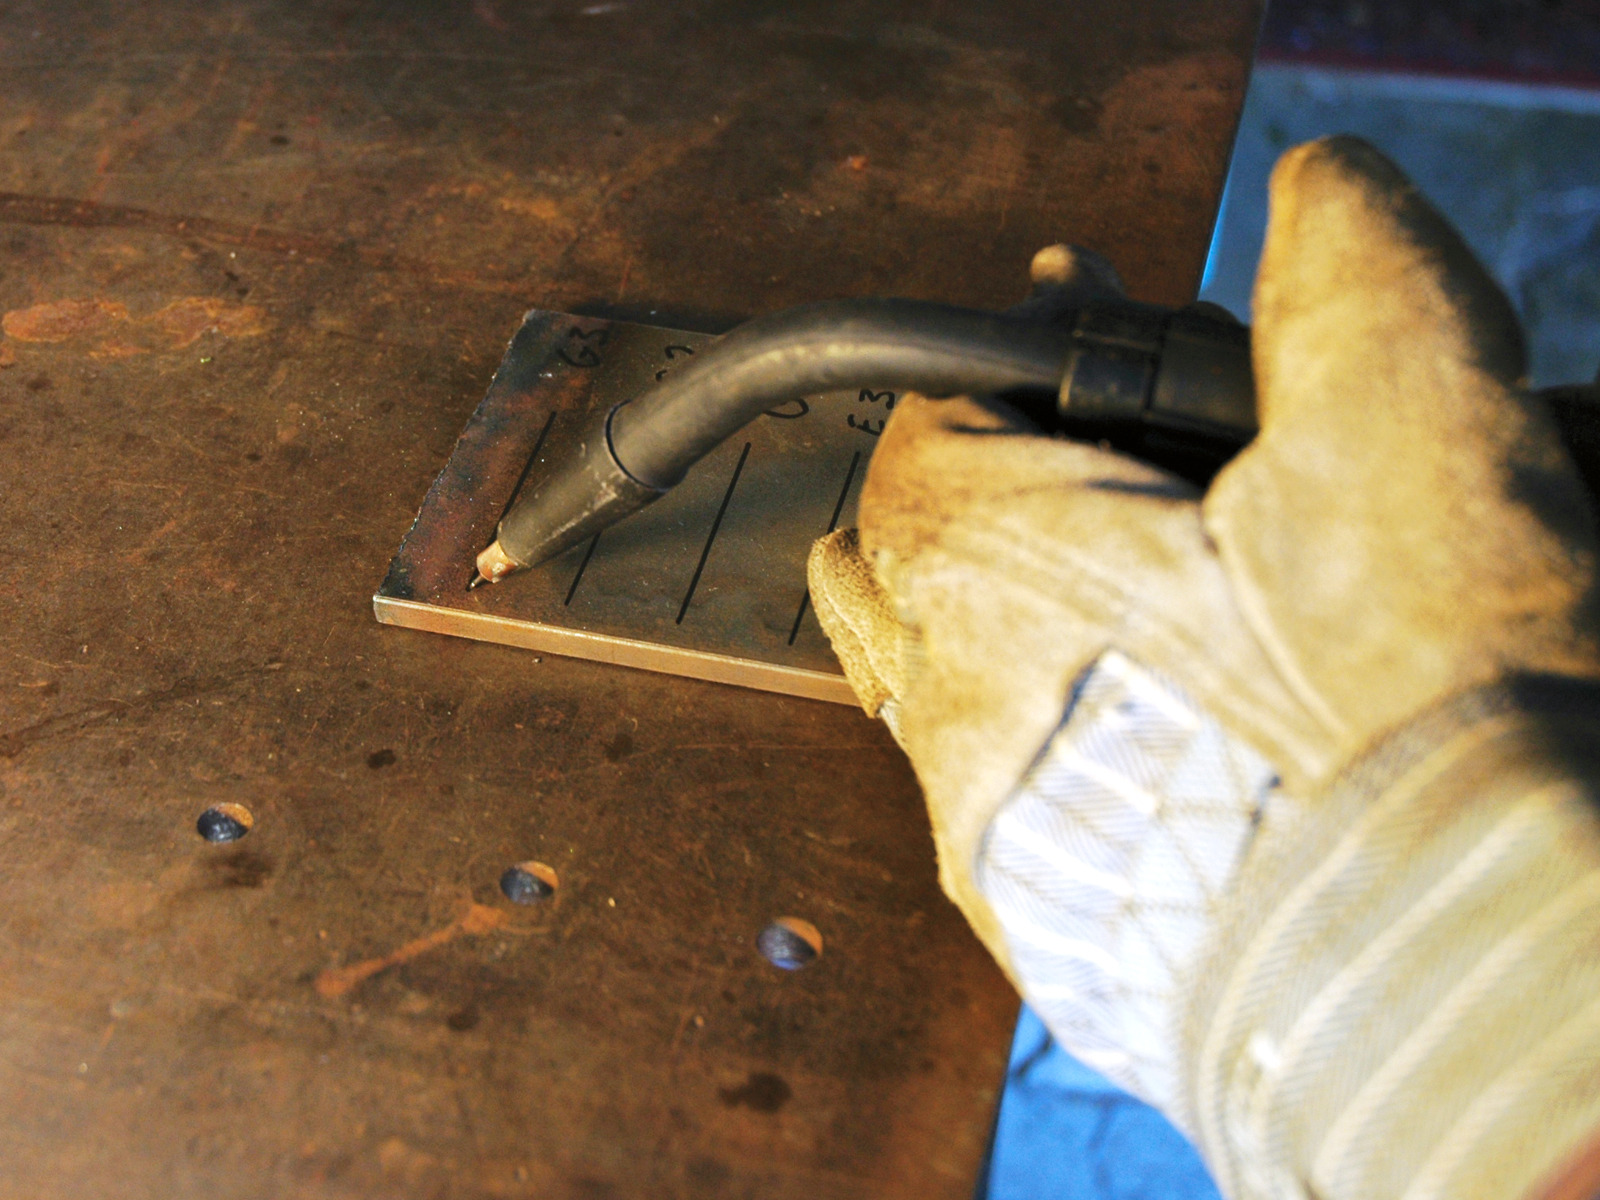
According to the cheat sheet, this 3/16” steel should be welded at G-3, but I drew sample lines at other voltage and wire speed settings to gauge the effects of different settings.

Weld beads: ready, set, go!

If you’re right-handed, weld beads from left to right. Angle the gun slightly toward from the direction of travel at about 45° from the work. Remember to trim the stick-out before every weld.

Before you pull the trigger, run the gun over the path a couple times to make sure you are comfortable and you are not going to run into anything.

Pull trigger with your dominant hand, brace with the other, and weld away from you, so you can watch behind the weld and see how it’s going. Move gun from left to right. The correct speed depends on the material, the wire, the heat, the wire speed, and your skill. In time, you can watch the weld and figure out if you are going too fast or too slow, but to start, try moving along at about 1/4″ per second.

Weld beads: How did it go?

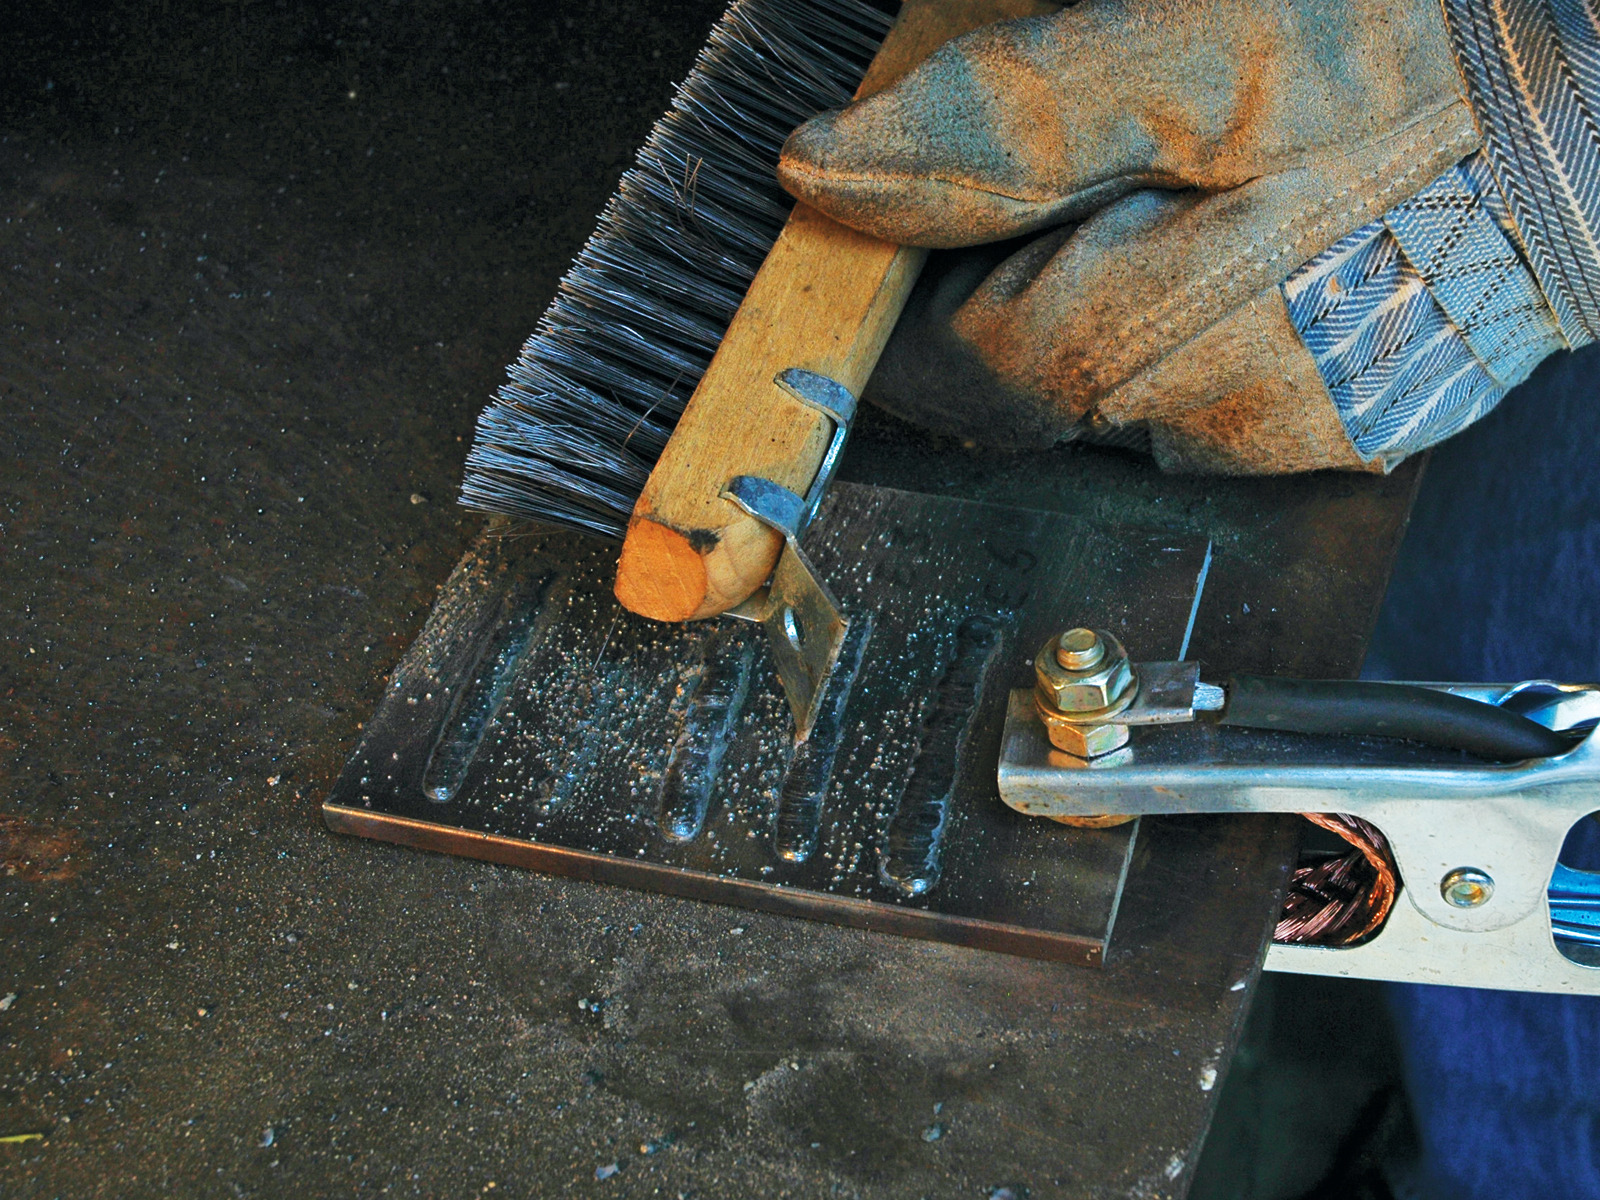
Flux core welding can be a messy operation that creates lots of little metal droplets called spatter. And the weld is partially covered with slag. Scrub and pick the beads with a wire brush to get them as clean as is practical.

Does your weld have lots of little bubbles, skipped spots, or is it just too thin? That was too fast.

Is the weld really wide and with a high crown? Too slow.

Weld beads: Practice your best settings.

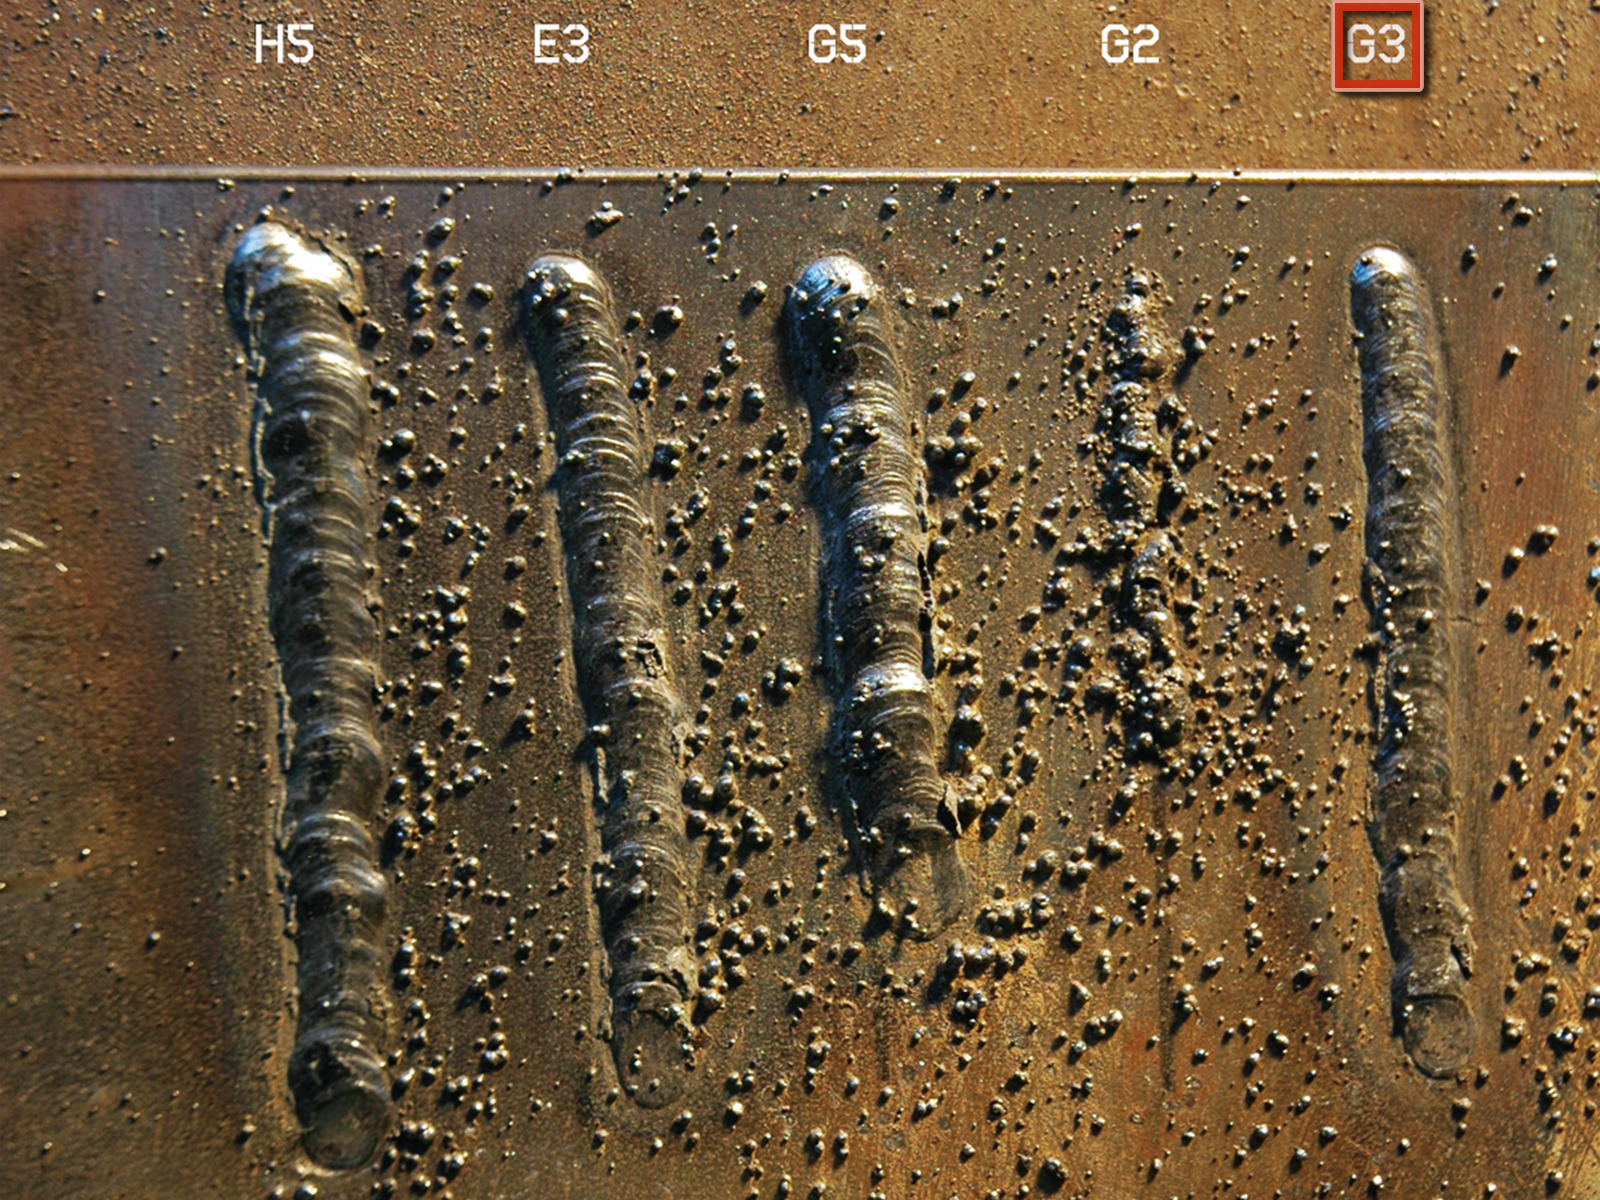
The ideal bead is a perfect union of the wire (filler material) and the work (base material). Through experimentation, you can find the right amperage, wire feed speed, and the rate that you move the gun over the metal. Here are the beads I made, for comparison:

G3 — Recommended heat and wire speed, looks pretty good. A deep weld that is bonded to the work.

G2 — Lower wire speed just didn’t put out enough wire. Most of the spatter was from that weld.

G5 — Lots of wire speed really cranked out a big bead, but it’s not really stronger as it is not deeper. Just a higher crown.

E3 — Turned down the heat and the bead did not get as deep in the work. Sorta sitting on top of the metal.

H5 — Hot as July and spitting out lots of wire, this setting is just too much for the base metal. The bead got narrower toward the end because my hands were getting hot and I wanted to be done!

Pick your best weld and practice welding a bunch of beads with the same settings.

Conclusion

NEXT UP: weld your first project: Make a 90° Angle Jig. Then use your jig to Make a Pair of Stands.

This primer first appeared in MAKE Volume 03, page 158.