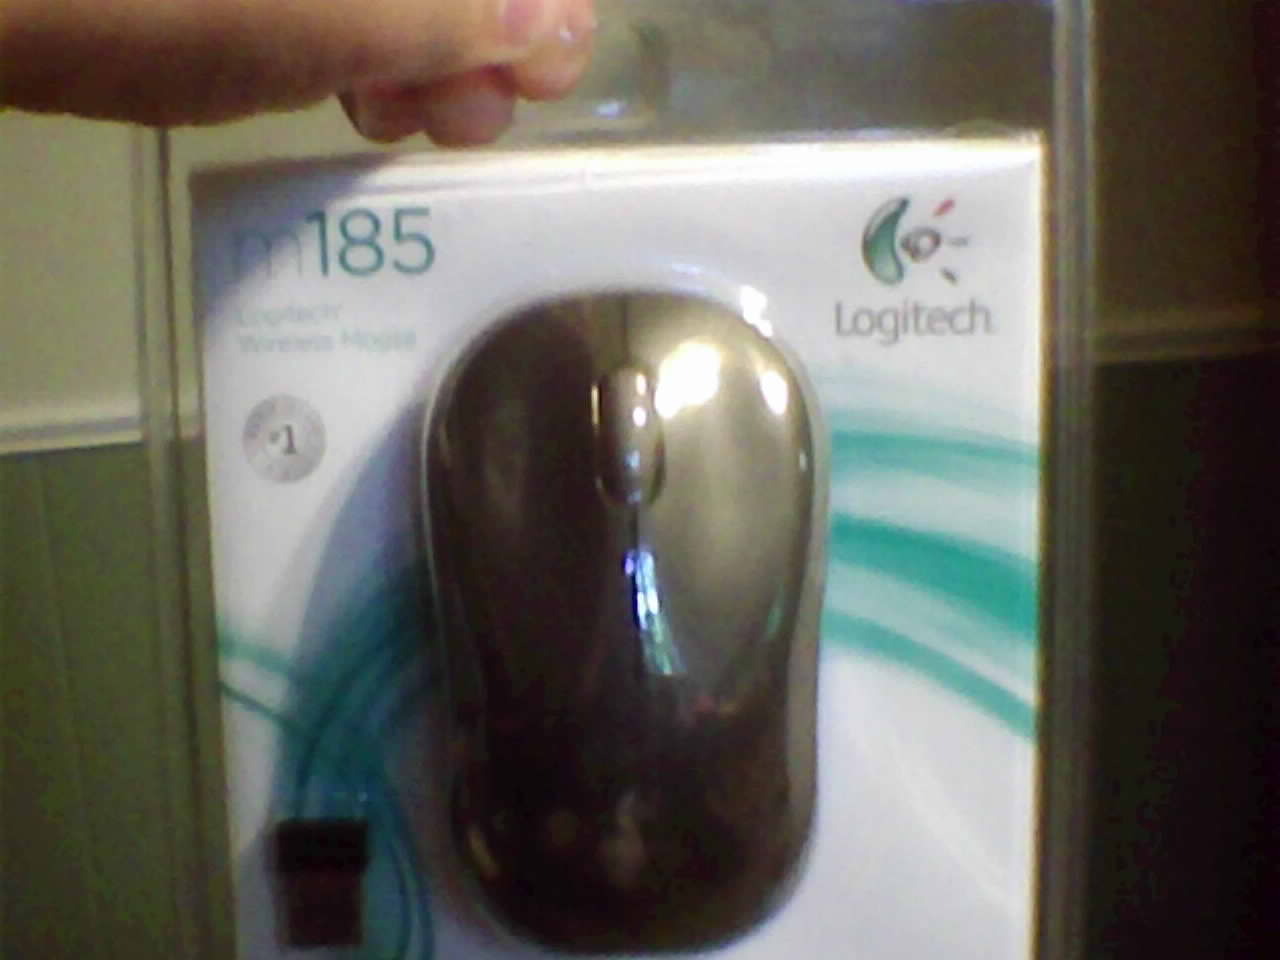
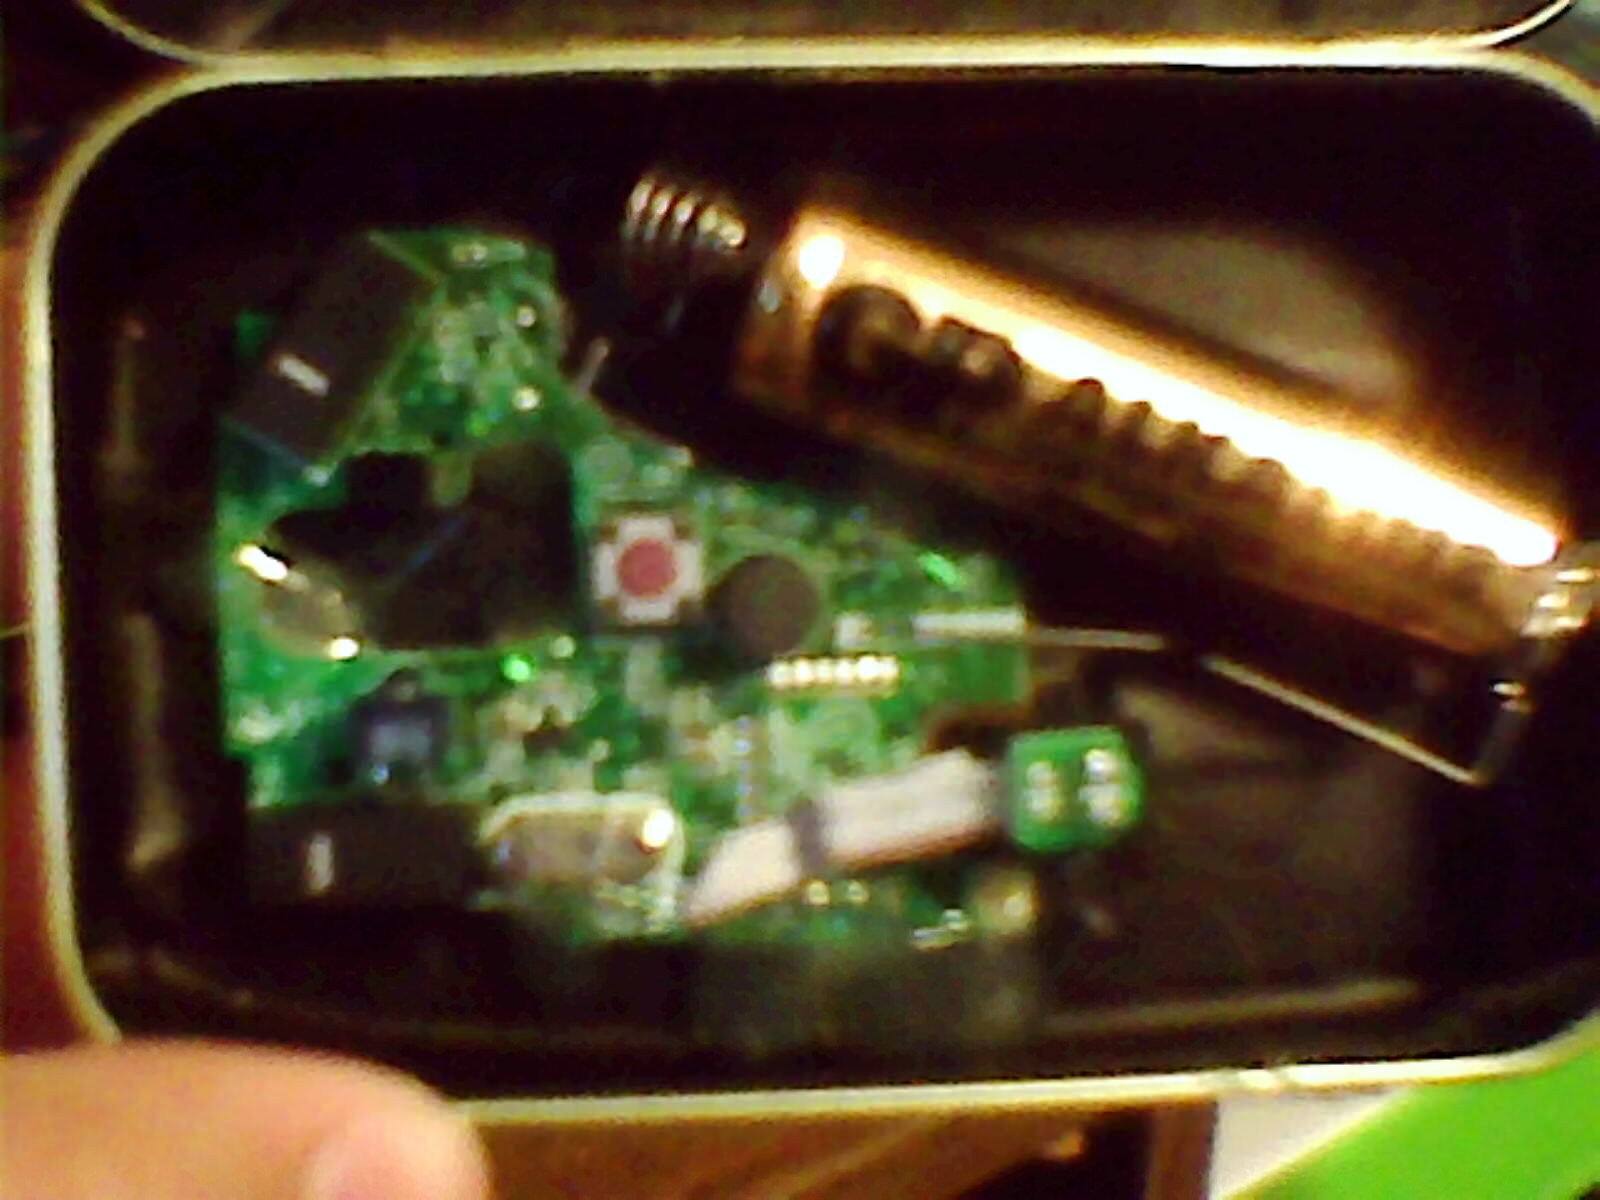
Make a Minty Mouse using a Logitech m185 mouse ($16 at your local superstore). You can line the tin with electrical tape to be safe.

What will the next generation of Make: look like? We’re inviting you to shape the future by investing in Make:. By becoming an investor, you help decide what’s next. The future of Make: is in your hands. Learn More.

Project Steps

First off, eat all the mints.

Then get a Logitech m185 mouse.

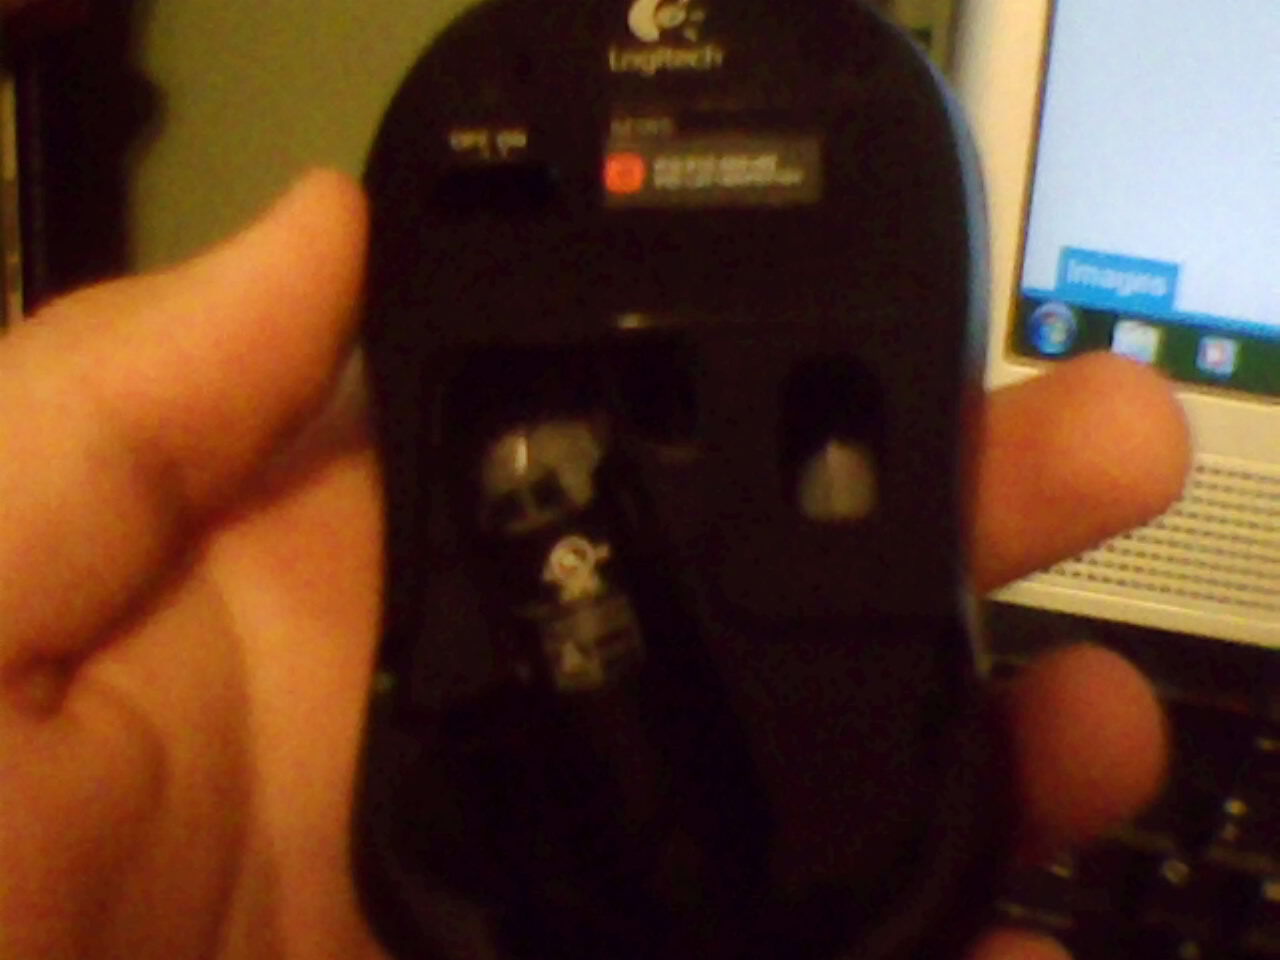
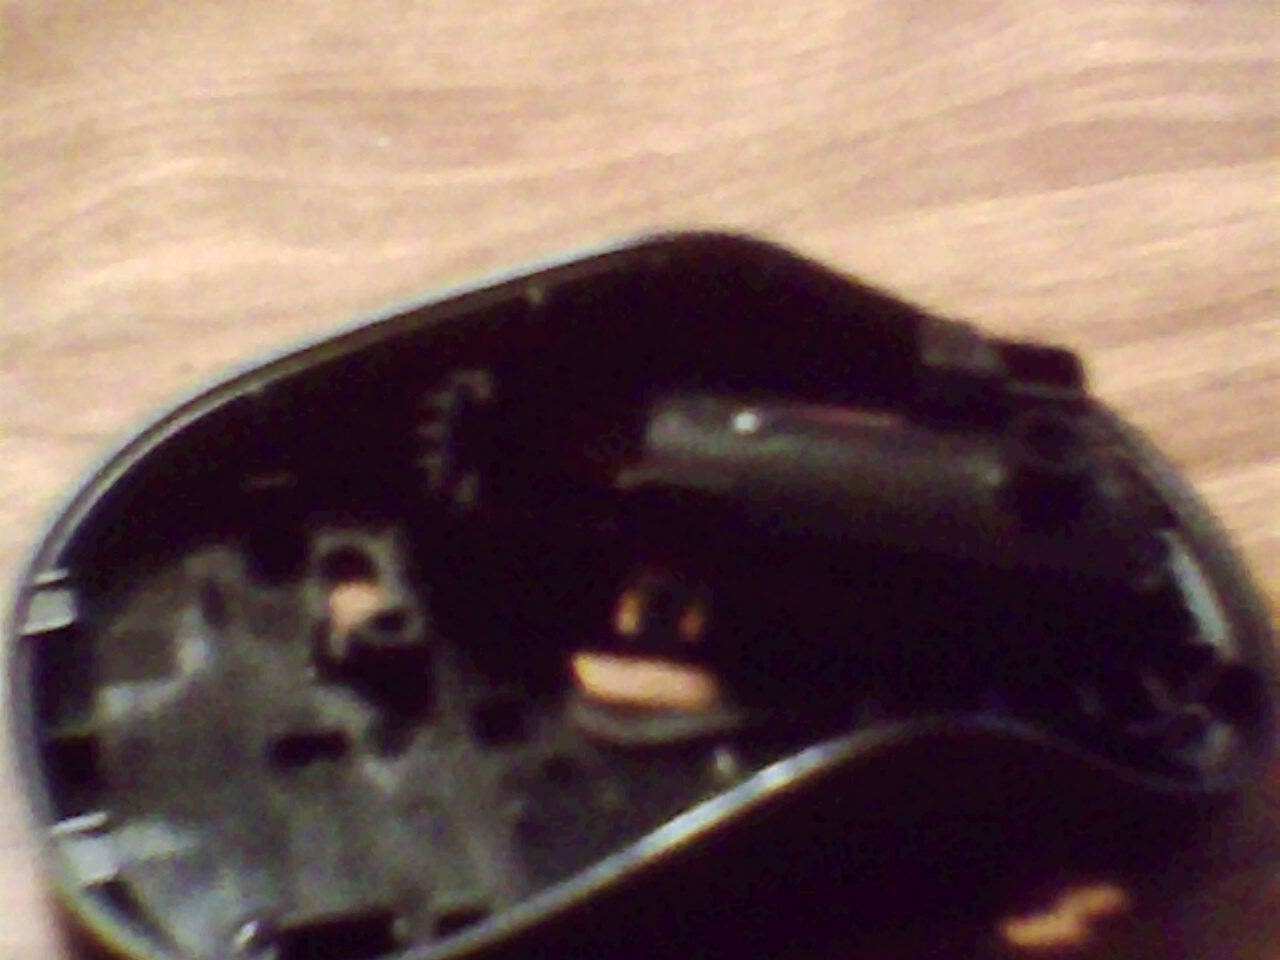
Take the battery cover off of the mouse.

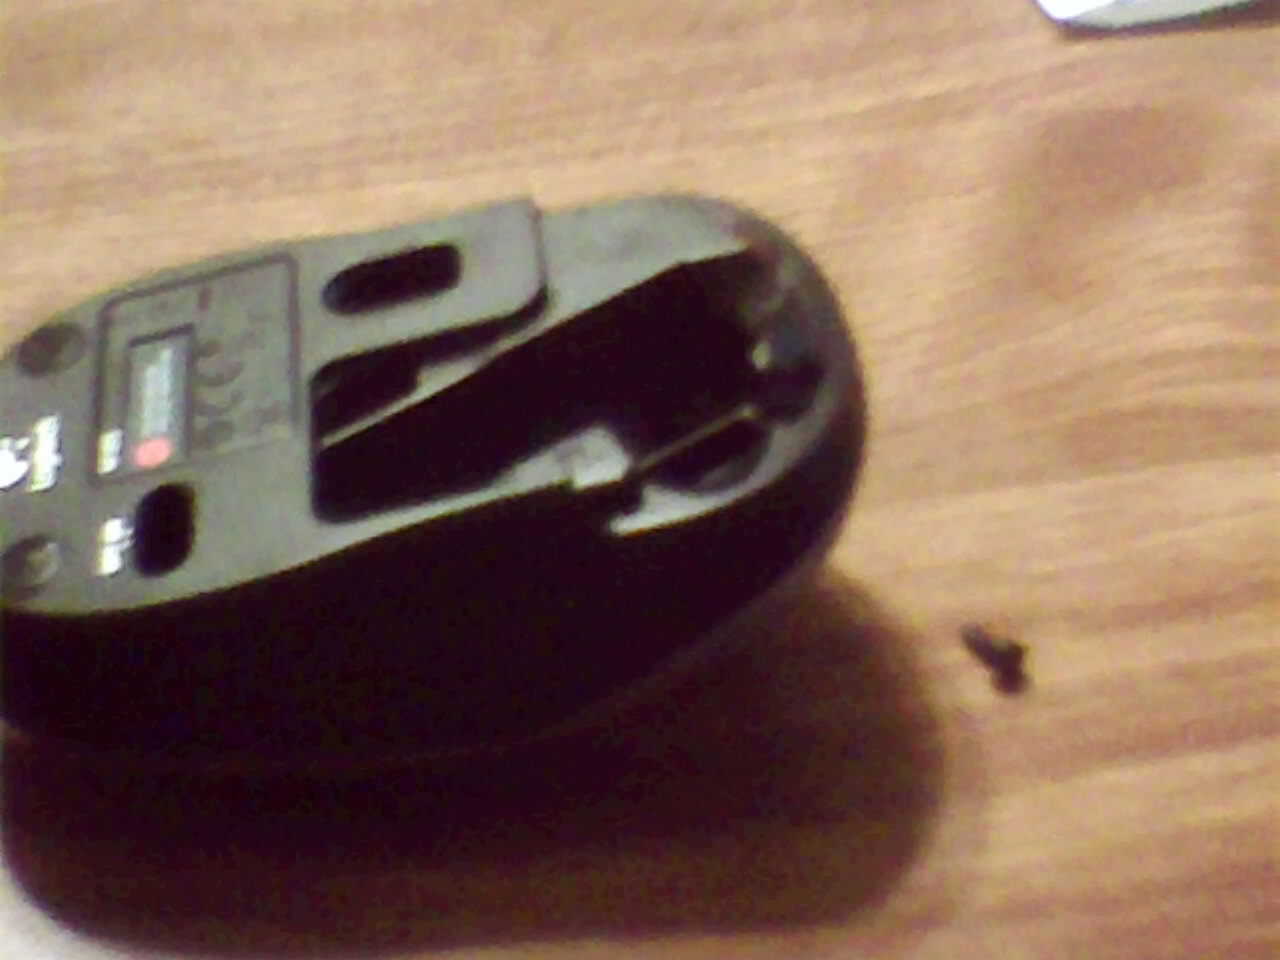
Get a Phillips screwdriver and unscrew the screw under the battery. This is the only screw.

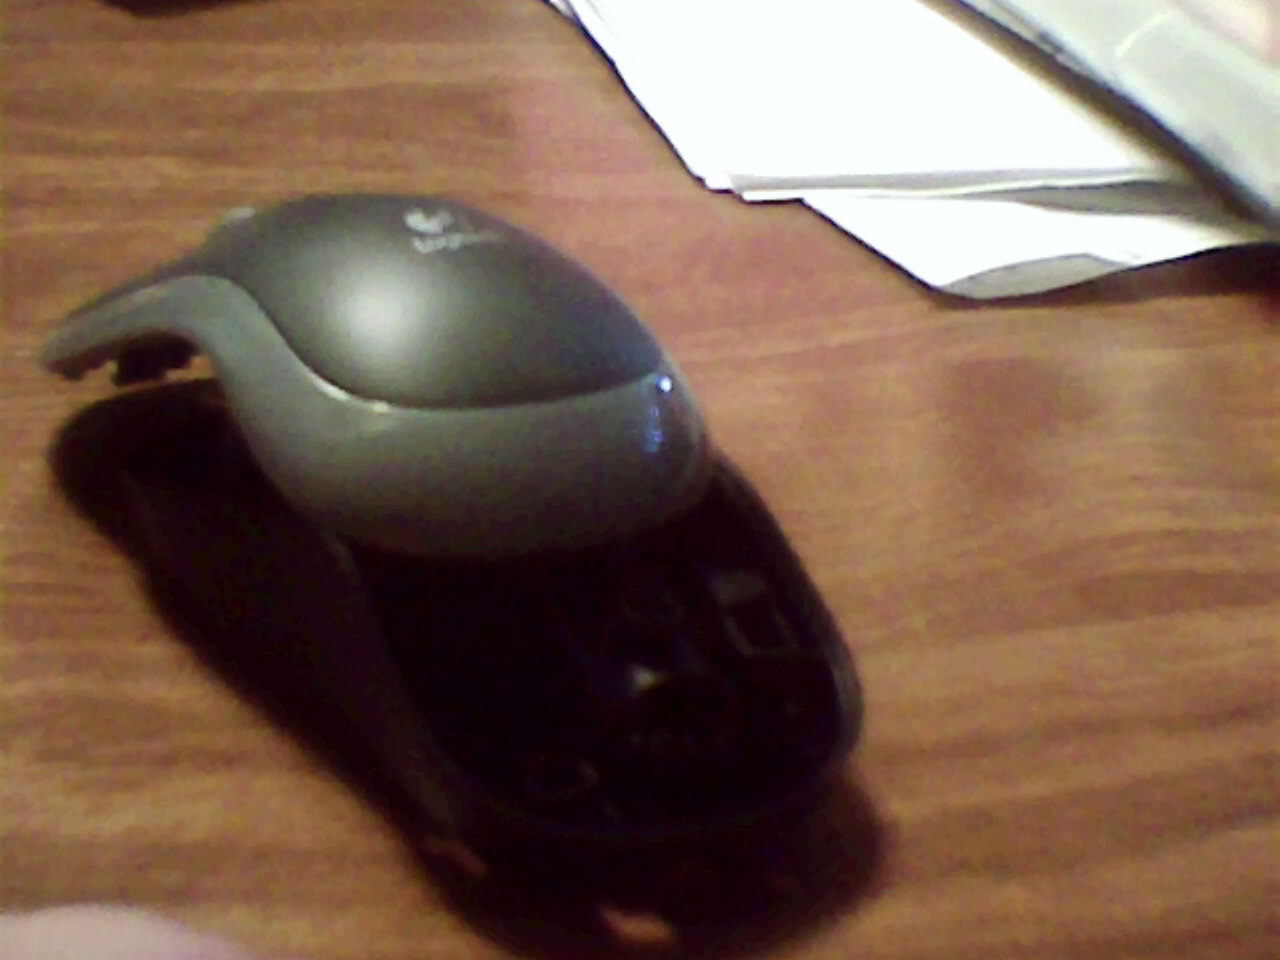
Turn it over and slide the light grey part slightly up and back, till it comes off.

I have already taken the board out but I’ll show you how.

By the battery compartment there’s a tab by the white rectangle on the board.

Push it with a small metal object.

Then gently lift the battery connectors out of their slots. Now the board is able to be taken out.

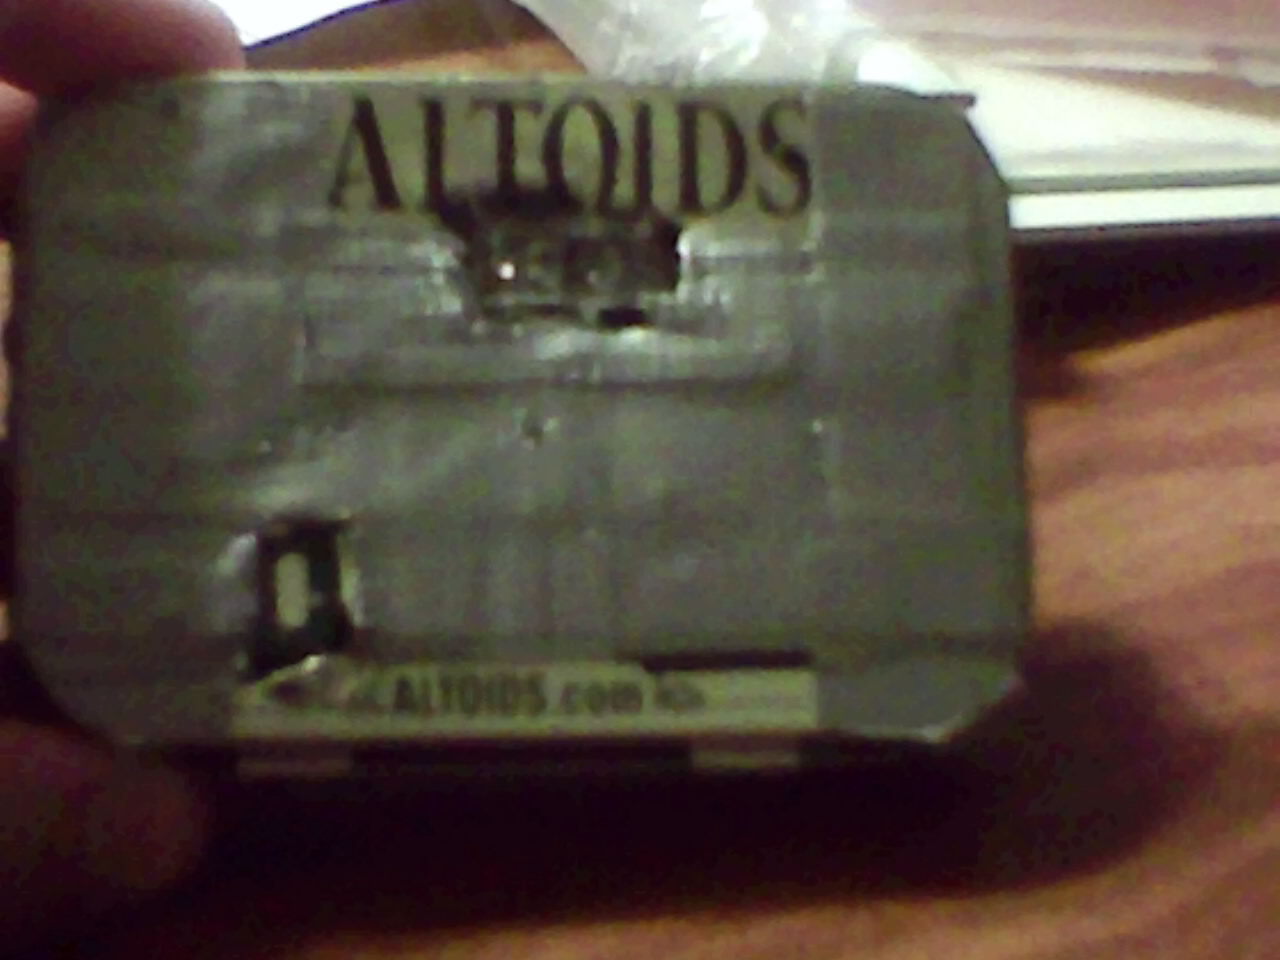
Cut a hole on the bottom of the Altoids tin about from the end of the L to the end of the I. This is for the sensor. Use pliers to bend the sharp edges flat against the inside of the tin.

Cut another hole about 3/4″ away from the left side. This is for the on/off switch.

Flip it over, and on the “A” end cut 3 tabs, bending the edges so that each can freely move.

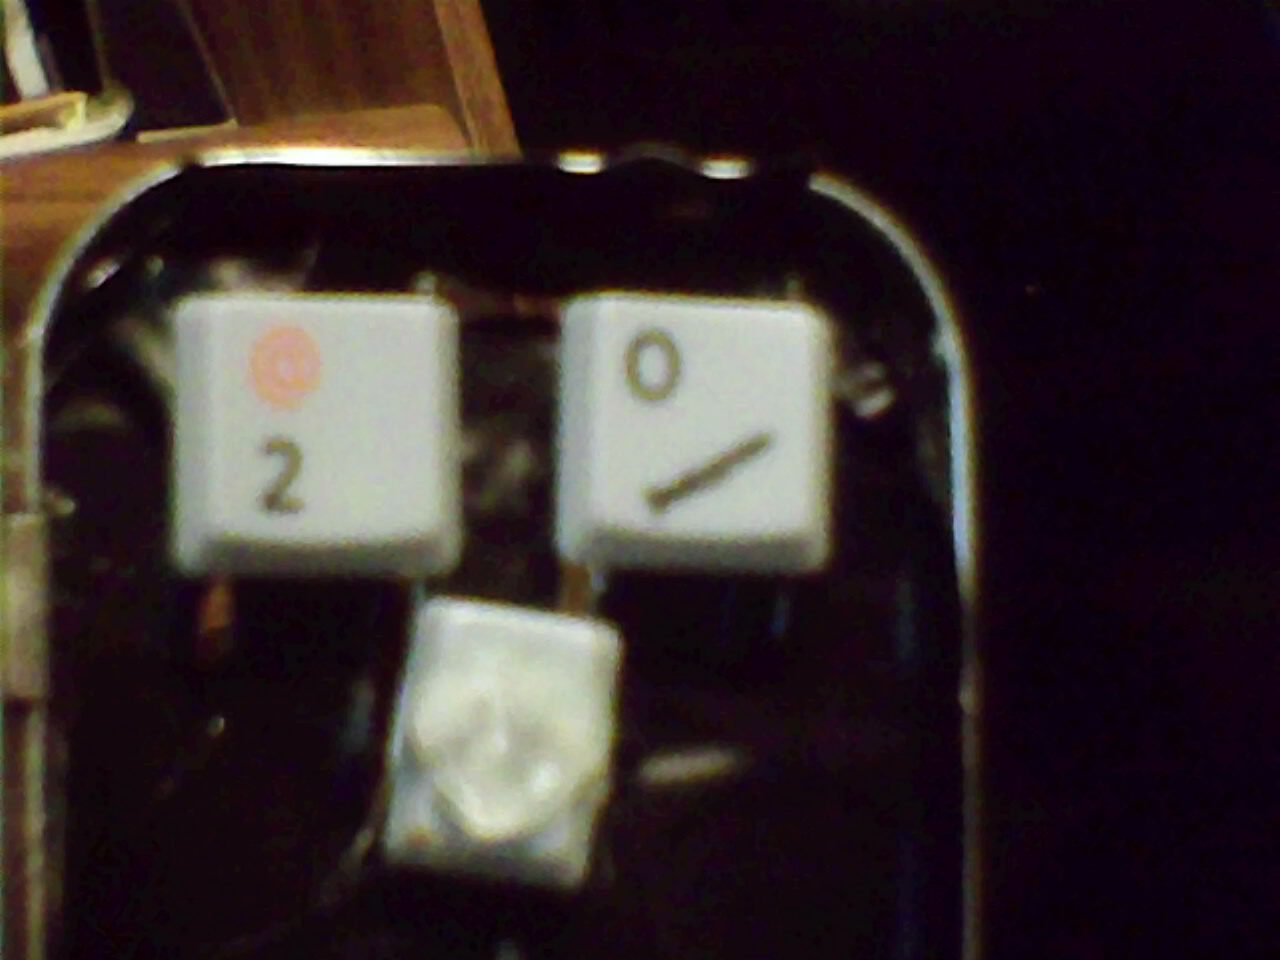
Glue scraps of plastic so the tabs reach the 3 buttons. The 3rd one (in the middle) needs to be thicker or boosted with a glob of hot glue. I used old keyboard keys.

Tip: To make the glue dry fast, put it in the freezer for 1 minute and it’ll be rock-hard.

Now take the board and align it with the holes and hot-glue it:

in the sides of the board’s cutout,

beside the battery spot,

next to the silver oval,

and a lot near the cord for the sensor.

Now, glue the battery down and the contacts to the battery ONLY ON THE TOP OF THE POSITIVE CONTACT. If you glue the negative contact (spring) it will not connect.

TEST!

Decorate :^)