Gather materials
Mix a base coat color
Paint the base coat and let dry
Mix a contrasting woodgrain color
Paint the woodgrain design and let dry
Finish with clear topcoat
You love wood, so why not give yourself a one of a kind woodgrain manicure? Your custom faux bois (fake wood) design will turn heads and delight fellow crafters and makers.
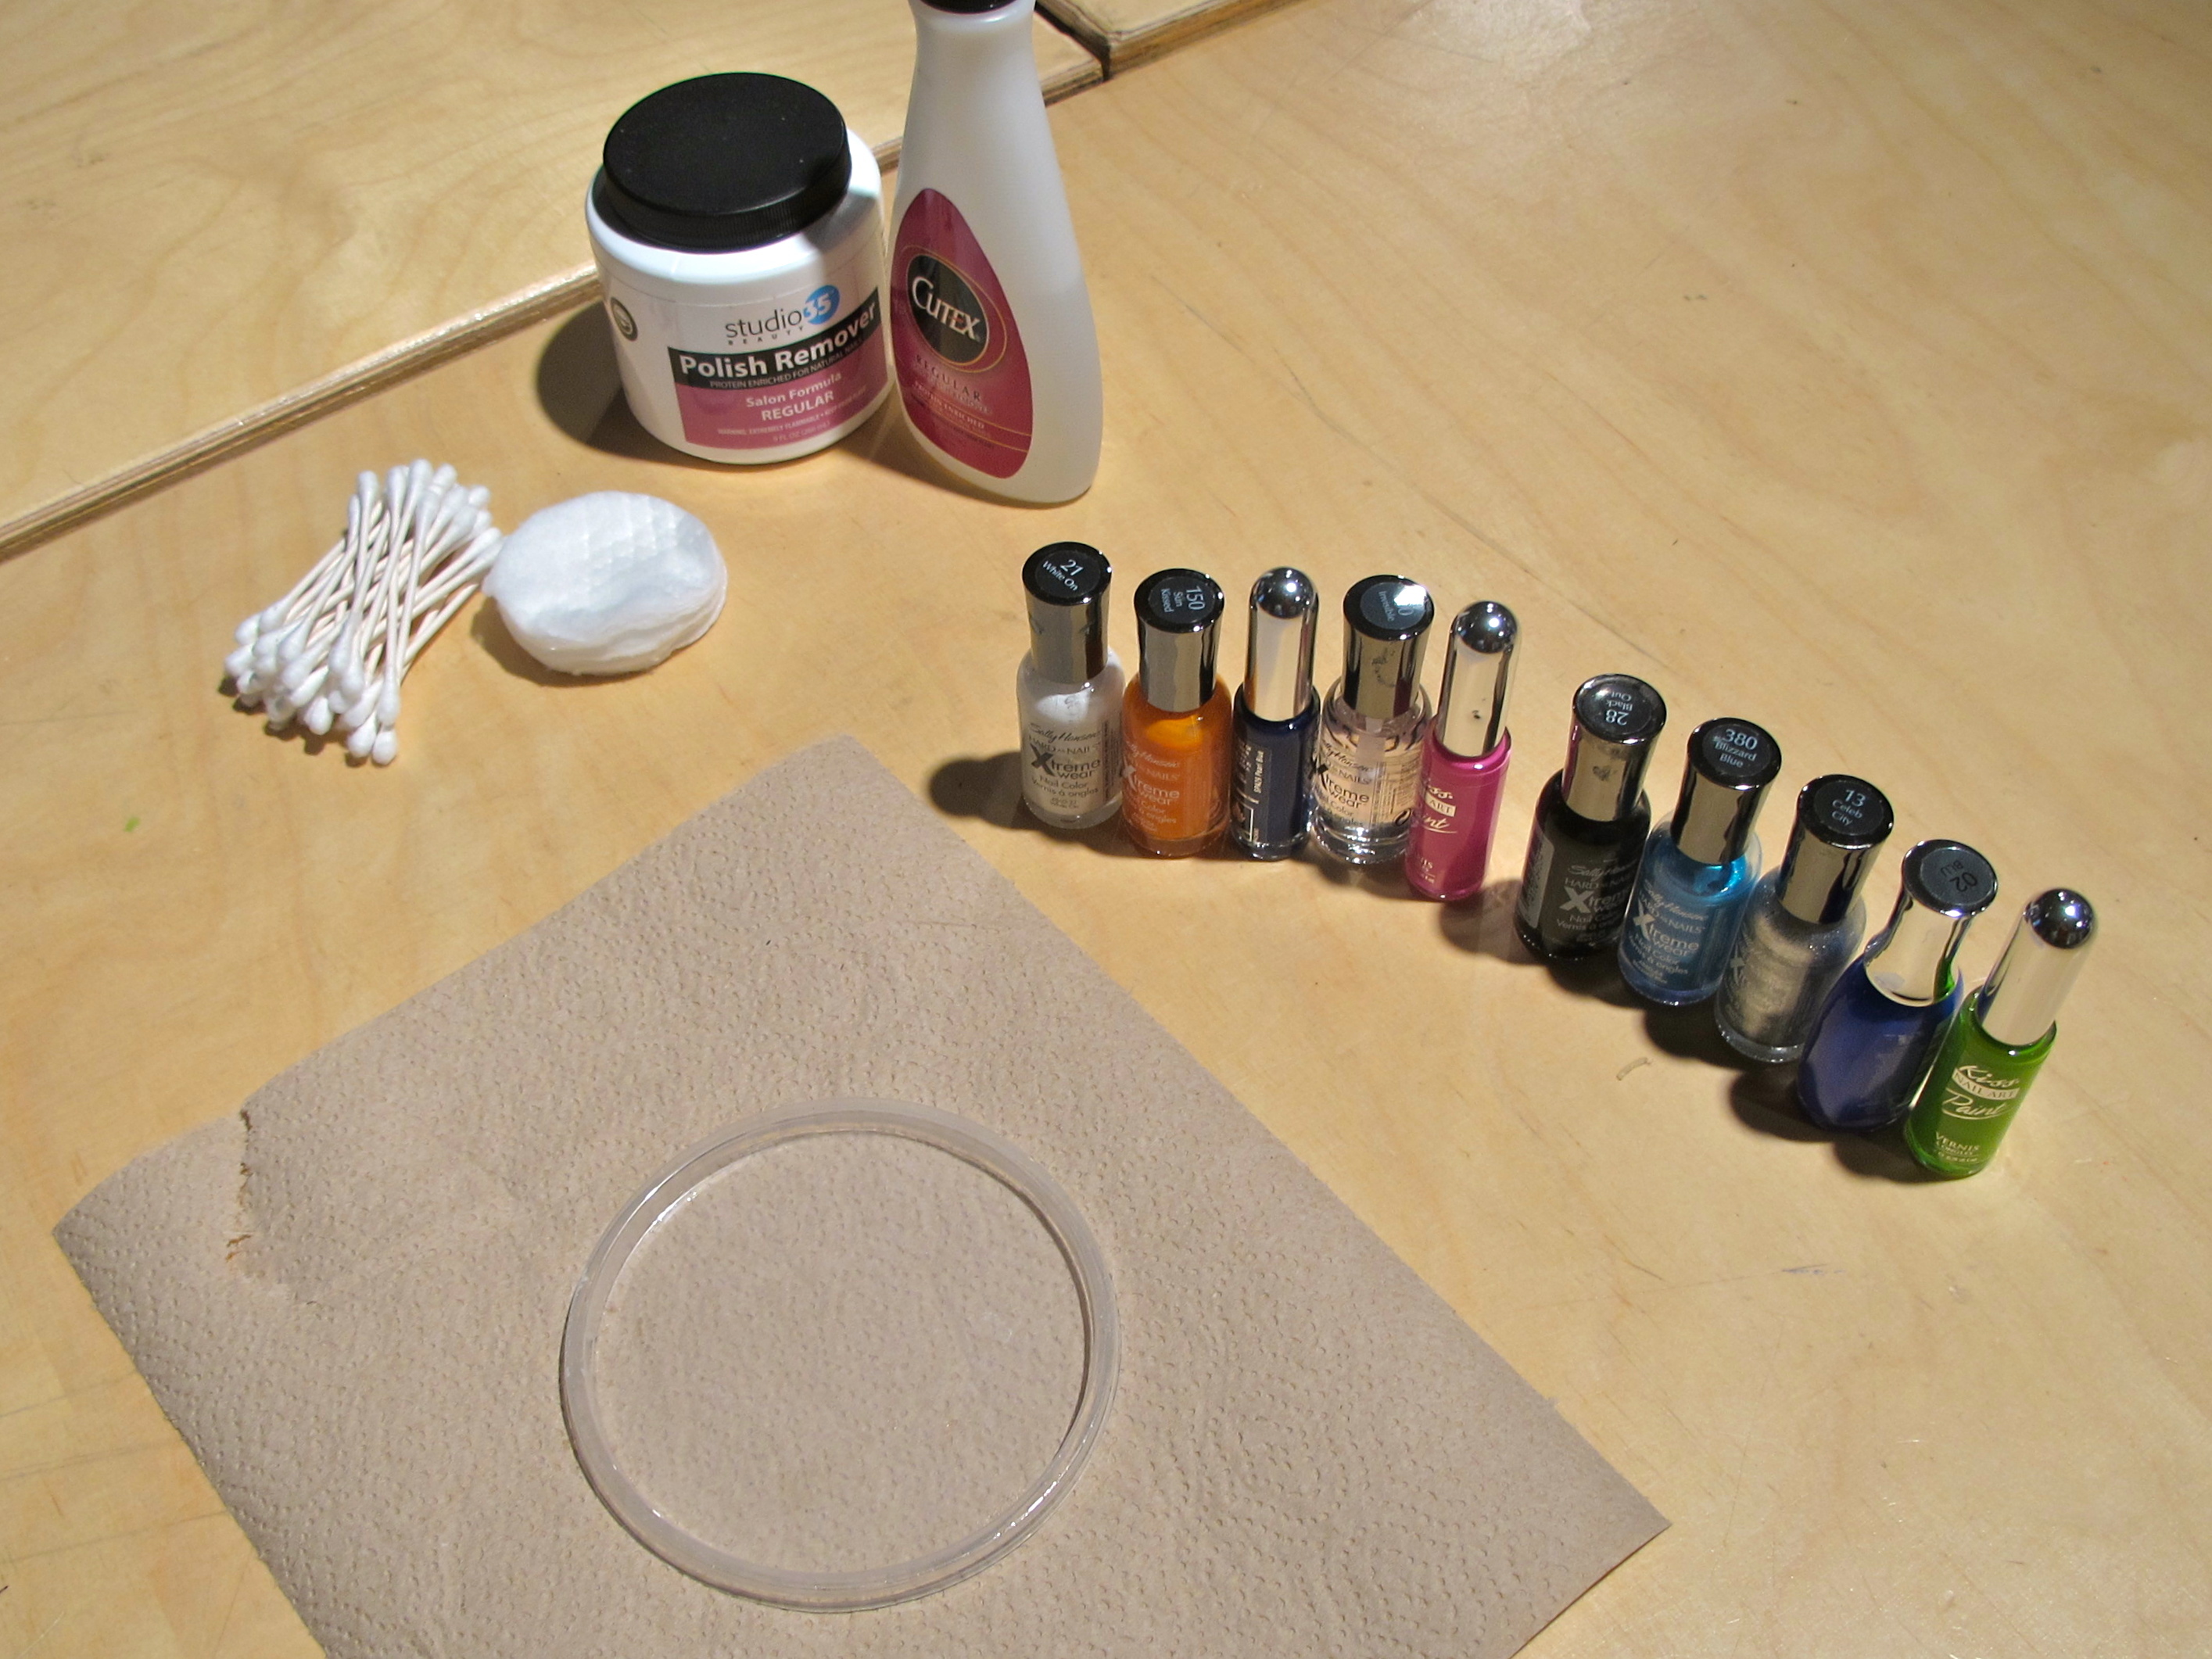
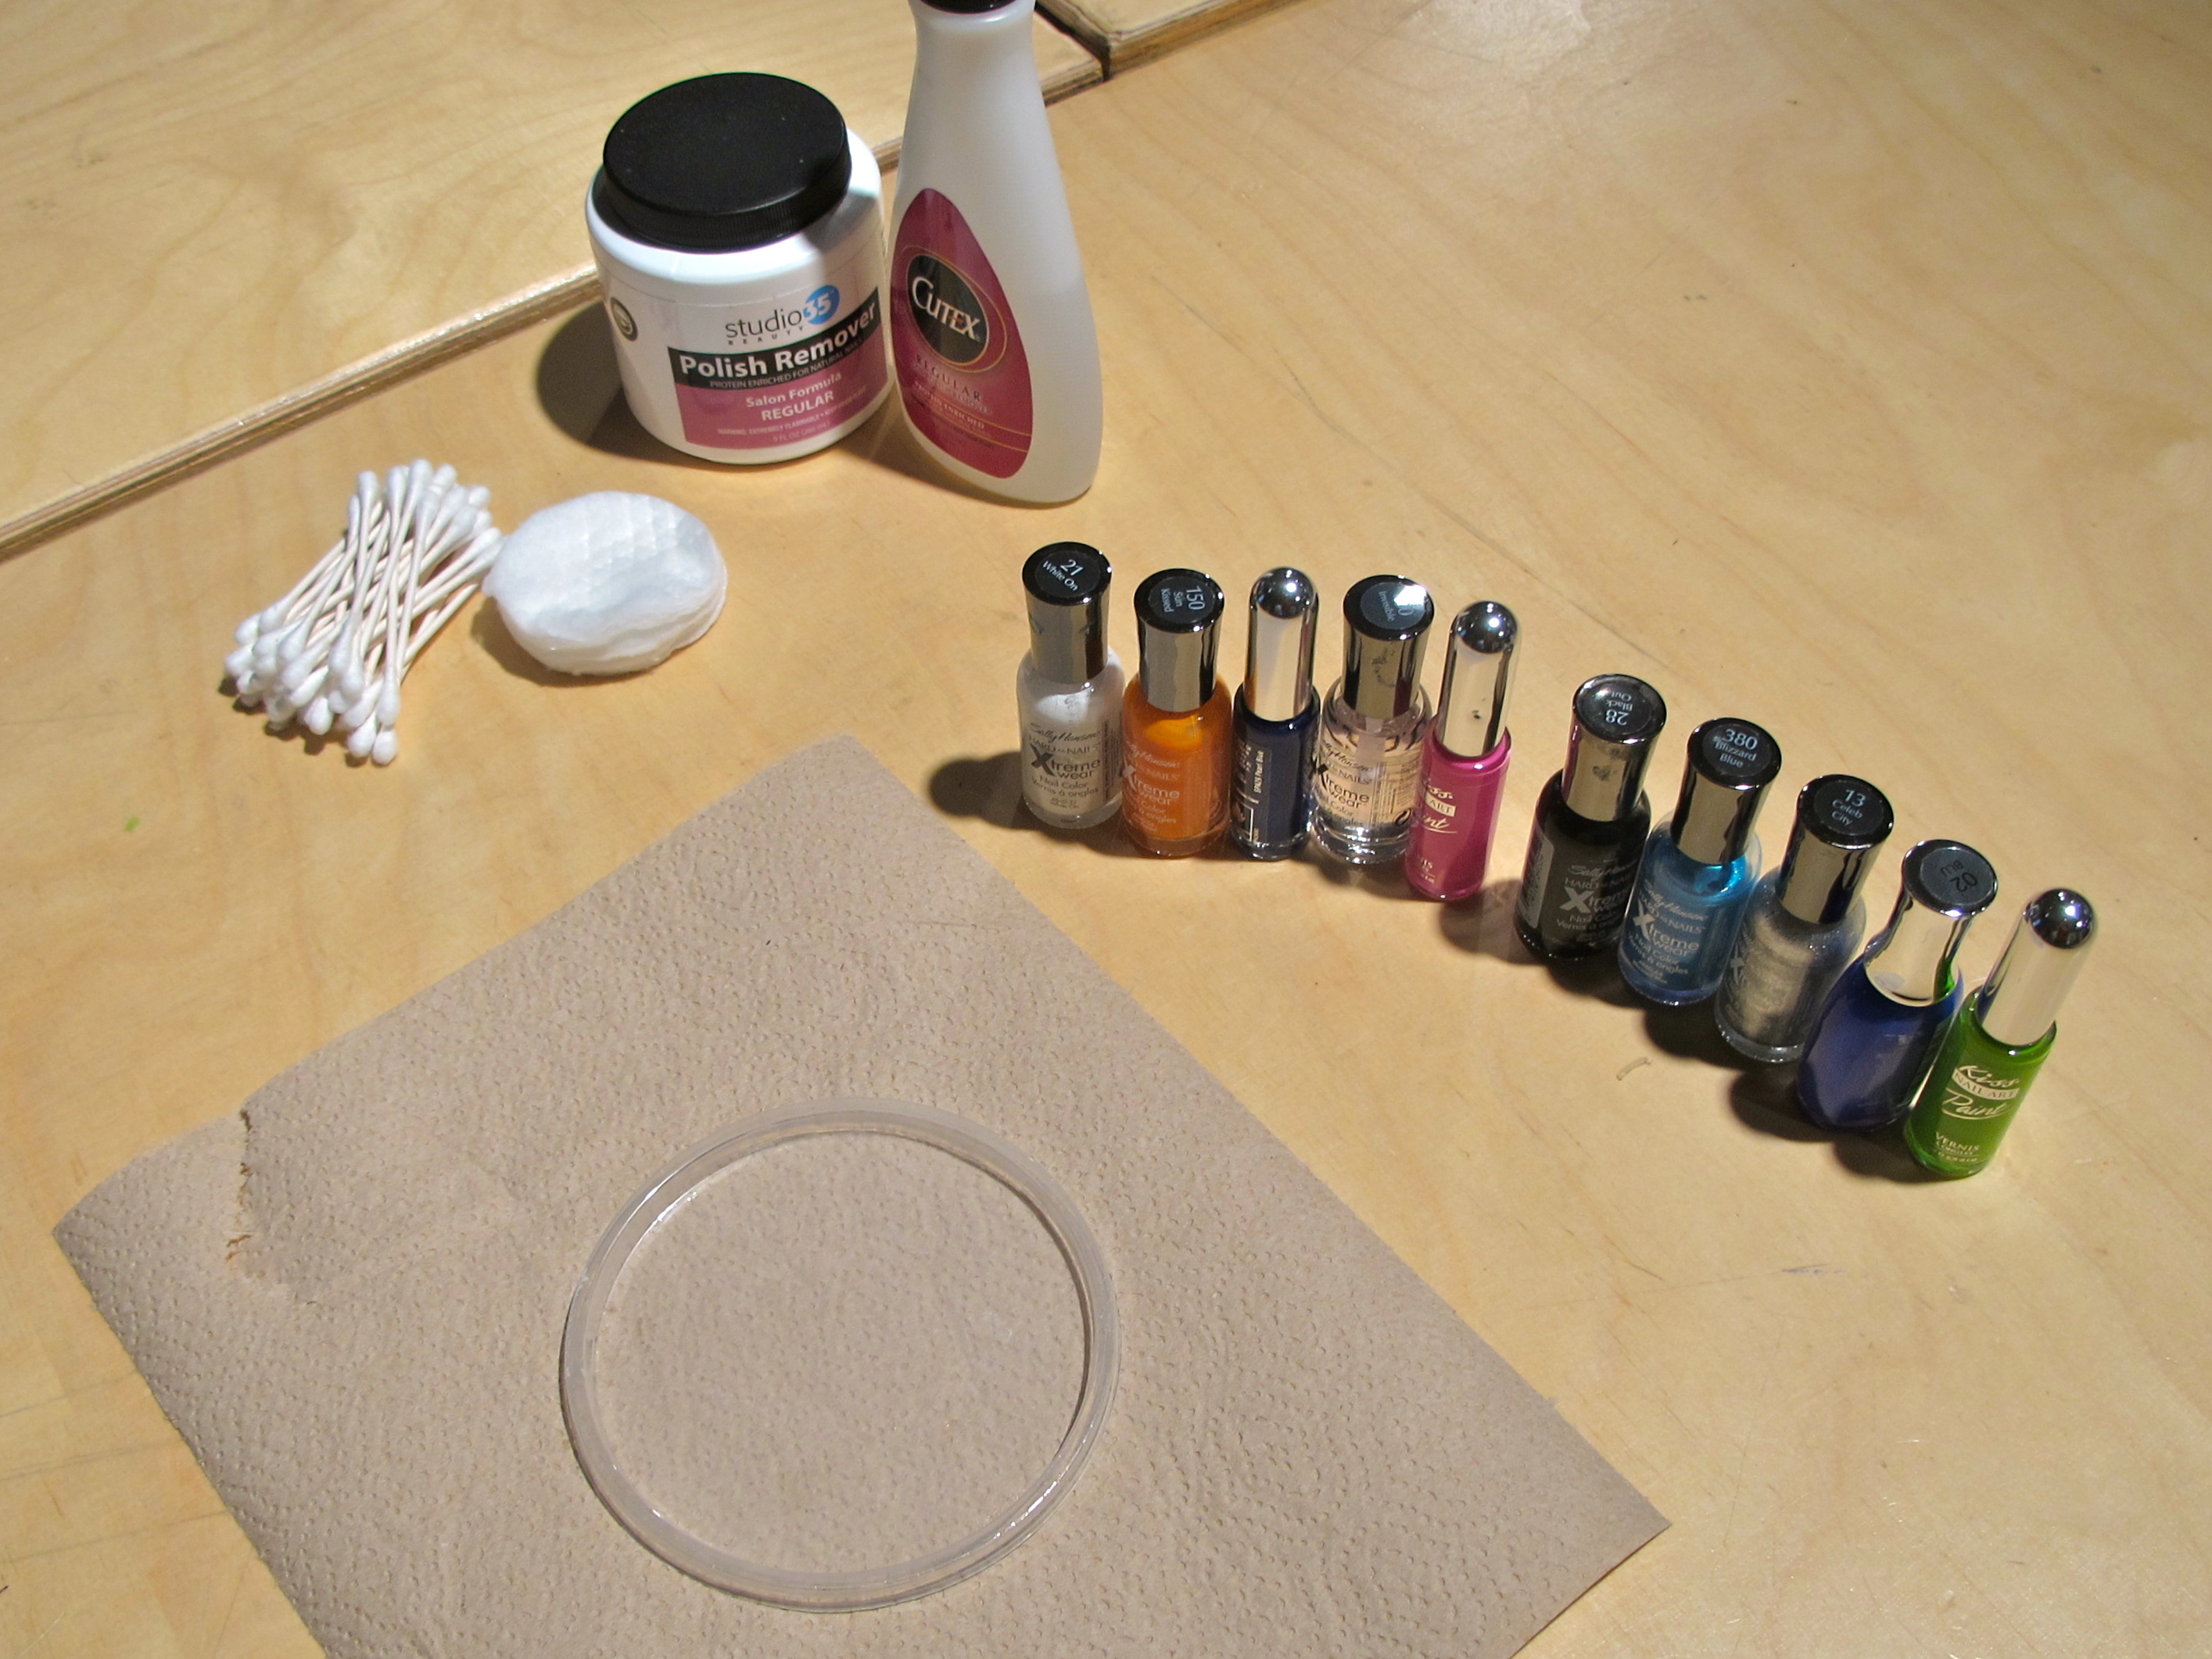
Gather your materials: nail polish, nail polish remover, cotton swabs or rounds, a plastic lid for mixing polish colors.
You will need a very thin brush to paint your woodgrain design. A thin paintbrush will work, but many drugstores carry nail art kits that include interesting polish colors and very thin brushes. I used the “Kiss” Nail Artist kit available at Walgreens, which came with a dark blue polish and thin brush.
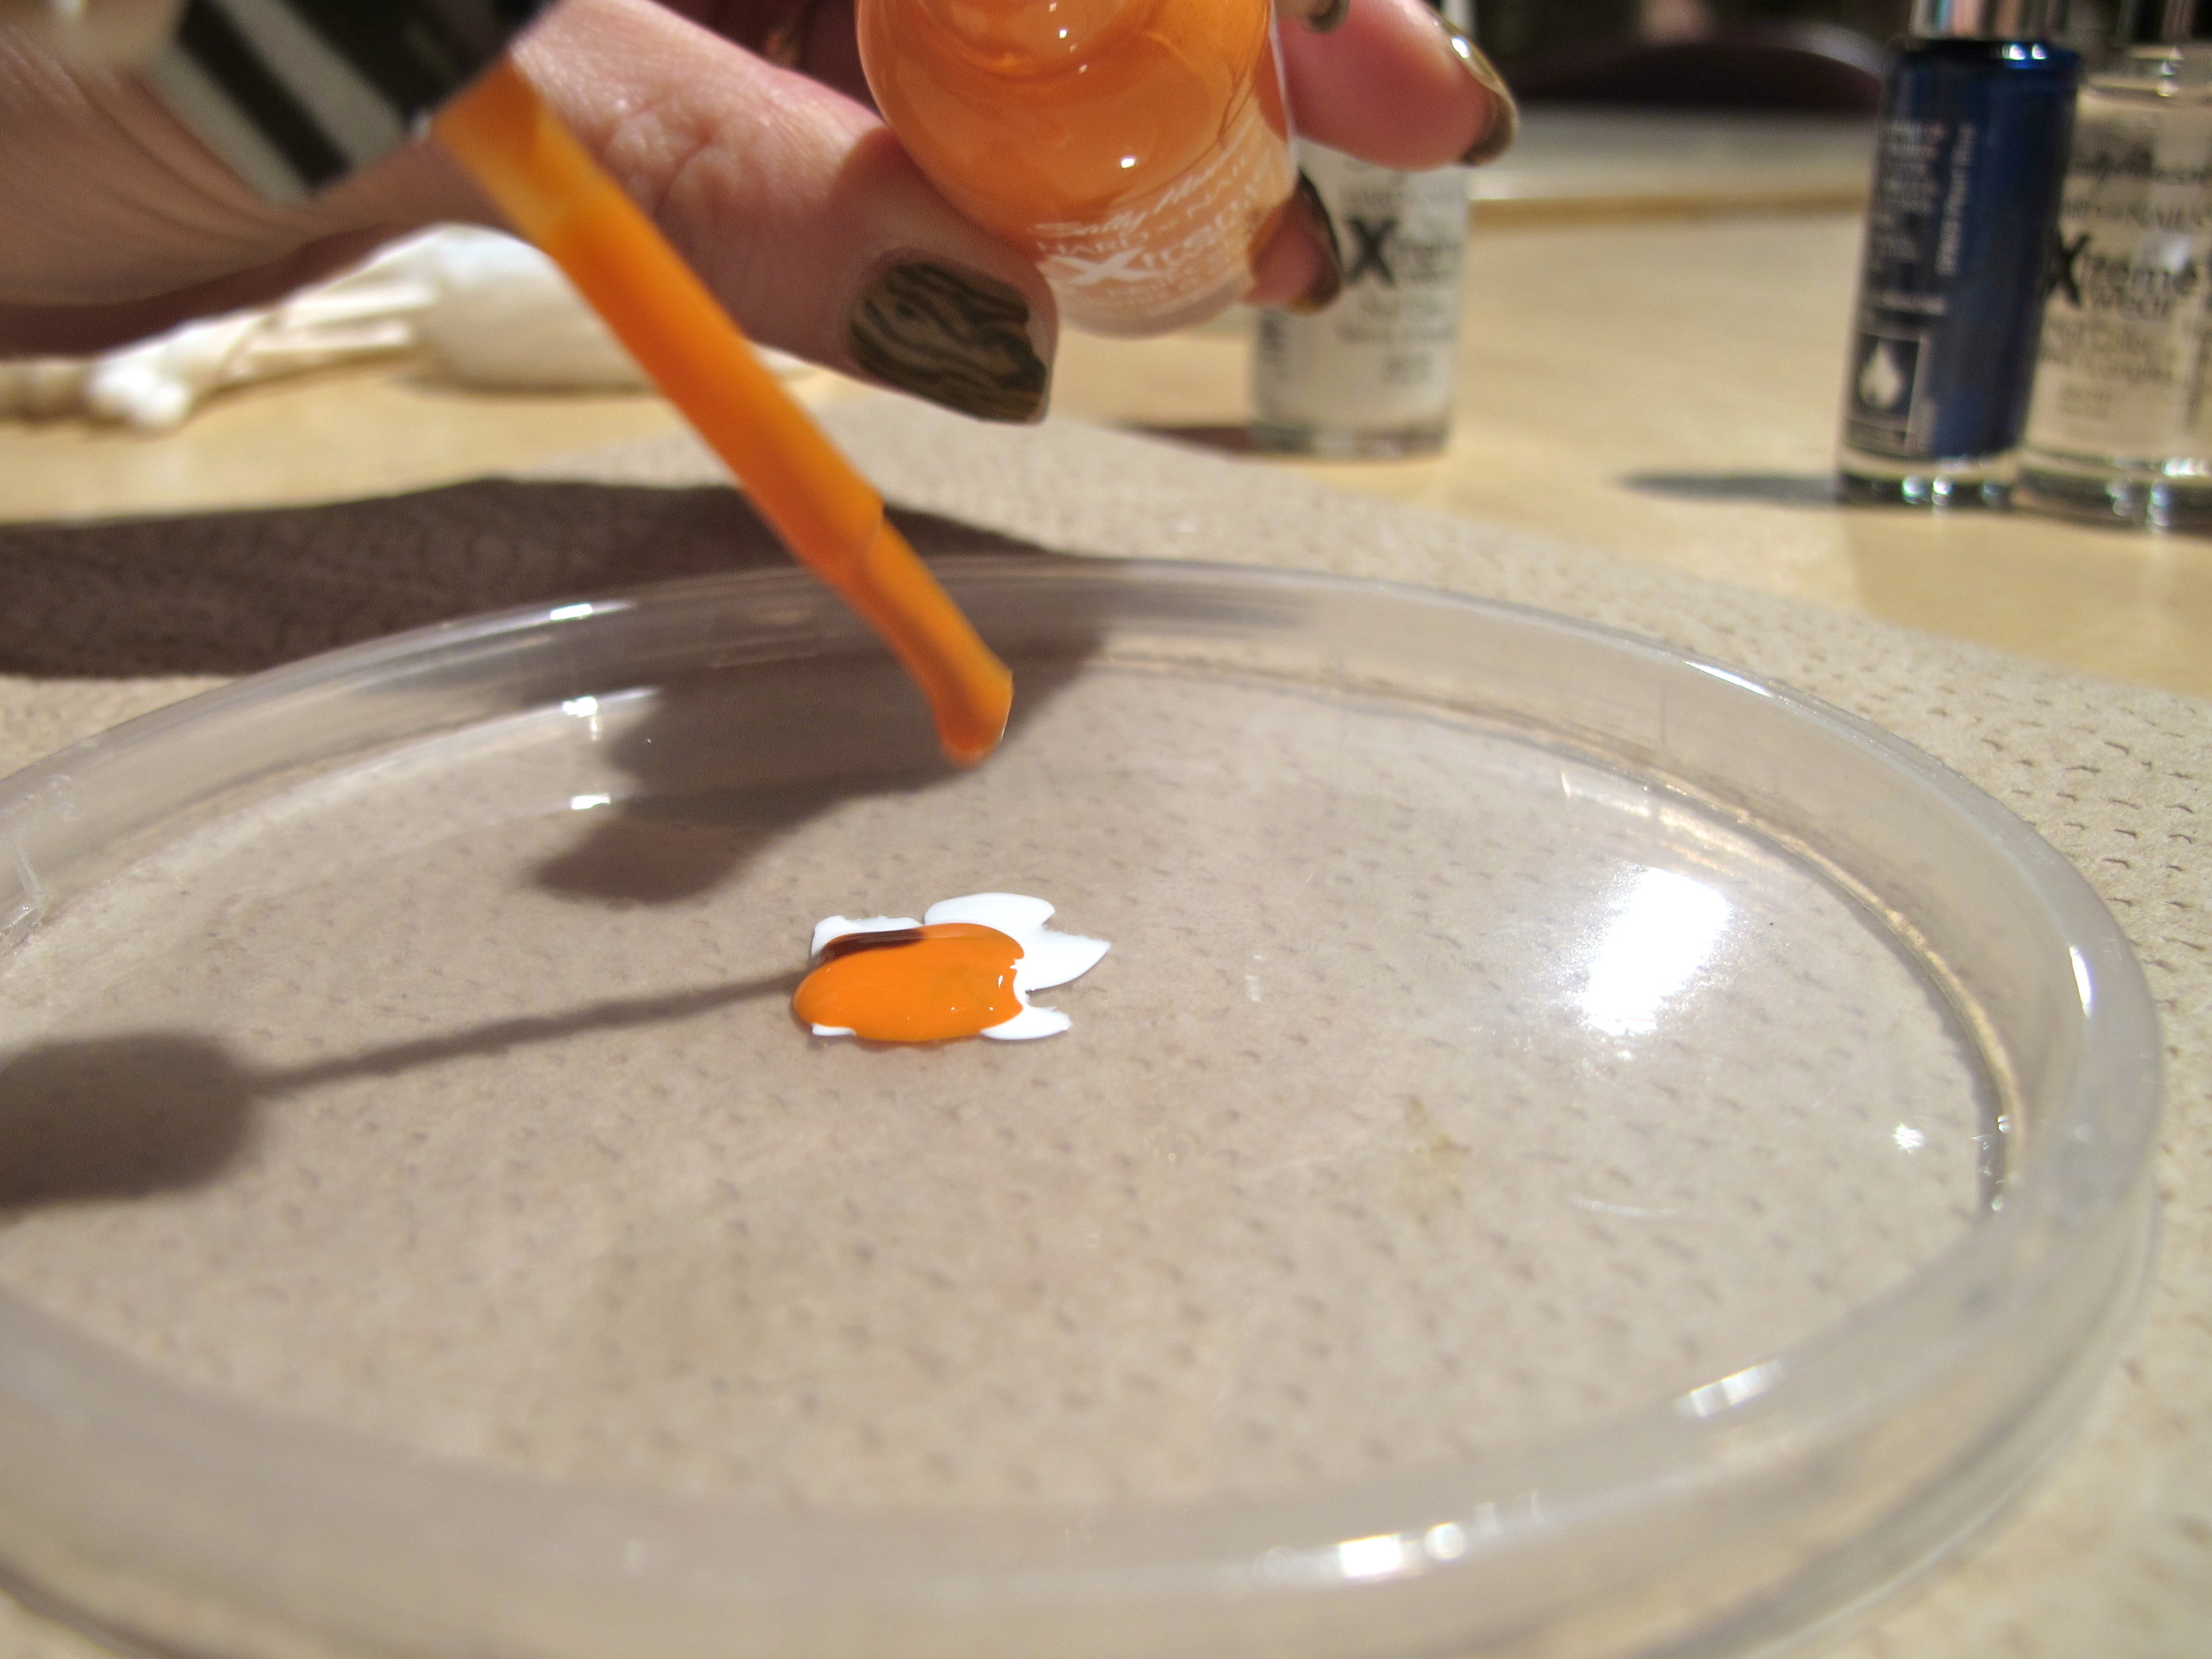
Mix your base coat color. I used white, orange and blue to make a light brown.
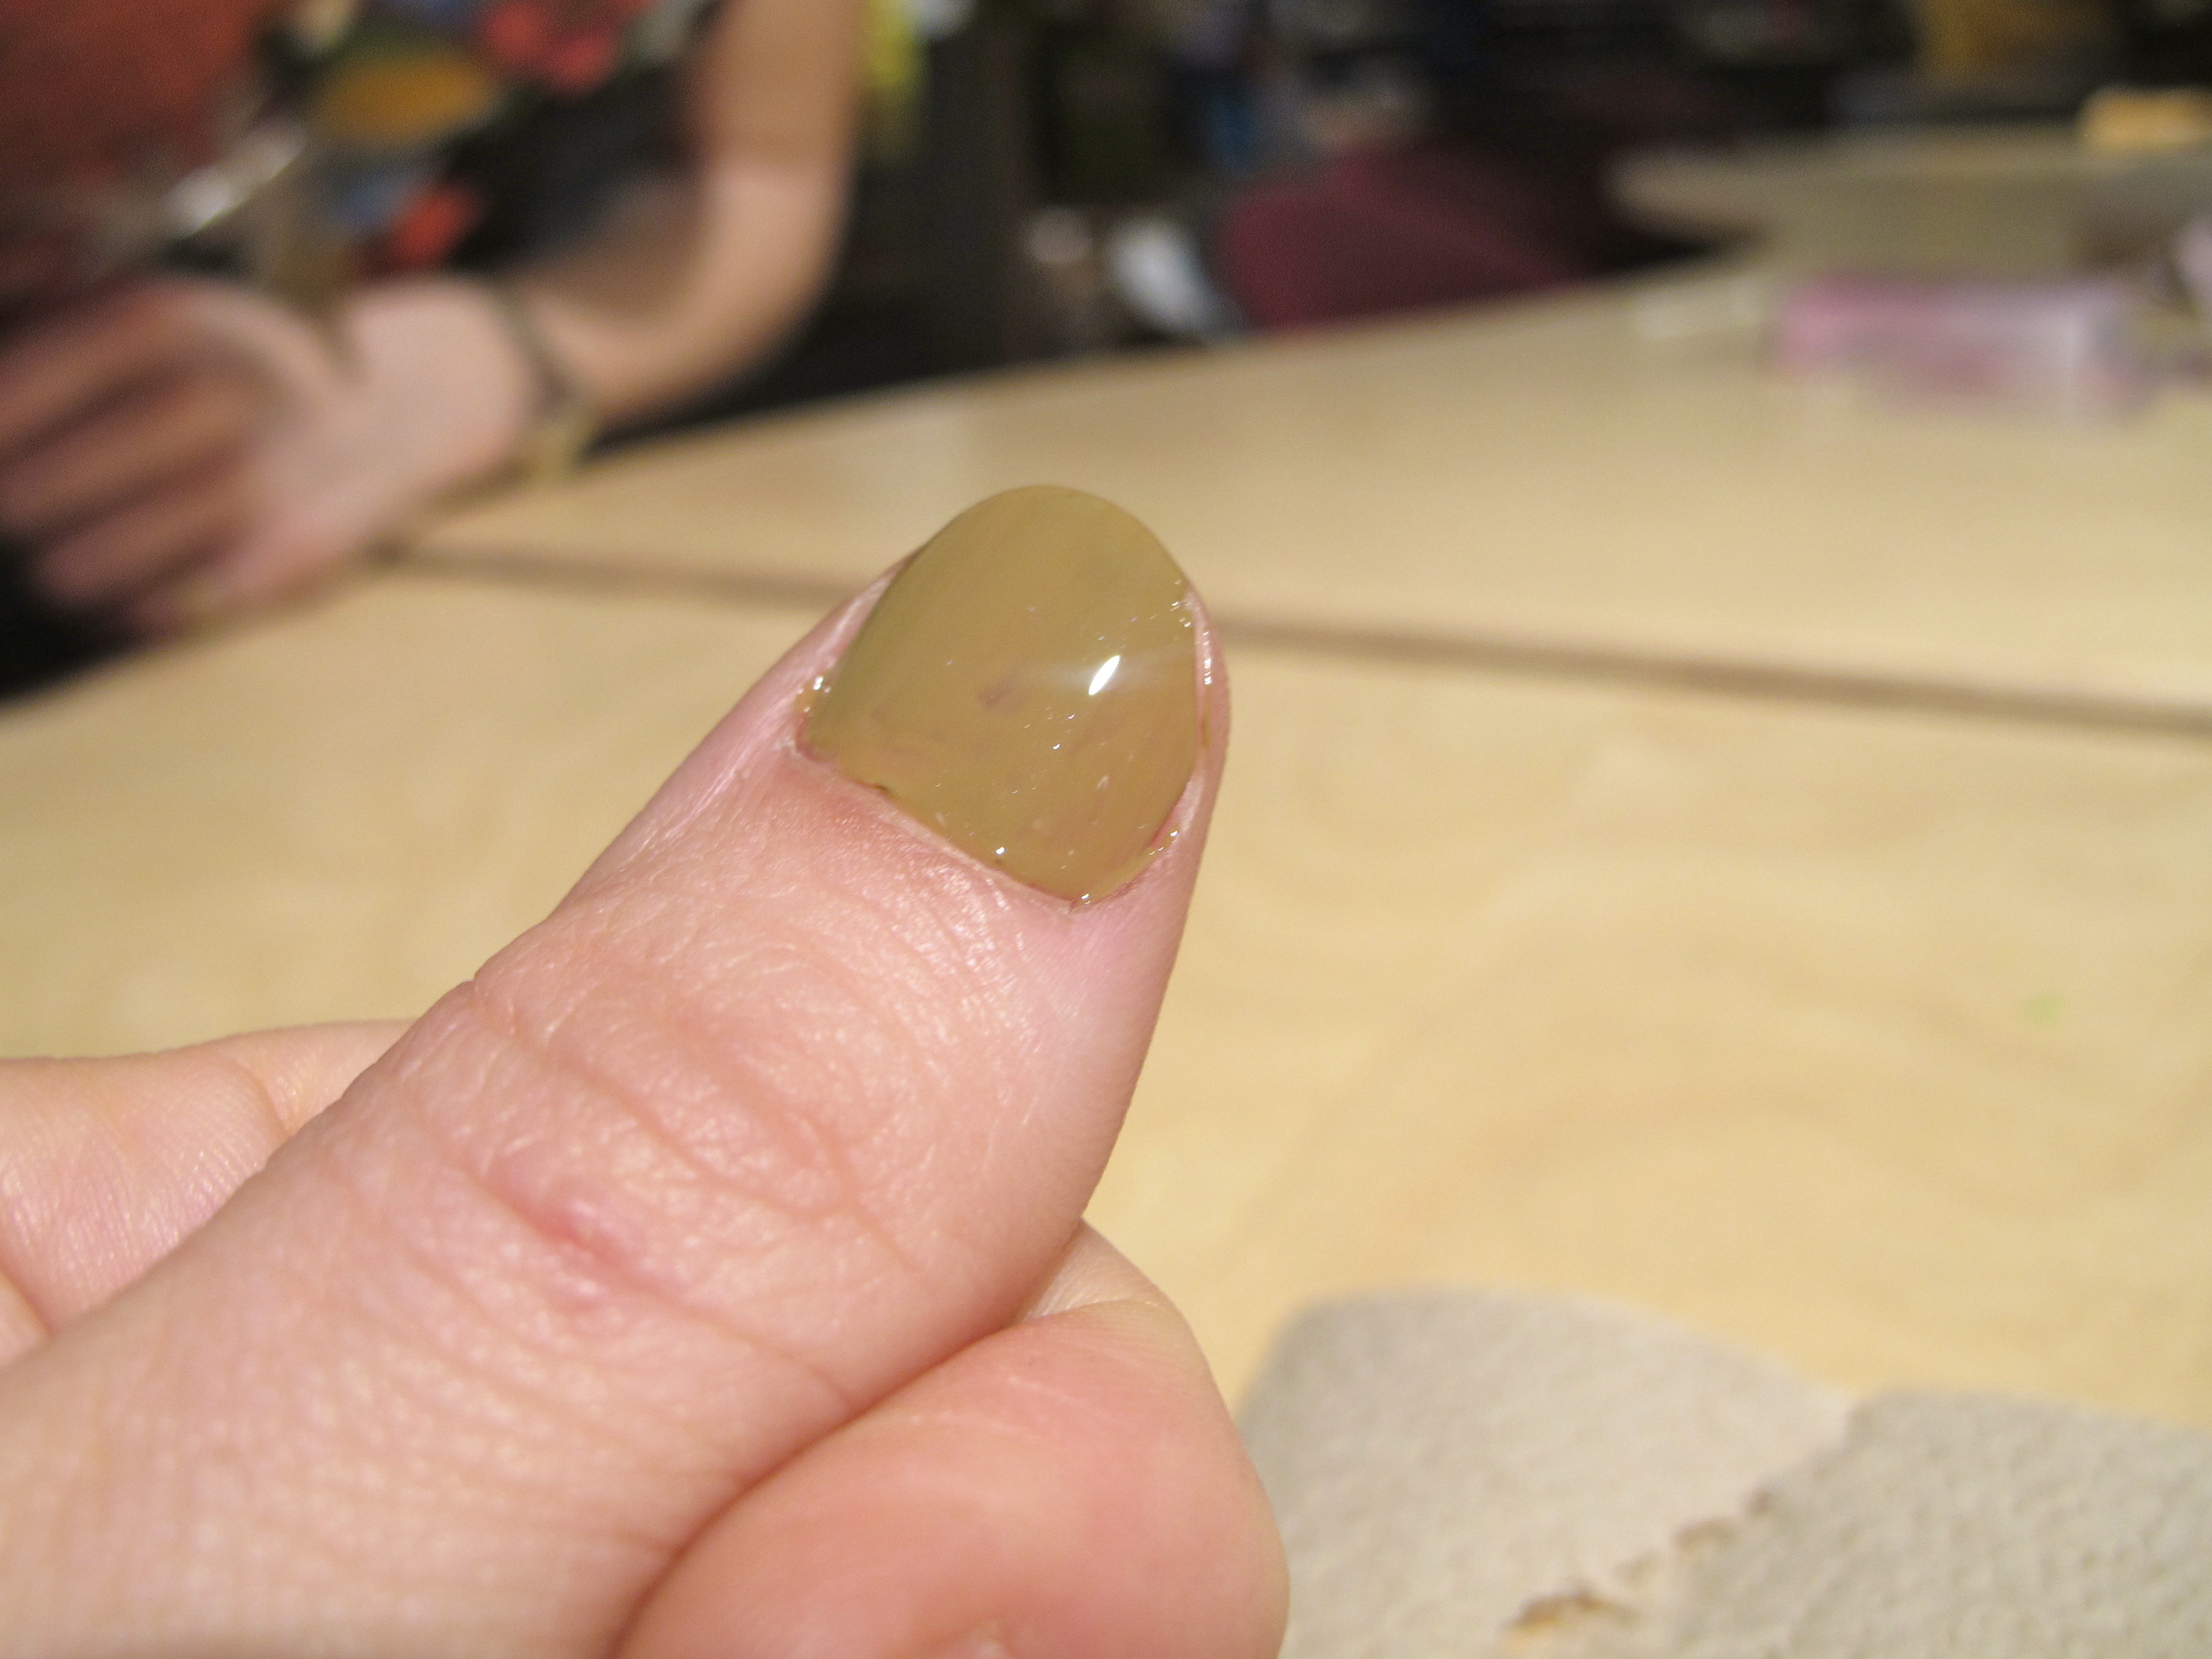
Paint the base coat and let it dry for a few minutes.
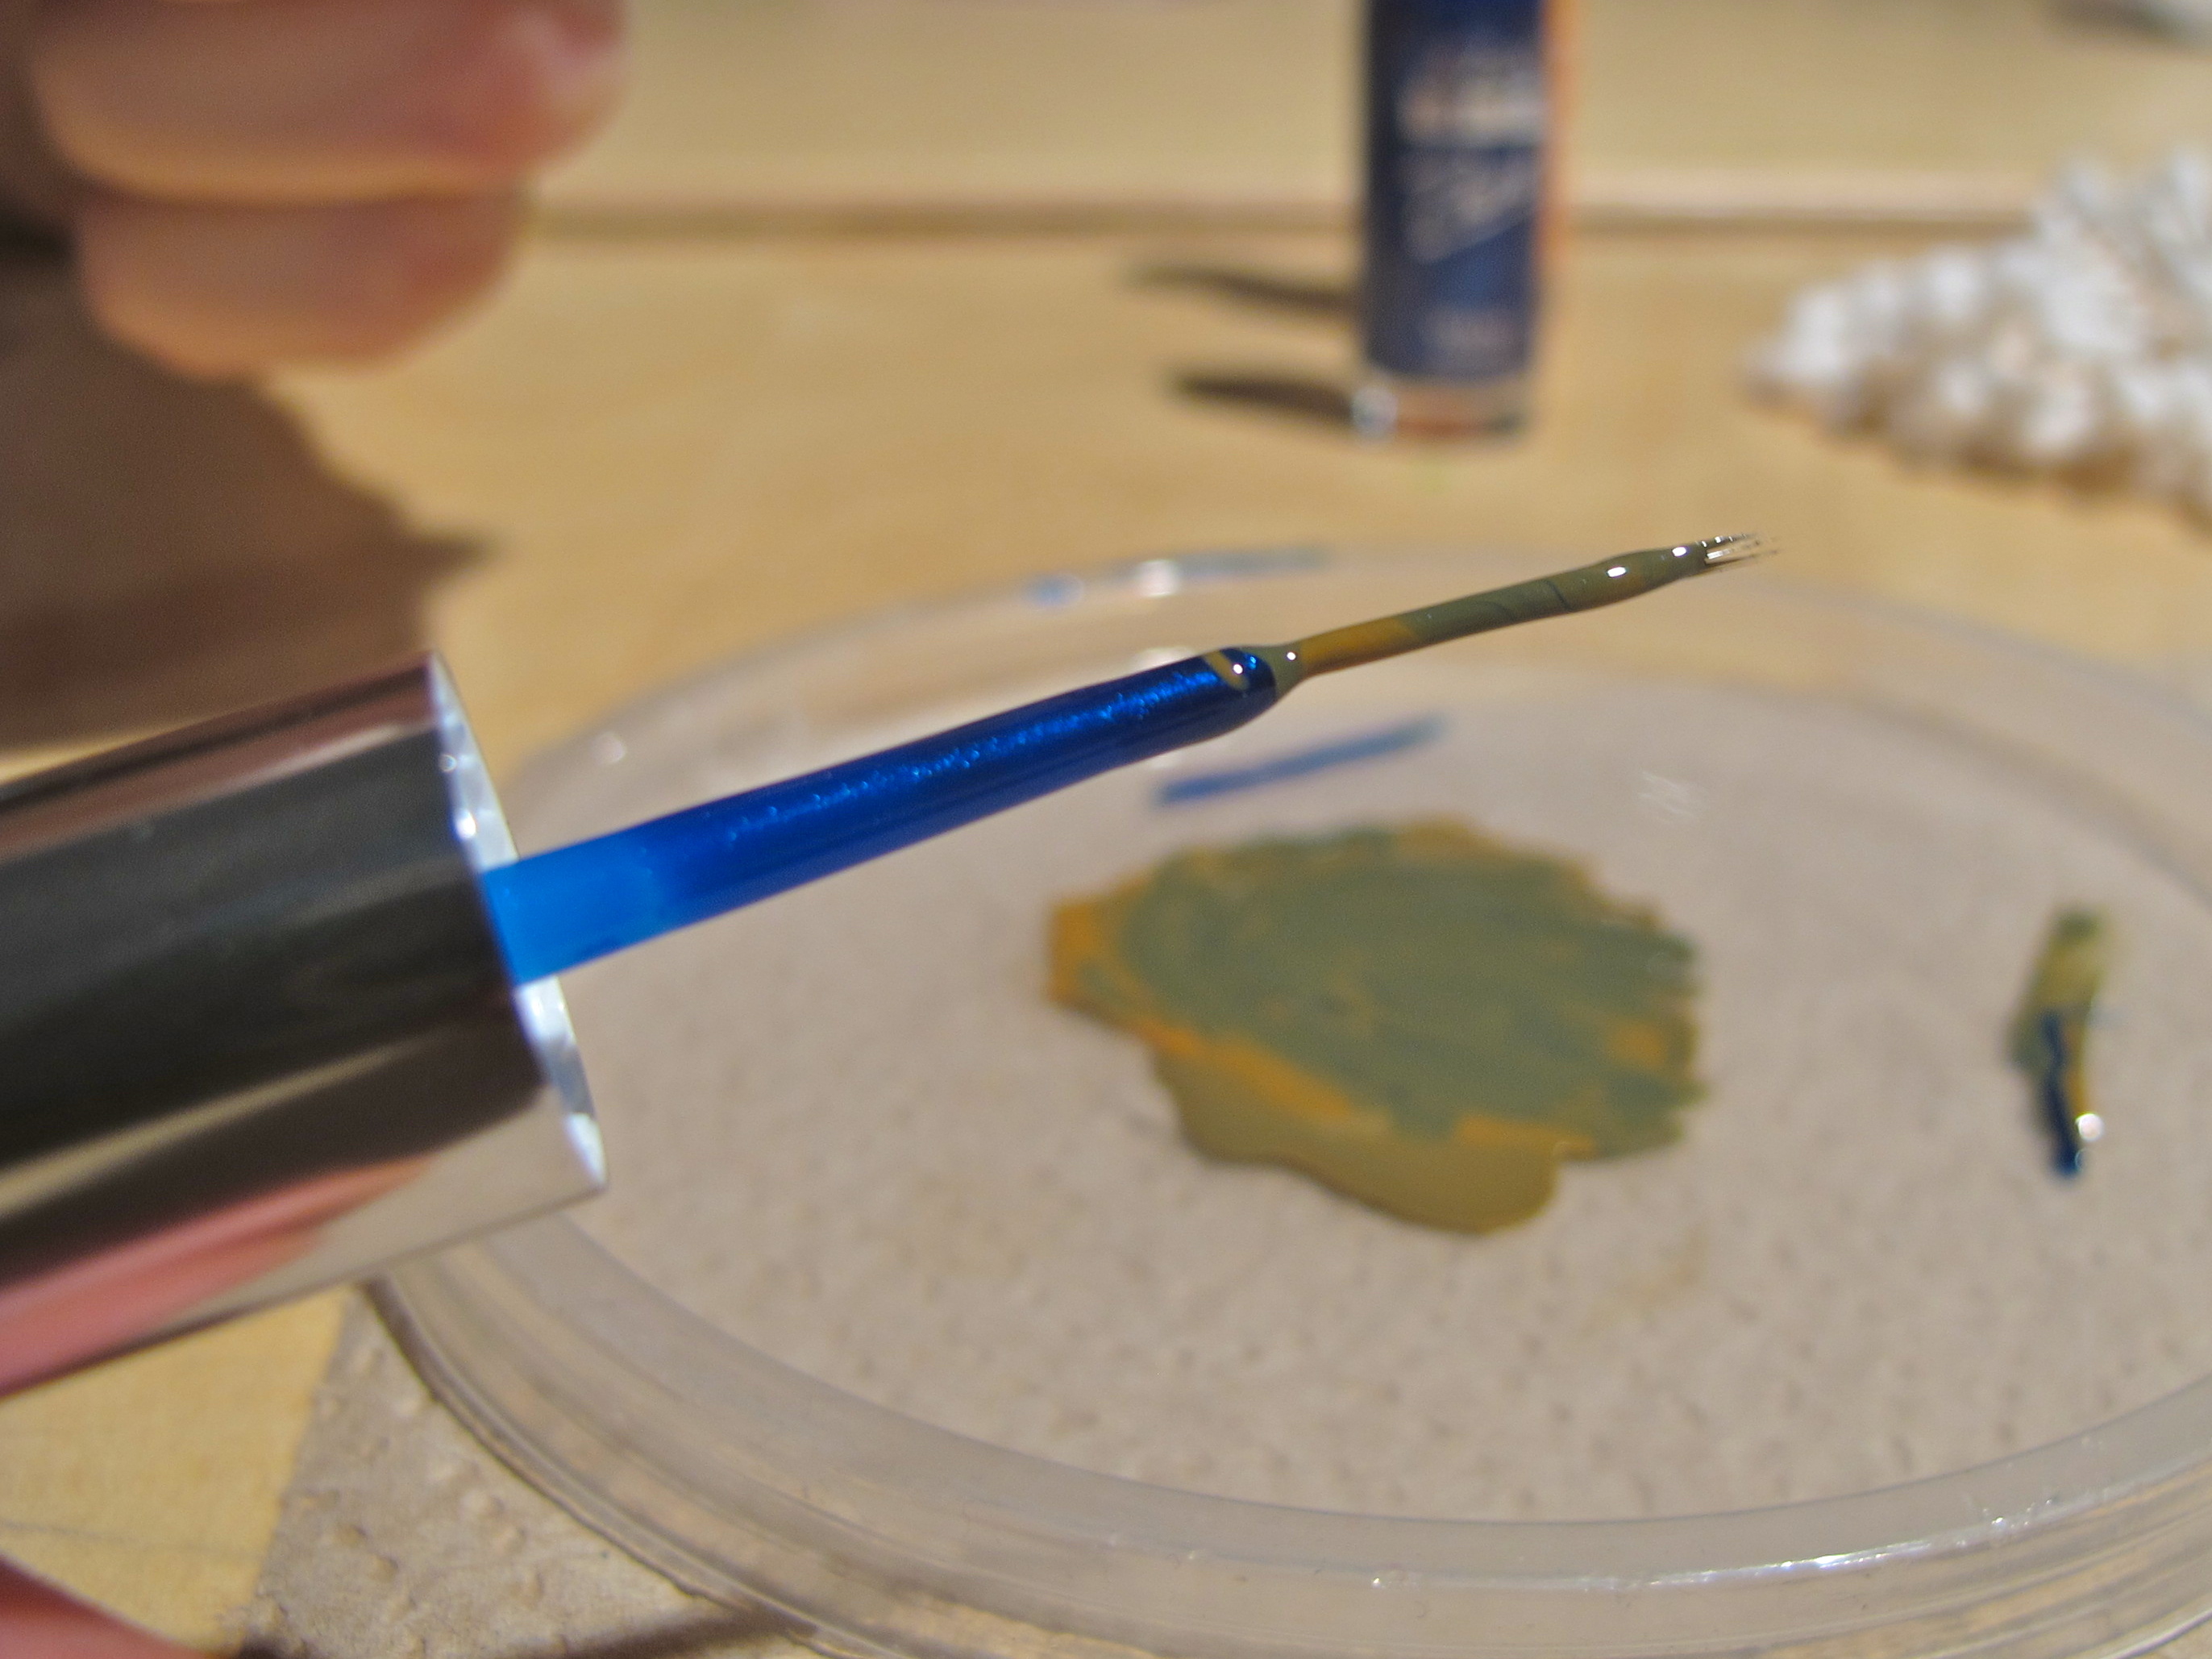
Mix your contrasting color for the woodgrain design. I used dark blue, orange and one drop of hot pink to offset the greenish tinge I was getting.
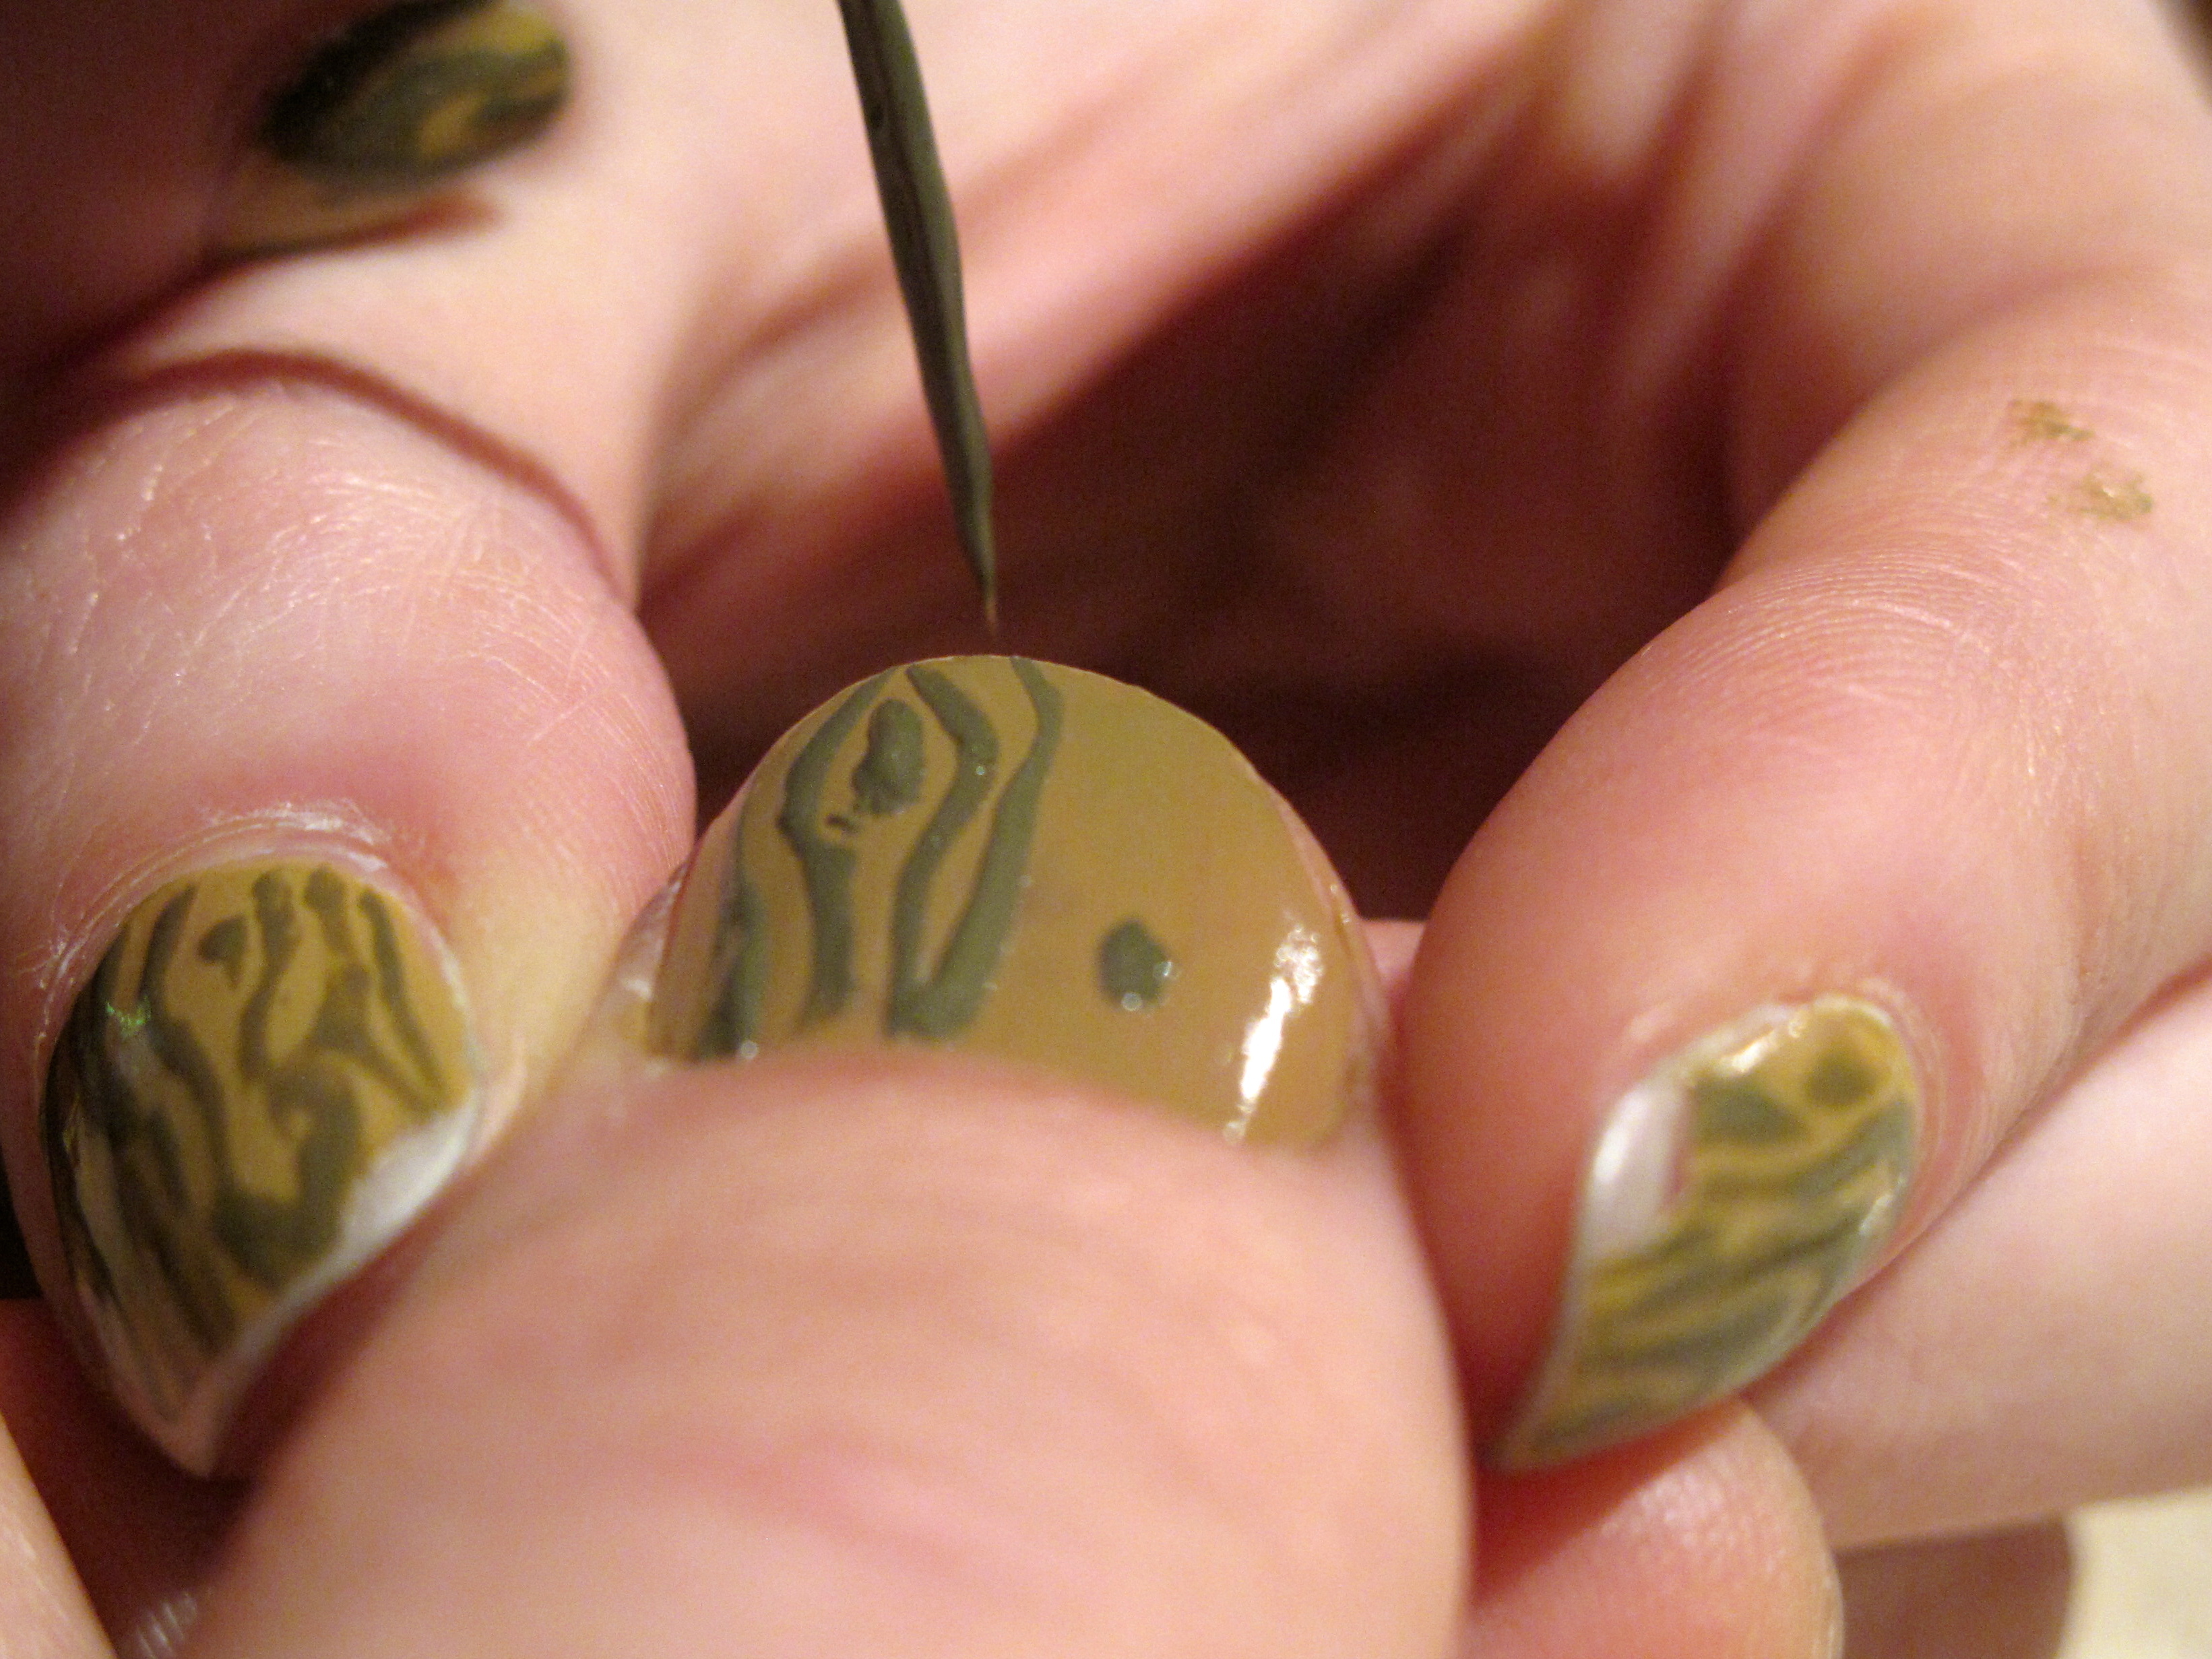
Now for the fun part! Paint the woodgrain designs on each fingernail. It helped me to look at examples of woodgrain while I was painting.
The nail polish I mixed started to dry while I was painting, so try to work quickly. You may have to mix another batch of color for your other hand.
Painting with your non-dominant hand is a fun challenge! Don’t worry, irregular lines look like great, natural woodgrain.
Let the woodgrain pattern dry for a few minutes.
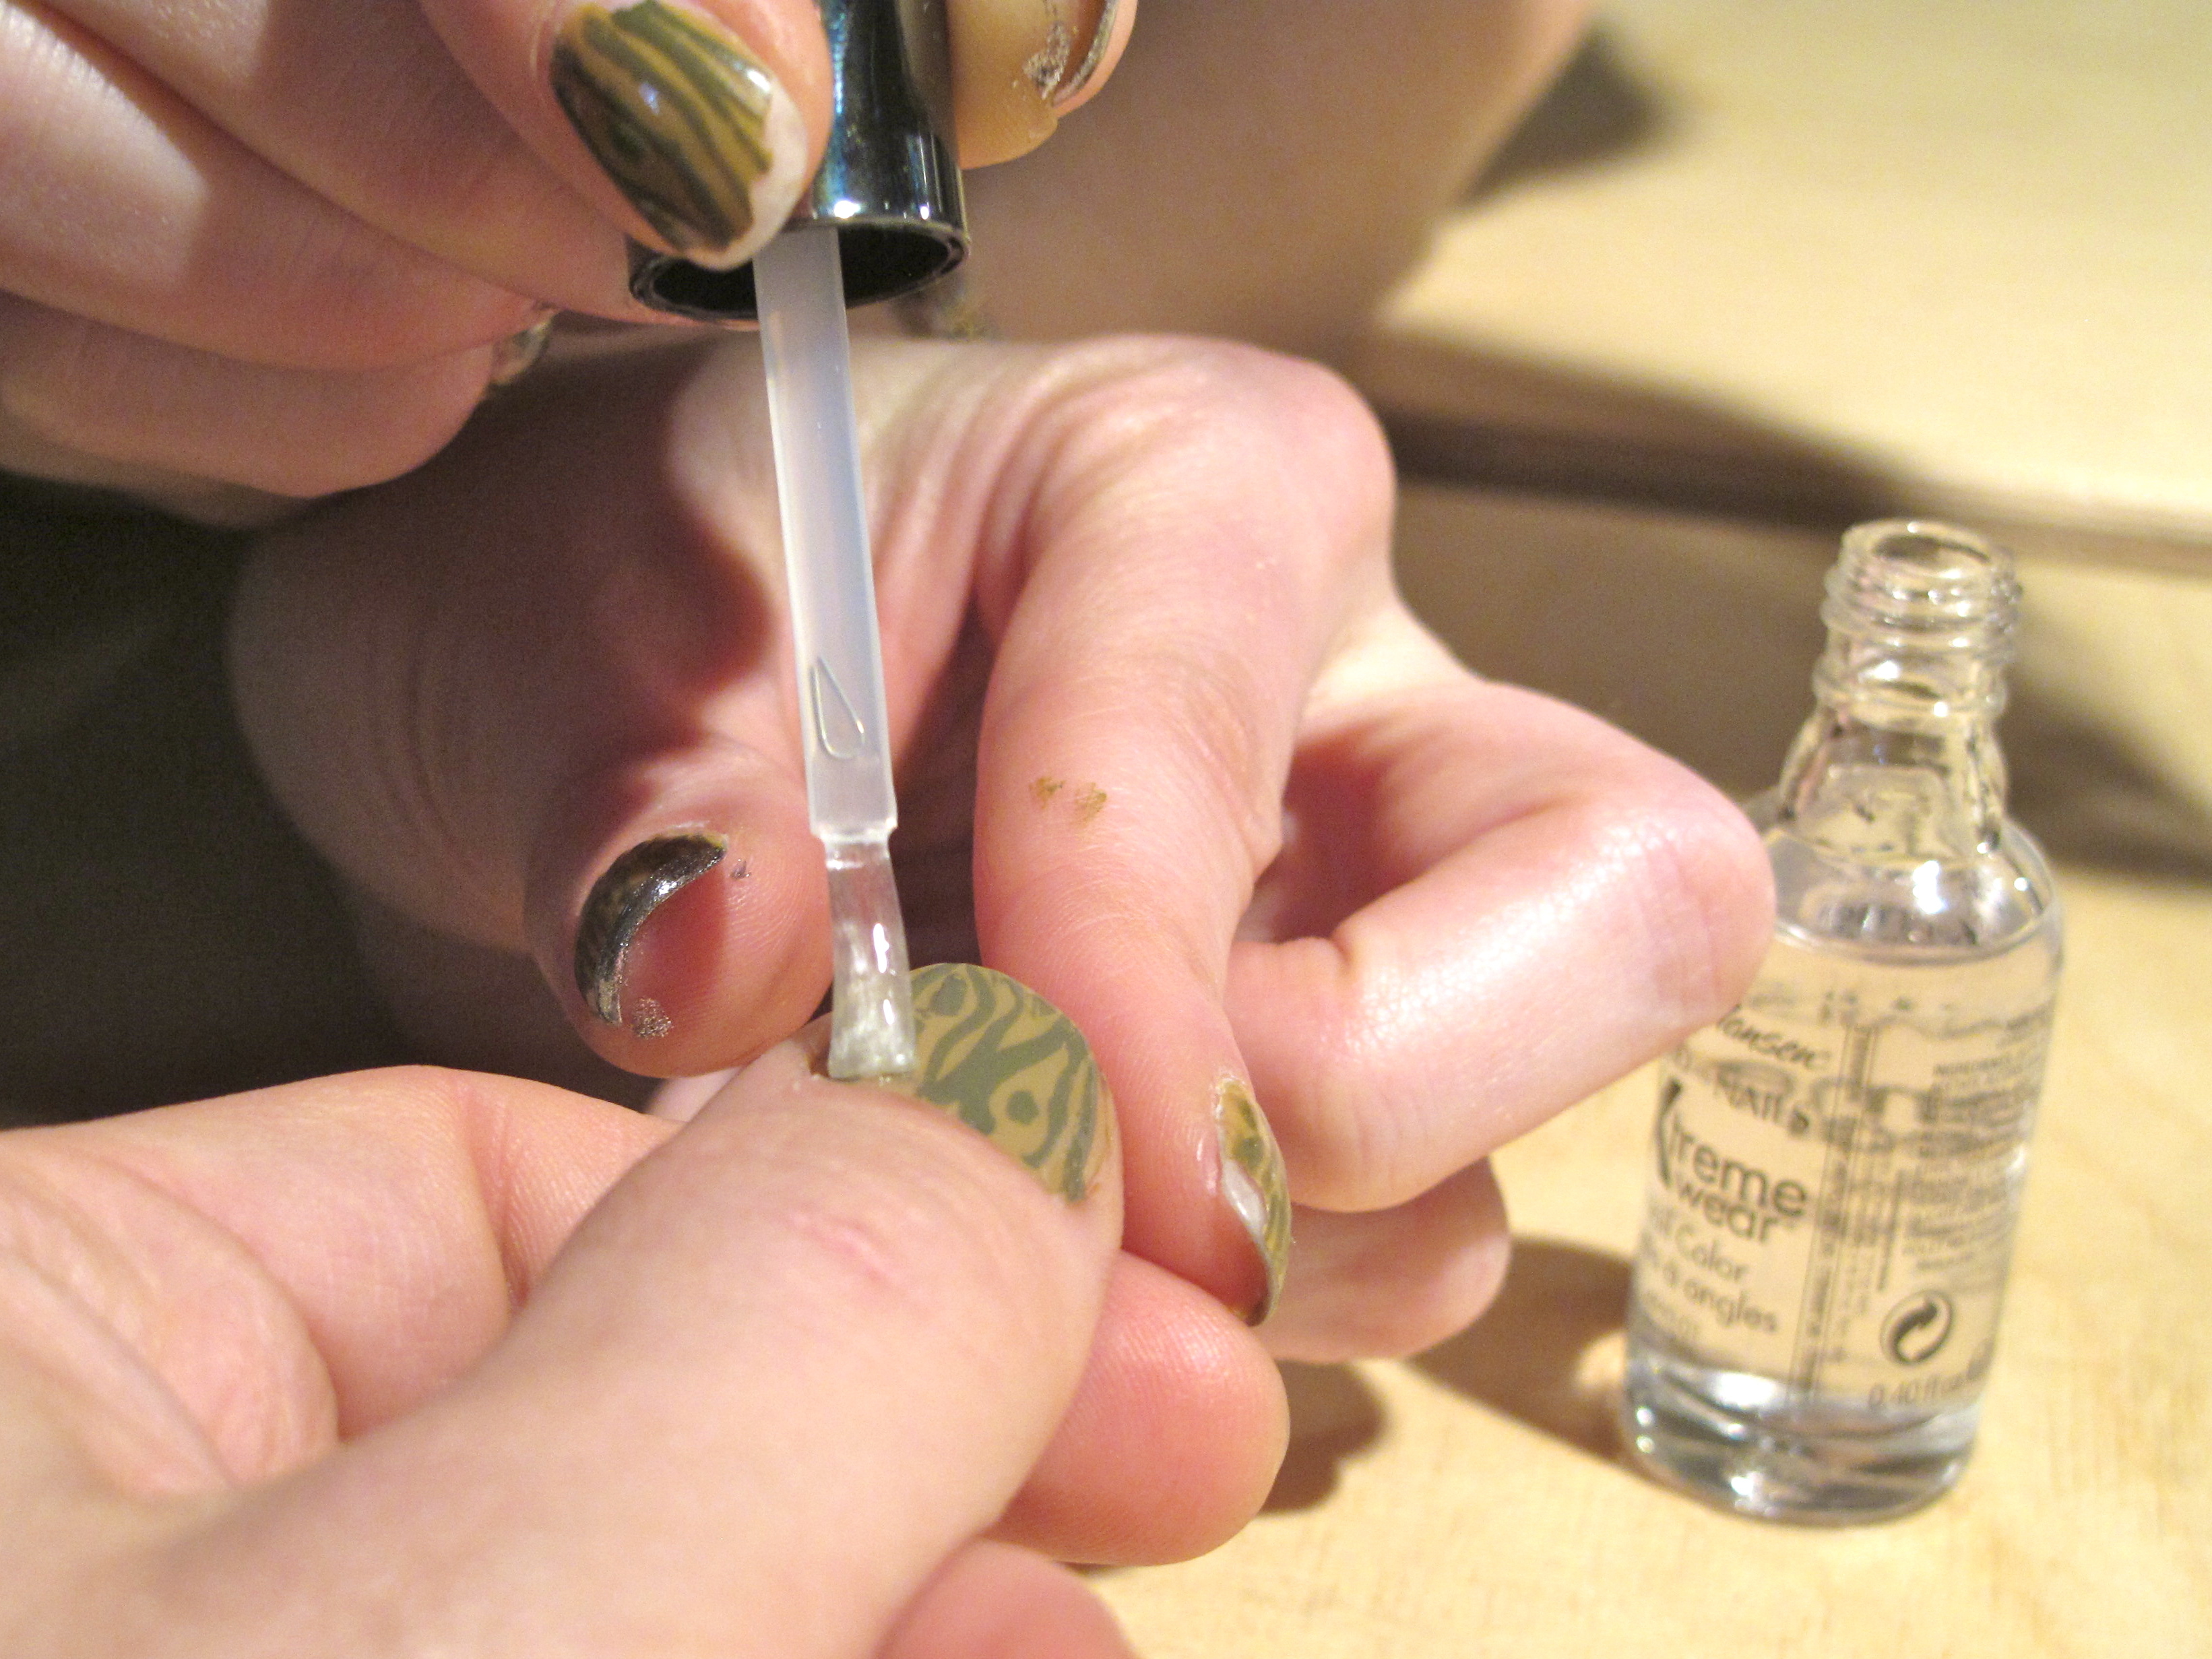
Apply a clear coat of polish. This will protect your design from looking dull and chipping right away.
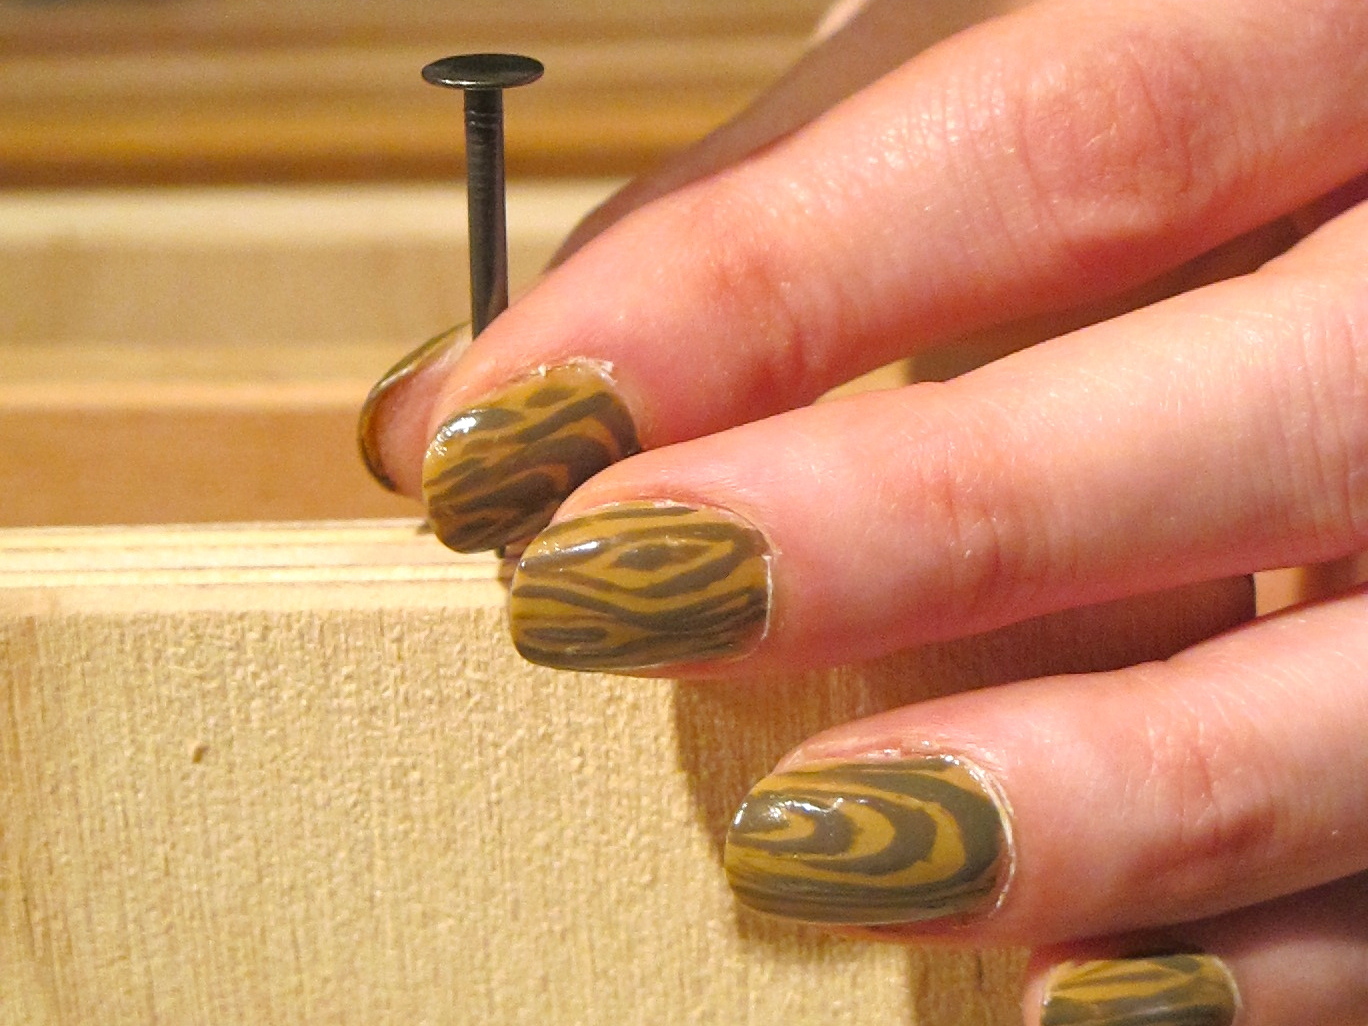
Let your nails dry for at least 30 minutes before attempting any real woodworking. Enjoy!