

Make: Volume 15 – Music
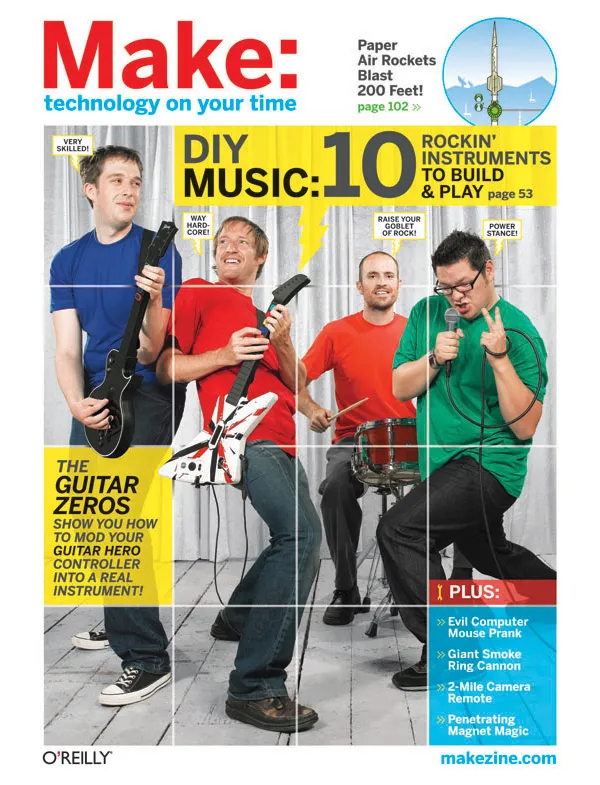

Explore the euphonic delights of homemade music in MAKE, Volume 15, the Musical Instrument issue.
From handheld synthesizers, to laser harps, to autonomous robot composers, MAKE 15 will fill your world with sweet sounds made by you, even if you’ve never learned to play an instrument.


