Recently I bought a GoPro Hero5 camera to help document my projects. One of the features that sold me on it was the voice control function. I initially thought it was kind of a silly feature, but being able to operate it hands free allows me to take photos or video without stopping what I’m doing.

This gave me another idea; why not trigger it with my recorded voice? I could place something on a fixture, have it turn a certain angle, then automatically take a picture. There are other, ways to do this, such as hacking its WiFi connection or just having it take sequential time lapse photos, but voice control seemed like a novel way to accomplish this. Sometimes that’s the only motivation I need.
I eventually got it working, but it wasn’t that straightforward. Here are a few lessons I learned along the way.
Something’s Purpose May Change

What I ended up making was an automatic panorama fixture with a camera spinning around on top of a small turntable. This allowed the camera to be close to the speaker, and work fairly consistently when I tested it in my garage. When taken to the beach, it produced several nice panoramas when I stitched the resulting photos together with Photoshop.
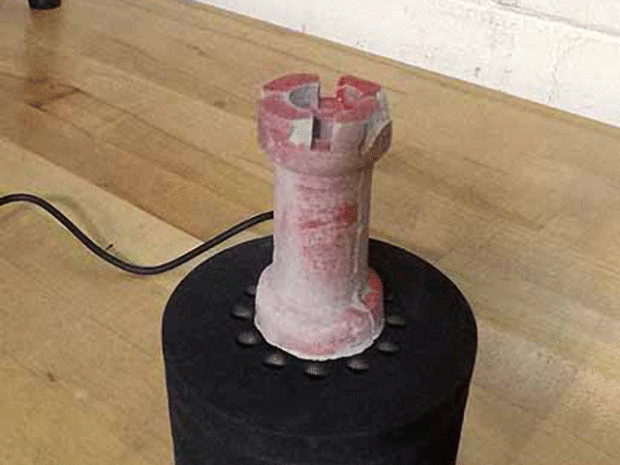
What I’d originally envisioned was something that I could place projects that I’d made on and have it automatically produce photos for a GIF where it spins around and shows off all sides of it. This does work (see around 2:35 in the video above), but is more limited since the speaker is farther away from the camera. To me it’s also a little less interesting than the panorama function anyway.
Enclosures Make Speakers Sound Better (But Can be Simple)

After seeing my first video, and the fact that I was struggling to make my camera work consistently, someone suggested that I make an enclosure for my speaker. Like larger speakers enclosed in wood, the tiny speaker I was using apparently sounds much better when it has some sort of chamber in which to work.
After searching around on YouTube briefly, I settled on a solution where you simply glue a speaker to a cut water bottle. This can be seen around 0:50 in the first video on this page, and worked surprisingly well! Also, I opened up the holes in the top of the fixtures turntable, which allowed more sound to escape the body of the auto-panorama device.
You can Never Have too Much Enclosure Space
After getting the idea for this voice panorama fixture, how to actually implement it came to me while attempting to take a nap. Why not use layers of CNC-cut MDF to both form the enclosure, and provide a surface on top for the table to rotate on? It seemed like a solid idea, but after making an enclosure for the speaker itself, the initial design wasn’t nearly tall enough.
The good thing is that these rings were modular, and I could easily slip in a few more. I knew it was going to be a tight fit to begin with, but with the speaker now taking up much more room, things weren’t going to work.
If it Works in the “Lab,” it May Not Work Somewhere Else

After taking photos in my garage, I was convinced that my auto-panorama fixture was working quite well. Unfortunately, however, it worked much less well at the beach. My thinking is that between the wind and the ambient noise of people and cars there, it interfered with the device’s ability to pick up the audio signals.
Watch Your Maximum Current
The maximum current on the Arduino Nano that I was using is 200mA. A hobby servo—per this guide—pulls in the neighborhood of 600mA when fully loaded. I was trying to signal and power my servo with the little nano, which seems like an obvious problem in hindsight. I changed things around so power was being pulled independently of the Nano via a USB breakout, but before that the system itself was working quite intermittently.
Modifying Servo for Continuous Rotation is Easy (But Not Really a Servo)

I’d never tried to modify a servo into a continuous rotation model. It always seemed a little too…solder-involved for my tastes. After trying it, however, it’s actually pretty easy. Just unsolder the potentiometer, and replace it with two 2.2kOhm resistors. You can see more details in my video above.
I suppose it’s no longer a servo though, since there is no positional feedback.
Magnets Make a Great Attachment Method, But Watch Your Wiring
In order to attach everything together, I used neodymium magnets. This worked great, but with wired flying everywhere, they sometimes got trapped between the layers of MDF. I suspect that it was causing issues with the current flow from time to time, since magnets can induce a charge in electrical wires.
I haven’t confirmed this, but sometimes the device wouldn’t work, and after rearranging wires it would begin to function correctly. Perhaps conventional thinking would be that I had a loose wire somewhere, which is certainly a possibility.
In the end, was this the best way to accomplish this task? Perhaps not. On the other hand, I learned a lot trying it out, and as far as I know it’s the only device that works this way anywhere in the world. For me at least, that’s a huge part of making stuff, to simply see if it can be done!
ADVERTISEMENT
Join Make: Community Today


