Biotechnology is powerful, but only for those with the tools to experiment with and utilize it. The DIYbio movement seeks to put the tools and techniques used in well-funded laboratories around the world into the hands of ordinary people who have an interest but not the means to investigate biology.

Read articles from the magazine right here on Make:. Don’t have a subscription yet? Get one today.

One of these tools is the centrifuge. Centrifuges come in many shapes and sizes to fit a wide variety of laboratory needs. There are large machines with precise controls for RPMs, G-force, timers of all kinds, and even ones with temperature control. Then there are mini-centrifuges used for simple DNA extraction and quick-spins for mixing the contents of test tubes.

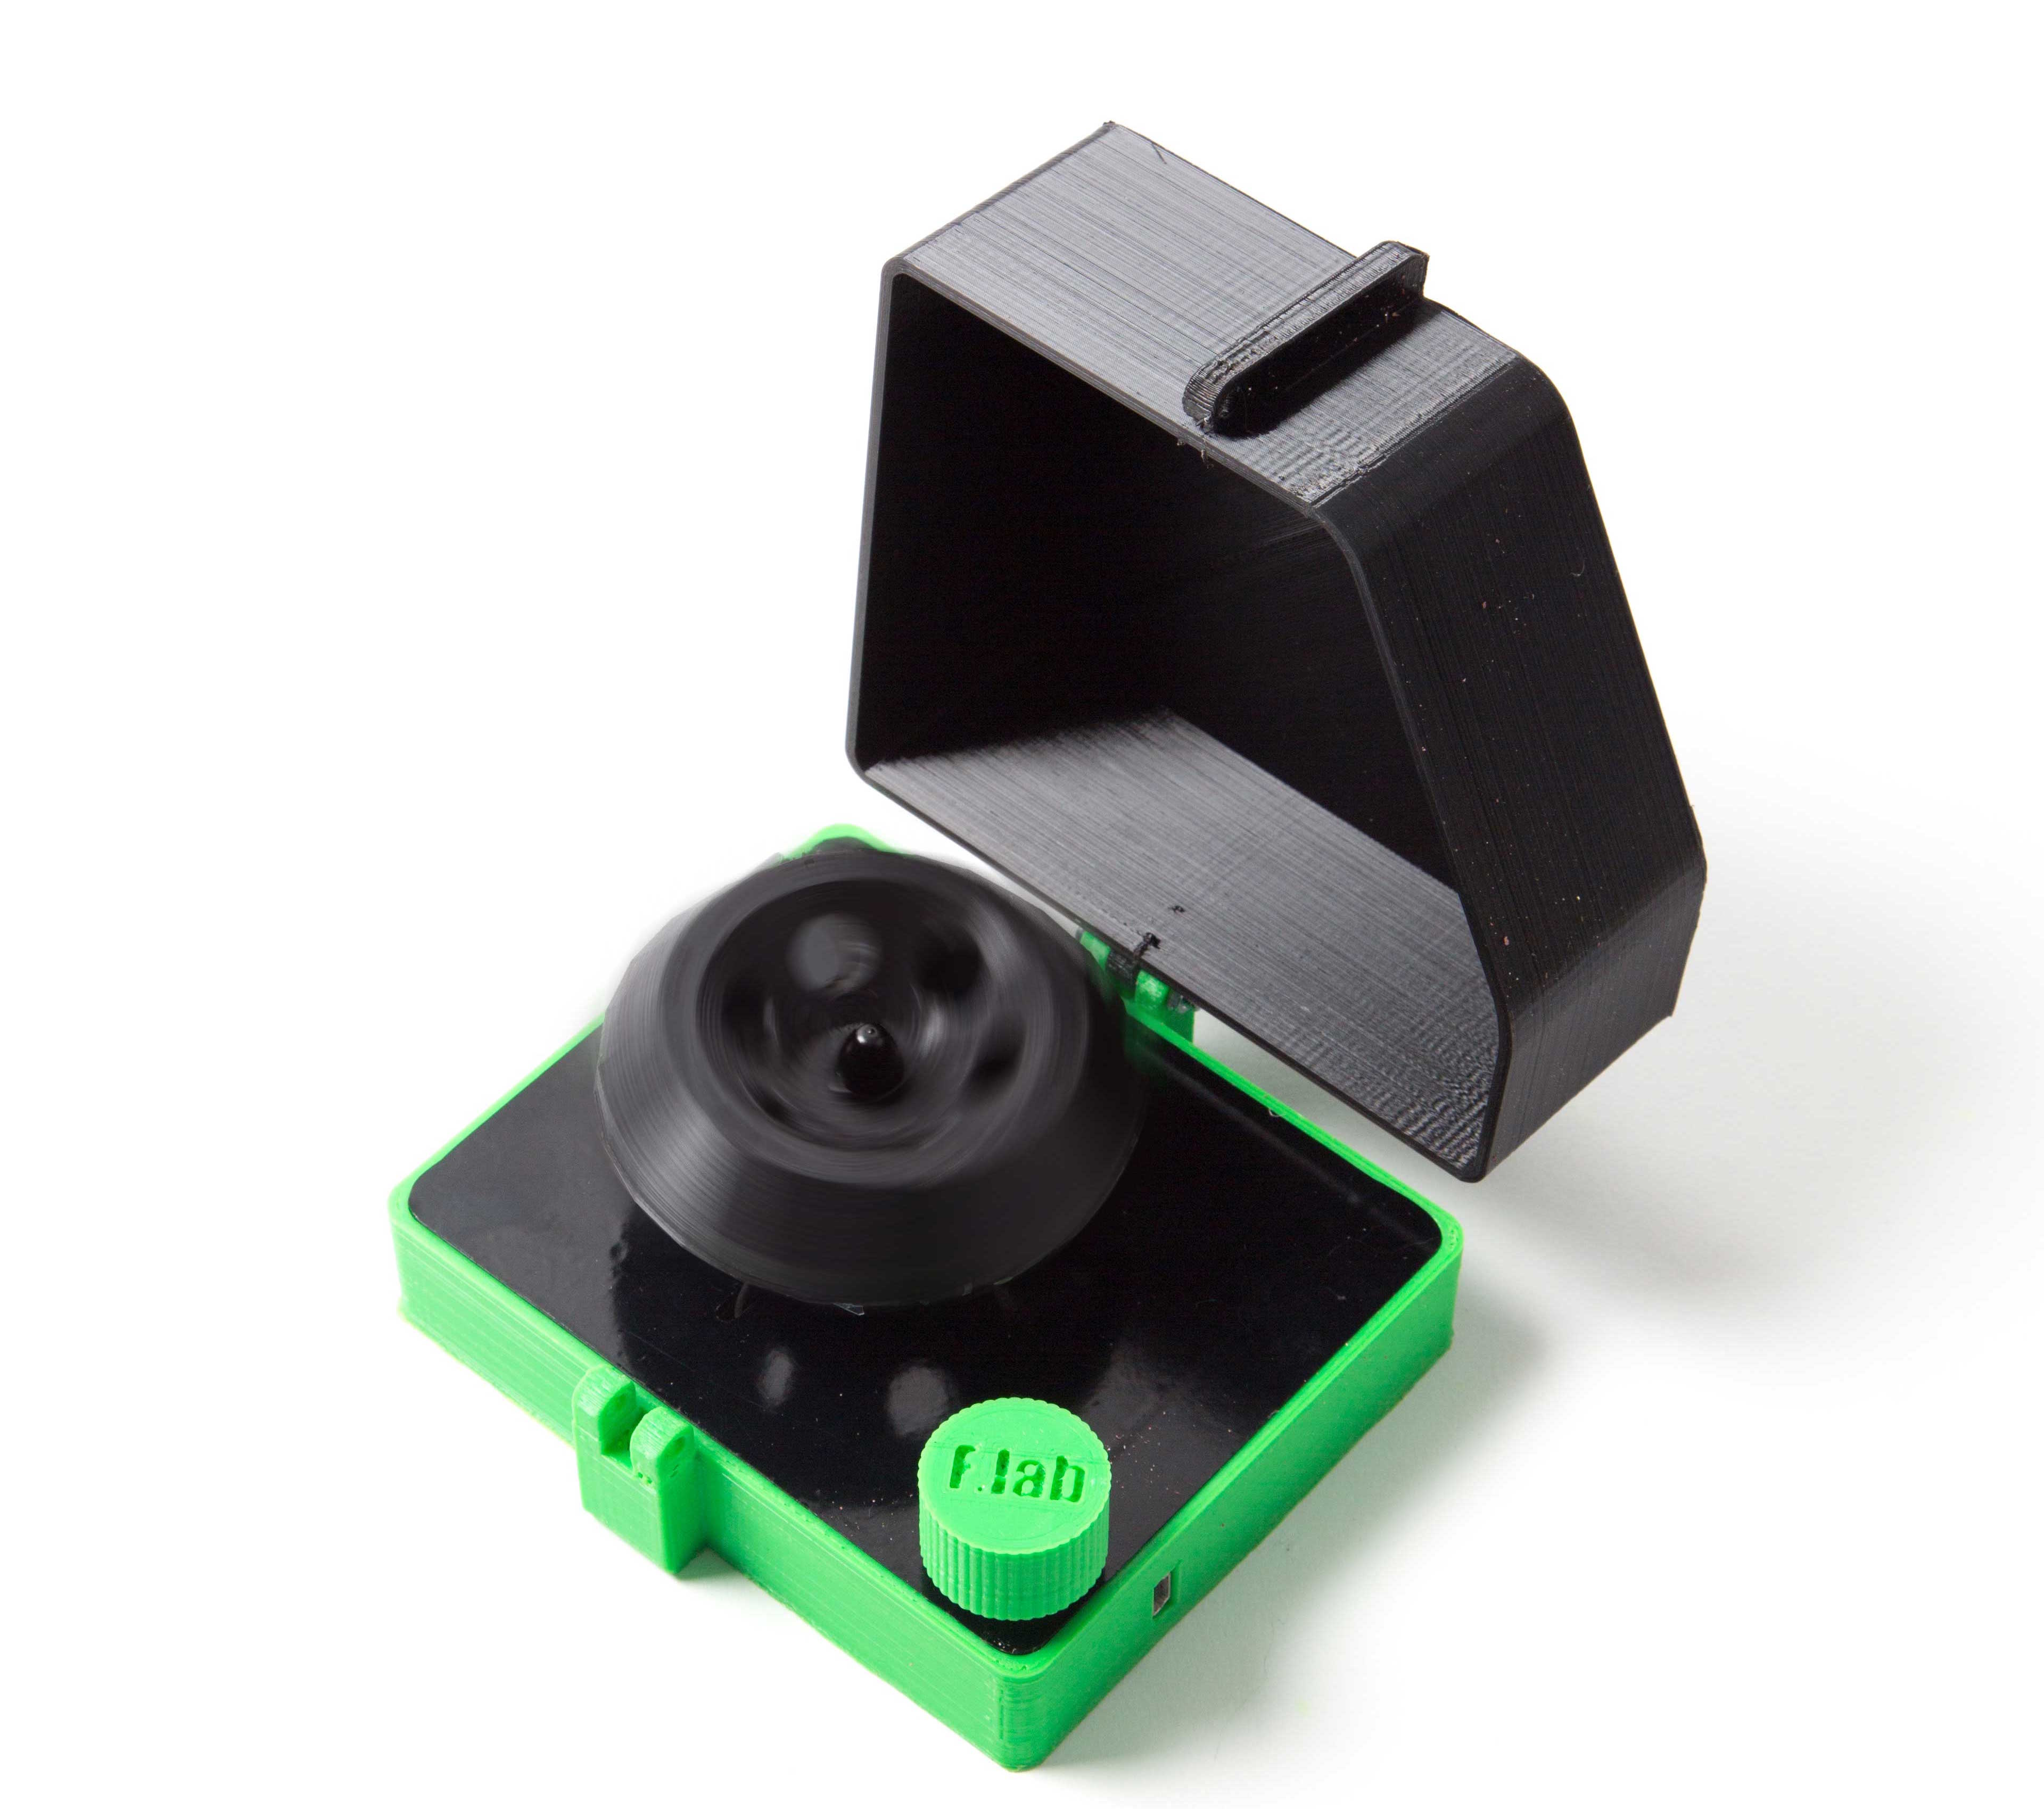
This 3D-printed DIYbio mini-centrifuge was designed to do the latter and has actually been used in a real university biology lab doing real protocols. Building one is easy, and hopefully after you’re done reading this, you will have ideas of how to improve on this one, or maybe the inspiration to tackle other types of otherwise inaccessible and expensive pieces of equipment with 3D printing.

Project Steps

PRINT THE PARTS

Figure A. Assembly of the printed parts

Go to F.Lab’s Thingiverse page for the centrifuge to download the STL files. Because of the size of the parts, you may need to run multiple print jobs — this gives you a chance to switch colors like we did (Figure A). Print infill of 30% is recommended. Be sure to duplicate the feet so that you have 4 in total.

PROGRAM THE ARDUINO

Figure B. Click for larger version

It’s a good idea to program your Arduino first and test everything out before assembling the entire centrifuge. Upload the code below to your Arduino. Wire everything together as in the diagram (Figure B), but make sure to use only temporary connections between the 3 drone motor wires and the ESC, because you’ll need to disconnect them and reattach them during the assembly process.

#include

Servo myservo;

int potpin = A0; // analog pin used to connect the potentiometer
int val; // variable to read the value from the analog pin

int listo = 13;

void setup() { 
pinMode(listo, OUTPUT); digitalWrite(listo, LOW);

myservo.attach(9); //pin de control al ESC

arm(); // Función para armar el esc

}

void loop() { 
digitalWrite(listo, HIGH); //Sierra preparada LED intermitente

delay(200);

digitalWrite(listo, LOW);

delay(200);

// reads the value of the potent. (value between 0 and 1023)

val = analogRead(potpin);

// scale it to use it with motor. Limitado a 100.

val = map(val, 0, 1023, 55, 140);

myservo.write(val);

}

void arm() { //Función de armado 
myservo.write(0);

delay(1000);

myservo.write(30);

delay(3000);

}

NOTE: People have pointed out you can use a servo tester board instead of the Arduino and ESC. We haven’t tried this, but it may be less tricky for beginners. You may have to modify the 3D model — we include the SketchUp files for this exact purpose.

ASSEMBLE THE CENTRIFUGE

Attach the drone motor to the motor mount piece with its bolts. Then use the four 14×3mm bolts and nuts to attach the motor mount piece to the case cover (Figure C).

Figure C

Feed the motor’s 3 wires through the case cover via the oval hole where they will then be connected to the ESC (Figure D). It is now possible to wire the rest of the electronics together. Be patient and follow the diagram carefully.

Figure D

Once wired up, gently force the rocker switch into the notch on the back, left side of the case. Install the female adapter similarly. Attach the wired-up potentiometer to the case cover, and then fit it into place into the space provided for it in the front, right side of the case.

With your Arduino Nano also wired up, you can either tuck it away inside (Figure E), or you can glue or friction weld a piece of plastic behind it to hold it in place next to the mini-USB terminal hole on the right side of the case.

Figure E

This centrifuge is still a prototype, so carefully pack the wires in but don’t worry if it looks like a mess. Just make sure you didn’t leave exposed wires or contacts, and that nothing is being pinched or crushed when you put the cover on.

Using the feet as washers, attach the case cover to the case body with the 3 screws, and put the knob onto the potentiometer shaft with a thin piece of cardboard inside to help it stay on if necessary. Add the rotor by simply placing it over the motor’s shaft and then tighten it down with the nut. It should be tight, but don’t go overboard.

Finally, add the 22×3mm bolts and nuts to attach the lid on the back of the case, and to use as a fastener in front when transporting the centrifuge (Figure F).

Figure F

USING YOUR CENTRIFUGE

The centrifuge is a little tricky to use — the ESC interprets everything you try to do as if it is still attached to a very expensive drone. Too much power, or fluctuations in power, can cause the motor to stop working and the ESC to reset. Some tips and notes:

  • When you turn on your centrifuge using the rocker switch, the ESC will beep, then calibrate itself.
  • Slowly turn the knob until it reaches halfway and begins spinning. Turn it the rest of the way to get it to spin faster.
  • We recommend that you only spin the rotor at 1–2 minute intervals. We use a phone app stopwatch to time it. Always operate it with the lid down.
  • Be sure to always balance the rotor. If you’re using only one test tube, make sure to place another opposite it, even if it is empty. The rotor must always be balanced or you risk subjecting it to uneven and possibly destructive forces.

GOING FURTHER

In addition to the centrifuge, we also have developed a magnetic stirrer as well as an electrophoresis system. Together with our tube rack blocks, this offers everything you need to do basic DNA extraction and analysis.

Planning to build one of these centrifuges? ProgressTH recommends thinking of a better way to run the drone motor with the potentiometer. “Right now it can be temperamental to get it spinning because the ESC still thinks it’s on a drone. You have to very carefully turn the knob just right to get it to run or it will just shut down and start over. Maybe someone has better coding skills and can sort the problem out through the Arduino Nano.”