Barbecue is not the same thing as grilling.

True barbecue involves cooking meat over low heat for a long time – often for many hours. I have a grill (a Weber kettle), but having to manage the fire for hours isn’t a lot of fun. Smokers like the Weber Smoky Mountain start around $300 – and don’t even get me started about the Big Green Egg ($700+!).

And then I saw an episode of “Good Eats” where Alton Brown made his own smoker out of a hot plate, two flower pots, and a metal grill. The light bulb went on in my head. “I can do that!”

A Google search turns up many hits for “clay pot smoker” and I’ve benefited from their advice. One of the modifications I wanted to include was to move the temperature control outside of the smoker into a separate box so I wouldn’t have to disassemble a hot smoker just to adjust the temperature.

Note: I live in a condo and don’t have much in the way of tools or a place to work. All of this was done with just the hand tools I had on hand (mostly screwdriver, wire cutter/stripper, and electric drill).

Project Steps

The Hotplate

First, I found a hotplate at a big-box store. I took it apart and found that the innards were pretty simple. The burner itself could be detached from the housing and was connected to the rest of the wiring with spade connectors. I could disconnect the wiring from the power cord and lift it intact from the hotplate housing. This was good because I only have a rudimentary electrical knowledge – enough to know what I can and cannot do. In this case, there was no need to do anything other than move the wiring into a project box.

I went to Radio Shack and found a plastic project box big enough to mount the control knob and hold all of the wiring from the hotplate. I also bought a small packet of plastic grommets to prevent the insulation from rubbing off the wire at the points where it entered and left the box.

The insulation on the wires inside of the hotplate was different from the usual plastic stuff on most wires. I realized that it was made to withstand high temperatures. Neither Radio Shack nor Home Depot could tell me how much heat their wire could take. A friend who was an electrician said that he wasn’t sure about heat, but he did suggest using 12-gage wire. Finally, I located a source on-line that would sell me high-temperature wire in 25 ft. lengths. (Goodman’s http://www.goodmans.net)

The next problem was the connectors. The burner had spade connectors, but every packet or box of connectors I could find had plastic sleeves. I didn’t know how heat sensitive they might be and no one seemed to be able to tell me. Finally, I took a box-knife, slit the sleeves, and took them off, leaving bare metal.

Choosing the Flower Pot, Bowl, and Grate

The next problem was finding all the other parts: a large clay (terra cotta) flower pot for the body, a large clay bowl for the lid, and a metal grate for the food.

Furthermore, these all had to work together. The rim of the flower pot and bowl had to be the same size. The grill had to be small enough to fit several inches down inside of the clay pot and large enough to have an adequate cooking surface (For example, large enough to hold a butterflied chicken or racks of ribs.)

Clay pots are easily found at most big-box home improvement stores. Metal grills are also easy to find (especially in the spring when grilling season is approaching). My local Home Depot had a good selection of flower pots and round replacement grills for Weber kettles.

The first limiting factor I ran up against was the clay bowl to be used for the lid of the smoker. Most of the bowls I could find were 13″ or smaller which made for a small cooking surface. I finally found a 16″ bowl at a local garden center. That led to the discovery of the second limiting factor: the weight of the bowl. At 16″, the bowl was pretty heavy. Once it was heated up to cooking temperature, it would be a pain to take on and off while using some kind of hand protection like oven mitts. I certainly wouldn’t want to go any larger/heavier.

What I finally settled on was a 13″ replacement charcoal grill that fit neatly 4-5 inches down inside a 16″ clay flower pot. The pot cost me $20, the clay bowl was $30, the grill was another $20. This was starting to add up quickly. Note: the prices quoted here are from memory – your mileage may vary.

Note: The charcoal grate is meant to hold the coals as they burn. It doesn’t have the nice nickel-plated finish that a cooking grate has. This means that it’s harder to clean. Wiping it down with vegetable oil (like peanut or canola – not olive) helps with cleanup later.

Making the Control Box

I found a nice project box at Radio Shack that looked big enough to hold everything. I also bought a small bag of assorted rubber (plastic) grommets. These are needed to prevent the insulation on the power cord from rubbing against the project box and possibly wearing through to the metal. To make the control box, I needed to drill a hole in either end for the power cord going in and for the wires going out to the burner. These needed to be large enough for the wires plus the thickness of the grommets. I chose a size of grommet that would hold the wires snugly but not too tight.

A word to the wise: Not having a work space, I was sitting on my tiny patio holding the plastic box with one hand and the drill with the other. Everything was going well until the tip of the drill bit made it through. At that point, it “bit” into the plastic and the entire box spun in my hand. Fortunately I wasn’t hurt. When I began to drill the hole on the other end, I was prepared – I thought. Even going slow and being prepared for it, the box still spun out of my hand. Perhaps if I had a surface to work on or a way to clamp the box down it wouldn’t happen, so be careful.

Inserting the grommets was a pain. It turns out that I didn’t have a drill bit large enough, so I reamed out the hole as best I could and squeezed and tugged the grommet into place.

I needed to drill a hole in the box lid for the shaft of the temperature control to pass through and two smaller holes for the mounting screws. There was also a ‘power on’ light that I managed to salvage from the hotplate housing. (It turned out that the light was not visible in daylight. Oh well… it was a good idea while it lasted…)

Drilling these holes went better than previously. Using a ruler and pencil I marked the center line down the length of the lid. Using the hotplate housing as a template, I centered the three holes on the line and ran the pencil around the inside of the each hole. I carefully drilled the holes using the appropriate sized drill bit.

I cut two 6 ft. lengths of the high-temperature wire and crimped spade connectors to the ends, threaded them through the grommet on one end and plugged them into the wiring that had been connected to the burner. I ran the power cord through the other end and connected to the wiring that was previously connected to the burner. Finally, I mounted the temperature control to the lid and closed up the box.

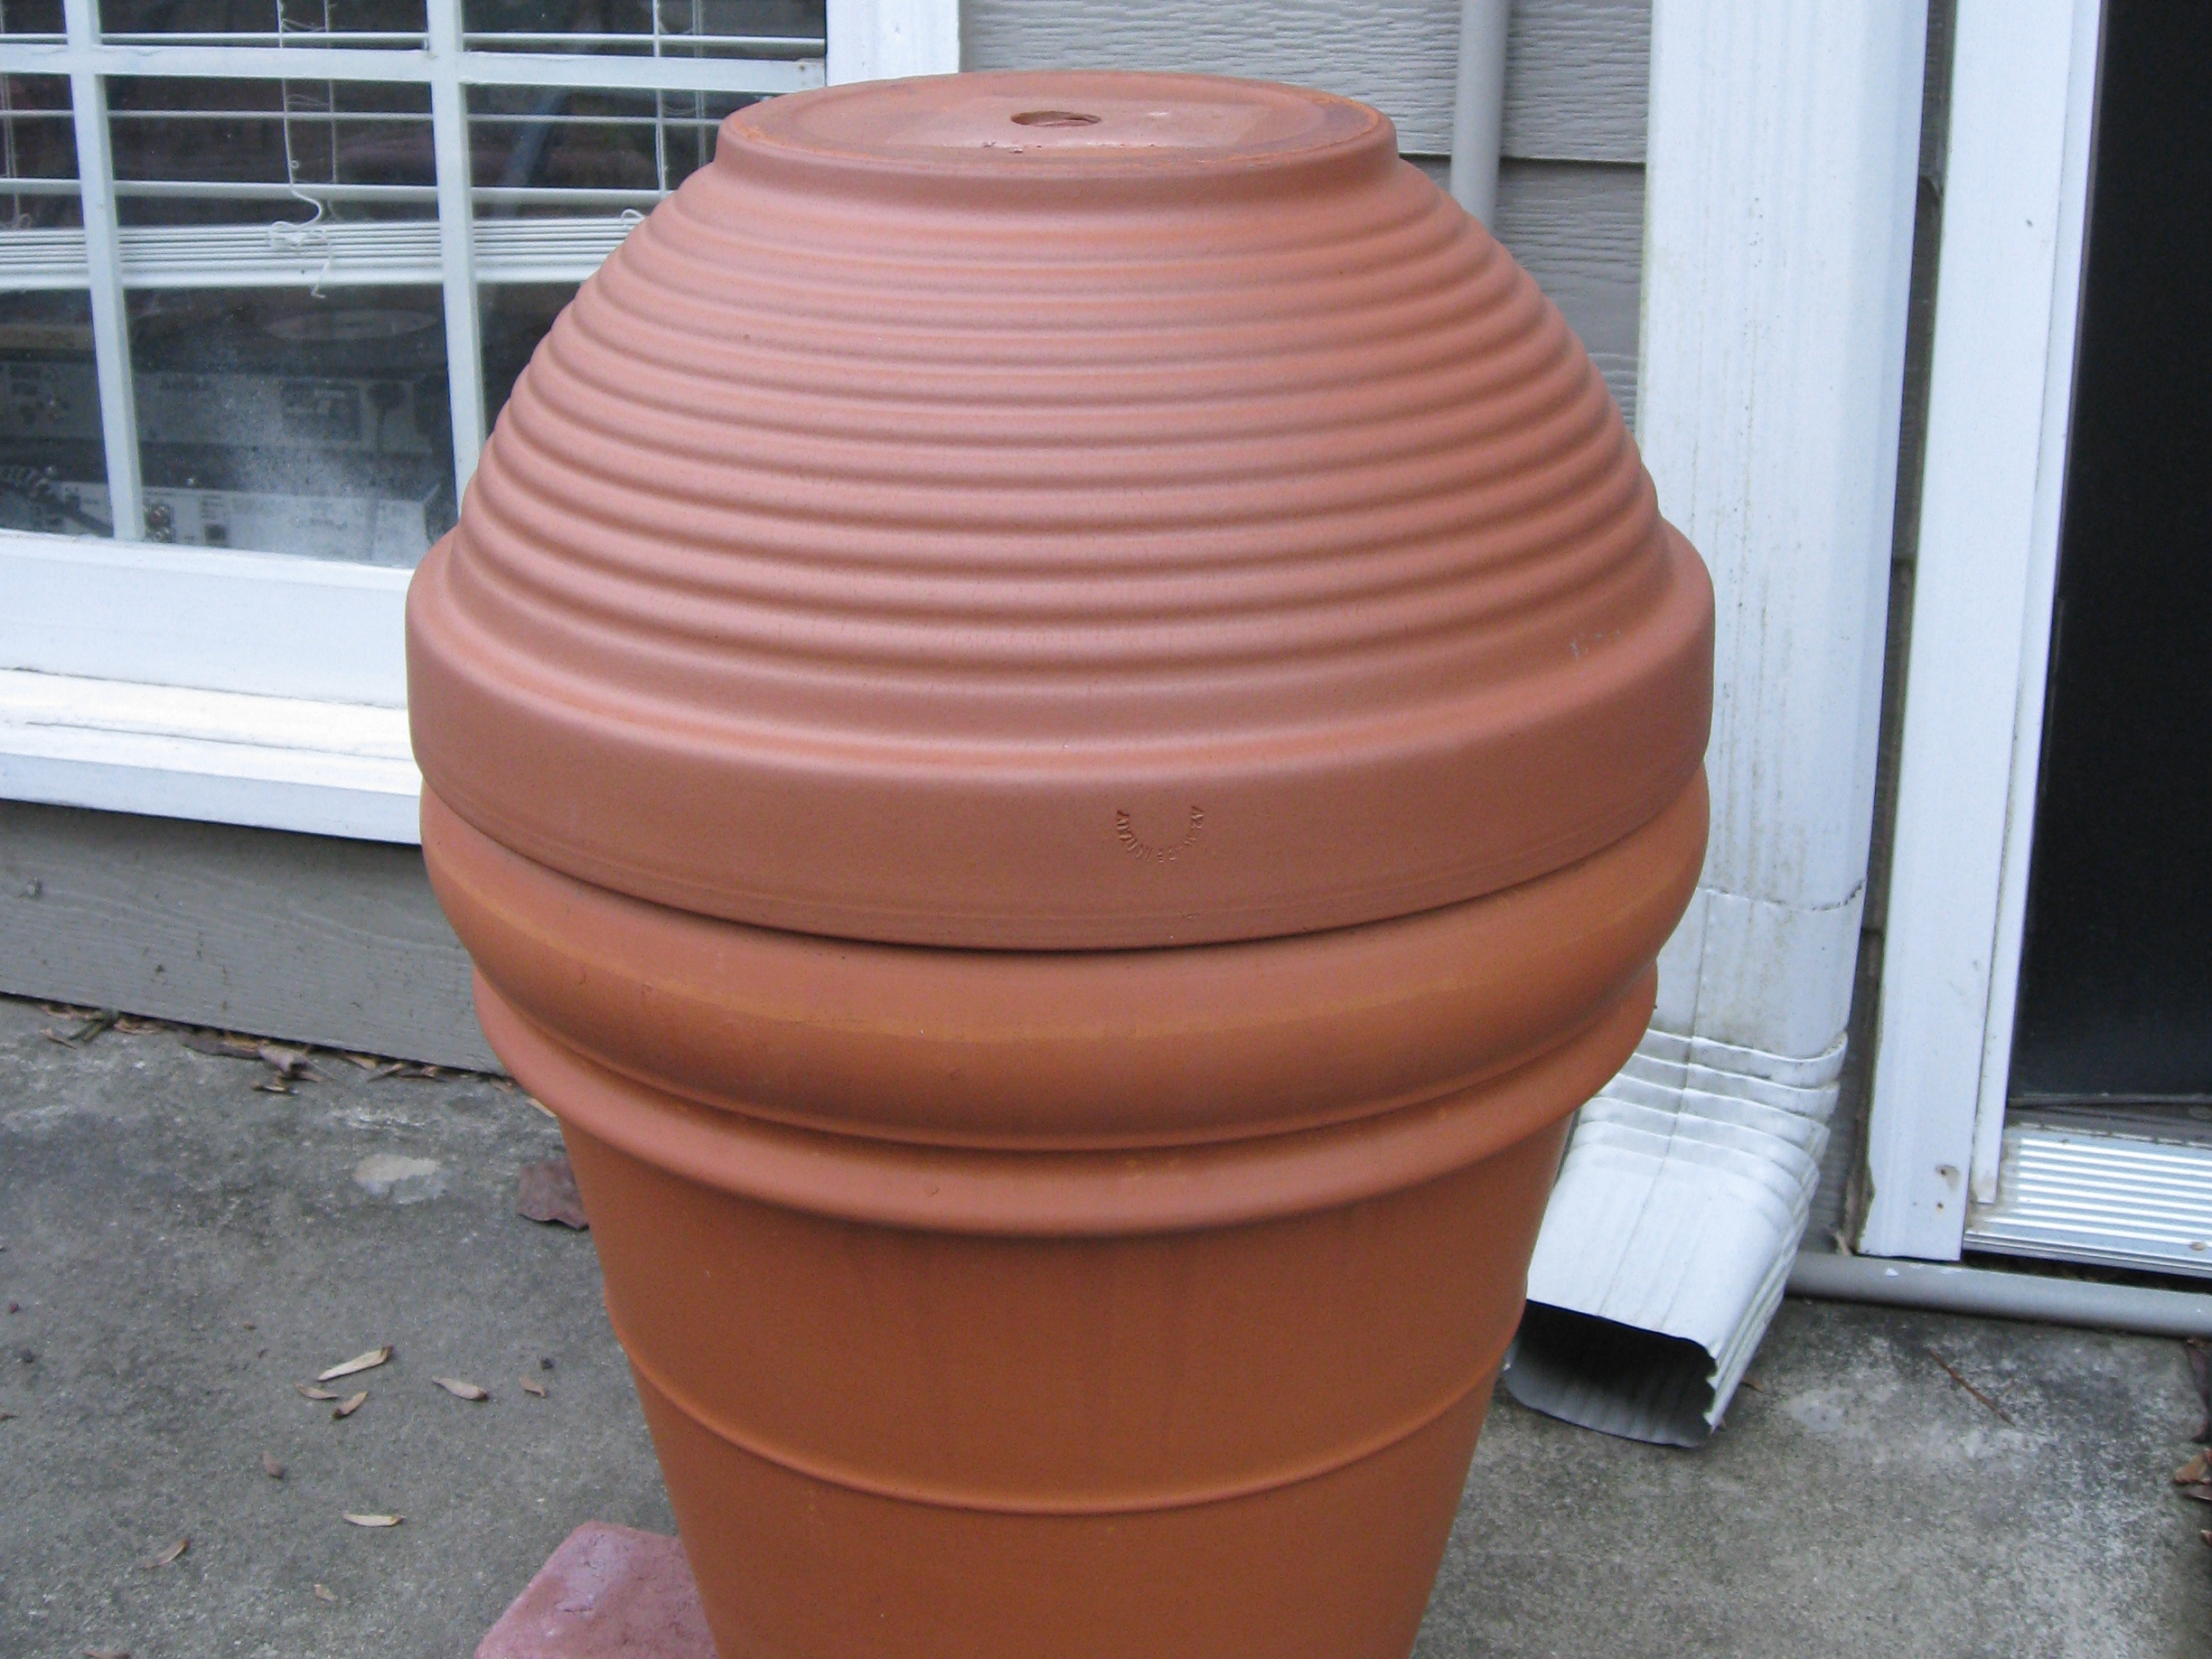
All that was left was to assemble the smoker.

Assembling the Smoker - 1

Since this smoker uses an electric hotplate, it doesn’t need as much airflow as a charcoal smoker – but it still needs some. To elevate the smoker a bit, I bought several red concrete pavers (thinner than standard bricks) broke them in half, put three pieces down on the patio and set the flower pot on them. That gave me a few inches of clearance under the smoker.

I ran the high-temperature wire through the drainhole and connected them to the burner inside the pot. Because of the way the burner is made, it wouldn’t sit flat in the bottom of the pot. I broke one of the half-pavers in half again and rested the burner on them.

Assembling the Smoker - 2

Putting the chunks of hickory or applewood directly on the burner would be messy and hard to clean up. I needed a pan to hold the wood for smoking. The heat of the burner would make wood chunks smolder and give off plenty of smoke.

I bought two cheap cake pans at a dollar store and set one of them flat on the burner to hold chunks of hickory or other smoking wood. (Note the white ash left over from my first use.)

I stood two halved pavers on edge in the pan and rested another pan on top of them to catch drips. It was also used to hold water. The water provides humidity that helps the transfer of heat to the food.

The grill goes in last. It rests about five inches below the rim of the pot, giving plenty of clearance for the food being cooked.

Finishing Touches

I had been using an oven meat thermometer inserted through the drain hole at the top, but it stuck down a long ways. I found a replacement thermometer for a gas grill at the home improvement store with a 1″ shaft that now rests in the bowl drain hole.

I didn’t like the ugly look of the three broken bricks that I used to raise the smoker above the patio. I also didn’t like having to stoop over so much to tend the smoker. I found these blocks at the big-box store. They are concrete, but have been tumbled to give them a nicely worn appearance. I bought twelve of them and stacked them in a hollow square, leaving a space in the back for the wire to thread through. (There’s also an outdoor electric outlet directly behind the smoker.)

In use, I rest the control box on the pedestal. Picking up a hot, heavy clay bowl when it’s turned rim down on the patio is a pain. So I also placed one of the paver pieces on the patio in front of the pedestal. When I remove the bowl/lid, I set one edge on the paver to make it easier to pick up again.

I didn’t like having the wiring exposed to rain. Also, the burner has a cast iron disk fastened to it that rusts when it gets wet. I went back to the home-improvement store and found a cover for a Weber Smoky Joe (a small grill). It covers the smoker very well.

Follow-up: The third time I used the smoker, the burner died. I have read online that this has happened to a few other people. Fortunately, I can just unplug it and plug in another. It should be possible to buy a replacement burner from any appliance store. (If I knew more about electricity, I probably could have assembled the entire thing from parts instead of buying a hotplate.) Will update later.