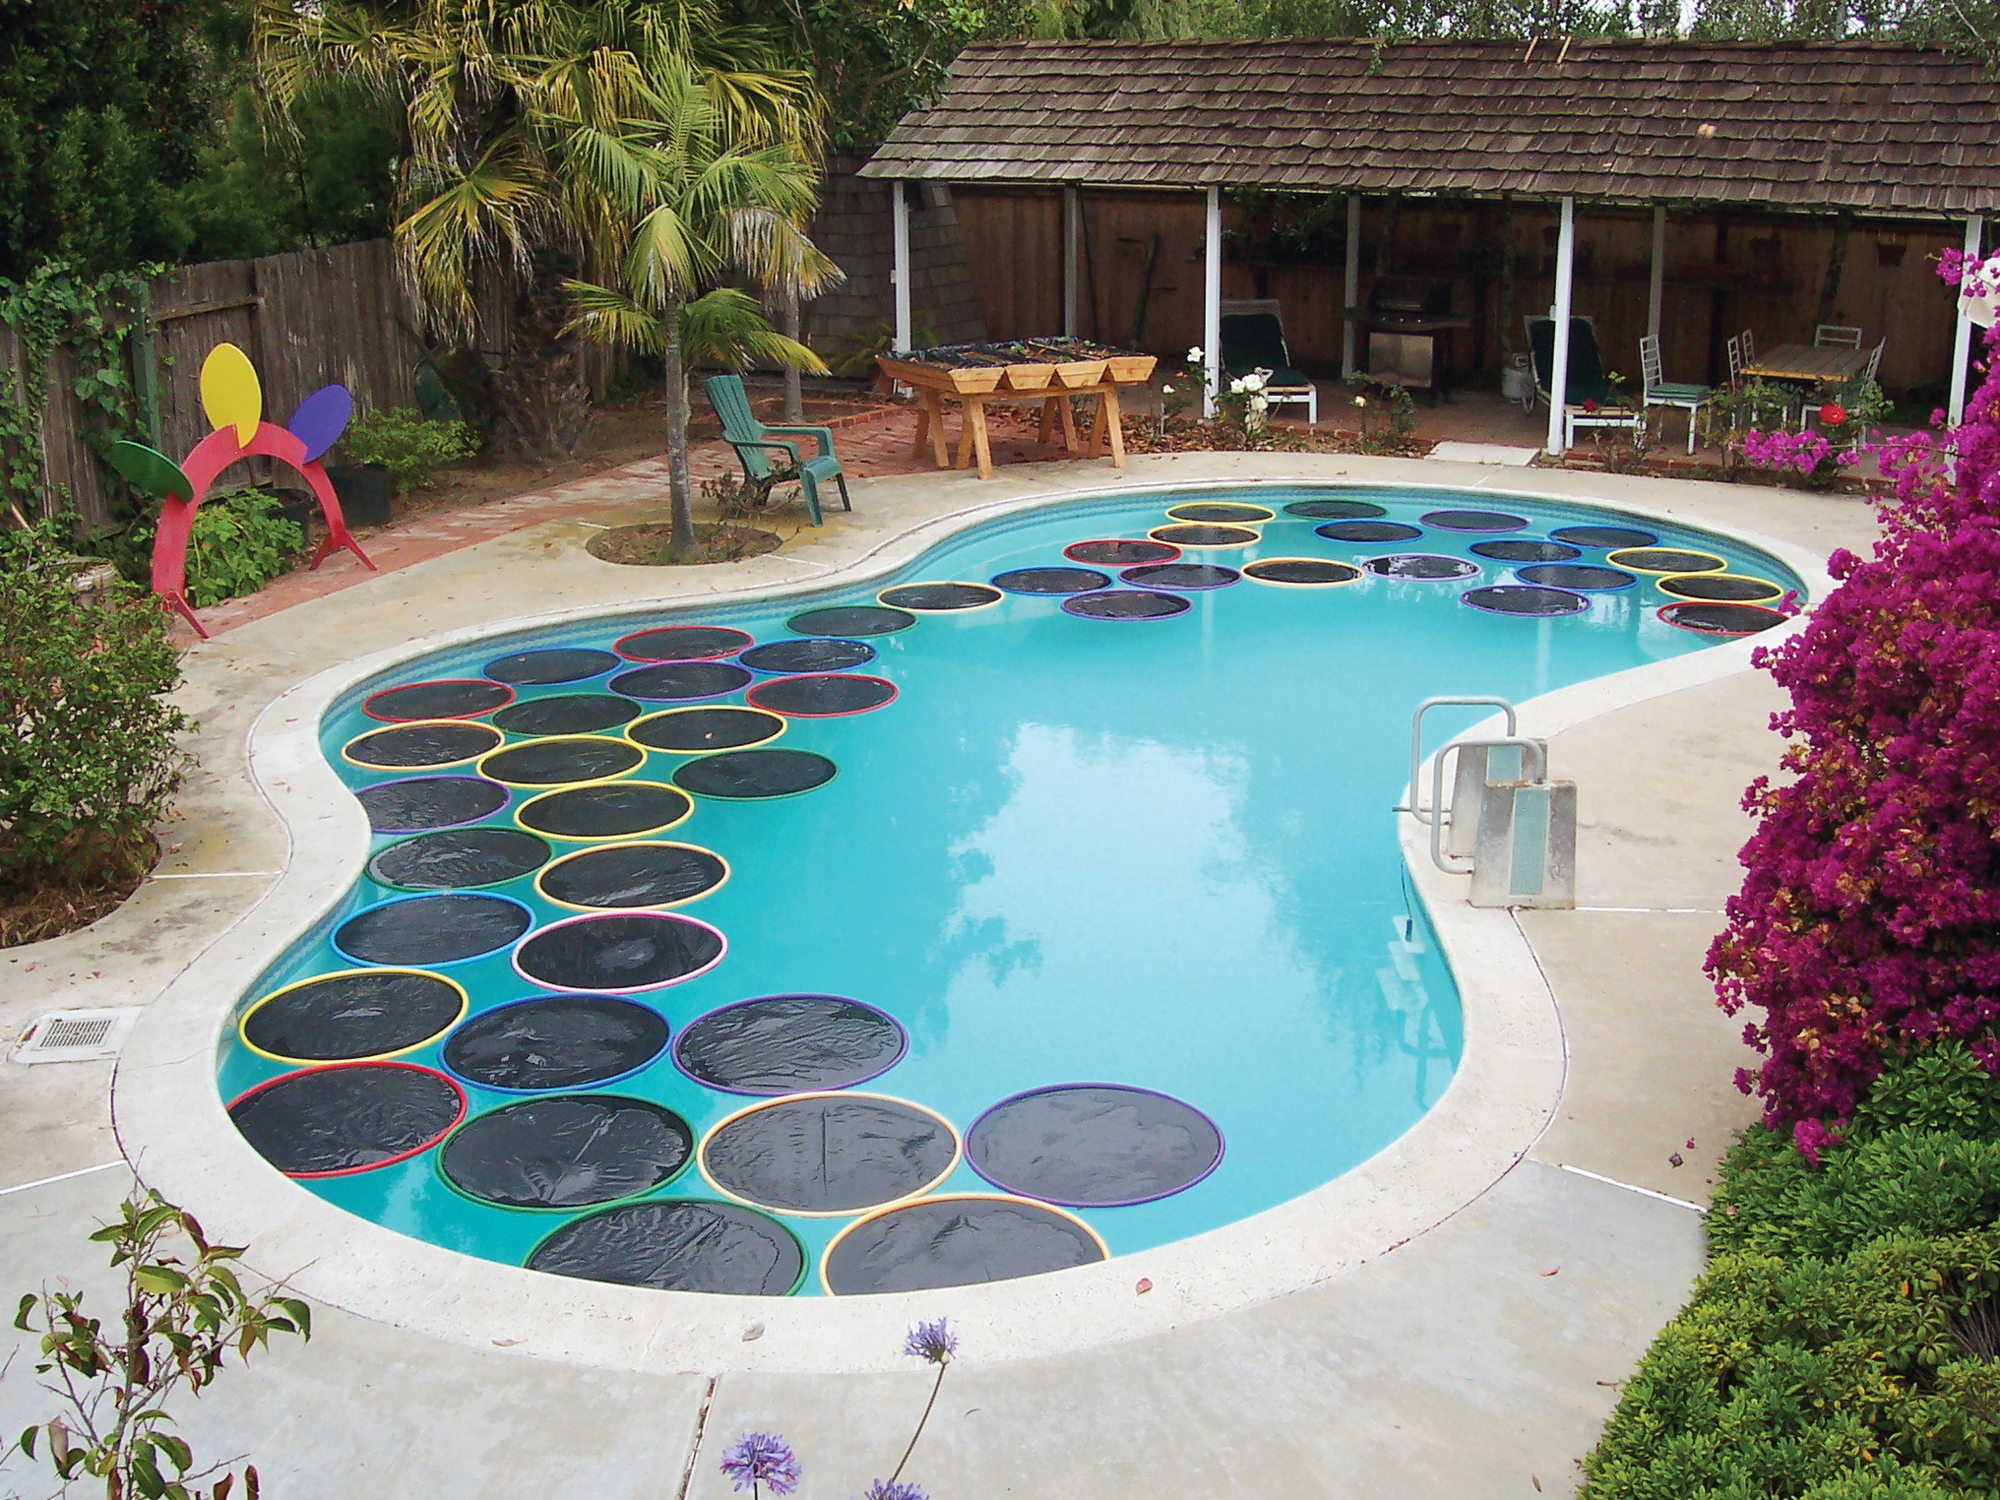
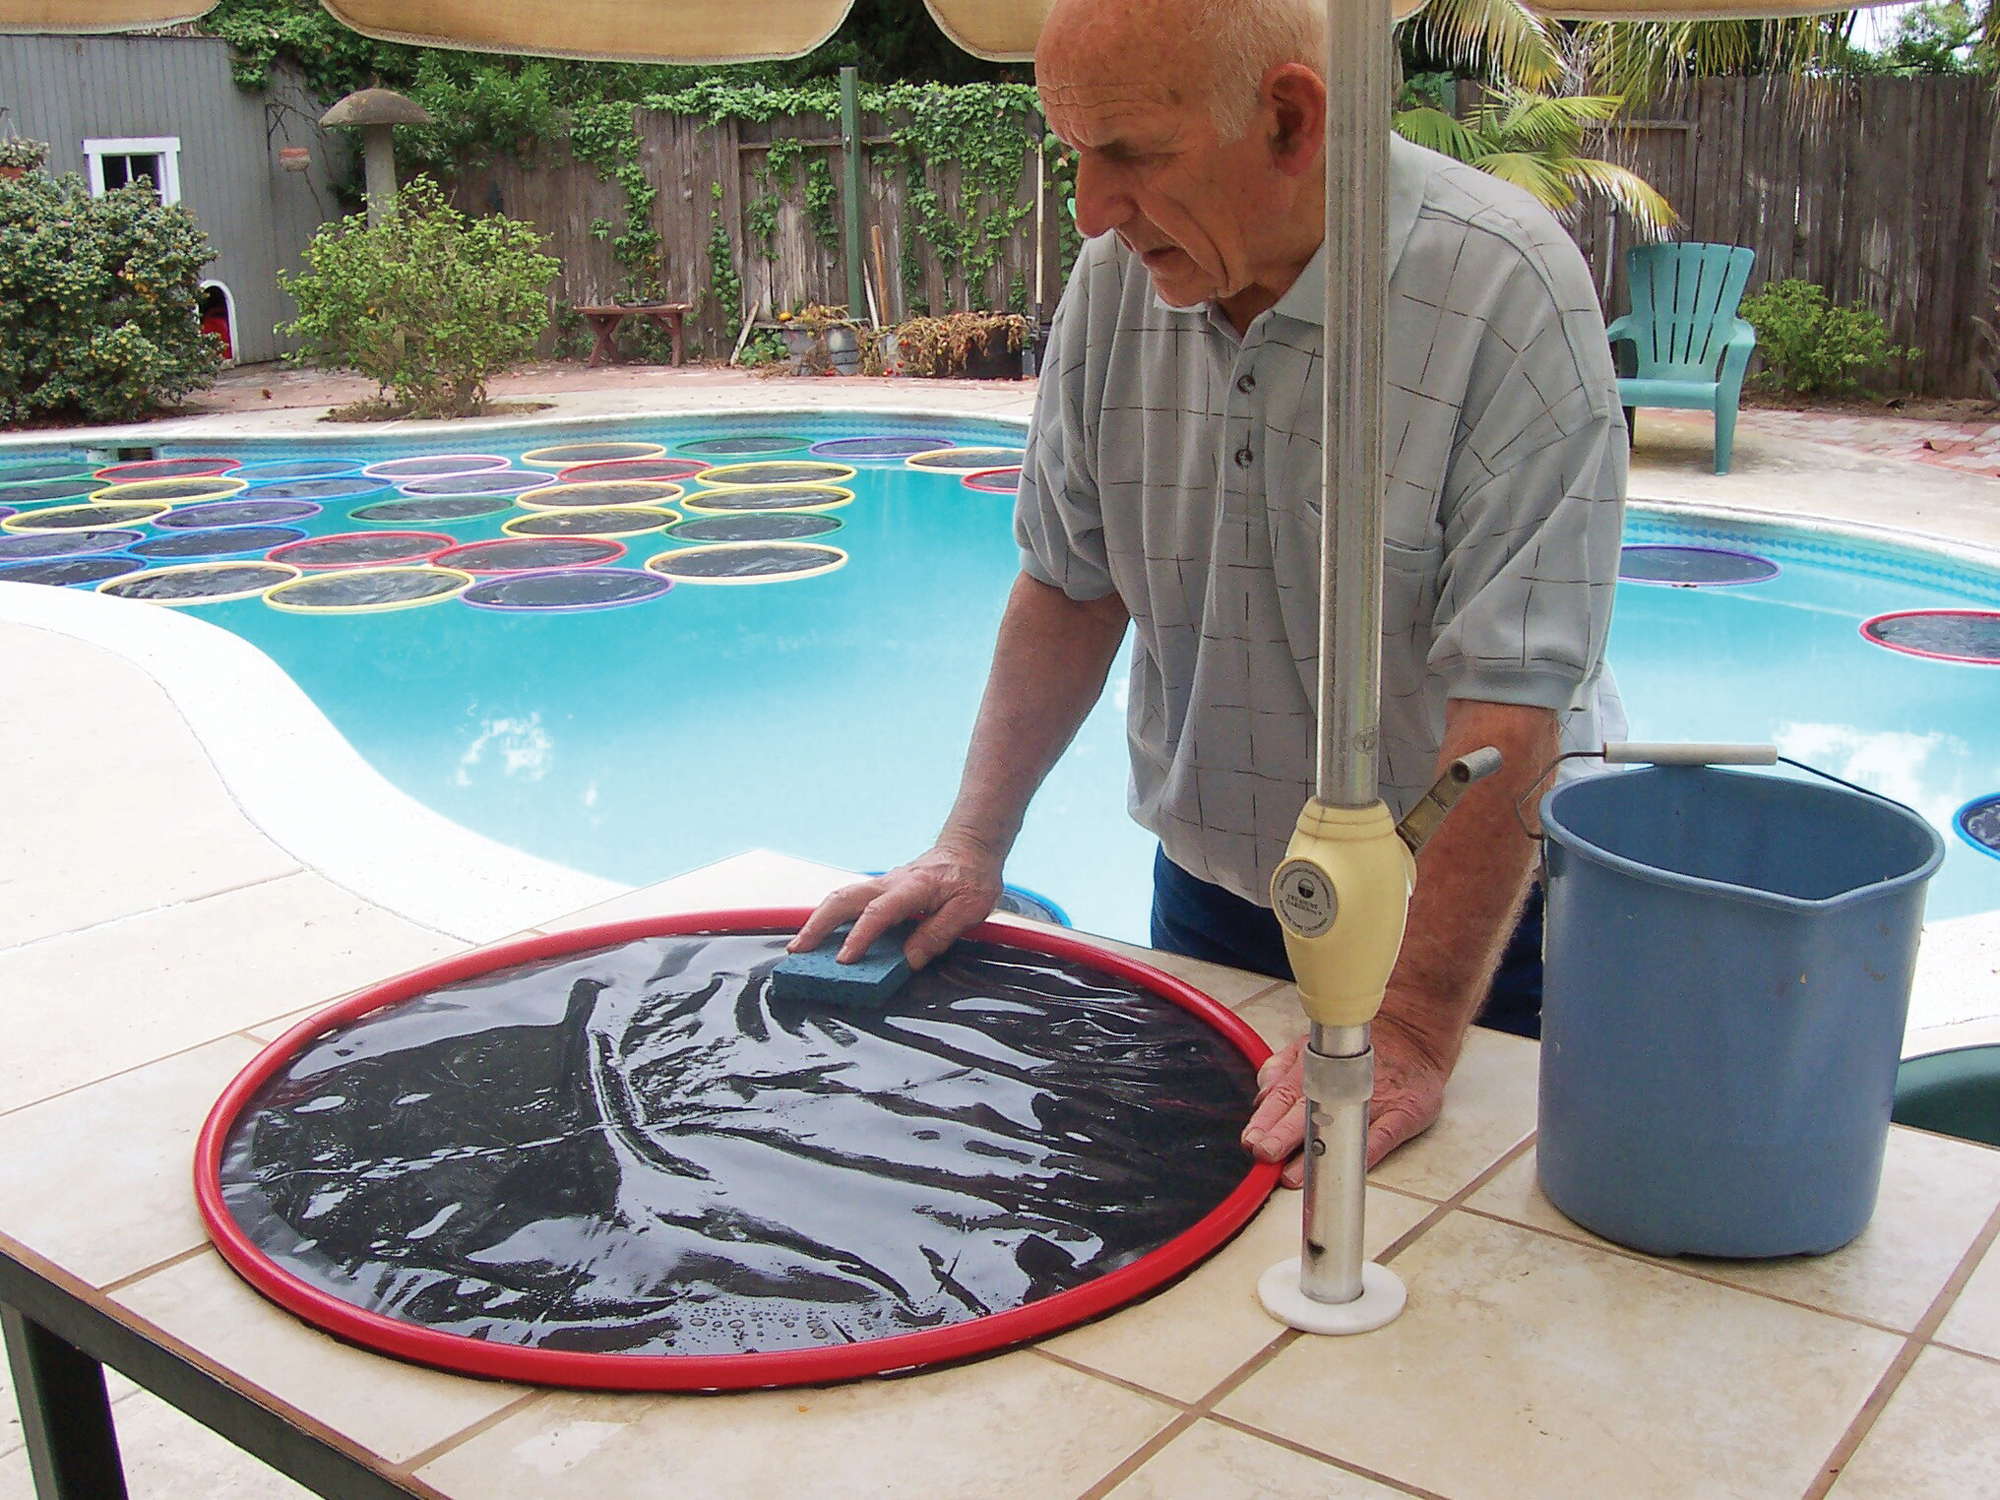
Here’s an easy way to warm your pool that’s efficient, low-cost, safe, and actually enhances the beauty of the pool. The Lily Pad pool warmer doesn’t need to be removed to swim, sweep, or vacuum, and it meets new requirements in water conservation areas to keep at least half of a pool’s surface covered.

Best of all, the Lily Pad pool warmer can be made by anyone who’s just a bit handy with tools. It’s made of hula hoops, with black polyethylene film stretched over them to actually warm the water they come in contact with.

The Attractive Solution

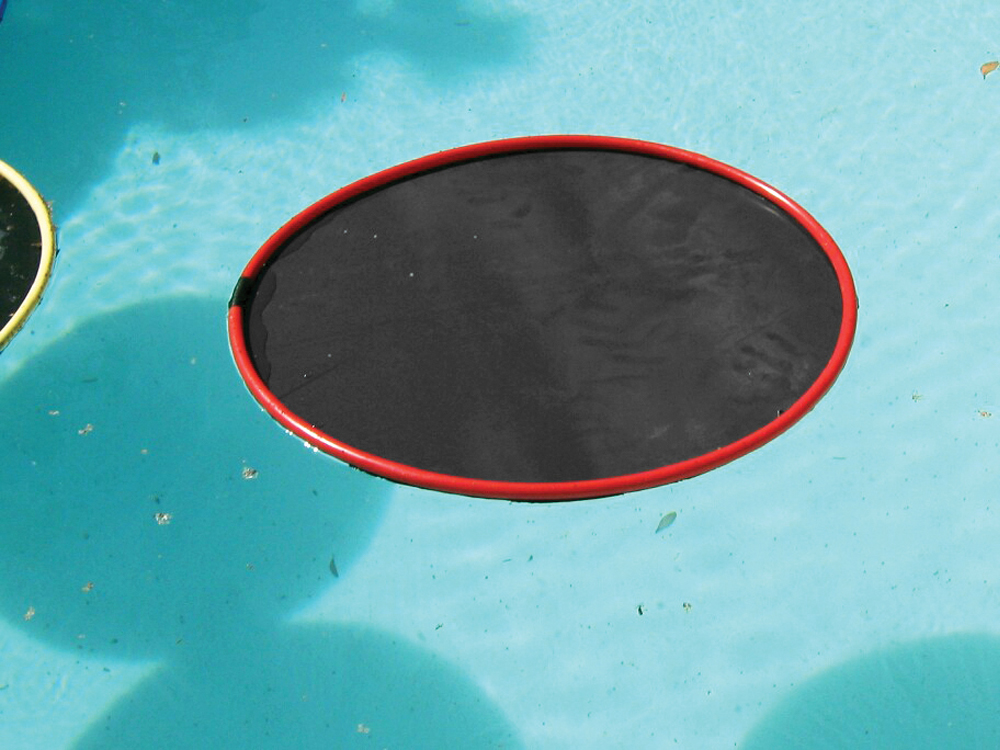
The Lily Pad pool warmer uses black (low albedo) polyethylene film stretched over hula hoops. The film is in contact with the water, so it captures and transmits most of the sun’s incoming radiation directly into the pool, warming the surface of the water. Calorimetric tests have shown that at high noon, a single Lily Pad will transmit more than 500 BTU per hour.

As a bonus, this solution is highly attractive. Since it doesn’t need to cover the entire pool, it gives the appearance of a dynamic sculpture as the pads nudge each other and form constantly varying patterns across the surface.

To swim, it’s not necessary to remove the pads. Half the pool area is open, and the bow wave ahead of a swimmer causes the pads to float aside. If you want to open the entire area for swimming, the pads can be removed in less than 5 minutes. And they can be seasonally stored in the boxes in which the hula hoops are shipped. My experience has shown that it’s also not necessary to remove the pads for sweeping or vacuuming the pool.

What will the next generation of Make: look like? We’re inviting you to shape the future by investing in Make:. By becoming an investor, you help decide what’s next. The future of Make: is in your hands. Learn More.

Project Steps

Mod the soldering iron.

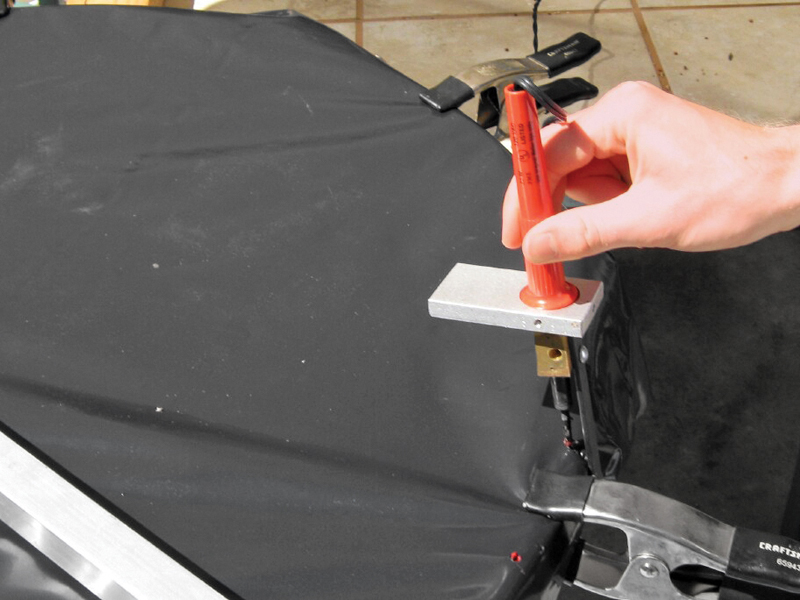
Polyethylene film can be easily spot-welded to hula hoops made of the same material, by using a slightly modified soldering iron.

Add a simple guide to your iron so that it self-guides along a spot-welding path that’s uniform around the entire hoop. To do this, just add a bar that extends 1½” past the tip of the soldering iron. Clamp the small metal bar onto the barrel of the soldering iron, using a scrap of metal as a spacer between, so that the guide stands 2″ away from the iron’s tip (half the width of a hula hoop). Use small hose clamps to secure the guide.

After you’ve made the guide, grind the tip of the soldering iron to a flat surface of about 1″ diameter.

Build a jig for assembly.

Since an average pool may require 50 or more Lily Pads, it’s handy to build a simple jig for quicker assembly. Made of common materials, the jig is just a long handle and a rotating circular platform that holds the hula hoop securely while you spot-weld the polyethylene film to it.

Cut a disc of plywood or other flat, sturdy material that’s 30″ in diameter (or the diameter of your hoops). This is your turntable. Drill a ½” hole in the center.

Center a hula hoop on top of the disc, and mark a circle on the disc along the inner edge of the hoop (about ¾” in from the edge).

Hammer in brads along the inner circle you drew, spacing them evenly about 10″ apart.

Lay the three 2×4s flat. Drill a ½” hole in the center of each 8″ length, and a ½” hole centered 4″ from the end of the 6′ length.

Take the 6-footer, stack the two 8-inchers on top, and lay the turntable on top of that, aligning all the holes. Attach them all with the carriage bolt.

Prepare the black plastic and the hoops.

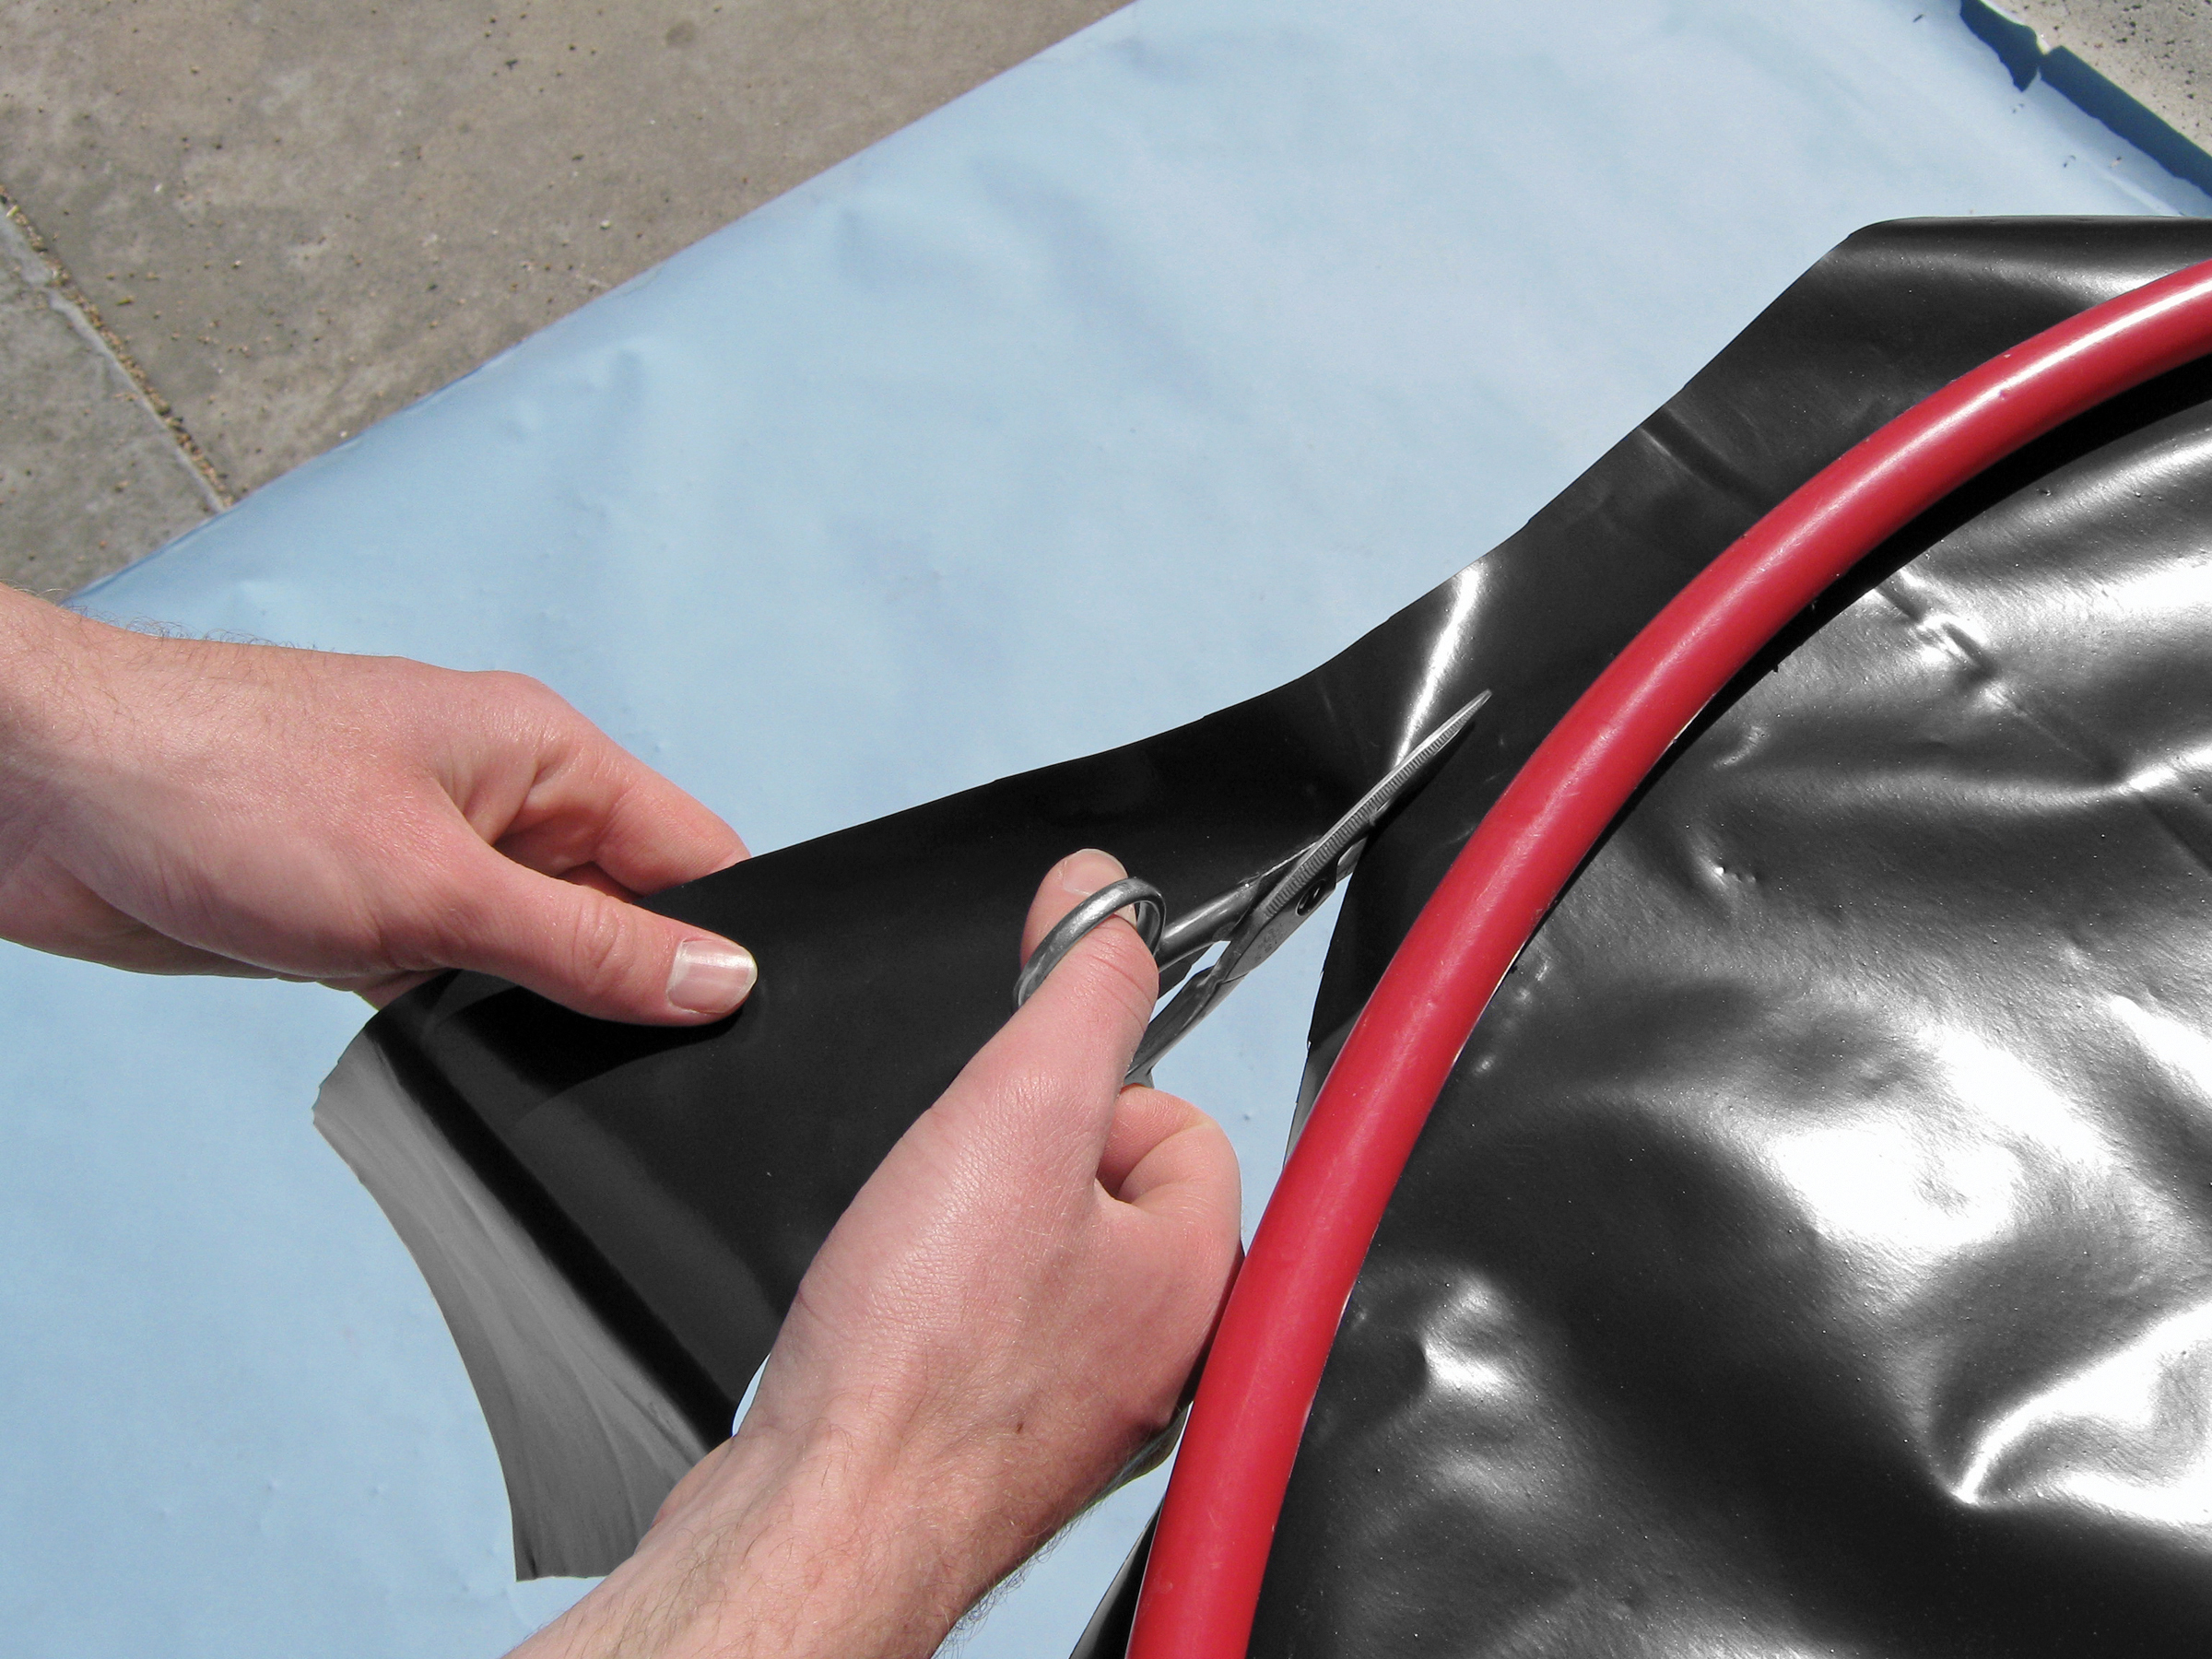
The polyethylene film circles should be cut about 1″ bigger than the hula hoops all around, 31″ for a 30″ hoop. Using a hoop for a template, cut out the circles with a sharp box knife or scissors. If needed, use a piece of cardboard under the film as a safe cutting surface. Cut all the film circles you need before moving on to the spot-welding.

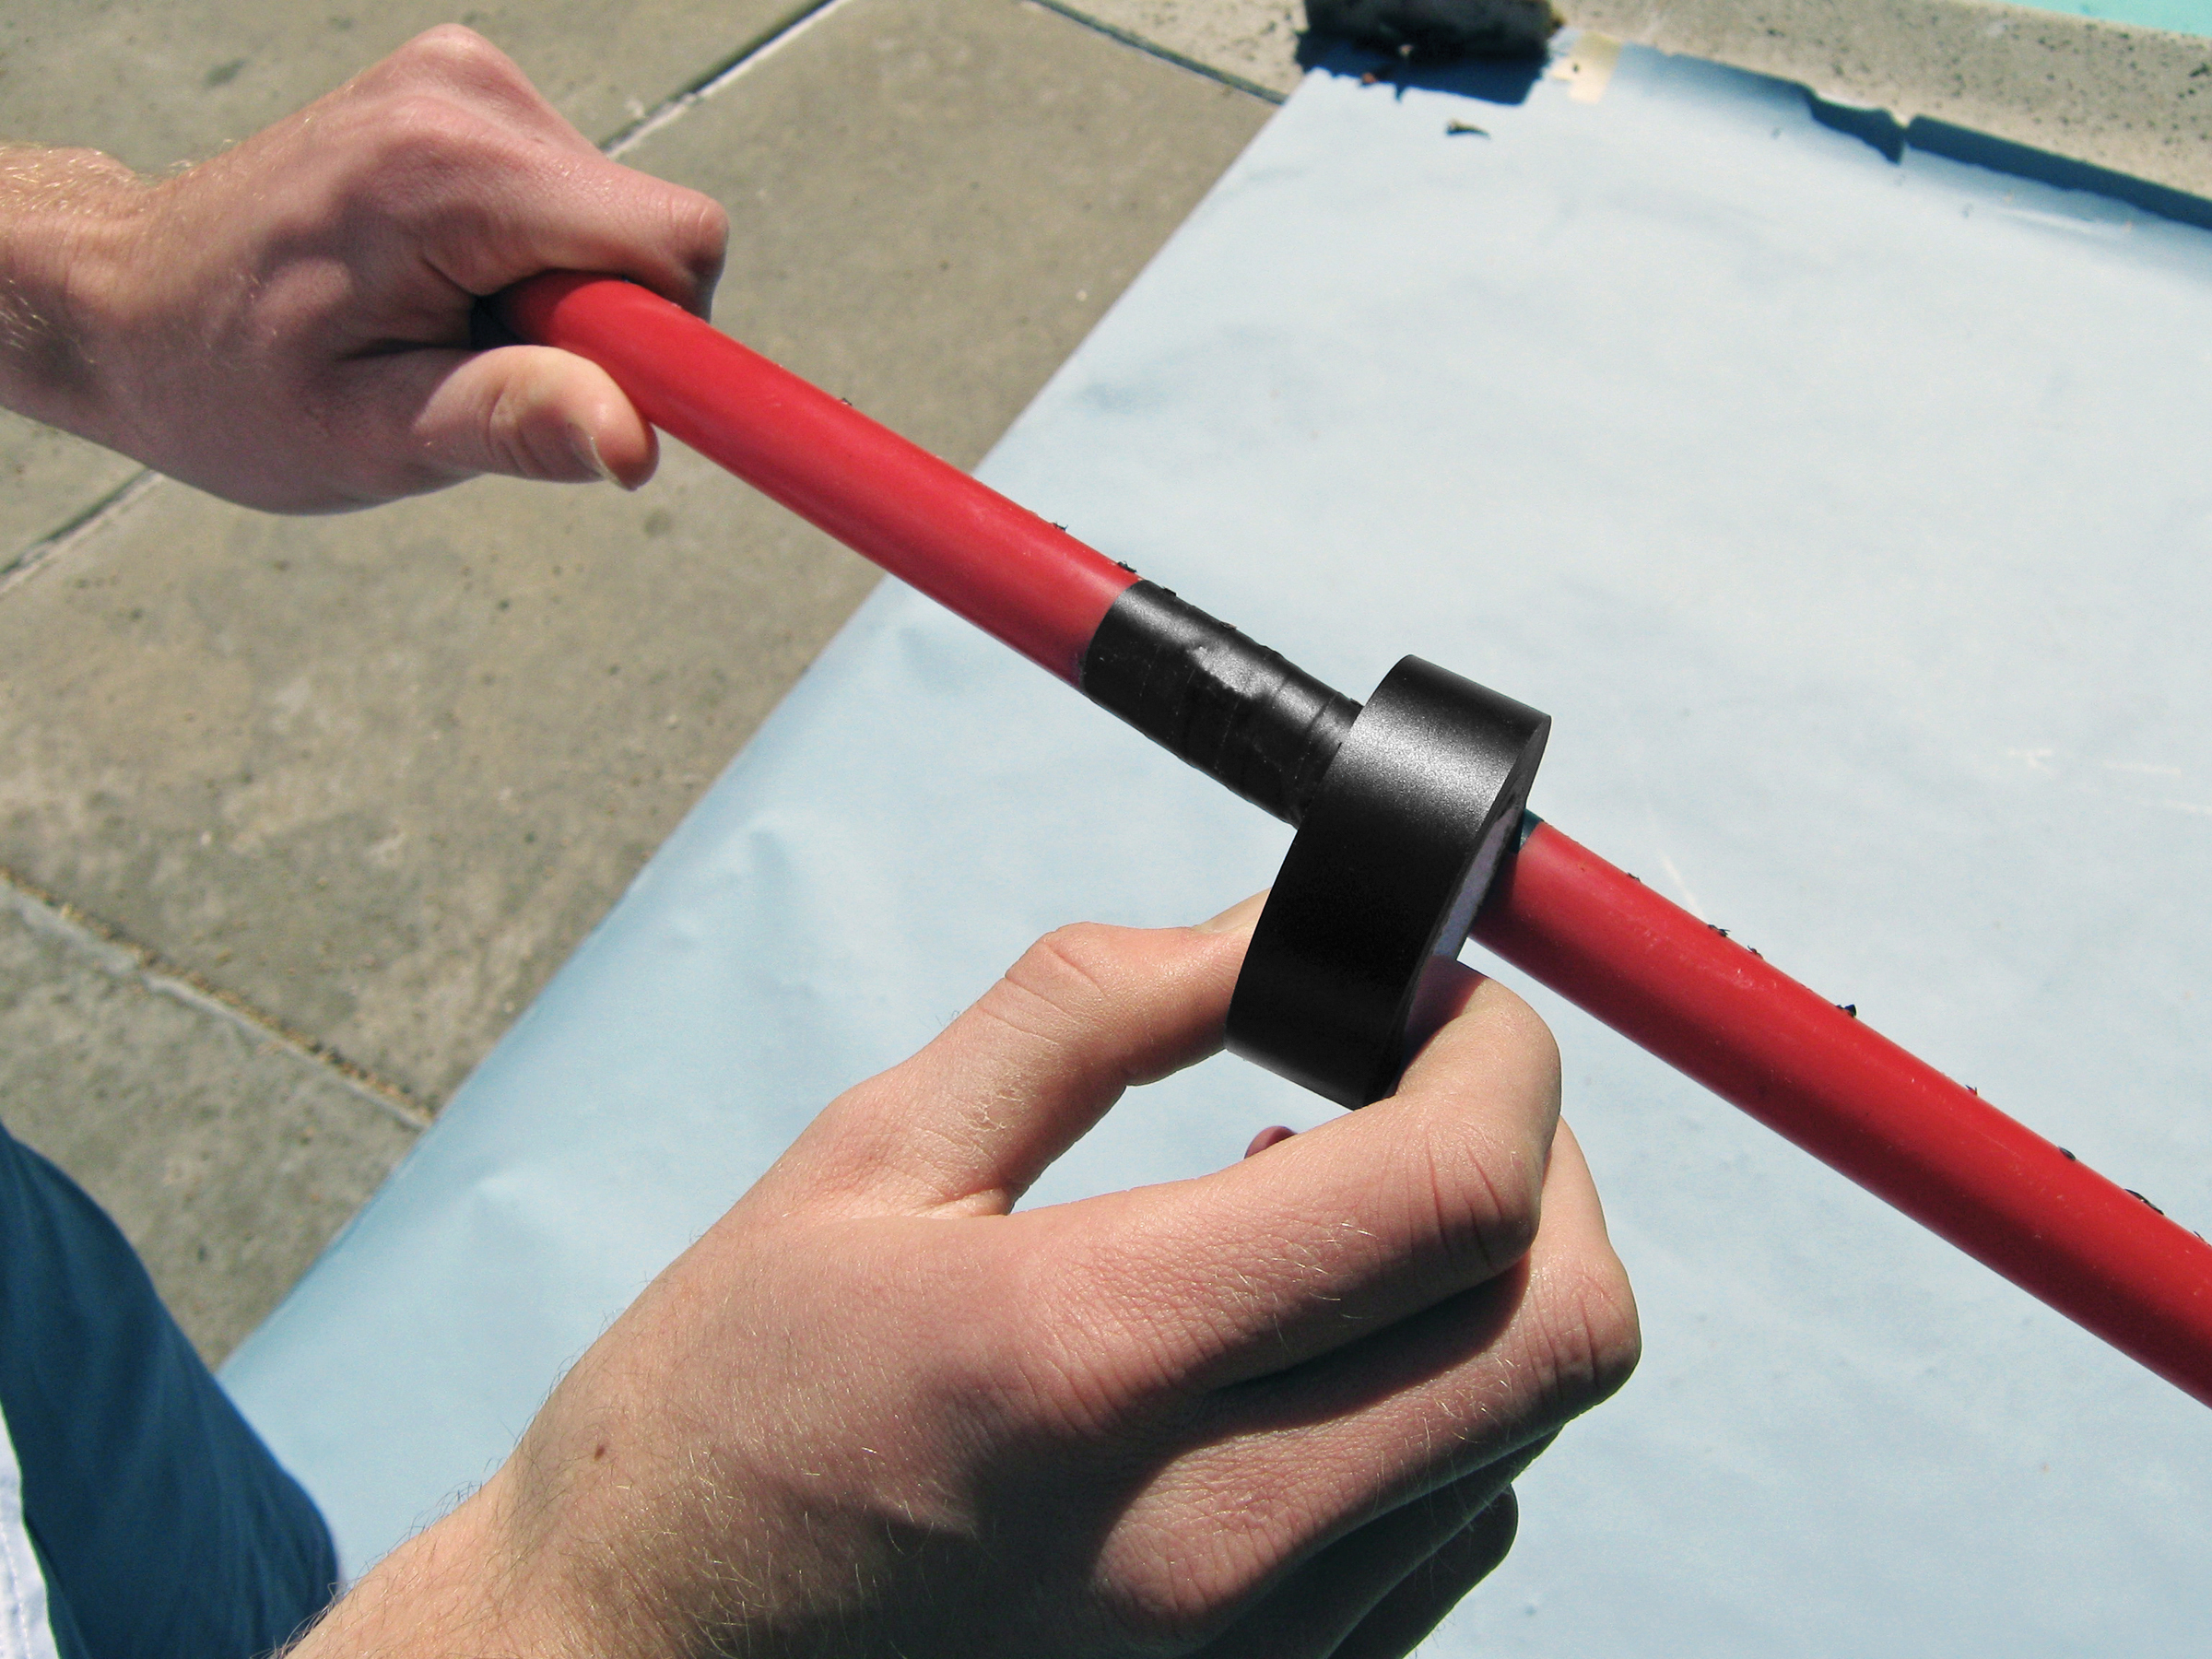
I discovered the hard way that hula hoops are not watertight. Seal the joint by wrapping a few turns of electrician’s tape around the joint and over the adjacent staples. Don’t worry about spot-welding in this area.

Now we have watertight hoops and circles of black plastic ready to be united. Here’s how I did it.

Make your Lily Pads.

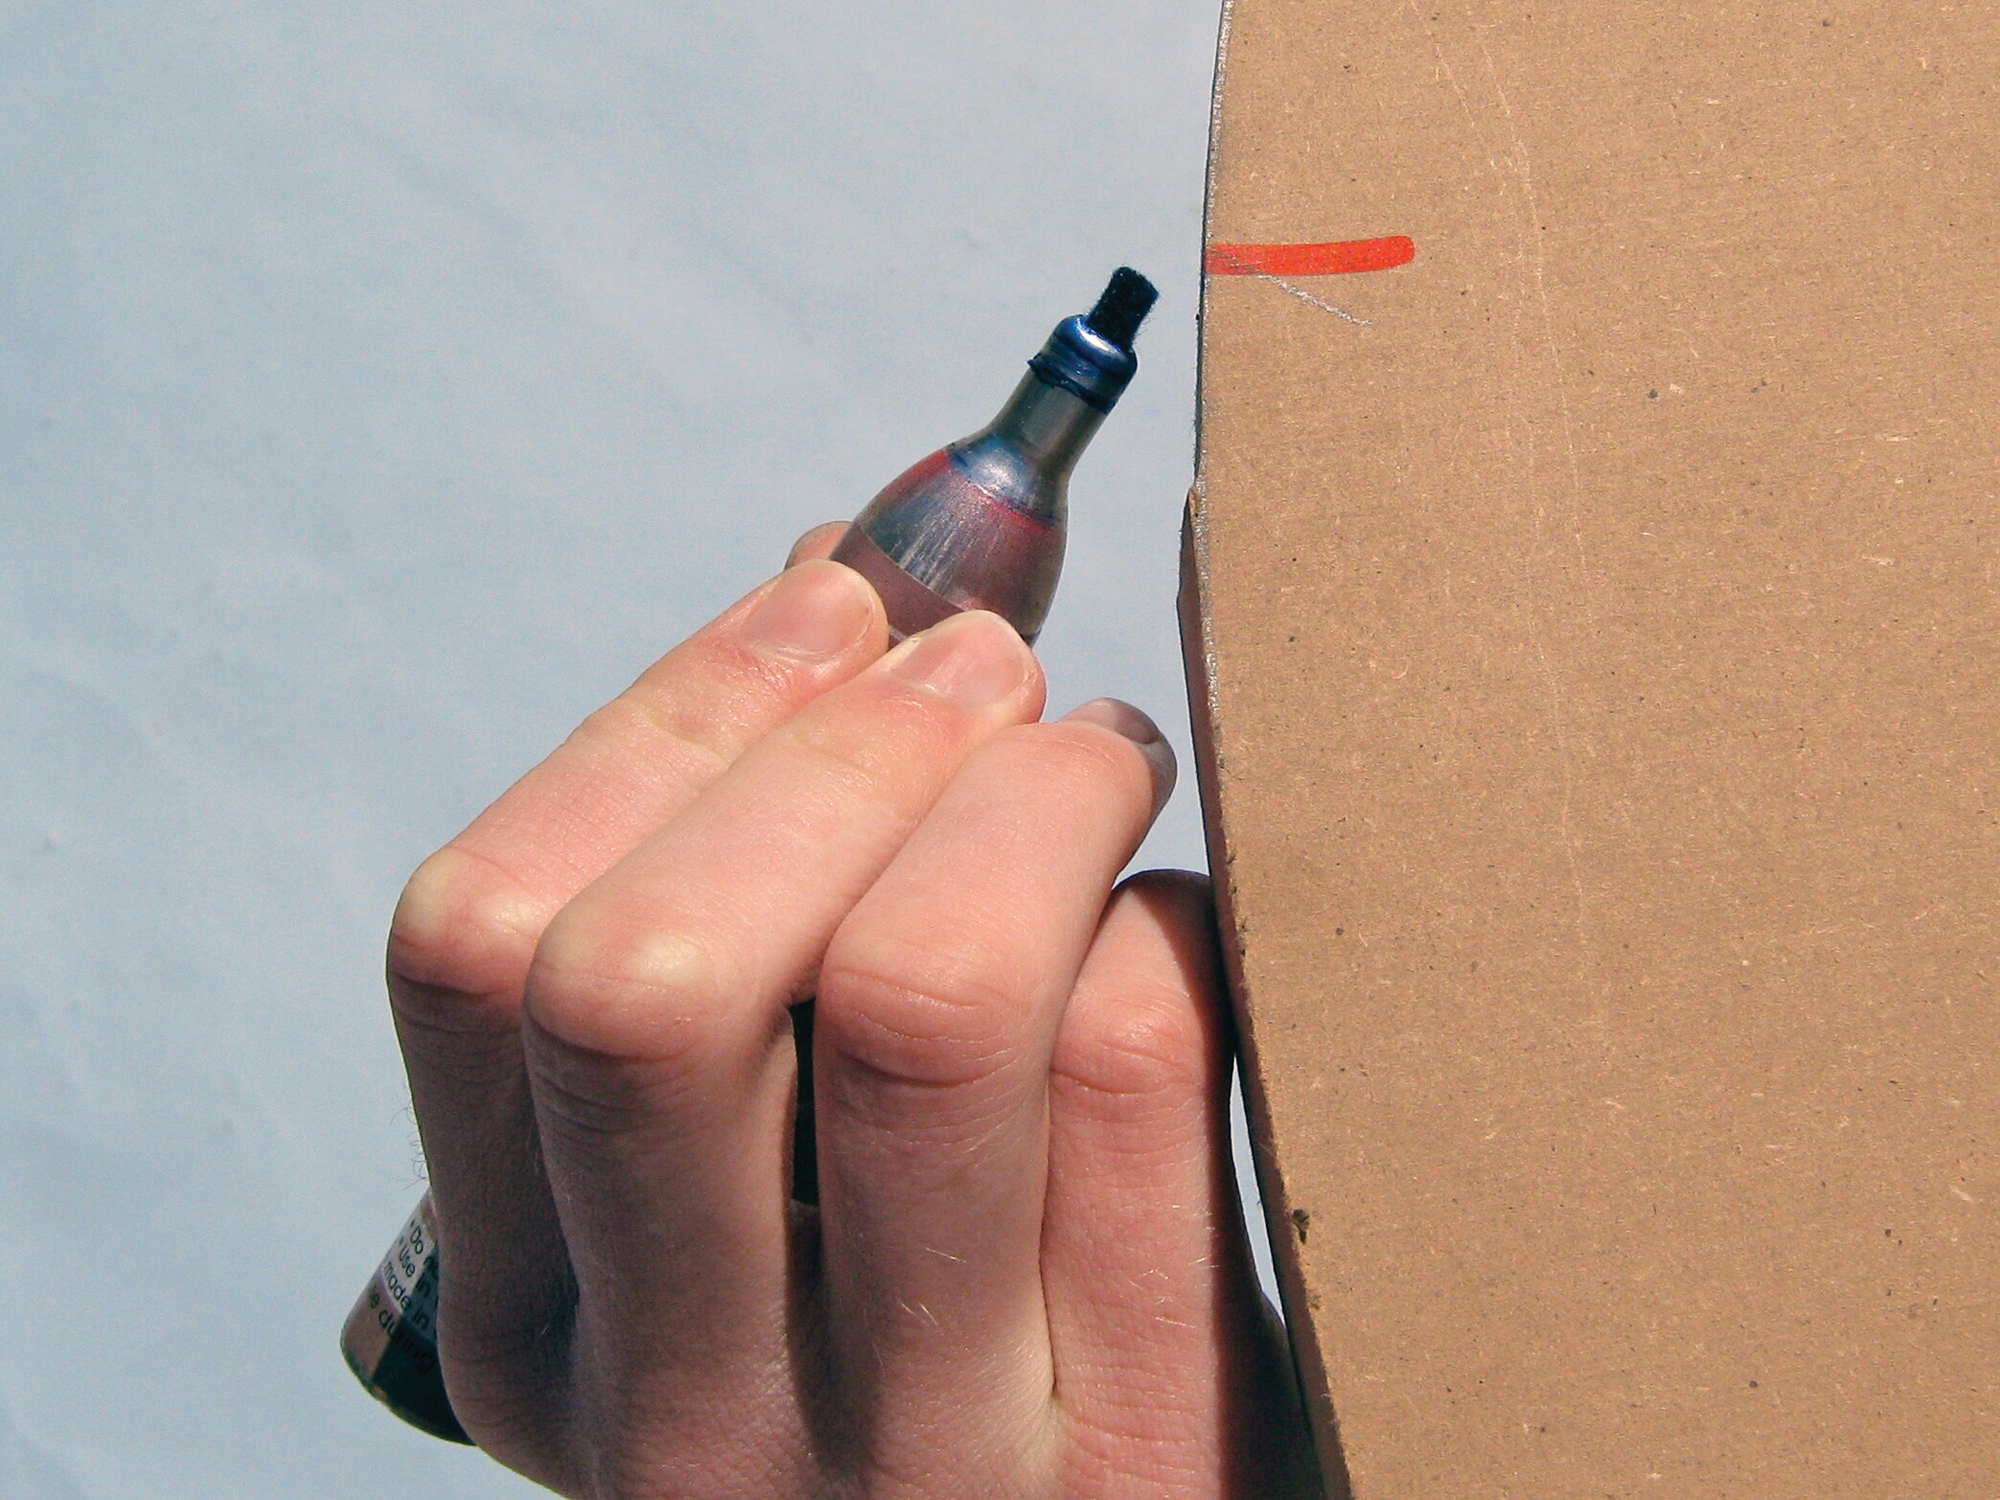
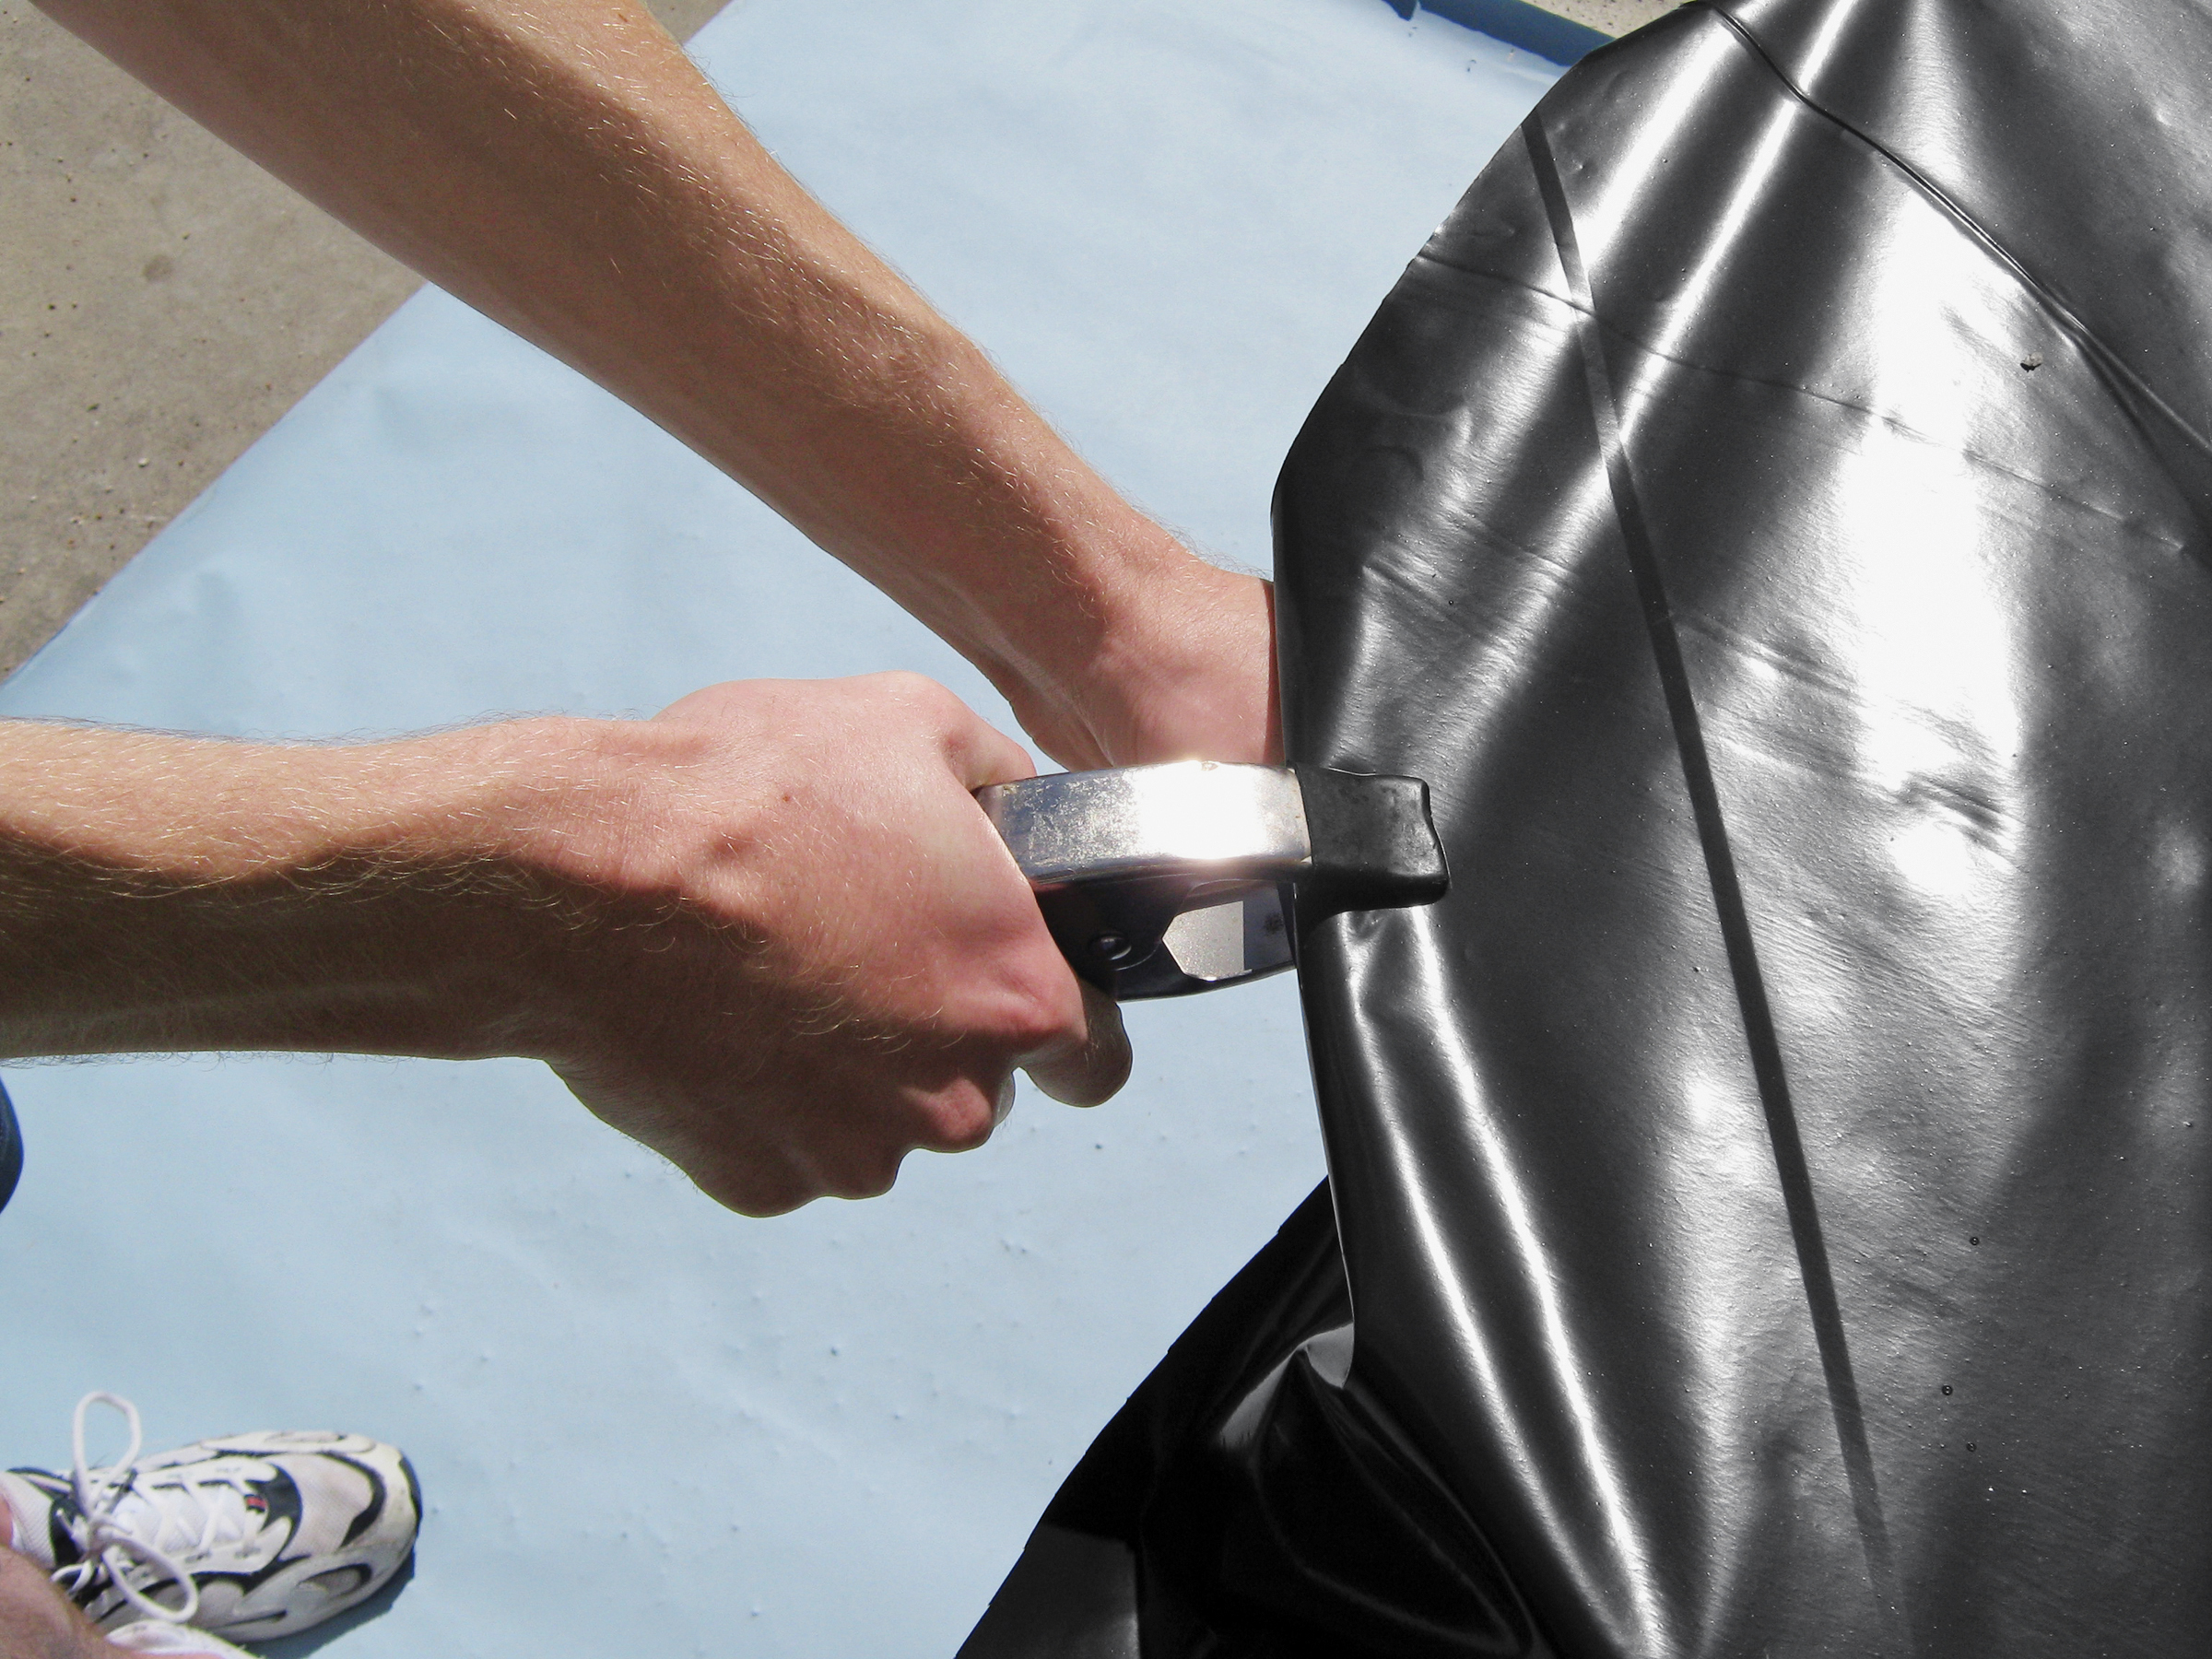
Lay the hula hoop on the rotating assembly jig. Stretch the polyethylene film over it, and hold the film in place using the 6 clamps, evenly spaced around the circumference. I marked the turntable every 60° to make spacing easier.

Make 2 spot welds on either side of each clamp, always holding the film taut when you’re welding. Work from one side to the other, turning the hoop around on its rotating jig.

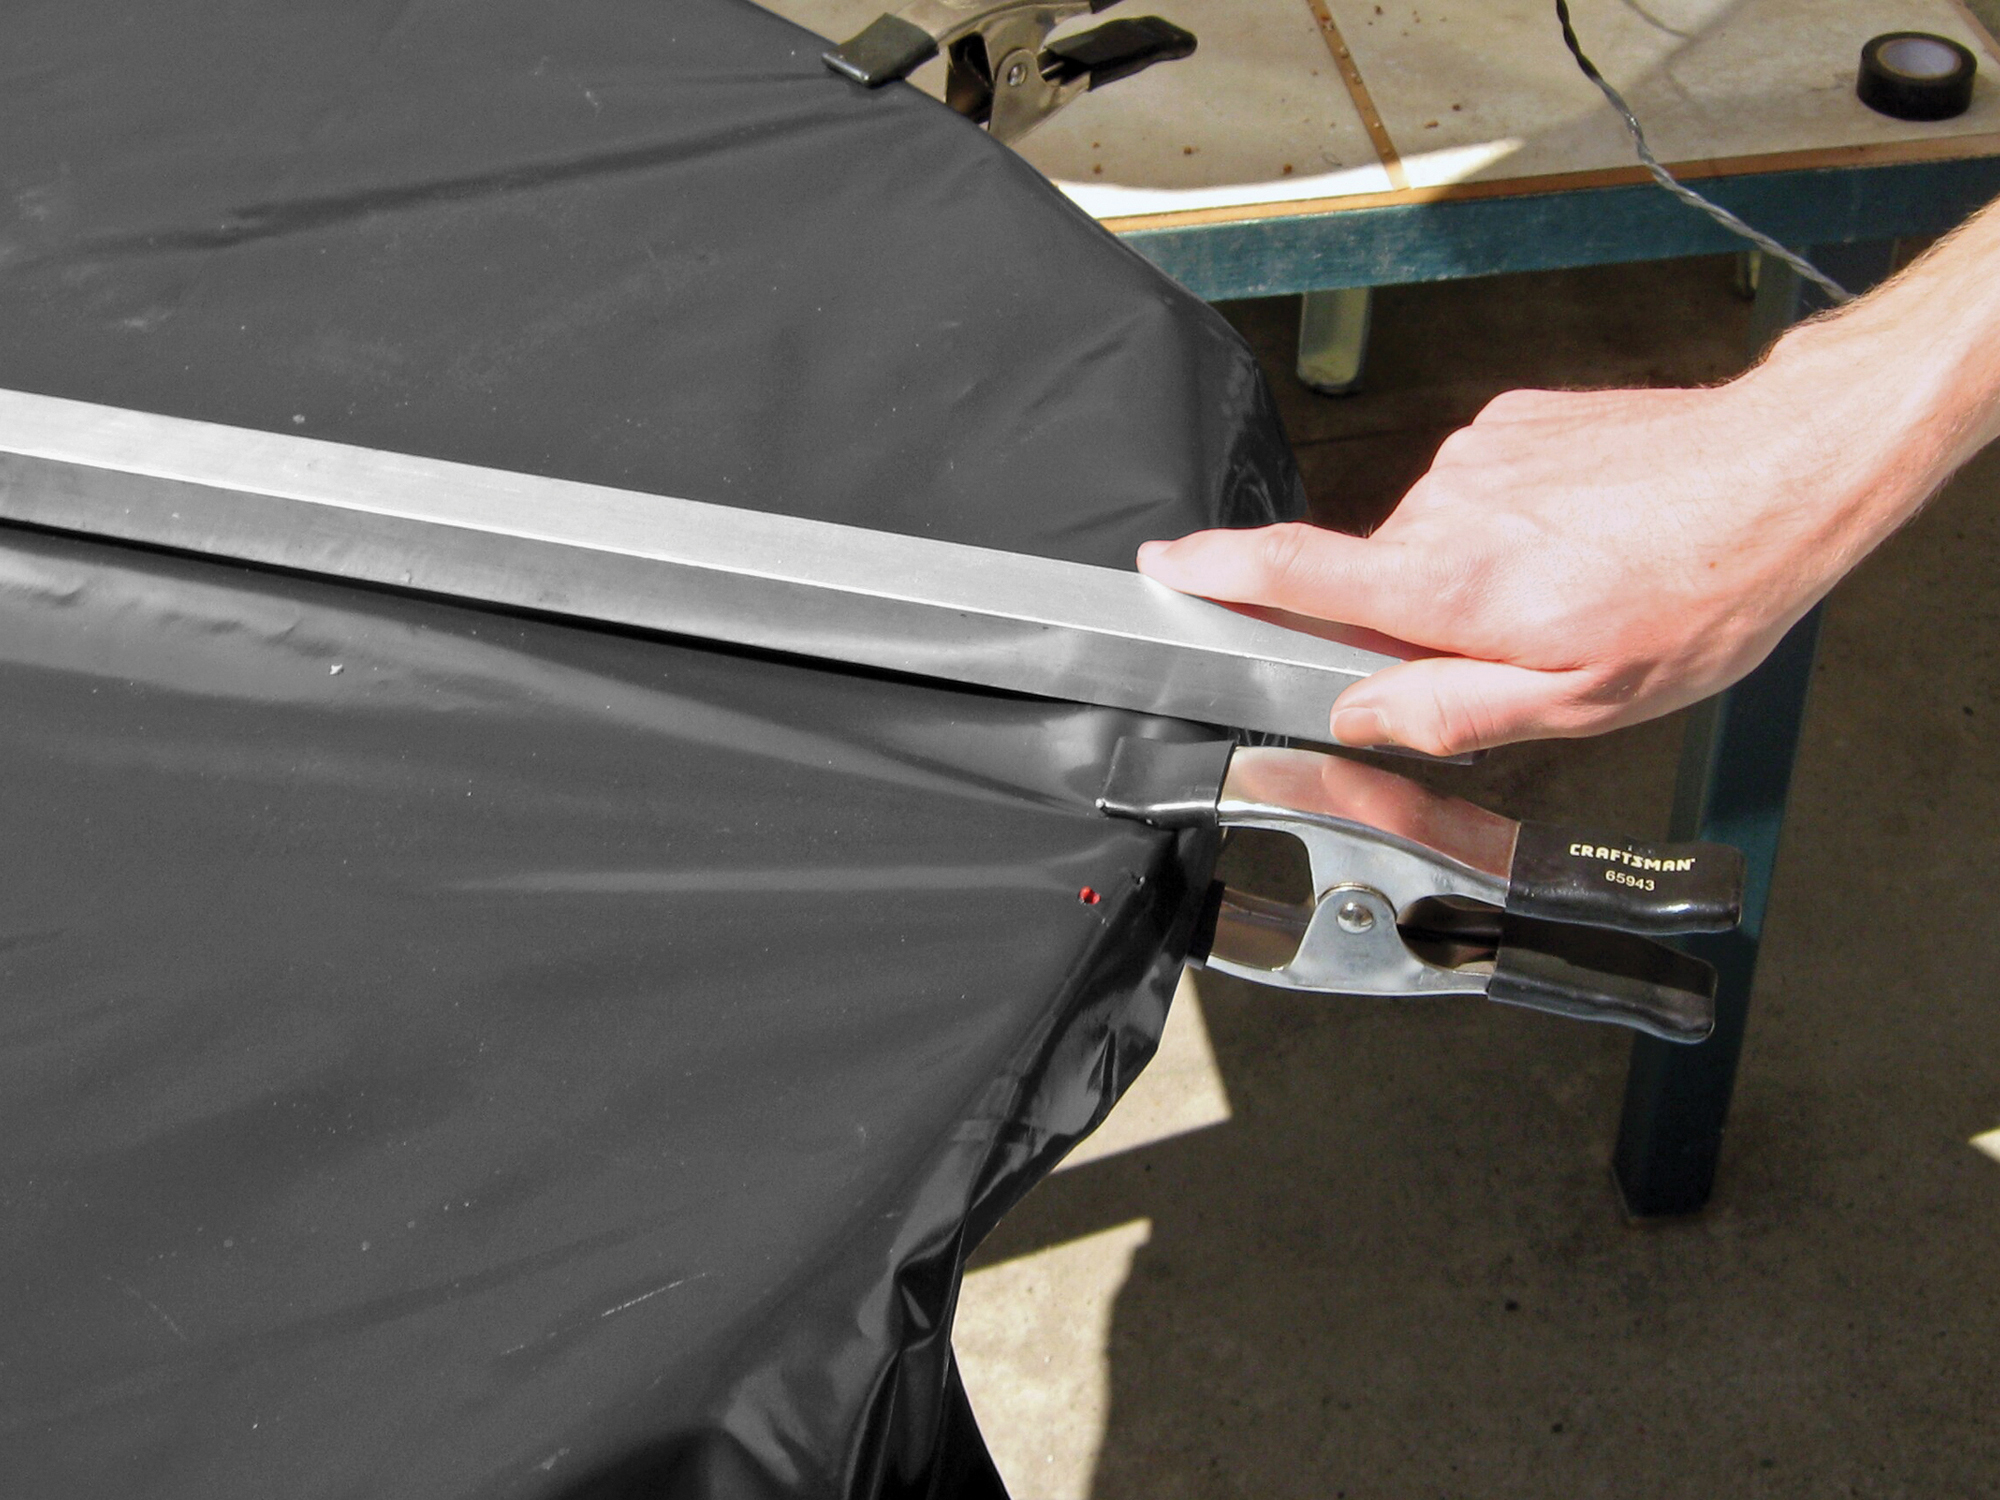
Immediately after each spot weld is made, it’s necessary to flatten and cool it. This is best done with a 36″ bar of metal laid across the diameter of the film.

Alternatively, you can use the back of the soldering iron guide, chilling it in water after every few welds.

Spot-weld the remainder of the film to the hoop, with spot welds about 1″ apart, including the area under the clamps. Soon enough, the feel of the operation will become obvious. A little practice on a test piece is recommended.

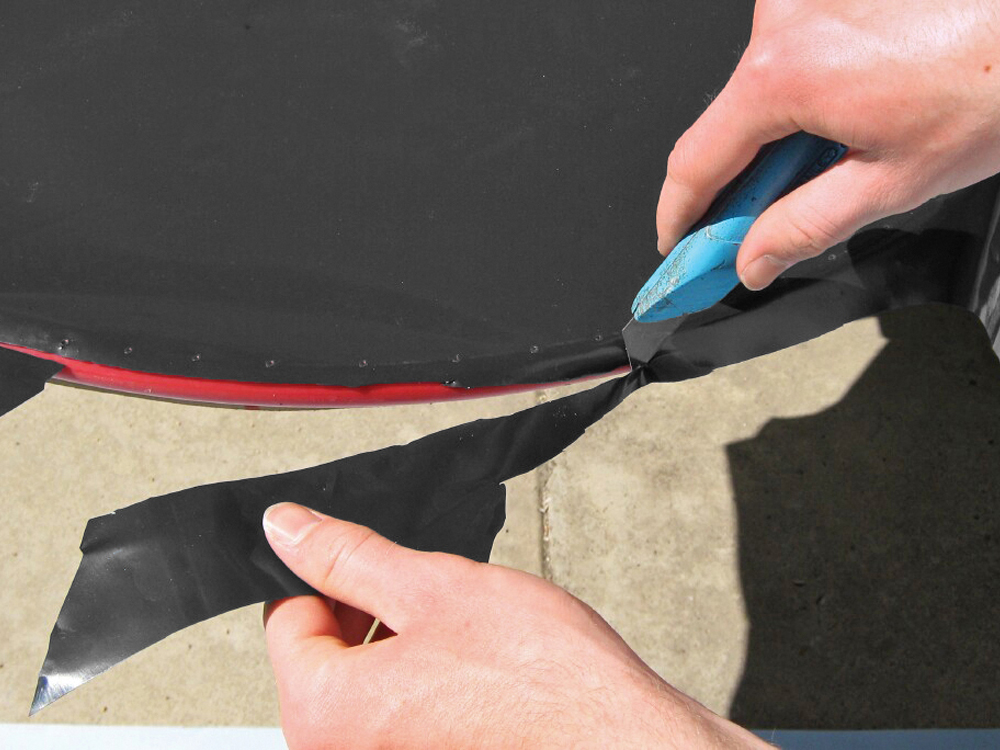
Once the spot welding is completed, trim the overhanging film with a sharp box cutter, rotating the table against the knife.

Finally, use the tip of the soldering iron to puncture 9 small vent holes in the film, one in the center and the rest distributed in a circle of about 24″ diameter. Without these vents, vapor bubbles would form under the stretched polyethylene, and lower the heat transfer.

You’re done! Now make more.

Maintenance

Like any pool cover, the Lily Pads will gather dust and dirt over time. The pads are easily cleaned using a water detergent solution, then rinsing. In pools where the water hasn’t been changed for a long time, evaporation of water from the surface of a pad will leave a salt deposit. In this case, cleaning is best done with an acid solution, while wearing rubber gloves (1 cup of pool acid to 2 gallons of water, then rinse). Cleaning restores the film to a like-new condition. Judging from the condition of the Lily Pads at the end of one season, the useful life could be three or more years.

TIP: When using Lily Pads, it’s best to operate the pool pump at night only. When the pump operates, the skimmer will draw warm water (created at the surface by the pads) into the filter and return lines, where heat is lost by conduction. This is true of all blanket pool warmers.

The Pool Owner’s Dilemma

The thermal behavior of swimming pools is complex, due to a number of factors that act to cool the water, while the sun and artificial means work to keep the water warm. Cooling forces are at work day and night, and include evaporation, conduction into surrounding soil, air current effects, and nighttime long wave (infrared) radiation into space. Gas-fired heaters are the most common pool warmers, but up-front costs for equipment and installation run into the thousands of dollars. And then there’s the operating cost and the price of natural gas.

Conclusion

This project first appeared in MAKE Volume 23, page 131.