Here I’ll show you how to add flashing LEDs to your backpack for fun and safety. I used a LilyPad Arduino with a rechargeable lithium-polymer battery for flatness and re-usability. The LEDs blink in a marquee pattern, two at a time, in patriotic red, white and blue. This project also appears as a CRAFT Video! Grab the Source code and schematic

YouTube player

Project Steps

Coil the leads of each LED: make the longer lead (positive) into a square spiral, and the shorter lead (negative) into a round spiral.

Sew the LED grounds

Check out the schematic. Using your conductive thread, sew a line around the perimeter of the patch, stopping to sew the round leads of each LED into the line. Leave a space on one edge for the conductive velcro (don’t sew the velcro yet).

Sew the power supply and LilyPad

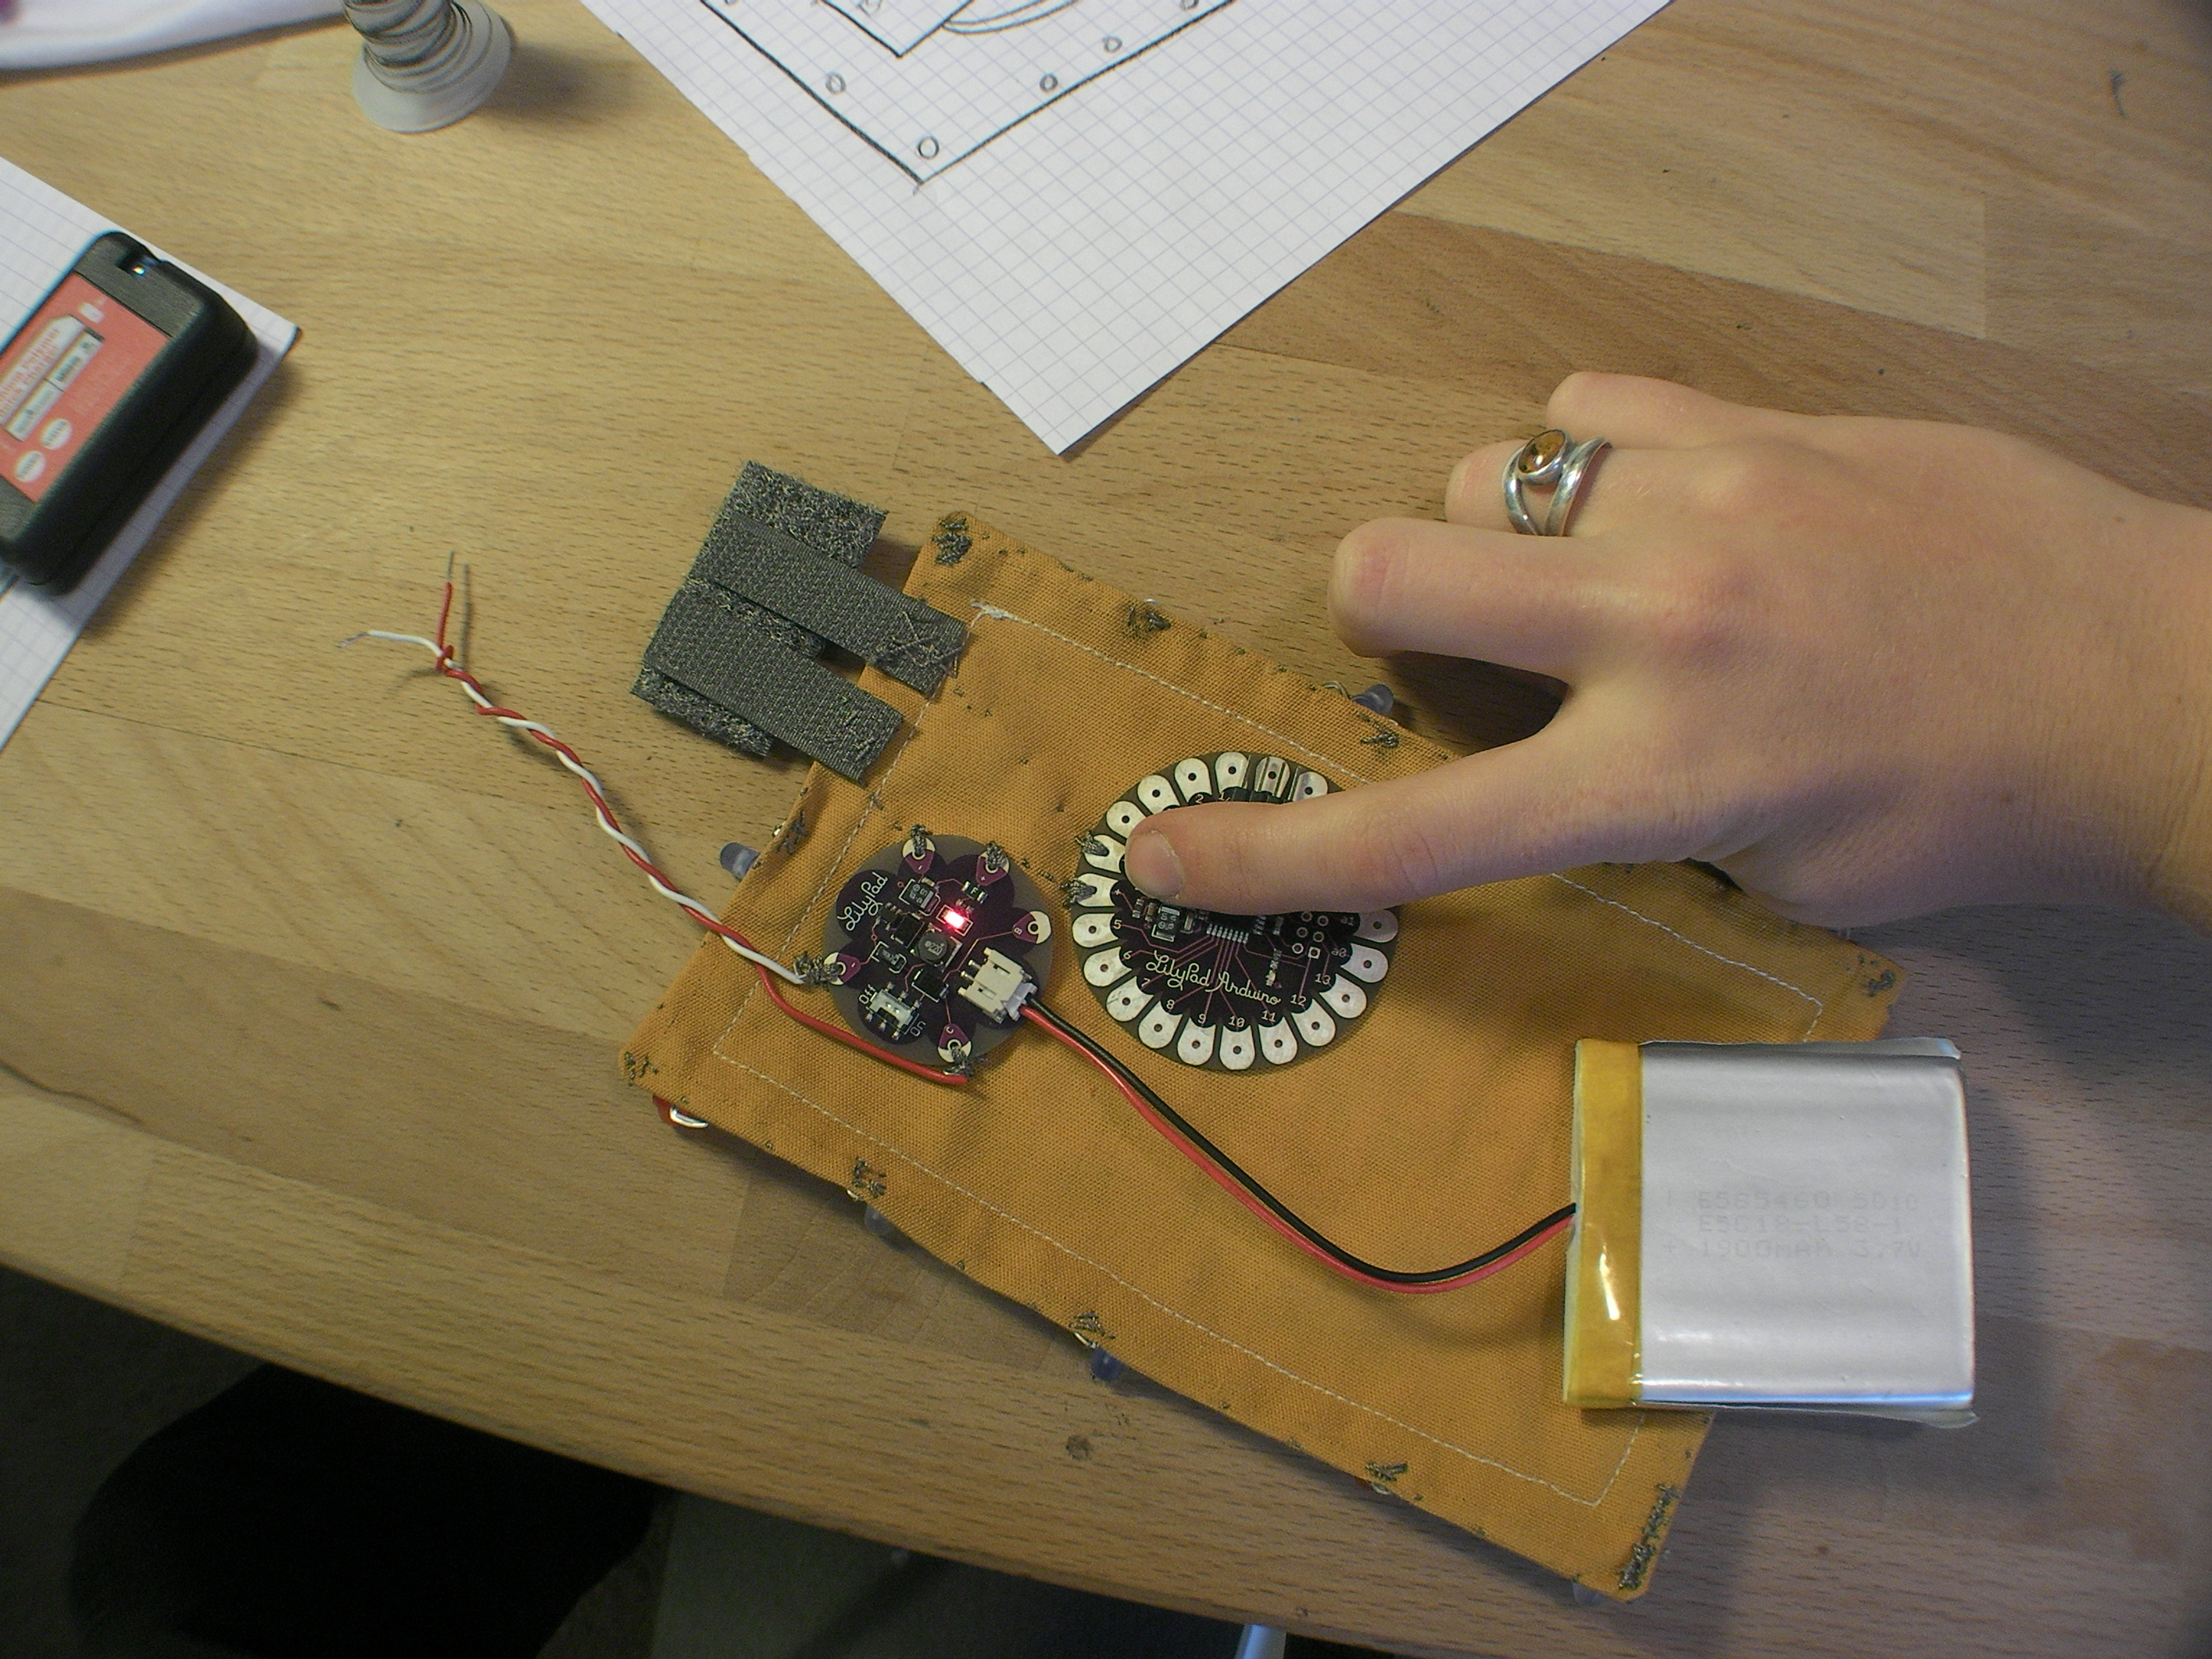
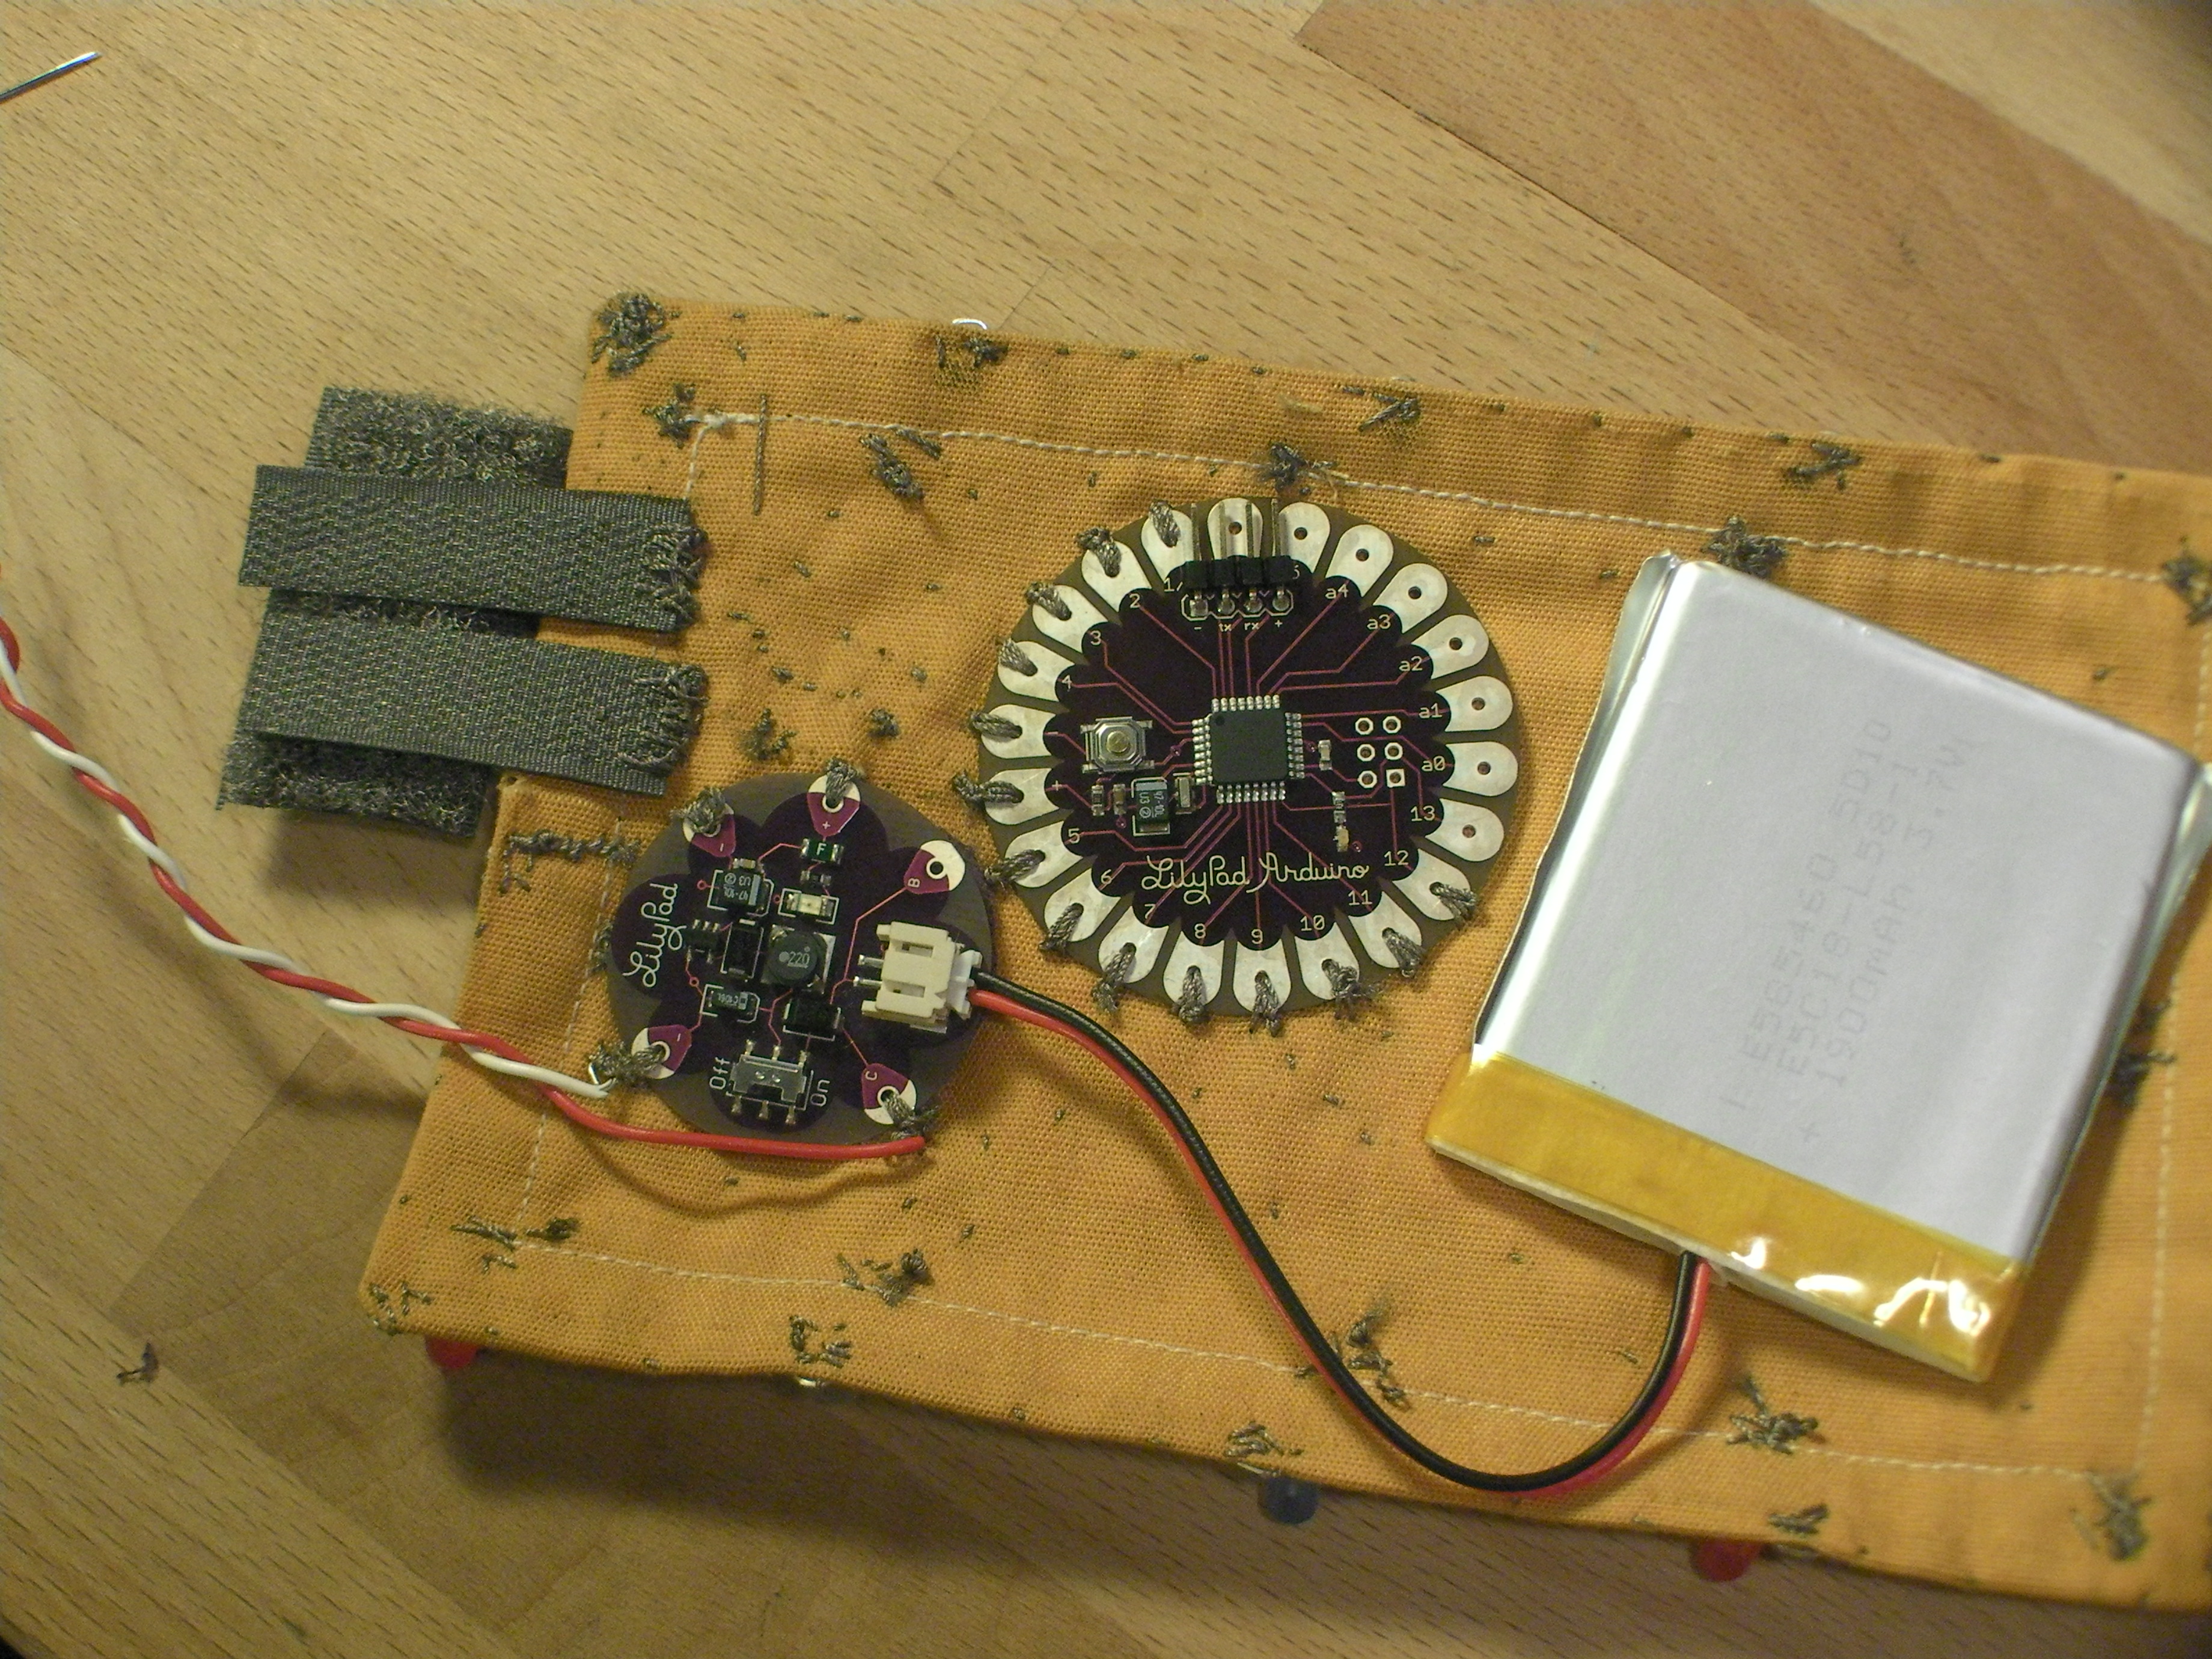
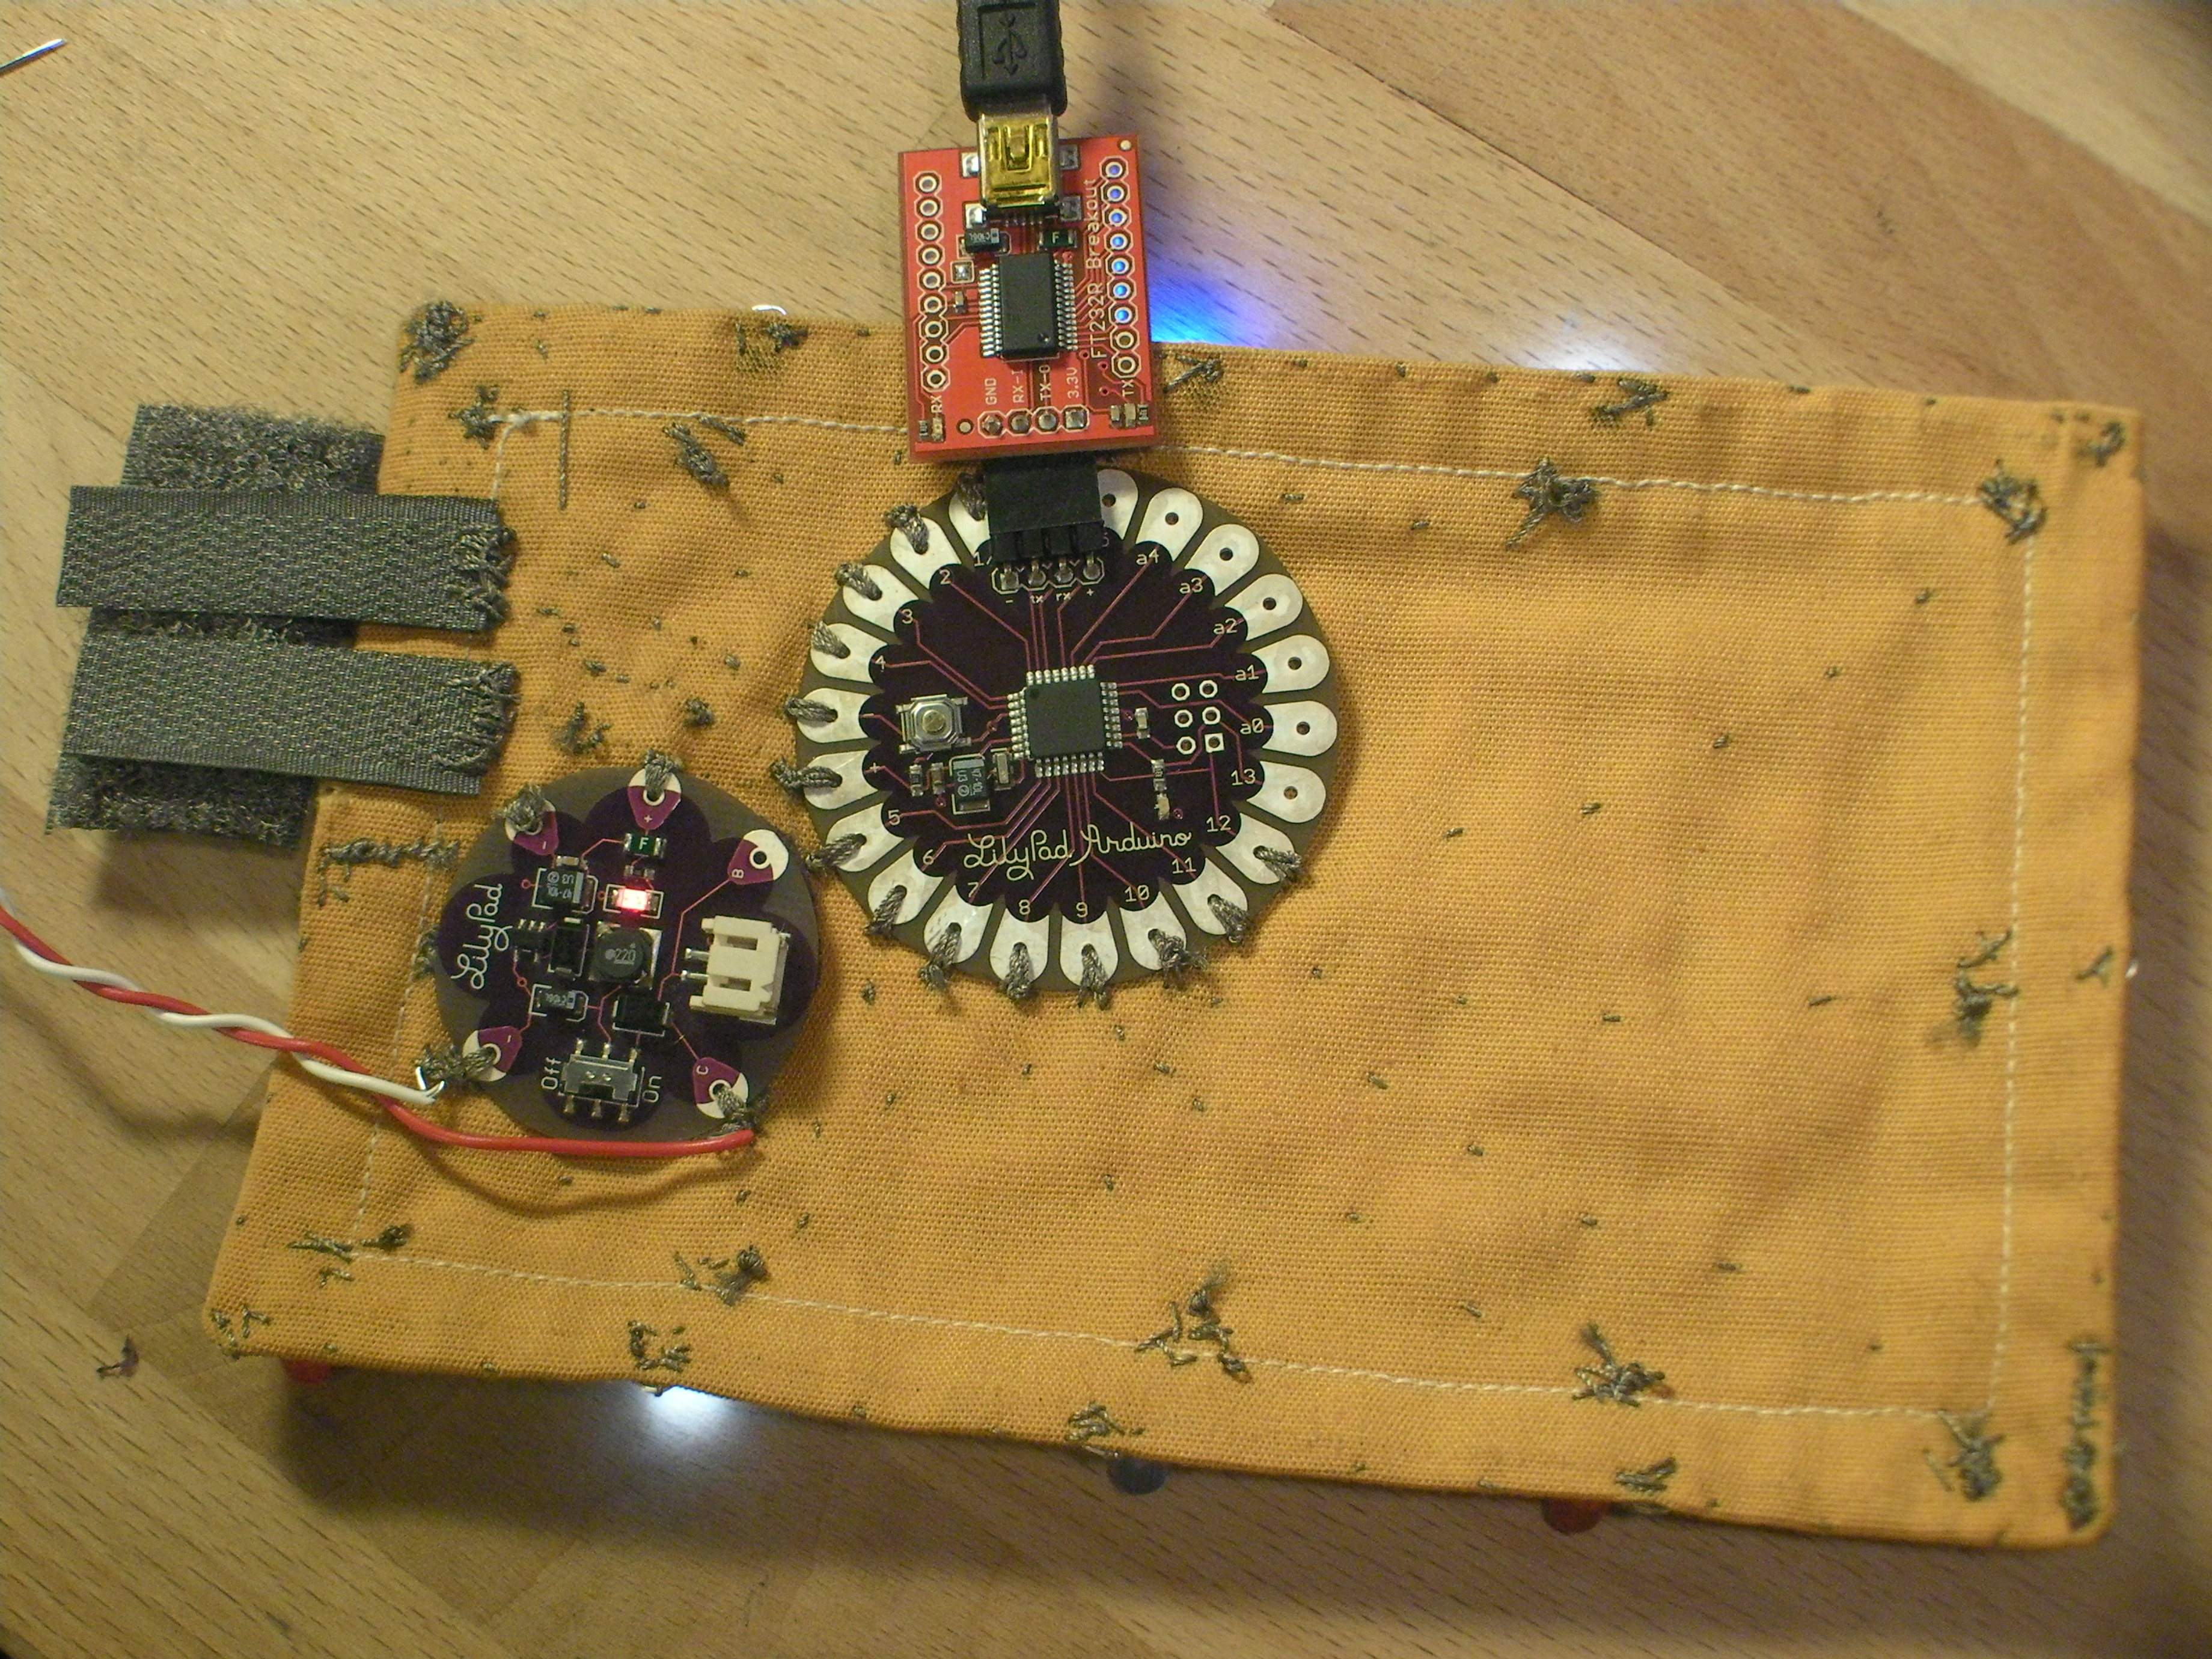
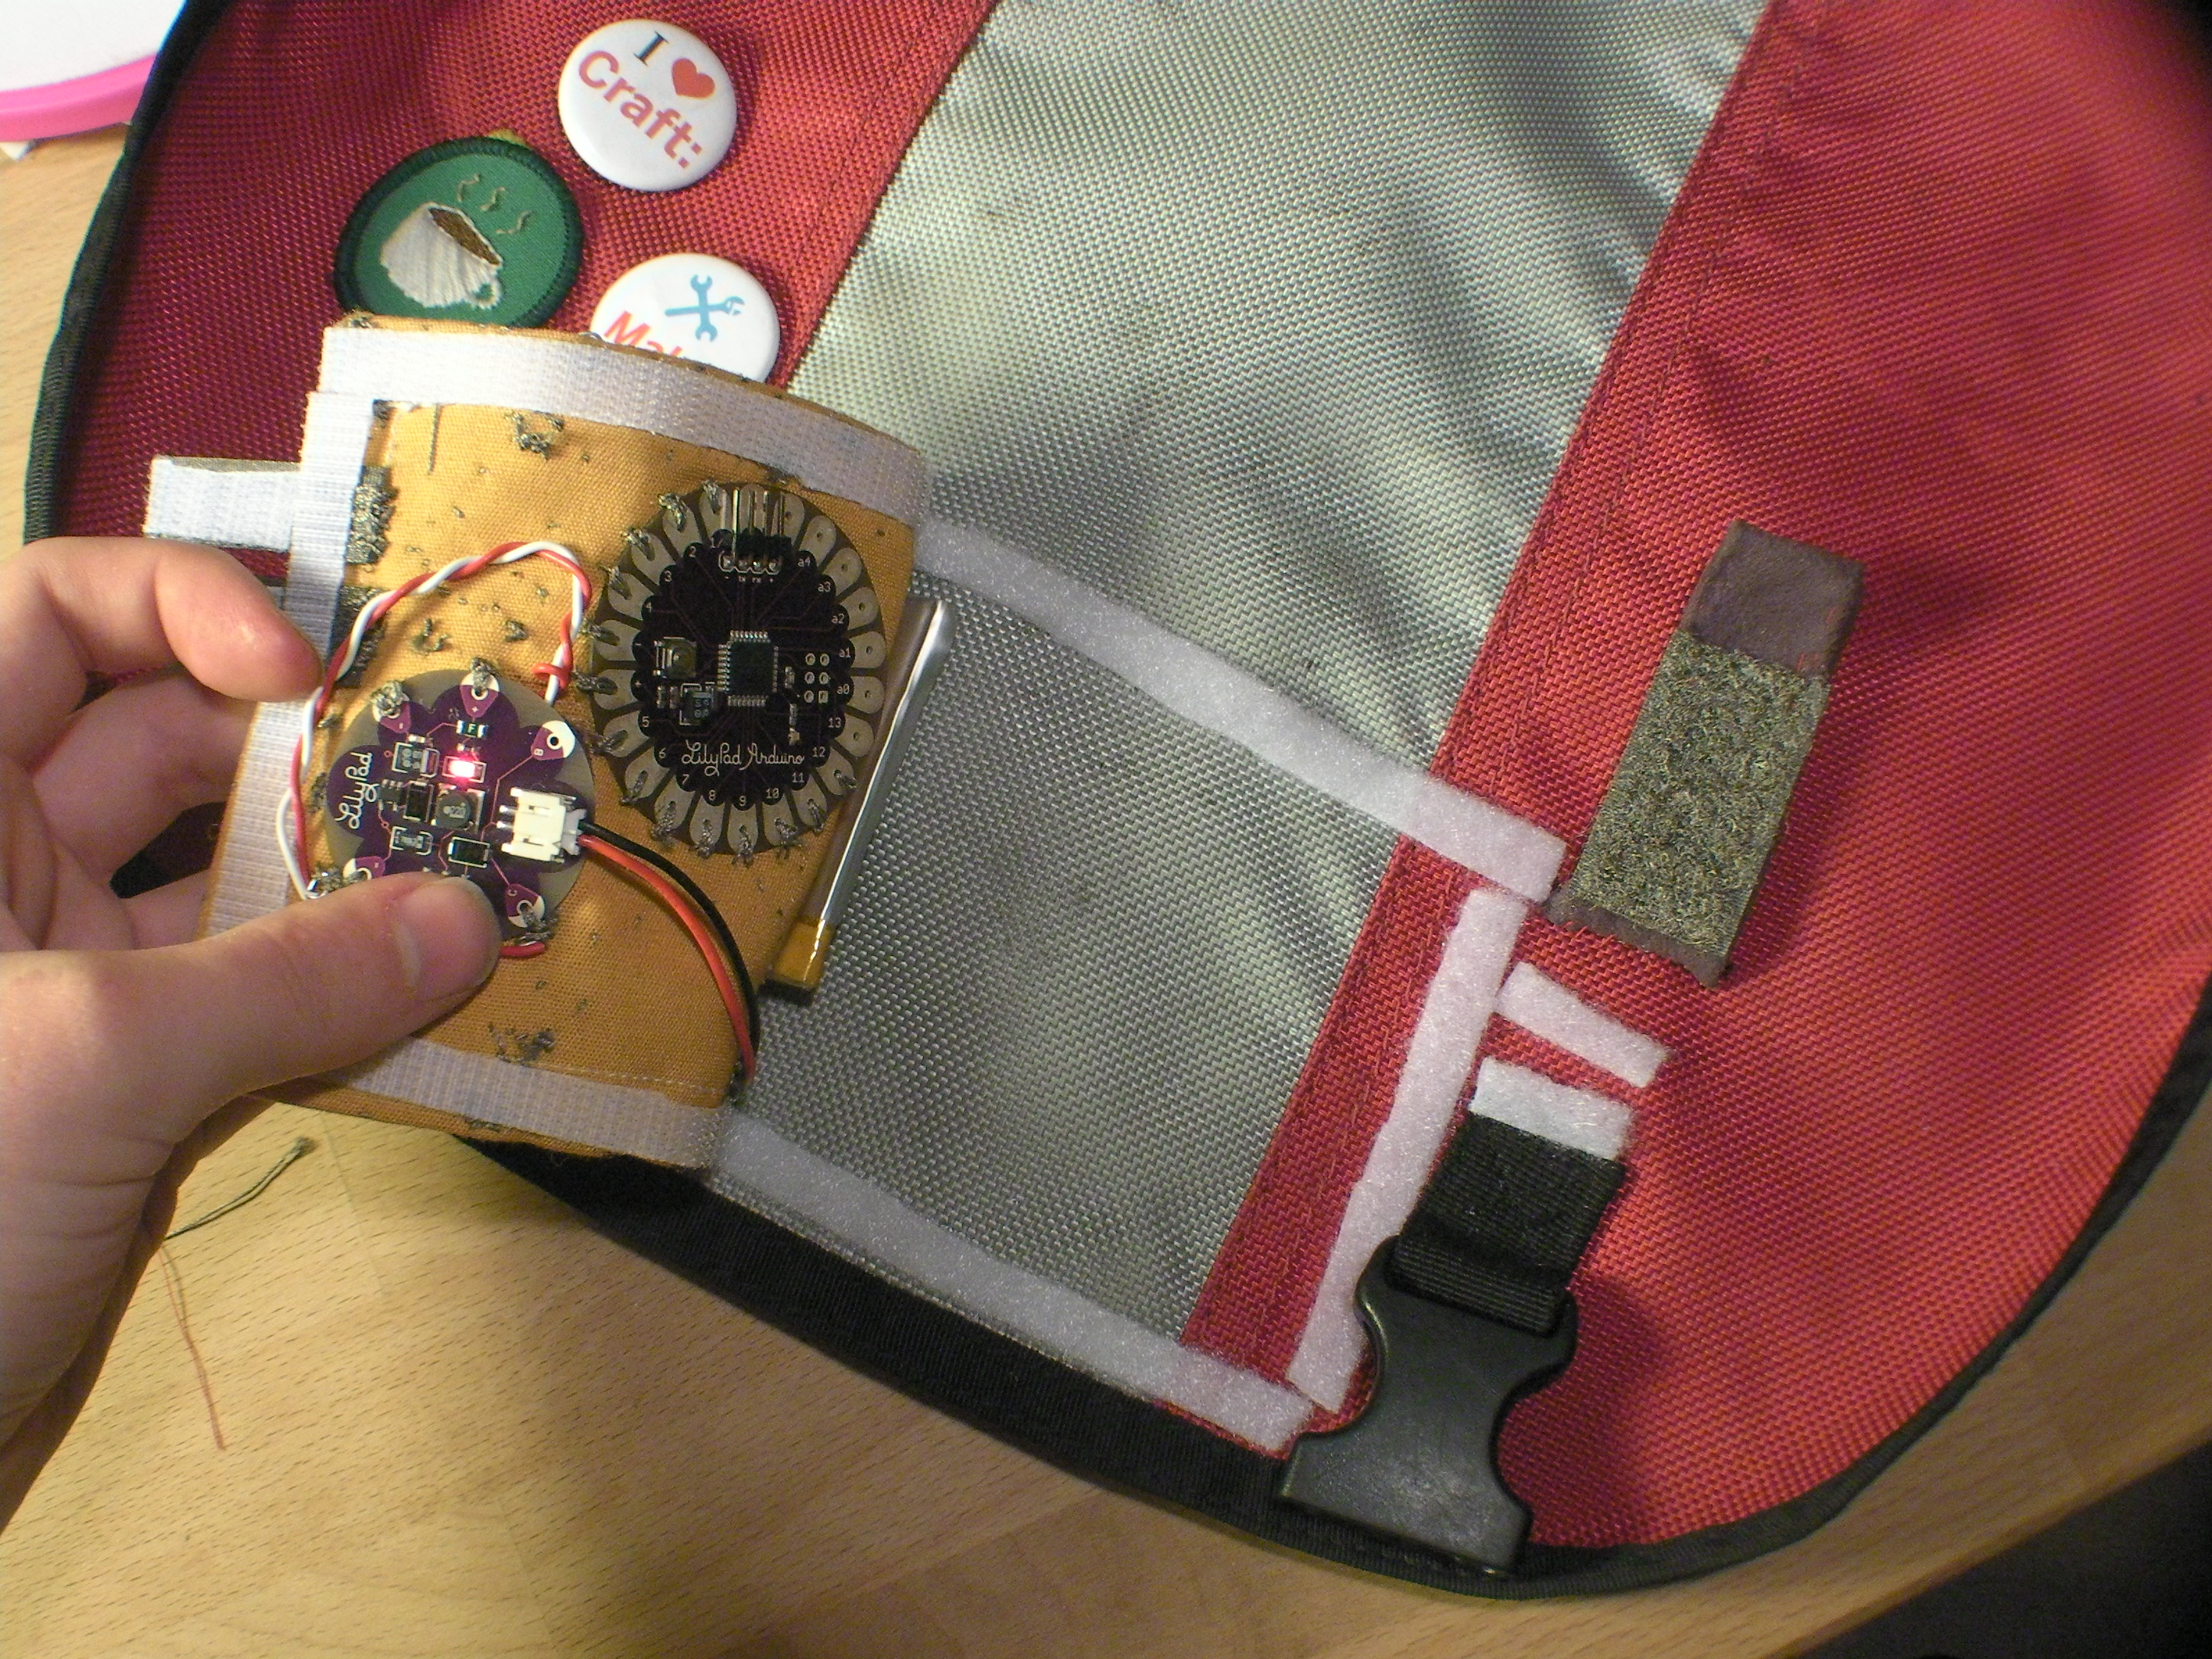
Cut one side of the conductive velcro in half, and sew the bottom half over the edge of the patch where you left that space earlier. Sew it down and sew a line over to the + on the LiPower unit (you can also use the LilyPad AAA battery board). The picture shows it sewn to ground, but don’t pay attention to that (or better yet, upload a correct image)!

Sew the other conductive velcro tab down next to (but not touching) the previously-sewn tab. Stitch a line to the + on the LilyPad Arduino. I reinforced these two power leads a few times to reduce the resistance of this switchable area.

Stitch the ground of the power supply to the line of grounds around the edge. Same goes for the LilyPad Arduino. Look at that schematic for help placing the traces.

Sew the LilyPad pins to the LED positive leads

This part can take some time. According to the schematic, sew the positive (square-coiled) leads of the LEDs to their respective pins on the LilyPad Arduino. Be sure not to cross any threads, and tie tight knots with close-trimmed ends to prevent fraying fibers from shorting your circuit. I stopped often to let the needle dangle and untwist the thread as I worked, as it likes to get tangled and caught.

At this point you can plug the battery into the LiPower and turn the thing on. Use the other piece of conductive velcro to bridge the two patch tabs and see if your LilyPad boots up. Press the reset button a few times and watch that little green LED on board blink a little. Now you know it’s working!

Program the board

Here’s the Arduino code! Load it on your LilyPad by hooking up your programmer and USB cable (or FTDI cable if you have a newer LilyPad). For more info about getting the code onto the Lilypad, check out this page at the Arduino website: http://web.media.mit.edu/~leah/LilyPad/0…

Affix with Velcro

I decided to affix the entire circuit patch with velcro instead of sewing it down to my bag, with air travel in mind specifically. It’s easy to remove, inspect, and replace. I live in Arizona, so rain isn’t too much of a concern, but it should also be removed during rain. You can choose to just remove the battery, as the rest of the circuit won’t be damaged by water, so long as you wait for it to be completely dry before plugging the battery back in.

Sticky-back velcro is easier, but any kind will do!

Now go ride your bike!