Make: Projects

Arduino-Controlled Night Light

Make a night light that automatically goes on when you turn off the lights.

Arduino-Controlled Night Light

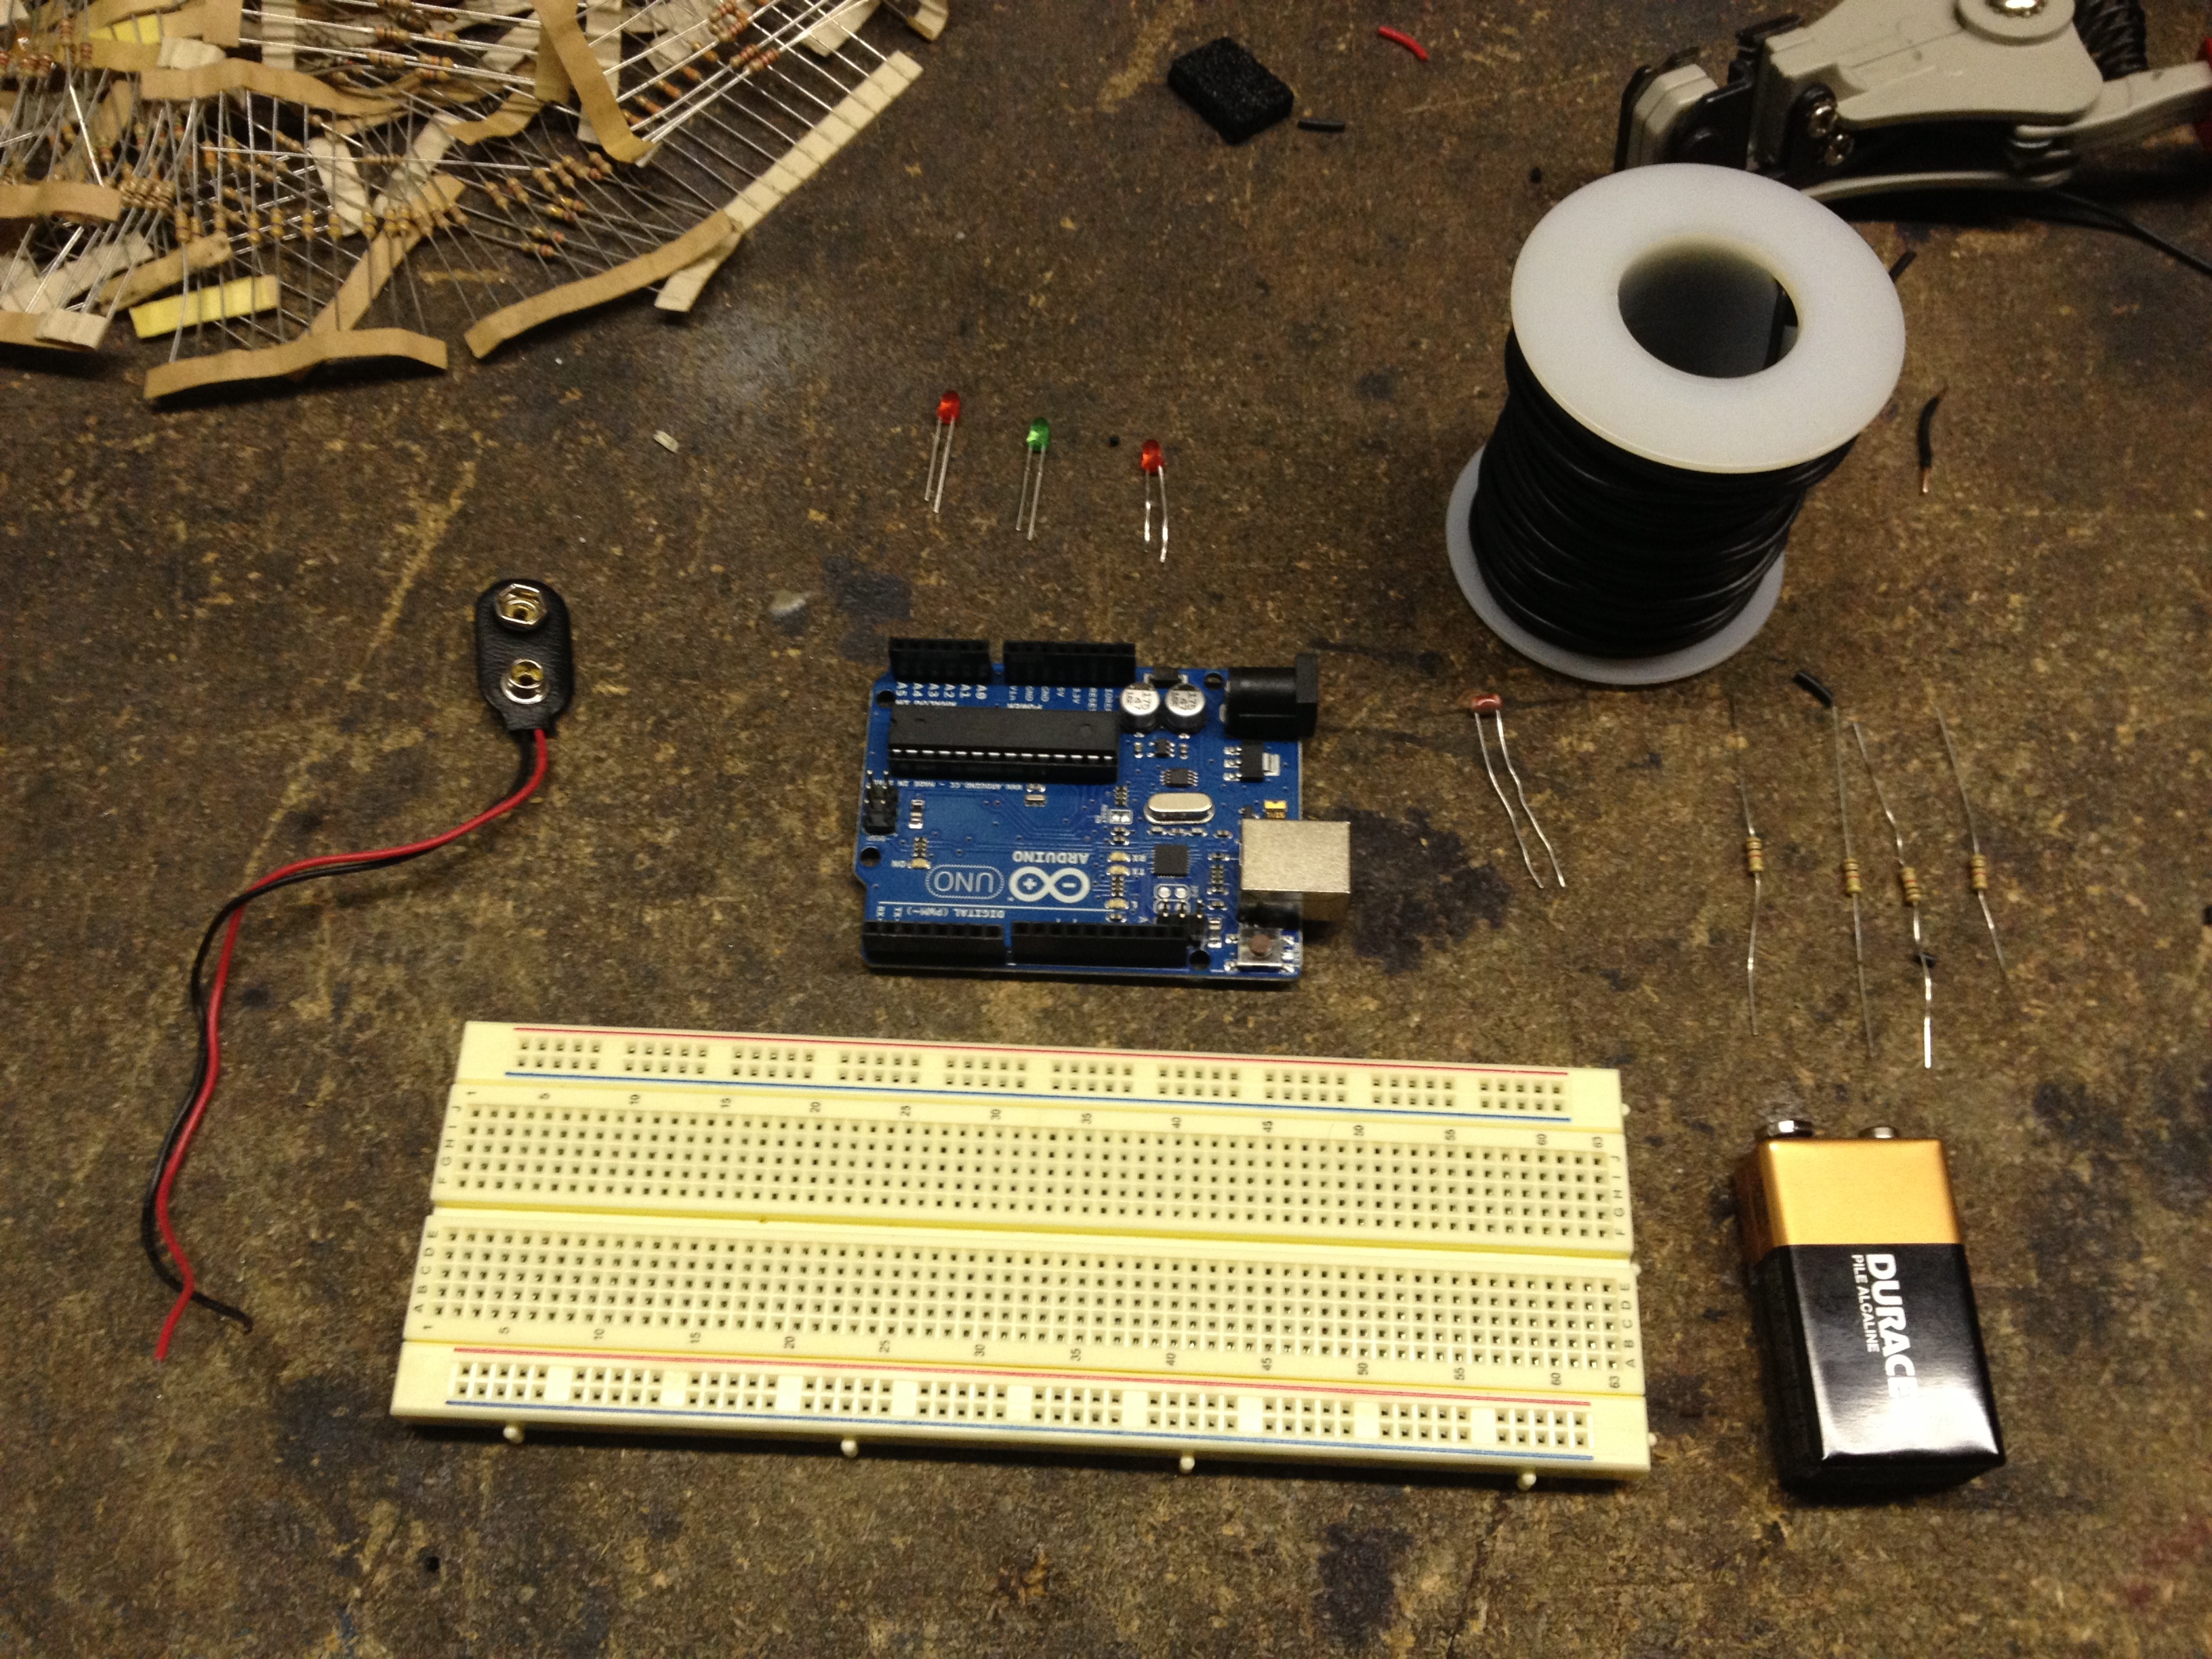
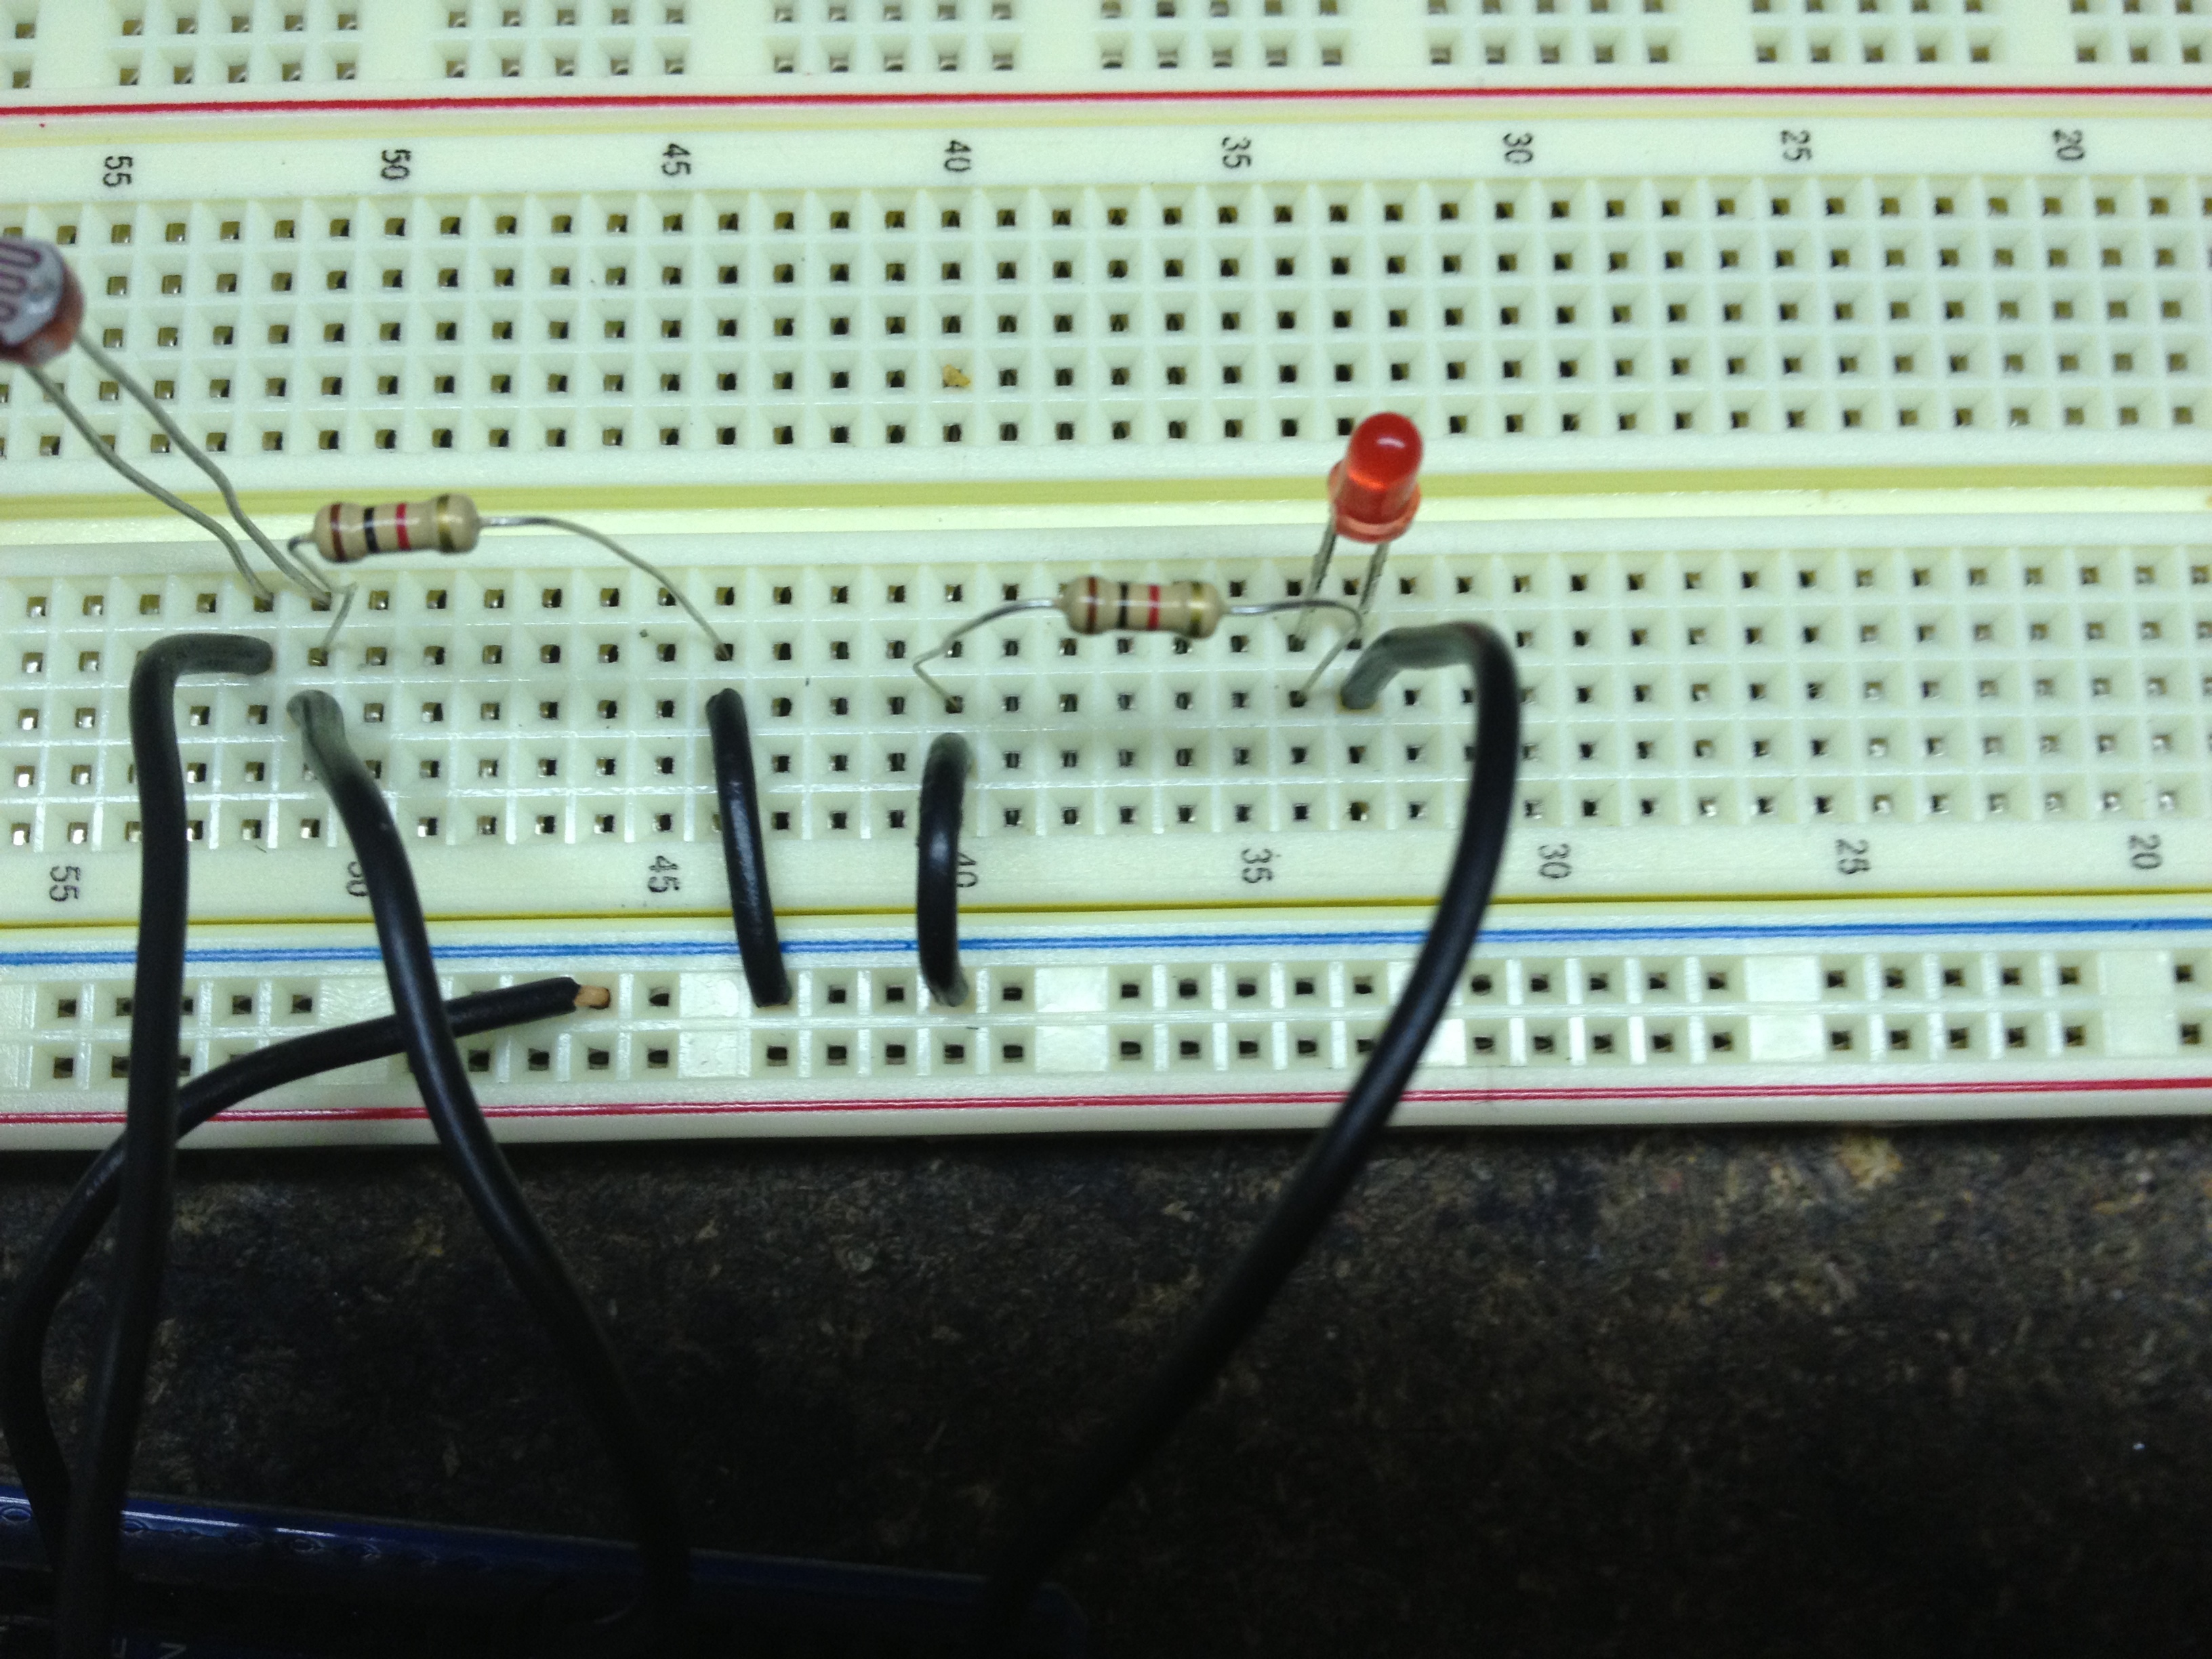
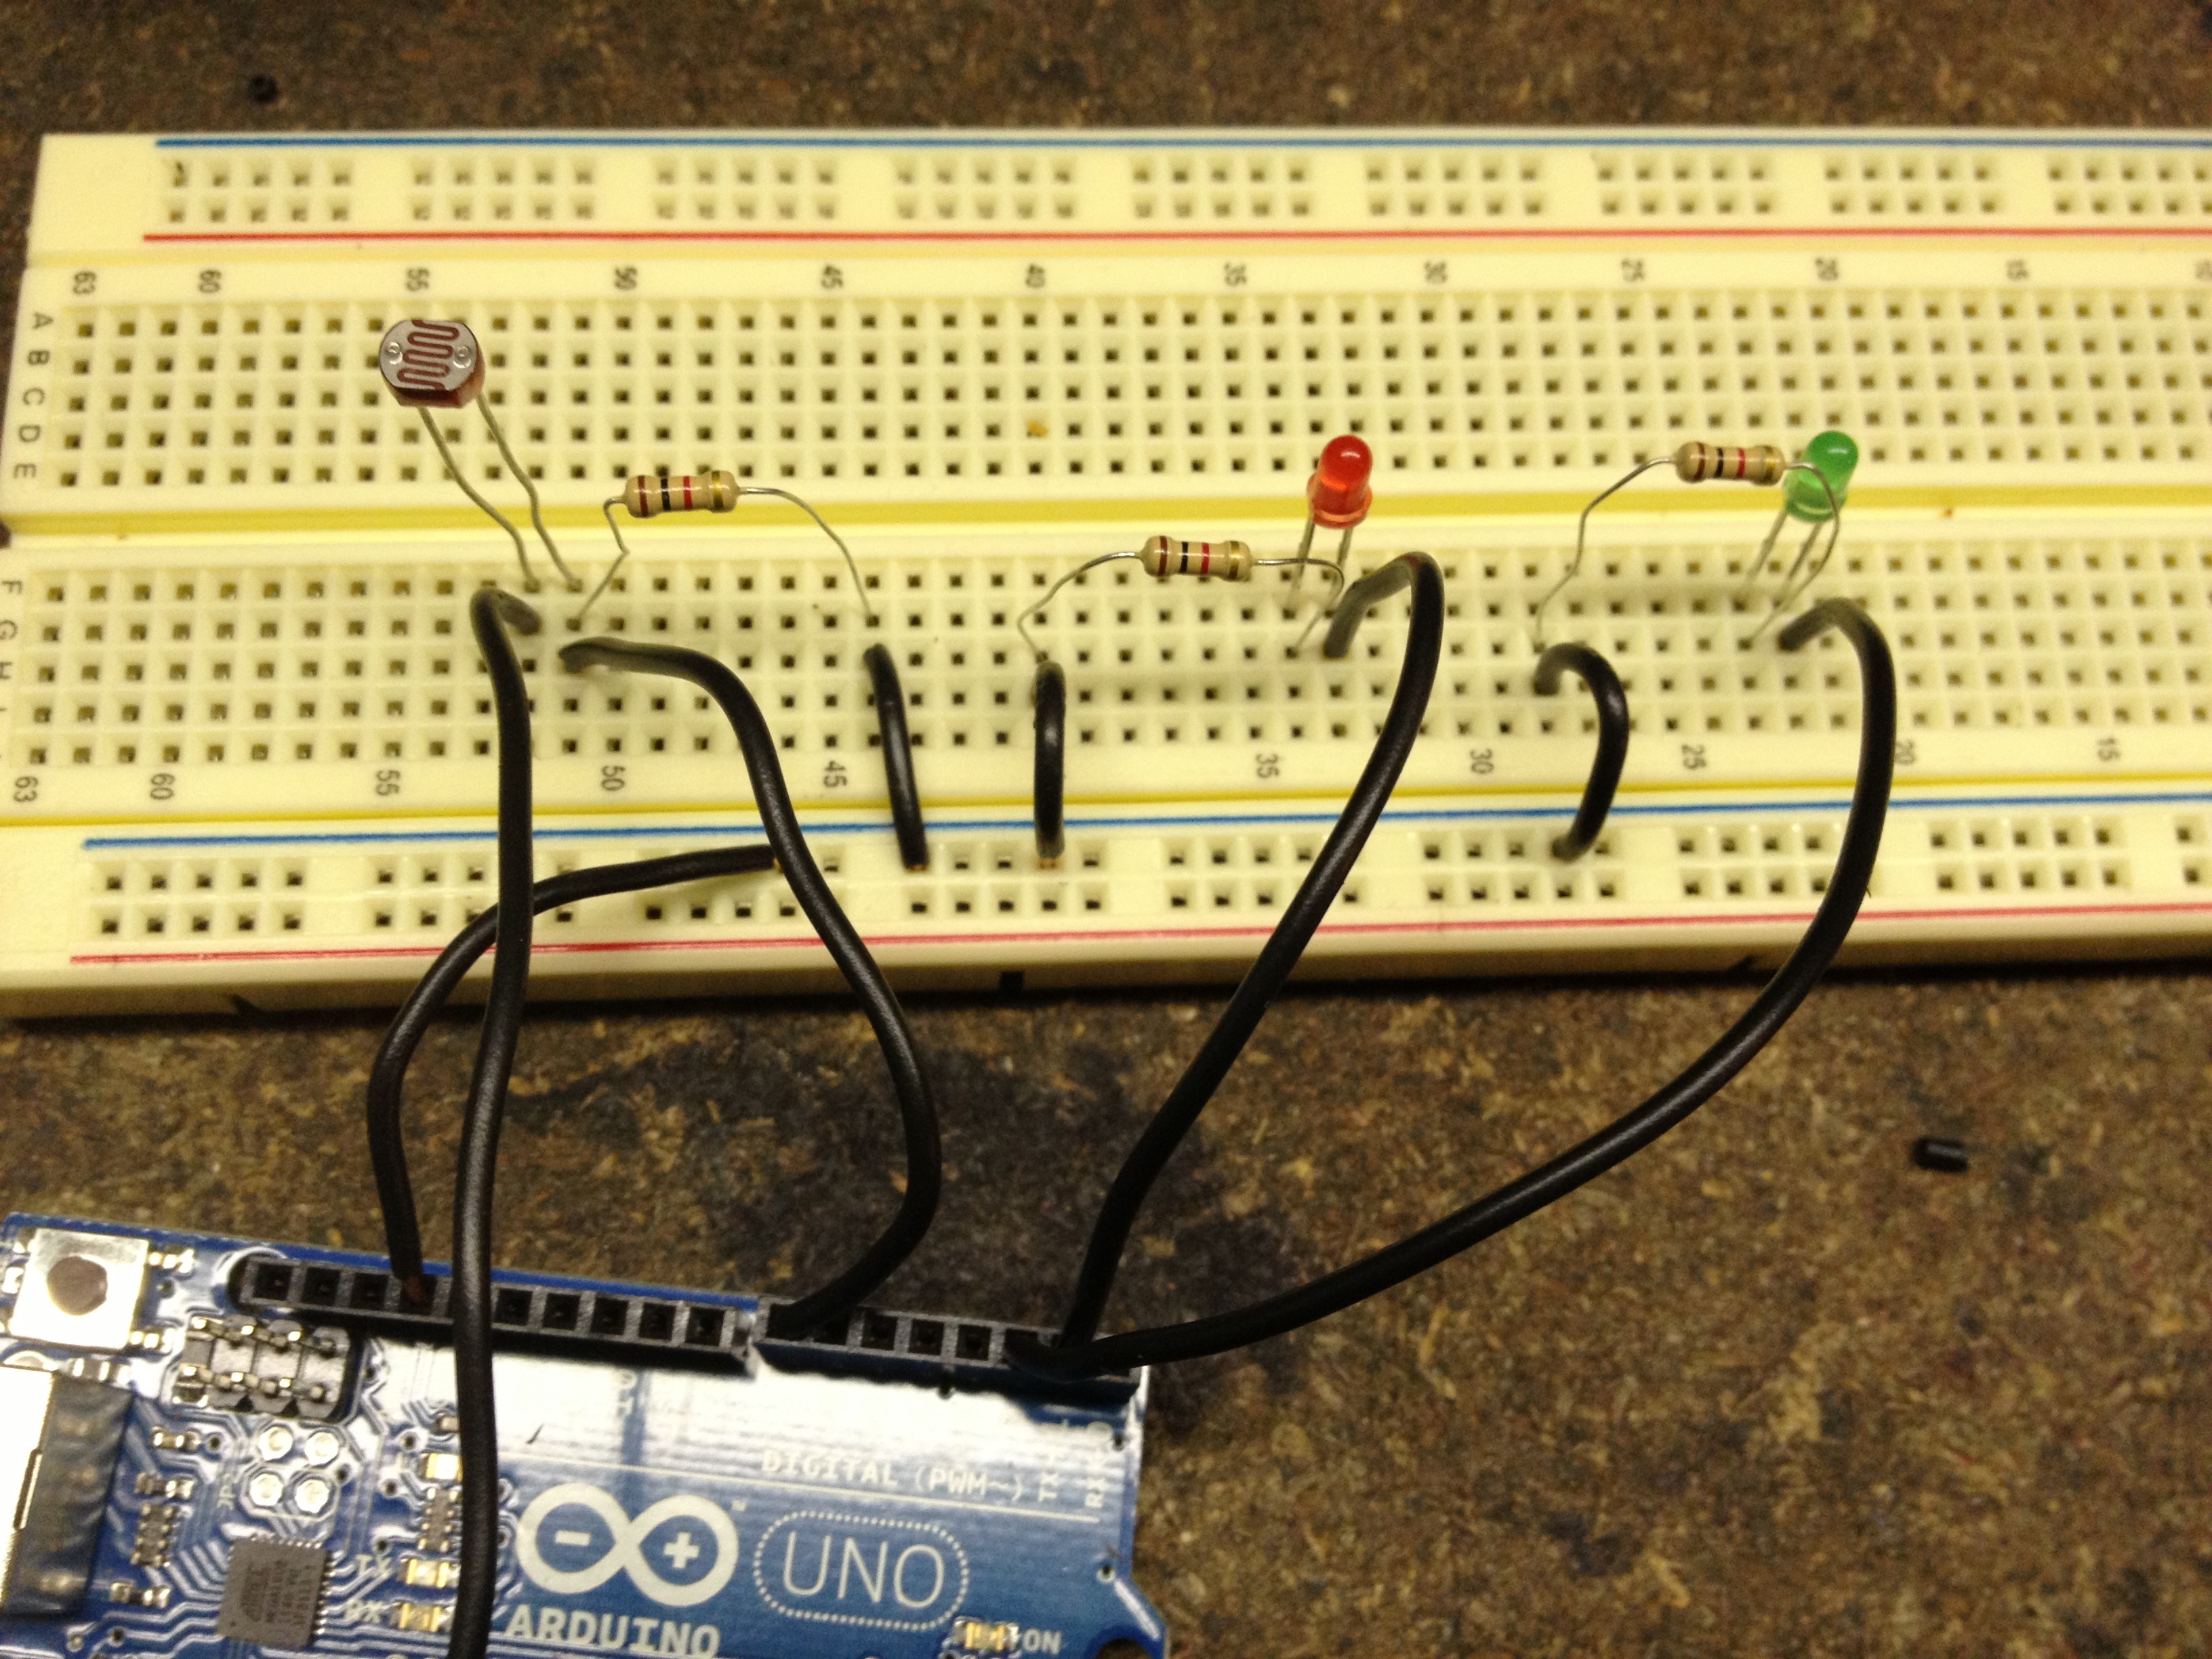
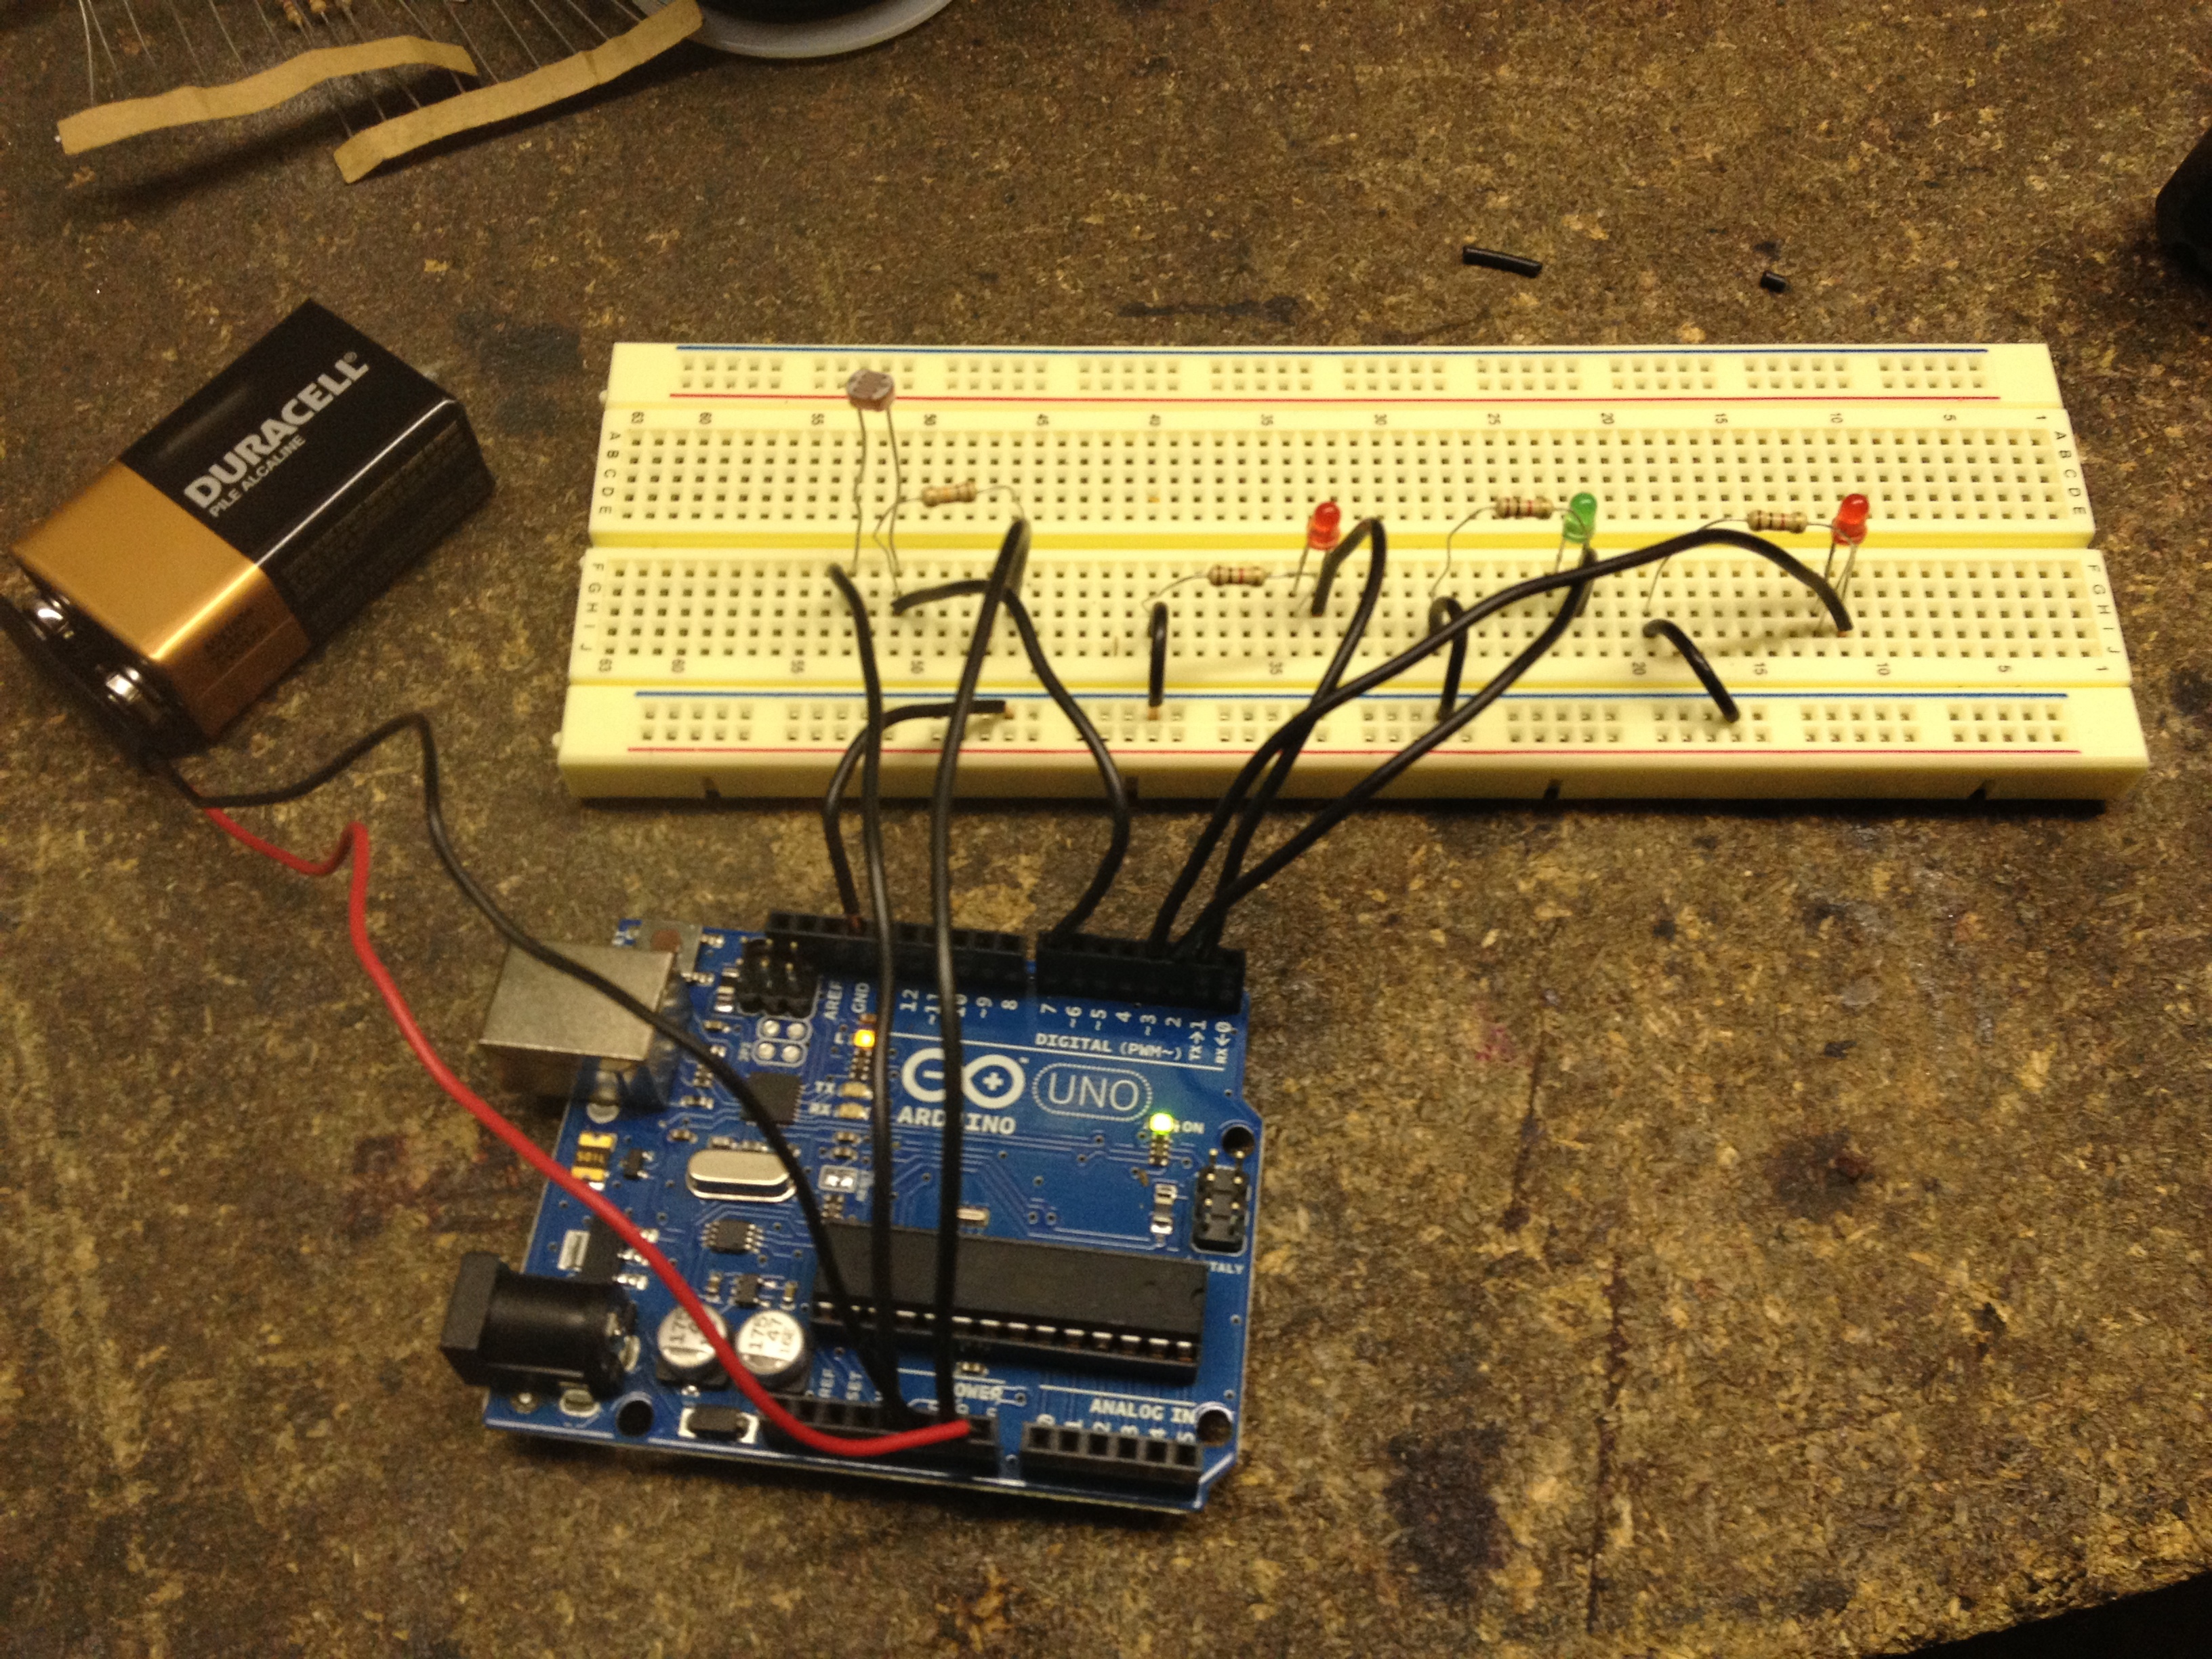
Using a light sensor, some wire, and LEDs you can easily create an automatic night light that will turn on when you turn off the lights.

Steps

Step #1:

Next
Arduino-Controlled Night LightArduino-Controlled Night LightArduino-Controlled Night Light
  • These are the parts and tools you will need.

Step #2:

Next
Arduino-Controlled Night LightArduino-Controlled Night LightArduino-Controlled Night Light
  • Connect the ground pin on the Arduino Uno to the ground rail on the breadboard. This is usually the first step in any project I do just so I can draw ground from any part of the rail.

Step #3:

Next
Arduino-Controlled Night LightArduino-Controlled Night LightArduino-Controlled Night Light
  • Plug in your LDR Light Sensor into pin F 51 and F 53. Then connect a 10k resistor to G 51 and and G 46. Then a short wire from the ground rail to H 46. Then take a wire from the 5v pin on the Arduino to G 53. Then take a wire from digital pin 7 on the Arduino to H 51.

Step #4:

Next
Arduino-Controlled Night LightArduino-Controlled Night LightArduino-Controlled Night Light
  • Now take a wire from the ground rail to I 40. Put a 330 resistor into H 40 and H 34. Take a wire from digital pin 1 on the Arduino to H 33. Since LEDs have positive and negative you will need to plug the longer end of you LED into G 33 and the shorter into G 34.

Step #5:

Next
Arduino-Controlled Night Light
  • Repeat the process with another LED but this time use digital pin 2 instead of digital pin 1.

Step #6:

Next
Arduino-Controlled Night Light
  • And repeat it again but use digital pin 3.

Step #7:

Next
Arduino-Controlled Night LightArduino-Controlled Night LightArduino-Controlled Night Light
  • Now plug the red wire of the battery clip into the Vin of the Arduino and plug the black wire into the GND pin on the Arduino.

Step #8:

Arduino-Controlled Night LightArduino-Controlled Night LightArduino-Controlled Night Light
  • The Arduino code for the night light can be found in the PDF file above. Copy and paste it into the Arduino IDE, then upload it.
  • Now your lights should turn on when the light sensor senses no light.

Conclusion

You can take this project further by adding code to slowly fade the LEDs on and off in different patterns, or by adding a timer to fade the night light off after a set period of time.

2 Responses to Arduino-Controlled Night Light

  1. Galina Orlova on said:

    Hey, where is the arduino code for this project? There is no pdf file here :-(

  2. Here is some simple code if you wish for a single LED. Just a simple if/else statement. I connected my LDR to the analogue input and had the serial print just to have a look at what sort figures I was getting. You can then make the if/else statement a lot more complicated from this.

    int led =7;
    int ldr= A0;

    void setup() {
    pinMode(led, OUTPUT);
    Serial.begin(9600);
    }

    void loop() {
    int sensorValue= analogRead(A0);
    float voltage= sensorValue * (5.0 /1023.0);

    if (voltage>=3.0)
    {
    digitalWrite(led, LOW);
    }
    else
    {
    digitalWrite(led, HIGH);
    }

    Serial.println(voltage);

    }

Leave a Reply

Fill in your details below or click an icon to log in:

WordPress.com Logo

You are commenting using your WordPress.com account. Log Out / Change )

Twitter picture

You are commenting using your Twitter account. Log Out / Change )

Facebook photo

You are commenting using your Facebook account. Log Out / Change )

Connecting to %s

%d bloggers like this: