CPbottle-opener-with-bottle
Completed CNC Milled bottle opener

At SxSW 2014 the team at Inventables  launched Easel.  The idea behind the Easel project was to make software for designing and making projects with a CNC machine that was approachable to anyone with an internet connection and basic computer skills.

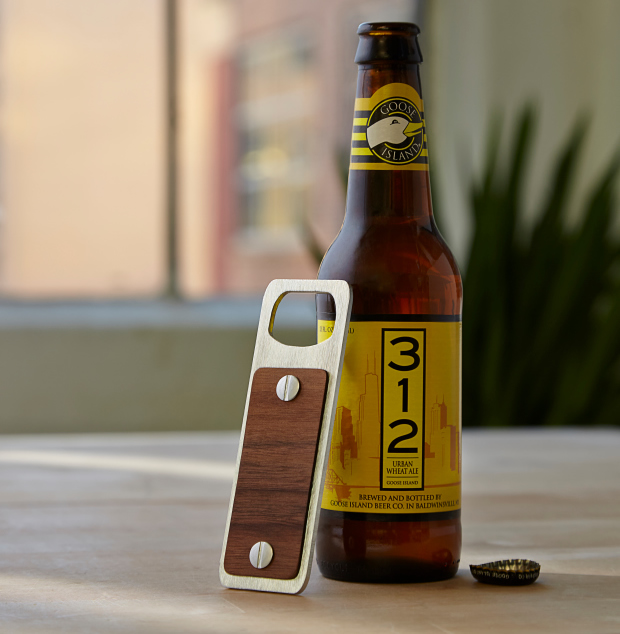
There are a lot of CAD/CAM/and machine control software tools but we wanted to make one for everyone else that hasn’t participated in milling yet. As a way to demonstrate the process the team at Inventables brainstormed and came up with the idea to make this bottle opener.

easel2
Easel Screenshot: Easel is currently in beta, but you can sign up for early beta access.

People tend to drink lots of beer down at SxSW.  I’m also personally a big fan of an ice cold Izze.  You’re probably thinking “those tops are twist offs” yes some are but you look a lot cooler with a bottle opener you made. We made a bunch of them and set up two Shapeoko 2’s CNC Milling machines at South by Southwest Create 2014.  The idea was anyone off the street could walk up and in less than 5 minutes do a custom design in Easel and send it to the Shapeoko 2 to get made.  In this post I’m going to walk you through the process of how to make it from scratch.

Project Steps

Importing and customizing the design

The first step to make your bottle opener is to fire up your favorite CAD/CAM program.

At Inventables we are excited about Easel (screenshots shown here), but you could use any software toolchain.

If using Easel: You’ll select the material (aluminum for the first part and walnut for the second). You’ll need to import the design files. When you do you can add customizations if you wish.

Preparing the machine for cutting

To prepare you’ll need to confirm the exact measurement of your material. The nominal thickness of the material is 1/8″ but often the exact thickness of the material may vary. In order to make sure you cut all the way through you need to use a tool like a digital caliper and measure it.

Next you need to clamp down the material securely. When you do this make sure the clamps are out of the way of the cutting bit.

Measure your milling bit. For this you can use an 1/8″ bit but if you are doing fine engravings to customize it with your name or a logo you might want to switch to a 1/32″ bit. The smaller diameter bit will allow you to get finer resolution on the letters.

Start cutting

Next you’ll want to zero the machine. This means putting the milling bit at the left hand corner of the material and just kissing the top. With Easel the 0,0 point is the lower left hand corner. It shows you that point on the screen and it is the same on the machine.

Next you’re going to raise the bit and turn on the spindle. This is an important step on a machine like the Shaepoko 2 because the spindle has a separate on / off button. You need to remember to turn it on or you will break the bit when it rams into the material when it is not spinning.

Last you’ll click “Start Cutting!” You’ll cut out the aluminum part first. When you are done with that go back up to Step 1 and start over with Walnut. The only difference is both Walnut parts out of the same material. We did this set of instructions with Easel and a Shaepoko 2 but you can use any CAD/CAM and cnc milling machine you’re comfortable with.

Finishing

When the parts come off the CNC Machine they need some minor finishing. The first thing you’ll do is lightly brush some sand paper around the edges and across the text or icons you engraved. There will be tiny pieces of wood that will flake off. You’ll also want to sand off the tabs.

Once the parts are smooth brush the Walnut with a sponge that has been dipped in wood oil. The wood will soak up the oil and it will take on a darker rich looking color.

Finally you’ll sandwhich the aluminum between the two pieces of walnut. Next put the female side of the Chicago Screws in one side and the male side in the other. Take a screw driver and tighten them up and you’re done!