


Whether you’re in the demonstration or the counter-demonstration, you need a good sign. Here’s how to make a tall and tote-worthy double-sided sign from reusable and reused materials.

Whether you’re in the demonstration or the counter-demonstration, you need a good sign. Here’s how to make a tall and tote-worthy double-sided sign from reusable and reused materials.
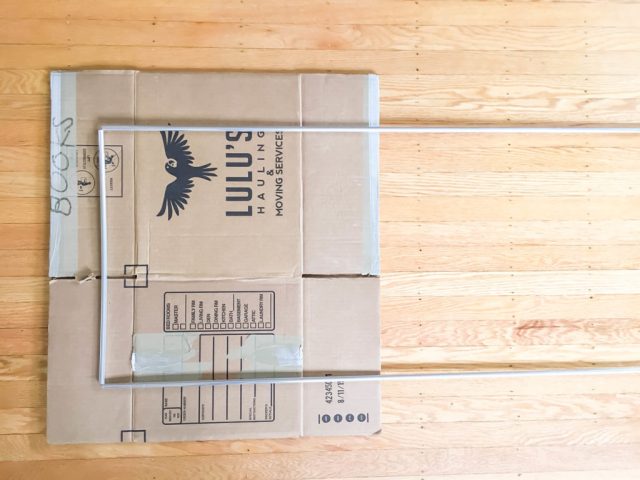
With the box flattened, segment the tent pole into a U shape and position it on top of the box, near the top edge of the sign and centered side-to-side (Figure A).
Using an awl, punch pairs of holes through both layers of the cardboard on either side of the poles (Figure B). Turn the box over and widen the holes from the other side.


Slip the pole between the two sides of the box and string zip ties through the hole pairs, starting from the inside, so the zip tie ends point into the U (Figure C). Close the ties around the pole. Reach into the box and pull the ties to tighten them, starting at the top of the sign (Figure D).

Decorate paper or cardboard facings, and attach to each side of the sign. That’s it!
For travel, collapse the tent pole on each side and hold in place with rubber bands. When it’s show time, put the tent pole segments together and raise your message high.


