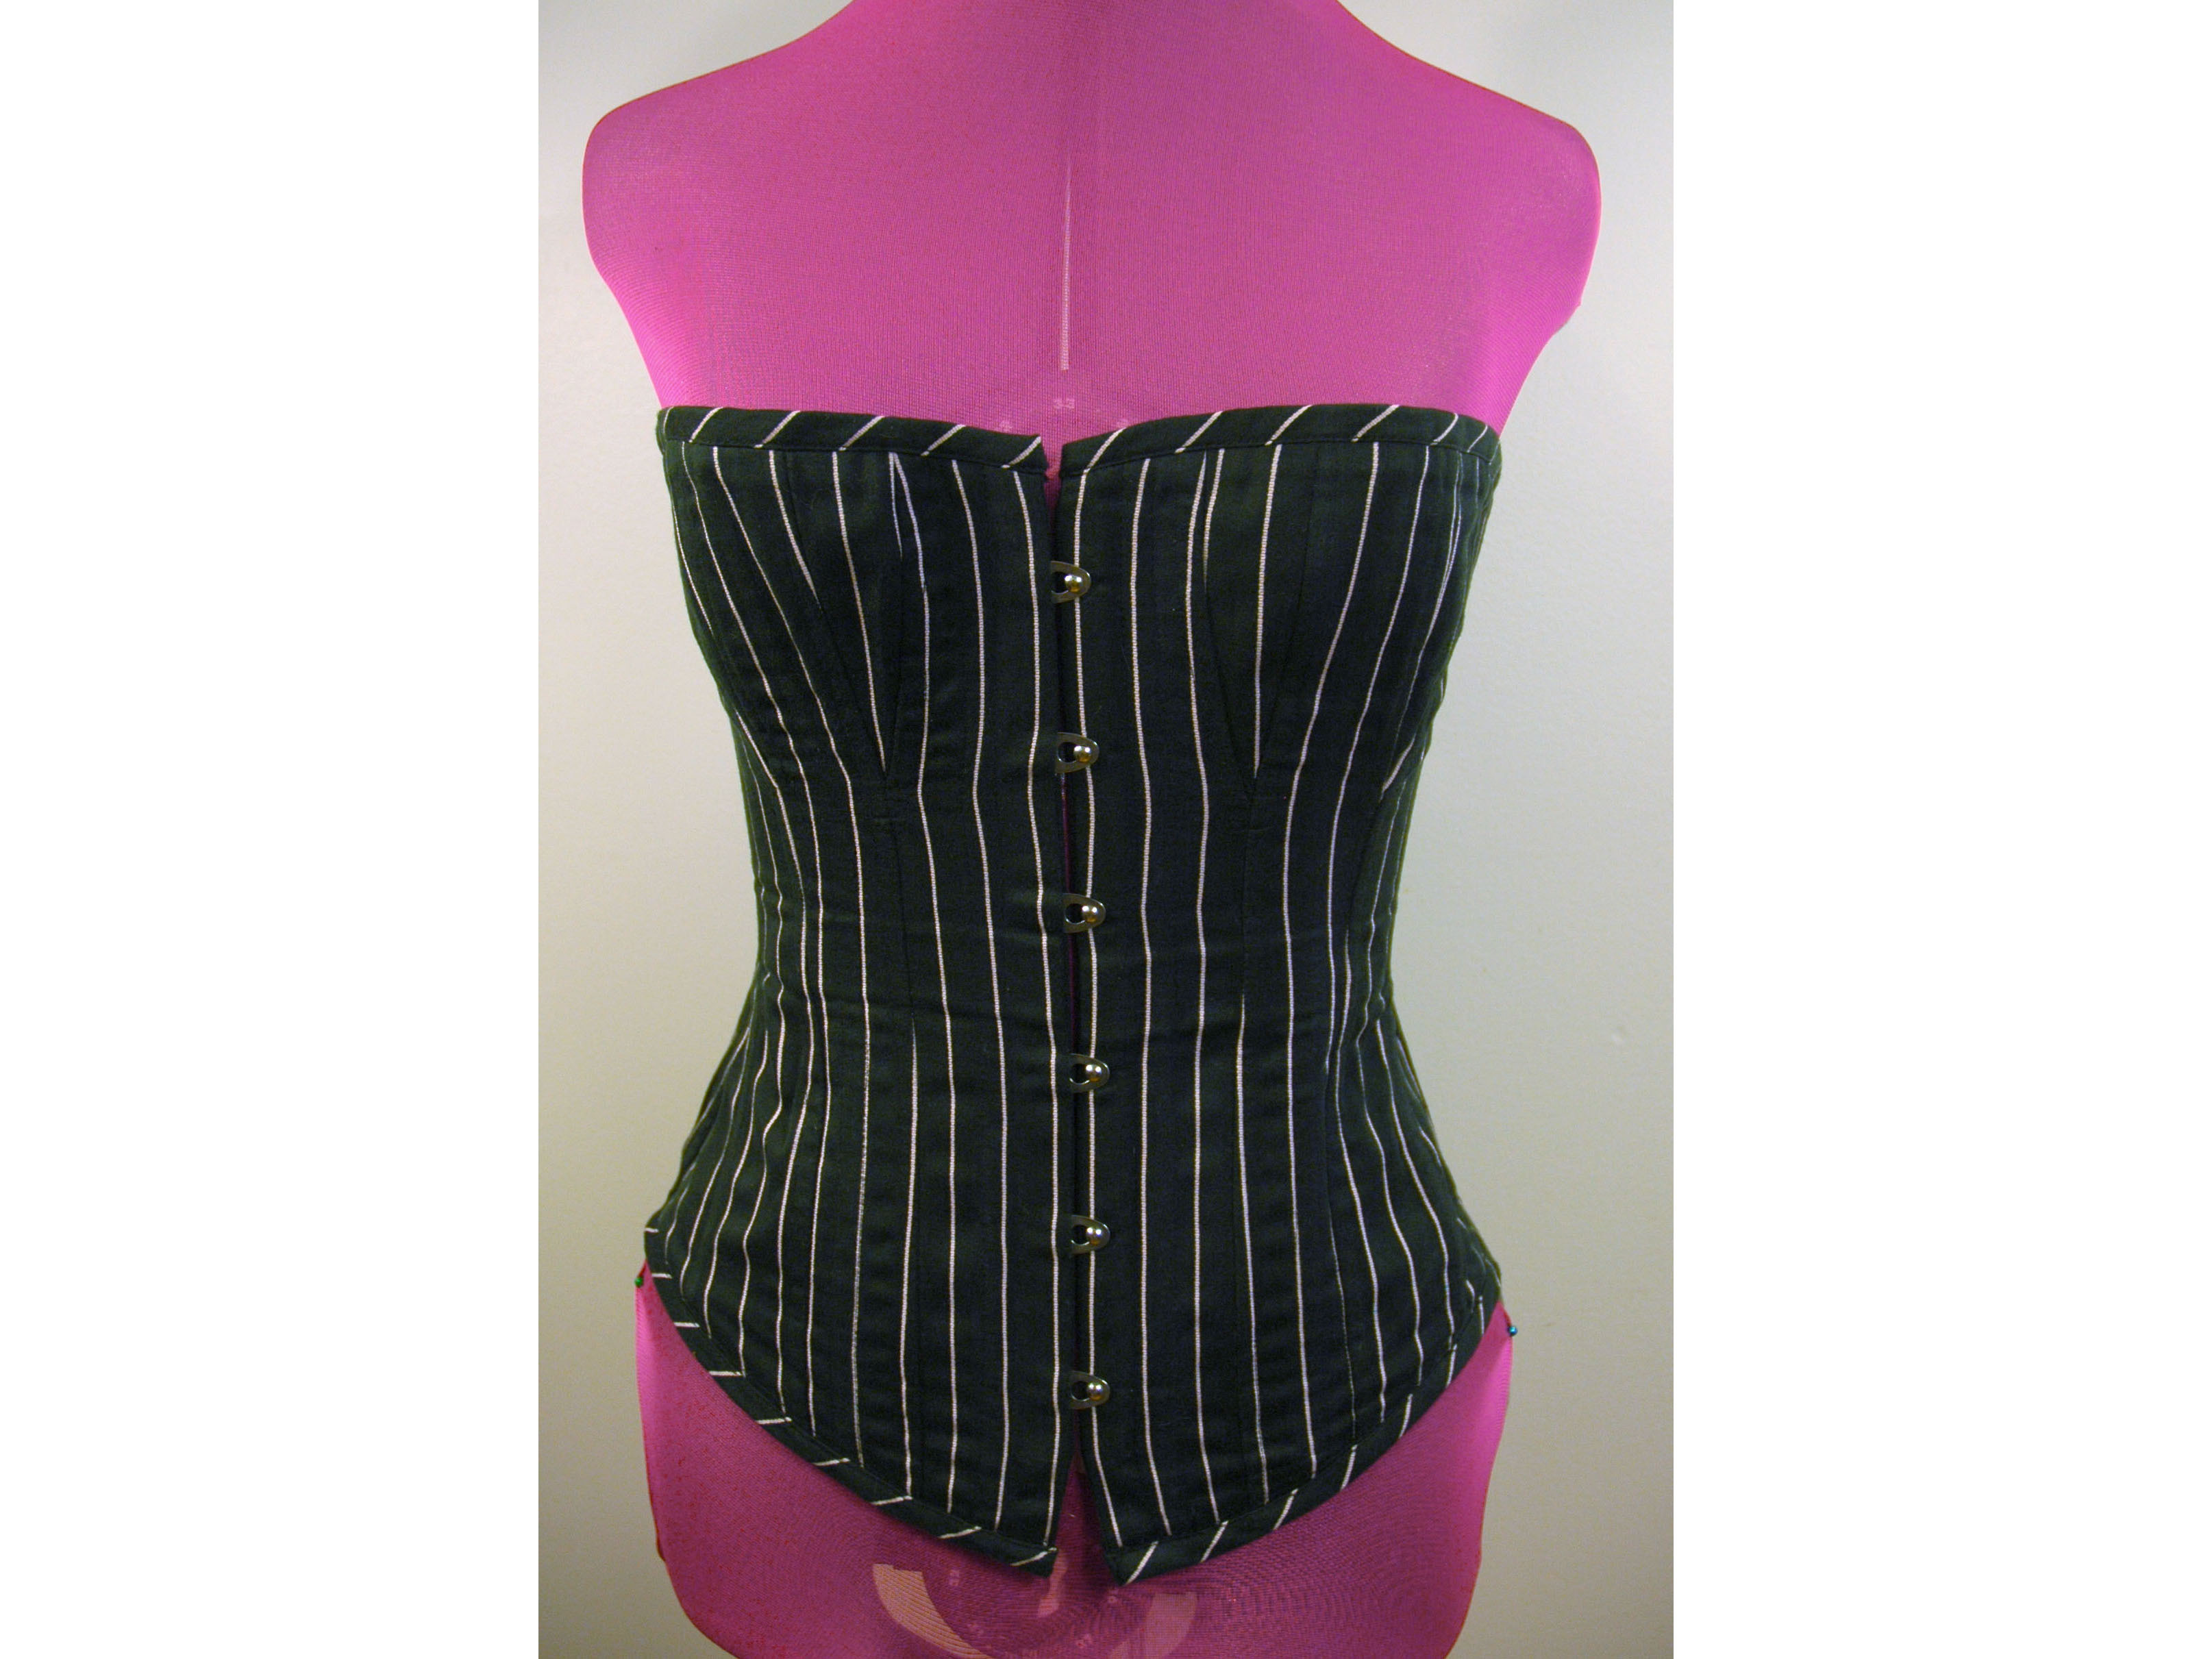
If you’re buying your boning pre-cut, this is the step where you measure the length of each channel (remember to subtract a generous 5/8″ from both the top and the bottom for the seam allowance). If you bought a coil of boning and are cutting your own, read on.
I cut, tip, and insert each bone separately. This probably takes more time than if I did it all in a batch, but I find it easiest this way because it is so easy to get the bones mixed up.
To cut, find the correct length by laying the boning on the channel, taking care to not extend the boning into the seam allowance. At the same time, you don’t want the boning to be too short, because too little vertical support could lead to wrinkling. Therefore, try to be precise in your measurement.
Cut the bones with wire cutters. I usually find mere strength and metal insufficient, so I bend the boning back and forth to break it off. I find that the slightly jagged edge helps to anchor the boning tip.
Attach a tip to each end of each bone. Farthingales has their own set of instructions, and they are good. However, I find the two sets of pliers unnecessary and usually just chew around the tip until it sticks. If I’m really desperate I use glue. Tipping bones takes some practice, so don’t despair if the first dozen don’t stick on. That’s why I had you purchase extra tips.
If you haven’t already, sew a stay-stitch along the bottom edges of your corset.
Insert the bones. Sew a stay-stitch along the top edge, taking great care not to break your needle when you come near the bones. I often sew this with my zipper foot.


