YouTube player


A couple years ago, I created a dynamic bike headlight with a Raspberry Pi and a small, battery-operated projector. I’ve been eager to explore what else I could do with a projector and a Raspberry Pi on my bike, so I created the Cycle Chaser.

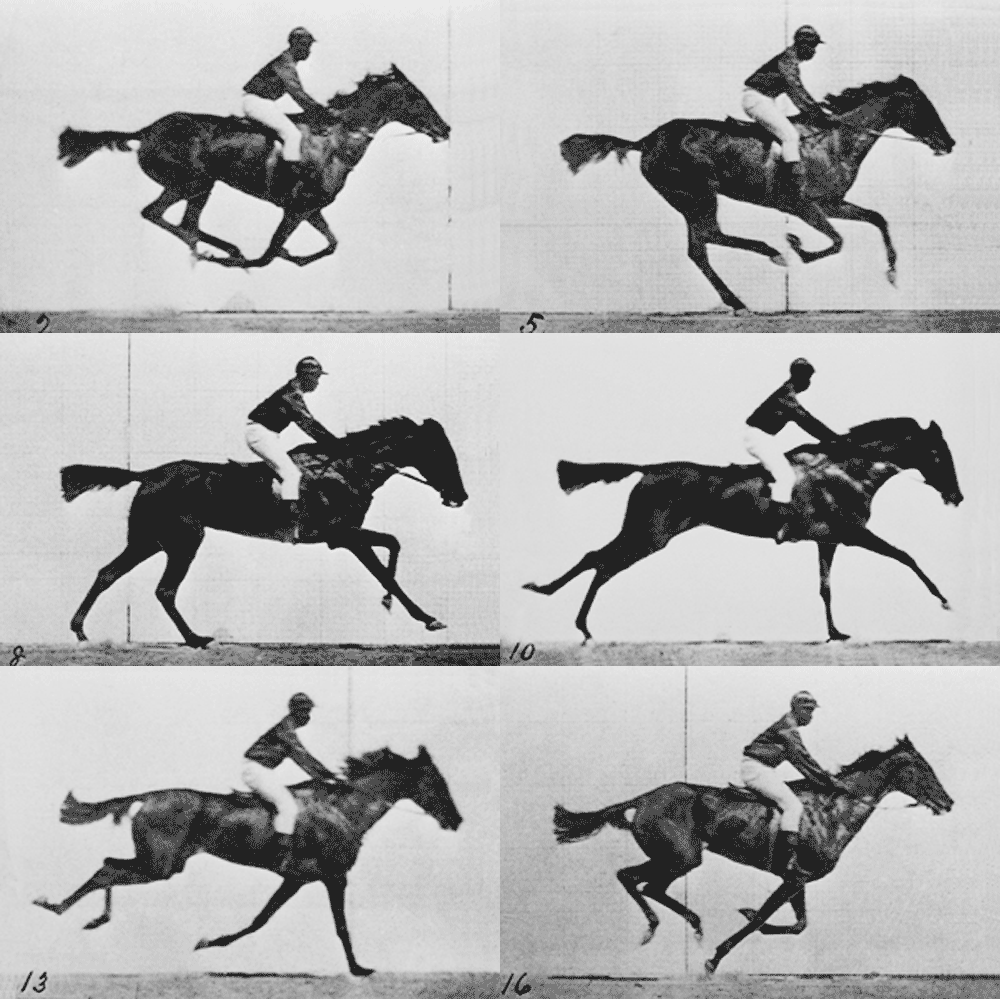
Made purely for fun, the Cycle Chaser projects animations behind you onto the ground when you ride at night. The faster you go, the faster the animation runs. When you slow down, so does the animation. Of course, you can customize this project to suit your own purposes by changing the animations. You can also dive into the code and change the behavior based on your speed. Perhaps the flames behind you grow when you go faster? That’s all possible with some clever coding.

Outside-dau

The important pieces of hardware are the battery-operated pico projector, which gets its video from the Raspberry Pi. The project code is written with the help of openFrameworks, an open source C++ toolkit for creative coding. I love openFrameworks because it can be used to develop for many different platforms: Windows, Mac, iOS, Android, and of course, Linux. The developers of openFrameworks have done a fantastic job of supporting the Raspberry Pi, so getting up and running is mostly painless … it just takes a bit of time.

When you use openFrameworks with WiringPi, a Raspberry Pi GPIO library, you can read and write to the pins right from your code. In this project you’ll connect a Hall effect sensor, which can sense when there’s a magnetic field nearby. With a small magnet attached to the wheel, the Hall effect sensor will be triggered by every revolution of the wheel, and the code will display the next frame of the animation. This means that if your wheels are going at 60 RPM, your animation will play at 1 fps.

After you get it up and running, I encourage you to tinker around with the code. If you’re familiar with Processing, you’ll find the openFrameworks paradigm to be mostly familiar, but there are a few things that will take some getting used to.

Most importantly, have a safe and fun ride!

What will the next generation of Make: look like? We’re inviting you to shape the future by investing in Make:. By becoming an investor, you help decide what’s next. The future of Make: is in your hands. Learn More.

Project Steps

Prep Raspberry Pi

Follow these instructions to install the latest version of Raspbian onto the Raspberry Pi: http://www.raspberrypi.org/help/noobs-setup/

With your keyboard and monitor hooked up to your internet-connected Raspberry Pi, boot it up. The Raspberry Pi configuration tool will launch the first time you’ve booted it after installing Raspbian. If not, execute it from the command line with:

sudo raspi-config

Select Advanced Options and then select Memory Split. Make sure that there’s 64 megabytes allocated to the GPU and press enter. The rest of the RAM will be allocated to the CPU, which will be needed to compile openFrameworks.

After rebooting, log in with the username pi and the password raspberry.

From the command line, update the software:

sudo apt-get update

sudo apt-get upgrade

This will take some time.

Install openFrameworks and WiringPi

From the command line, make sure you’re at /home/pi:

cd ~

Download openFrameworks:

curl -O http://www.openframeworks.cc/versions/v0.8.4/of_v0.8.4_linuxarmv6l_release.tar.gz

NOTE: It may be easier from this point to SSH into your Raspberry Pi so that you can copy and paste the long commands.

NOTE: Check this page to see if there’s a newer version of openFrameworks that you can install (and any other updates about installing oF on RPi): http://www.openframeworks.cc/setup/raspberrypi/Raspberry-Pi-Getting-Started.html

Create a directory called openFrameworks:

mkdir openFrameworks

Extract the downloaded archive into the openFrameworks directory:

tar vxfz of_v0.8.4_linuxarmv6l_release.tar.gz -C openFrameworks --strip-components 1

Change to the directory where the install script is located:

cd /home/pi/openFrameworks/scripts/linux/debian_armv6l

Run the following shell script to install the software and code libraries openFrameworks needs :

sudo ./install_dependencies.sh

Answer yes to any questions it asks during installation.

NOTE: You may need to update line 30 in the install_dependencies.sh file according to this issue: https://github.com/openframeworks/openFrameworks/issues/3188

Compile openFrameworks:

make Release -C /home/pi/openFrameworks/libs/openFrameworksCompiled/project

NOTE: This process takes a very long time.

When it’s done, change back to your home directory:

cd ~

Download the latest version of WiringPi, the C library for accessing the GPIO pins on the Pi:

git clone git://git.drogon.net/wiringPi

Compile and install the libraries:

cd wiringPi

./build

Go back into raspi-config and set the memory split to allocate 128 MB to the GPU.

Create Wheel Sensor

Lay out the Hall effect sensor and the resistor onto the perf board according to the diagram and photos above.

Solder the joints and three long strands of hookup wire. To keep track of which wire is which, I used a red wire for 3.3 volts, a black wire for ground, and a yellow wire for the signal to the GPIO pin. Don’t forget the 10K pull-up resistor, which connects 3.3 volts to the signal pin.

With enough length in the hookup wire to run from the wheel to the Raspberry Pi when it’s placed on the rack, solder on female ends.

Attach the wires to the Raspberry Pi accordingly: red goes to 3.3 volts (pin 1), black goes to ground (pin 6), and the signal goes to GPIO4 (pin 7).

Attach a 10K pull-up resistor between pin 1 and pin 3 of the Hall effect sensor.

Wrap the perf board in electrical tape or use heat shrink tubing.

Download and Run Project Code

Change to the openFrameworks myApps directory:

cd ~/openFrameworks/apps/myApps

Download the code:

git clone https://github.com/mrichardson23/cycleChaser.git

Change into the cycleChaser directory:

cd cycleChaser

NOTE: openFrameworks is very picky about where projects and source files are located in the directory tree. Be sure that the cycleChaser project folder is within the myApps folder.

Compile the code:

make

Run the project:

sudo make run

Test it out by passing the magnet by the Hall effect sensor. If the frame changes each time you do it, you’ll know things are set up properly.

NOTE: The images will appear upside down. This is so that when the projector is pointed at the ground behind the bike, they’re seen oriented properly for people behind you. You can adjust the rotation by changing the ROTATION constant at the top of ofApp.cpp and recompiling.

Exit the app (Ctrl-C).

NOTE: You may find that sometimes the application does not respond to Ctrl-C. You may need to go to another terminal window and execute:

sudo killall -9 cycleChaser

To make the compiled executable run on boot, you’ll add an entry to the crontab. First open it for editing:

sudo crontab -e

Add the following line at the end:

@reboot /home/pi/openFrameworks/apps/myApps/cycleChaser/bin/cycleChaser

Save the file and exit the text editor. (Ctrl-O, Enter, then Ctrl-X)

Reboot the Pi to make sure that the project runs at boot:

sudo reboot

Attach to Bike and Ride the Streets!

3D print a projector mount (or use any other means of fabrication you’re comfortable with). A basic 3D printable file is here: http://www.thingiverse.com/thing:479492. Strap the parts onto the bike rack with zip ties or velcro straps.

Connect the battery to the Raspberry Pi via the micro-USB cable and connect the Pi to the projector with the mini to full HDMI cable.

Attach the unit to your bike’s back rack with velcro straps. This way you can easily remove it when you lock up your bike outside.

Use velcro straps to attach the sensor to the bike’s tube so that it’s close to the back wheel.

Attach a magnet to the back wheel so that it passes the sensor closely without touching it.

Connect the red, black, and yellow wires as you did in step 3, tying off any slack in the hookup wire with velcro straps.

Push the button on the battery to power the Pi and turn on the projector.

Make adjustments to the projector so that it’s focused and pointing at the ground in the right spot.

Ride the streets with your new Cycle Chaser!

Conclusion

The code for this project isn’t very complicated. If you want to enhance it but get slowed down by the time it takes to compile, you can cross-compile from your own computer or have the Raspberry Pi send the compiling task to a more powerful computer on your network with distributed compiling.

Of course you can also change the frames that Cycle Chaser uses. Just replace the files in the /home/pi/openFrameworks/apps/myApps/cycleChaser/bin/data folder with other numbered PNG files, using the same naming convention. Be sure you update the TOTAL_FRAMES constant at the top of ofApp.cpp with the new number of frames. You'll need to recompile for the changes to take effect.