We all like to enjoy music in our house or at a show with our friends. Still, unless you have an expensive Bluetooth speaker or you are driving in your car, it’s hard to enjoy music while you are out in the world. What if you want to go out to the park and have a picnic with your date and listen to music together? This is hard to do with our small and weak speakers that come standard with our phones. The solution to this would be to make something that makes our crappy speakers on our phones less crappy and louder.

While this can be achieved a number of ways — you could build an amp using electronic components or even program a Raspberry Pi to boost the signal — all these things require power. I am looking for a simple way to make my phone louder without worrying about power or price.

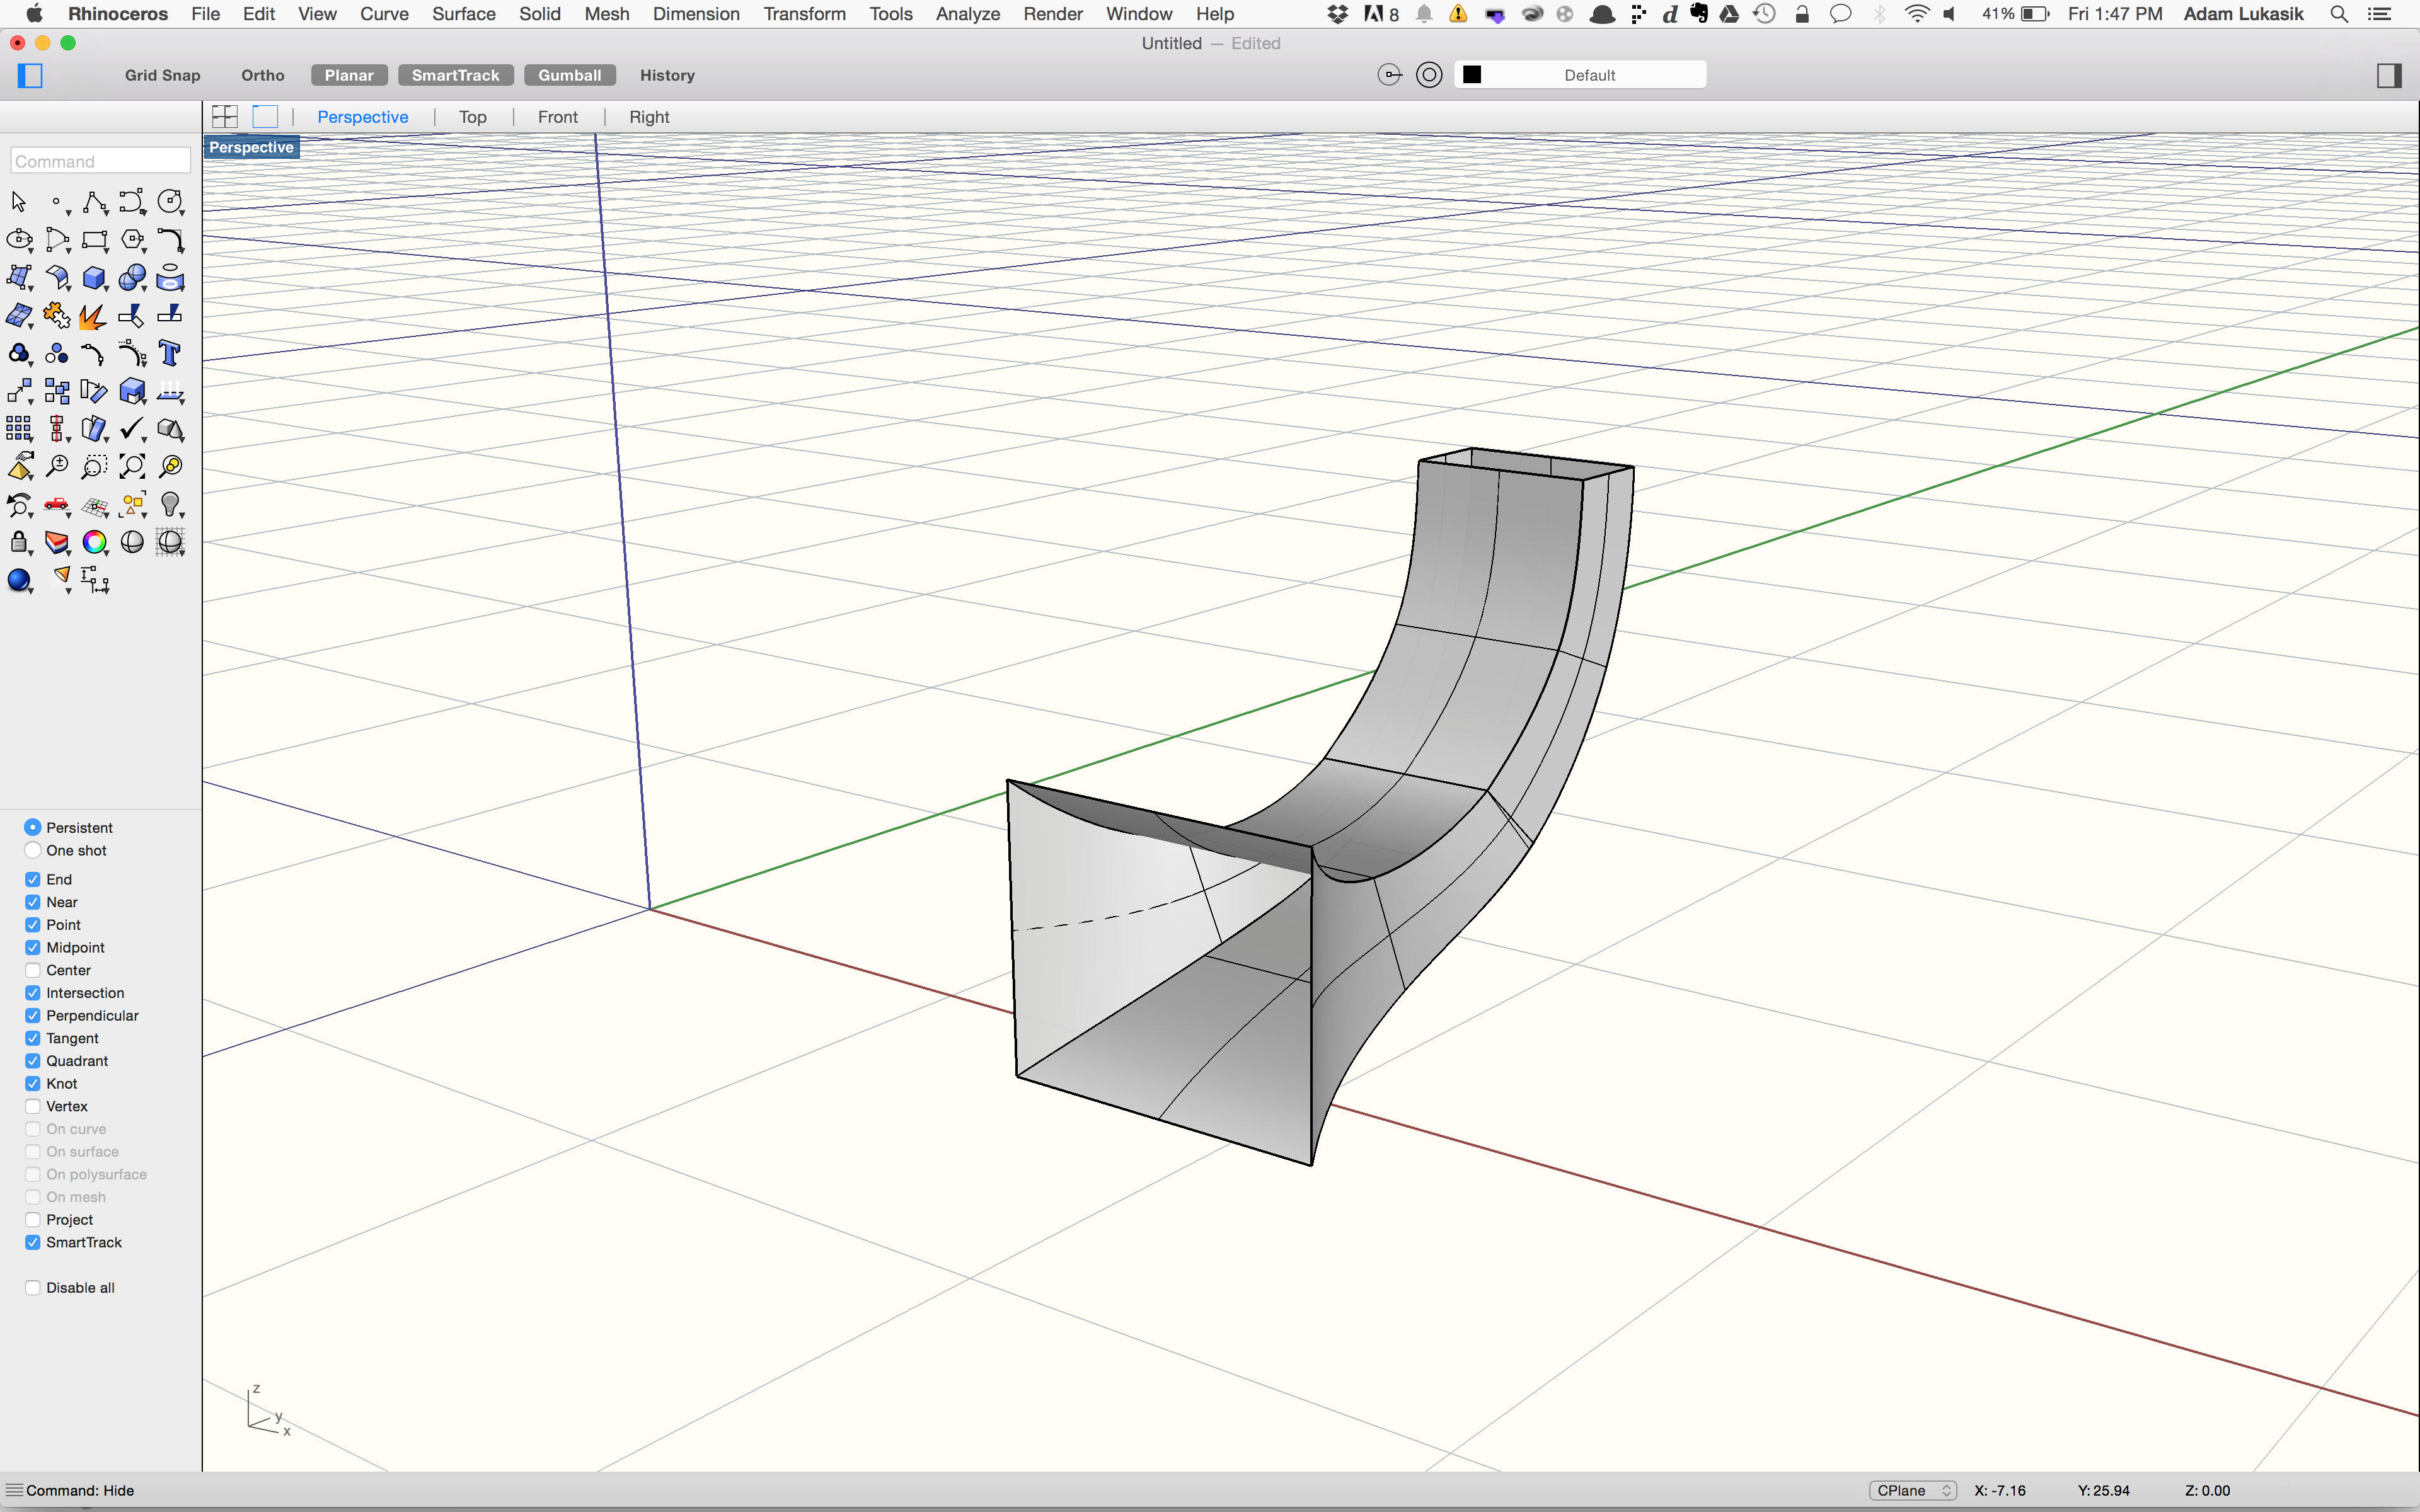
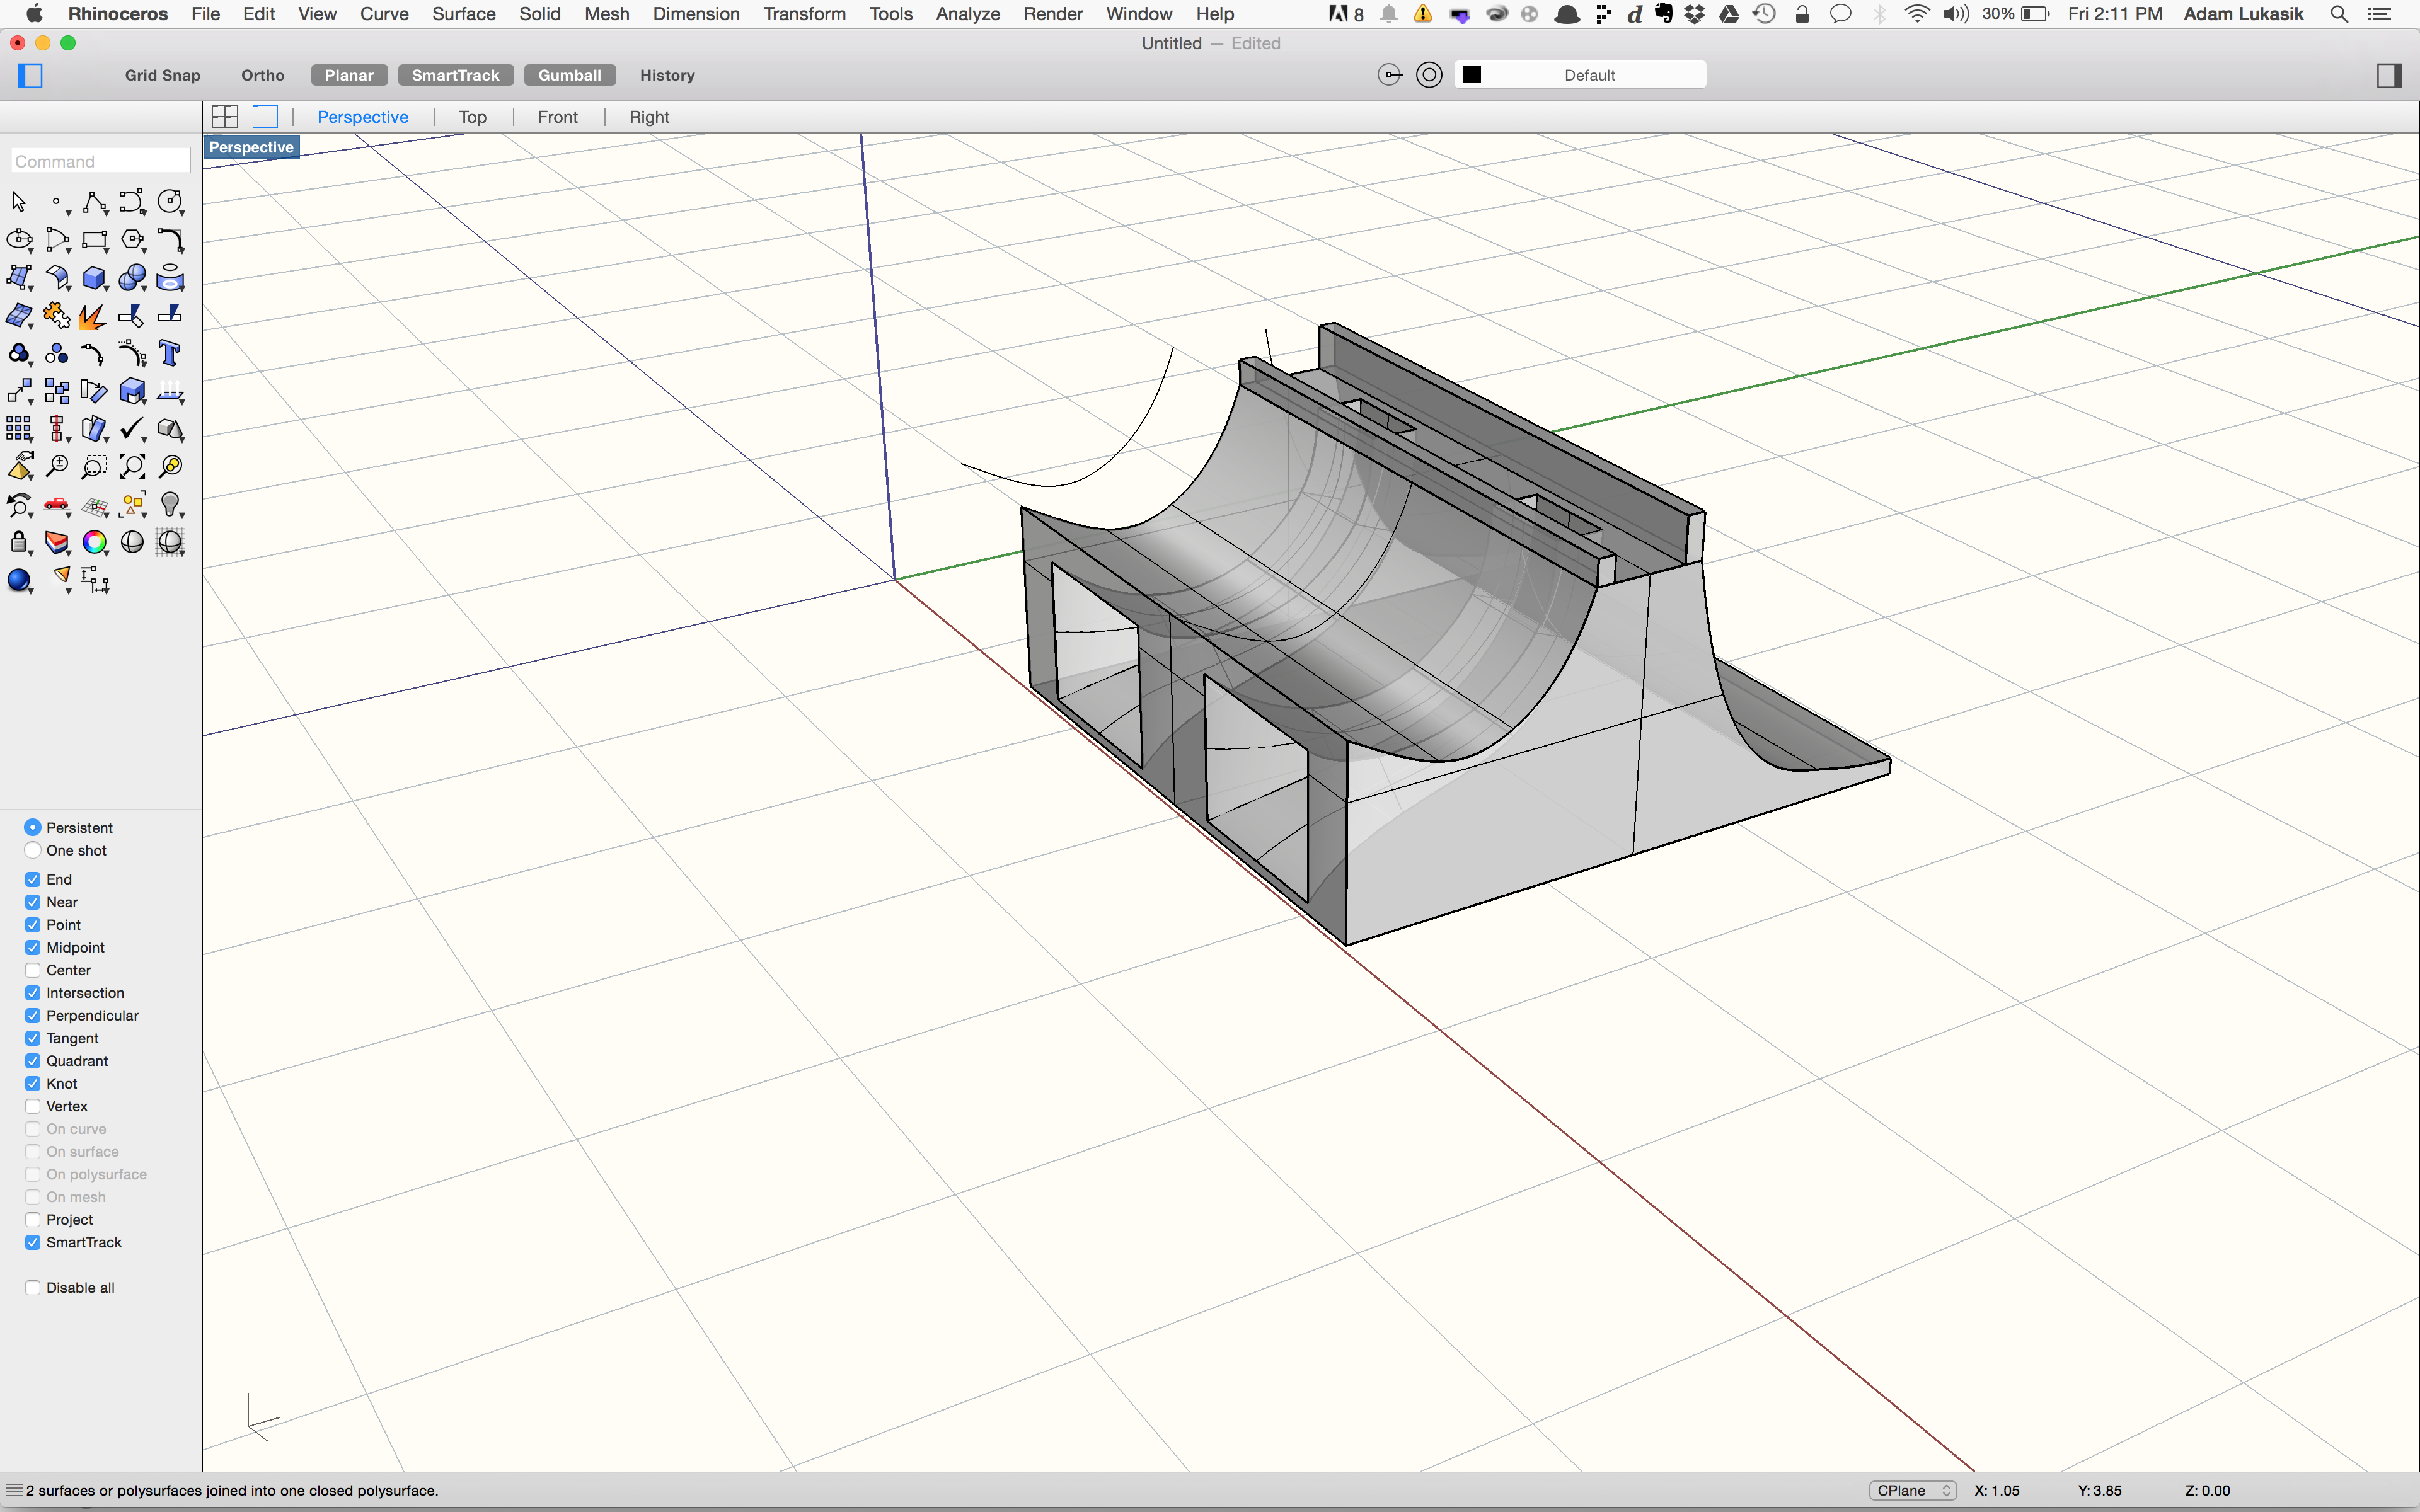
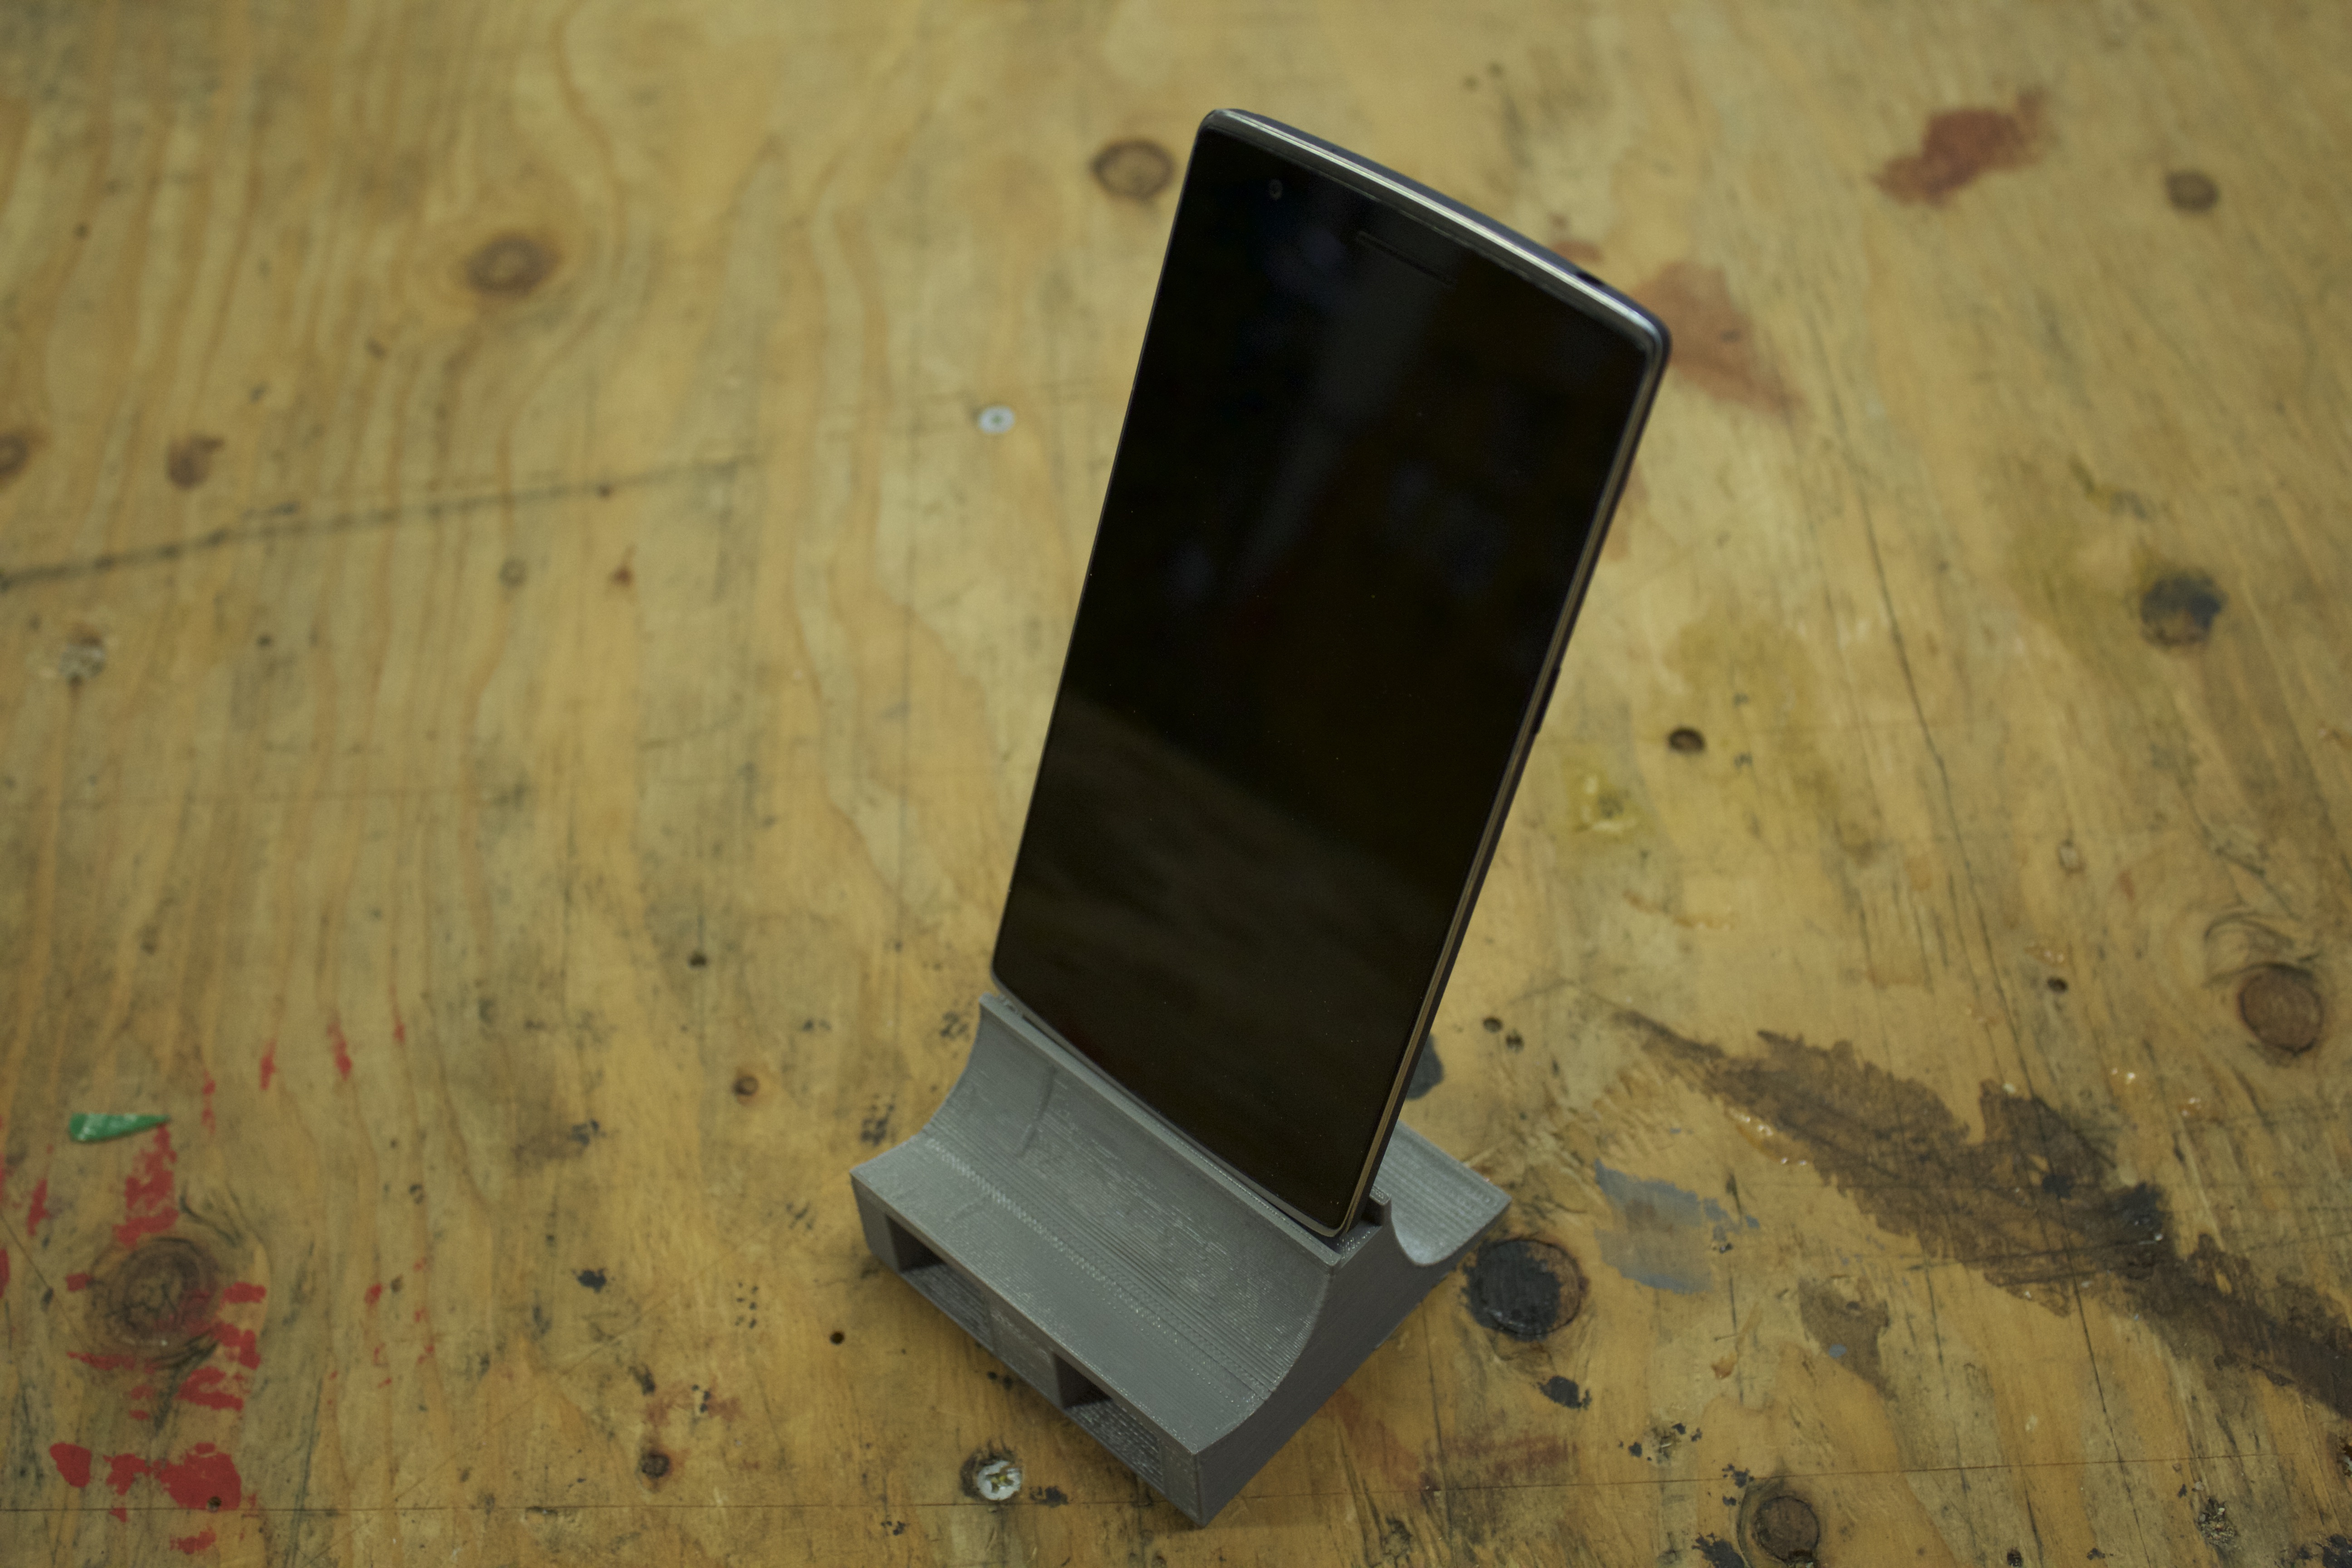
The best way to do this is to design and build a passive speaker for your phone. A passive speaker is an amplifier that magnifies the sound of your phone’s inbuilt speaker using the properties of sound and physics. In fact most modern speakers use the basic principles to help them amplify the sound they produce. The back of modern speakers is an empty chamber where the sound is allowed to echo and then escape to increase the sound. While this may seem like a strange way to add volume, it is not only the cheapest option, but if a designer has an in-depth understanding of sound physics and materials, they can dramatically increase the volume and sound quality of the speakers.

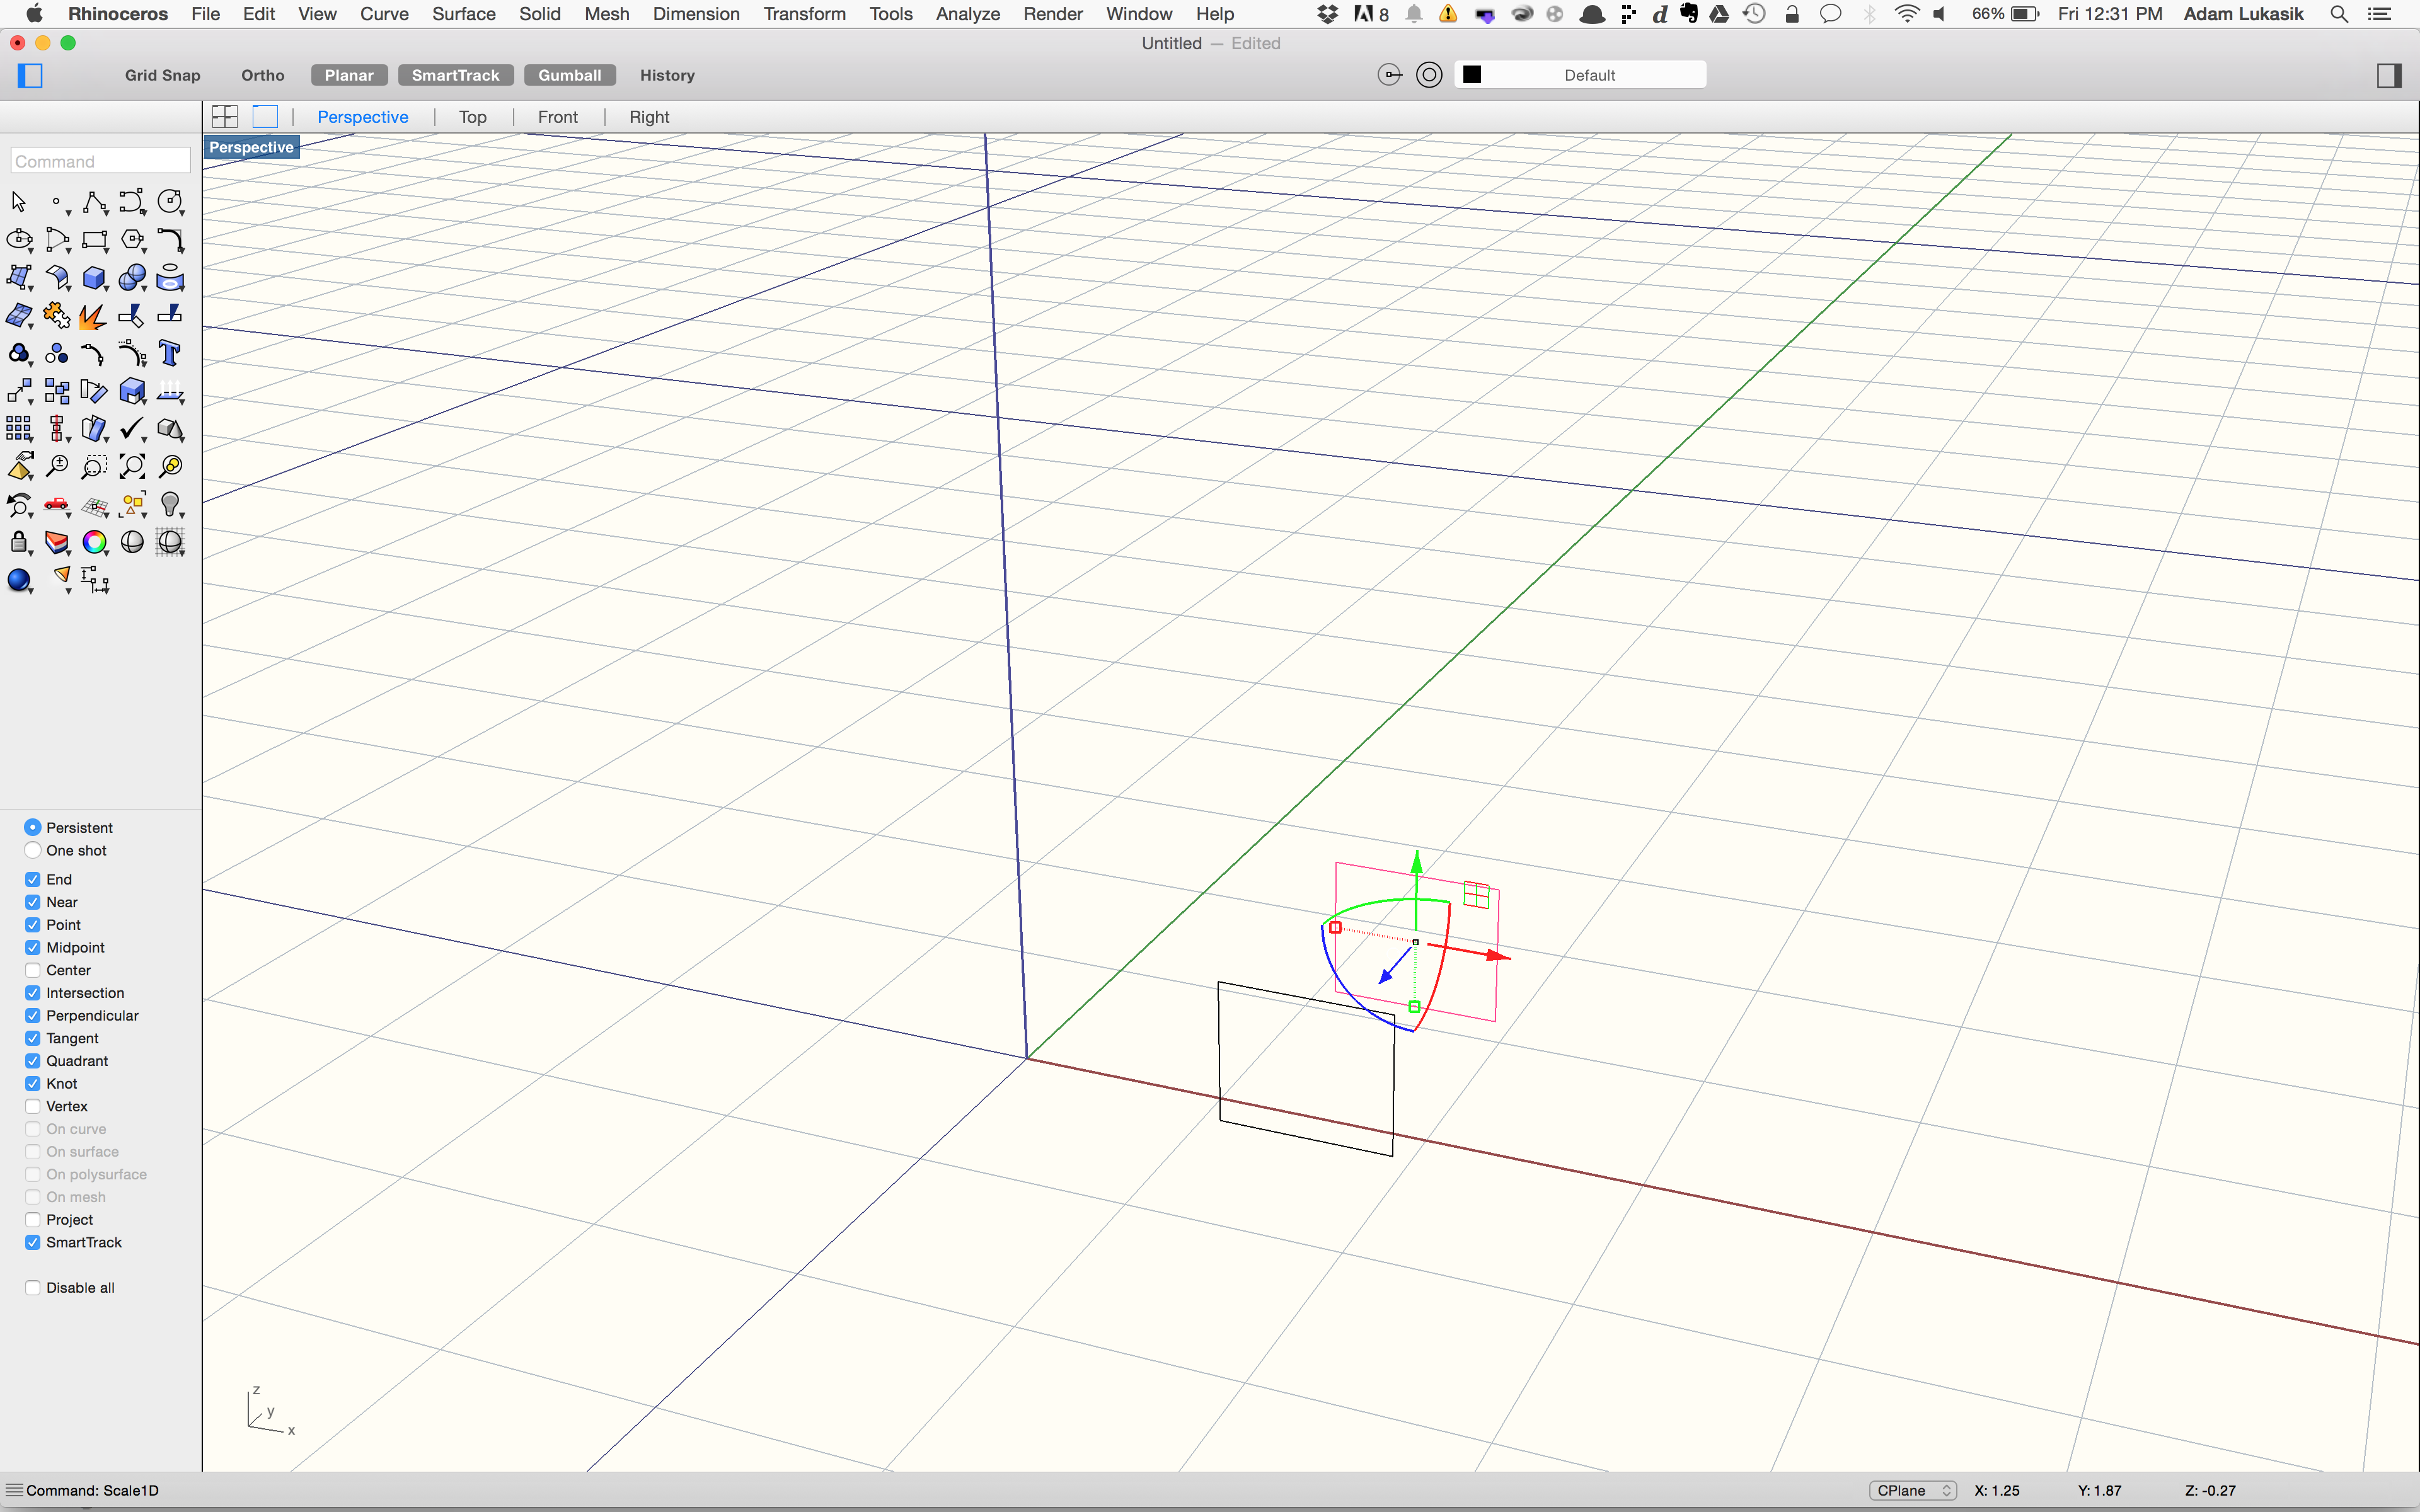
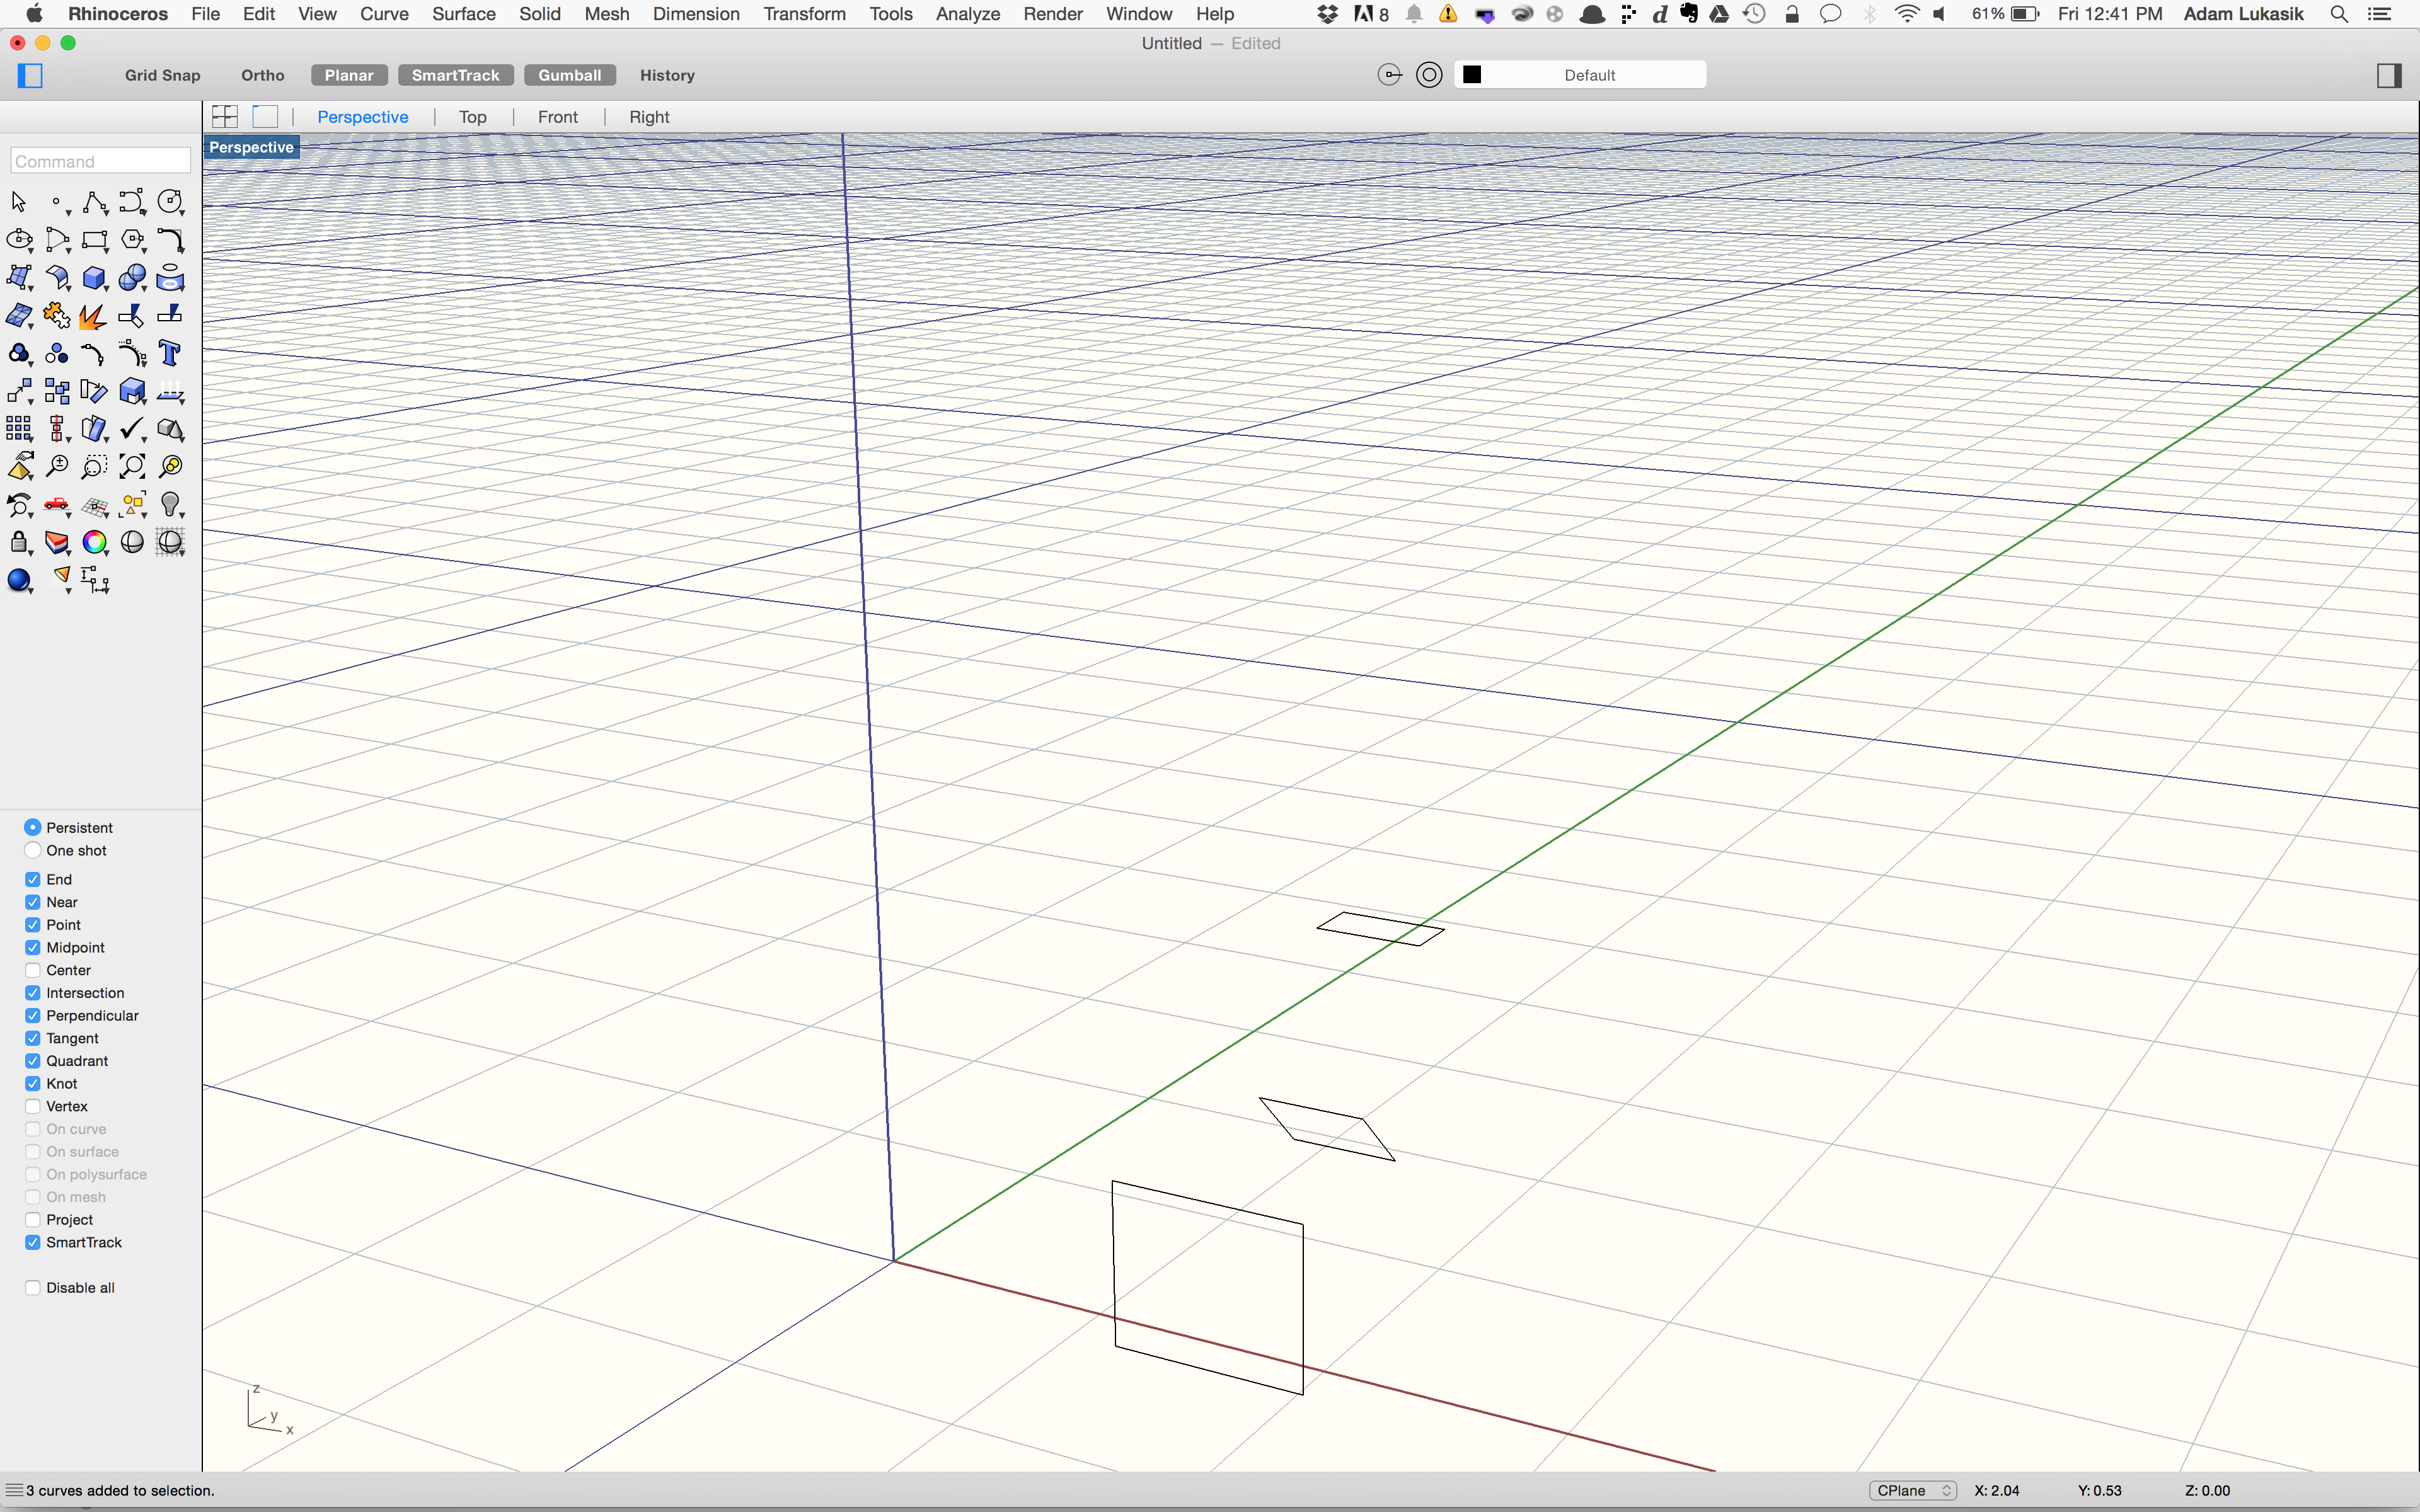
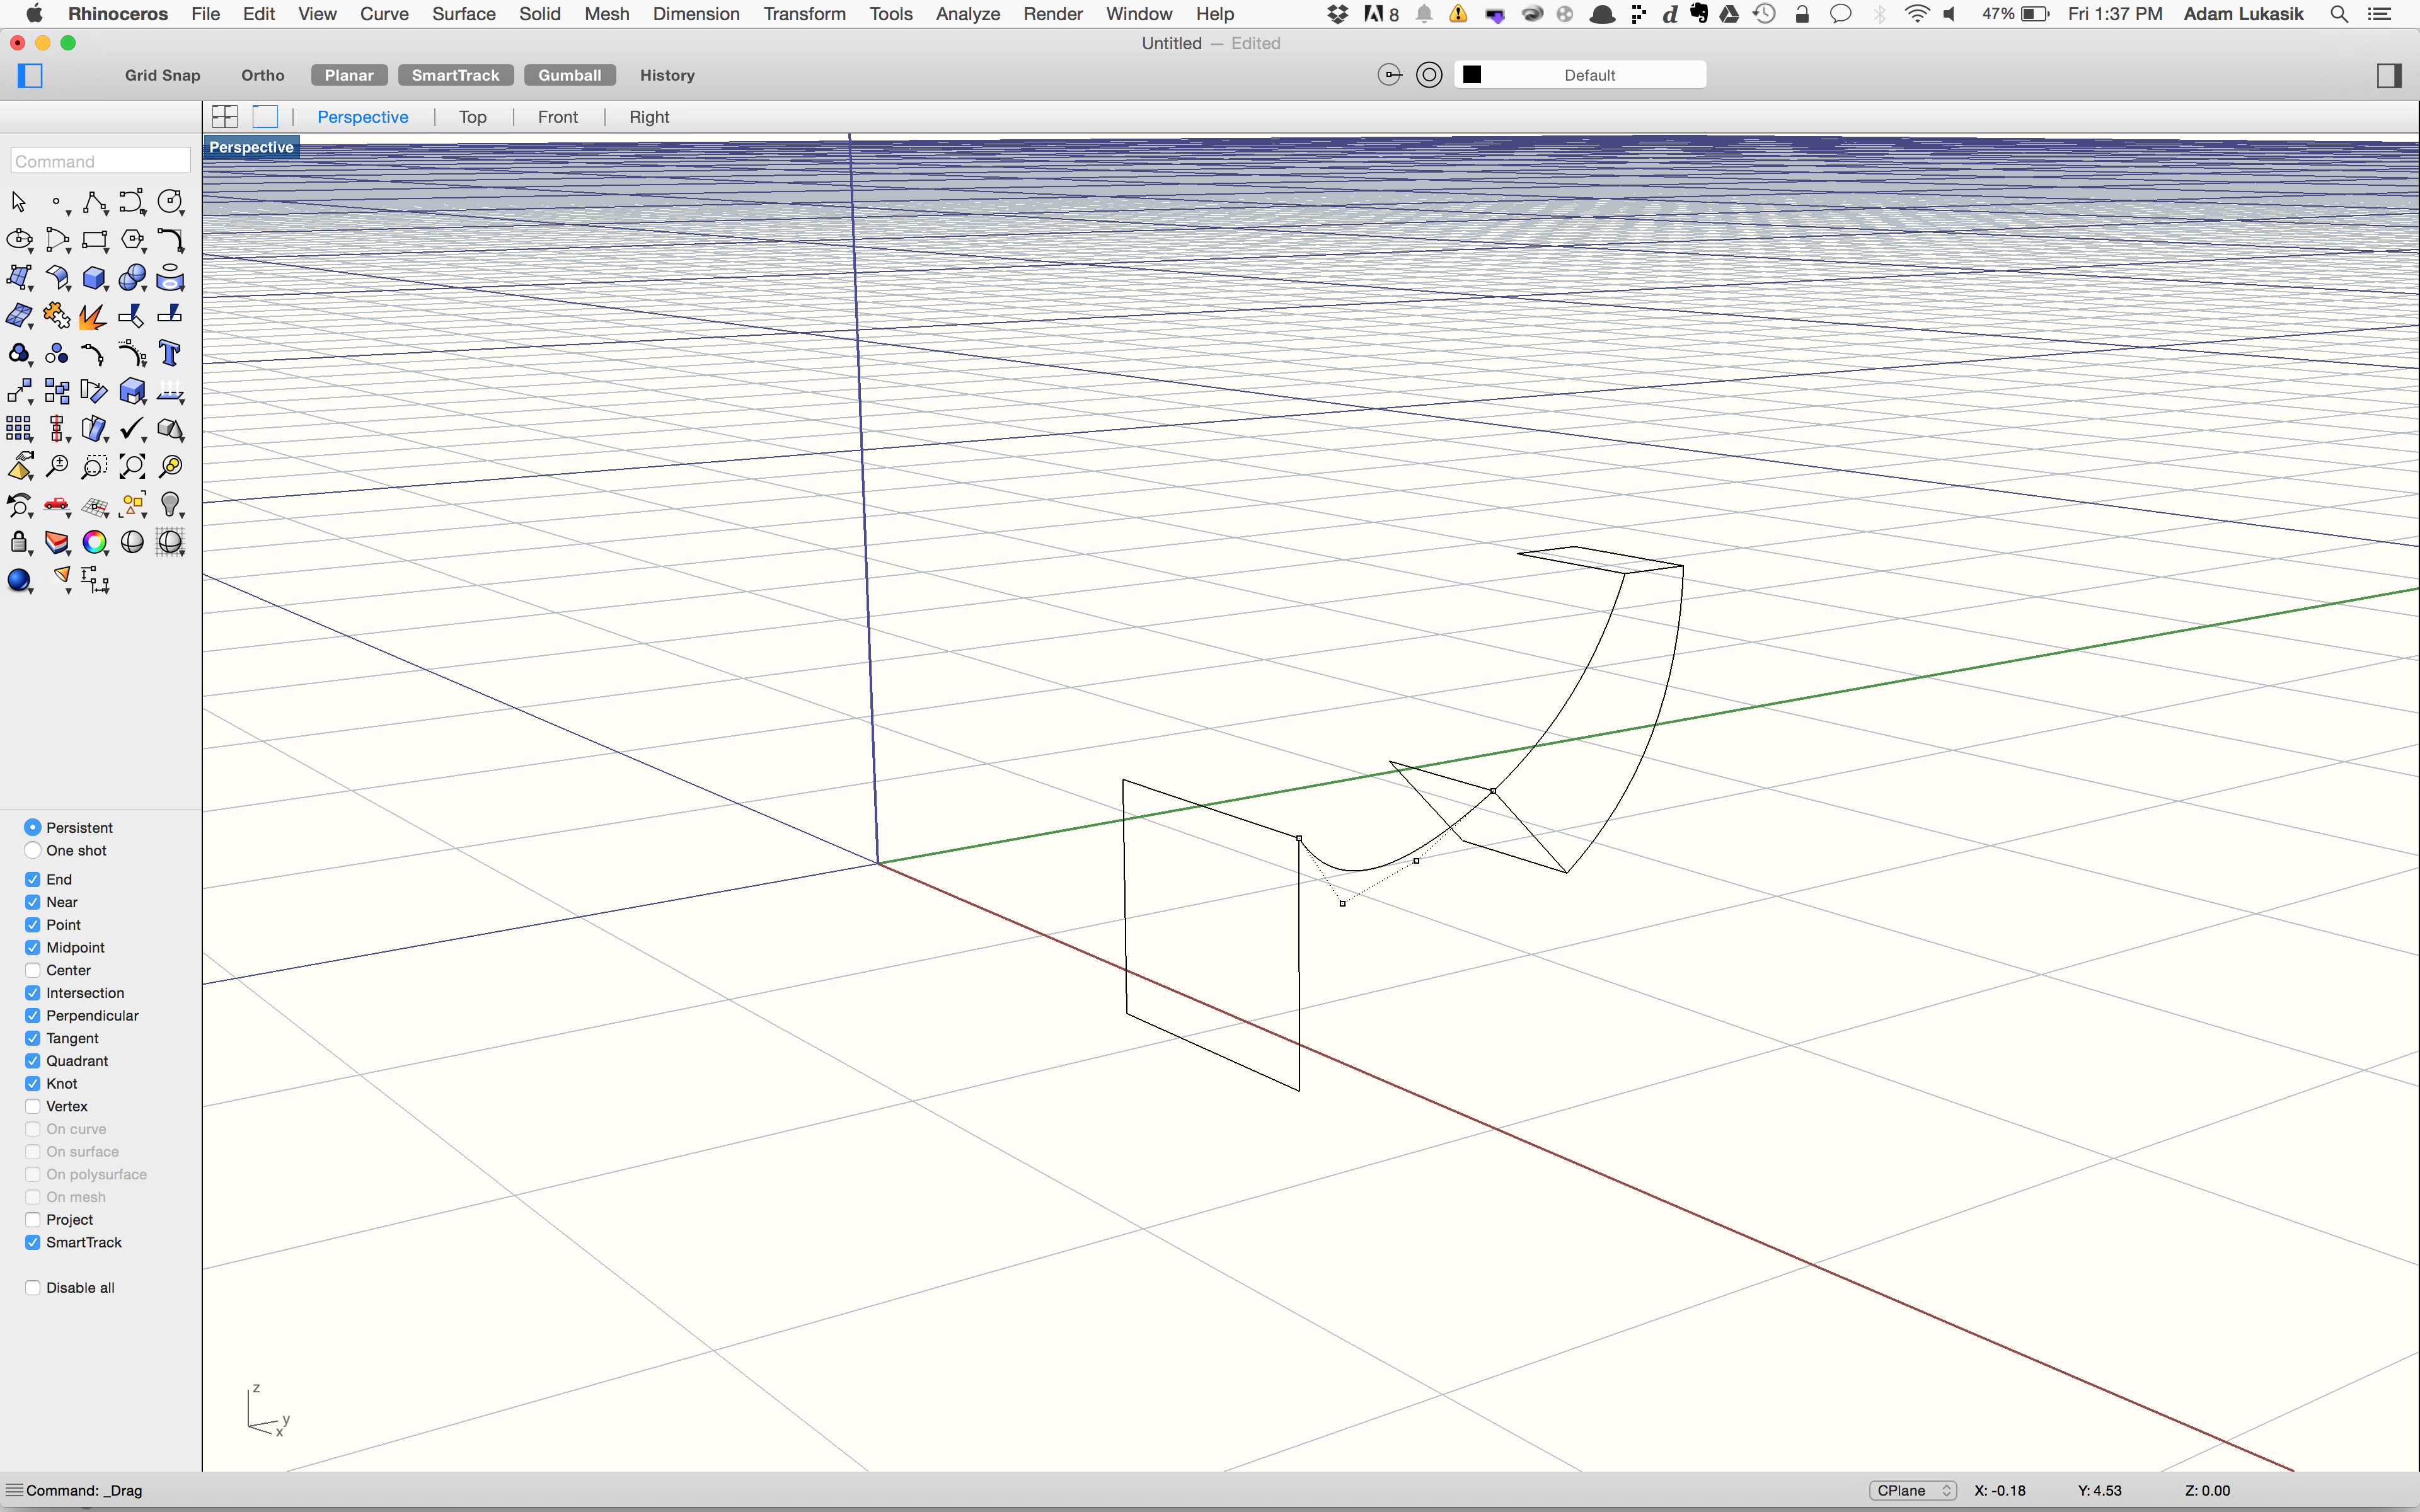
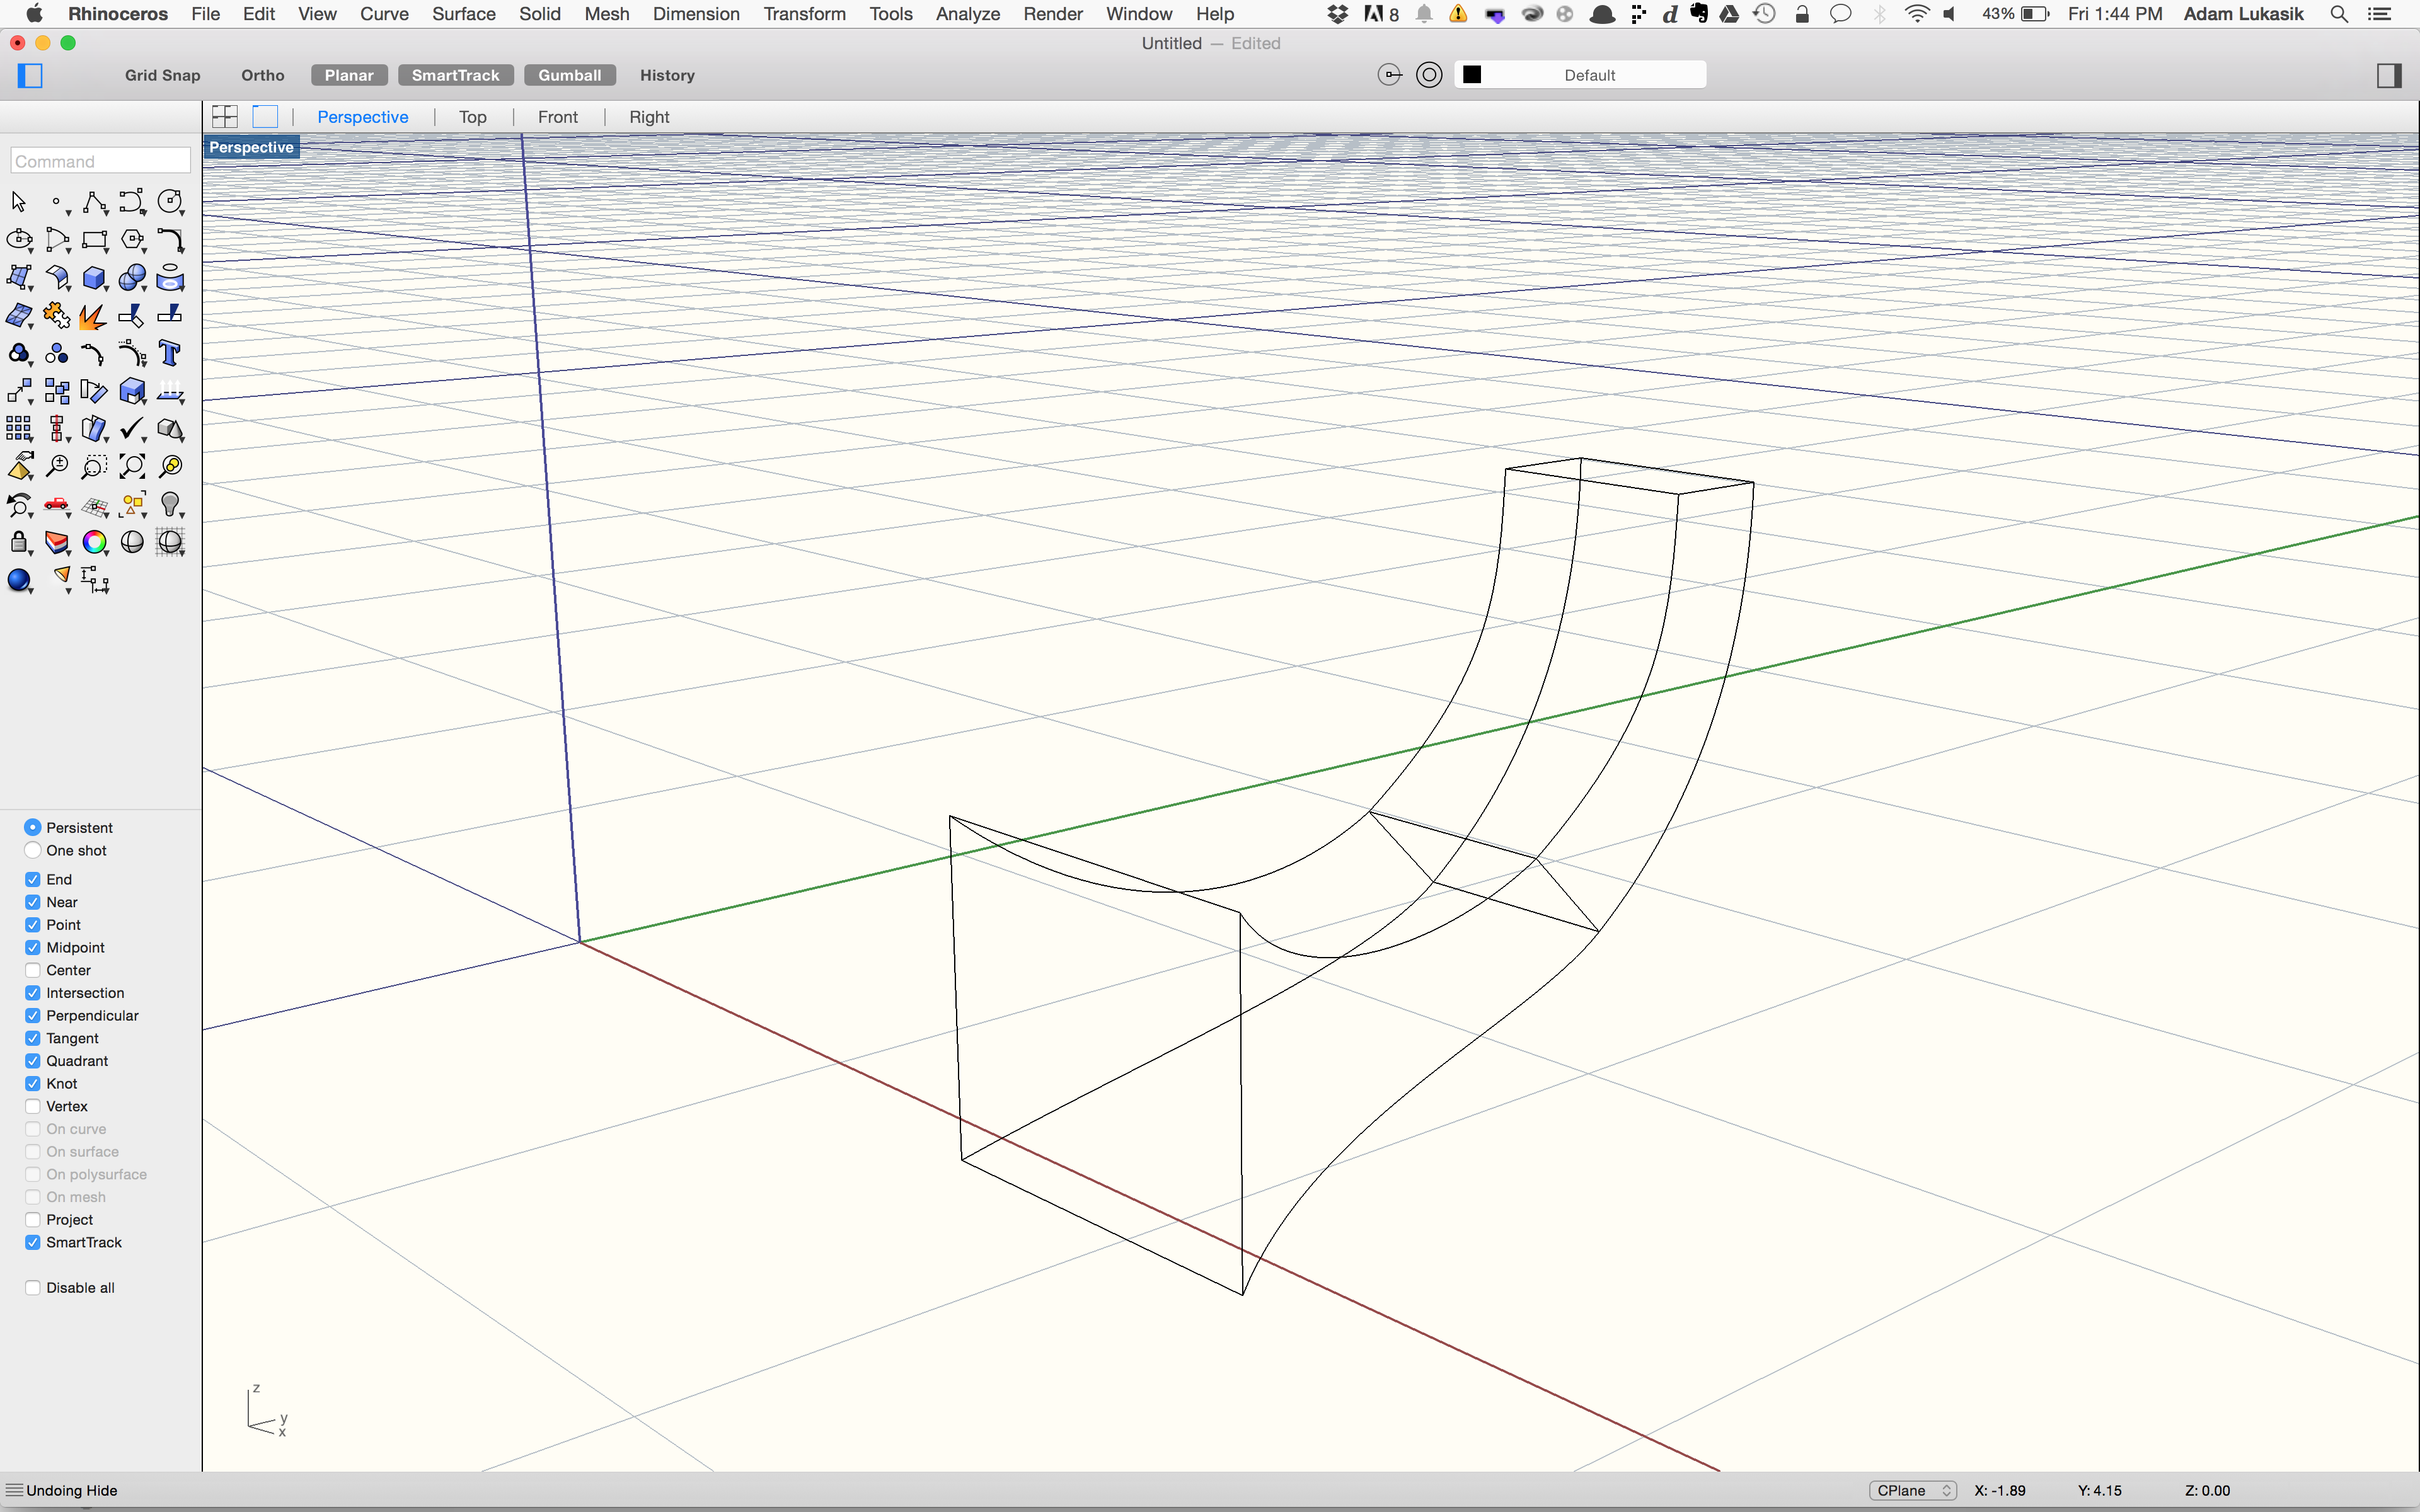
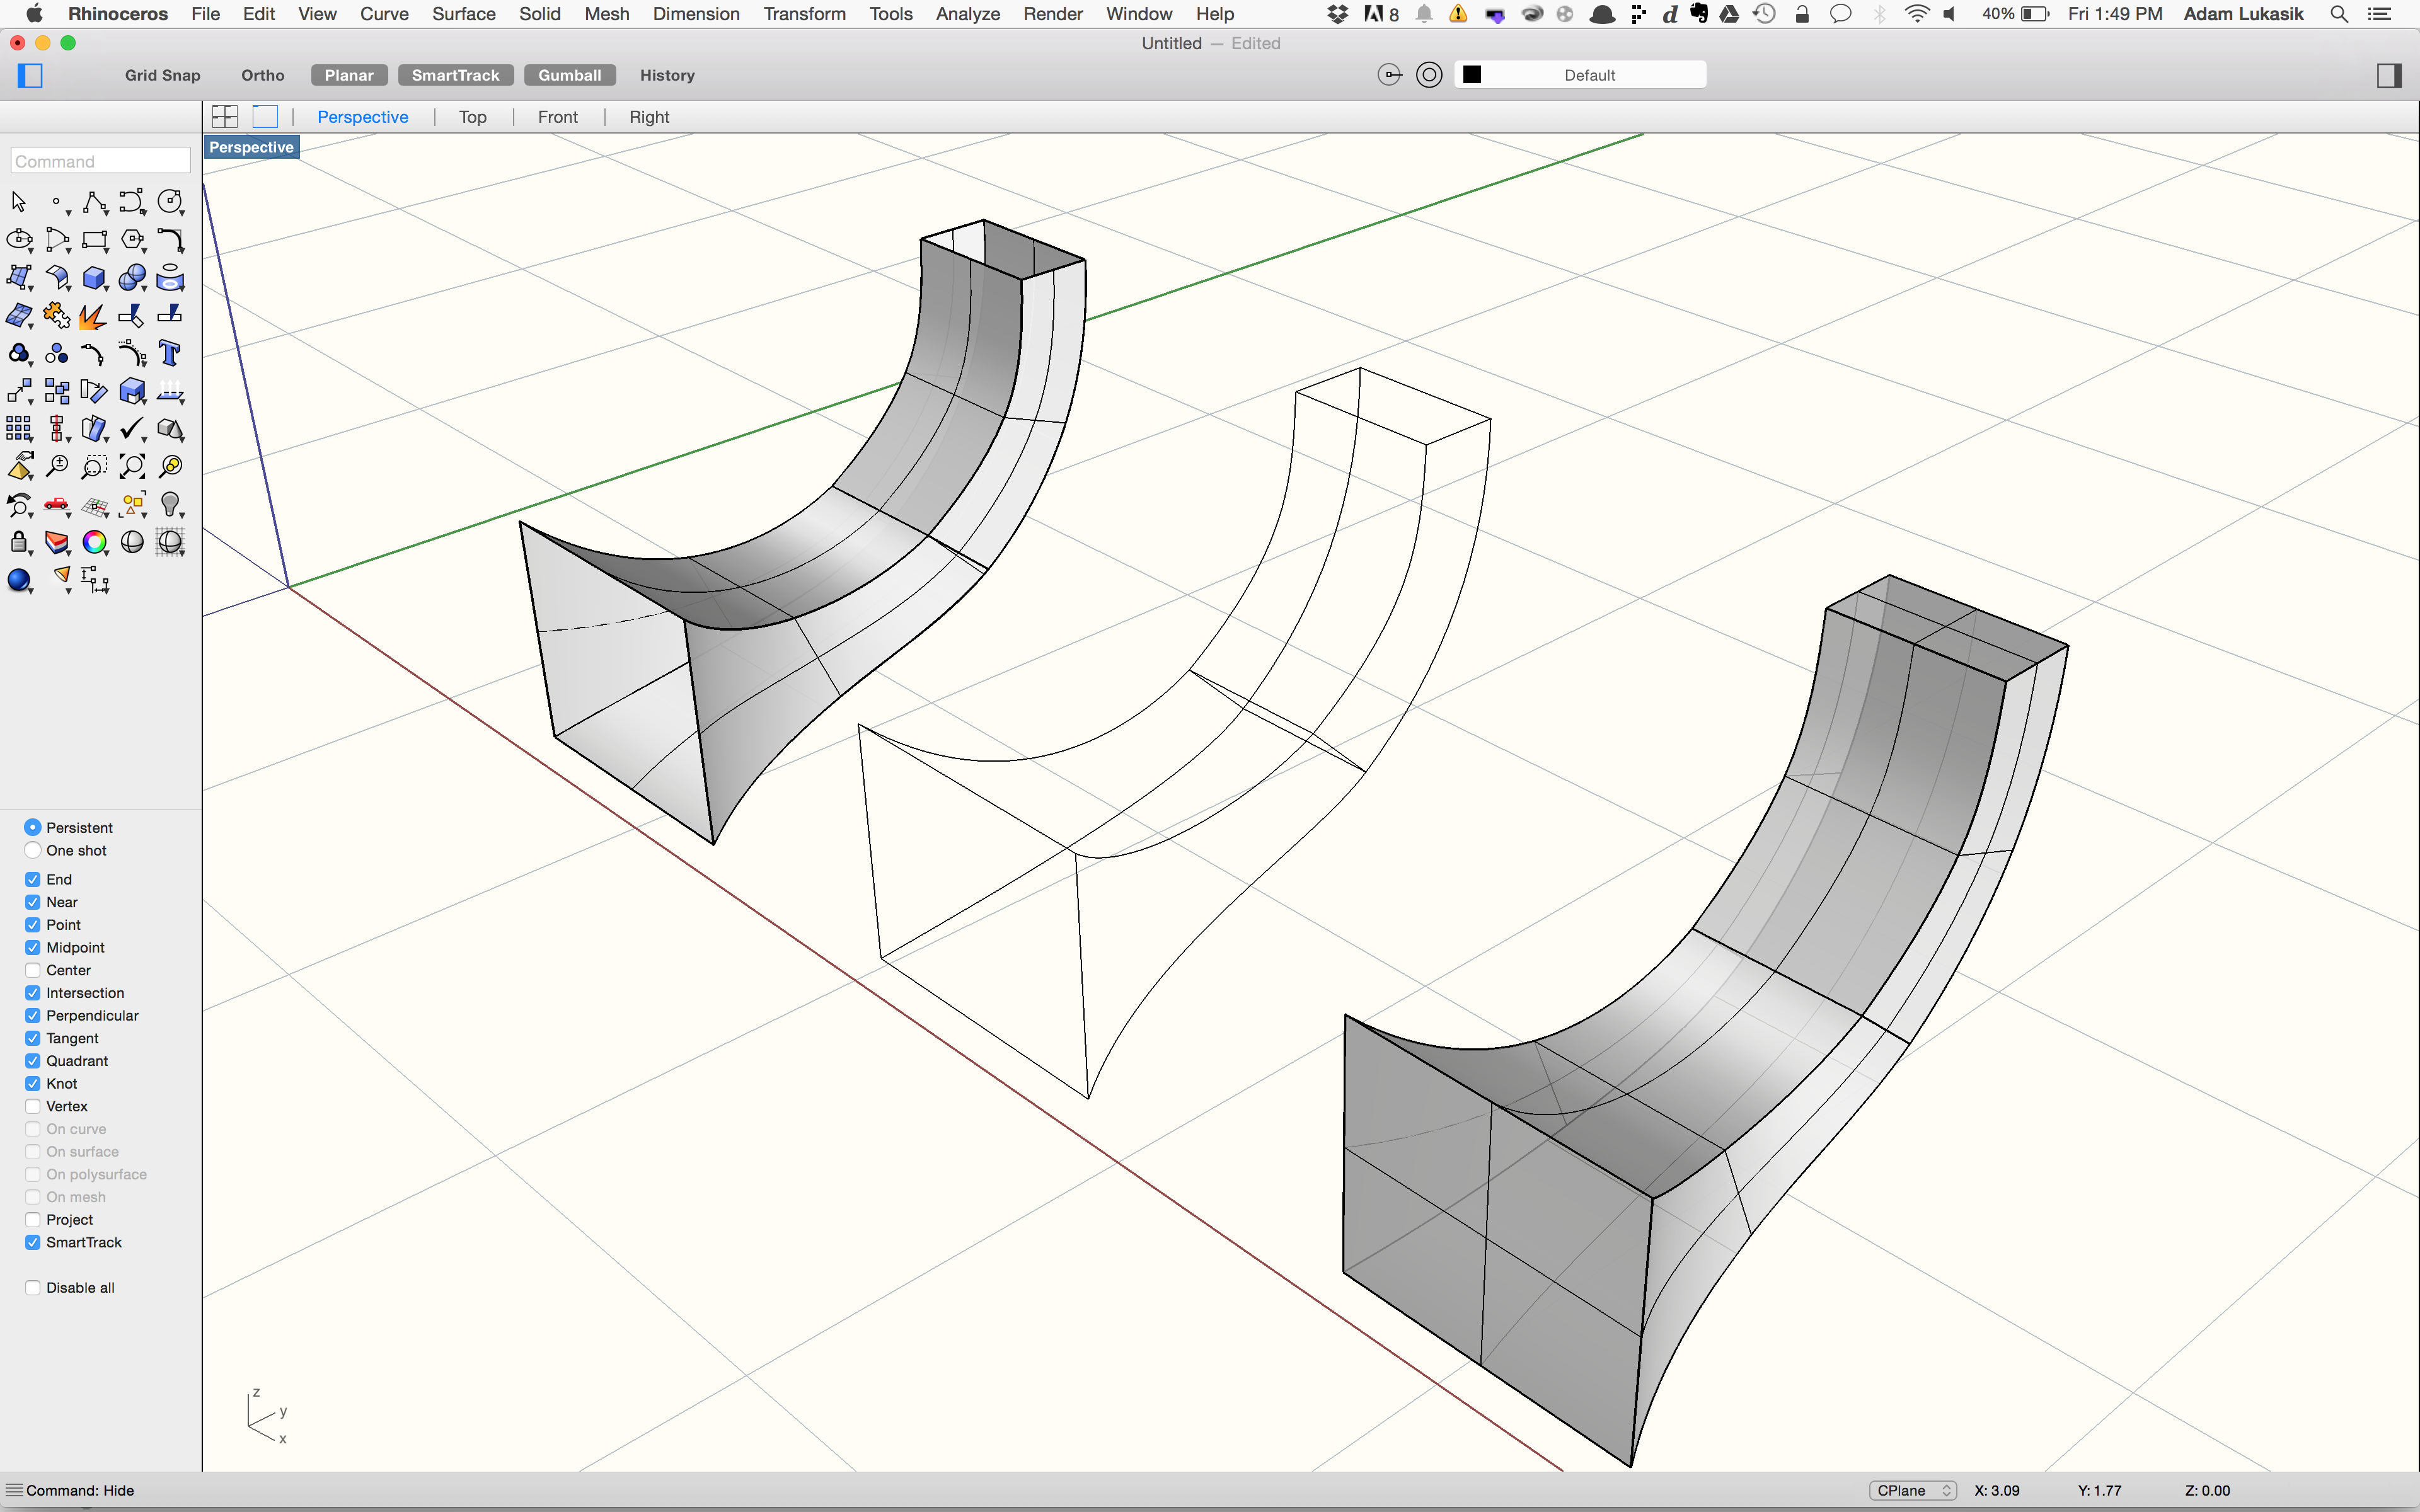
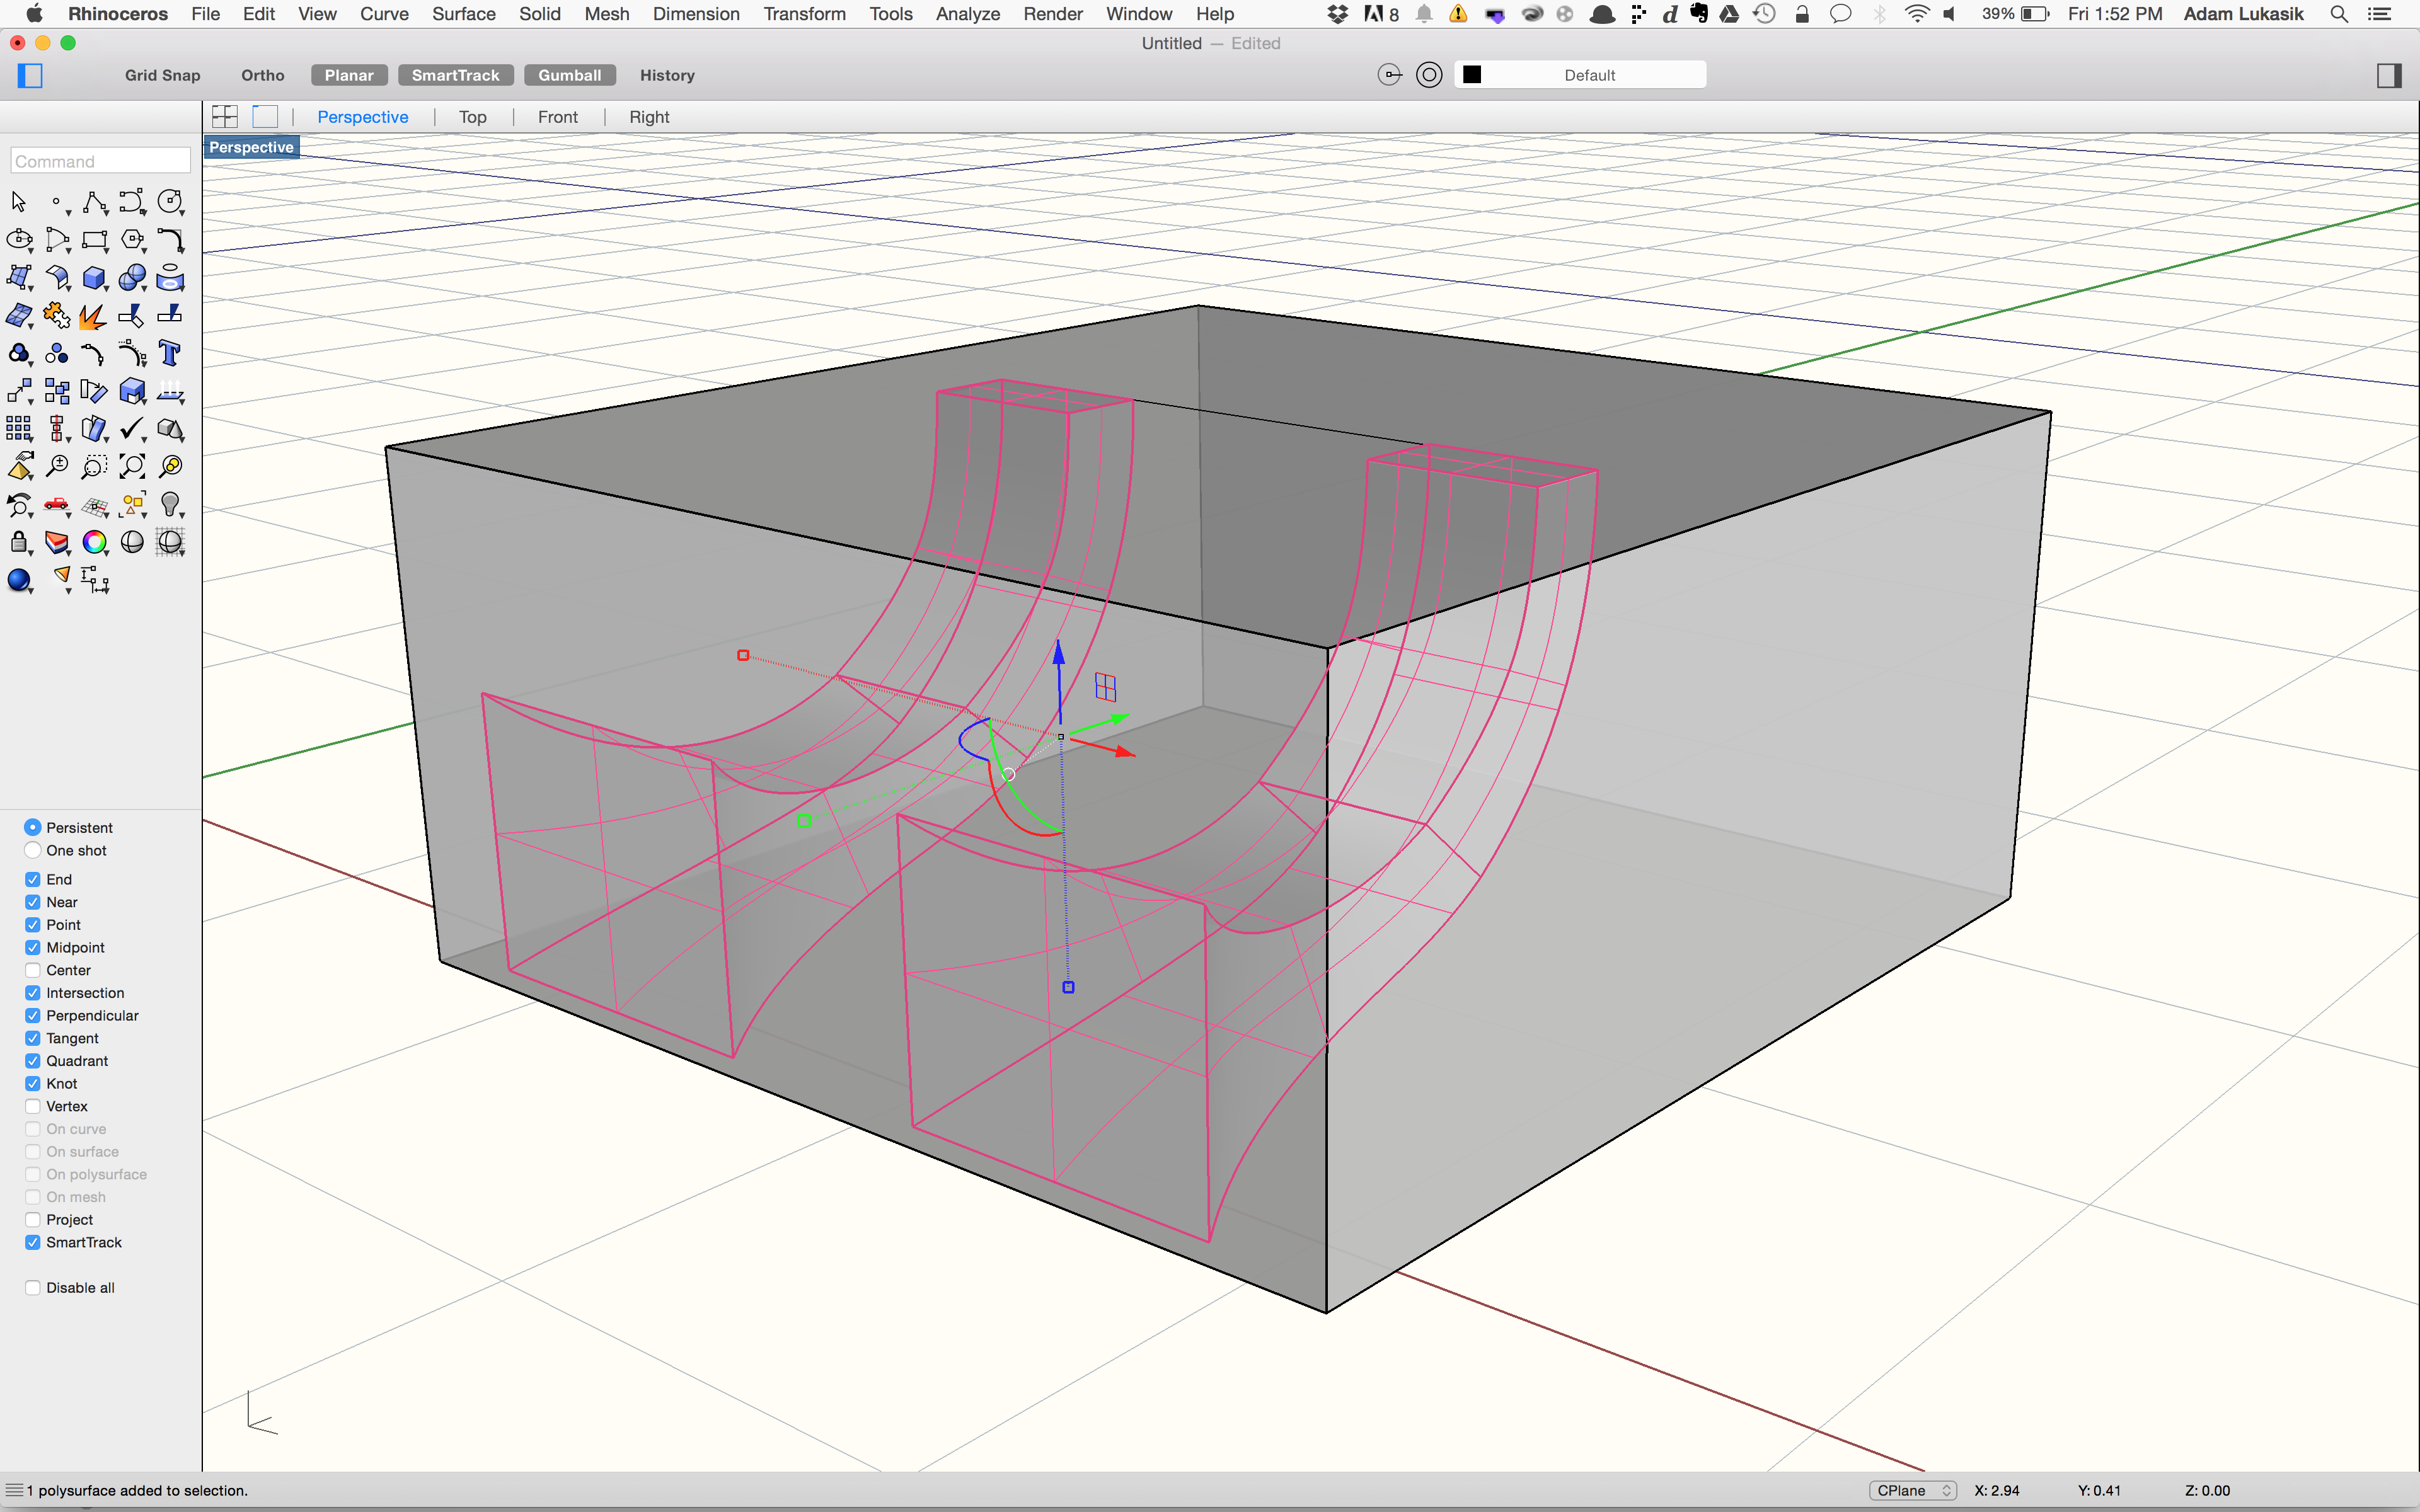
Using the basic principle of a loudspeaker and its geometry, we will explore how to design this type of speaker for your phone and print it on a 3D printer.

Project Steps

Measure your phone

I own a Oneplus One Android phone, so that is the phone I will be using. It has two speakers, so I will need to measure the length of the speaker element itself and the speakers’ distance between themselves. My speakers are .5 inches wide

Draw the basic shape of the amplifier

To start the design we will first draw the amplifier outward facing opening. Then we draw a slightly smaller rectangle at about .5 inches wide, the same width of my speakers, this rectangle is rotated 45 degrees and is high and back away from the main opening. Finally we draw a rectangle that is at 90 degrees from the front opening is is higher and further back than the other two. These make up our basic shape of the amplification chamber.

Create lines to define the amplifier edges

Now we will draw curves that connect all four corners of the amplifier chamber. This will define the edges of the chamber.

Sweep lines along each side of the amplifier

Now we will sweep a line along each face of the amplifier chamber so that they become seamless walls. In Rhino this command is ‘Sweep2’ although this might be different if you are using other programs. Afterwards we will place a cap on the front and top of the chamber so that we can boolean subtract from the main body of the amplifier.

Placement and make the geometry void space

Now we place the amplification geometry inside a body so that we can subtract it from the body and have the space be void for the sound to echo in. Once it’s placed and the amplification chambers are placed at the right distance apart to account for the two speakers to both have access, we then use a boolean difference command to remove the geometry.

Sculpt the stand to your phone

Finally we remove excess parts of the cube body so that it doesn’t just look like a cube and also to save material. Now that we have sculpted the form we can print and use it. Time for some music in the park with friends!

Conclusion

There are a lot of ways to use a 3D printer and I hope this inspires you to create tools for your life that are more than just models and instead can serve some sort of utility. If you are like me, the coolest thing about 3D printing isn't the fact that I can print all the things people make on Thingiverse, but that if I can think it up and design it, it can be real in a matter of hours. Happy listening!