For more on microcontrollers and wearables, check out Make: Volume 43. Don't have this issue? Get it in the Maker Shed.
For more on microcontrollers and wearables, check out Make: Volume 43.
Don’t have this issue? Get it in the Maker Shed.

Does your makerspace have a sink that is always full of dirty dishes? Or do you yourself require better discipline around the home to stay on top of your chores? To automate your home, office, or workshop, one of the first things you’ll require is some kind of vision system to detect motion or objects. A small computer capable of running OpenCV could be just the tool you need.

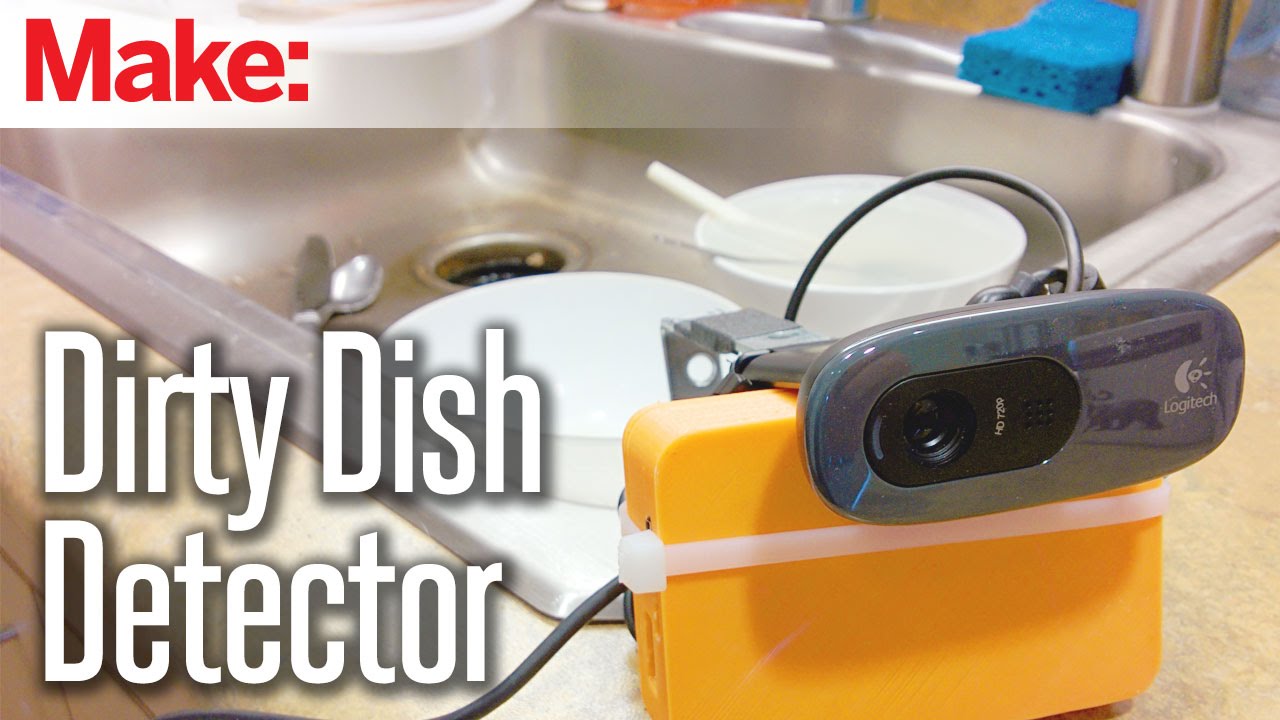
The Dirty Dish Detector combines a BeagleBone Black & Logitech webcam – along with plenty of open-source software – to tackle the annoying activity of tracking when dishes get left in the sink.

DDD_above-sink
1-DSC00177

This project is built sequentially, in the following order:

  • Update the BeagleBone Black to be running the latest image of Debian, which includes OpenCV and Python libraries, among others.
  • Configure the BeagleBone Black to automatically connect with your WiFi network.
  • 3-D print and modify an enclosure for the BeagleBone Black to accommodate additional elements (webcam, USB hub, etc.).
  • Install the Dirty Dish Detector above your kitchen sink.
  • Use the Cloud9 IDE to interface with your Detector, programming the project using readymade Python scripts.
  • Get notifications whenever dishes pile up! Or likewise whenever the dishes get done!

This project assumes some familiarity with the command line, along with the ability to administer your local area network. A comfort with coding in general (be it Python, PHP, or even HTML) will get you very far with this project. All of the necessary code is supplied below and documented, but opportunities for you to customize the code to your liking will arise.

The project’s code will also be assembled sequentially. Once the physical project is built and installed above your sink, we will first take a ‘camera-test’ photo using a simple script. Once confirmed, we will calibrate an empty sink image. That will give OpenCV a reference image upon which to compare against when it processes images, looking for culprit cups and dirty dishes.

sink-latest-circles
sink-latest-edges

Once the system knows what to compare against – a clean sink – we’ll implement the ability to send an email and/or MMS when an unclean sink is detected. These notifications will not happen all the time, but rather with every ‘status change’ in the sink. Thus when the sink goes from ‘clean’ to ‘dirty’ you will get a notification; and likewise when it goes from ‘dirty’ to ‘clean’ you will get a notification! Thus the Dirty Dish Detector is primarily a detector, and it will notify you accordingly. Lastly, automate the system to take a photo every 5 minutes. The webcam’s status LED will alight whenever the script runs, like so:


Lens Angle and Your Sink/s

DDD_distance

You’ll want to locate the Dirty Dish Detector at an adequate distance to cover as much of your sink or sinks as possible. Since kitchen cabinet installations follow somewhat of a standard, I found the immediate underside of my cabinets to be ideal for the webcam’s field of view. With the lens 23 1/2″ from the base of the sink, I was able to see an area approximately 16″ x 12″. Experiment with the webcam’s lens before you install your Detector if you’re unsure exactly what it will see.


3-D Print Your Enclosure

Print an enclosure case for your BeagleBone Black while you’re reading the steps below in anticipation of assembling your Dirty Dish Detector. I used Logic Supply’s enclosure available on Github. Print the enclosure in your favorite color/s or assemble your Detector with a different design altogether – if you do leave a note below in the comments because I’d like to see your mod!


As With All-Things-Vision

Simply because a lens will capture images of your sink doesn’t mean it will be a 100% guarantee against dirty dishes. Culprits include low-light and the software itself. The sink where I tested the Detector gets plenty of indirect sunlight. So the Detector operates pretty good from dawn to dusk. After that it’s a gamble, given the interior lighting available. Even during the day, overcast days or sudden cloud coverage could produce fluctuations in light levels and errant results. Some slight tweaking of the software to suit your environment is almost a given. In the final Dirty-Dish-Detective.py file look for the #match circles with drains comment and the tolerance variable; adjust the tolerance as needed. A lower number will increase the likelihood of false-positives, whereas a higher number will let the system be more ‘tolerant’ with what it defines as a dirty dish.


WiFi caveat

During the making of this project, configuring WiFi on the BeagleBone Black was a headache, and the most time-consuming aspect of the build. Even now, the wireless adapter only powers on and connects with my wireless network once in every three boot-ups. I can’t figure out why; the 3.6A power adapter supplies more than enough current. I tested operations with several Netgear adapters but eventually chose the G54 for the low-profile of the adapter package.

TIP: Never plug a wireless adapter directly into the BeagleBone Black’s USB port, not even during prototyping. It will likely conflict with signals from the board’s PCB. Always use a hub.


Browser caveat

As with most projects that involve web browsers, there’s a caveat. This project is tested with Chrome and Safari (on Windows and Mac respectively). Other browsers – specifically IE – will likely not work.


Code Copy+Paste

DDD_view-raw

In the steps below, wherever you see code meant to be copied in bulk to the Cloud9 IDE, I have embedded the necessary code using gists. I recommend right-clicking on the ‘view raw’ link in the bottom-right of the embed and clicking ‘Open link in new tab.’ This will give you the ‘raw’, un-formatted text to copy to the Cloud9 IDE for making your own Python files.


I am indebted to Jason Kridner for the bulk of the code powering this build, who in turn would like to thank Tom from London Hackerspace for sharing his solution from several years ago.

Project Steps

Update your BeagleBone Black

The first thing you will want to do is update your BeagleBone Black so it is running the latest version of Debian.

All that means is we want to update the operating system running on the BeagleBone Black. I have written easy-to-follow guides for users of both OSX and Windows. Follow those instructions and then return here when you are ready to proceed with your Dirty Dish Detector!

The instructions below were all built on top of the “2015-05-14” image available at http://beagleboard.org/latest-images. If a more-recent image is available, use it, and follow the same instructions for installing Debian on the BeagleBone Black.

Configure WiFi

If you want to configure your BeagleBone Black to connect to a wireless network, follow this simple how-to guide to do exactly that.

Note: That guide is written to work with the Netgear G54/N150 ‘micro’ USB adapter. It should also work with other wireless adapters. Please leave a comment on that project with your configuration to let others know what works.

Print Your Dirty Dish Detector Enclosure

3-D print this Logic Supply enclosure for the BeagleBone Black in your favorite color or so it blends in with your kitchen cabinets. The enclosure comes in two parts: a bottom (body) and a top (lid).

Drill a Hole in the Enclosure Lid

Your enclosure lid has a ‘notch’ on one end. This is to accommodate the ethernet adapter on the BeagleBone Black. Place the lid down on a workbench so the arrow in the top-left of the lid’s top side is also oriented in the top-left. From that arrow’s corner, measure 1 3/4″ from the left, and 1 1/16″ from the top (image 1). Find the point at which those two measurements meet and make a mark — see image 3 for clarity.

Drill Out a Hole on the Enclosure Lid

Get a 3/4″ spade bit and carefully drill out a hole, placing the bit’s center point on your mark.

With the hole drilled out, use a pair of nippy cutters to remove any plastic burs from the hole.

Mount the USB Hub to the Enclosure Lid

The USB hub has a riser on one side for stacking the hub. Snap that riser into the 3/4″ hole drilled out from the enclosure lid; insert the riser from the top side of the lid, so when you close the lid on the enclosure the hub is on top. The riser is ever-so-wider than 3/4″, so a little bit of force is needed, but it will snap in place (image 1).

Now orient the hub so it is flush with the edge of the lid (image 2). Press and hold the hub still in place, flip the lid over, and hot glue the hub into place (image 3). I recommend holding this for a few minutes to ensure the hot glue dries without accidentally shifting.

We want the hub flush with the enclosure’s edge because later the webcam will mount perfectly around the enclosure and hub – the fit is serendipitous!

Mount the Webcam to your Enclosure

Unpack the C270 webcam and remove the plastic film from around the ‘neck’ of the webcam mount.

Plug the USB hub into the BeagleBone Black’s USB type A port.

Plug the webcam’s USB cable into the hub.

Holding the enclosure as I do in image 1, you’ll see the webcam’s mounting unit fits neatly around the thickness of the enclosure and the USB hub! That’s why I mounted the hub to be flush with the edge of the enclosure.

Holding the webcam in place, orient an extra-long zip-tie as I do in image 2. Loop the zip tie around enclosure, strapping the webcam to the enclosure securely (image 3).

You’re now ready to mount the Dirty Dish Detector above your sink!

Mount the Detector Above your Sink

How you mount the Dirty Dish Detector above your sink will be up to you. Some craftiness will be necessary, depending on if you have cabinets above your sink or not, how many sink drains you need to detect, what material your cabinets are made of, etc.

I used the zip tie as a strap to attach to some eye bolts mounted to the underside of my cabinets (made from some composite material). I measured the distance either side of the webcam mount (image 1), placed the webcam to the underside of the cabinet, and marked the holes to drill. I accounted for a third eye bolt in the back.

In my case, I used two smaller (orange, see image 3) zip ties and secured the enclosure’s zip tie to the eye bolts. I threaded the velcro strap that comes on the webcam’s wire through the eye bolt in the rear, securing all the loose wires this way (image 3).

The webcam lens can swivel back and forth, while the housing unit is secured to the underside of my cabinets.

Say 'Hello World' with Cloud9!

Here we go. We’re about to start interacting with the BeagleBone Black over our LAN, and programming the board.

Now that your BeagleBone Black automatically connects to your wireless network with a bound IP (in my case 192.168.1.108), open your web browser and enter the board’s IP in the address bar. Hit Enter. When connected, you’ll see a green box at the top and ‘Your board is connected!’ Great!

Scroll down and click the ‘Cloud9 IDE’ link. This will open up Cloud 9 running on the BeagleBone Black. It consists of multiple tools you’re probably already familiar with: a file explorer, command line interface, and file editor, among others.

Let’s get the BeagleBone Black to acknowledge its own existence. Click File -> New File to create a new file. Type

#!/usr/bin/python

and hit Enter twice. Then type

print "Hello World!";

Click File -> Save As… and name the file ‘helloworld.py’ and save it to the main ‘cloud9’ folder. Now click the ‘Run’ button. You’ll see the script run in the lower pane, and it will print “Hello World!” Success!

Camera Test

Click File -> New Folder and create a sub-folder called “Dish-Detector” (image 1). Ensure there is a hyphen between the two words, because the code we’ll be running later has that hyphen in the folder name.

Click File -> New File and create a new file in the Dish-Detector folder called camera-test.py; copy the following code to that file, and save it.

https://gist.github.com/nicknormal/347c18d0b27d45e33f73

With the code copied to camera-test.py, click Run and the script will run in the lower pane. You will see the following error printed many times: “VIDIOC_QUERYMENU: Invalid argument” – dismiss this error (image 2). It does not effect the operation of the Dirty Dish Detector.

You will now see ‘camera-test.jpg’ in the Dish-Detector folder. Click it, and you’ll see a picture of your sink taken with the webcam! Yay!

Capture a Clean Image of Your Sink to Configure the Detector

Note: You’ll need to do some playing around here to get reliable detection of your drain(s). Copy the entirety of the following code to a New File called sink-empty.py and then Run it.

https://gist.github.com/nicknormal/b46775673ee654f4a262.js

You can see this code creates a JPEG titled ‘sink-empty.jpg’ and a text file called ‘sink-empty.txt’ that is like a configuration file for your ’empty’ sink. If you have one sink drain the file will read something like

790,382,64

whereas if you have two drains it will read something like

200,170,15 192,76,6

Compare it to the sink-empty.jpg file to understand how it orients according to X-Y coordinates and circumference.

Be sure to keep this script around in case you need to run it again to reset how your sink looks when empty or if the camera gets moved.

Capture a Dirty Image of Your Sink and Compare it to the Clean Image

Make a meal (or in my case, coffee!) and when you’re done put your dirty dishes in the sink. Do not clean them!

Copy the following code to a New File and name it sink-latest.py and then Run it.
https://gist.github.com/nicknormal/fc32f22c35f46c76044b.js”

Provide some notification

Using a Google mail account or some other SMTP provider, you can send yourself an e­mail and/or text message. Once again copy the following code to a New File called sink-phone-home.py and save it.

https://gist.github.com/nicknormal/760a20ba8f05b6c00539.js

You’ll notice at the bottom of the code there are variables for your “user@gmail.com” username and password, along with a phone MMS service option. If you change these to your Google account details and Run the script, you will get a SMTPAuthenticationError because you haven’t associated this ‘app’ with your Gmail account’s security clearance.

The error will prompt you to visit https://support.google.com/accounts/answer/185833 which in turn will direct you to the App passwords for your Google Account.

Once there, click the drop-down menu for Select app and click Other (custom name). Type “Dish-Detector” in the field box and click the “Generate” button (image 2). The service will prompt you with “Your app password for your device” – this password will allow SMTP authentication using your Gmail account for the ‘app’ “Dish-Detector.”

Transfer the app password into the “password” variable in the code above, which again is now called sink-phone-home.py in your Cloud9 IDE. Save the file.

Now run it.

Success!

You will get an email sent from yourself, to yourself, without a Subject, but containing a “noname.jpg” snapshot of dirty dishes in your sink.

Only Perform Notification on a Status Change

Okay extend the code slightly so it will only send a notification upon a status change, from clean to dirty per the status.txt file in your Dish-Detector directory. Again copy the code below to a New File and name it sink-phone-home_change.py and Run it.

https://gist.github.com/nicknormal/d64cb459bdfe7a8824f4.js

The Final Code

And finally the complete code, with comments. Copy this code to a New File and name it “Dirty-Dish-Detective.py” and save it.

https://gist.github.com/nicknormal/2a02718590992cd5f7af.js

When you Run it the prompt will return the location of “circular features” and also “drain not found at” errors. This will inform the Detector whether the sink is dirty (“True”) or not (“False”).

Once confirmed that clean/dirty status changes send the appropriate email notifications, empty your sink of dirty dishes and then proceed to automate the system.

Implement Cron to Take a Picture Every 5 Minutes

One simple but lengthy command line is all that is needed to automate the Dirty Dish Detector’s primary Python script. Launch your preferred SSH client – or use the Cloud9 IDE bash! – and connect with the BeagleBone Black as root.

The following command will initiate Cron, which can easily be thought of as a scheduler for initiating repetitive tasks (in this case taking a photo and analyzing the image for dirty dishes). These tasks are called crontabs.

Type

echo "*/5 6,7,8,9,10,11,12,13,14,15,16,17,18,19,20 * * * python /var/lib/cloud9/Dish-Detector/Dirty-Dish-Detective.py" | crontab -

and hit Enter.

To confirm the cron is running, type

crontab -l

and you will see the code you previously typed printed back.

Dirty Dish Detector is now automating the detection of dirty and clean kitchen sinks!

Crontab TIP: Admin’s Choice has a simple breakdown on how crontabs are interpreted; and I recommend plugging some data into this crontab generator to understand how crontab strings are generated and what each part of them mean.

Conclusion

As noted in the Introduction above, the general failure of the Detector to detect in low-light is an issue. Should anyone come along in the middle of the night for instance, and deposit dirty dishes in the sink, the Detector won't know until the light level increases. An obvious counter-solution then is a PIR sensor attached to some light source that turns on when the field of the sensor is interrupted. It doesn't have to be bright, but it does have to be direct, and the Detector should do the rest.

This form factor is pretty straightforward, using the parts of the project and simply strapping them all together. Do you have another idea for a robust, all-contained Dirty Dish Detector? Perhaps your own enclosure design or other container to blend the project in to your kitchen's environment? I'd love to hear your ideas.

Another thought is to turn the Detector into a real Detective, as the name of the Python file suggests. Could you clandestinely hide the project and adjust the software to catch culprits in the act? If you come up with any ideas for extending the software or inventing solutions to specific problems you have, please let us know. Leave a comment below!
 
I also read through and would like to thank the following blogs and websites for their advice and Linux-inspiration: the Linux Wireless Wiki, WikiDevi's documentation of the WNA1000M wireless adapter, AskUbuntu forums, Ayoub Zaki's Embedded Systems Blog, and a special shout-out to Derek Molloy for his really rich BeagleBone Black documentation, which while I didn't use any of his steps to compile this project I really appreciate his thoroughness.