I began working with leather seven years ago when I stumbled across it during the hunt for the perfect collar for my dog, Paco. Since I’ve never taken a class, most of the following techniques are either self-taught or passed on to me by old-time leather workers.

When working with leather, remember that it falls under the same rules as wood, metal, and stone: measure twice, cut once, and when you can’t beat it, learn to work with it.

Project Steps

Strap-cut the hide.

Using high-quality materials will pay off in the long run. Use brass hardware whenever possible (nickel finish is available) and start with a high-quality latigo leather. Originally used as horse tack, latigo leather is meant to tolerate sweat, dirt, and weather, and will not only stand the test of time but will look better doing so.

Some of these tools you may already have lying around your house. You can find the specialized tools online at http://tandyleatherfactory.com or at one of its many branches. If you need to speak to an expert leather worker, call up Chris Howard at the Michigan branch and tell him we sent you.

CAUTION: The nature of leather tools — sharp! — means that your skin poses no serious obstacle. Use every tool appropriately and safely, and before you begin each step, watch where your hands are!

If you have a piece of hide, adjust the strap cutter to the width of the collar you want and run along the straight edge to create a strip from which you’ll cut the collar. You can also buy pre-cut strips from most leather suppliers.

Cut a generous length.

To determine the length of leather to cut, take your dog’s exact neck measurement and add 10″. It’s a healthy measurement, and you may end up cutting off some excess, but while you can always subtract, you can never add. At both ends, crop off the corners for a finished look.

Bevel the edges (optional).

Using a keen edge beveler, run the tool along the top corner of the leather to remove the edge. Repeat on all sides and ends. This step creates a more polished look and a comfortable fit for the dog.

Dye the edges and condition the leather.

Select a water-based edge dye that matches the color of the leather you’re working with. Keep a wiping rag handy and use an applicator or specialized dispenser to cover the exposed edges with an even coat of dye. Take care not to drip over the leather, as the dye stains quickly.

Taking the time to apply conditioners will extend the life of your leather goods. They can also bring an old leather product back to life. Apply mink oil and cream conditioner on a rag and, using your hand strength, work into the leather. To finish, wipe beeswax lightly onto the leather and then wipe off the excess. This last step protects the collar against water.

Mark the holes, and trim.

Download the template from the Files section above. Take the side marked “buckle end” and slide it flush to the end of the leather. Use a scratch awl to mark the leather where indicated. For the tail end, follow the instructions on the template and line up the second hole at your dog’s exact neck size. Mark the leather at the end of the template, cut off the excess, and bevel and dye the end.

Skive the collar.

Working from the suede underside of the leather, use the skiving tool to remove about half the thickness of the leather from the mark on the template to the buckle end. This step will remove bulk and make it easier for the leather to conform around the buckle.

Punch holes.

The hole punch tool comes with many different head sizes, from #0 to #5. The template will tell you which size punch to use for each hole. When preparing to punch, always lay a scrap of leather underneath, as impact with a hard object can crack or bend the punch.

Line up the punch, using the scratch awl mark as the center of a bulls-eye. With several firm whacks, use the mallet to depress the punch through the leather. Repeat until all holes are punched.

Using an X-Acto blade, cut out the leather where indicated to create an oblong slot for the buckle.

Add the buckle and rivets.

Weave the punched leather through the buckle and fold the tail underneath. To set a rivet, push the male end of the rivet through both layers, from the bottom, and top it with the cap.

Place the rivet-setting anvil on something hard, like a piece of marble. Select the appropriate anvil (it will be the slightly concave one the same size as your rivet cap) and use the mallet to set the rivet firmly. You cannot hit the rivet too hard! If you don’t set it firmly enough, the collar will fail, so if you’re not sure, tug the leather the same way your dog on a leash would, and reset the rivet if need be.

Set the 2 rivets closest to the buckle first, slide on your D-ring, and set the remaining 2.

Decorate!

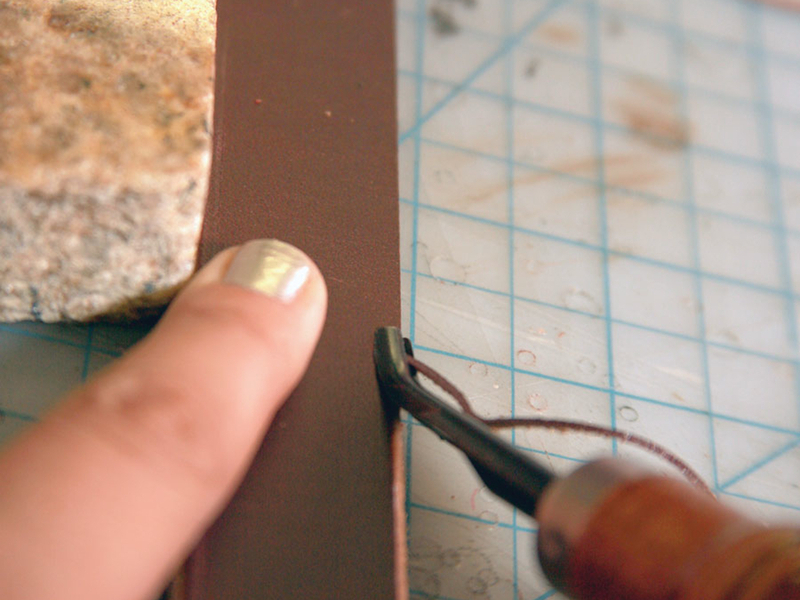
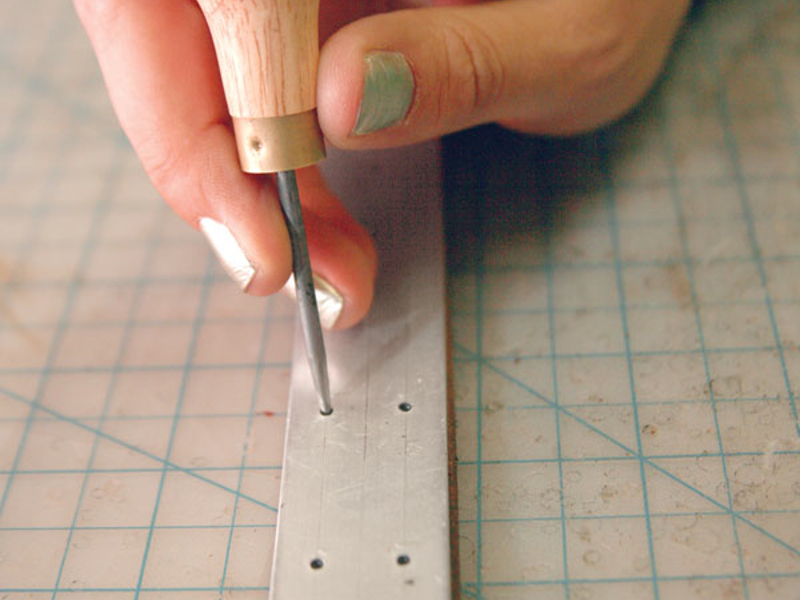
Now comes the fun part. Select your decorations and map out their placement on the collar. Mark the leather by using the actual decoration itself (apply pressure to make a mark) or a scratch awl. For studs, it helps to lock them in a pair of needlenose vise-grips so you can easily mark both tails at once.

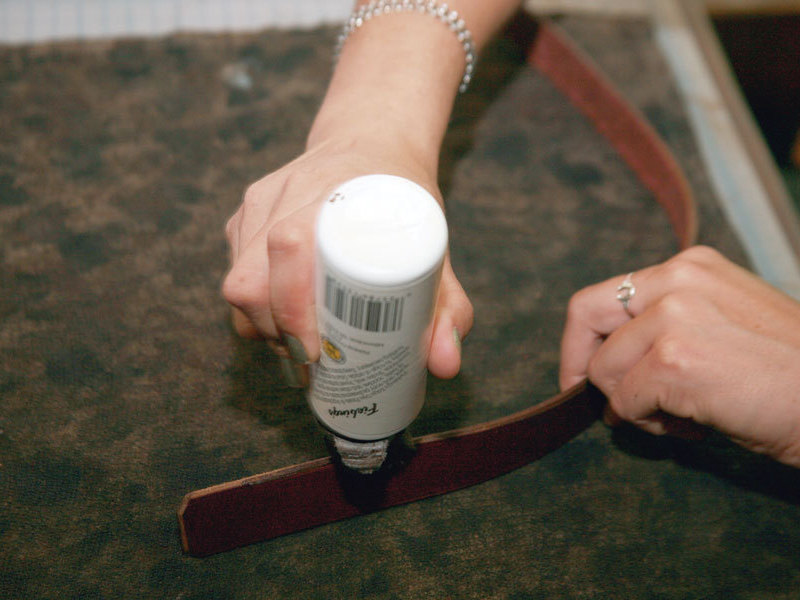
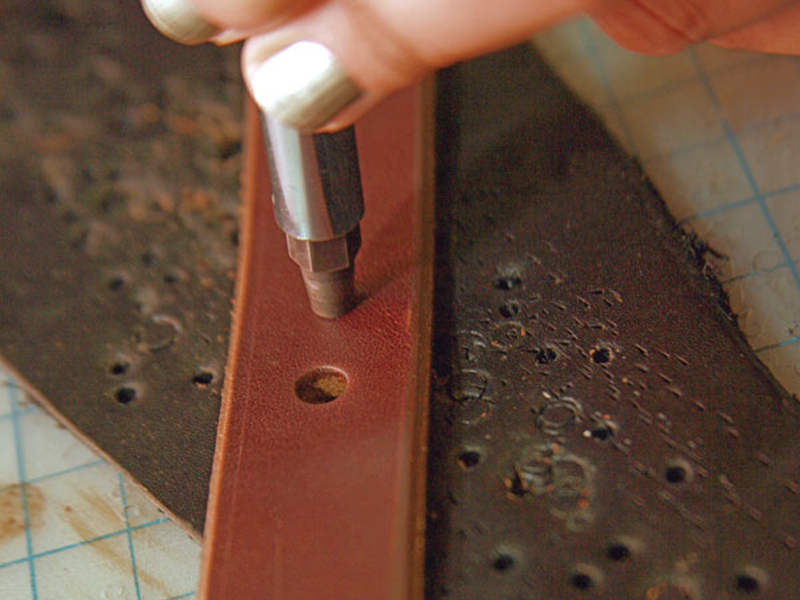
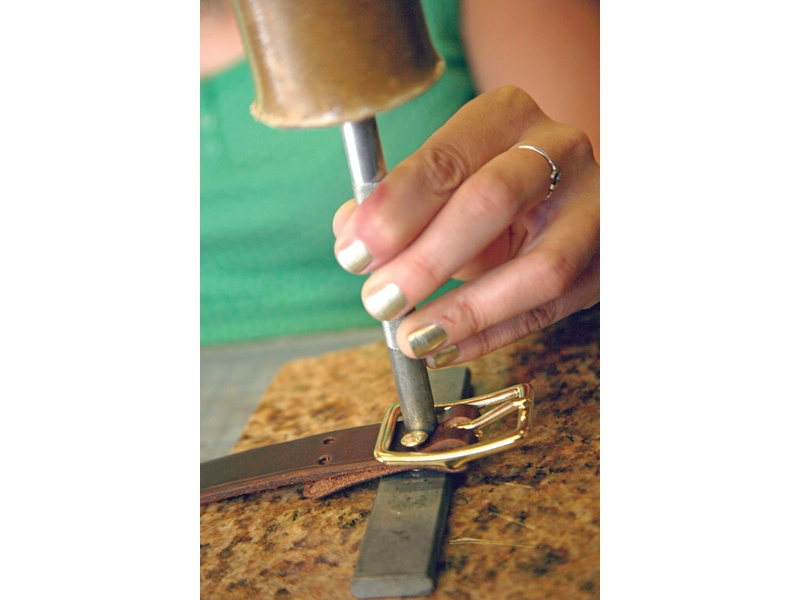
Decorations attach to the leather in 1 of 3 ways: screw-back, rivet-back, or tails. For screw-back conchos, use a #4 or #5 hole punch, punch the hole, and then screw into place. For added security, apply a drop of threadlocker on the backing.

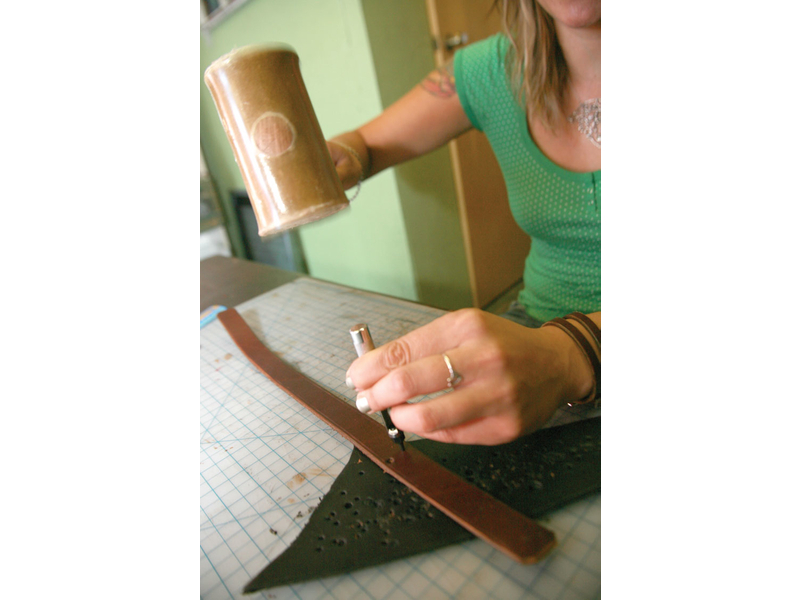
For rivet-back decorations, use a #0 punch and the appropriate setting tools. Without machinery, setting rivet decorations securely enough for daily wear while simultaneously not damaging the decoration can be tricky, so we recommend staying away from rivet-backs if you can help it.

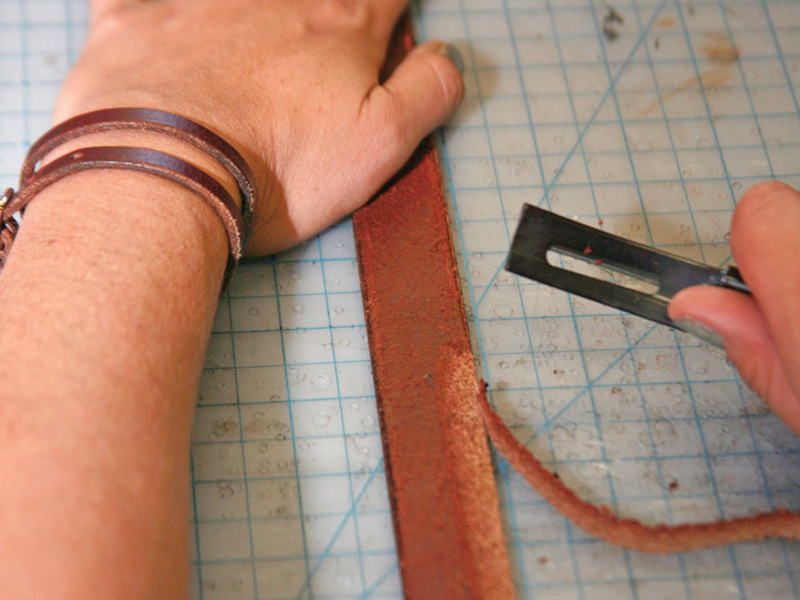
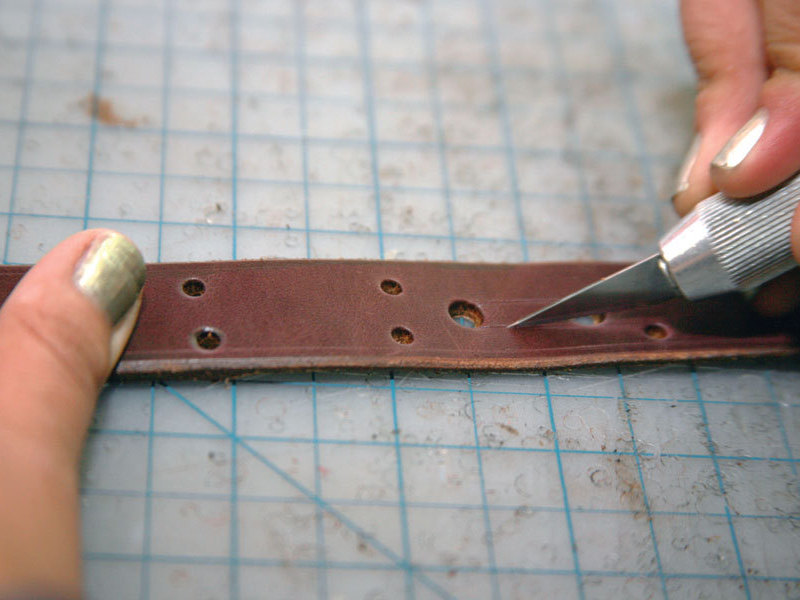
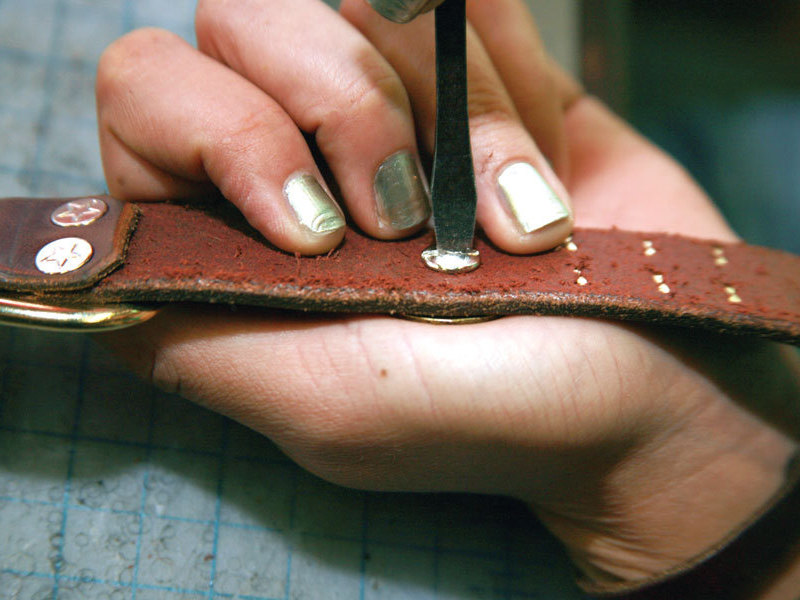
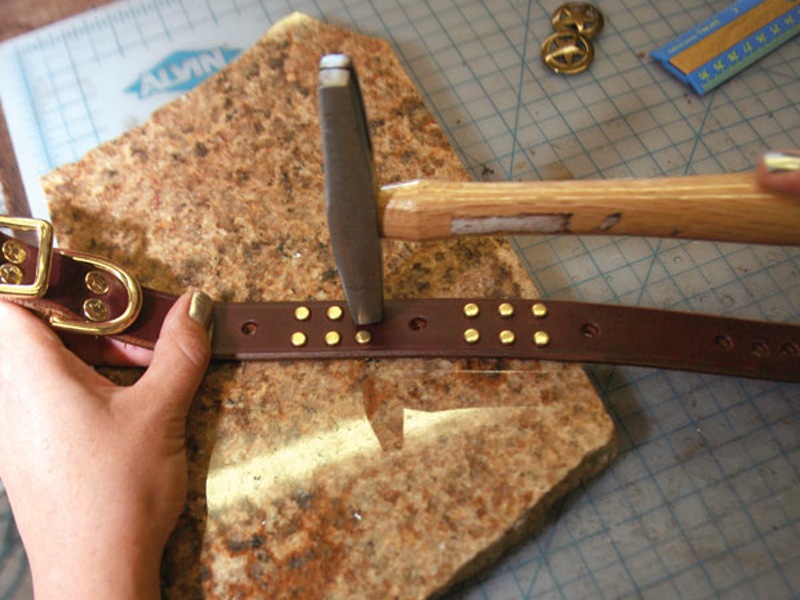
For studs, cut parallel holes with an X-Acto blade, push the stud through the holes, turn the tails in with a screwdriver or pliers, and then gently tap with a tack hammer. Studs are an easy way to add a lot of flash to a collar, like spelling out a dog’s name, that’s sturdy enough to last.

There are also a variety of leather-stamping tools on the market as well as paints and finishes, so you can stamp shapes or re-create your favorite ’70s belt.

Leather working can be challenging, but the reward of creating a piece of art that can potentially outlive you or your dog is worth it. Most leather workers are more than happy to share techniques and solutions if you find yourself stuck, so don’t be afraid to call on us!

NOTE: Most leather decorations are calibrated for the thickness of leather, so if you want a vegan option, the best thing to do is start with a pre-made vegan belt that measures at least 1⁄4″ thick. Treat it like a strip of leather, as all the tools and instructions stay the same.

Conclusion

This project first appeared in CRAFT Volume 10, pages 111-114.